

| Metal Flowers |
|---|
| Metal Flower - Mark III (I) |
Corrupted Zone
From this vantage, however, sniping the Processing Unit under the Tramplers shouldn’t be too much of a feat, just take care not to shoot when they’re suspicious, as they’ll run out of sight if pressured by a foe they can’t reach. At this range, it’s not going to be easy to nail the Power Cells on the Corrupted Longlegs, but it’s not impossible - just shoot them with Shock Arrows until they fall, then take shots at their Power Cells. At the very least you can thin the herd before dropping down to dispatch what remains of this otherwise potentially dangerous pairing.
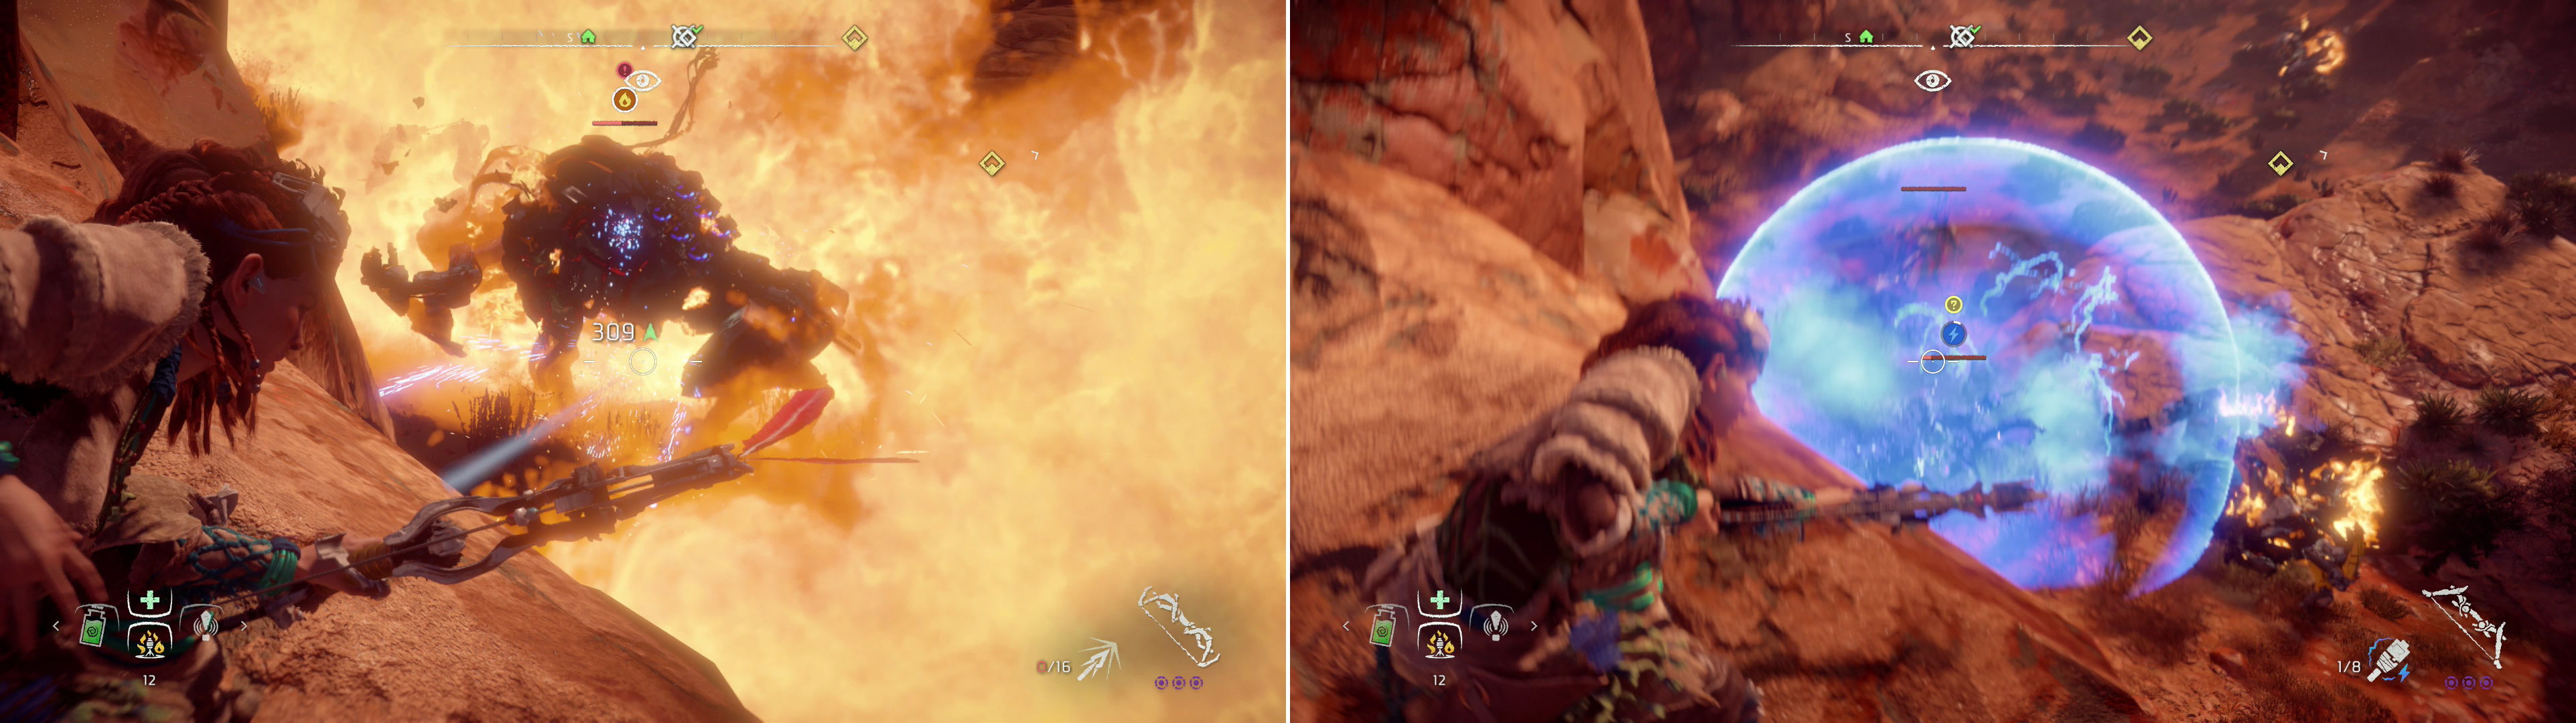
From the ledge overlooking the Corrupted Zone you can easily take out the Tramplers (left) and the Longlegs (right)
From the Gatelands Campfire turn west and climb atop the wall - possibly the wall you used to infiltrate the southern side of camp - and from that wall leap out of the camp and continue southwest down a slope to reach a spot overlooking the lowlands below. In the field below you you’ll find a Corrupted Zone, inhabited by several Corrupted Longlegs and Corrupted Tramplers. Not two foes you want to get particularly close to.
| Objective | Rewards |
|---|---|
| For destroying the corrupted machines | 6,000 XP |
Metal Flower - Mark III (I)
From the Corrupted Zone you can find Campfires to the south and southwest, and while both are arguably worth grabbing for fast travel purposes, the one to the southwest is the one you should be most interested in. From that Campfire head south down a road until you reach a fork at the edge of a jungle. Funny how fast terrain can transition from snowy mountains to arid scrub to verdant jungle, isn’t it? Anyways, at the fork follow a road west and run along the road that marks the boundary between desert and jungle until you reach another fork.
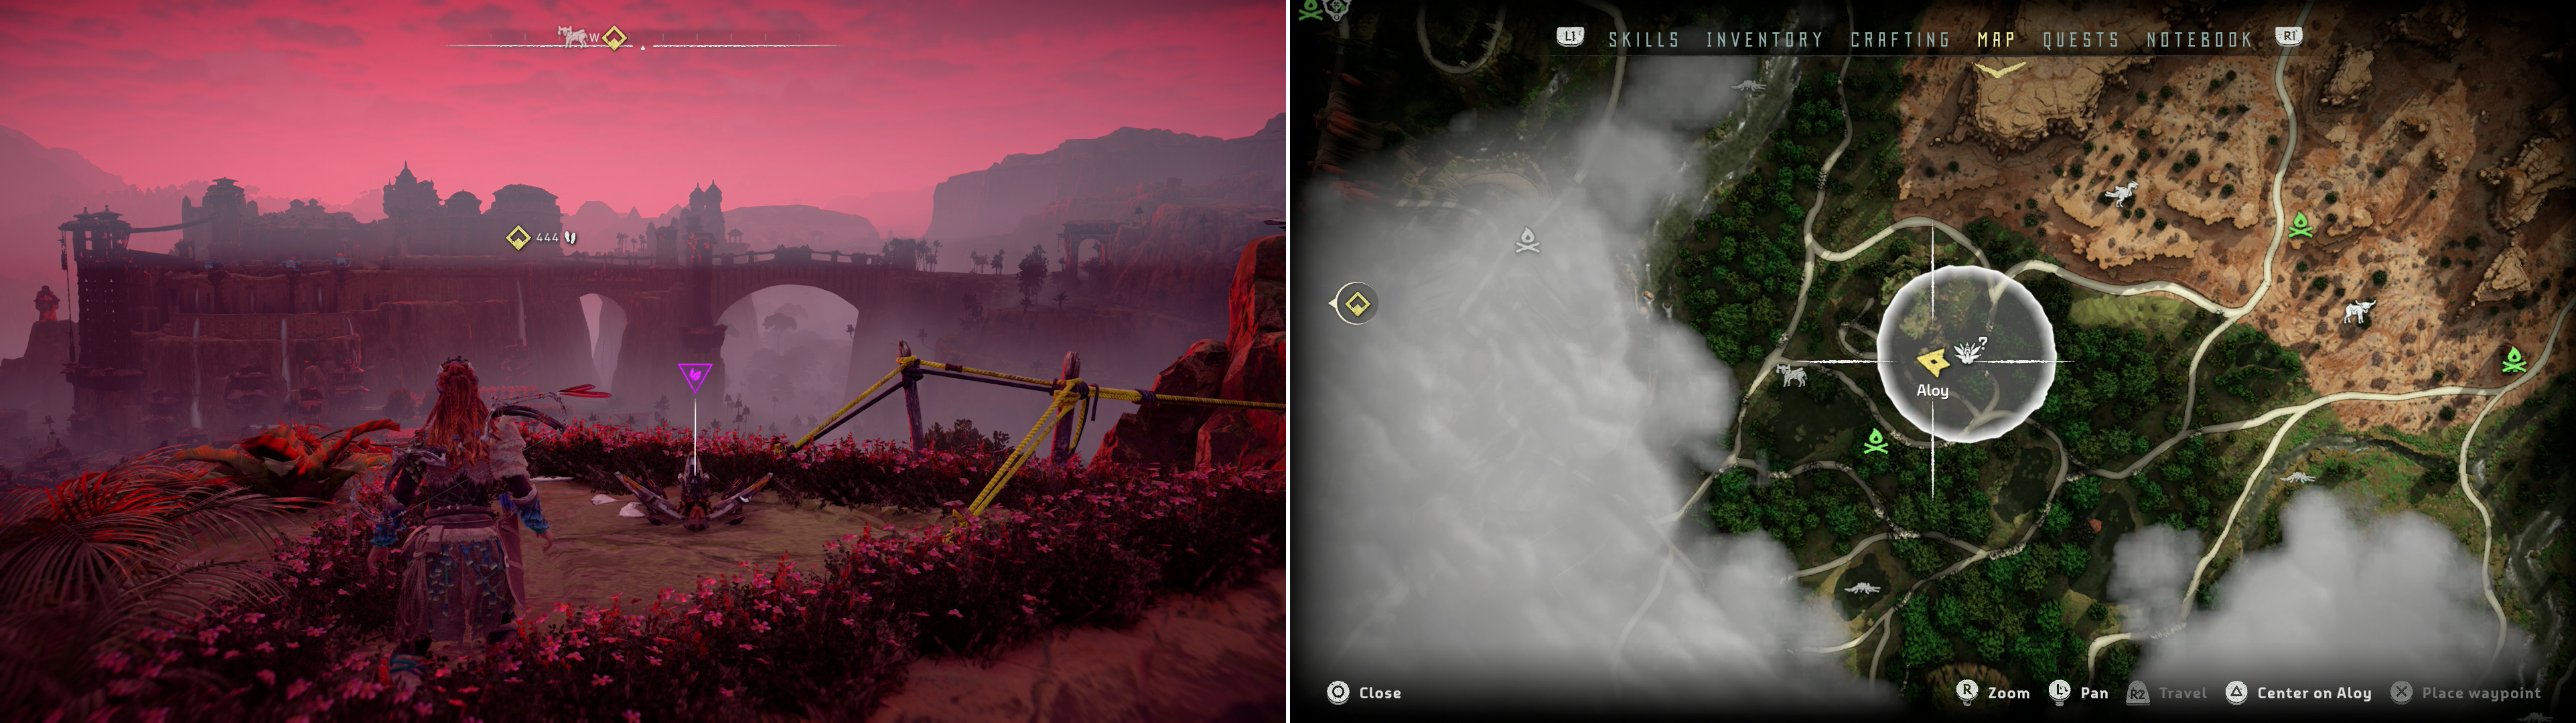
Metal Flower - Mark III (I) can be found with a scenic view of Meridian in the distance (left) at the location indicated on the map (right).
At this fork turn west to spot a huge rock formation - to get the collectible on top, you’ll have to scale it. Follow the northern end of the rock formation west until you spot some white ledges, which indicate hand-holds and use them to scale a series of cliffs. Eventually the path will diverge and you’ll get a chance to climb to the right or to the left. The choice doesn’t matter much, both will take you to the summit of this rock, which happens to be a Glinthawk nest. Dispose of the annoying machines, then find a taut rope you can walk across to reach a stand-alone section of rock, atop which you’ll find that lovely flower triangle, in the midst of which is
Metal Flower - Mark III (I) .
Climb back down the cliffs and when you reach the ground continue following the road to the west to reach another fork. Turn north and follow this road until it bisects another road running east/west, at which point turn west and cross a bridge to reach a Campfire… and another fork. Turn north again and stop at the next fork, where some options lie ahead. There are two quests worth resolving on the way to Meridian… well, the next quest isn’t so much on the way as it is only slightly out of the way, but it’s been weighing down the quest log long enough, and now’s a fine time to get it done.
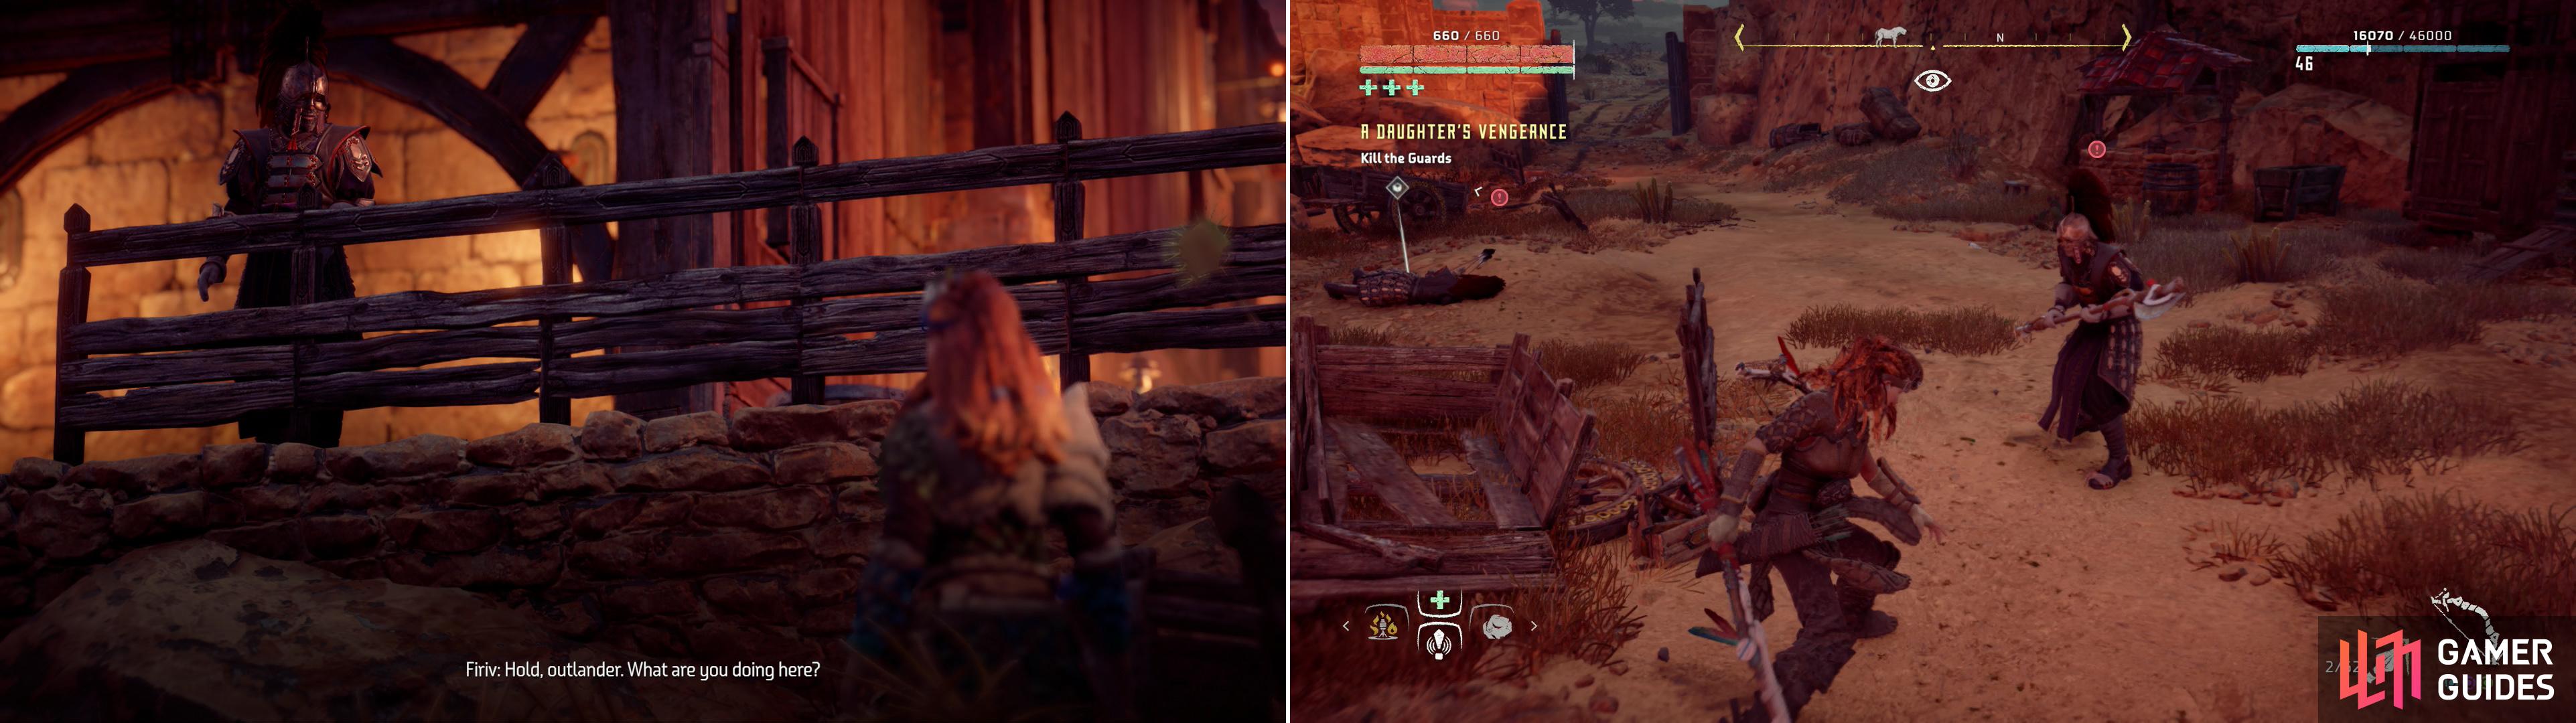
The guards at Lonesome Rock will get suspicious if you poke around too much (left) and your investigation will ultimately result in violence (right).
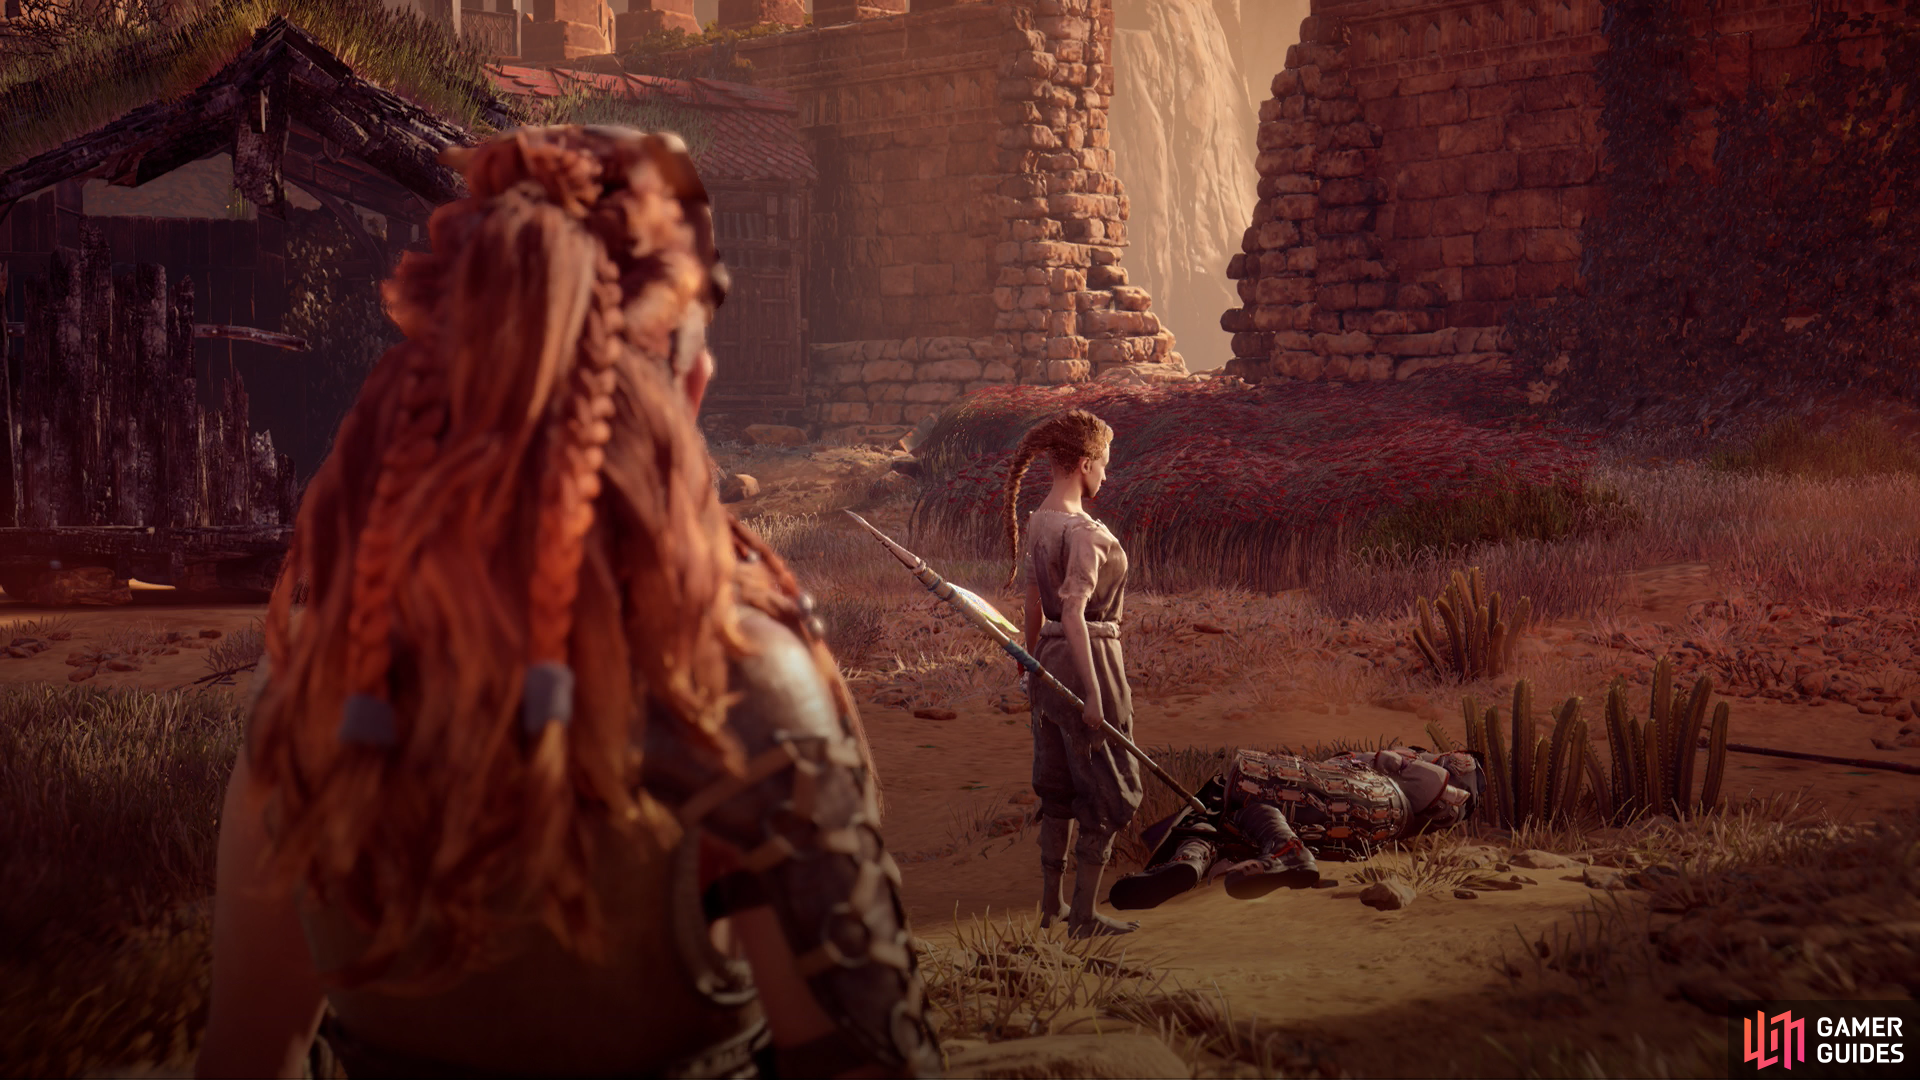
A Daughters Vengeance - Fulfilled
At the fork turn northeast and cross a bridge, the follow the road beyond to the north to find another Campfire. From here it you continue north, then northwest at a fork you’ll reach the Lonesome Rock fort, where Nakoa - or information about Nakoa - supposedly can be found.
Head into the fort and, at Aloy’s prompting, turn on your Focus and examine a cart, then head over to it. Enroute you’ll be bothered by a guard, who rightfully asks why you’re messing around. Say “Just passing through” to keep looking around, or respond with “Looking for Nakoa” to pick a fight. If you choose the former option, the guards will attack when you search the wagon anyways, so you’re going to have to kill them sooner or later.

Pick off the Carja in the northern fork (left) then pick up some Keys (right).
Once the guards are dead, search the wagon, then use your Focus to scan some cart tracks. Follow the cart tracks a fair distance north until the terminate at a compound, which is crawling with corrupt Carja, who must all be exterminated. You can climb some rocks north of the gate to get into the compound, or you can head south to find a breach in the wall you can exploit. Either way, deal with the enemies inside like you would handle common bandits, then search the Carja to score some Keys.
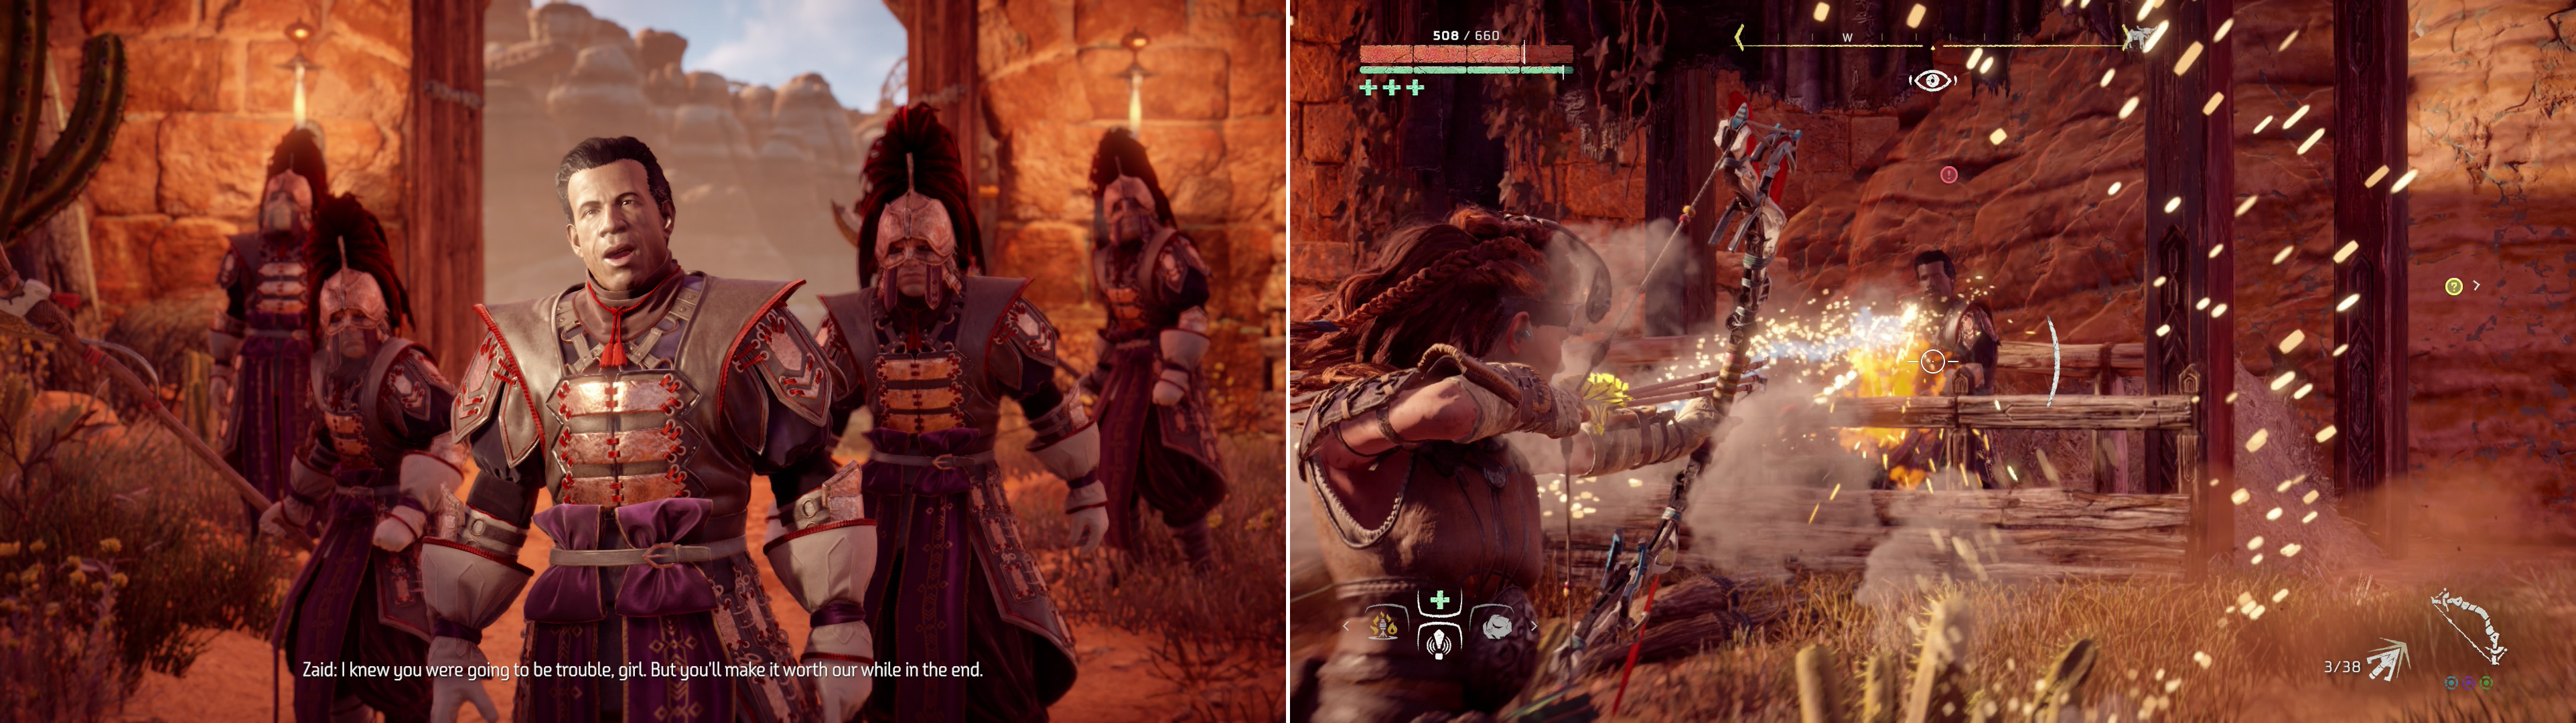
After freeing the prisoners, Zaid shows up to complicate your escape (left). Zaid is heavily armed, but nothing that Triple Shot can’t handle (right).
Use your focus to reacquire the tracks and follow them to the northeastern end of the complex, where you’ll find Nakoa in a cellar. Chat with her and Aloy will free Nakoa, and she will in turn free her fellow slaves-to-be. Head outside and you’ll be confronted by Zaid, who naturally isn’t keen on letting you go. You’ll now have to fight your way through Zaid’s Carja goons and, of course, Zaid himself. The lesser goons aren’t anything special, you’ve killed their ilk before, but Zaid himself sports a Firespitter, making him somewhat dangerous. Focus on thinning his herd, first, as it’s pretty easy to dodge Zaid’s attacks, then focus on Zaid, too - he’s durable, but nothing Triple Shot can’t handle.
After Zaid and the last of his minions are dispatched, Nakoa will show up to do the honors, after which you can ask her a bit about her future plans, for what that’s worth. Finally, however, the quest “A Daughter’s Vengeance” will end.
| Objective | Rewards |
|---|---|
| For helping Nakoa avenge her father | 5,000 XP |
Shopping in Cut-Cliffs
Return south down the road to - and through - Lonesome Rock, then continue south to a fork. At this fork head west, northwest to reach a Campfire and from there continue southwest to the settlement of Cut-Cliff. As its name implies, this place is a quarry, but there’s not much in the way of work going on right now. You’ll deal with that mystery in a bit, but first, note that the merchant here sells a variety of goods, including a host of new weapons that are worth covering in more detail… that’s right, the rest of the Shadow-quality weapons are here!
Shadow Ropecaster (500 Metal Shards, Snapmaw Heart x1):
When it comes to tying down the biggest, baddest bots, it’s the Shadow Ropecaster or bust. Like the Carja Ropecaster, this weapon doesn’t give you access to another type of ammo in addition to previous ones - the Shadow Ropecaster exclusively uses Tie Rope Heavy ammo, which costs more resources to create, but gets the job done in the least shots. If you’re a fan of Ropecasters, this is the upgrade you’ve been looking for.
Shadow Blast Sling (1400 Metal Shards, Lancehorn Heart):
The Shadow Blast Sling adds Proximity Bombs to the mix, allowing you to essentially set traps via sling delivery. Of course, you can use them to directly target enemies, but these are the weakest of the Blast Sling’s ammo. Still, variety helps.
Shadow War Bow (800 Metal Shards, Trampler Heart x1):
An essential upgrade, not only does the Shadow War Bow boast three modification slots, but it allows you to utilize a third type of ammo - the Corruption Arrow. Ideally you’ll pick up three of these things and stick appropriate elemental mods in them. As for the new Corruption Arrows, they can corrupt machines, causing them to attack their fellows… and when properly modded, with Double Shot or Triple Shot, they can do this in surprisingly few arrows. Just keep in mind that you will always be the favored target of machines, corrupted or not, so this will only work if you stay hidden and let the undistracted machines fight it out.
Shadow Rattler (950 Metal Shards, Fox Skin x1):
The Shadow Rattler adds Freeze Bolts to your arsenal, which, of course, split damage between Impact damage and Freeze damage. As with Shock Bolts, however, it’s hard to see how this weapon’s ability to deliver elemental payloads isn’t something the War Bow can do better, at a longer range. Still, if you prefer that shotgun style of gameplay, a weapon like this might prove useful against specific foes that are weak against Freeze damage…

 Sign up
No Comments