

You’ve finally got free from Helis’ grasp, thanks to a certain someone, but what he said is lingering in your mind. Helis sent troops to the east with orders to kill all of the Nora. Your destination is Mother’s Watch, but if you try to fast travel there, you’ll be told you can’t. In fact, fast travelling to any campfire in the Embrace is prohibited for now, so you need to find one spot where you can get to. Look for the Main Embrace Gate and use the campfire to the right of it for fast travel.
Of course, you will see the trouble as soon as you are able to move, as the Eclipse have been attacking not only their cronies, but Corruptors and corrupted machines. In fact, it’s very possible that you’ll find a corrupted machine and a Corruptor right by the Main Embrace Gate, so have your trigger finger ready in case. As you make your way towards Mother’s Watch, you will find plenty of Eclipse and corrupted machines in your way, but you don’t really need to do anything with them if you don’t want.
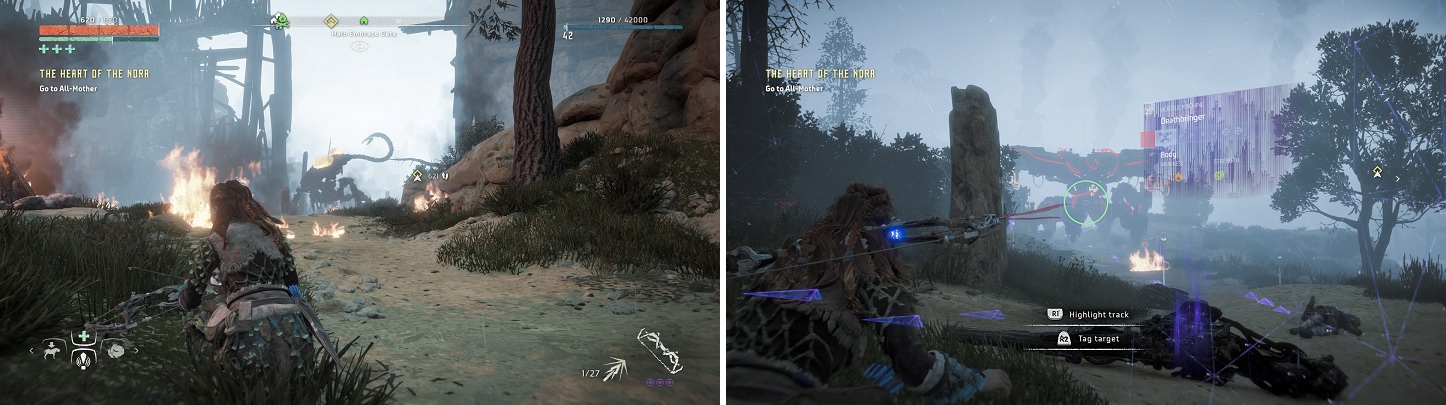
The Embrace will be overrun by corrupted machines (left), including Deathbringers (right).
Once you arrive at Mother’s Watch, there will be two Corruptors and Eclipse hanging out there. You should be able to pull the Corruptors away from the other enemies, although one may run back or off to somewhere else. Take all of the enemies down, then continue up towards All-Mother to find two more Eclipse and a Scrapper. They should be relatively simple to kill and at the top, a Corrupted Thunderjaw is waiting, along with more Eclipse. As soon as you try to attack it, a cutscene will occur and a full scale battle will begin with the Nora and the Eclipse.
Somehow, you’re teleported close to the door that leads into All-Mother and this battle is even easier than normal Thunderjaws. There are two reasons for this, one being that corrupted machines are weak to fire. The other reason is that for some odd reason, the Thunderjaw tends to stay away from trying to melee you, especially if you stick close to the campfire, which is indestructible. The first thing you should do is use Tearblast Arrows to knock off the disc launchers, as they are probably the only thing that can hit you while hiding behind the campfire.
So, pelt the Thunderjaw with fire arrows after the disc launchers are off, while also chipping away with precision arrows. When the thing is finally done, clean up any remaining Eclipse that might still be alive, then talk to Varl before heading inside of the mountain. If you didn’t get the Power Cell for the Ancient Armory sidequest on your first visit here, you can now enter this place unrestricted and grab it now. When you’re ready to continue, head to the main room and speak with Teersa. After a little bit of a plot point and a choice concerning Lansra, you’ll be inside of All-Mother.
Inside All-Mother
After going through the first door and down some stairs, look next to those very same stairs to find a Stranded Figure . Head down the hallway and into the first room you find, to get two Datapoints - Chamber B1-001 and [Gestation-39B1] . Back in the main hallway, there will be another Datapoint ( E9B1 Incident Log A ) before the next room, as well as one more inside of the room named [Nursery-E9B1] . Even further down the main hallways will be more Datapoints - [Lesson 57-6-A] , E9B1 Incident Log B , E9B1 Incident Log C , E9B1 Incident Log D , and [Kindergarten-E9B1] . At the end of the hallway, press Triangle to activate a scan that opens the next door.
You will now be in a large circular room, with multiple levels and what look like multiple Datapoints. As you will soon find out, all of the Datapoint marks on your radar are the same exact one, Welcome to the Lyceum , all of which are corrupt and only play a few seconds. You only need to view one to mark it in your Notebook, so you can safely ignore the rest if you want. To continue, from where you entered the room, go down both flights of stairs and up the other two opposite of you. Enter the room and scan the Operations Log Datapoint by the window, then the other one ( Gaia’s Dying Plea ) in the middle of the room to learn some more story.
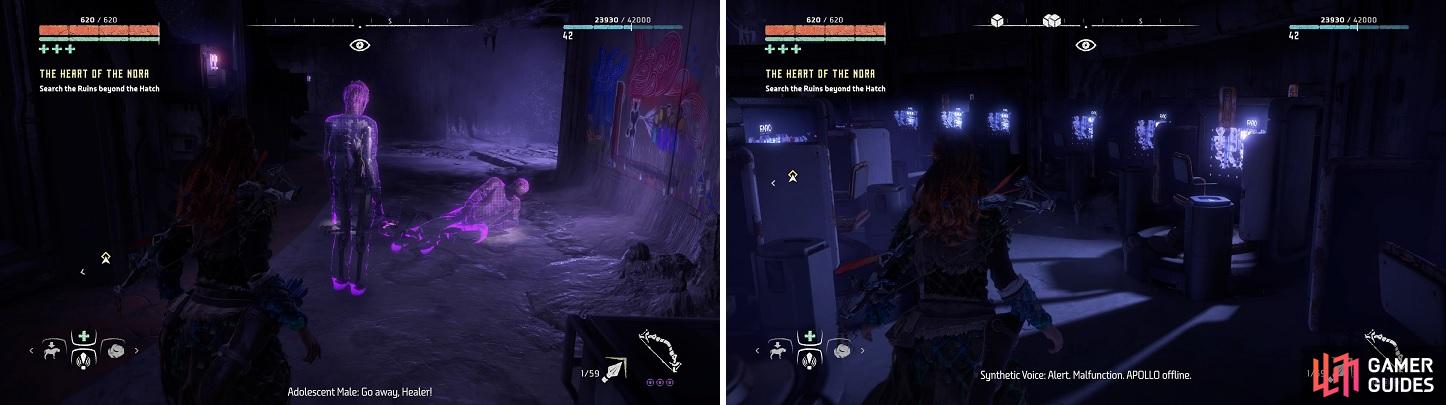
You will find some informative Datapoints inside of All-Mother (left), although not all of them are working as intended (right).
That’s about all there is to do here in this area, so look for the previously locked door in the room to come to an elevator shaft. Use the pipes and ladder in here to climb up a floor and reach the entrance/exit. You’ll be back with the Nora, who are a little too set in their rituals and a bit quick to worship Aloy. That’ll bring an end to this quest. Note that you can talk to Teersa here, before leaving, to learn the reasoning behind Rost being an outcast.
| Objective | Reward |
|---|---|
| For saving the Nora from the Eclipse | 12,500 XP / +1 Skill Points |


 Sign up
No Comments