
Fly to Nive Island, which is on the eastern side of the world, and enter Nive Harbor. Talk to the NPC that is walking around near the entrance/exit, with Endir in your party, to receive a letter that talks about some altars. There are three altars and they must be visited in the correct order, starting with Serendale. These altars are the square stone structure with four pillars that you’ve seen while adventuring.
To get to the altar in Serendale, cross the northern bridge and go north and then east to find it. There will be a short scene and the Nameless Spritnite will change. The next altar is on Morbrise Mountain, and is pretty easy to find, as you will find it just going through the area. The final altar is located inside Hymncott Forest, which is on the island south of Nive Island. Note that there are King Pengys on the way to the altar, so come prepared to take them on.

You might recall these altars when going through these areas before (left). You’ll have to fight through some King Pengys to get the final altar (right).
There will be a letter at the final altar, which says to meet the person sending you on this quest on an island in the southern part of the world. The island in question is called Craigholm Island and can easily be found by following the southern coast of the mainland; it’s the island with a wooden cottage on it. Go to the house and you will meet up with a familiar face, Hapsper! After you talk to him inside of the house, it’ll be time for a one-on-one battle with him.
BOSS - Hapsper
Being one-on-one, this battle can be a tough challenge and it’s highly recommended that Endir is around level 50 or so. You will want a few Command Spritnite equipped to help ease the pain of the fight, notably Aura, Battlecry and Radiance. Support Spritnite that will help are Returner, Megalith, Enigma and Avenger; this will cause you to regain HP and MP whenever you attack, with MP being returned when you take damage, as well as Hapsper getting damage whenever he attacks. Commanding Wave is another great one, as it increases your ATB speed.
Since it’s only you in the battle, there’s no need to talk about whether an attack hits one character or all of them. Of all of his attacks, Finishing Blow and Back Slash are probably the most dangerous, as they deal over 200 damage each. If you’re at your normal health without any food, then you’re going to be in a world of trouble, so it’s a good idea to pop a Purikka Cobbler Salad before you talk to Hapsper for the first time. Also, considering all of his attacks are physical, you can also throw on an Iron Vow Spritnite to boost your defense.
The biggest problem that could happen is that Hapsper increases his own attack with Howl, which is around 50% (going by damage numbers). So, a Back Slash that does 260 would now do 390, and that’s a big problem. Should he use Howl, the best thing to do is just wait it out until the buff wears off, healing after every turn, either with Aura or with Hi-Potions. Should he whiff an attack, you can use that opportunity to attack with Radiance. Lastly, be aware that Hapsper could do Death Throes as his final attack, which could do close to 500 damage with his attack boosted.
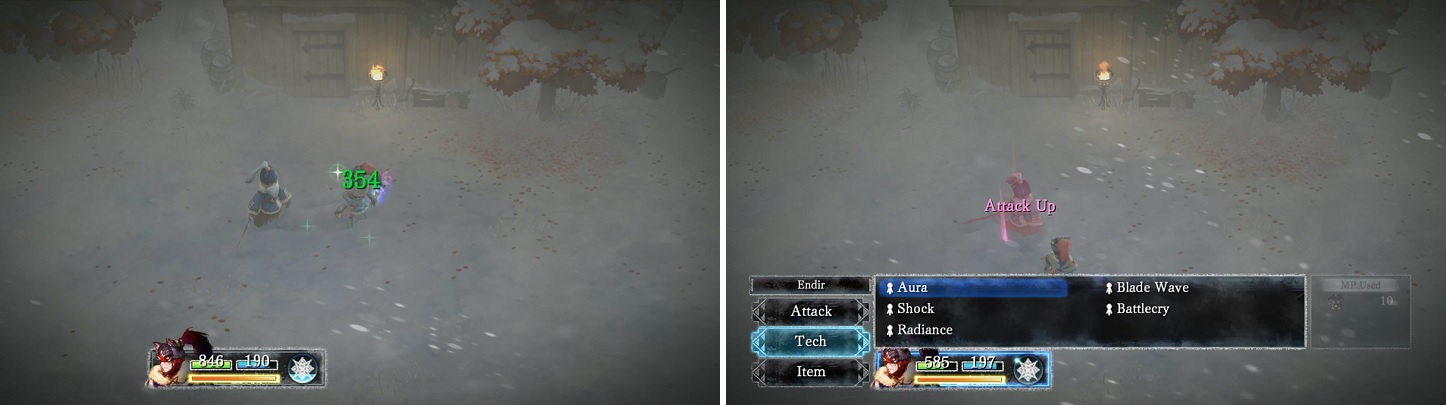
Aura is indispensable in this battle (left). Be careful whenever Hapsper boosts his own attack (right).
After finishing off Hapsper, you will get the Genesis Spritnite and there will be more scenes that play out. Eventually, you will be on your merry way and can go back to your airship to do whatever you want.


 Sign up
No Comments