
Ithees Ruins
As already mentioned, this dungeon is the longest one in the game so far, so if you need supplies, head back to town and get some. Anyways, once you take the teleporter, follow the path until you come to a pedestal on the left side of a small area. Hit the switch on the pedestal to make the bridge to the left turn, then follow the path around to the bottom, where the other pedestal is located. Hit this one to gain access to the chest, which contains an Aureole Chakram .
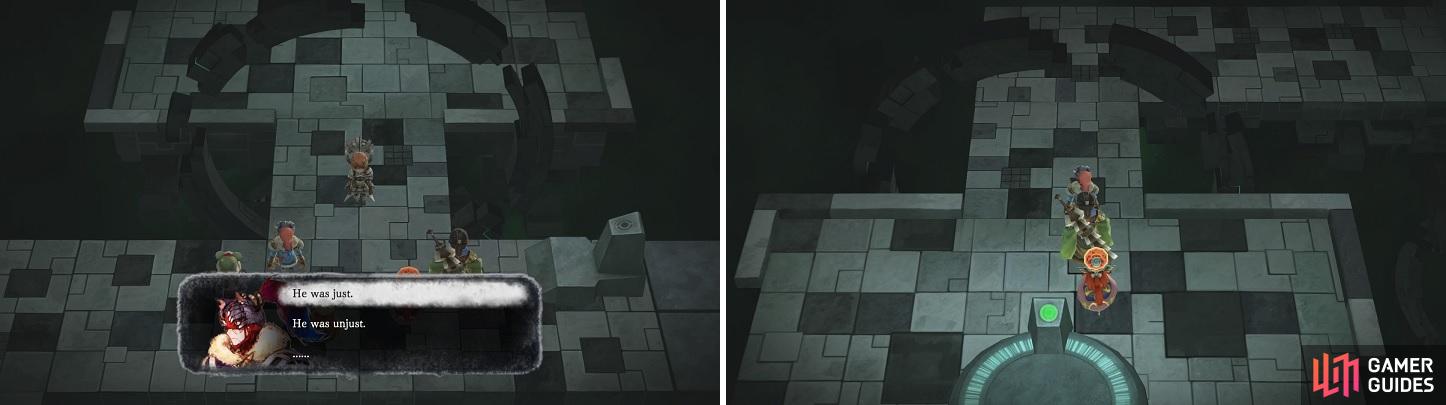
Head back south and take the stairs to the west, then go straight south to find another chest ( Hi-Ether x4 ). Return to the east side of the turning bridge and go north this time, going to the northeast corner of the map to find one more chest ( Inferno Eye Talisman ). Now, follow the other path all the way around until you get to the path with the circling section, where you’ll be asked a question from a mysterious voice.
The answer to the first question is “He was unjust.” This will allow you access to the second floor, where you can continue your journey. Hit the pedestal to be able to go north, then hit the switch across the bridge to make it go horizontal. If you head north, you will find a chest on the west side of the small area ( Cabin x3 ). Go west and south to cross that bridge now, heading all the way east and then north, crossing another bridge to gain access to a chest ( Alfadir Spritnite ).
You probably saw the pedestal as you passed it, so go and press the switch, then pass the bridge to the north of it. This path will eventually lead to another question that you need to answer ( “Don’t eliminate her” ). Ascend to the third floor and follow the path, ignoring the first pedestal and press the second one you come across. Return to hit the first switch and go straight north to end up finding a chest ( Shining Oracle Talisman ).
You have to answer correctly to the questions in this dungeon, or you will be sent back to the beginning of the floor you’re on.
Go west in the previous small area, crossing the bridge there and you will come upon another pedestal to the south. This extends a bridge that leads back to the beginning of the floor (there’s a shortcut on all of the floors). There’s another pedestal up the stairs to the west, but ignore it and follow the path to the south to end up finding another chest ( Athenian Water x5 ).
Now cross that bridge without touching the pedestal to find one more, which puts together a bridge that will be needed in a short bit. Hit the previously mentioned switch to turn the pathway to the north, then cross it and you’ll come upon the third question (answer is “Aeterna” ). You can now go to the fourth, and final, floor. At the first split, go straight north and open the chest there for a new weapon for Endir ( Mechadeus ), then return and go east at the previous split.
Ignore the first and second pedestals, hitting the third, then hit the other two to make a bridge that will go to the east. As soon as you pass the bridge, go south to find another chest, which contains the Transcendence Spritnite for Julienne. Follow the other path to eventually reach the fourth, and final, question ( “No” ). Climb up to the next floor to find a boss waiting for you!
BOSS - Rhydderch
Rhydderch can be a tough boss, due to his ability to summon other enemies during the battle, as well as because of a certain ability during the latter portion. At the beginning of the fight, he will have two Summoniels and two Summoned Deermons near him. The Deermon can use Lightning on a single character, dealing around 60-70 damage, while the Summoniels can use Feather Attack, hitting multiple times for a chance of 20 or so damage a hit.
Since five on three is a bit much, you will want to get rid of the other enemies quickly. If you’re using Endir and Nidr, then a Blowbeat should be able to take them out quickly. If not, use any other techs that can hit multiple enemies at once; they are fairly close together, so even Cyclone will work. Note that Rhydderch can spawn more throughout the battle, but once he starts using Spell Stream, he won’t do that anymore.
On to Rhydderch, he is mainly a spellcaster and his spells can definitely hurt. If you’ve used a Purikka Cobbler Salad, the extra HP will definitely help. Hopefully he has some status ailments on him if you used Blowbeat before, as this will give you some time to apply some buffs of your own. Almost all of his spells hit for 250+ damage, which includes Demi (can hit more than one character), Flare and Holy Light.
He also has access to Drain, hitting for around 200 and half of that healing his HP, and Osmose, which drains your precious MP. Usually around 50% health or so, he will begin each of his turns with Spell Stream, allowing Rhydderch to attack twice in that round. This is a big problem if you don’t have the sufficient HP to survive them, so hopefully you have a good stock of Athenian Waters. You better hope you are lucky and he doesn’t target the same character with two of his more damaging spells.
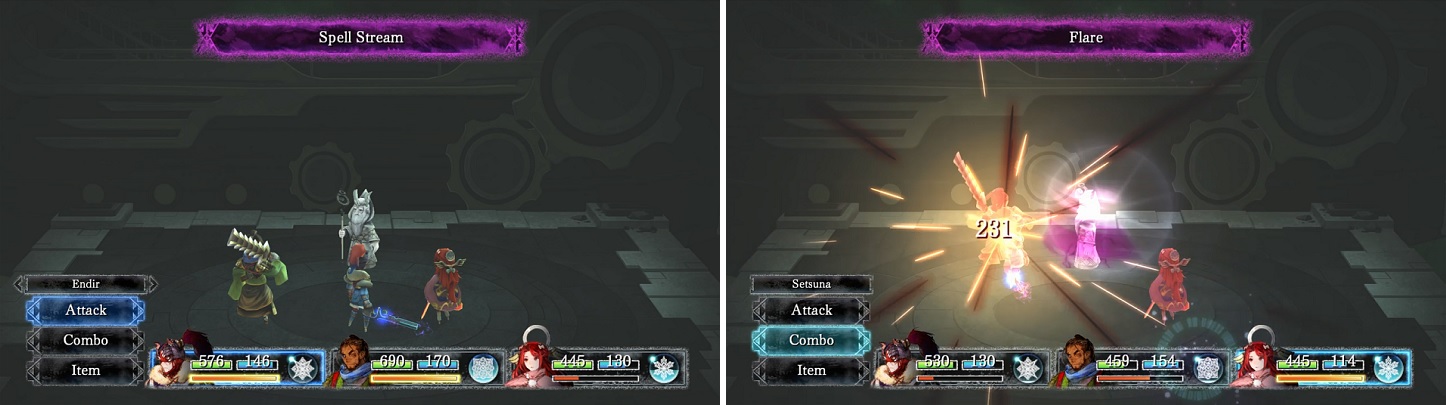
Spell Stream (left) allows Rhydderch to attack twice in one turn, where he could do something like using Flare twice (right).
Rhydderch also seems to gain a new attack here, called Stop, which will completely halt everything for the character inflicted; cure this with a Panacea. Setsuna, despite her low HP, is useful in this fight because of Ribbon Chakram, which nullifies all status ailments, so Stop won’t work on her. If you have Endir in this battle, you can save his SP for Wall to use Momentum on, since it will affect the entire party. The one tip that can help is to make sure your HP is always topped off, so if someone dies, make sure the other characters are healed before you revive the downed person.
Rhydderch recognizes your strength and hands over the World Key, as well as the airship behind him. Once you finally gain control, get on the ship and you will be able to name it. After that, you will take off and can finally reach the Last Lands, but before you do that, it’s time to go around the world and do some exploring.

 Sign up
No Comments