
Back on the world map, you will find yourself in the Fridging Mountain Range area. There isn’t much to do here, so go east and then north to find the next town, Gatherington. After watching the scene near the entrance, you’re free to explore the town, so do the usual selling of materials and update your Spritnite and equipment. When you’re ready to continue, exit the north side of the village and enter the Fridging Caves just to the north.
Fridging Caves
| Enemies |
|---|
| Bowly-Poly, **Southpaw*** , Uppa |
*Southpaw is a Spritnite-Eaten monster
There’s not much you can do in the caves, but you’re free to explore the area you’re in right now. Just follow the path ahead of you and just past the set of two Uppa enemies, you will see a chest on a tiny path to your left ( Magilock Dagger ). At the end of the cave, you’ll come to a wall that has been sealed by someone, so return to the village and seek out the old woman you met before.
If you follow the marked steps as they go east, you will come to a path that leads to her house. Enter the house and not only will she help you out with Julienne, but she also talks about the seal in the Fridging Caves. It’s time to go back to the caves, but before you head out, make sure you have a Purikka Cobbler Salad, as you will want to use one against the upcoming boss.
Return to the caves and back to the sealed wall, where the pendant from Sayagi will open it, leading further inside. In the first area, go south to come to a big split, where you’ll find a chest to the north ( Battlefield Memories Talisman ). Return and go east this time, where there will be a locked chest on the eastern path, so ignore it and continue to the south.
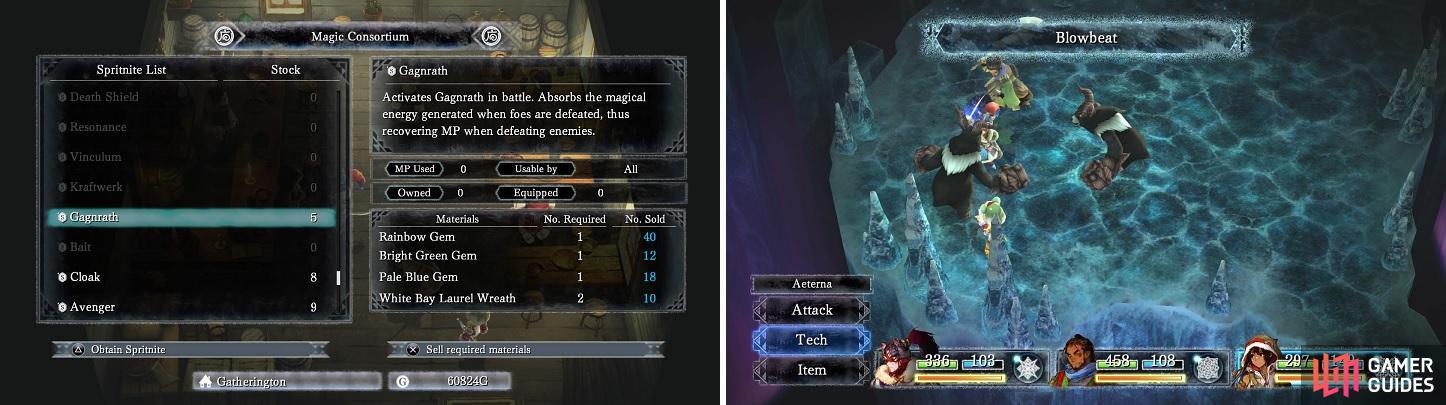
The Gagnrath Spritnite (left) will replenish MP whenever you kill enemies, allowing you to use something like Blowbeat (right) without worries.
You won’t be able to move to the east because of the barrier, so keep going the only way you can for now to come to a save point. If you do have a Purikka Cobbler Salad like mentioned above, then use it on your party, heal up and save your game, as you’re going to be fighting a pretty tough boss.
BOSS - Aurorean Tiger
This thing is not only huge, but it hits fast and hard, with each of its moves being multiple hits. The strategy outlined below will use the party of Endir, Nidr and Aeterna. Aeterna needs Protect and any Techs that add status ailments, Endir should have Wall, Aura and Shock (for Blowbeat), and Nidr can have Provoke and possibly Counter (in case things go awry).
The boss has three main attacks, with each one varying in hits. Gale Rush seems to be the most dangerous, as it can hit up to eight times, seemingly doing a total of about 260-270 damage (depending on character and without any buffs). Scorching Rush will add fire-elemental damage to his attacks for a short time, following up with a 6-hit combo. Glacial Rush is probably the attack you will want to see the most, as it only does two hits, as well as adding water-elemental damage to his attacks for a short time.
If you’re using the party above, then you will want to immediately cast Protect with Aeterna on her first turn, which will help with survivability. Since you’re only healing is with Aura (Endir), you’ll want to be careful with his turns so you don’t accidentally waste one, but you can always have the back-up plan of using items to heal if his turn isn’t ready. Note that Aeterna and Nidr have a combo called Phantasm Break (Dream Shatterer and Aerial Strike) that can lower attack for a short while.
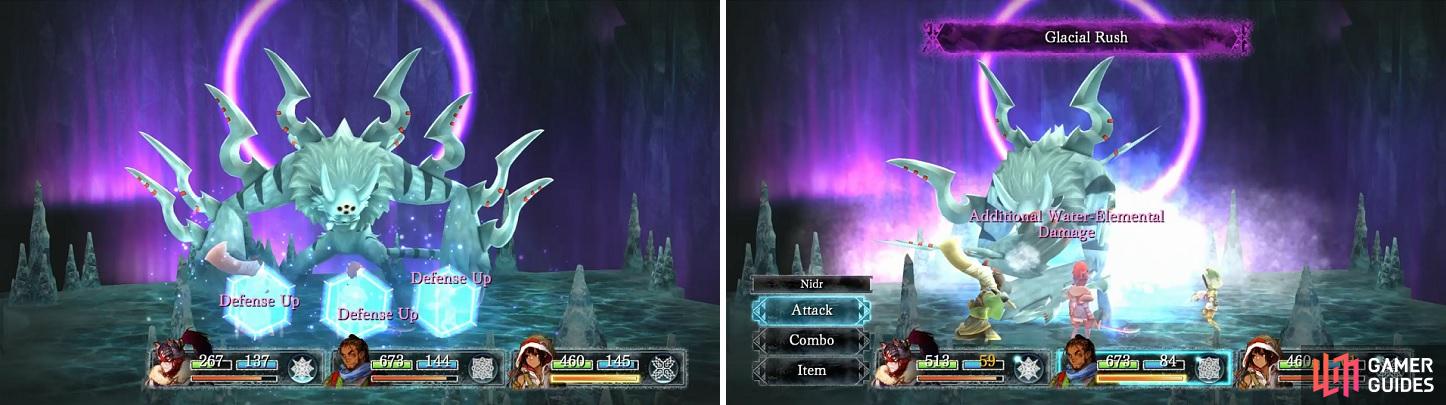
Aeterna’s Protect is very useful in this fight (left). Glacial Rush is the boss’ weakest move, since it only hits twice (right).
With the battle finally over, the spatial distortions (the big purple barrier) are now gone. Return to the save point and heal up, then head east from there to continue through the dungeon. After encountering the three Bowly-Poly enemies, go to the west to find a chest ( Stop command Spritnite ). As you move to the east, be careful of the lone enemy that looks like an Uppa, as it is really the Southpaw, a Spritnite-Eaten monster, which is quite powerful. Squeeze past it without fighting and just past that will be the exit to the world map.
Now that the barrier is gone, you can go south and then west to find Gatherington, where you can restock on items, sell whatever materials you’ve gathered from enemies and do anything else you want. When you’re ready, go back to where you exited the cave and head straight south to come to the entrance to Fridging Heights.
Fridging Heights
| Enemies |
|---|
| Armonite, Fiery Puff-Puff, Galoompa, **Jewelly*** , Hoot-Hoot |
*Jewelly is a Spritnite-Eaten monster
From the entrance, cross the bridge to your east and head up the hill, where it looks like there’s a split in the path. The road to the east is just a short dead end, so continue north and go east here to find a small area with a chest ( Alchemian Blade ). Return to the previous spot and head west this time, crossing another bridge. As you go north from here, you’ll spot one more bridge, but don’t cross it yet.
Instead, go north to find another chest, containing Cabin x2 . Eventually, you will come to a crossroad, with the dungeon continuing by going north, so take that path (south leads to a shortcut back to beginning section and east has a locked chest). This will lead to the exit, allowing you to keep going. In the next area, you will come across the next iteration of the annoying Puff-Puffs, who are the seal-like enemies that explode when you defeat them. Remember to try and wait until they are at a distance before finishing them off.
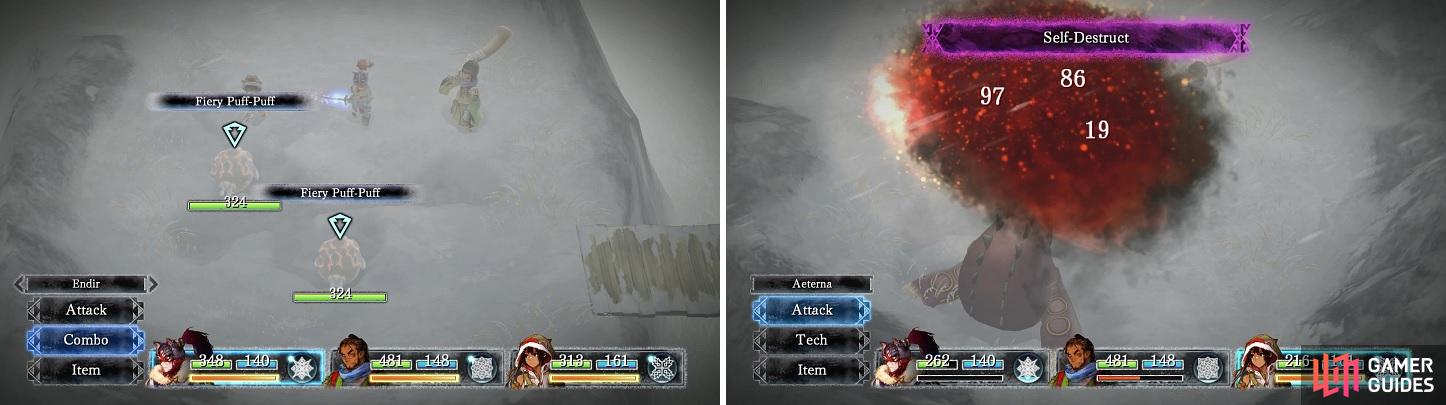
The annoying Puff-Puffs have evolved, so be wary of their positioning when they die, so you don’t take damage from their Self-Destruct.
The path is fairly linear here, so keep following it until you come to a split, with one way going north and a bridge leading west. Cross the bridge going west to find a chest ( World Tree Staff ), then continue north to find another chest ( Ancient Beast Eye Talisman ). The path going north allows you to continue going through the mountain. Keep going to the east and you’ll come to a save point and the exit, which will lead to the Last Lands, as well as a cutscene.

 Sign up
No Comments