
Twallusk Mountain
| Enemies |
|---|
| Hoppy, **Silvara*** , Versa |
*Silvara is a Spritnite-Eaten Monster
When you first come here, go north and then west at the first split. If you go north at the first fork, then you will see three enemies that look similar to the Versa. These are actually Silvara and are Spritnite-Eaten monsters, who will likely wipe the floor with your characters at this point in the game. They have a nasty attack that not only does a lot of damage, but it can also freeze your characters. If all of your characters are frozen, then that equals game over.
As you continue west, you will come upon a chest with a Cabin in it, which is similar to the Tents, but this one completely heals HP and MP. Go through the hidden passage and there will be a short scene where Endir goes off on his own. Once you meet back up with the rest of the party, head south to continue through the mountain. After passing through the next hidden passage, you will find another chest, containing the Archangelic Tear Talisman . The rest of the path through the mountain is linear and you will eventually come upon the exit.
Pass over the bridge and you will see a huge tower ahead of you. Although you can’t do anything in it right now, due to the door being locked, entering the Apparth Ruins will net you the Realm of Sealed Hope trophy . Continue south until you happen upon the Floeberg Waters.
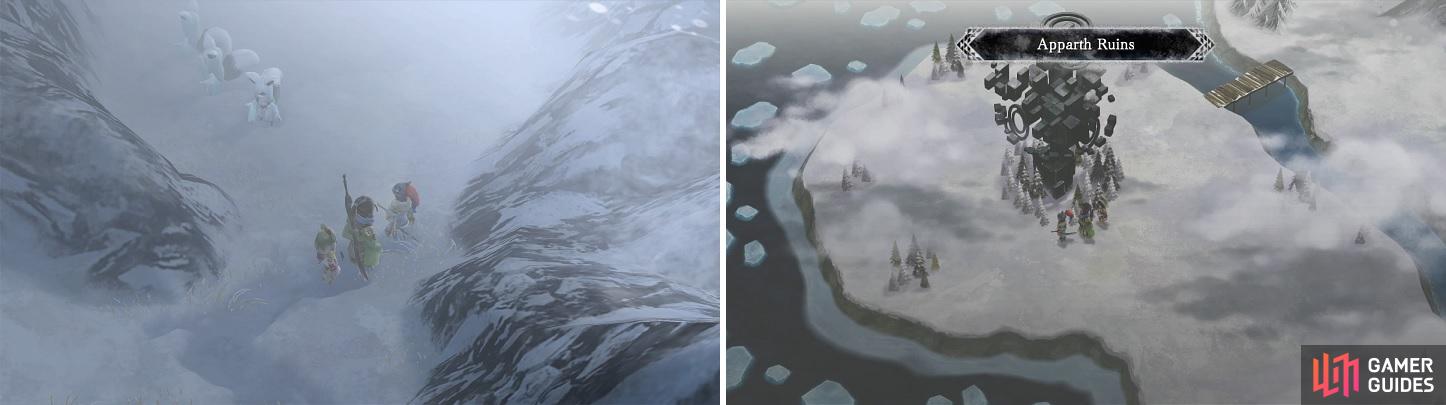
Be careful of the Silvara on Twallusk Mountain (left). The Apparth Ruins cannot be entered at this point in the game (right).
Floeberg Waters
| Enemies |
|---|
| Baloompa, Spikoon |
Not long into this area, you will come upon a short scene where you question whether or not you should cross the ice. The party suggests that you don’t do it and trek to a nearby village to see if there’s a guide who can help you. Keep moving to the south and you’ll come across a chest in the second large area past the cutscene you just saw ( Valiant Poem support Spritnite ). Continue to the exit and world map, finding some strange barrier to your south, so head to Royburg to find it conspicuously empty.
There isn’t anyone in the town by the looks of it, so explore the place to find a chest behind the big house towards the middle ( Hi-Ether x3 ). A little southeast of the big house, you’ll find a lone boy who is surrounded by monsters. Defeat them all and the boy mentions that everyone’s been kidnapped and taken to a nearby cave. There’s nothing else in the town, so take the eastern exit and find Blackwhelm Cave.
Blackwhelm Cave
| Enemies |
|---|
| Baloompa, **Fallout Shell*** , Prickly Puff-Puff, Spikoon |
*Fallout Shell is a Spritnite-Eaten Monster
This place can be quite dangerous for your characters, as the enemies are somewhat stronger from previous ones and there are the annoying Self-Destruct Puff-Puffs here (upgraded ones). Follow the path until you come upon a scene, where there will be some monsters near a person wrapped up in a cocoon. After defeating the enemies and saving the person, go north to find a chest ( Fellowship Oath Talisman ). To continue, head south from where you found the cocoon.
When you go up a slight incline, there will be another chest on the southern side of this small area, which contains the Fire II command Spritnite for Kir. Now, go north to encounter more monsters and another cocoon, so do the same thing as before to rescue the person. The path is linear from here on out and you’ll encounter another person trapped in a cocoon. Upon freeing her, keep going to the deepest depths of the cave to find a save point. Heal up, save your game and get ready for a boss battle.
BOSS - Carboceros Beetle
Despite not having a lot of health, this boss can be a little bit annoying. That’s because some of its attacks exist solely to cause status ailments, making it so you can’t use some of your basic abilities. Tackle is a simple physical attack against one of your party members, dealing around 75-80 damage. Poison Needle not only inflicts Sap, but it will also inflict Momentum Lock, so you won’t be able to use your SP to enhance your attacks.
Sticky Thread can cause Paralysis, meaning you won’t be able to use any of your Techs or Combos, as well as Momentum Lock (if you didn’t already have it from Poison Needle). As already mentioned, the boss doesn’t have much health and as you can see, the only attack it has that does any direct damage is Tackle, which only hits one character. It seems impervious to fire, so bringing Kir along might not be a good idea.
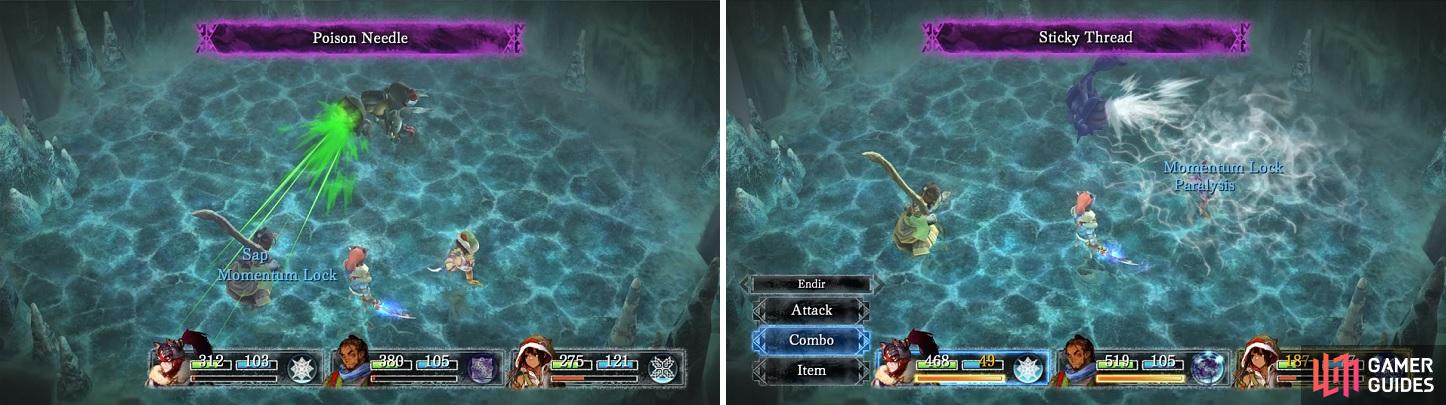
The boss’ attacks can inflict many status ailments, making it annoying to get your own attacks in on it.
After being victorious over the boss, follow the monster into the next room and watch the following scenes. Once they are over, it’s time to retrace your steps and exit the cave, making sure to drop off the cliffs where applicable. Near the entrance, you will encounter the leader of the knighthood from Royburg, Julienne. Return to Royburg after the scene is over and you’ll find it fully populated now, included the usual merchants. There will be new weapons available, and the Magic Consortium NPC is located across the bridge to the south.
In order to continue, go into a house in the northwest to find the scholar you rescued from Blackwhelm Cave. Speak with him and then approach the main house, where you should see a familiar face standing in front of it. Talk to him to trigger another scene with Julienne, which will end up bringing your party back together. It’s time to look for the boy again, but before setting off, go into the pub and speak to the Kind-Looking Lady to get a recipe (Snowbell Mushroom, Sunset Citron, Icicle Kelp, and Lampwort).

 Sign up
No Comments