
This quest can be acquired from Herbalist Kunhuta, who can be found at her home north of Ledetchko. She will inform you that she is unable to help a woman named Drahomira who lives in Ledetchko. After exhausting the dialogue options with Kunhuta she will request that you take 10 poppies with you. Be sure to purchase them from the herbalist before you leave. Go to Drahomira and ask about how you can help. After hearing about the trouble of Alois haunting her, go to his grave in Sasau and pick the flowers from it.
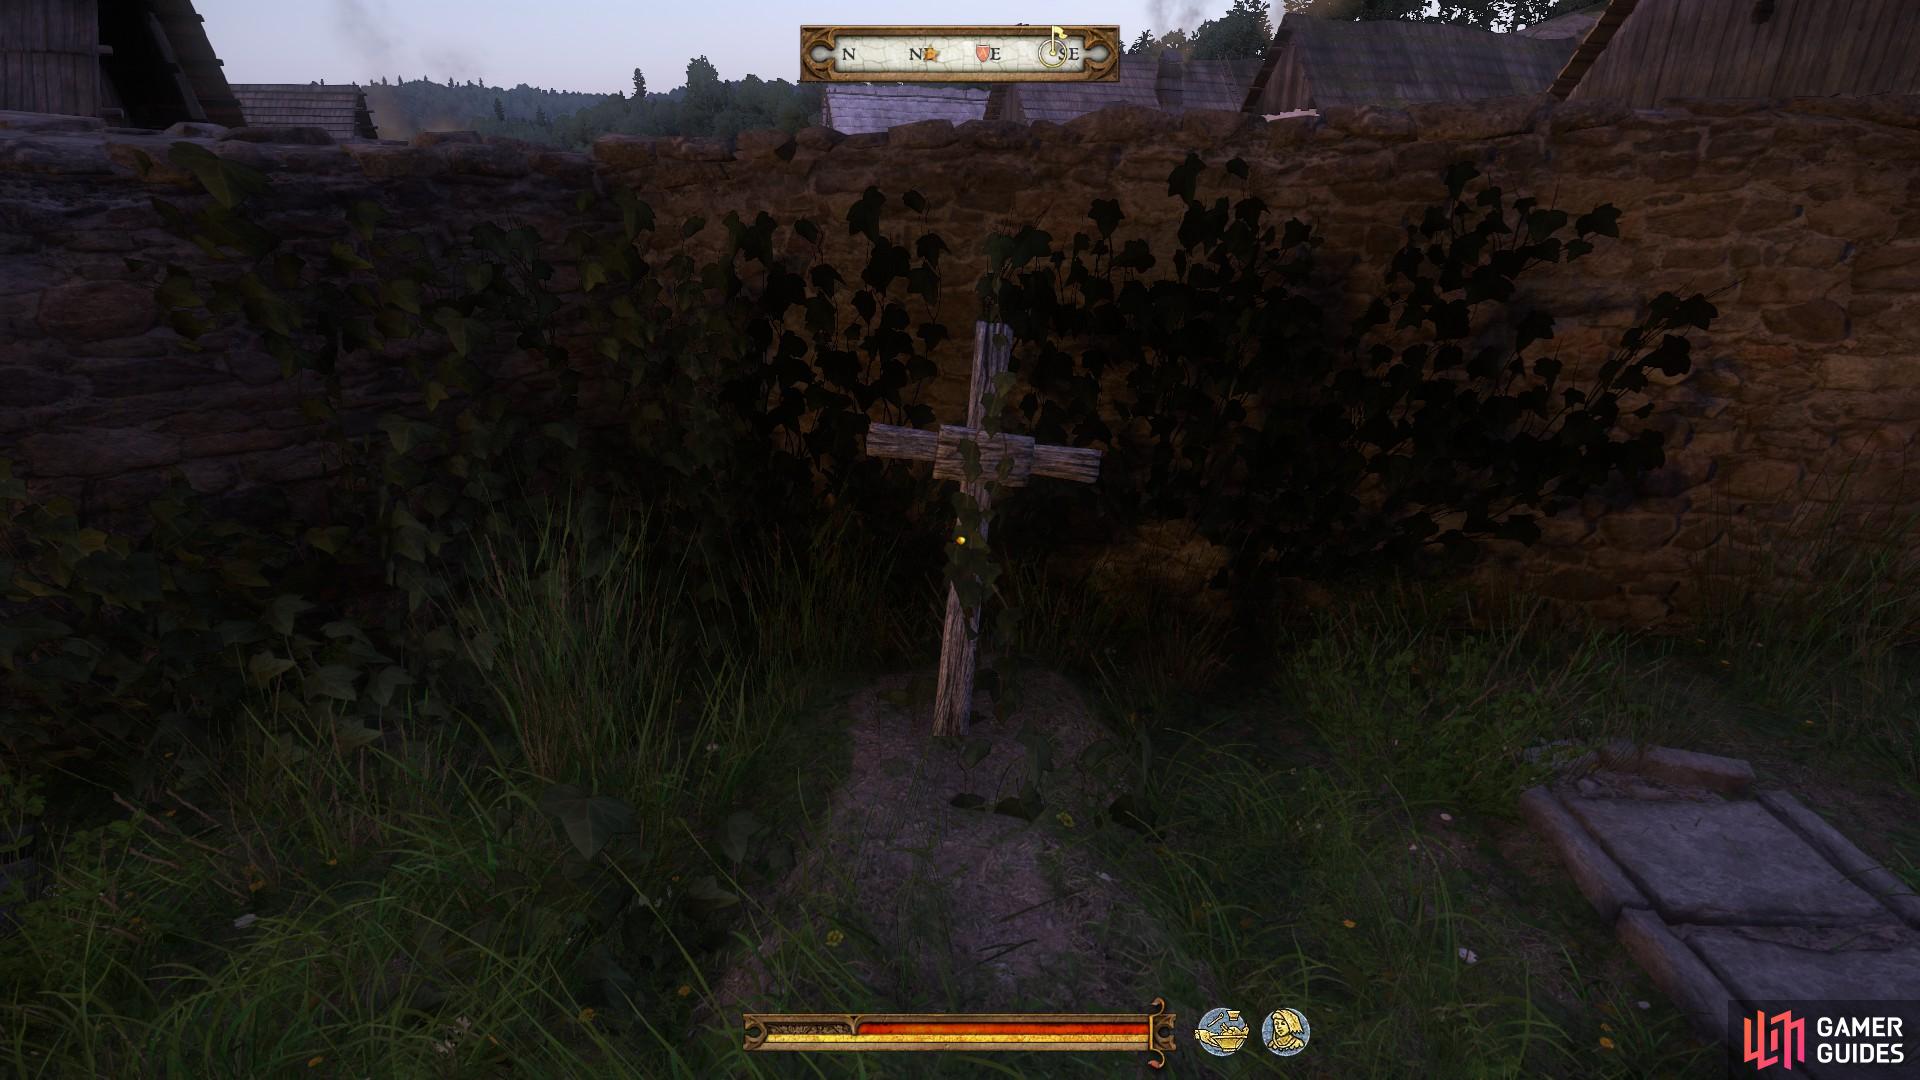
You will find Alois’s grave in the small churchyard in the south of Sasau.
Take the flowers and return to Drahomira to begin the smudging ritual.
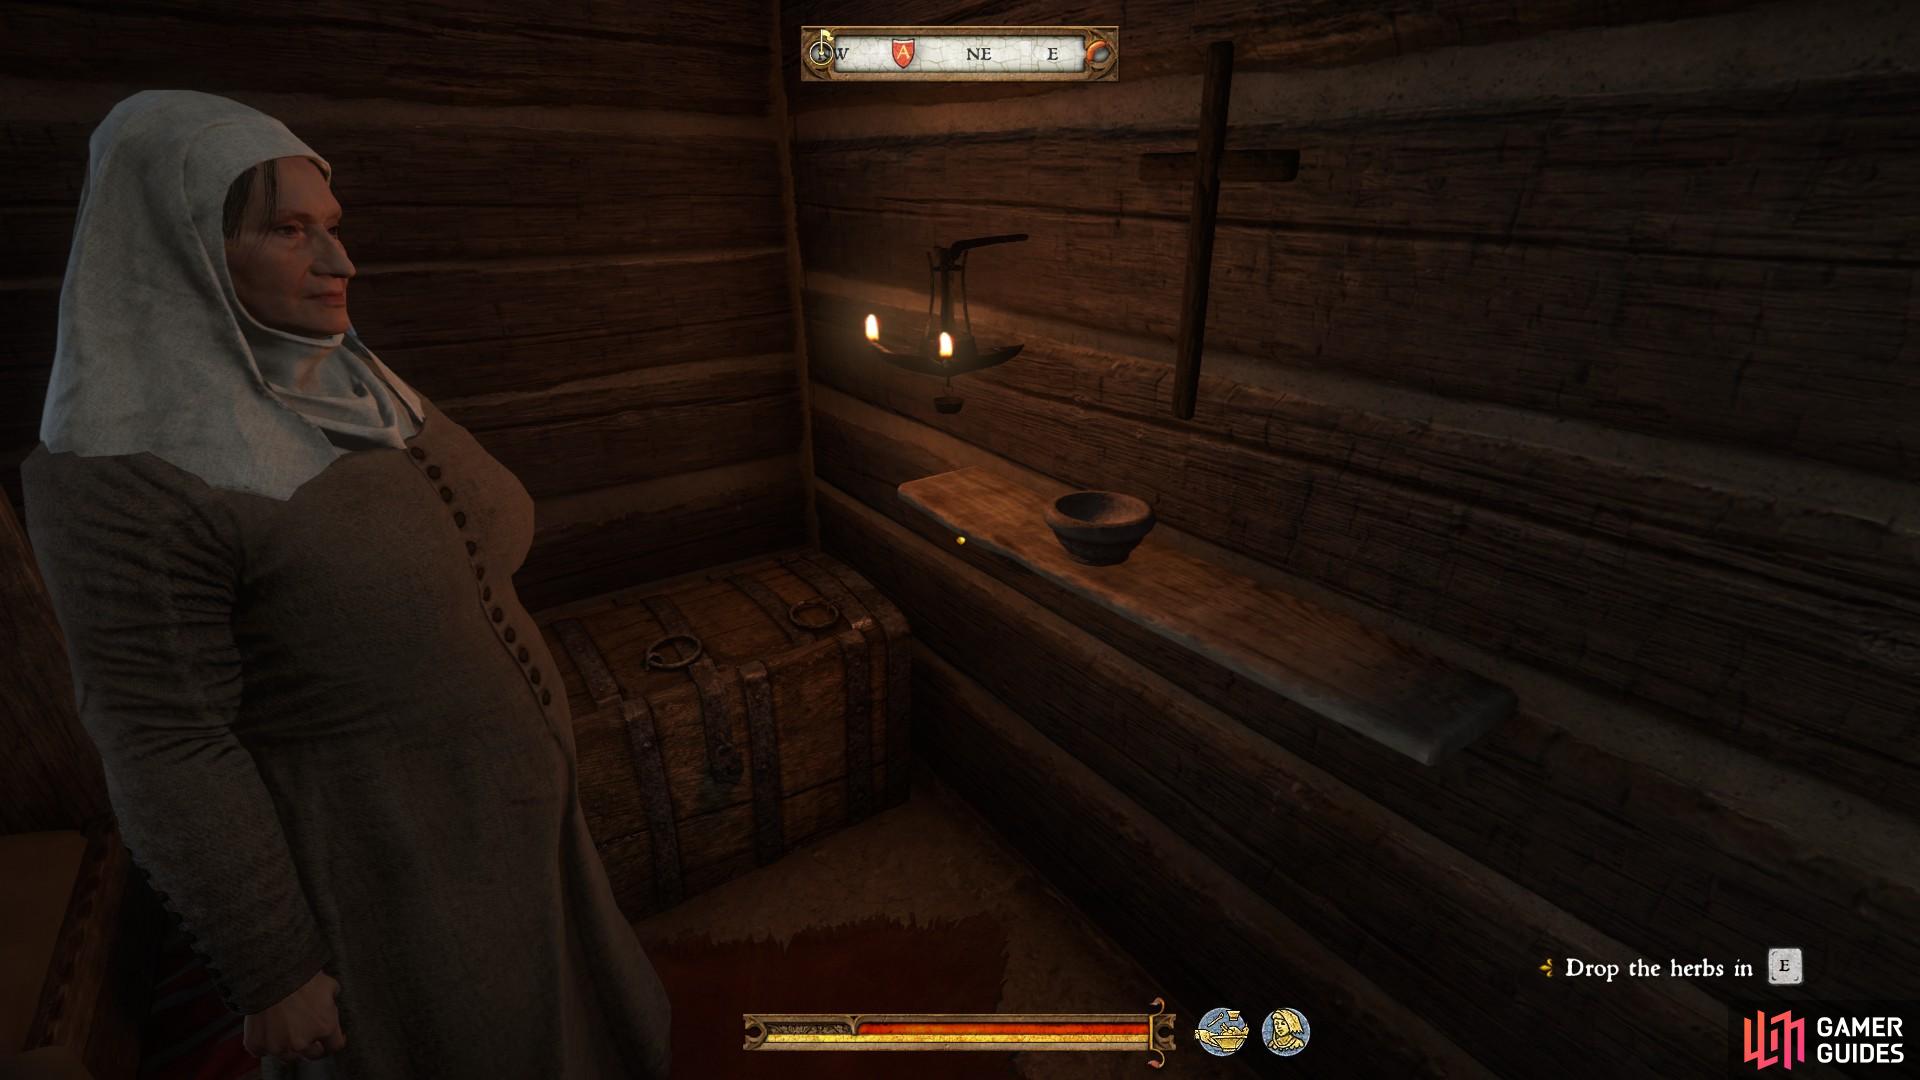
Drop the herbs in the bowl to begin the ritual.
Henry can recite the ritual in either English or Latin. It does not matter which you choose. When he is finished, burn the herbs. You must now wait until the next morning before you can speak with Drahomira to see if it has worked. In the morning, Drahomira will tell you that the ritual did not work and that the only option now is to go to the apothecary in Rattay to ask for advice about banishing ghosts.
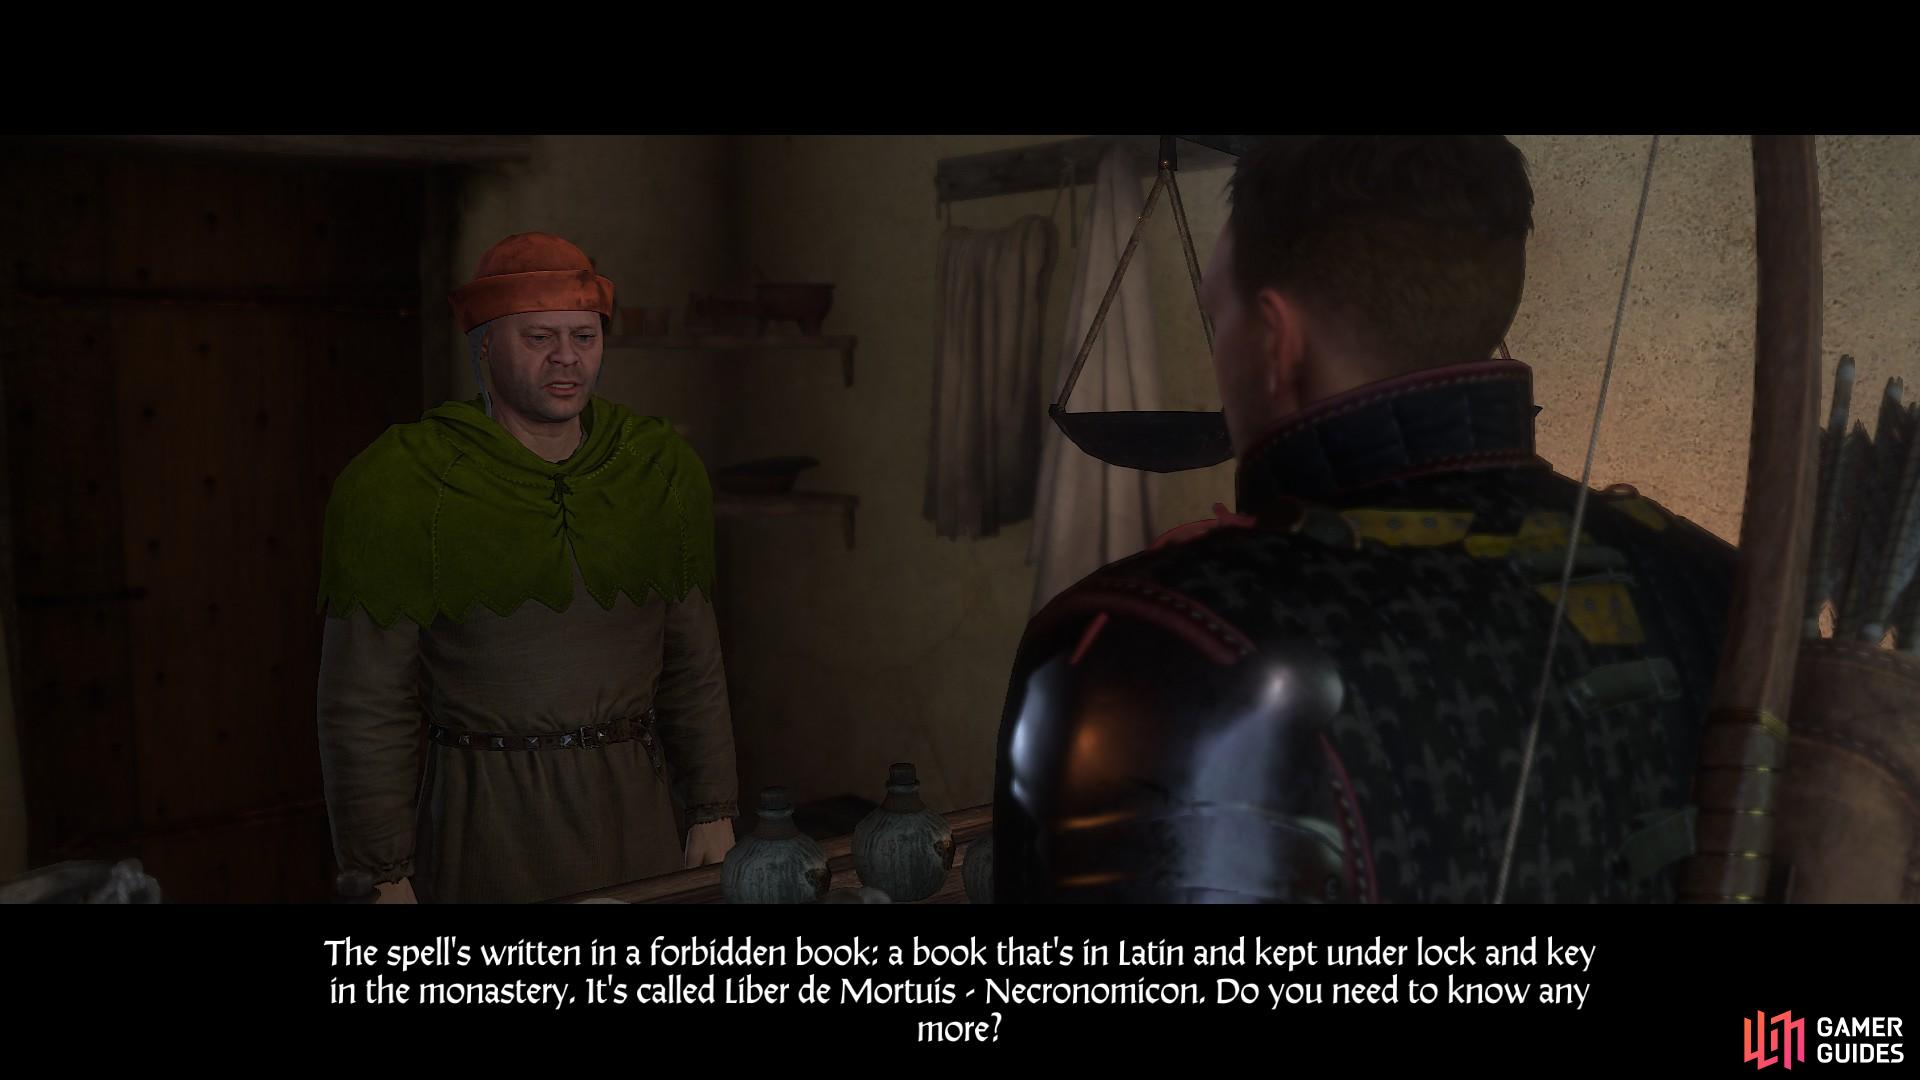
The apothecary in Rattay will inform you that only one spell will work. Unfortunately, the book which contains it - Necronomicon - is under lock and key in the monastery.
You will have to consent to stealing the book from the monastery in the dialogue options. Make your way to the Sasau monastery and wait until night time. The monks go to bed around 11pm, which is the ideal time to enter the monastery.
Before you enter the monastery, remove any items with high noise ratings. Go up the stairs to your left as you enter the courtyard from the main southern entrance to the monastery. Find the door next to the Overseer’s office, directly ahead as you ascend the stairs.
Pick the lock, enter and close the door behind you. From this point you should remain crouched to minimise the chances of being caught. Go through the door to the left as you enter from the stairs, where you will find a small, basic sleeping area. Continue on through the next door to a more luxurious bedroom.
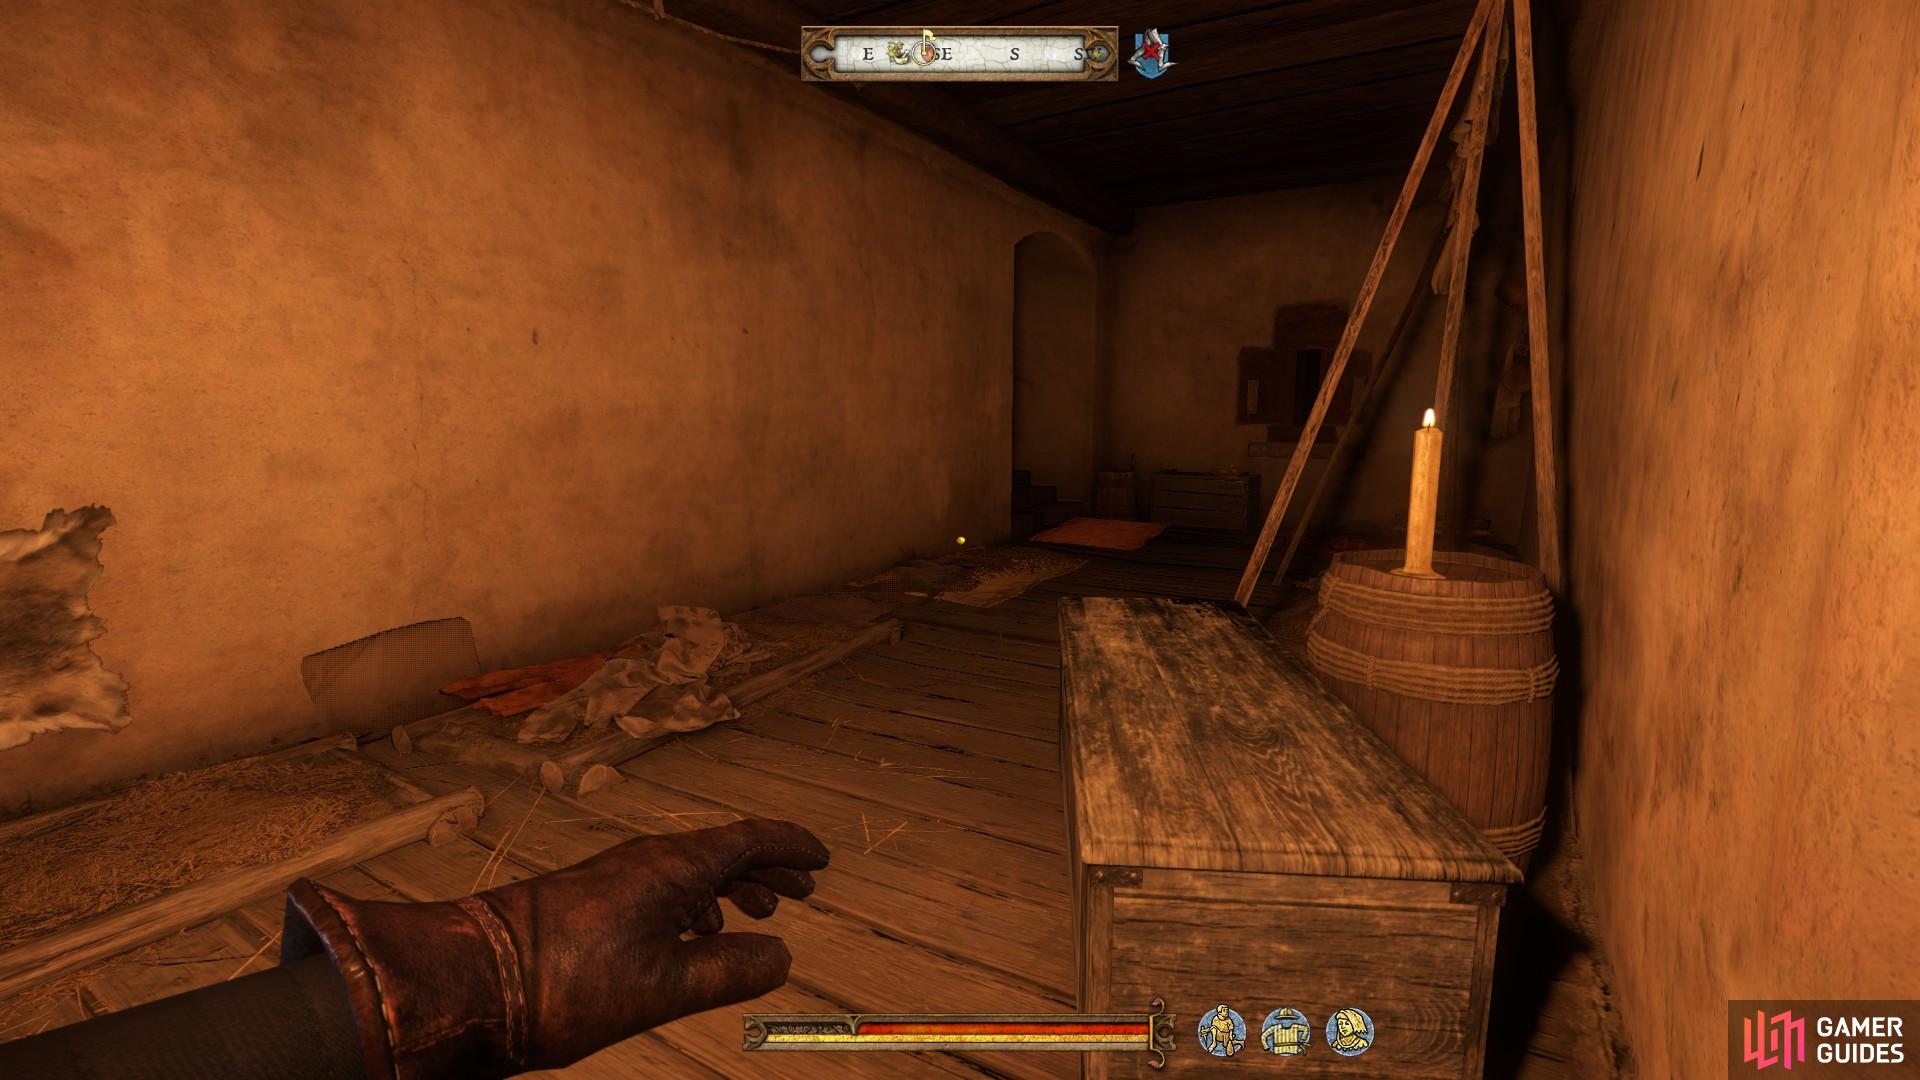
Go through the basic sleeping area to the luxurious bedroom.
In the luxurious bedroom you will find a treasure map. Be sure to pick this up as you may not get another chance. You can then continue on to the next room, where you will find a large table and four chairs. Go to the locked chest in the corner of the room and pick its lock. Inside you will find the key to forbidden books.
Continue on through a storage room and another sleeping area. You will then find the door to the library. Pick its lock and enter the room. Immediately to your left you will see a large cabinet. With the key in hand you will be able to open it and search for Necronomicon I, which can be found on the third shelf from the bottom in the left side of the cabinet.
Once you have the book, leave the monastery the way you came and be wary of any guards that might be patrolling. Take the book back to the apothecary in Rattay and wait three hours for him to find the correct spell. Speak with him again to proceed with the quest. Once he informs you that he has the spell, you can return to Drahomira to let her know.
For the spell to work, you will need to find something that belonged to Alois. Speak with Drahomira about where Lada, Alois’ wife, is buried.
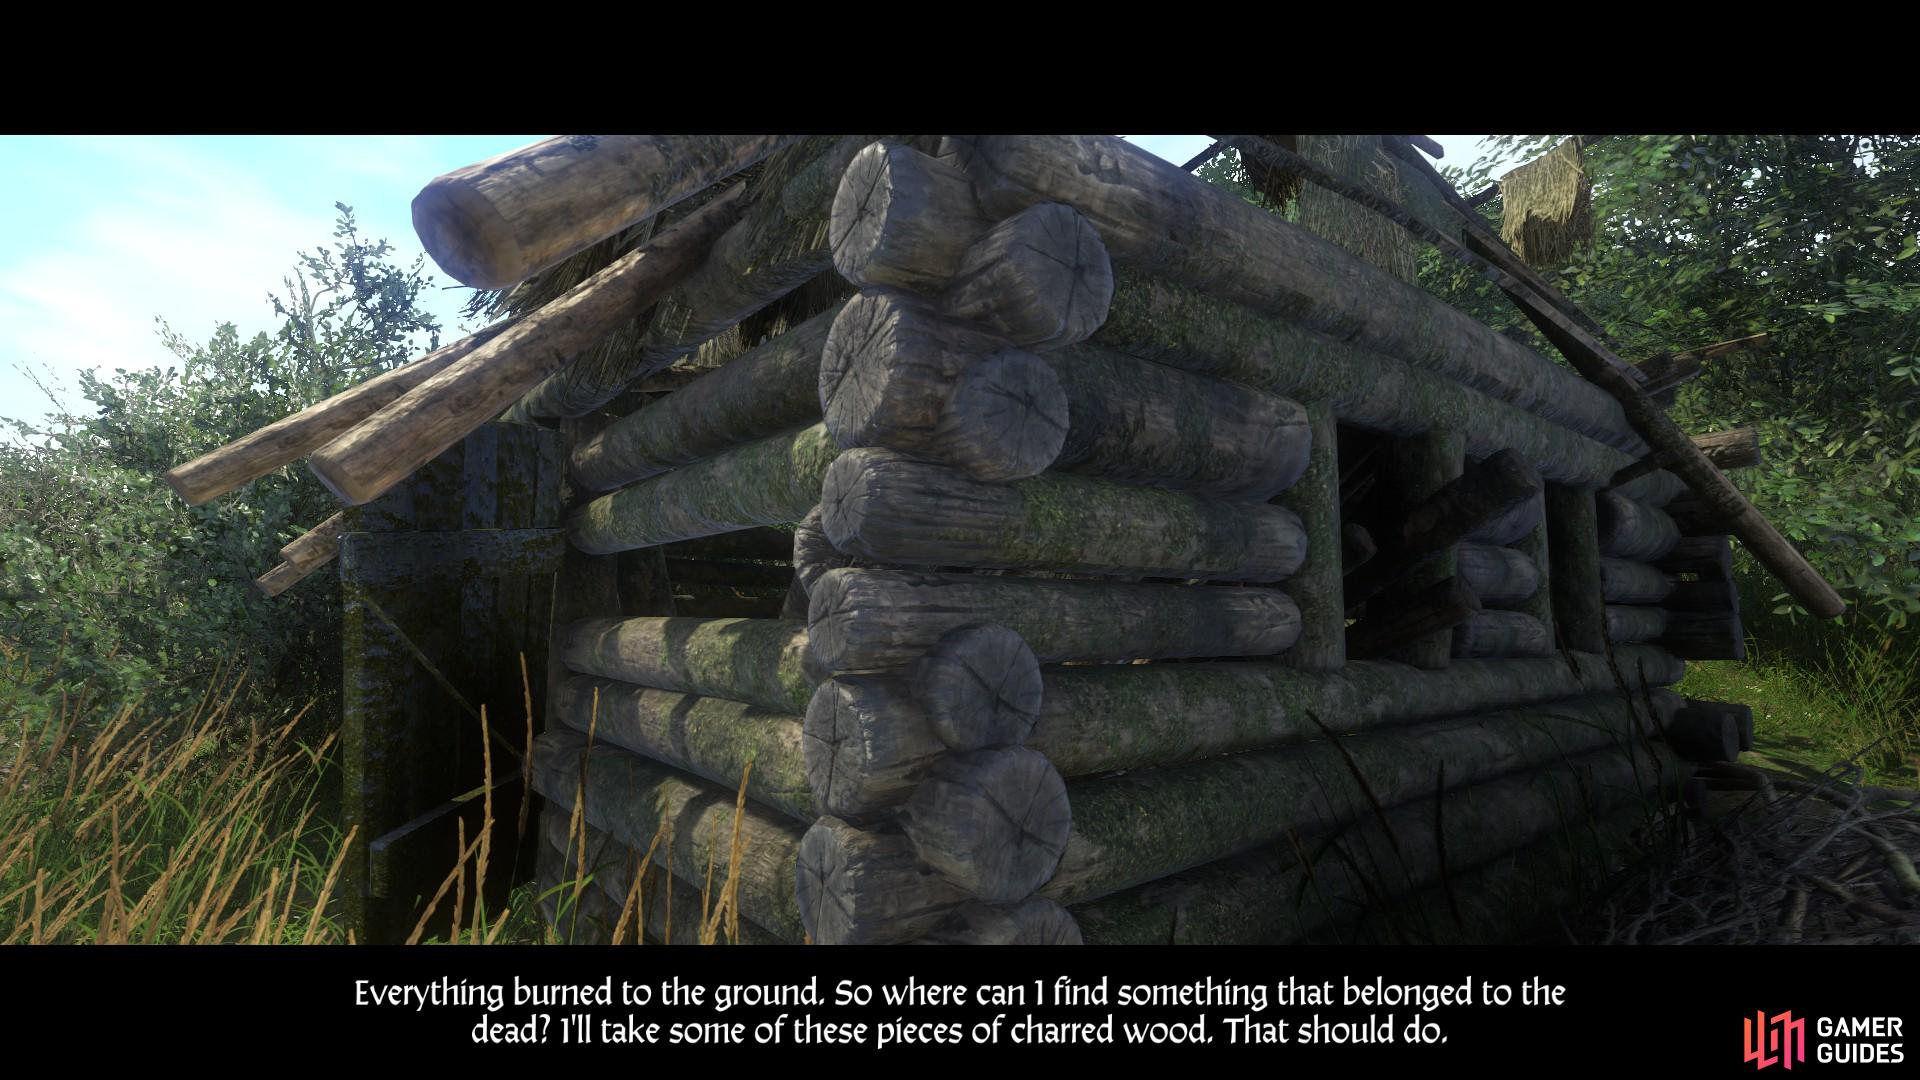
Go to the burnt house which belonged to Alois and Lada north east of Ledetchko. Search the ground inside for charred wood.
The charred wood from the house counts as something which belonged to Alois. You should now ask one of the villagers about where Lada, his wife, is buried. Once you have spoken to one of the villagers the burial site will be highlighted on the map, north east of Ledetchko.
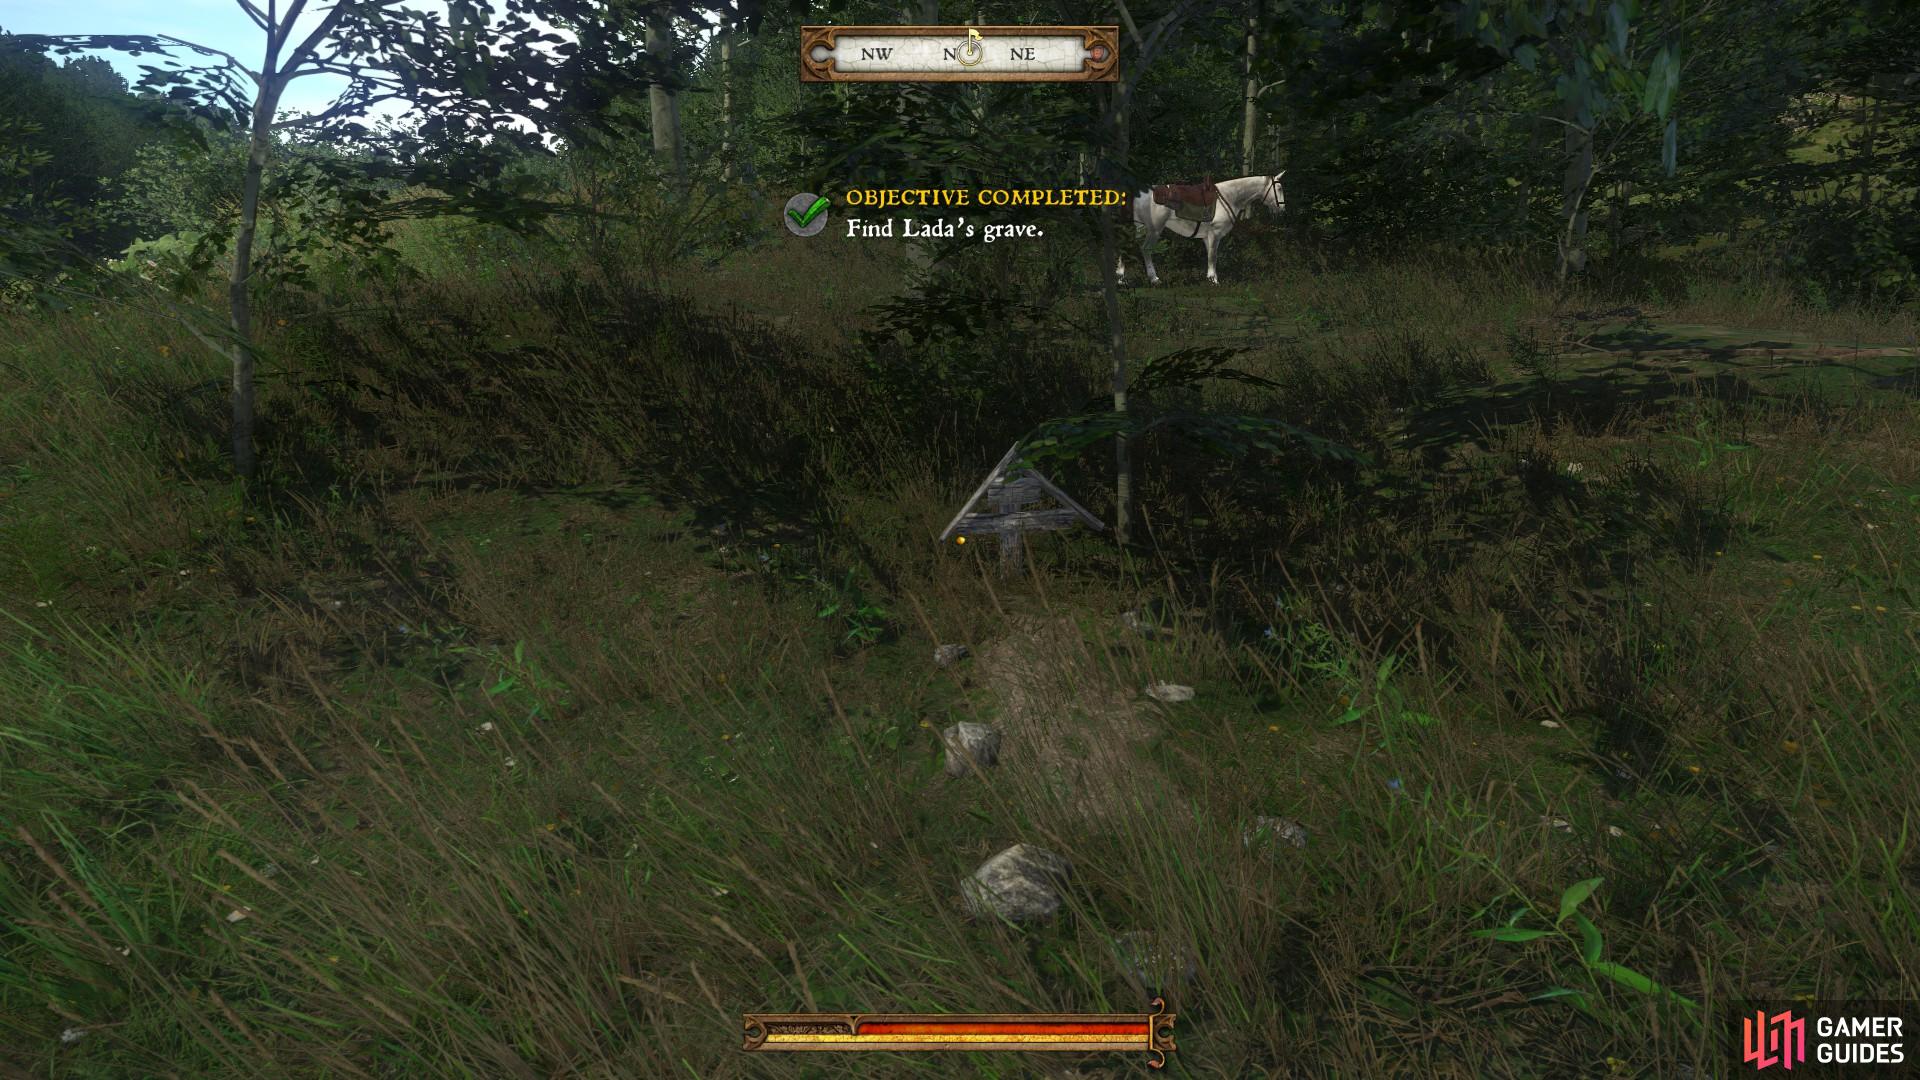
When you have found Lada’s grave return to the apothecary in Ledetchko to inform him that the ritual can take place when he is ready.
Return to Ledetchko and meet with the apothecary at the crossroads after dark (21:00). If you happen to arrive a little late, you will find him waiting at Lada’s grave. Otherwise, walk with him to the grave. When the spell has been cast, wait until the morning to speak with Drahomira and see if it worked.
Surprise Surprise, it did not work. The only option now is to go and see Father Godwin, the parish priest in Uzhitz. He will suggest to you that Drahomira is not telling the truth, and that a reconciliation cross should be erected for Alois and his wife. Go back to Drahomira and get her to reveal the truth.
Drahomira will reveal that she and Alois had an affair which led Lada to set fire to the house in her vengeance. You will then have the option to advise Drahomira whether or not to tell the truth to Alois’ children, who she has been taking care of. Finally, Drahomira will ask you to go to the Talmberg quarry to request the building of a reconciliation cross.
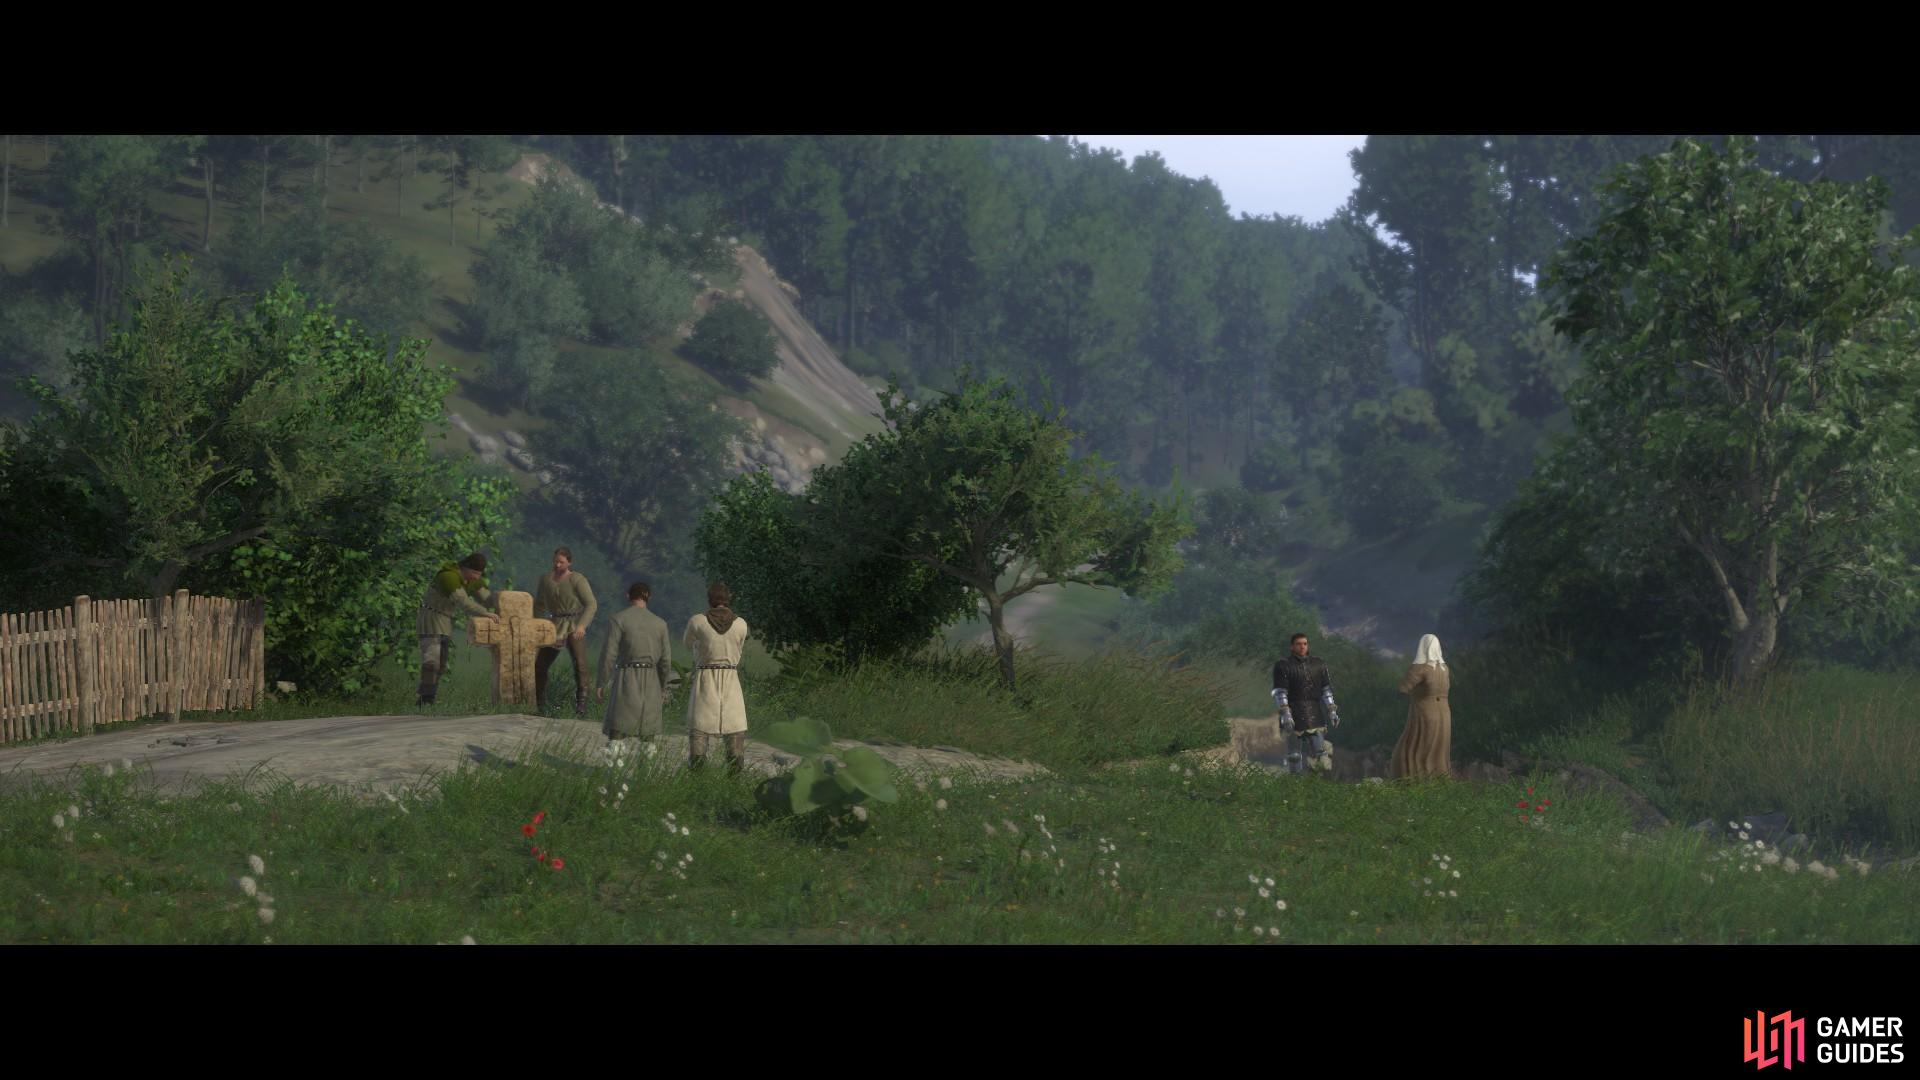
With the reconciliation cross erected and the truth revealed, Drahomira’s troubles have come to an end.

 Sign up
No Comments