Sabor, Danger
As you gain control of Sora you will immediately be in a fight against Sabor. This cat has minimal attacks but it’s slashes can hurt. He’s pretty easy to beat though, so just let him have it. When you regain control, head outside and grab the barrel. Bring it back in and position it close enough to the steps that you can run up them. At the second level exit and turn left, jumping the small gap. It seems like a dead end here, but you can actually jump around the corner to a platform with a ladder. Climb the ladder and jump the gap on the roof to find a Chest with a Protect Chain .
Drop down to the netting below the treehouse and you can spot another Chest on a second tier, it holds a Mega-Potion . Jump down into the canopy of trees to land in a new area. There is a Save Point and a Chest containing a Mega-Ether on a second level platform. When you are ready, jump into the hollow log and go along for the ride. Taking this shortcut throws you right into camp. Enter the tent to find Jane and be reunited with Donald and Goofy. Put them both in your party so you can utilize the Trinities.

Sora can make the jump (left) to reach a ladder. That ladder will let you onto the roof with a chest (right).
Camp Exploration
You receive the Protect-G that Donald and Goofy found after the scene. Start by opening the Chest for a Mythril Shard then exit the tent. Go to the left side past the table to find Trinity Jump #9 – it spawns a Chest with Dalmatians 34, 35 and 36 . Check the grandfather clock near Clayton for Recipe Card 1 then check the flagpole just outside the tent for Recipe Card 2 . Head to the stove pot and “Examine” it to place a Potion inside. Target the stove and cast Fire to receive a Hi-Potion .
Head back to the clothesline and check the pink shirt for Research Note 1 then search the globe near the tent for Research Note 2 . There is also a third note, examine the record player for Research Note 3 . Head to the lab table and “Examine” the flasks to place a Potion inside. Cast Blizzard and you’ll receive Ether x2 .
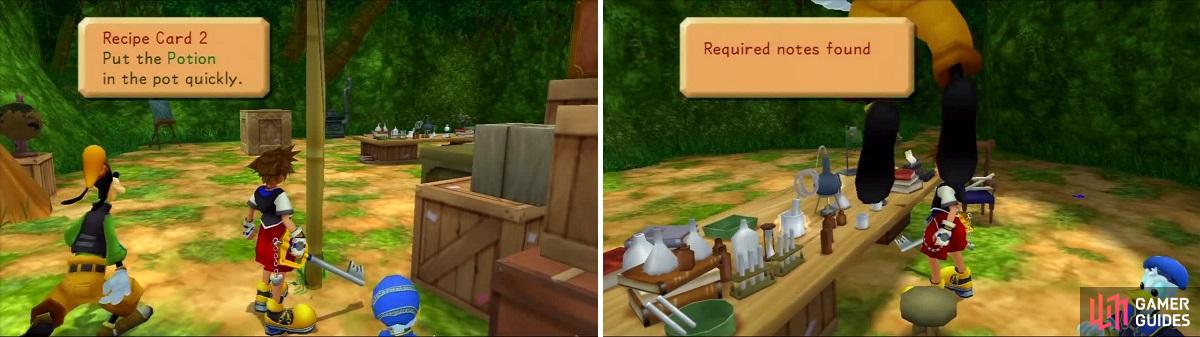
Find the various Recipe Cards and Research Notes (left) and take the to the table (right).
Now you need to collect all six slides around the camp:
- Slide 1 - Atop the camp tent. Reach it by climbing the briefcases.
- Slide 2 - Atop a dresser to the right of the tent.
- Slide 3 - To the left of the tent near an easel.
- Slide 4 - Atop the pile of crates in front of the tent.
- Slide 5 - Climb atop the camp tent and run along the white canopy.
- Slide 6 - On the briefcases to the left of the tent.
Black Ballade
Black Ballade looks like their wizard counterparts (left). Stand back to see the real bob up and down (right).
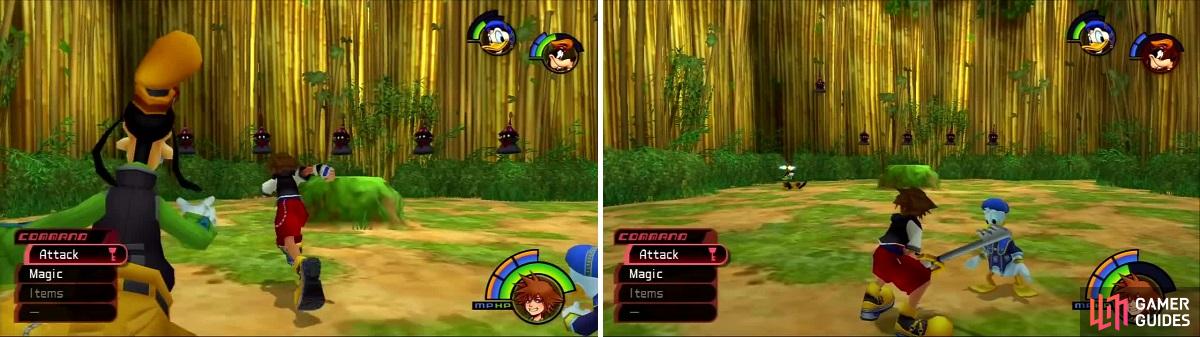
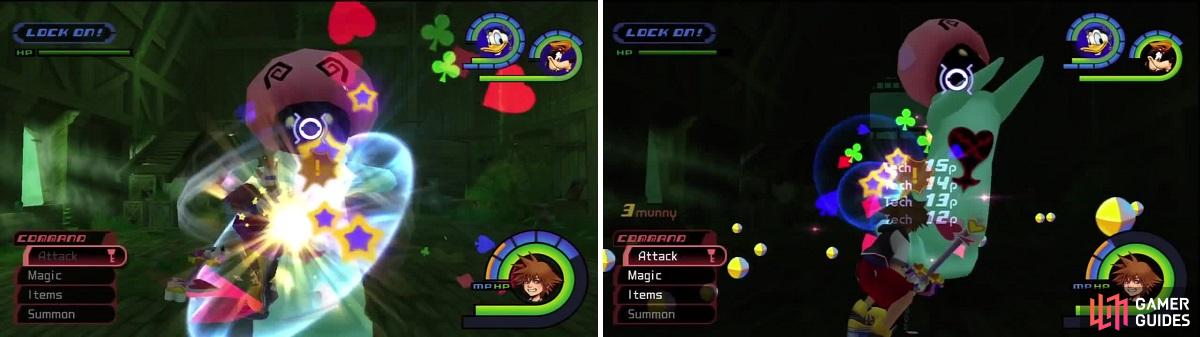
The Black Ballade is a wizard, like a Red Nocturne or Blue Rhapsody, but unlike them it doesn’t use offensive and instead plays a game. The magic it casts splits itself into 5 total Black Ballades but only one of them is the right one. They line up, so stand far enough back to see all of them. One of the Black Ballades will bob up and down then the group will rotate positions pretty quickly. Follow the one that moved and hit it after they stop. You’ll get Tech Points, some Munny, and HP balls for getting the right one, but choosing the wrong one and you get zapped. Mess up three times and you’re out, the Black Ballades leave. Items have a 10% chance of dropping when you hit the right Black Ballade and a 100% chance if you hit the right one four straight times.
Kerchak, Friend
Return to Jane and place the slides in the projector. After a scene you can leave the tent, only to be ambushed by Sabor again! Head down the left side to enter Hippo’s Lagoon. Jump across all the Hippos to reach a Chest with Dalmatians 25, 26 and 27 . Now swim over to the platform at your right and climb up the right set of trees to reach a Chest with a Mega-Potion . On the opposite side of the river you can spot another chest. You’ll need to jump from the other side and swing the Keyblade at the perfect time to make it, but it is possible. If you can’t make the jump you can always come back later when you learn a new skill. The Chest has a Meteor-G inside.
Head back towards the entrance and climb the vine to reach Vines (not to be confused with the Vines 2, which is coming up). Swing across the vines to another platform, then swing from here to a Chest – a Mythril . Continue to swing from vine to vine until you reach Vines 2. After the scene swing across to the next platform and open the Chest to find Dalmatians 28, 29 and 30 . Now swing back to the platform you started at and climb the vine to reach the Climbing Trees.
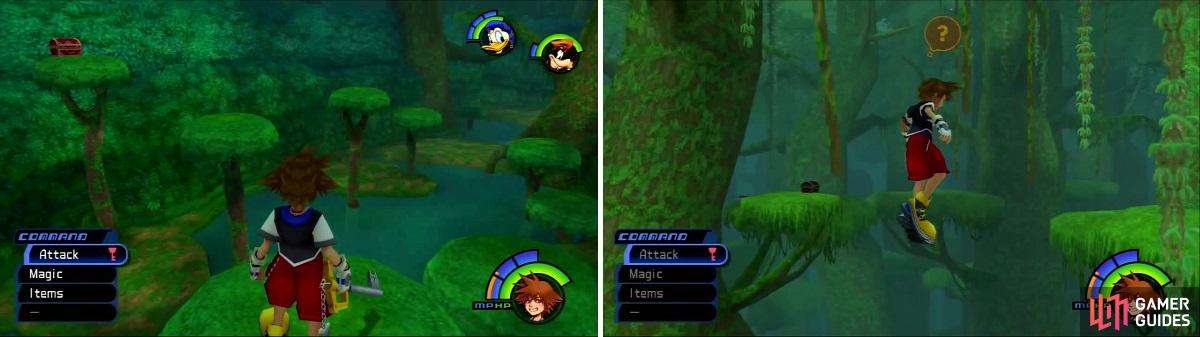
This chest in the Hippo’s Lagoon can be reached with a well timed swing of the keyblade. Swing from vine to vine (right) to reach the Chest with Dalmations inside.
Attack of the Wild
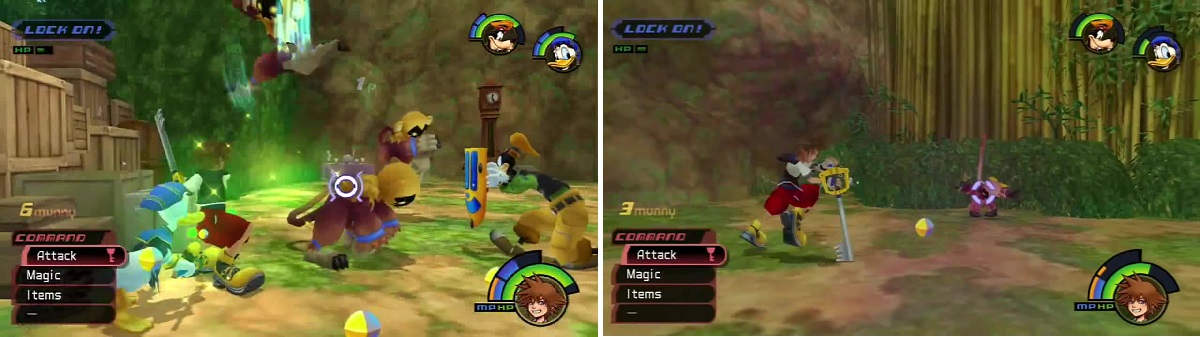
Follow the path around to Trinity Jump #10 which reveals a Chest with a Thundara-G . Enter the Tree House area from here to start another scene. Jump off the edge near the bottom of the area, where you can see a plank extended out and rope hanging down below. You’ll land in the Cliffs where Sabor will ambush you once again. Defeat him and climb to the upper tier to find two Chests – a Mega-Potion and Mythril Shard . Return to the Camp Tent for a scene.
Powerwild
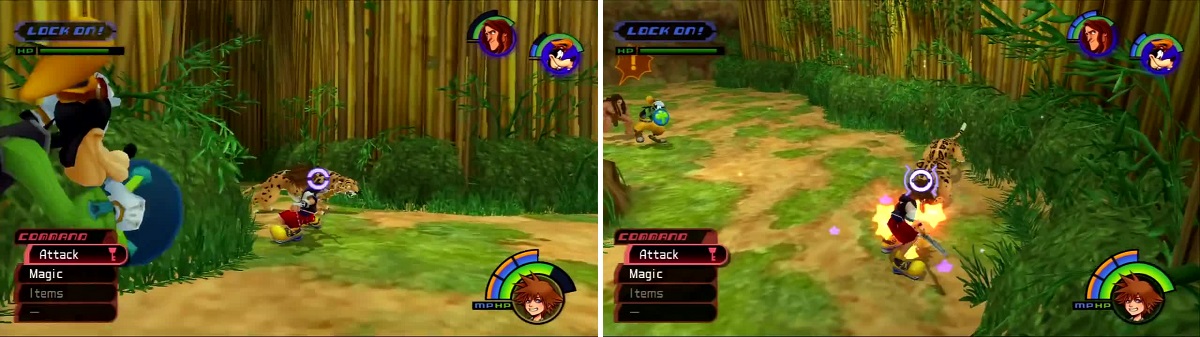
These Heartless jump and roll around to dodge your attacks. It’s best to just get up in their face and don’t let them attack. You will get blocked but not parried and if you take some damage it’s not a big deal since they drop so many HP balls.
Powerwilds (left) and Bouncywilds (right) look similar, but watch out for the bananas the Bouncywild will throw.
Bouncywild
Much like their counterpart, the Bouncywild will move around often but these Heartless are a bit faster. They also chuck banana peels to make Sora slip and lose munny, though they too can slip on them and their drops are modified for the better if they do so.
Save the Gorillas
The objective now is to stop Clayton from getting the gorillas. Start out at the Camp and defeat the Powerwilds. You’ll go to a few other areas that you’ve already been to and receive a reward each time you save a gorilla.
Camp - Protect-G
Bamboo Thicket - Fire-G
Cliff - Aeroga-G
Climbing Trees - Aeroga-G
Tree House - Shell-G
Pink Agaricus
Hit the Pink Agaricus as many time as you can (left) and you will recieve Tech Points for the number of hits you get (right).
The Pink Agaricus appears in two locations, one of which is the Tree House in Deep Jungle. When you enter the Tree House you’ll find three White Mushrooms that are Stopped. Cast Stop on them and they’ll animate then drop clear orbs. After you animate all three, check inside the Tree House for the Pink Agaricus. The objective is to cast Stop on the Heartless then hit it as many times as you can before it can move again to increase the drop rate. Having Aeroga on Sora and using Ragnarok is the best way to get a high number, though having to hit Triangle will also force Donald and Goofy to hit the Pink Agaricus and actually lower your hit count. At 40, 50, and 60 hits there is a 10% drop chance. At 70, 80, and 90 its 20%. In the original Final Mix it is possible to get 100 hits for 100% drop but it is not possible in this version.
Return to Jane after saving the gorillas then head out to the Bamboo Thicket to find Sabor waiting for you.
BOSS - Sabor
Sabor has been dogging you since you arrived, it’s time to end this.
Sabor isn’t messing around anymore. He is faster, stronger, and has more HP. In this area he also has the benefit of jumping in and out of the thicket. Using Fire and Sonic Blade work out really well this time around. You may find using Guard and then countering to work out as well. Either way, Sabor still isn’t a large threat and should go down after a few combos. If for some reason you are having trouble, remember to Dodge Roll away from his attacks and then Dodge Roll back into him to close the gap. Follow this up with a combo and watch the combo finisher knock Sabor across the battlefield. Blasting Sabor with Fire is always a good idea too.
Save Jane Too!
After you defeat Sabor you’ll view a scene with Jane. Head back to the tent then back to the Climbing Trees. Your objective is to find the four black unbloomed flowers and cast magic on them so that they open. One is right at the beginning, another is on the tree in the center. The third is up above the Tree House entrance and the last one is where Jane and Terk are, you’ll need to use Fire after locking on. Once they are all opened attack the large fruit hanging from the tree to free your friends.
Return to the Camp and save your game. You’ll want to swap out Donald for the next battle because he’s going to be useless. Take off Healing Herb and Wind Armor from Tarzan’s abilities and instead equip the two Critical Plus abilities he has. The amount of physical damage that Tarzan deals will really help in the coming fight. Give Goofy a bunch of Potions then head to the Cliff to find Clayton.
BOSS: Clayton and Stealth Sneak
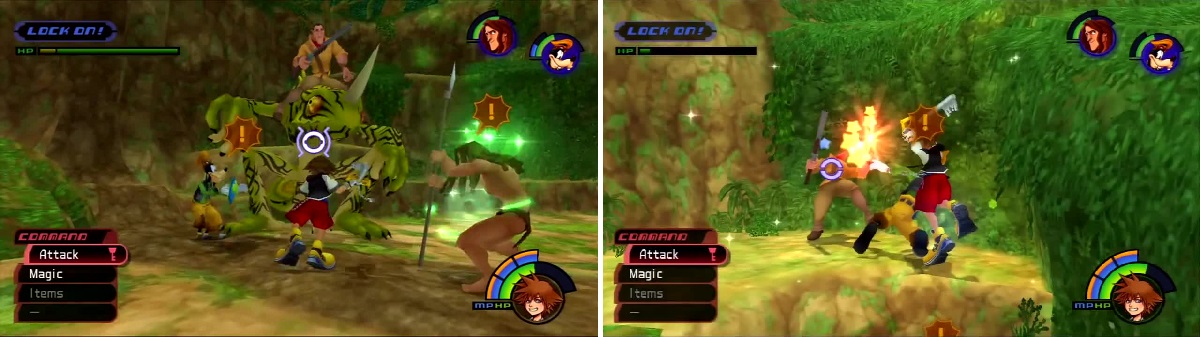
When Clayton’s mount takes enough damage it will become visible (left). Once you take it out you can focus on Clayton (right).
The initial fight is against a few Powerwilds and Clayton. It’s easy to just hit Clayton a few times to start the real battle. He appears riding the invisible boss, the Stealth Sneak. You’ll want to go all out against Stealth Sneak so that it becomes visible and easier to hit. You’re going to take damage so be ready to toss yourself a Potion if Goofy doesn’t do it for you. The battle ends when Clayton is defeated but it’s hard to take him out when the Stealth Sneak is pummeling you so take out the lizard first. Using Sonic Blade should deal quite a bit of damage and could stun the Stealth Sneak which is useful for additional combos. Listen for Clayton to yell, “Gotcha!” so you can dodge his shots and keep attacking Stealth Sneak. Eventually the lizard becomes immune to damage so switch to Clayton and be on the look out for the lizard’s vicious Eye Beam attack. The beam itself travels pretty slowly but it is homing so you have to Dodge Roll to avoid, if you don’t it’s going to hurt. When the Stealth Sneak leaves its trance you can take it down to 1 HP before it goes back into it. Focus Clayton down and he’ll start burning through Potions to stay alive. You’ll be able to down the Stealth Sneak and then Clayton once the trance is over. Keep your health high and use your MP!
Waterfall Secrets
Your reward for this fight is the power of healing; Sora obtains Cure . After Kerchak boosts you up, enter the Waterfall Cavern. Head to the end of the cavern and jump up to the Chest for a Mythril Shard . Turn around and jump even higher to another Chest and Dalmatians 31, 32 and 33 . Turn around yet again and jump higher still to a Mythril in a Chest . Across from here is a Chest with an Orichalcum inside. You can exit at the top to seal the keyhole to Deep Jungle and receive a Navi-G Piece , the Jungle King Keyblade, and learn the power of Red Trinity , Trinity Charge. Head back to Traverse Town when you are finished.
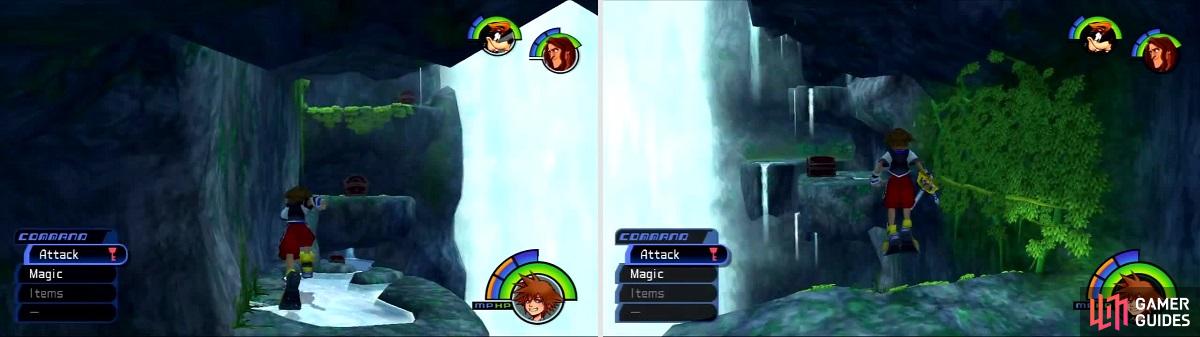
The Waterfall holds a handful of Chests so you want to make sure you grab them all before you leave.


 Sign up
No Comments