Across the Plains of Nothingness
Move towards the first chest you can see to be warped into a battle with a new enemy, the Invisible.
Invisible
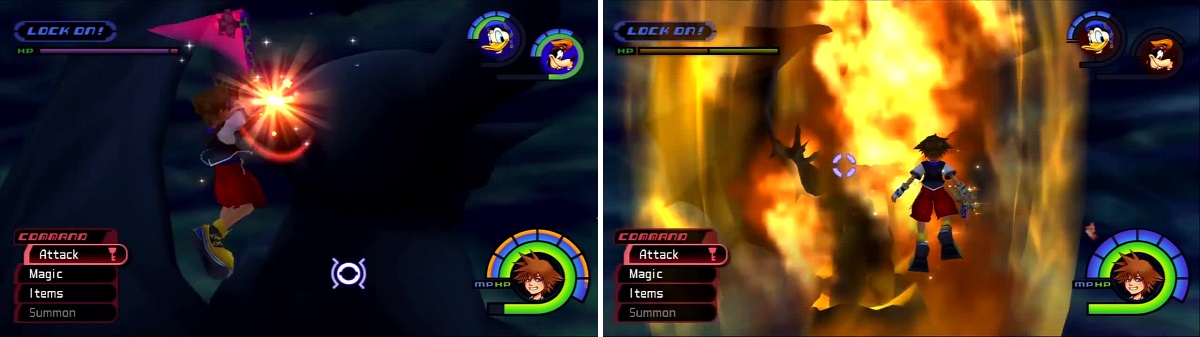
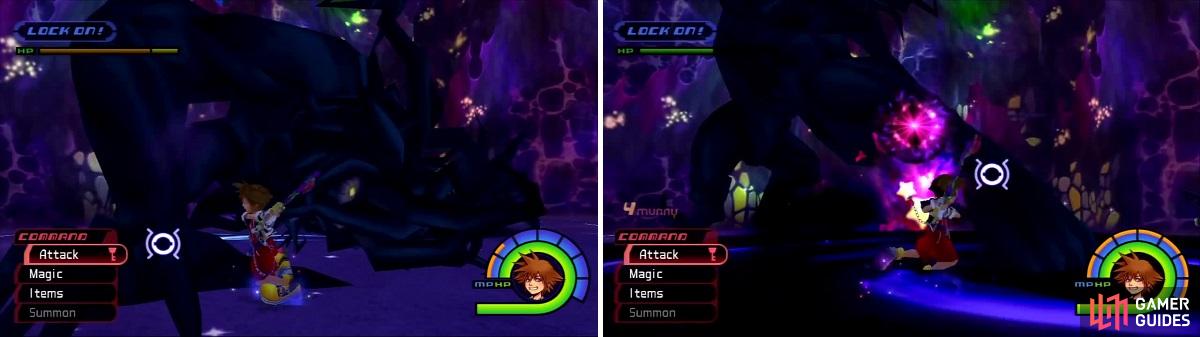
The Invisible uses a scalloped, bladed sword and has a high attack power to combine with it’s swift attack speed that makes for quite the formidable foe. Now and again the Invisible plunges it’s sword into the ground and disappears, turning into a ring of fire. This ring will encompass the nearest enemy (Sora, Donald, Goofy) and then collapse to deal a bit of damage. You can avoid the damage by jumping or rolling as the ring collapses.
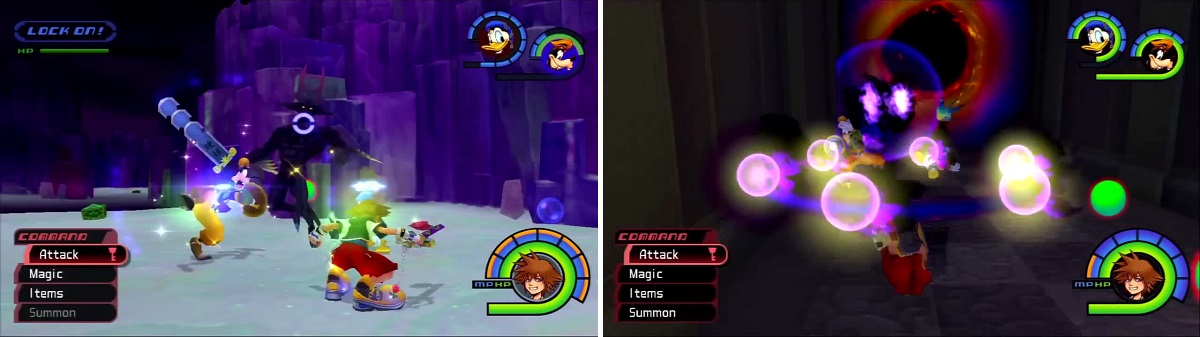
The Invisible carries a wicked looking sword (left). A ring of fire surrounds Sora (right) that causes damage.
Open the Chest for a Mythril Shard then head to the one off to your right. Opening this Chest starts another battle, this time with Darkballs and a single Invisible. Win the battle to claim a Pretty Stone . Move back across the Final Dimension to another Chest with a Mega-Potion . Move up to the red Chest and open it to fight an Arch Behemoth. Winning the fight results in a Mythril .
Arch Behemoth
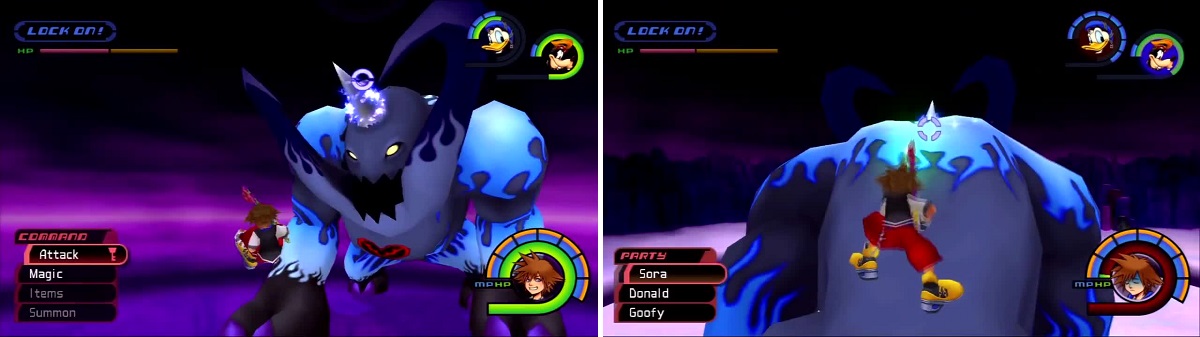
Arch Behemoth received a paint job (left) but climb on its back (right) and attack just like you would with Behemoth.
The Arch Behemoth is very similar to the Behemoth boss you just beat. This one is blue and has a flame design marked into it’s body. The Arch Behemoth follows the same attack patterns as a regular Behemoth but it has more attack damage and defense. It will appear throughout the End of the World in various locations, but is always alone. Deal with this foe by attacking it’s horn.
The best way to do this is to get on it’s back via the hind legs. When it bends over you can strike it from the front just watch out for the stomping and darkness balls that the Arch Behemoth can emit from it’s horns. Using Ars Arcanum is a good idea when the Arch Behemoth is knelt down.
Angle Star
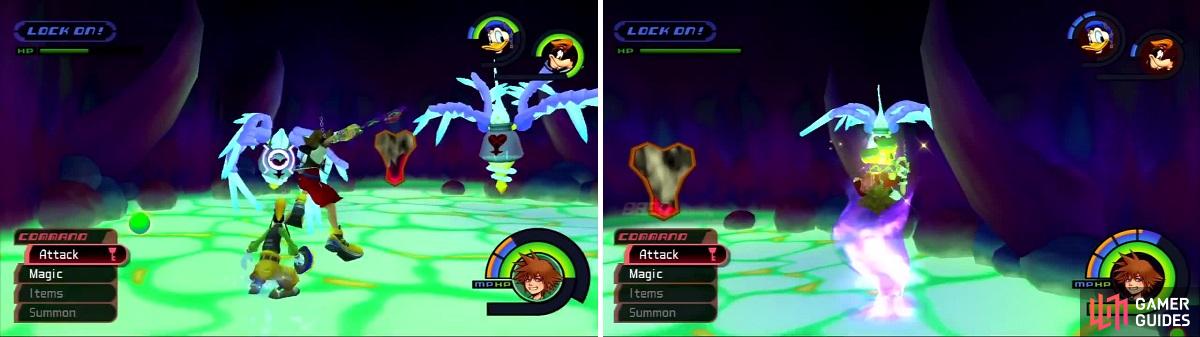
Angel Stars (left) have multiple wings and sometimes produce a purple vortex (right).
Angel Stars shoot long-range attacks that home in on your location, so you’ll want to focus on them first. They often put their wings up in front to block attacks, but you can roll behind them for easy damage. When it glows purple it fires a tornado while a blue glow lets it summon another Angel Star. They absorb Thunder and you can deflect their magic but stick to just pummeling these Heartless.
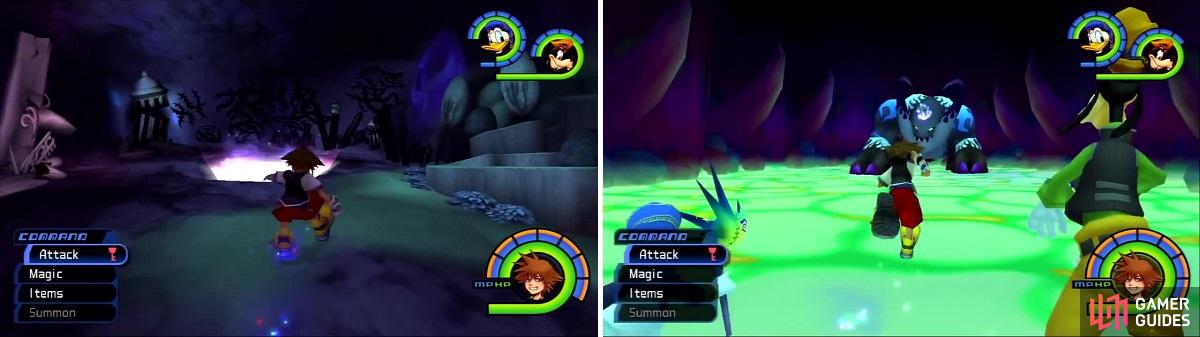
Head off to the right side where the chests are to fight some Angel Stars. Open the Chest for an Elixir then move up to another Chest and take the Mythril Shard . Continue to another green Chest that opens up into Angel Stars and Invisibles, but beating them results in a Pretty Stone . Open the red Chest for a Cottage then run across to the other two. One Chest opens to a battle and results in an AP Up , the other is a battle and nets a Gale .
Move up to the central area to fight an Arch Behemoth and enter a new area.
Giant Crevasse
Jump and Glide straight ahead to the platform in front of you. Open the Chest here for a Dark Matter . Jump to the next platform and then into the webbed-off area. Defeat the Heartless and drop down the hole to a Chest with Meteor Strike inside.
Jump up and Glide back towards the entrance but turn left and open the Chest for an Ultima-G . Jump across the crevasse and use the icy ledges to climb up and reach another Chest with a Drill-G inside. Jump down and across the crevasse from here into another webbed-off area.
Defeat the Heartless and drop down the hole to find a Chest with a Full-Life-G . Fly across from here towards the swirling air to find the Save Point. Jump into the light when you are ready.
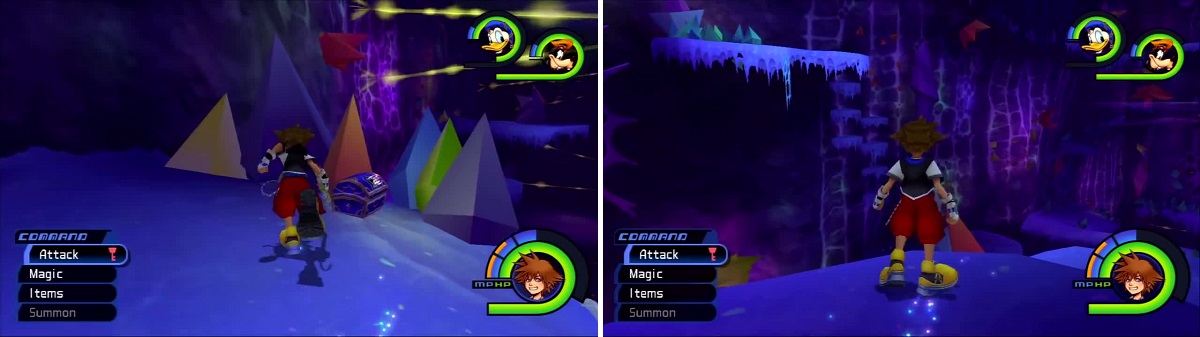
Glide your way to this Chest with Dark Matter inside (left). You can spot some icy ledges (right) that you can climb to reach another Chest.
World Terminus
Touch the blue light then run into the pillar of light to reach the Third District of Traverse Town. Defeat the enemies and open the Chest to claim a Spirit Gem . Exit when you are done and move to the next area doing the same thing.
You’ll visit Wonderland next and the Chest here has a Thunder Get . Next is the Olympus Coliseum and it has a Frost Gem . Deep Jungle is up next and the reward here is a Bright Gem . Then it’s off to Agrabah with a Blaze Gem hidden high above in the Palace Gates. Atlantica has an AP Up and Halloween Town has a Lucid . Next is Neverland, it’s reward a Mighty Shield .
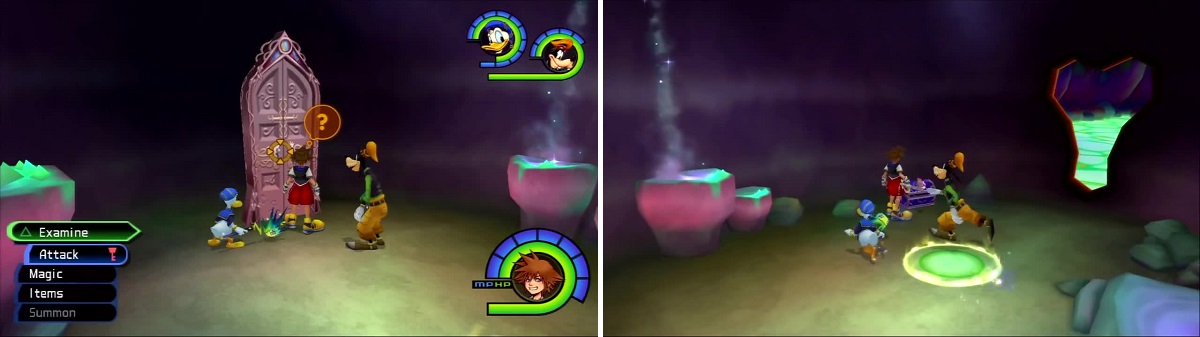
Lastly is the 100 Acre Wood where you’ll find no enemies, just a Megalixir in the Chest and a Save Point. Enter the next and claim an Elixir from the Chest in the room. Check out the machine and then leave, jumping through a new hole to a boss fight.
BOSS - Chernabog
Chernabog’s head is a hard target to miss (left). Sora backs off as Chernabog erupts with great force (right).
This fight is about mitigating large chunks of damage. Chernabog doesn’t have many attacks and won’t attack often, but he hits very hard. Since you are flying you can’t use Summons but you can land on Chernabog’s shoulder. Do this and you can summon Tinker Bell, with her and Aero going you should be fine with the damage that Chernabog deals.
Stick to getting behind his head and just let him have it. When he bends over he isn’t hurt, in fact he’s charging up to erupt so you’ll want to back away at that point.
Linked Worlds
After the battle you learn Superglide . Descend into the hole Chernabog left and enter the Linked Worlds. You’ll face an Arch Behemoth and then waves of Invisibles, Darkballs, and Angel Stars. After you’ve defeated them all you’ll be able to enter the Final Rest. Open the Chest for a Megalixir then decide how you will proceed.
Sora makes his way through more portals (left) until he reaches an Arch Behemoth (right) that is ready to pounce.
Neoshadow
Neoshadows work as a team to defeat you by attacking your backside when you are hitting another or popping out from the ground and grabbing your legs, immobilizing you while the swarm attacks. You’ll need to be vigilant to defeat these “new” Shadows. Trinity Limit is a way you can take out a bunch of them in a single swoop. They’ll continue to spawn until you can defeat them all at once, so make sure to use an ability that can multi-target.
This door (left) is a point of no return so make sure you prepare yourself and don’t forget to grab the Chest (right) that is nearby.
Open the Chest for a Megalixir then proceed how you want. Here’s a list of the things that you can still do if you haven’t already:
- Gummi Ship
- Optional Bosses
- Item Sythesis
- Hades Cup
- Gold Match
- Platinum Match
In addition to these you can continue to level up and grow stronger. You can also gather any Trinity Marks or Dalmatians you’ve missed. Try to complete the Journal, it will have a gold Mickey to signify you’ve completed it. When you do step through the door you arrive in Destiny Islands. Head to the Secret Place to start a cutscene then fly over to Ansem to start the battle.
BOSS - Ansem
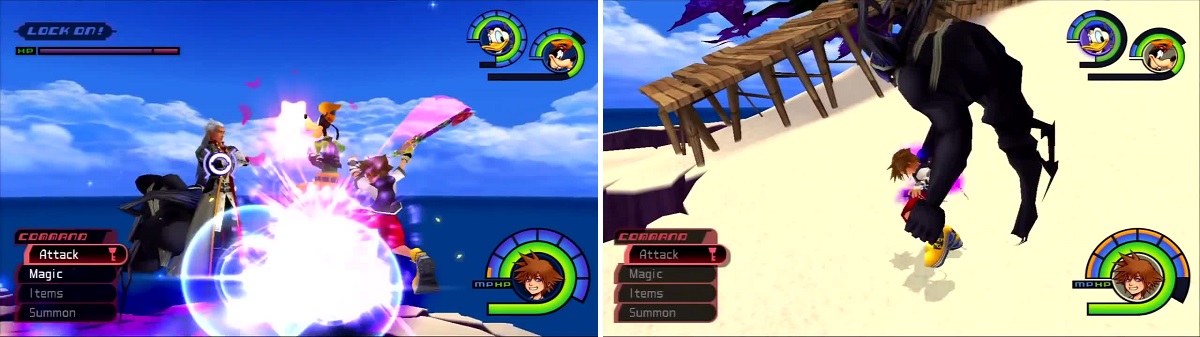
The Guardian takes a swipe at Sora from behind Ansem (left). Sora becomes possessed, allowing the Guardian to hold him for Ansem to do damage.
Ansem uses a few attacks to damage the party and they can be avoided for the most part. The Guardian will reach around and fire energy disks at you, like a Strike Raid, so you can just Dodge Roll away. The Guardian will also phase through Ansem and attempt to hit you, again Dodge Roll or Guard.
The attack here that really gets annoying and can get you hurt is when Ansem says, “Submit!” The Guardian will then lash out towards you and if he connects then you are possessed. The Attack command will change to Freeze periodically and if you hit Freeze the Guardian grabs you and Ansem will hit you pretty hard.
The key to breaking free of this is to either run far away and just Freeze so Ansem can’t reach you, or use an ability like Ars Arcanum or Ragnarok to deal a bunch of damage without needing to use Attack.
After you beat Ansem he simply flies away to a crater. Stock up on healing items and anything else you might need before you chase after Ansem because once you start the next battle you’ll be at it until the game ends. Donald and Goofy won’t be able to make it through the barrier Ansem puts up. Then it gets worse, Ansem resummons Darkside.
BOSS -Darkside
Darkside is back with the same tricks.
This time around Darkside is a little bit stronger. It stills uses the Summon Shadow attack where it plunges its fist into the ground. There is also the Darkness Rain where Darkside picks up a ball of darkness and has it burst into little balls. Then there is the homing Dark Fire attack that it shoots from its chest. The battle is pretty much the same as the second time you fought Darkside so using those tactics again works out just fine.
BOSS - Ansem
Ansem uses a dashing attack that Sora deflects (left). Sora stays on the move as pools of darkness appear beneath his feet (right).
Ansem’s attacks have changed a little bit this time. He uses an attack that is similar to Riku’s Dark Aura, where he dashes around the arena inflicting heavy damage. Avoid this like you did before, jump up and Glide around until he’s done. Ansem will say, “My strength returns!” and the Guardian will dive into the ground. Pools of darkness are created under Sora and then the Guardian shoots out of them so be sure to stay on the move. There is still the “Submit!” where the Guardian will possess you but outside of that the only difficult thing is finding a spot to get some damage in. During possession use skills and before/after his Dark Aura are great times to get some combos in.
BOSS - World of Chaos
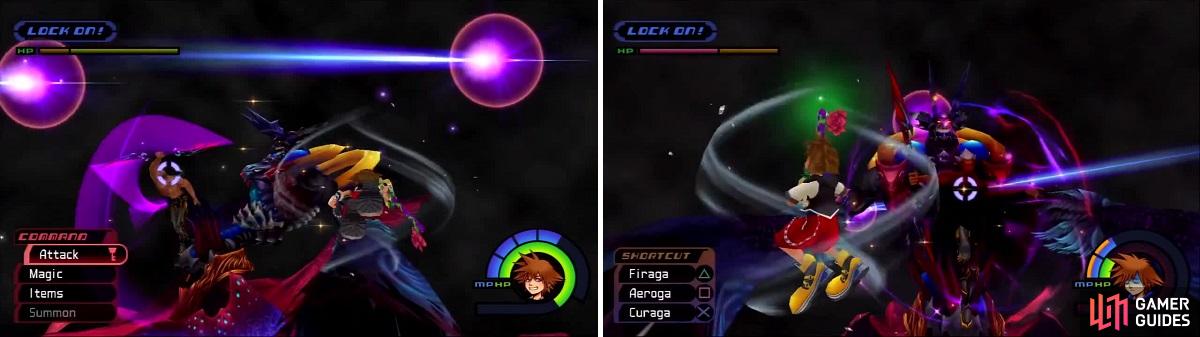
Ansem swings at the air with his Soul Eater while lasers fire at Sora (left). The purple and red sphere (right) is a signal that Ansem is summoning Bit Snipers.
The World of Chaos might seem a bit overwhelming, but you’ll be taking it down in sections so don’t fret! Start with attacking Ansem. He wields a large double-bladed Soul Eater, can summon Bit Snipers, and can fire lasers. Put up Aeroga and let Ansem have it until the lasers come, at which point you should just fly away. Come back once they’re gone and just focus on beating down Ansem. He doesn’t attack much so you won’t take much damage and it’s simple to fly away and heal.
In fact, if you fly really high up into the air you can fight some Bit Snipers to quickly regain health. Once Ansem is defeated he’ll protect himself during a short scene and become invulnerable until later.
A Portal to Darkness appears at this point and Sora flies through it. Fight off the Shadows and break the Room Core to return to the outside. Another Portal to Darkness appears and this time you’ll have to fly into it. Inside you find plenty of Darkballs, but also Goofy. Defeat the Heartless and then the Room Core to escape with Goofy.
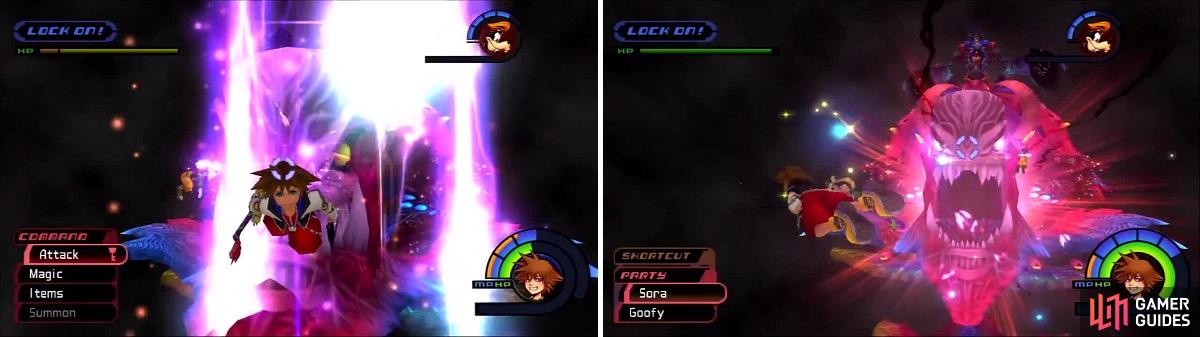
The Face unleashes an attack like Thunder (left) and a large burst of energy (right) that Sora flies away from.
The Face becomes a target at this point, but you’ll want to destroy the artillery off to the sides first. The Face has 1200 HP so you’ll be hitting it for a while. It has a chomp and energy blast attack that are pretty strong but using Aeroga and a Curaga now and again makes it simple.
Once defeated, the final Portal to Darkness appears. Clear out the Invisibles to save Donald then break the Room Core to break the barrier protecting the Main Core. Head to the central area and clear the Artillery then destroy the Main Core.
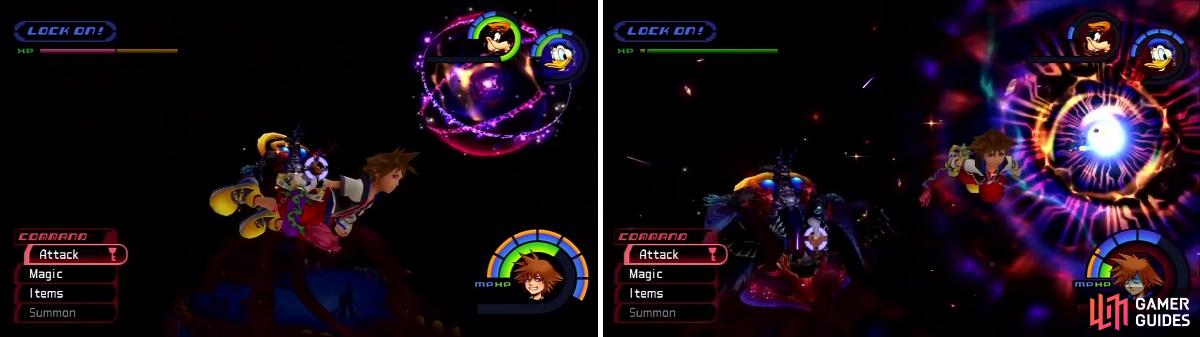
Ansem sets up (left) and unleashes his Dark Void power that will draw Sora and company in as Sora tries to fly away (right).
Ansem will break the seal he created to attempt to prevent you from destroying the World of Chaos. He fights just like earlier in the battle but adds a move where he uses a Dark Void to draw the party in and then create an explosion to damage you. Again, keep Aeroga running to mitigate damage and dodge lasers then focus on damaging Ansem.
After the battle the gameplay ends and cutscenes take over from here on out. If you’ve met certain criteria then you can view a scene titled:
Special Movie
Another Side, Another Story
[Deep Dive]
| **Difficulty** | **Conditions** |
|---|---|
| Final Mix: Beginner | Cannot Unlock |
| Final Mix | Complete all Worlds Return all 99 Dalmatians *Complete the Journal |
| Final Mix: Proud | Defeat World of Chaos *Complete all Worlds *Complete Hades Cup |
*Deep Dive is also unlocked if you meet these conditions, otherwise you just get Another Side, Another Story. This is different than the original games Special Secret and it includes more footage.

 Sign up
No Comments