Help with Gummis
Start off by going down the alley past the Accessory Shop where Sora first appeared in Traverse Town. Here you’ll find Trinity Charge #1 and it leads to a Chest in the Alleyway containing Dalmatians 4, 5 and 6 . Head to the Second District and fight your way through the Gizmo Shop and down to the Dalmatians’ House to claim any rewards you might have for finding lost puppies.
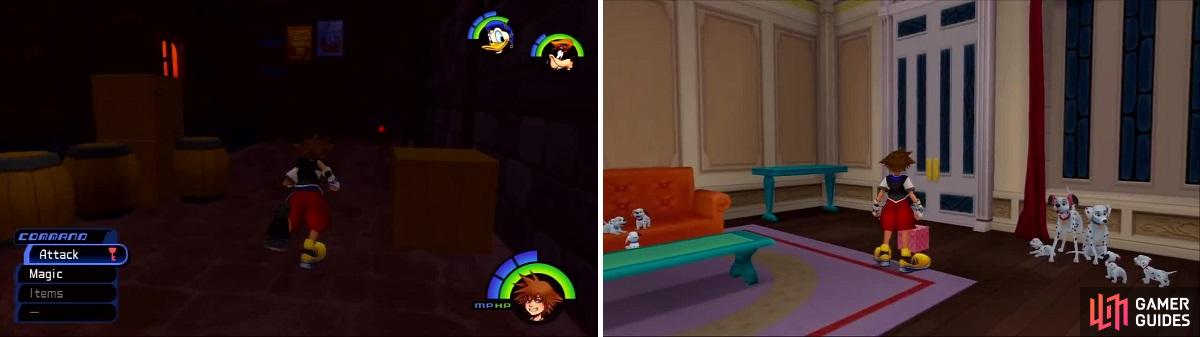
Find the red Trinity Charge mark in the alley you first arrived in (left). Check in at the Dalmatians’ House to pick up any rewards (right).
Yellow Opera
The Yellow Opera functions just like the other wizards except that it casts balls of Thunder at you as opposed to Blizzard or Fire. The big downside here is that the Yellow Opera doesn’t have a weakness like Fire or Blizzard that can instantly defeat them. Instead, you’ll have to rely on smashing these Heartless into the ground. Since they lack a weakness it might be best to single them out and defeat them first as opposed to the other wizards you’ll face. They are the strongest of the three but aren’t much trouble.
Green Requiem
This wizard looks just like all the others you’ve faced but it is not an offensive wizard. Instead, this little guy whizzes around casting a light Cure on damaged compadres. Obviously this is detrimental to defeating the Heartless so you’ll want to target the Green Requiems first in every battle they are in. Often the Green Requiem will join up with a Large Body and several other wizards. These fights can be harder than others since you have a lot of moving parts and a foe with a large HP reservoir. That plays right into the hands of the Green Requiem.
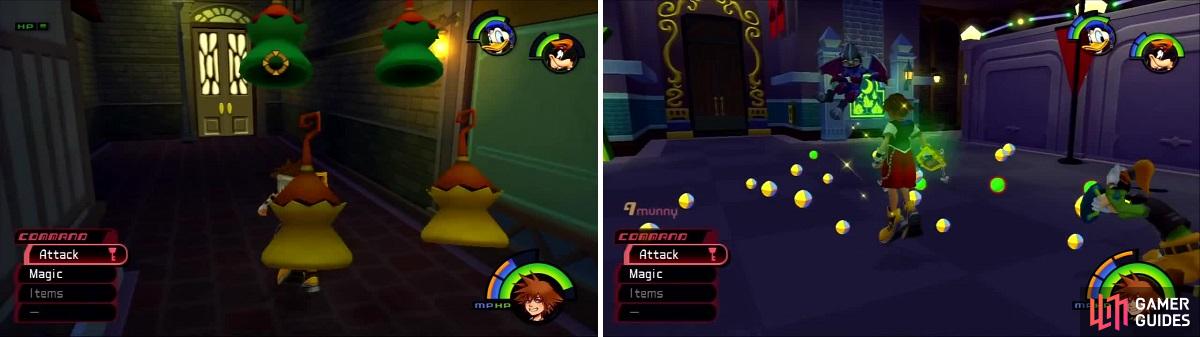
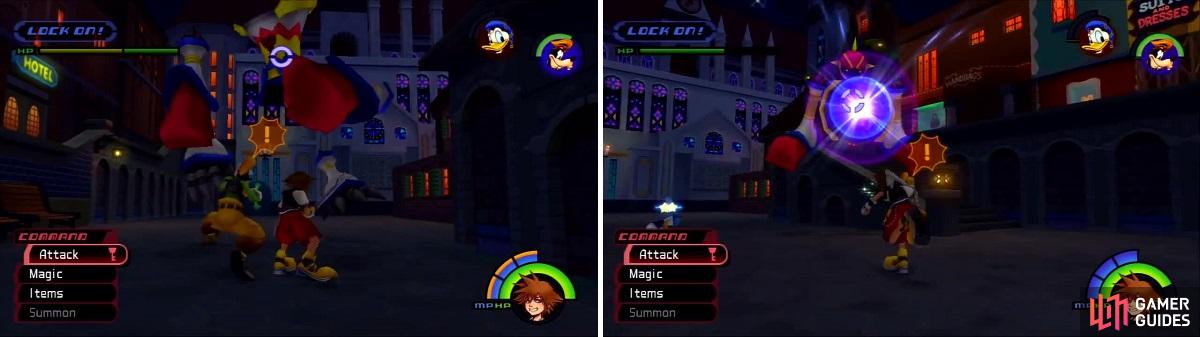
Yellow Operas and Green Requiems (left) are another variety of wizard. The Air Soldier (right) is easy to dispatch with Aerial Combos.
Air Soldier
The Air Soldier fights much like a regular Soldier except it can fly around. This allows it to use a swooping charge instead of a straight on shot, thus it is harder to dodge, especially in a group. It’s hard to catch the Air Soldier on the ground for a combo so you’ll be forced to use magic or Aerial Combos to take them down. Air Soldiers are rarely by themselves and often accompany ground forces to give you a lot to think about – take out other Heartless before these, however.
Sniperwild
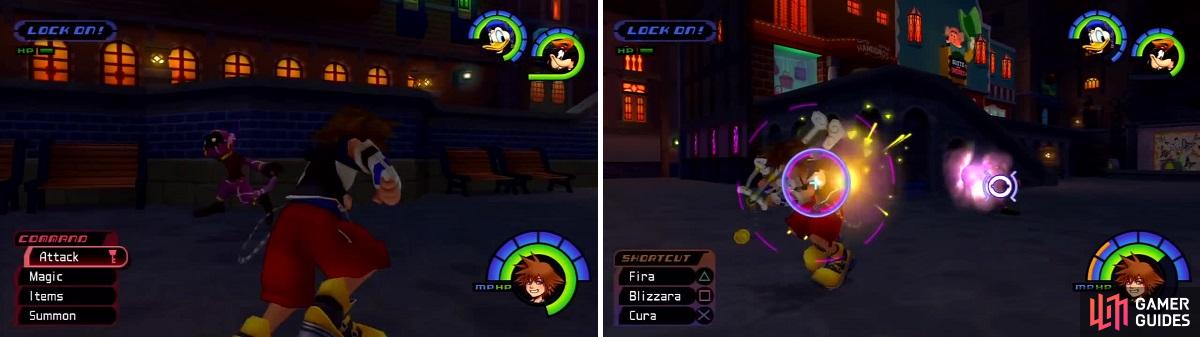
Sniperwild looks like the Bouncywild. Once it locks onto you (right) you are in for a world of hurt.
These pink Heartless appear in the middle of the Second District at Traverse Town. The objective is to not be seen or they will lock onto you and fire invisible projectiles that can’t be dodged. At first you will find just one Sniperwild, but as you defeat it more appear. The best tactic is going to be using Stop then trying to defeat as many as you can. Remember to have Donald and Goofy aid you when trying to take them out. You’ll get 10 experience for killing one and an additional 10 for each one after that (10, then 20, then 30, etc..). After beating 6 Sniperwilds there is a 35% chance to get the Power Drop. After 12 it is 50%, after 18 it’s 60%, after 24 it’s 100% drop, and if you get all 30 you’ll get 2 more at 100% chance.
There is a pattern to the Sniperwild spawns. It starts with one, then once it’s defeated two more spawn in the center. Once those two are defeated three will spawn in the center. Defeating these three resets the pattern. A riskier but more mana conserving way of defeating the Sniperwilds is to hit one with Fire while sitting near the entrance to the First District. It’ll hop up to you and you can kill it from there. If you are spotted and reinforcements are summoned you won’t gain any items or experience for killing these Heartless, so just leave.
From here head to the Alleyway. In front of the waterway is a gated off path, but also Trinity Charge #2 which grants you access to the Secret Waterway. Talk to Leon a few times and you’ll receive the Earthshine Gem . Check near the steps for a Chest with Dalmatians 10, 11 and 12 . Head over to Cid at the Accessory Shop. He’ll install the Gummi for you but you need to take the Old Book to Merlin. Head to the Magician’s Study and talk to Merlin then talk to the Fairy Godmother to learn how to summon Simba .
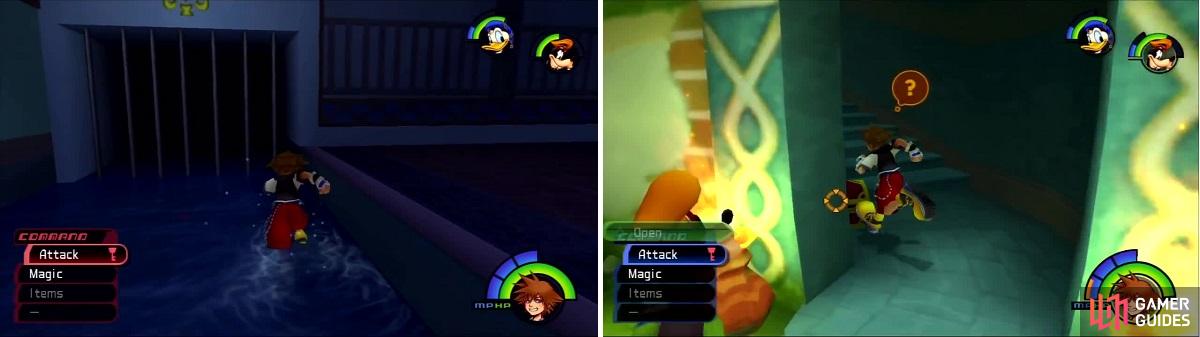
Another Trinity Charge is found in front of this grate (left). After talking to Leon be sure to check the stairs for a Chest (right).
An Old Friend
Head back to the Third District to meet up with Riku. Enter the Vacant House near the exit to the Second District and talk to Cid. He’ll hand over the Warp-G and ask you to check out the bell atop the Gizmo Shop in the Second District. Find Cid again in the First District to receive a Comet-G then save your game. Climb atop the Gizmo Shop and use Trinity Charge #3 to reach the bell. Ring it three times and jump down for a boss fight. Make sure you have your equipment up-to-date; equip the Jungle King Keyblade.
BOSS: Opposite Armor
Opposite Armor will use his ‘hands’ for an annoying spin attack. After a while it will charge up a powerful beam (right).
The boss starts out like Guard Armor but after minimal damage it switches to the more powerful Opposite Armor. Start with defeating the “hands” to stop the annoying spin attack. It’s best to be a little bit reckless for the opening part of the battle since you’ll likely parry attacks instead of taking damage. Focus on the “feet” next but you likely won’t defeat them before the Body pulls the feet in and charges up a powerful beam. This is best avoided by heading down one of the alleys or using the steps to block the attack since it will fire regardless of line of sight. Using Simba is a bad idea, instead just stick to aerial attacks and backing away to use Cure when your HP gets too low. The main Body will drop fast once it’s by itself so keep the pressure on.
Sora learns the power of air and acquires Aero magic.


Side Projects
Talk to Cid to learn you only have one half of the required Navi-G Pieces to reach another area, but at least the first new path is open. He will now sell Gummi Blocks so buy what you need. The COM. 2 is great for expanding your availability. At this point in the game you can start/complete a few optional adventures: 100 Acre Wood, Phil Cup, The Jungle Slider, and Vine Swinging.

 Sign up
No Comments