So, assuming you’ve followed the guide so far, you’ve finished Traverse Town and that weird one with the French name. The next logical choice is The Grid, as it has the lower Combat Level.
On your Dive down, you’ll have to beat the Brawlamari. Just dodge its attacks until the eyes get close, then poke them out. The hardest attack to dodge is the laser shield, which you actually need to air brake to avoid hitting.
The Grid
To Kingdom Hearts II players, I know your first thought: Space Paranoids.
You’re right, sort of. Moving on.
After the introductory cutscene, you’ll learn about this world’s Reality Shift, Code Break. Tap the glowing letters on the Touch Screen to reveal codes, with each having varying effects.
Once you gain control, use the nearby Save Point and Moogle Shop, then go west from there to find a chest; open this chest to obtain a Potion . Go to the far northern part of the area from here and, in the northeastern corner, you can find a Drop-Me-Not .
Backtrack south now to the Save Point and Moogle Shop. Afterwards, head east, and, in the open area, use Flowmotion to scale the southwestern ledge, where you’ll find a Troubling Fancy . After this side trip, go northeast, north, and east on your way to the next area by using the map.
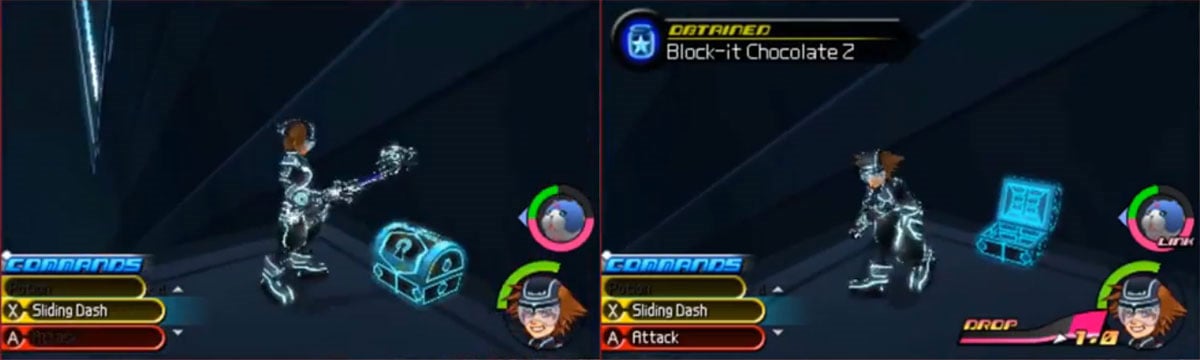
As you do so, once you hit the northbound rails, jump off to a ledge on the east side for a chest with a Water Barrel . At the top, go around and down the western rail, opting for the chest part-way down containing a Block-it Chocolate 2 . Go east to the next area at the bottom.
Here, go forward and beat the enemies, then scale the big southern wall by rolling into it, Flo-mo jumping, air sliding into the wall, and repeating. At the top, open the chest for a Circle Raid . Return to the north and go east for a quick scene. Sora once more shows his lack of computer know-how and gets arrested, almost.
Time to run! Ignore the guards, since they’ll keep a-coming. Return south to the octagonal area in the southeast corner and on a middle ledge, you’ll find some Confetti Candy . Return north now to the big octagonal area that is east east of two smaller ones.
Once there, look around ground level for a chest and open it for a Potion , then use Flowmotion to get to those two smaller circles for two chests: Fleeting Figment and a Royal Cake . Then speed to the next area. Where we find a guard or something. Crap.
We also watch three bystanders make it quite clear that this is Tron’s world from Kingdom Hearts II and that Sora’s weapon is unique. Then the guard leaves.
The girl from earlier asks to see the Keyblade and finds Sora to be a unique “program”. Sora corrects her and everyone introduces themselves. It is revealed that the guard that stopped us IS Tron.
Tron used to be good, but it all went bad when CLU overthrew everything. The old man was exiled and Tron was supposedly de-rezzed and made into Rinzler. We need to change Tron back, and this will likely be done by getting a potential back-up of Tron’s source code. Quorra decides to help Sora find CLU.
Our next plan of action: to locate a solar sailer.
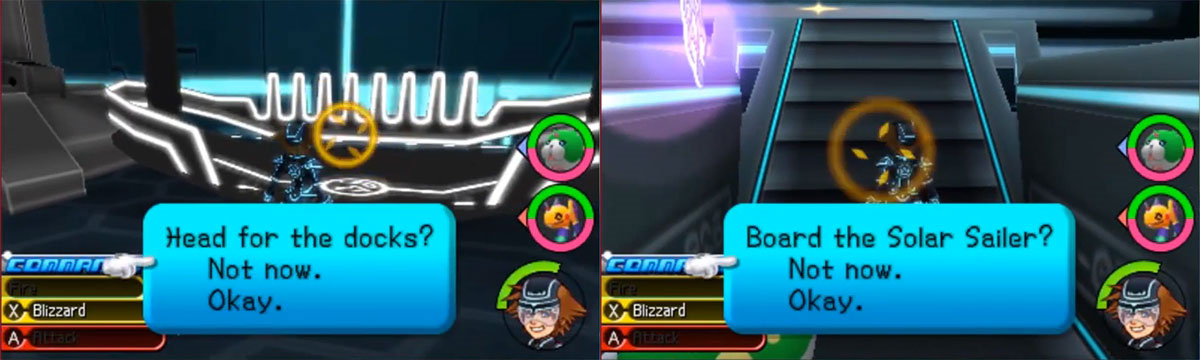
First up, a solar sailer is needed. After the scene ends, you’ll get the Counter Rush , which allows you to counterattack after blocking by using the A Button. Use the Save Point to the south, then examine where the pink square is on the map to proceed. Head to the docks.
At the Docks, you’ll be fighting a few enemies. At the west-central side of the area AND the pillar are chests with a Balloon and Drop-Me-Not , respectively. At the southeast corner is a chest with a Panacea . Once done, go to the northeast corner with the Save Point and press on to the next area by opting to head to the solar sailer.
Hm. Looks different.
Anyways, defeat the enemies here and go around to the behind of the second obstacle to find a chest with Confetti Candy 2 . Go through the hole in the wall and defeat enemies in there. Use the northern thing to get up a floor. Go south and destroy that thing with Reality Shift and touching the red words.
Go south and into the next car to find a Hi-Potion . Leave this car, go west and south at the intersection, entering the next car on the right. Go to the northern end and open the chest for a Panacea , then Reality Shift the laser into oblivion.
Go into the new car and go to the southern end for three chests: Water Barrel , Fleeting Figment , and Balloonra . Then use the obstacle you passed to go up a floor.
You can battle some enemies on the southern two groups of cars and use Reality Shift on two of the lasers to get prizes and stuff. Go to the northwestern corner of the area to find a chest with Treasure Goggles . Drop in-between the cars and go south and into the second eastbound path to find a Balloon .
Return to the top and auto-destruct the lasers in the southwestern area if you haven’t to find a new area. Go in to the bottom to find a Wondrous Figment . Return to the top and go south to the next area.
The solar sailer ends up docking. Once you regain control, go north and open the eastern chest for a Drop-Me-Not . In the northwest corner is a chest with an Ice Dream Cone 2 . Also use the special Portal nearby - if you get 10 attacks in when linked, you’ll get 45 DP , a Noble Fantasy , and a Royal Cake .
Go south now. As you run into the train car things, stick on the eastern one NOT next to the wall to find a chest with a Potion . Get onto the nearby moving once and you can reach a Lofty Fantasy .
Then go west onto the trains and go south. In the central alcove, you can find a Shield Cookie , then go further south to reach a Panacea .
Then back onto the ground by leaving the train at the southern end. Go south to find another Ice Dream Cone , then go north, east, and up the stairs. Inside, go south and hug the eastern wall for a Hi-Potion .
Continue south and west to the next area. As you do, use the Portal and win in under 20 seconds to get 15 DP , a Dulcet Figment , and Block-it Chocolate .
Here on the Rectifier 2F, use Vivi’s (character in Final Fantasy IX) Portal if you want to borrow some Spirits. Go south and downstairs, then north for two chests: Paint Gun (Green x10) and an Ice Dream Cone . Return to the entrance of the area and go north and upstairs. On the field of the first battle you reach is a chest with a Potion .
Continue along the path to the hexagonal areas. Go along the linear path, then as far north as possible past the Save Point to find a chest with a Drop-Me-Not within. Use Reality Shift on the nearby laser after the battle to make it into a transport.
Use it and look around the new area for a Shield Cookie 2 and a Cyber Yog Recipe before returning. Then go to the Save Point and the Moogle Shop. Use them both and use the elevator to reach the next area.

Ooh, a Moogle Shop. Time to stock up on essentials (and non-essentials…).
There, Quorra and Sora arrive where Tron’s source code should be, but it isn’t there - it is probably right with CLU. Suddenly, Tron/Rinzler comes in. Sora decides suicidally to talk to him and jog his memory, to no avail. Sora and Quorra get hurt, and Tron/Rinzler takes her away, with Sora shut off to him.
Suddenly, the man in the black hood comes in, speaking briefly about how memories get shoved to the back of our mind, where they’re safe, and Xemnas (!) mentions how close the heart and memory are… (I thought we killed him!?)
He also speaks on how this world is the original Space Paranoids that the real Ansem abused for his own needs. Here, data can be copied, changed, and manipulated, including memories, and that includes Tron…
As Xemnas parts speaking of how Sora is chosen, the unknown man speaks of how this world is not really a Sleeping World - data cannot sleep, cannot dream - and he leaves…
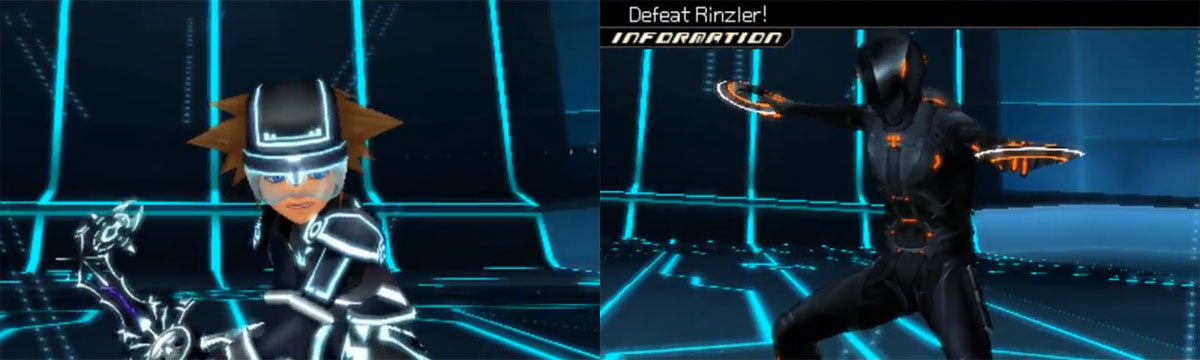
Suddenly, Sora finds himself in a fighting arena as Combatant 13 (crap!) to fight versus Tron/Rinzler. CLU comes along with the latter to meet with him and do the usual rant. He also wants Sora’s Keyblade - it can open any lock, remember?
Hand it over and Rinzler becomes Tron. Sora says he can’t hand it over (but remember Port Royal’s ending in Kingdom Hearts II?), so CLU decides to forcibly take it via Tron/Rinzler.
Gotta fight.
Boss: Tron/Rinzler
| **Max HP** | **Strength** | **Magic** | **Defence** |
|---|---|---|---|
| 333.7 | 14.0 | 14.0 | 6.9 |
Resistance
| **Fire** | **Blizzard** | **Thunder** | **Water** | **Dark** | **Light** |
|---|---|---|---|---|---|
| 0% | 0% | 0% | 0% | 0% | 0% |
After winning and gaining more HP and drop bonuses , Sora does … something to Tron/Rinzler to restore his source code and return him back into the Tron we all know and love (if you played Kingdom Hearts II), to the chagrin of CLU, who attacks.
Tron saves Sora, but falls an unsurvivable distance despite Sora’s efforts to save him… After befriending Quorra, Sora wonders if his memories are his own (like Roxas and Xion before him), and if he IS on the right path. He then seals the next Sleeping Keyhole and obtains the Dual Disc Keyblade .
Once you’ve finished this world, there are some treasures in areas we haven’t really visited yet in Sora’s playthrough. Re-enter in the City, then go north and use the ramp to reach the Docks.
You’ve beaten the boss, but you probably haven’t raided all the chests.
Here, go along the path to the north/south fork. Go south and auto-destruct the laser to avoid annoyances, as well as defeat some enemies. Scale the wall at the end of the path to reach a chest with an Eaglider Recipe . Further along, near the locked door, you’ll find some Treasure Goggles .
Go along the unused path and defeat some enemies on the way. At the second new laser, use Reality Shift to auto-destruct it, revealing a chest and a thing. Open the former for a Paint Gun (Black x10) ; use Reality Shift on the latter to “unlock” the doors. Continue along the path.
After leaving the elevator, go along and use Reality Shift on two of the three lasers to auto-destruct them. Go to the lower level, which you’ve looted, and head southwest to the Bridge.
Use the Special Portal in the center and block three attacks in the following fight to obtain 45 DP , a Noble Fantasy , and a Royal Cake . Open the chest at the west-central part of the area to find some Block-it Chocolate , then open one at the east-central part of the area for a Drop-Me-Not . Go west to the Thoroughput now.
Go along to the edge of the platform to the west, then go south onto the rails and ride along to the Dulcet Figment . I would have gotten this earlier, but the situation was a bit too hectic.
 Sign up
No Comments