The Savannah
Head through the Sunlight Storm to reach the Pride Lands. You start in the Gorge where you will notice you are now a Lion. This form comes with its own set of skills and Limits/Drives are disabled. Empty the three “chests” to collect the Savannah Map (1/25), a Dark Gem (2/25), and a Mythril Stone (3/25). In the next area you’ll be helping out Nala as some Living Bones attack her!
Monster - Living Bone
A Living Bone is a large dinosaur-like beast, similar to an anklyosaurus. It uses multiple attacks in conjunction with its high health to cause quite a ruckus. The Shockwave is followed up after a leap and it can also use a tail spin to deal moderate damage. Occasionally the Living Bone will Blaze its feet or cast Will-O-Wisps at Sora. The best way to beat a Living Bone is wait for the Reaction Command “Rodeo” so you can ride it then drive into the ground with “Grand Cross.”
Monster - Aerial Knocker
Aerial Knockers attack in groups and are winged Heartless that wear boxing gloves. They use these gloves to use short successions of jabs dealing minimal damage but rapidly. They also have the ability to unleash a flurry of hooks that can knock Sora back and deal moderate amounts of damage. Lastly, the Aerial Knocker will use a Charge Punch to lunge straight at Sora causing a knockback and high damage; be sure to dodge this attack or Guard against it. Aerial Knockers are smart in that they wait until they can attack. This is when you can counter with the Reaction Command “Rapid Blow” however, to counter the successive jabs and hooks with a flurry of your own that should be more than enough to take down this Heartless.
Open the chest at the bottom of the map for an AP Boost (7/25). Move up to the center and you can make a leap and slash to snag Dawn #30. Continue up the east side to find a Mythril Shard (8/25) and a Bright Stone (6/25). Turn around from here and take the upper path to collect a Mythril Stone (5/25) then head to the puzzle piece at the north end. Collect Dawn #42 then the Frost Gem (4/25) from the gourd before exiting at the north end. Cross into the Savannah and plow through the Heartless to reach Pride Rock at the north.
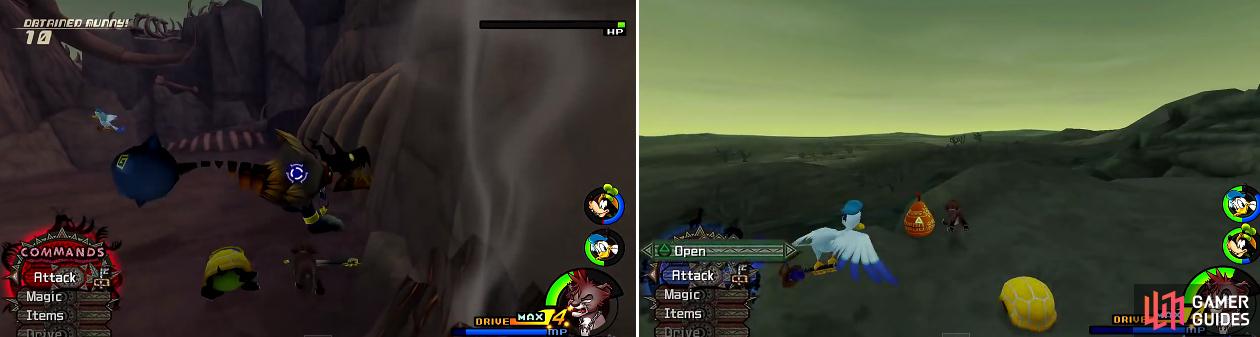
The Living Bone (left) is a strong enemy and also has high HP so it will take teamwork to bring it down. The gourds (right) are the chests of this area and can be hard to spot.
The Right Credentials
Head around the base of Pride Rock to find three gourds, Pride Rock Map (9/25), Mythril Stone (10/25), and Serenity Crystal (11/25). Leap off the top of Pride Rock going north to snag Twilight #29 . If you need to save you can enter the Stone Hollow just before the exit to the Savannah. As you exit, the hyenas will make a brief appearance. Make a dash to the southeast corner where a scene takes over. Afterwards, Nala teaches Sora the Dash ability. In the Wildebeest Valley head straight ahead to a gourd to claim the Energy Stone (12/25) inside. Turn right to find a second gourd with a Mythril Stone (15/25) inside.
Cross to the opposite end now to collect Dawn #2 . Continue towards the open area but turn around to find a gourd tucked against the rock, it has an AP Boost (13/25) inside. Ahead you’ll find a Mythril Gem (14/25) and a Lucid Gem (16/25) inside the gourds, also Dawn #48 near the tree. Continue to the Wastelands where you can quickly find Dawn #1 . Turn left to find a gourd with a Mythril Shard (17/25) then continue around to a Serenity Gem (18/25) and Dawn #3 . Defeat the Living Bones towards the end and claim the Mythril Stone (19/25) from the gourd.
Hakuna Matata
In the jungle you’ll quickly acquire the Serenity Crystal (22/25) at the start. Run up the hill and turn around onto the hill to find another gourd with a Serenity Gem (20/25) inside. Collect the Mythril Stone (21/25) around the bend then leap off the short ledge to snag Dawn #47 . Continue onward to the Oasis where you will have to help Simba after a scene. Before going to aid him, loot the Oasis Map (23/25), Torn Pages (24/25), and an AP Boost (25/25). If you leap from the highest point towards the puzzle piece you can snag it; the piece is Dawn #4 . You can come back to get it later but to get it now, Dash around the area and make a leap onto the high pond then again directly at the puzzle piece. It’s tricky, but if you are dashing you’ll fly right into it. Purchase the Lords Broom and Dreamcloud if you can, they are upgrades.
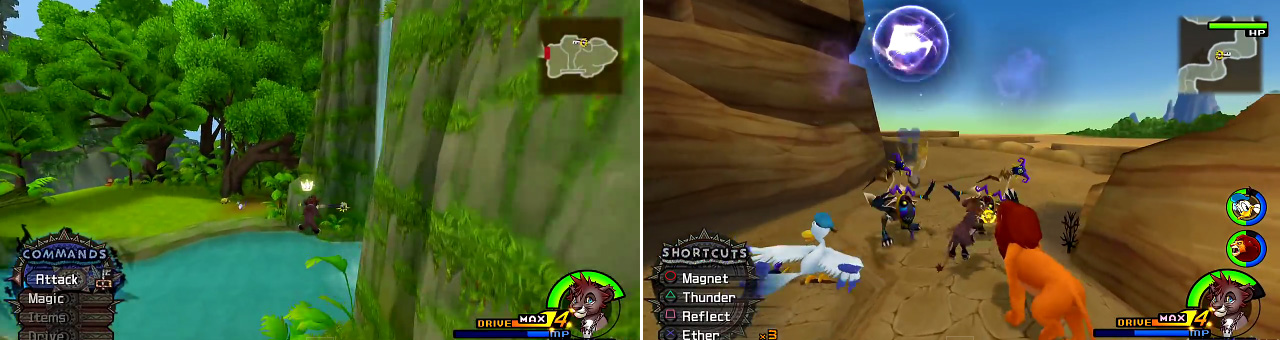
Jump from here to reach the puzzle piece (left). It takes a little practice to get it right. The Shaman (right) can make life difficult so kill them quickly using your powerful skills.
Kumop’s Moogle Shop
| Item | Price |
|---|---|
| Hammer Staff | 100 |
| Lord’s Broom | 600 |
| Adamant Shield | 100 |
| Dreamcloud | 600 |
| Potion | 40 |
| Ether | 120 |
| Tent | 100 |
After the scene talk to Simba to receive the Circle of Life Keyblade. Simba joins the party and now we must head back to Pride Rock. You’ll likely encounter the Shaman along the way, a new Heartless. As you reach the Savannah a scene takes over and Simba leaves the party.
Monster - Shaman
Shaman cast numerous spells such as Blaze, a fire underneath the target or Will-O-Wisps that form around the target. This curse is pretty devastating if the Shaman mounts a Living Bone so watch out! It also has a Mask Rush ability that makes it temporarily invincible.
BOSS - Shenzi Banzai and Ed
There really isn’t a lot to this battle. You have to protect Timon and Pumba from the hyenas but it isn’t that difficult. Lock onto one of them and pummel them until Pumba calls for help. Call him over and use Fire to knock back the enemies then resume targeting a single hyena until it goes down. Once you take one of them out it becomes a very simple battle.
Rewards : HP +5 (Sora), HP +4 (Donald), Lucky Lucky (Goofy)
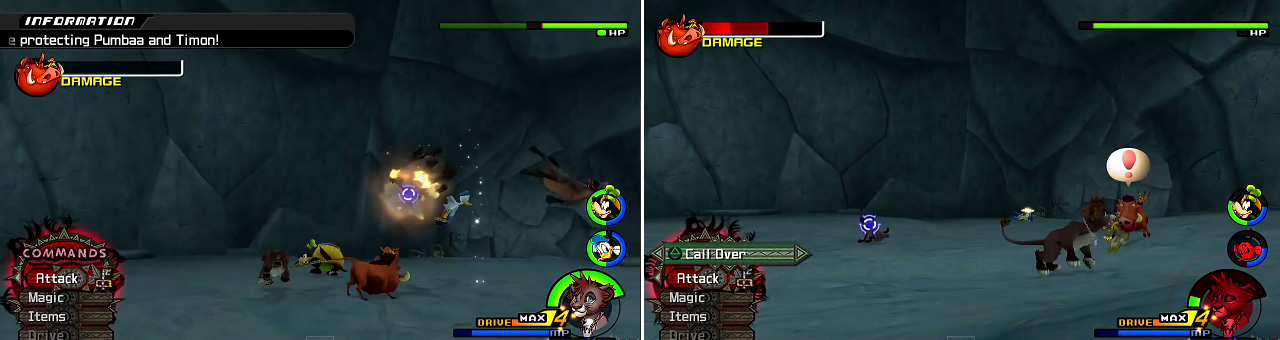
Using magic (left) against the hyenas is effective as you can knock them into the air. Call Pumba over (right) when you can to deal more damage to them.
After the battle leap off the ledge to grab Dawn #18 then head into the final area to square off with Scar.
BOSS - Scar
The game hint is really accurate this time around in that you need to pick your times to attack or Scar will tear you up. Start off with some combos to whittle down Scar’s HP then use the Wildcat Limit when Scar switches to his elemental attacks. They consist of circling balls of lightning that leave pillars in their wake. He can also use fire where he pounces leaving flaming pillars. Both of these attacks are tough to dodge and can deal a lot of damage so focus on Dashing around the arena.
As the battle continues Scar’s attacks intensify to include Dark energy! During this attack Scar is incredibly fast so you must dodge or you can be pinned down; be sure to use the “Counter” Reaction Command if you are pinned. After this attack Scar is vulnerable for a little bit so let him have it and end the battle with the Wildcat!
Rewards : MP +10 (Sora), Fire Boost (Donald), HP +5 (Goofy), HP +30 (Simba)
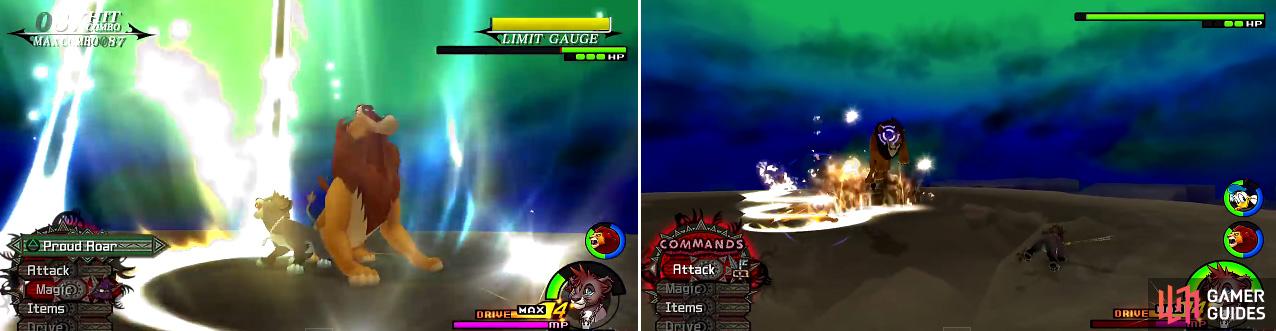
Use Limit Breaks regularly when you get a chance (left). You will need to use Dash a lot in this fight to avoid Scar’s elemental attacks (right).
After completing this level you obtain another Fire Element and unlock the Cerberus Cup at the Coliseum. You also have another Torn Page so you can visit Pooh again too! Check the Cerberus Cup and 100 Acre Wood sections if you are interested.

 Sign up
No Comments