
This mission is one of the three new recruitment dossiers you’ll acquire after completing the mission on Horizon, and the only one that doesn’t require you to travel to Illium. Instead, to start this mission you need merely travel to Dholen system in the Far Rim cluster and land on planet Haestrom to start the mission.
When you deploy, pick characters with useful skills against synthetics. Garrus and Miranda are useful due to Overload, while Zaeed will prove useful due to his Disruptor Ammo. Most of your foes will deploy shields, but you’ll also see armor, so characters like Mordin, Thane and Samara can also prove useful.
| Notable Items in This Area |
|---|
| Weapon: M-9 Tempest SMG |
| Upgrade - Research Project: Heavy Pistol Damage |
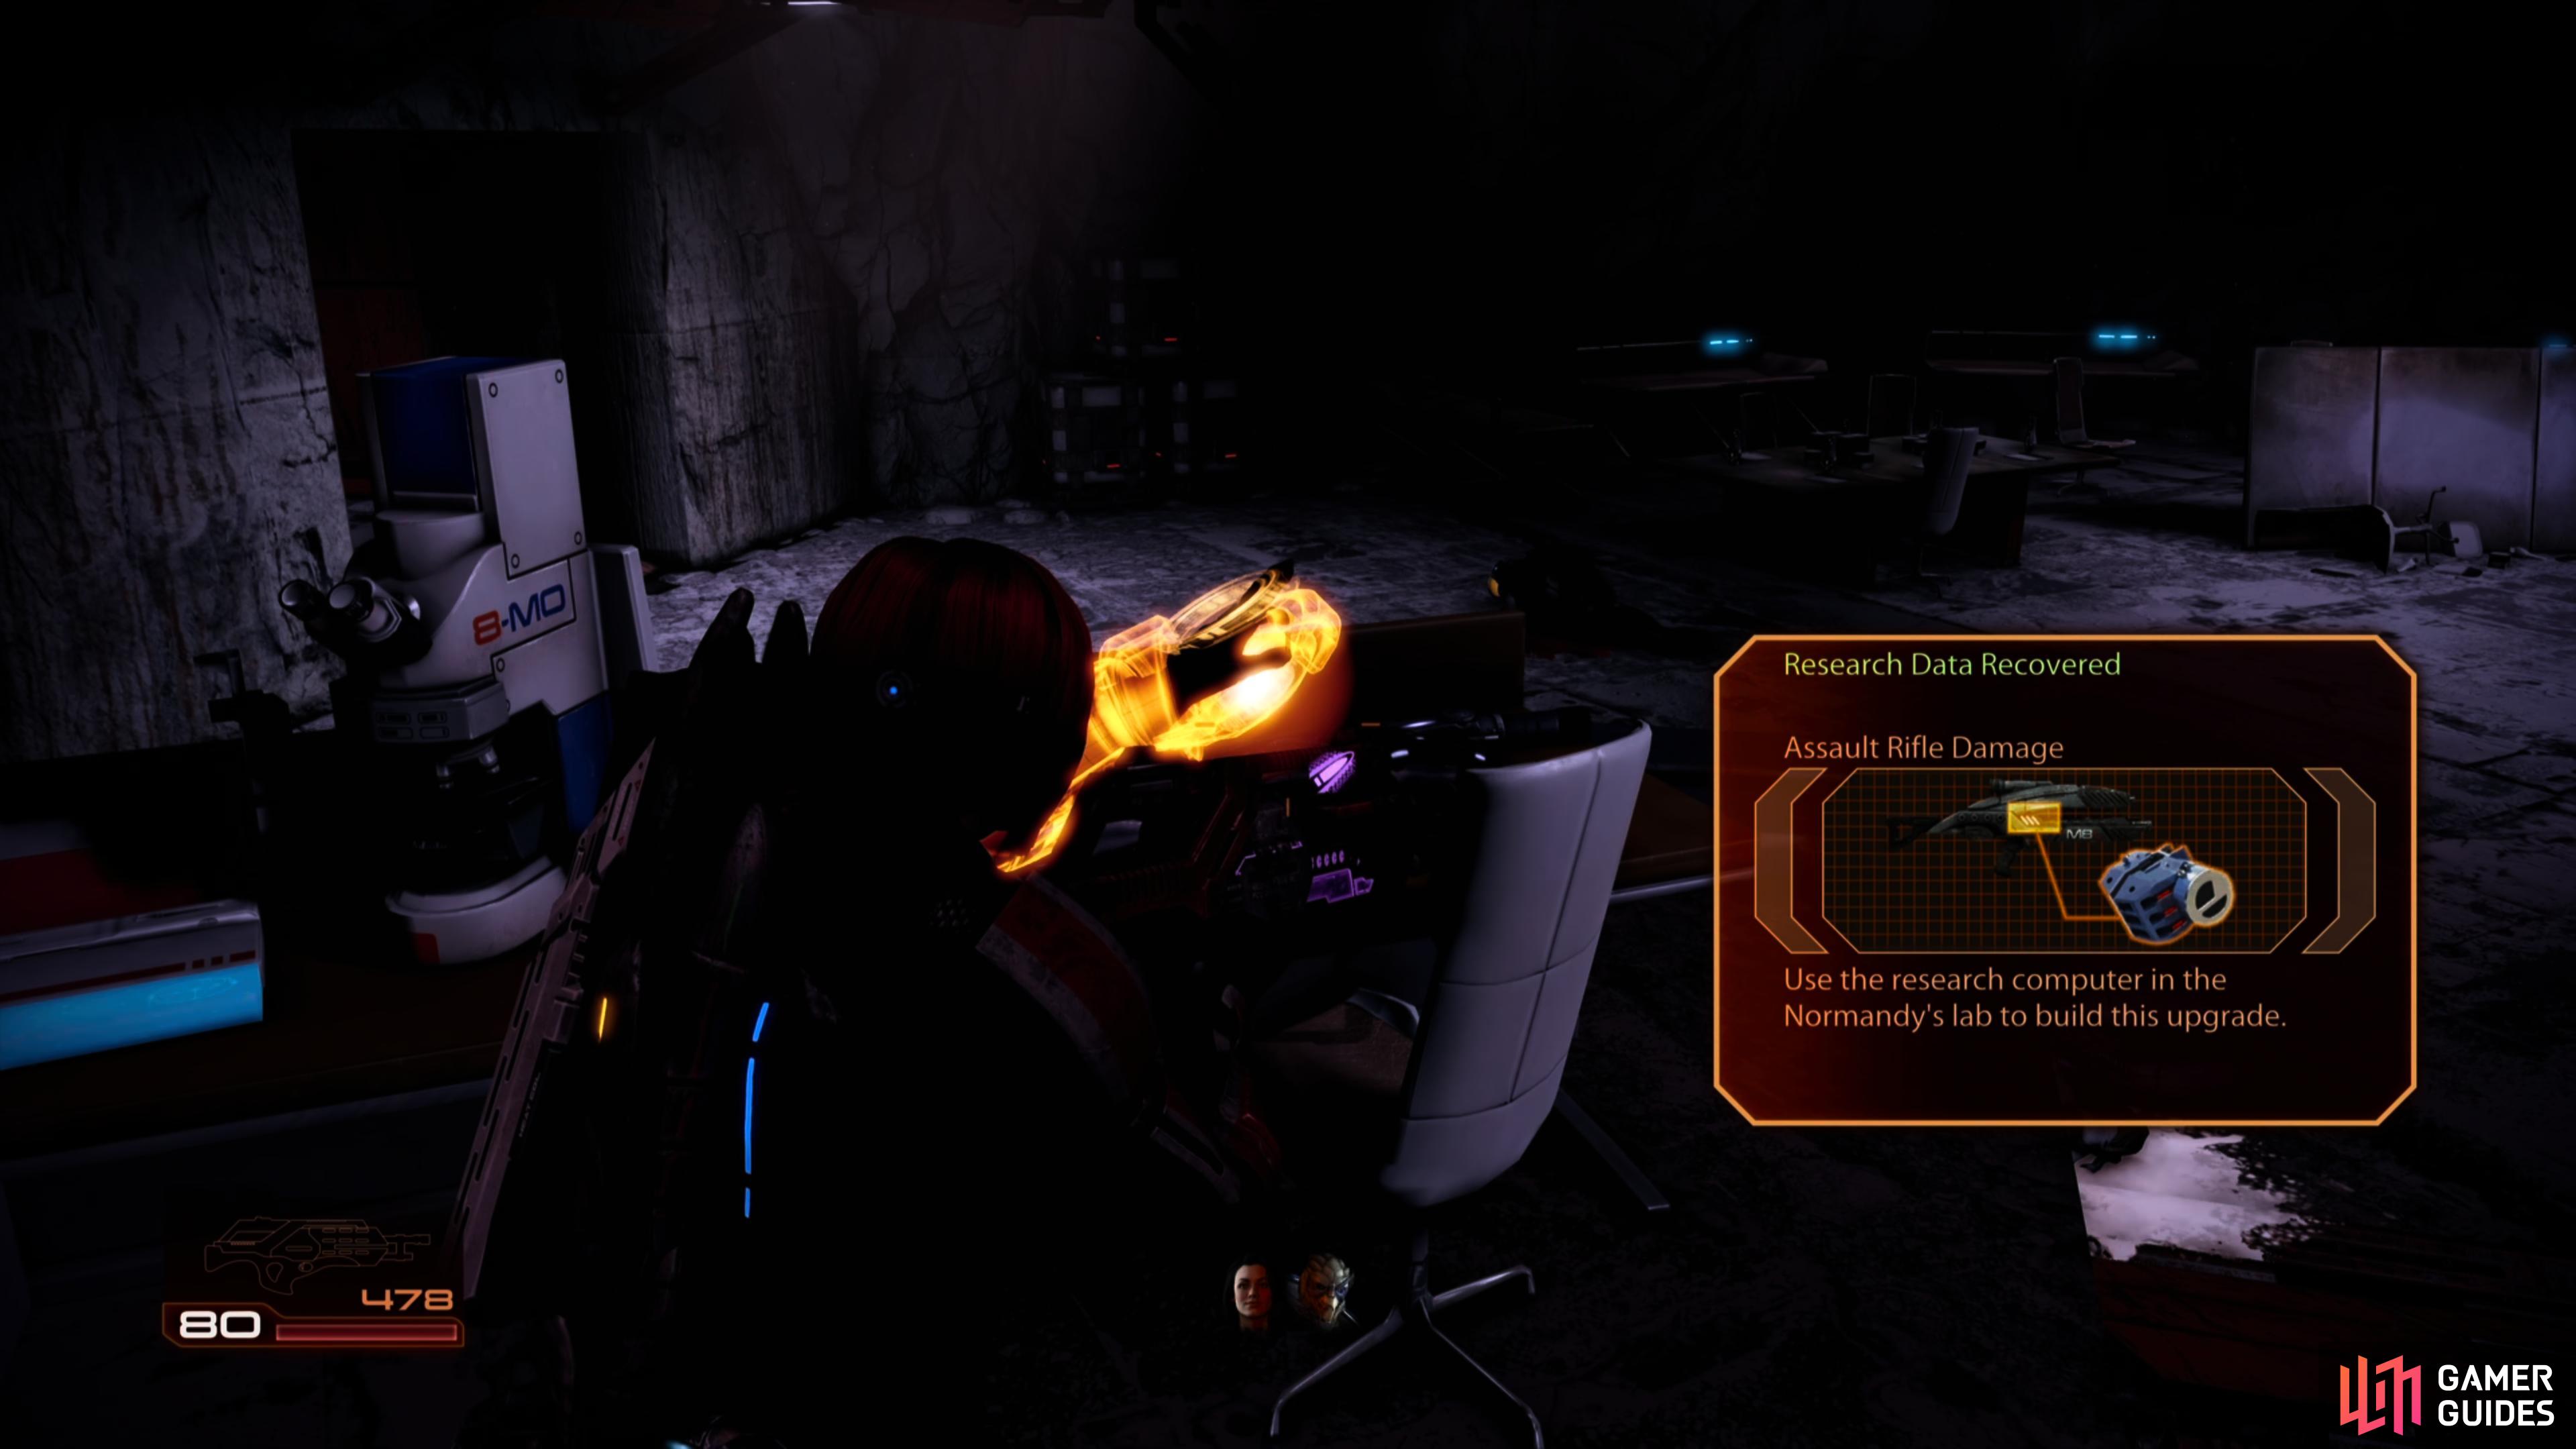
| Upgrade - Research Project: Assault Rifle Damage |
(1 of 2) Exposure to direct sunlight will damage your shields. It can’t kill you, but it is a hazard.
Exposure to direct sunlight will damage your shields. It can’t kill you, but it is a hazard. (left), You’ll almost exclusively be fighting geth this mission - use the appropriate ammo and weapons to deal with synths. (right)
When you arrive you’ll be treated to a scene showing off this mission’s unique hazard: the sun has grown wildly unstable to the point that exposing yourself to direct sunlight will deplete your shields. This won’t actually inflict health damage and can’t kill you, but if your build heavily relies on shields - like the Vanguard - it can make combat more dangerous. Soldiers, on the other hand, will be less affected. Still, it’ll force you to not only avoid enemy fire, but stick to shaded areas as much as possible, which complicates combat somewhat.
When you are ready to start, run all the way down the hill, being sure to sprint through the sunny spots. At the bottom, enter the door to the right. Grab the Med Kit and loot the damaged Geth . Use the switch to open the gate to the next area.
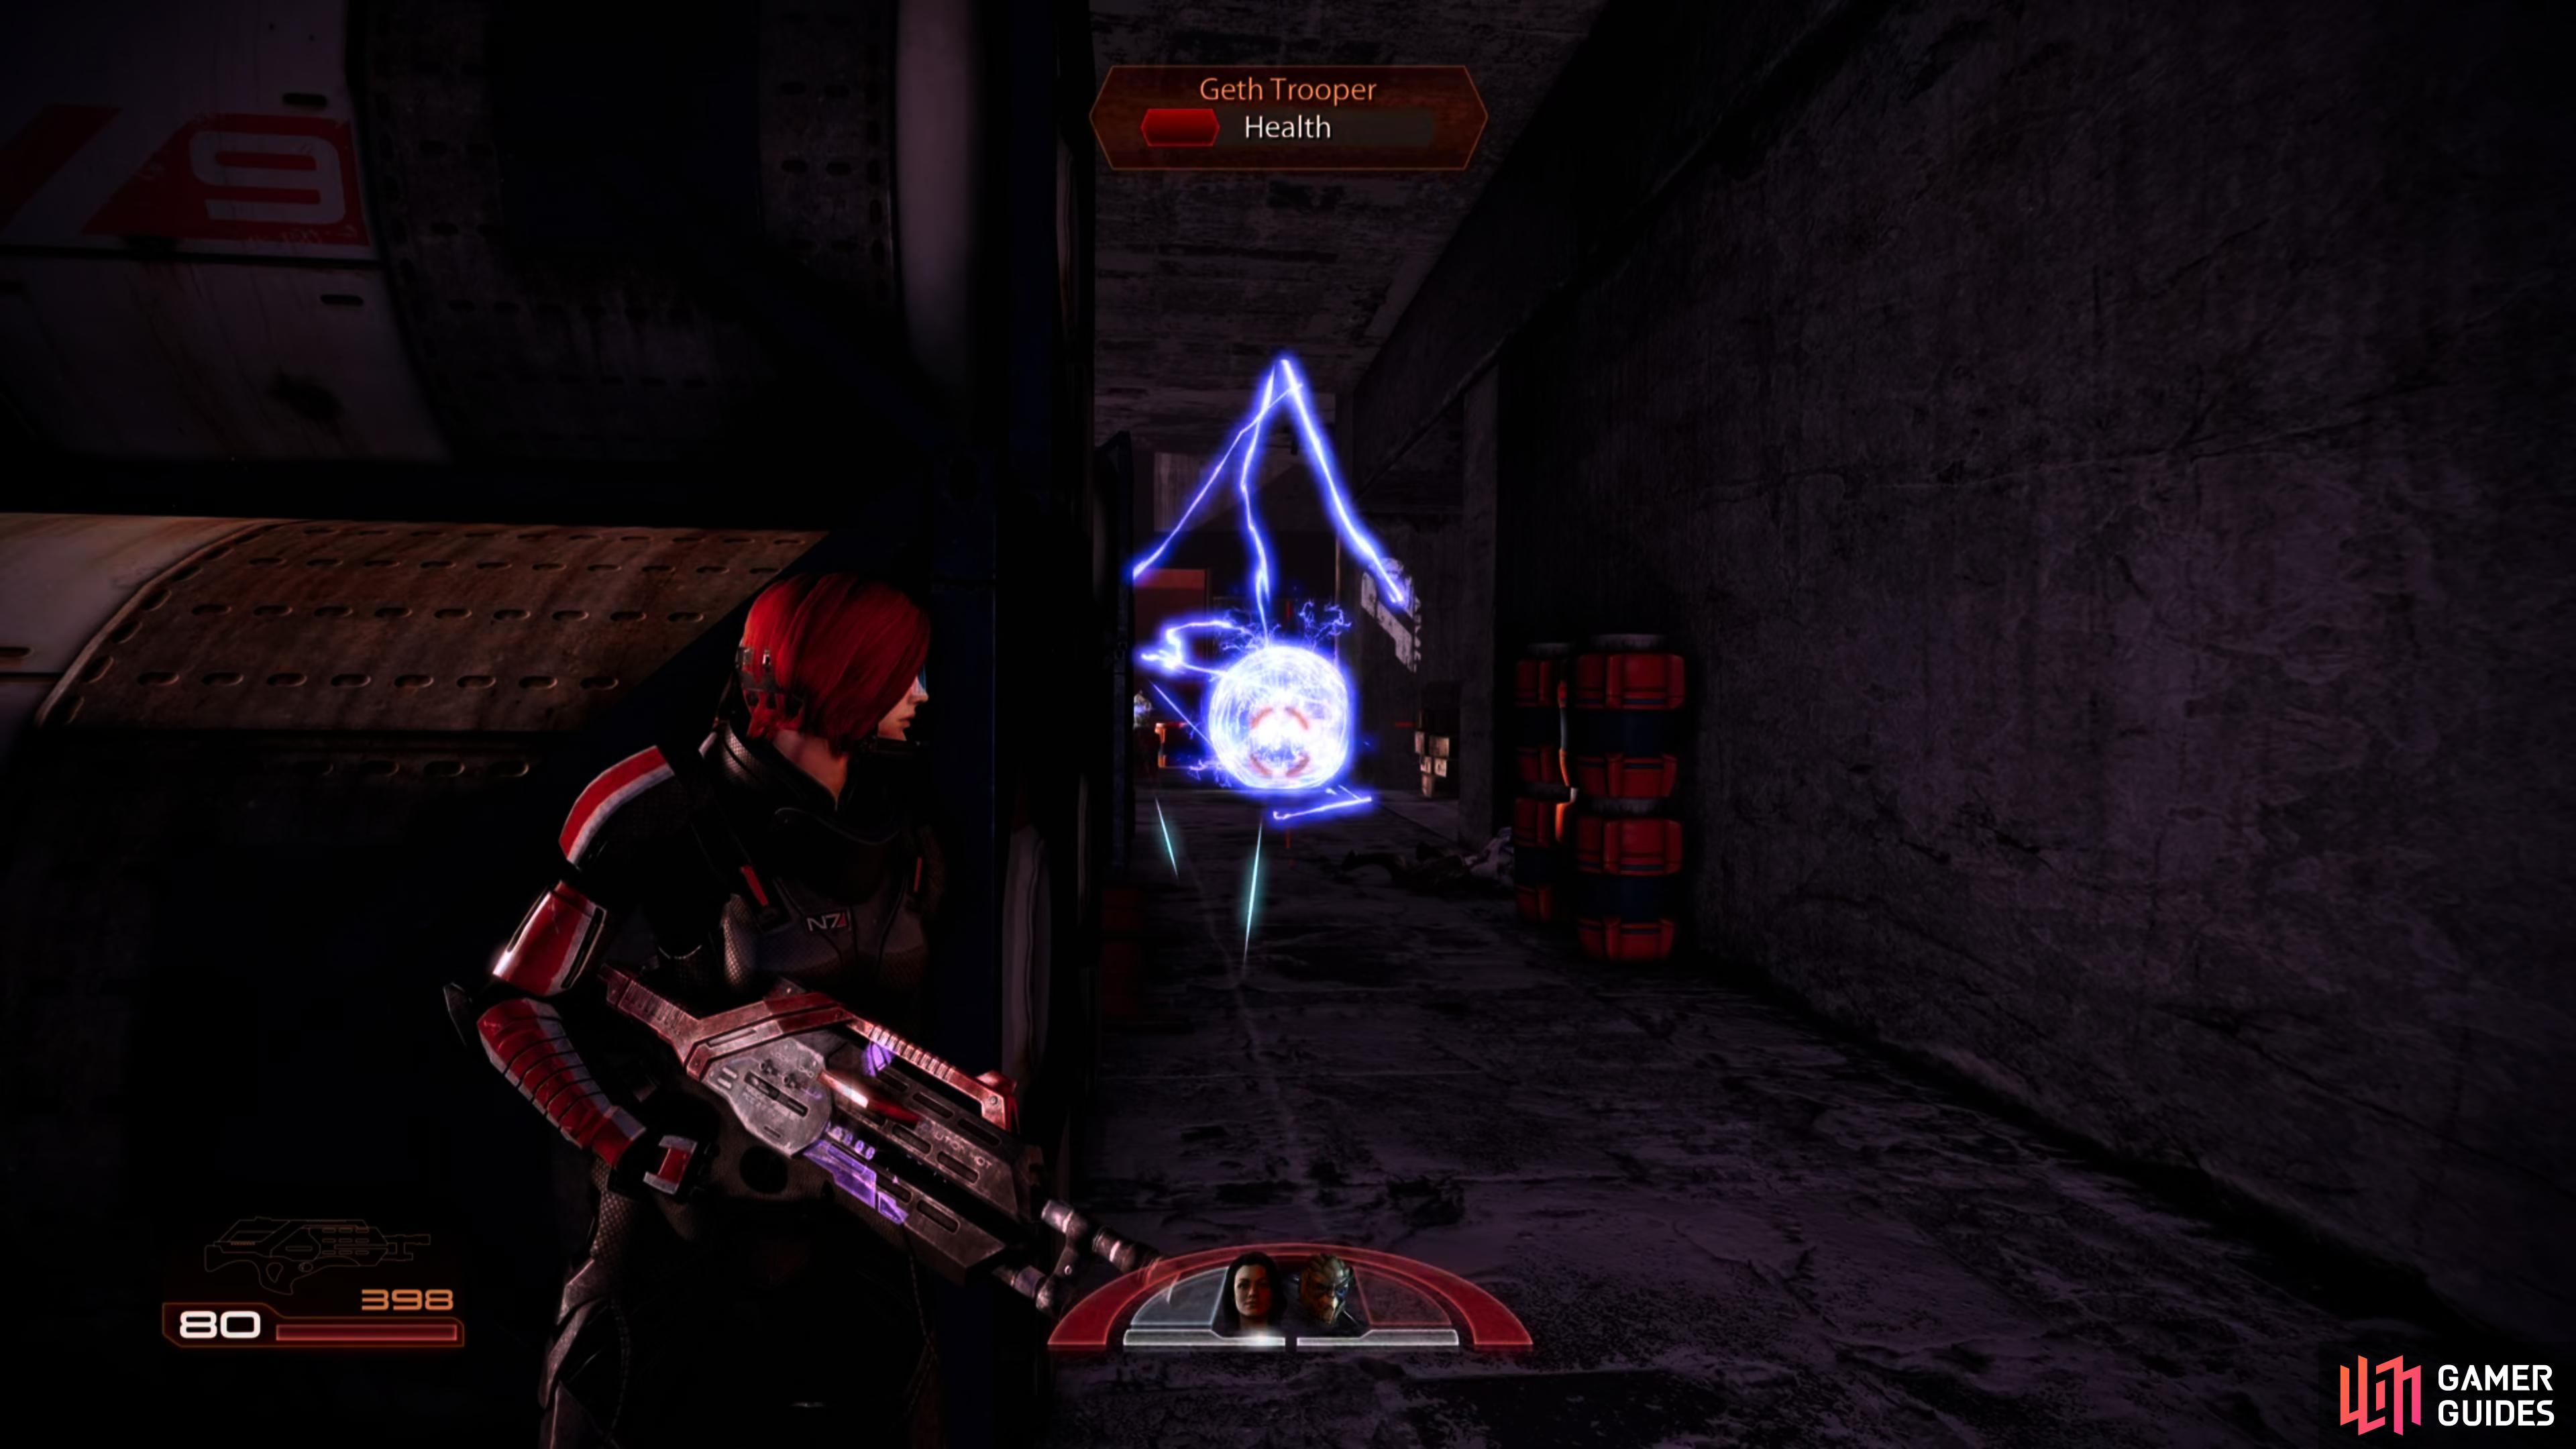

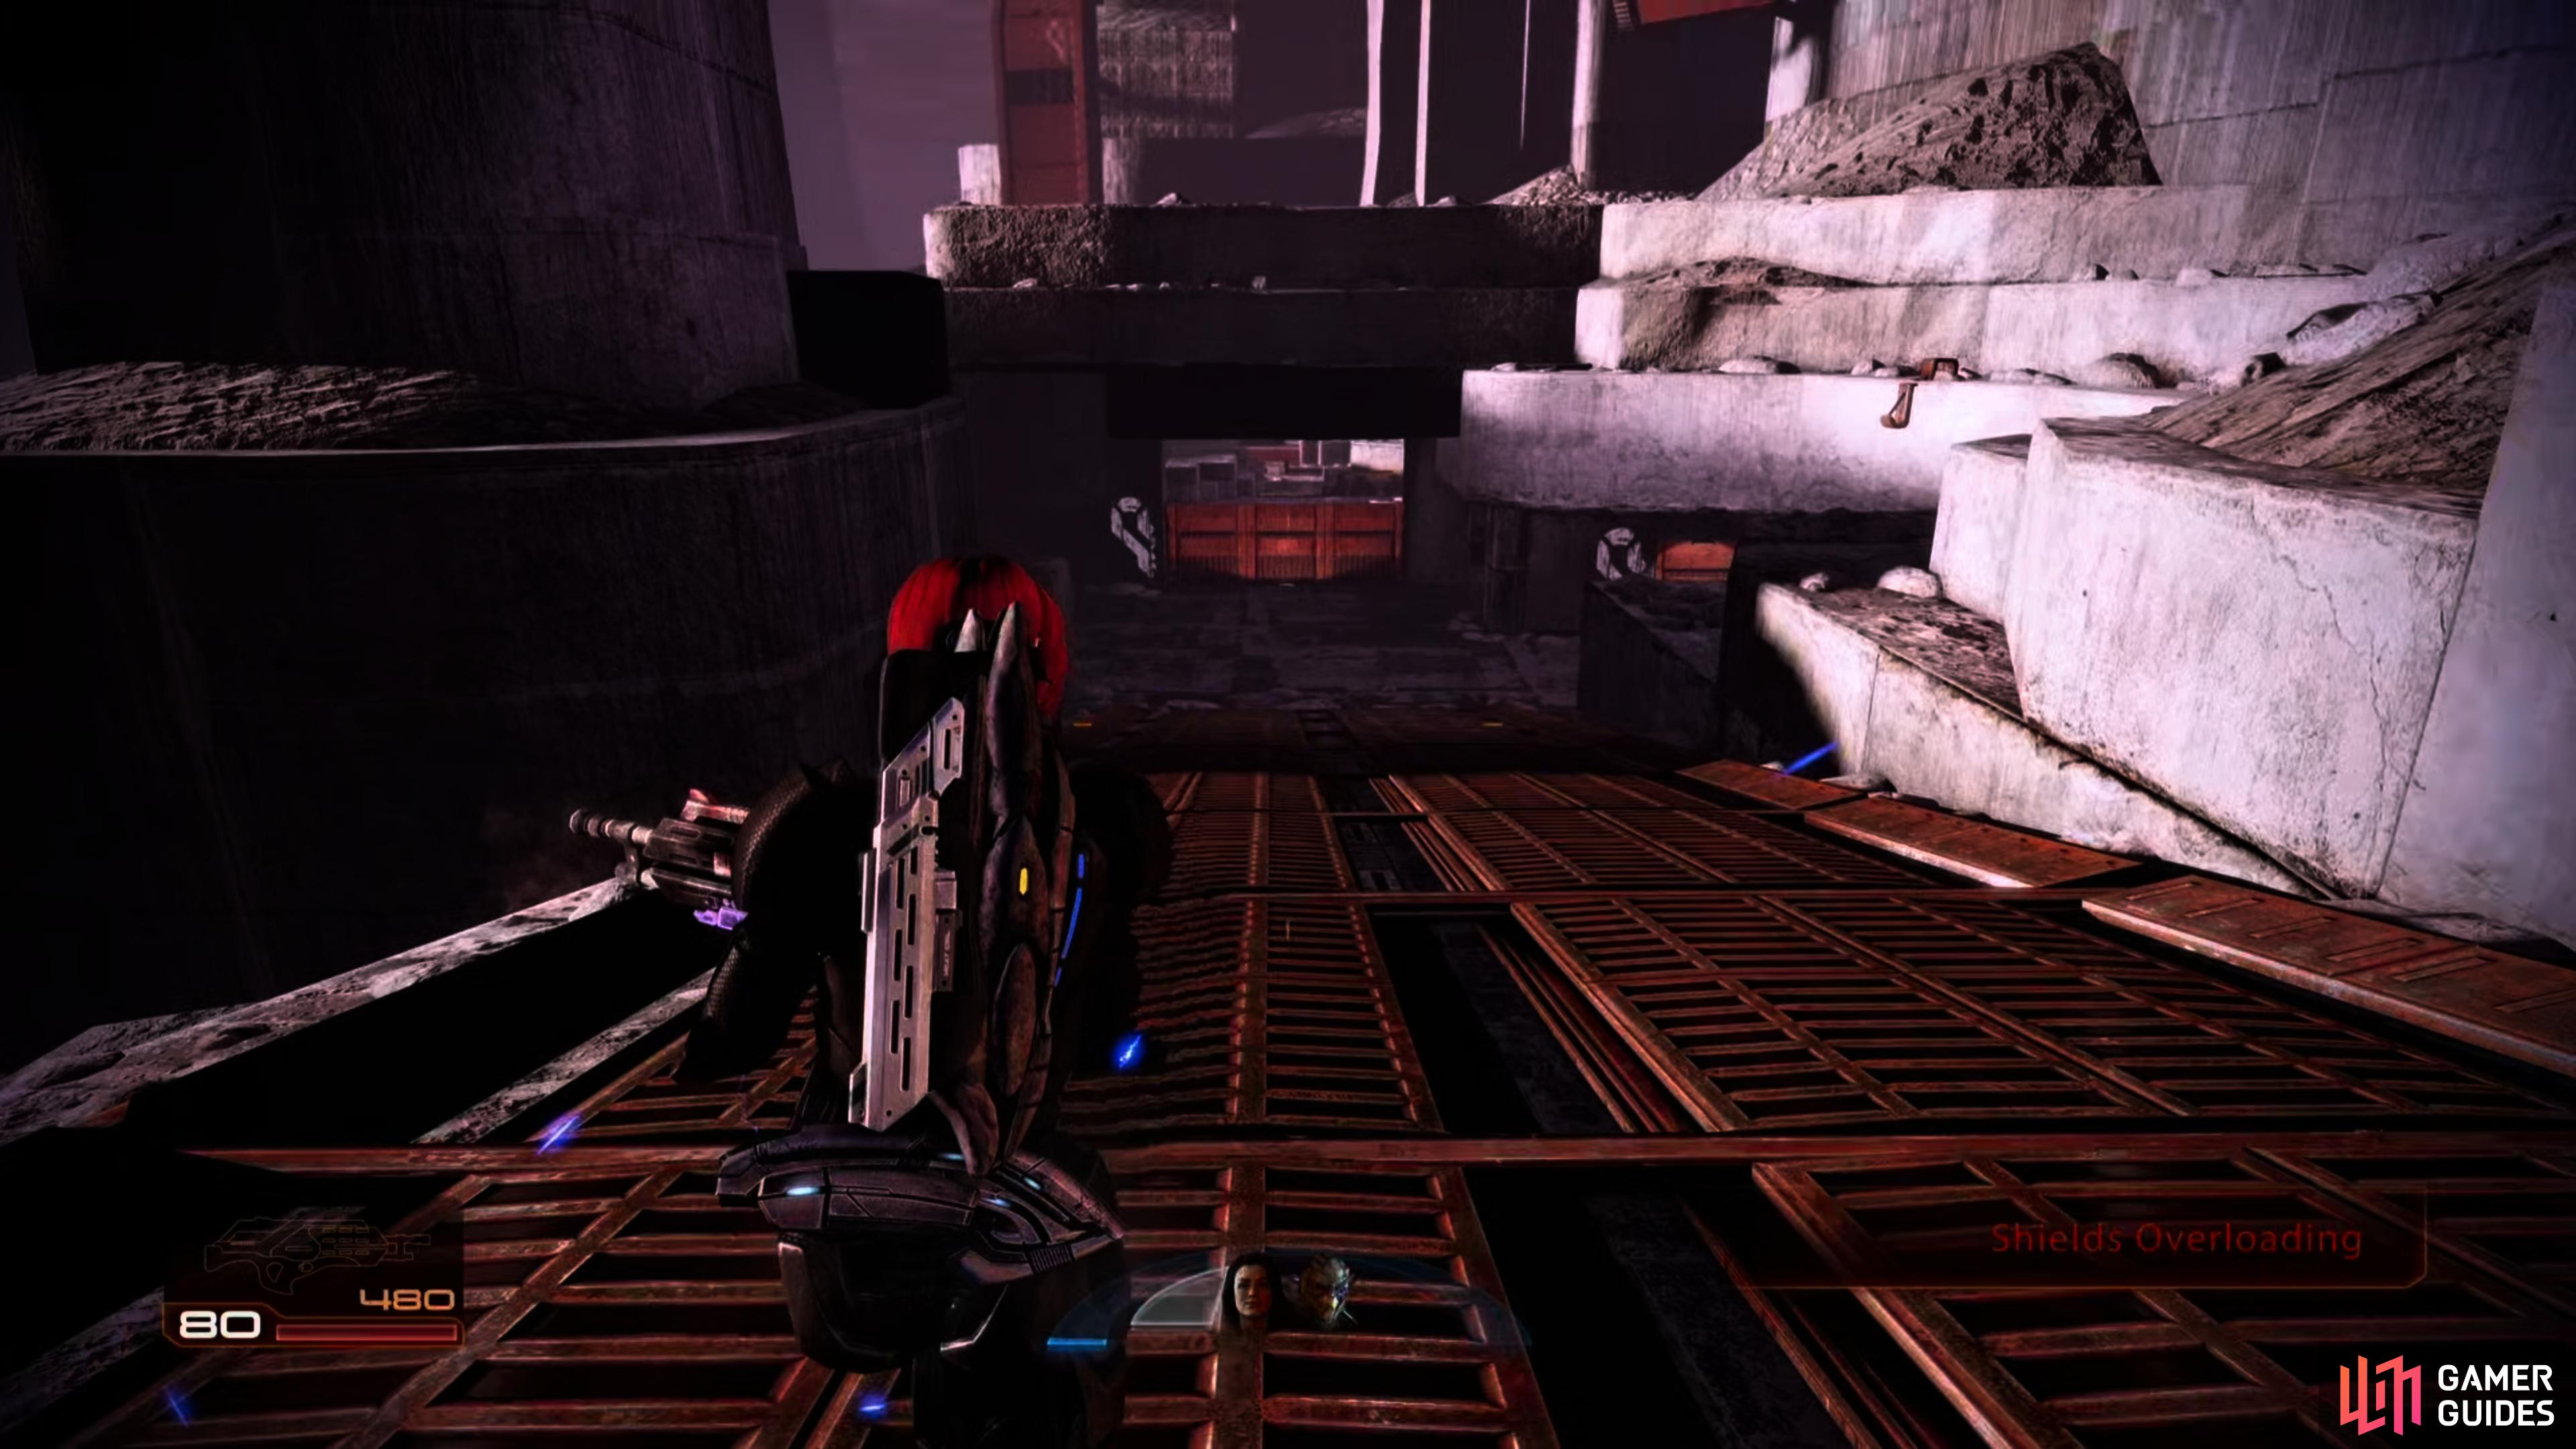
Walking through the gate you will see a dropship unloading Geth into the area. Run up to the cover in front of the gate and take out the first group of Geth troopers. Continue onwards a short way and you will run into a few more Geth. After killing these guys, you should just about be at the next sunny area. Run and take cover in the shade behind the block in the middle of the sunny zone. If you follow the blocks shadow to the right, you will find a small passageway with a Heavy Pistol Damage upgrade and a ramp leading up.
At the top of the ramp, turn to the right and exit onto a balcony type area. Follow it to the right and destroy the large number of Geth that are up here. Work your way to the end of the walkway, but instead of going down the ramp, take cover in the corner furthest to the left and eliminate the enemies in the area below. After they have been killed, run straight down the right side of the ramp and into cover behind the stone block. From here, lean out and look to the left and towards the sun. See the green canister? That’s some Refined Iridium that you can grab if you feel the need.
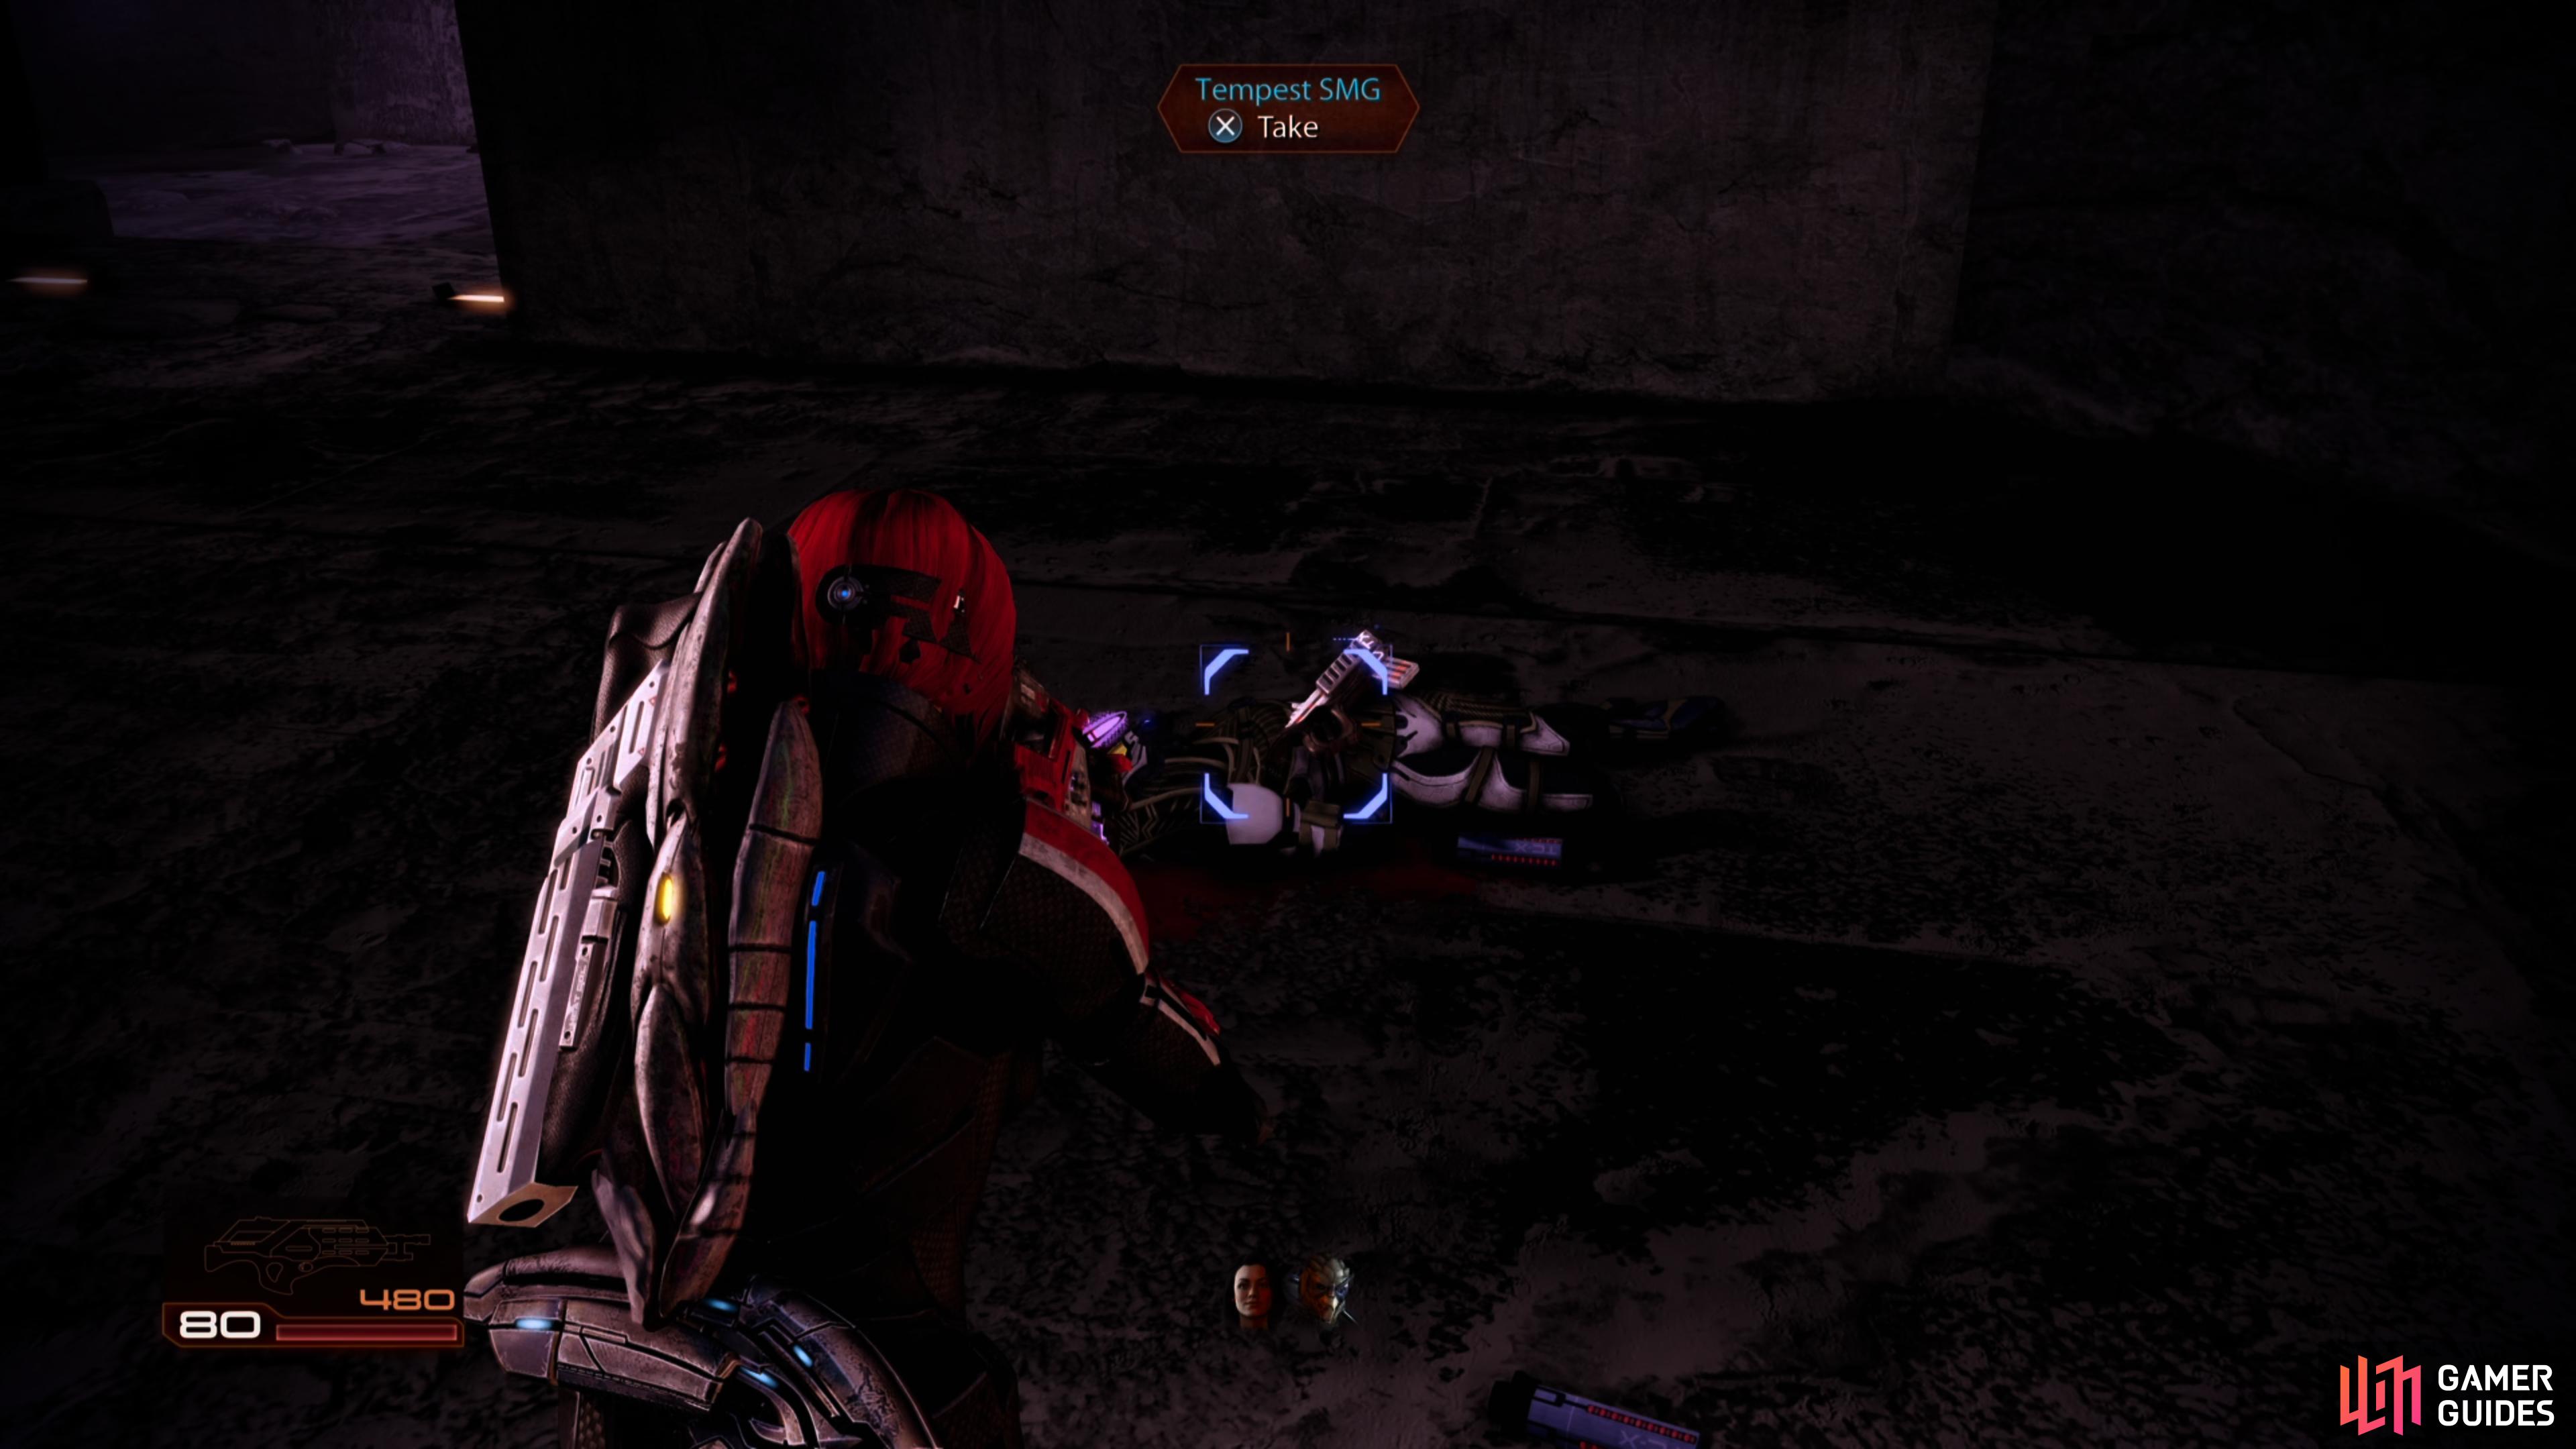
Afterwards, head across the next sunny strip and into the building behind. Follow the passageway around the corner and kill the group of Geth. Examine the dead Geth Hunter and pick up a new weapon - the M-9 Tempest Submachine Gun - from the ground nearby. Activate the Quarian radio to start a conversation.
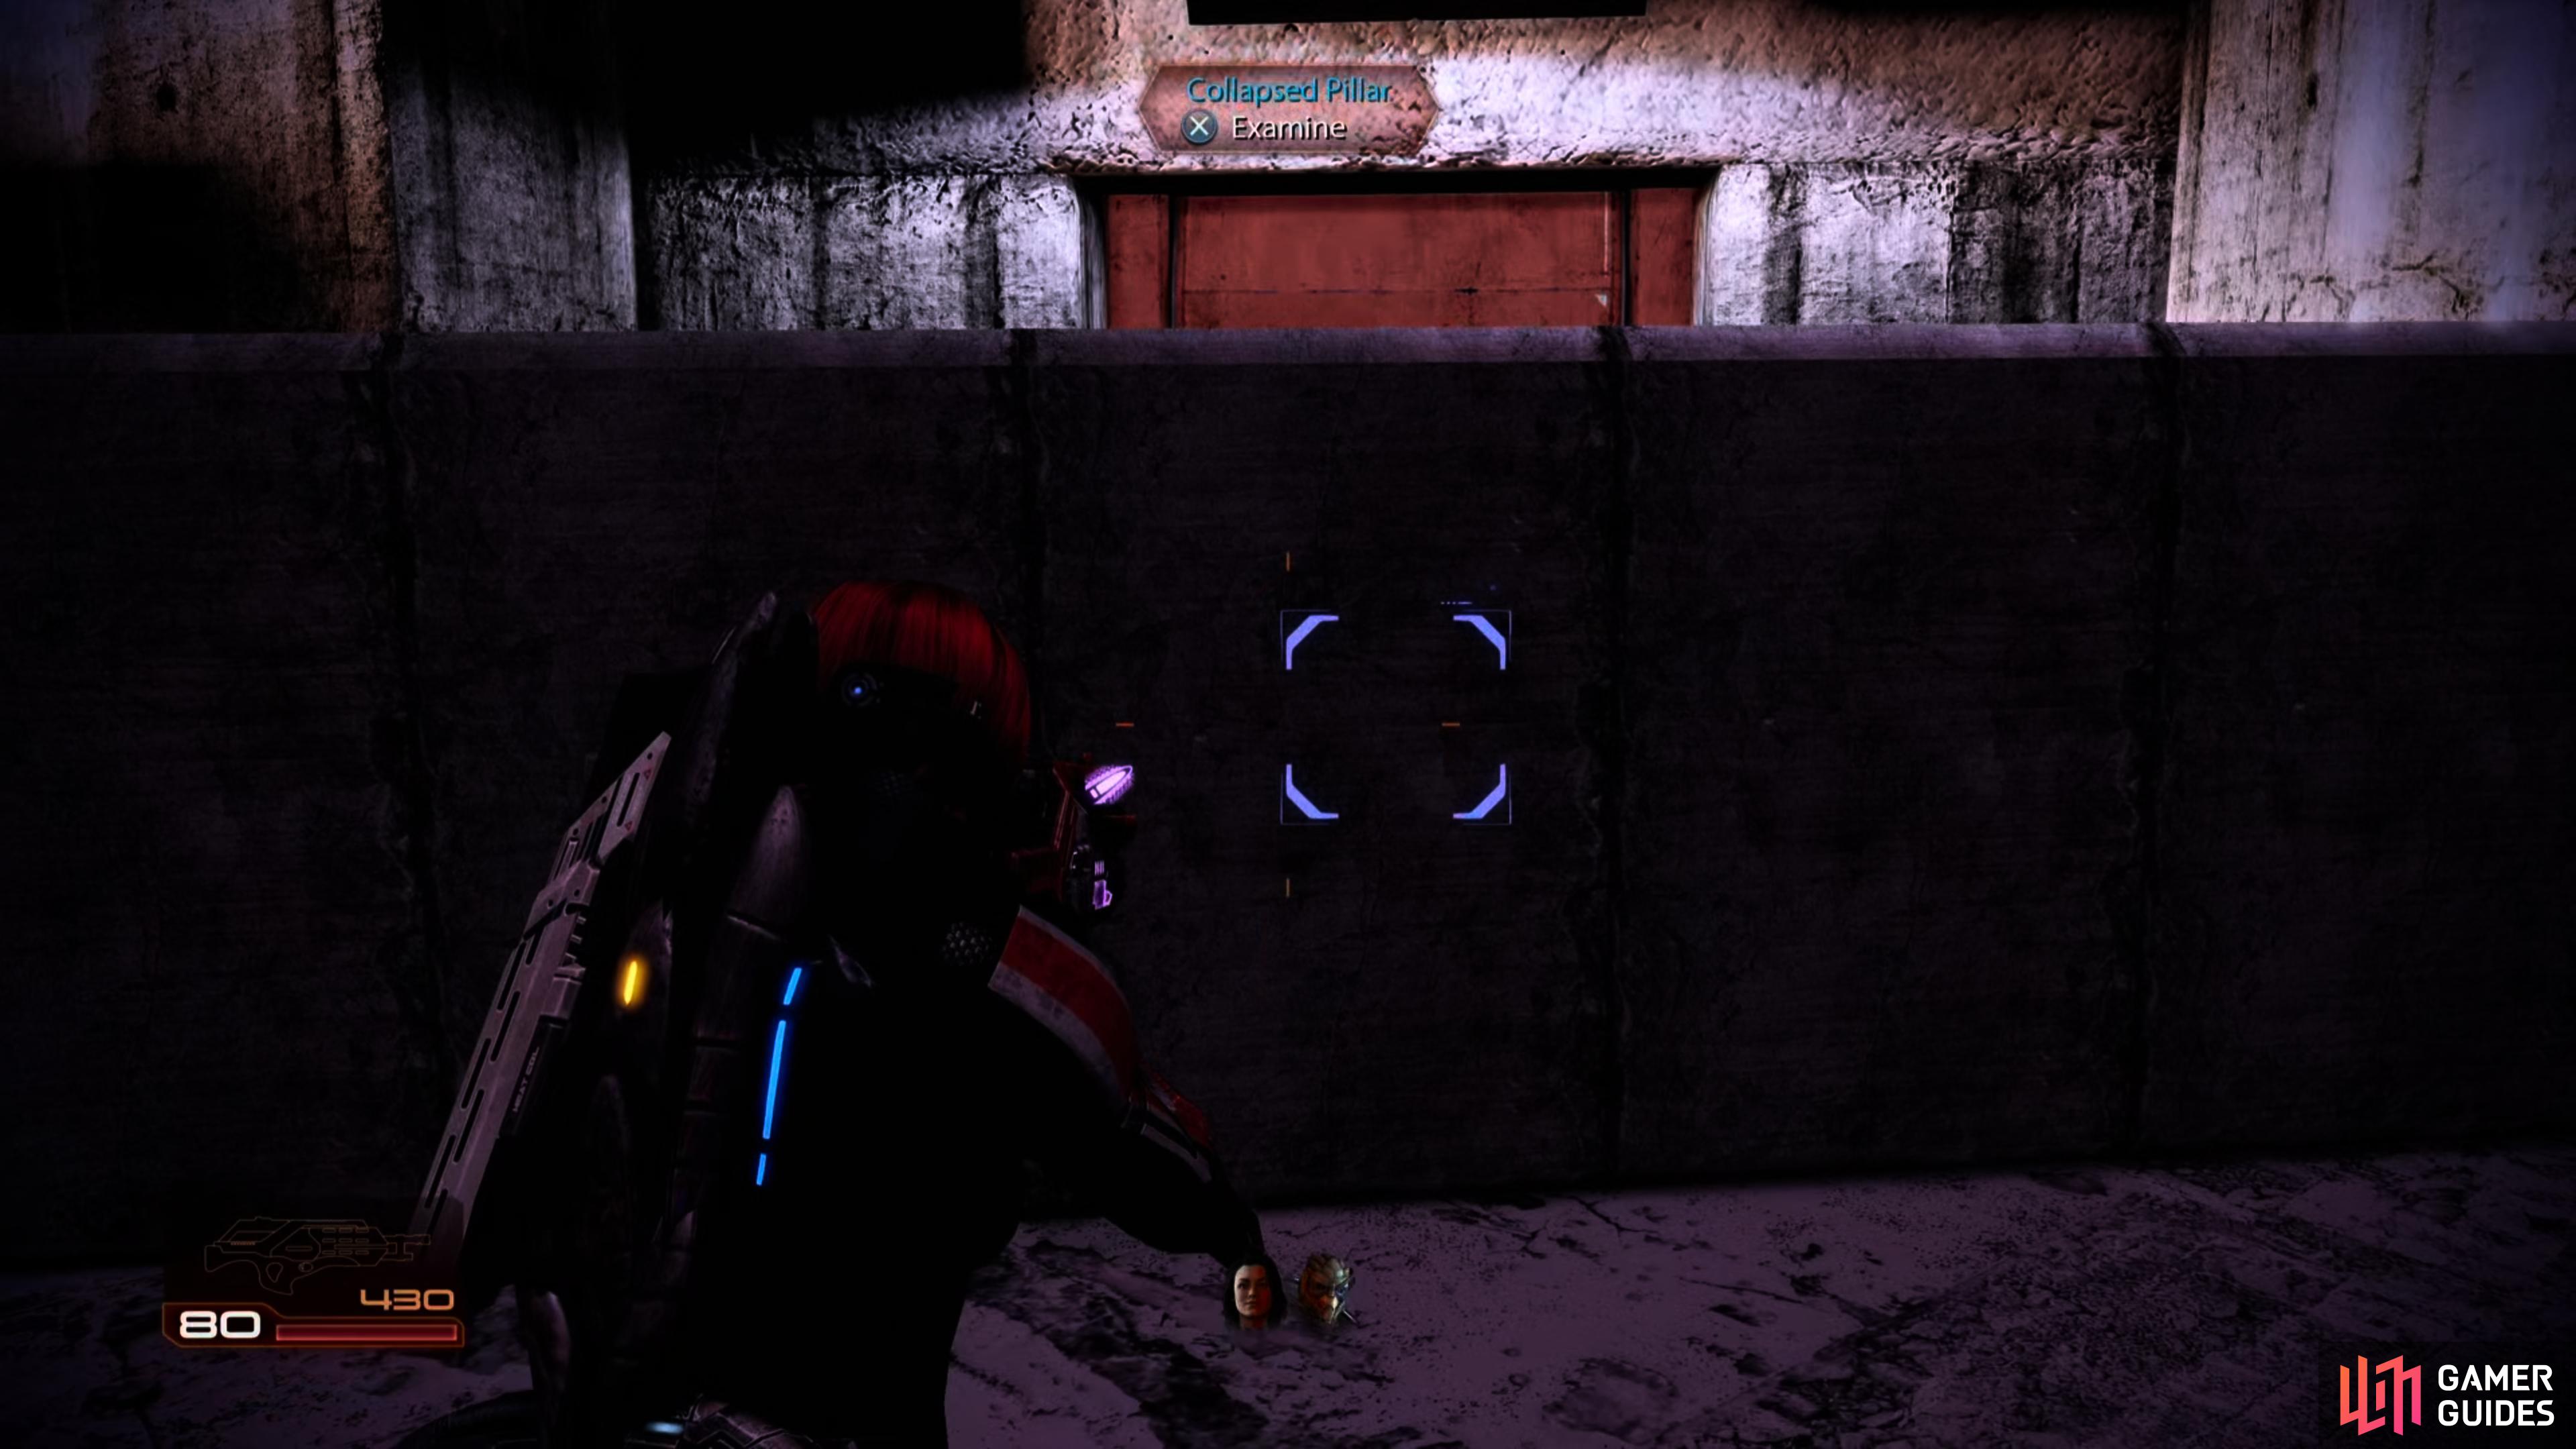
(1 of 4) A pillar will block your way forward, and for some reason, your squad is incapable of just… climbing over it.
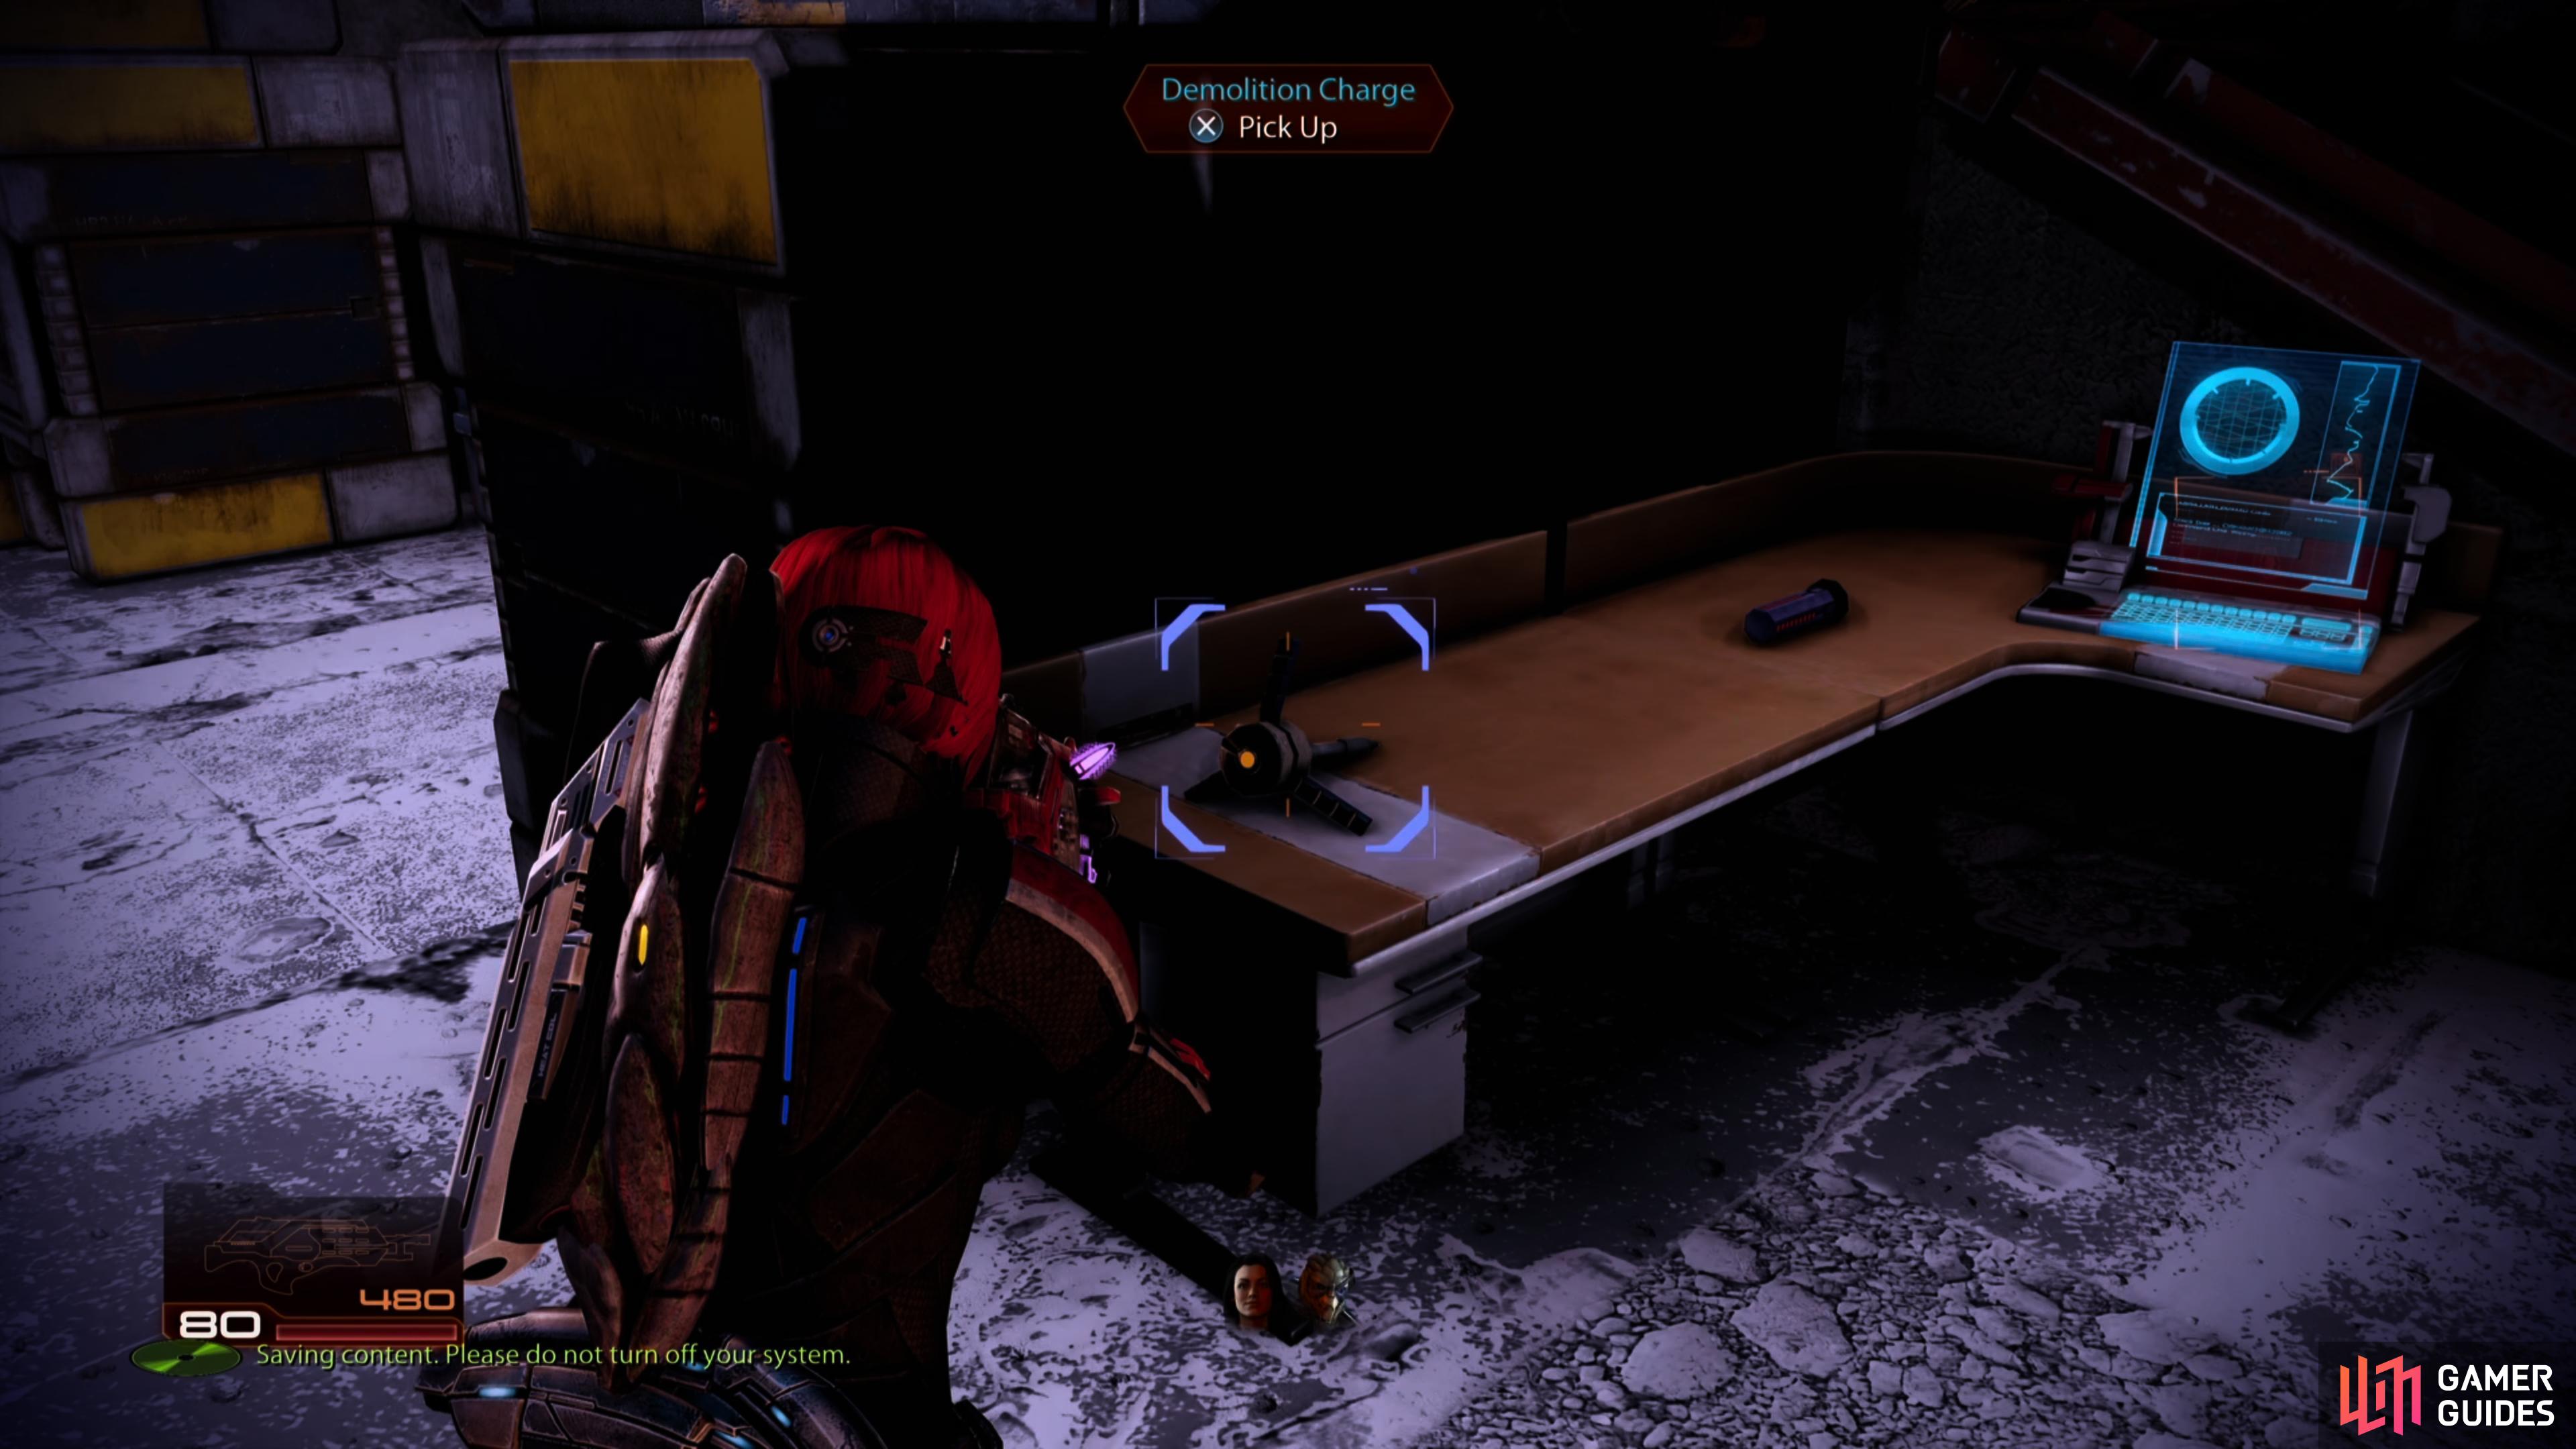
Following the scene, quickly run up and enter cover; eliminate the Geth Troopers and the Hunter that come to get you and then make your way to the obstruction in front of the building from the cutscene. To remove this, you will need to retrieve a pair of demo charges. One is in the small garage-type area directly across from the door, and the second charge is in another building on the far side of the large open area to the right.
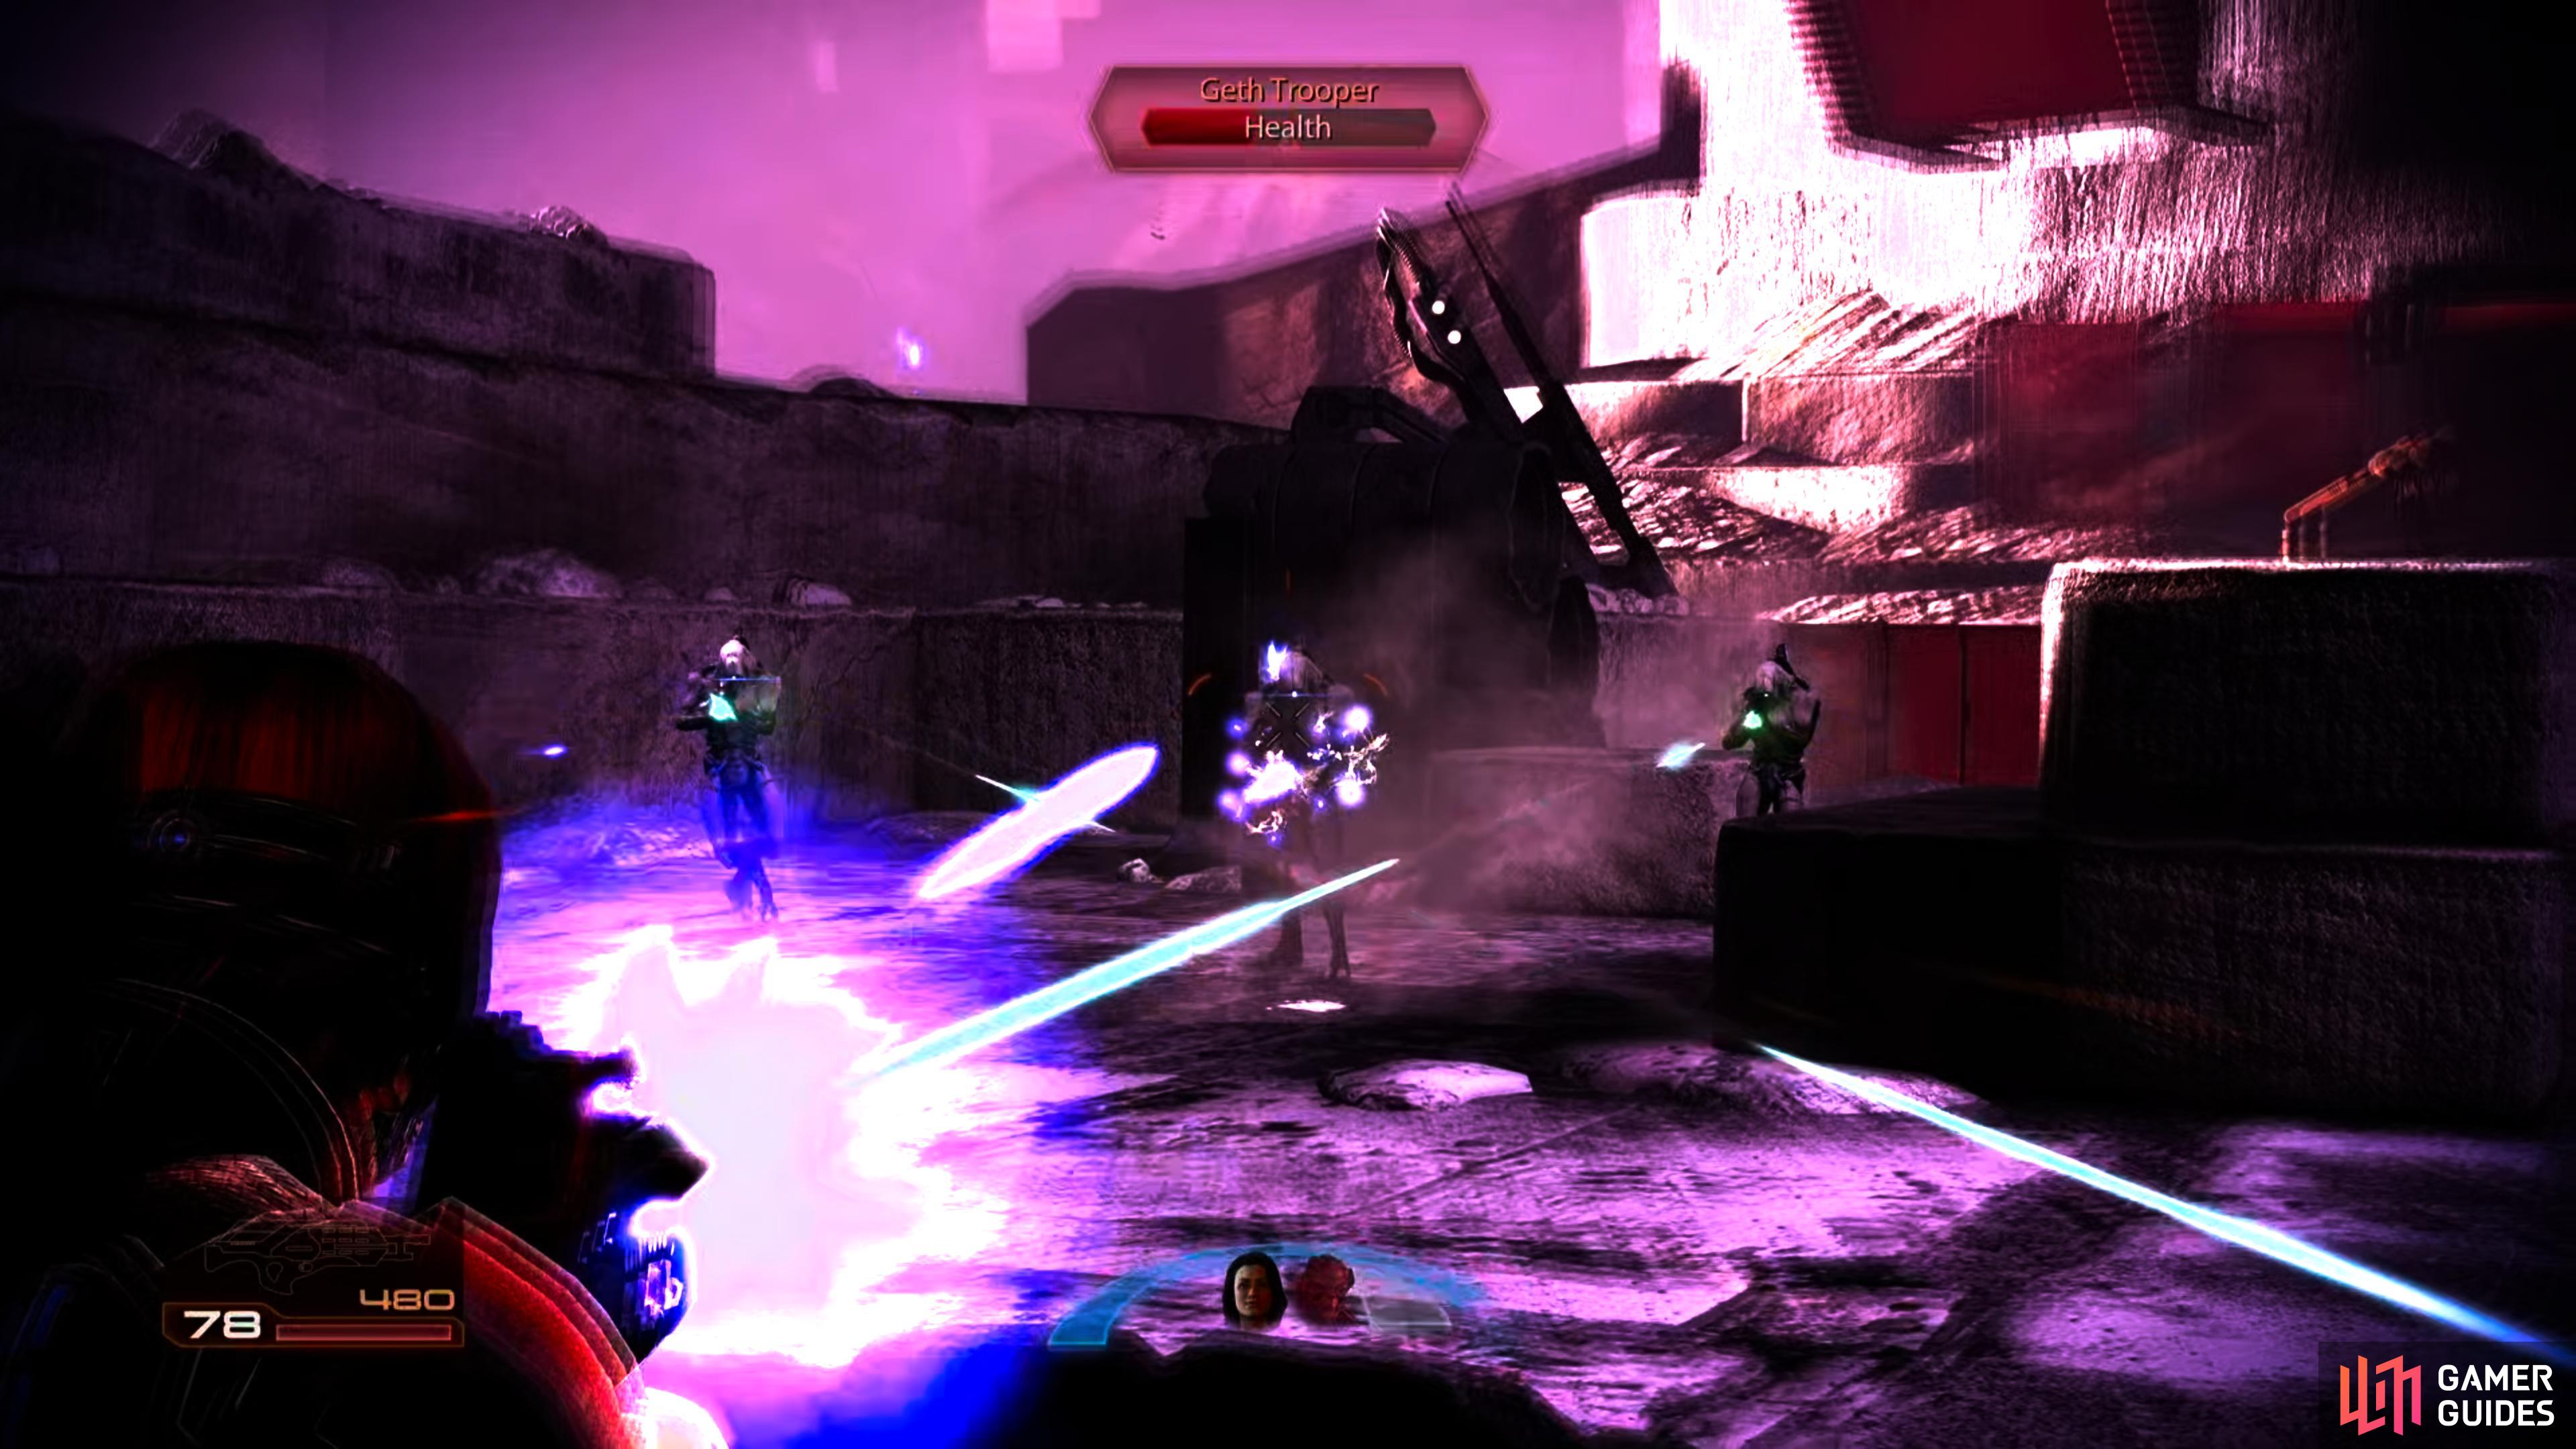
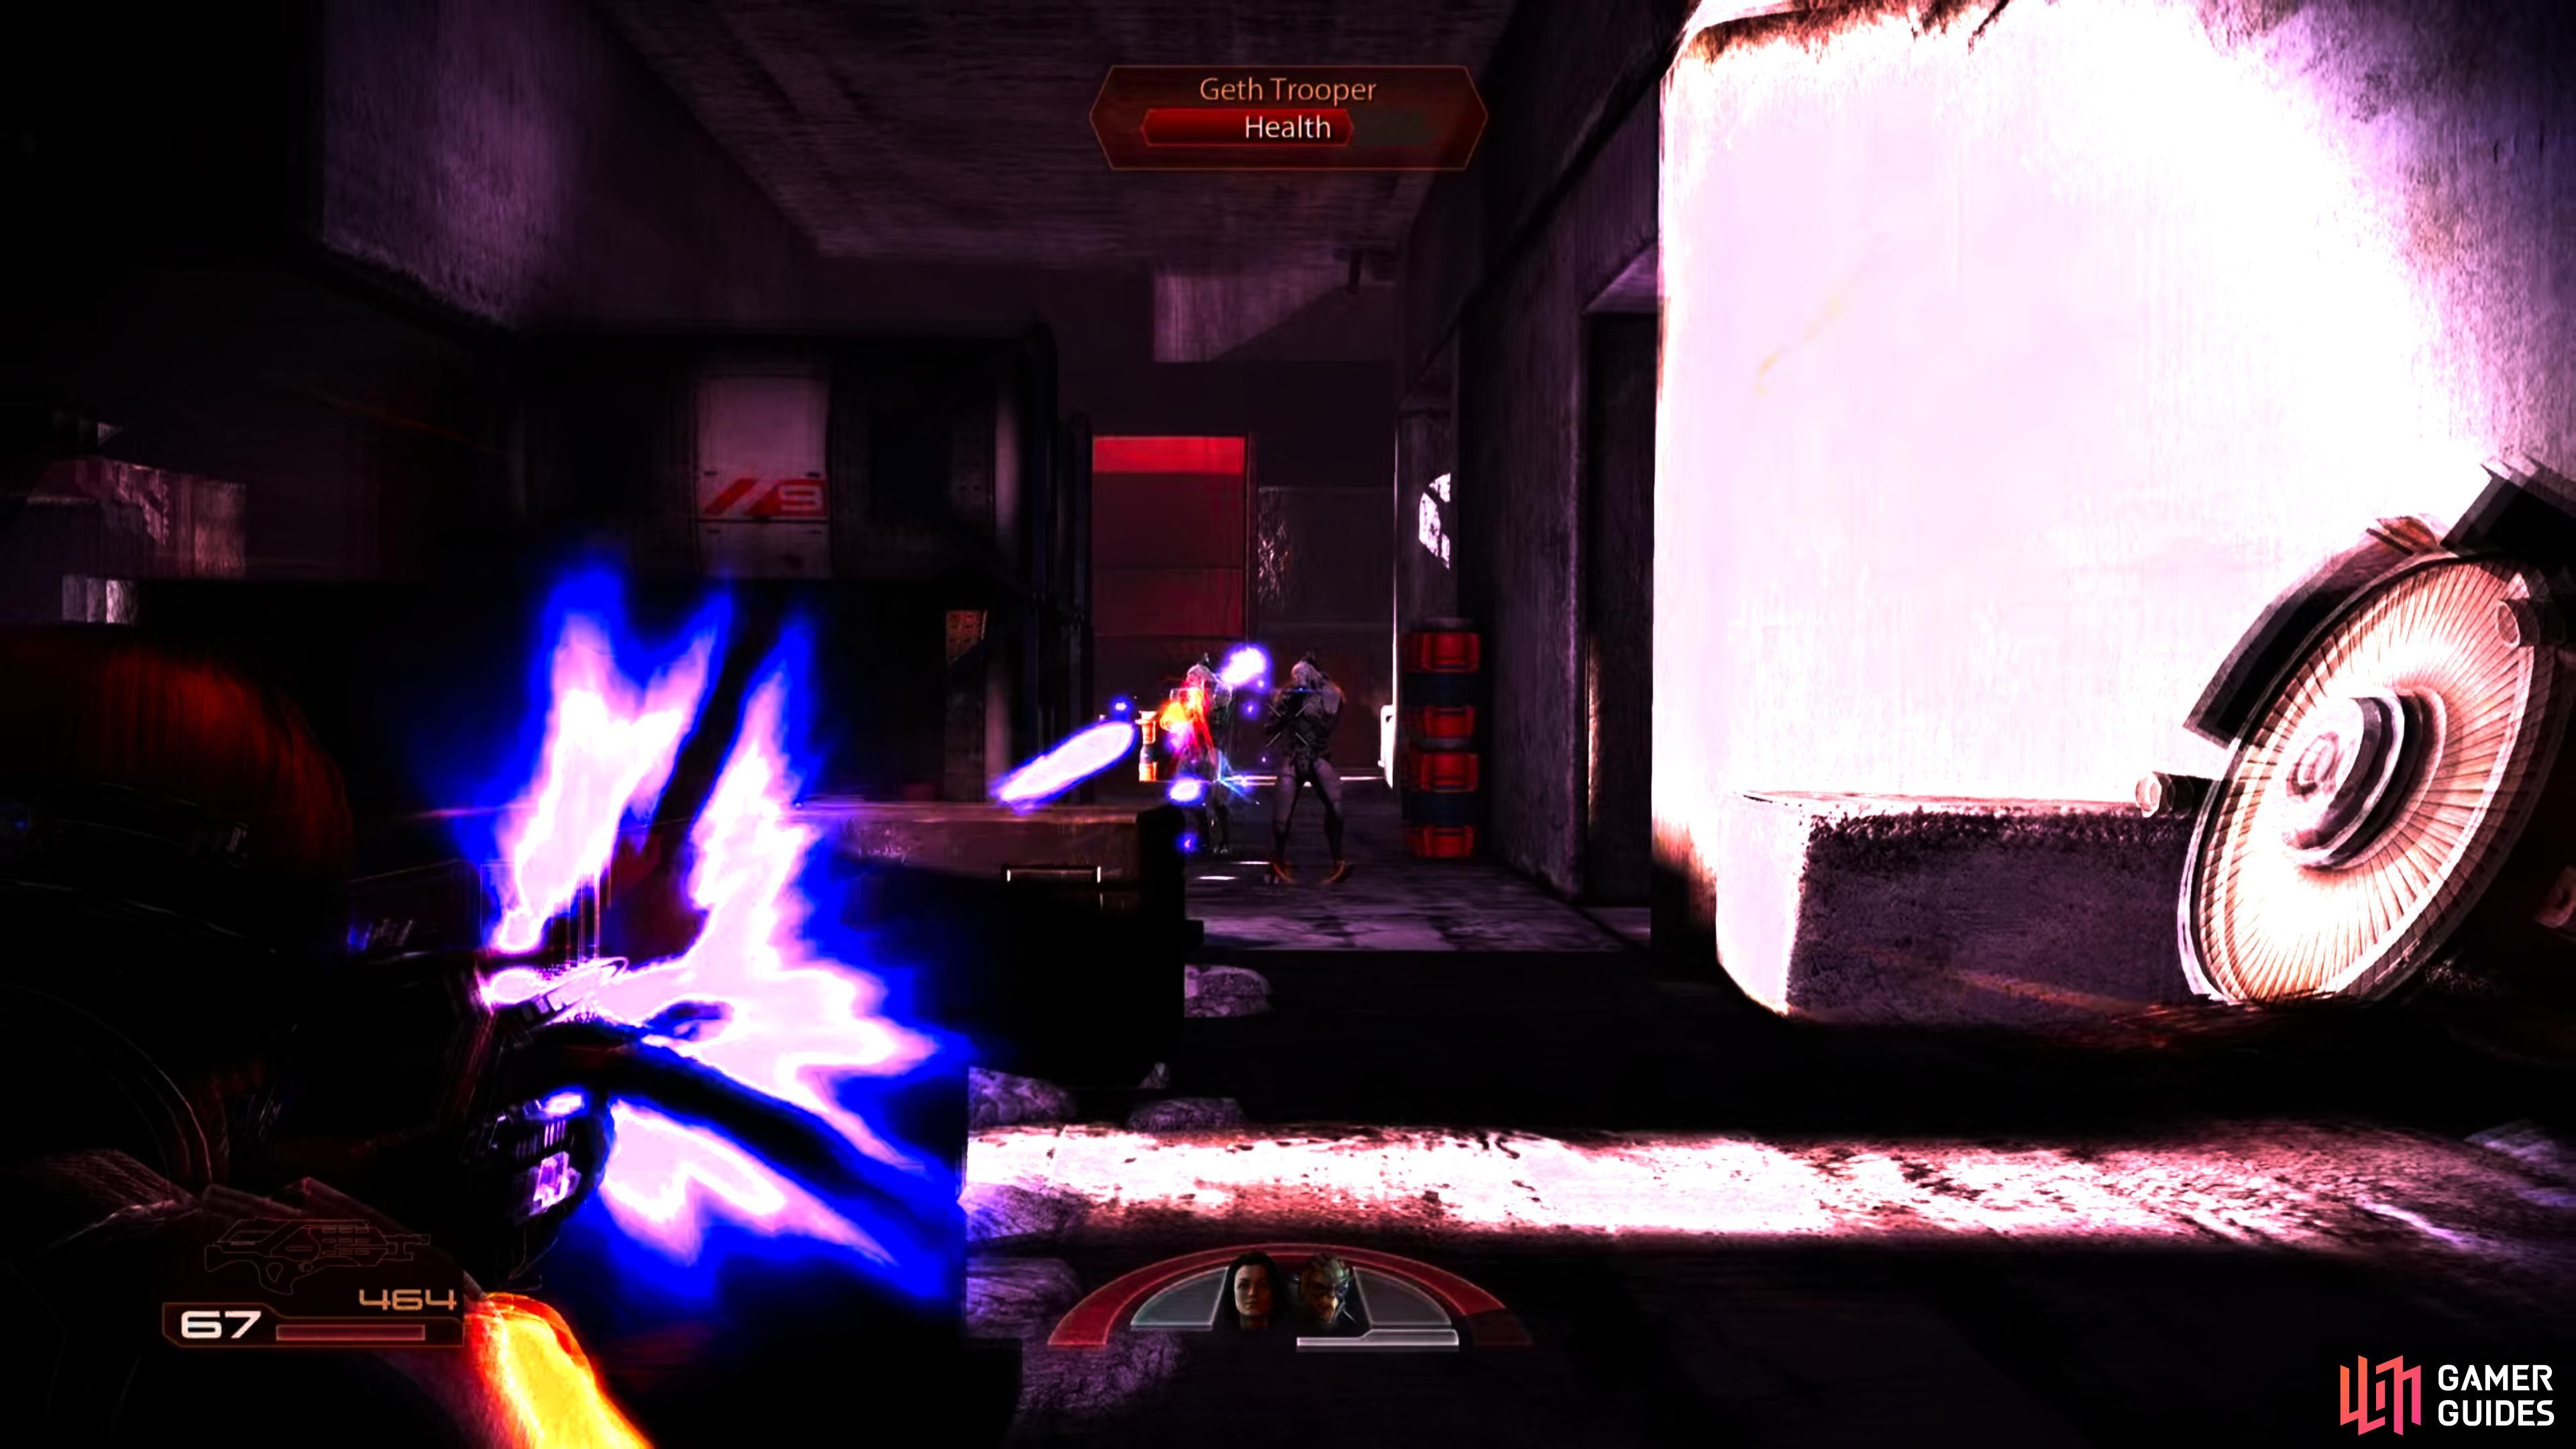
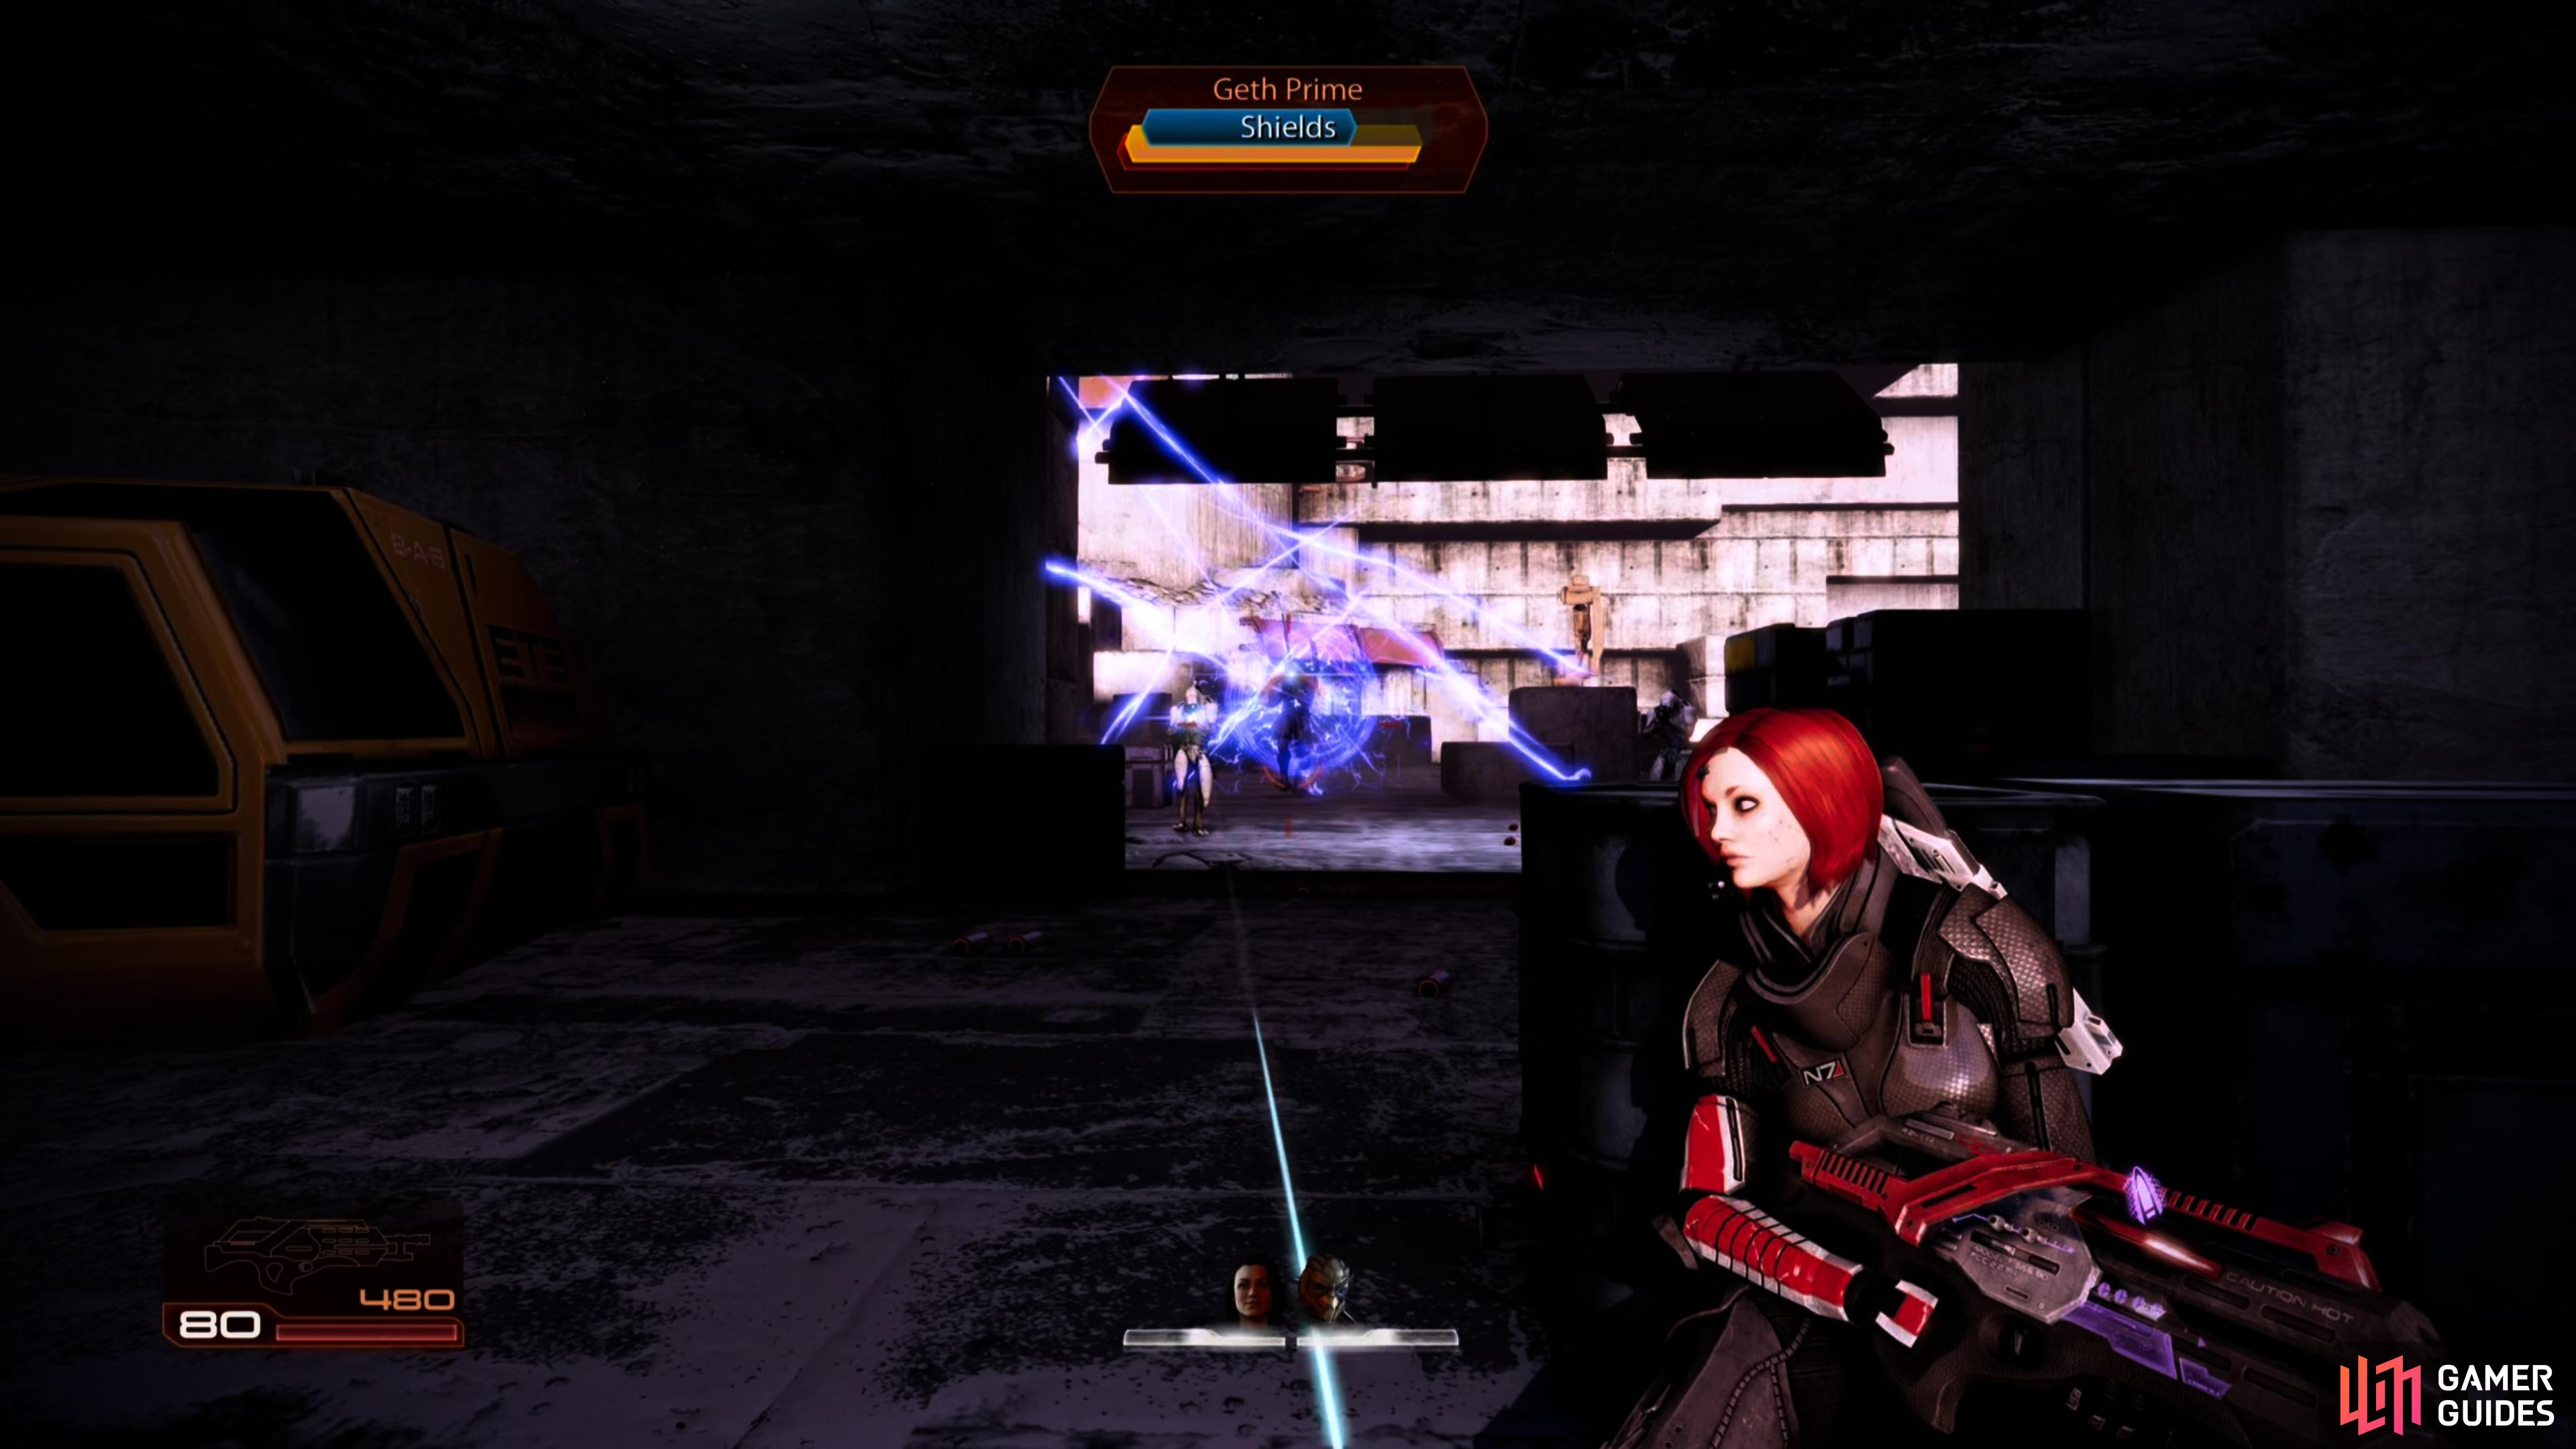
Enter the building across from the obstruction and clear out the Geth inside. There are numerous Troopers and Hunters in here, and they’ll keep spawning until you occupy the building, so the safer you play it, the more fighting you’ll have to do. When the room is empty, check the desk at the back for an entry in Tali’s journal and the first set of demolition charges. Behind this desk is a Med Kit, and a further Med Kit can be found on the wall at the top of the nearby stairs. As you attempt to return outside, a group of Geth will be dropped off. In addition to your standard Geth Troopers, you will also have your first encounter with a Geth Prime. These guys are big, tough Geth that have a shield over armor and can summon a small, floating attack drone; to defeat it, simply use whatever squad powers you have at your disposal that are good at shield/armor removal. When all these Geth have been dealt with, return outside and turn to the left.


(1 of 4) Fight your way under a bridge,
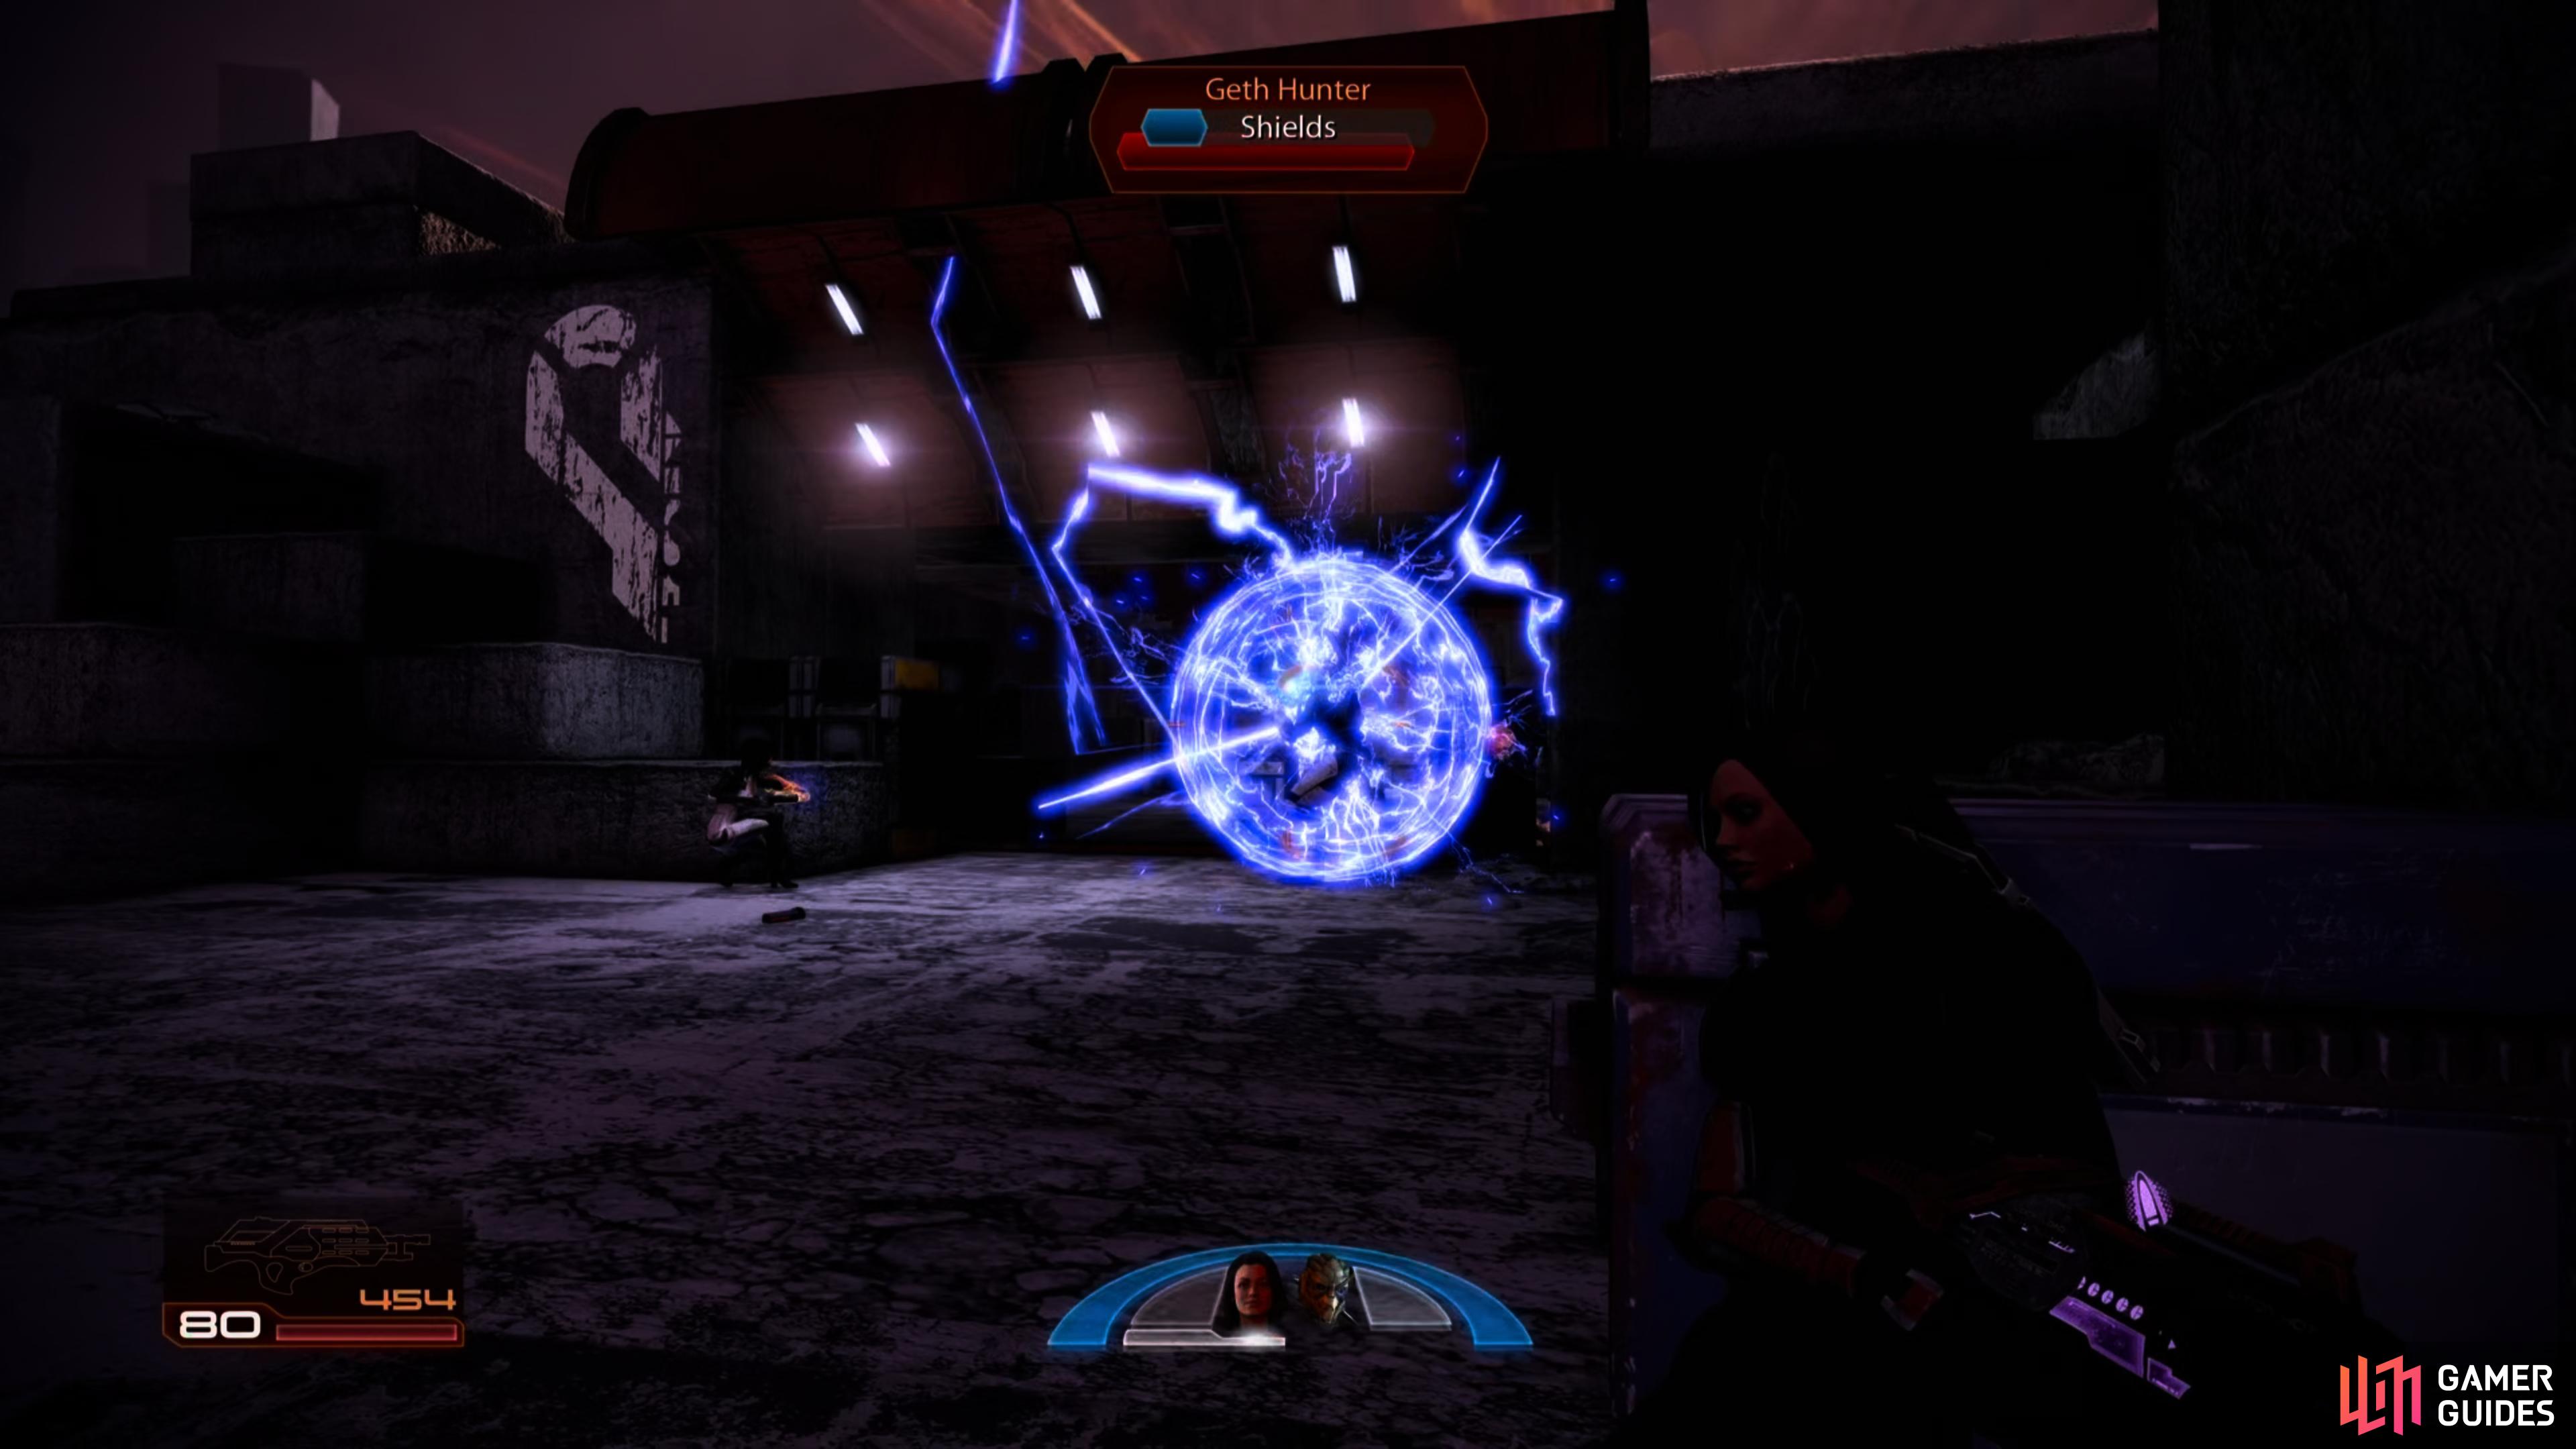
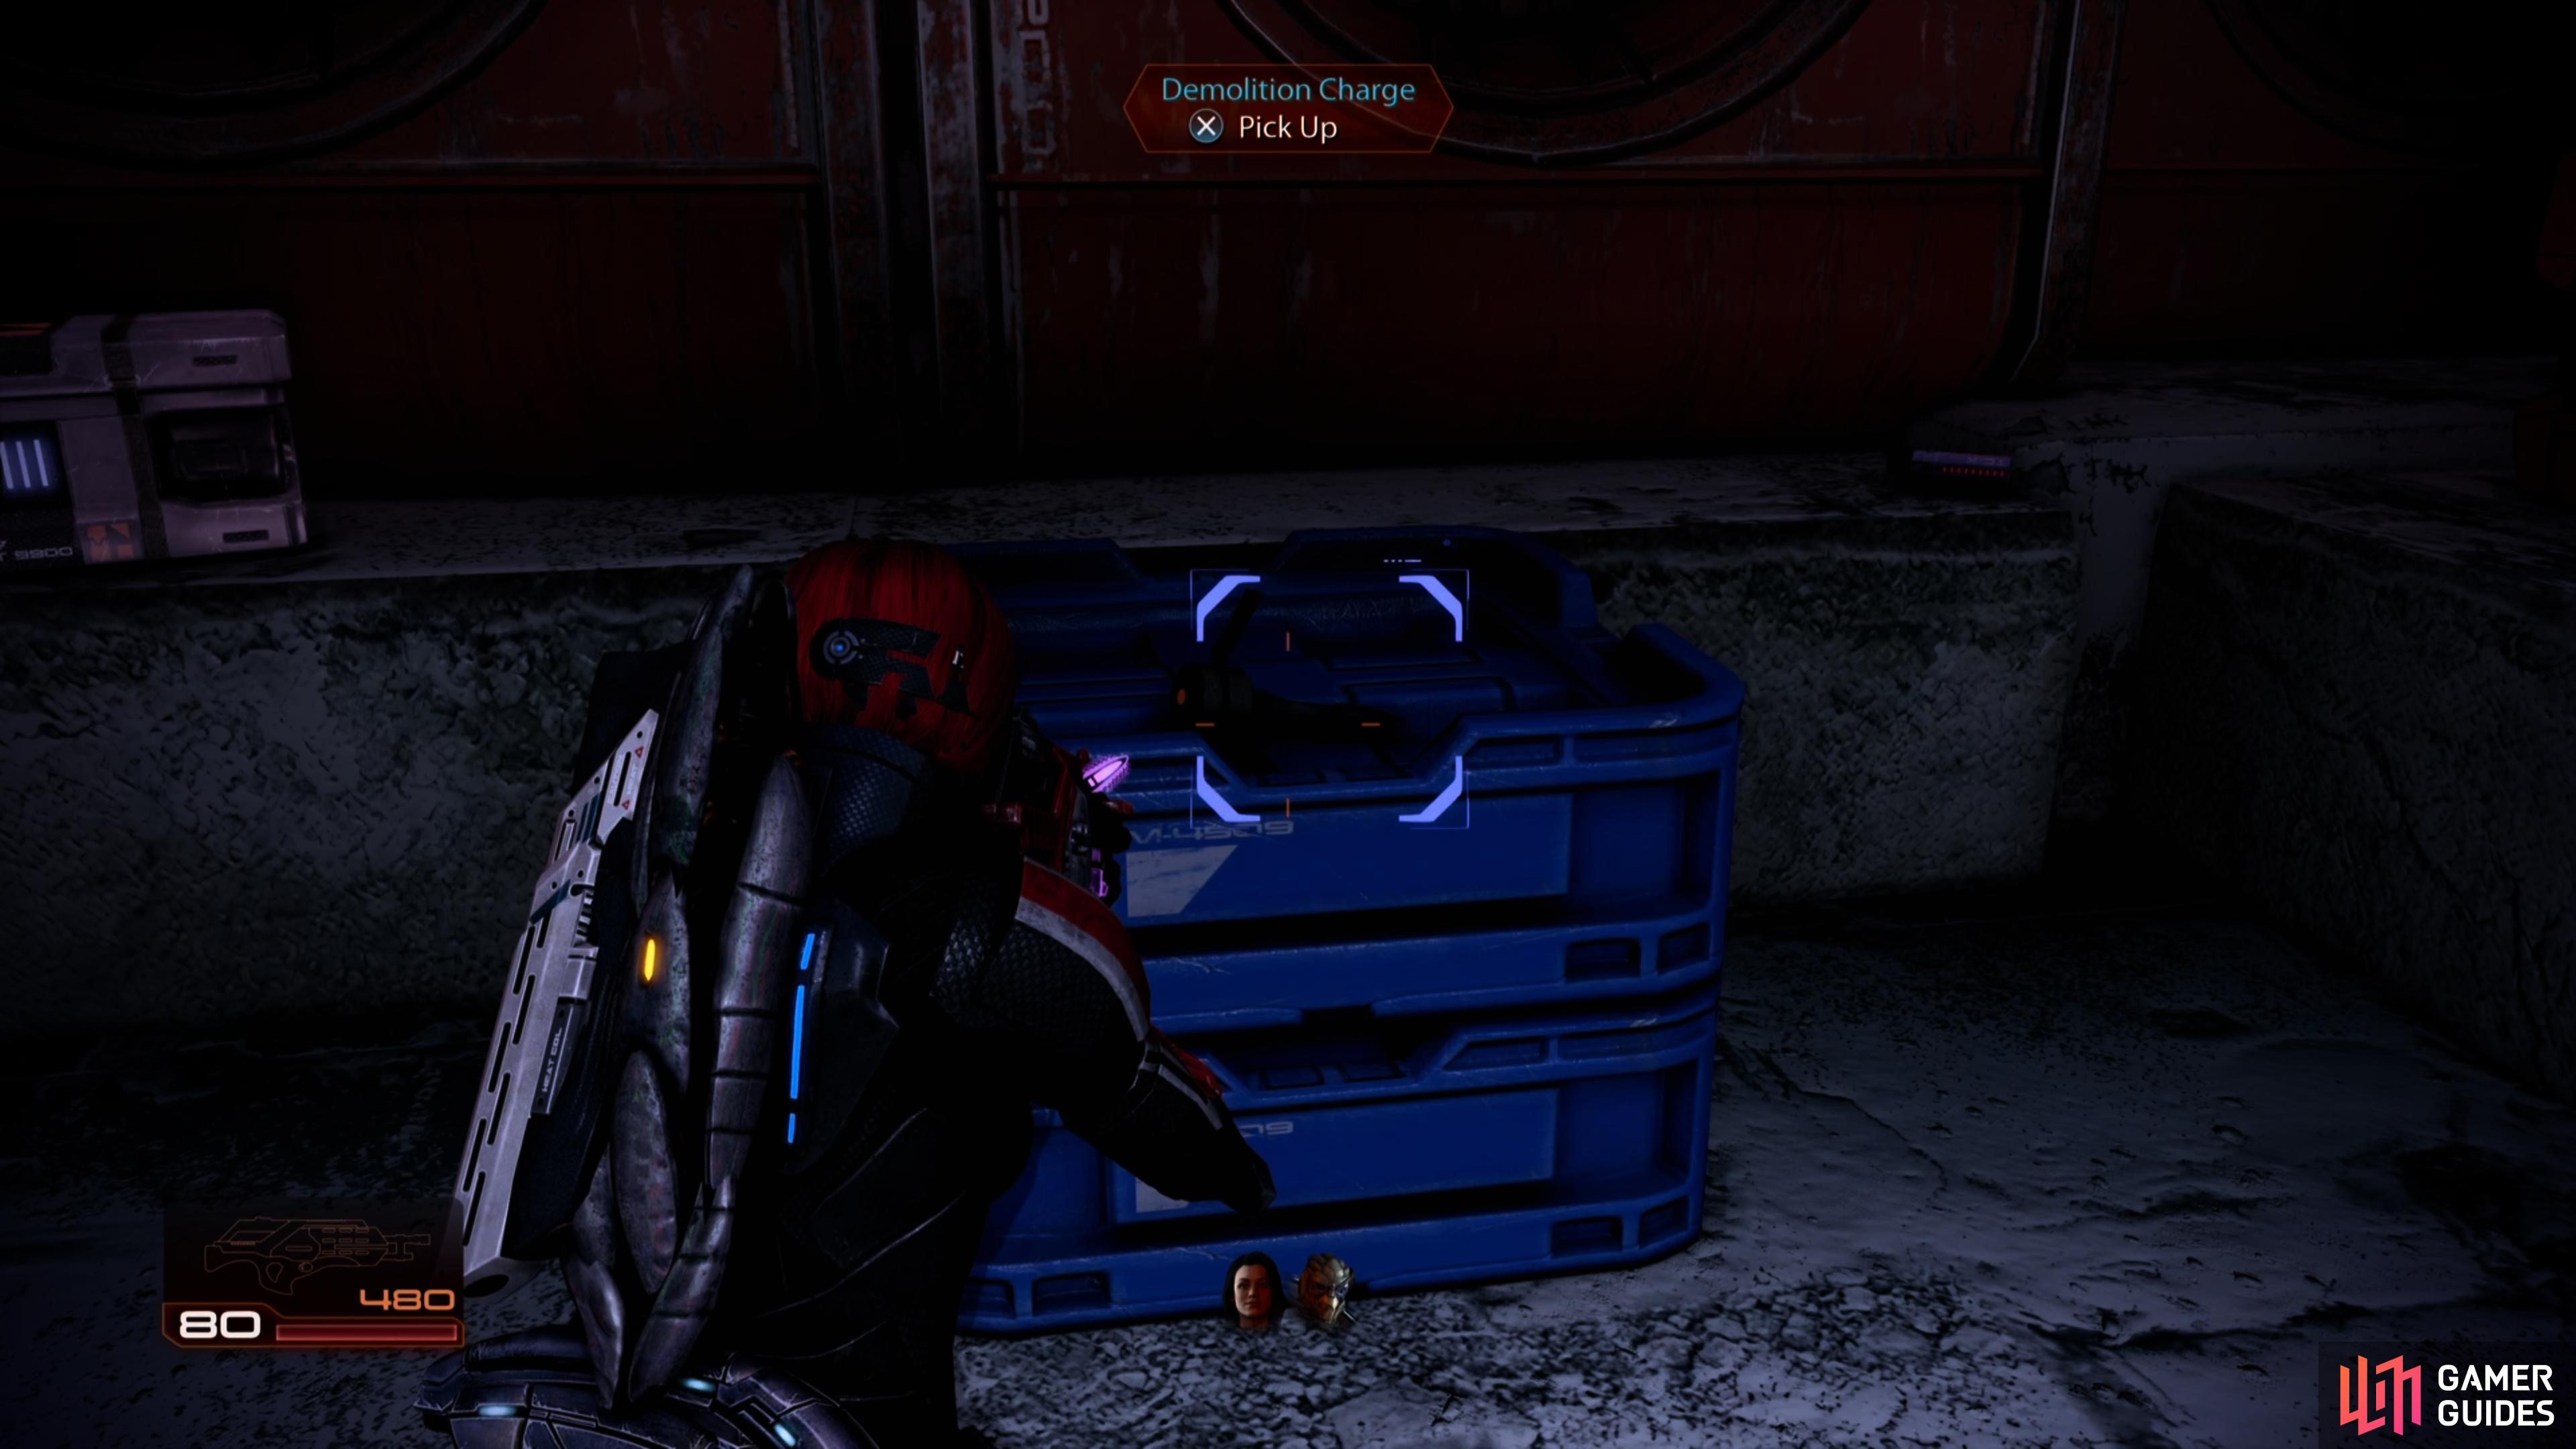
Take cover before descending the shallow ramp and eliminate the Destroyer and the other Geth Troopers that attempt to advance on your position. Sprint across the sunlit area and examine the box in the next shady area for Refined Iridium . Continue onward and into the open doorway at the end of the area. Pick up the demo charge, a box of thermal clips and the Med Kit here, and then return outside.
As you saw earlier, the Geth don’t appreciate you picking up demo charges and will have a large squad of various Geth types dropped into the location outside. Return to the large open area and immediately run to the left; look for a small door on the wall. Head inside and up the stairs. As you reach the top, eliminate any Geth on the balcony you can see outside the doorway, then move into the room and hit the switch to open the windows. Take cover here and use the high ground to eliminate any enemies on the ground below and any more enemies you can identify on the catwalk to the left.
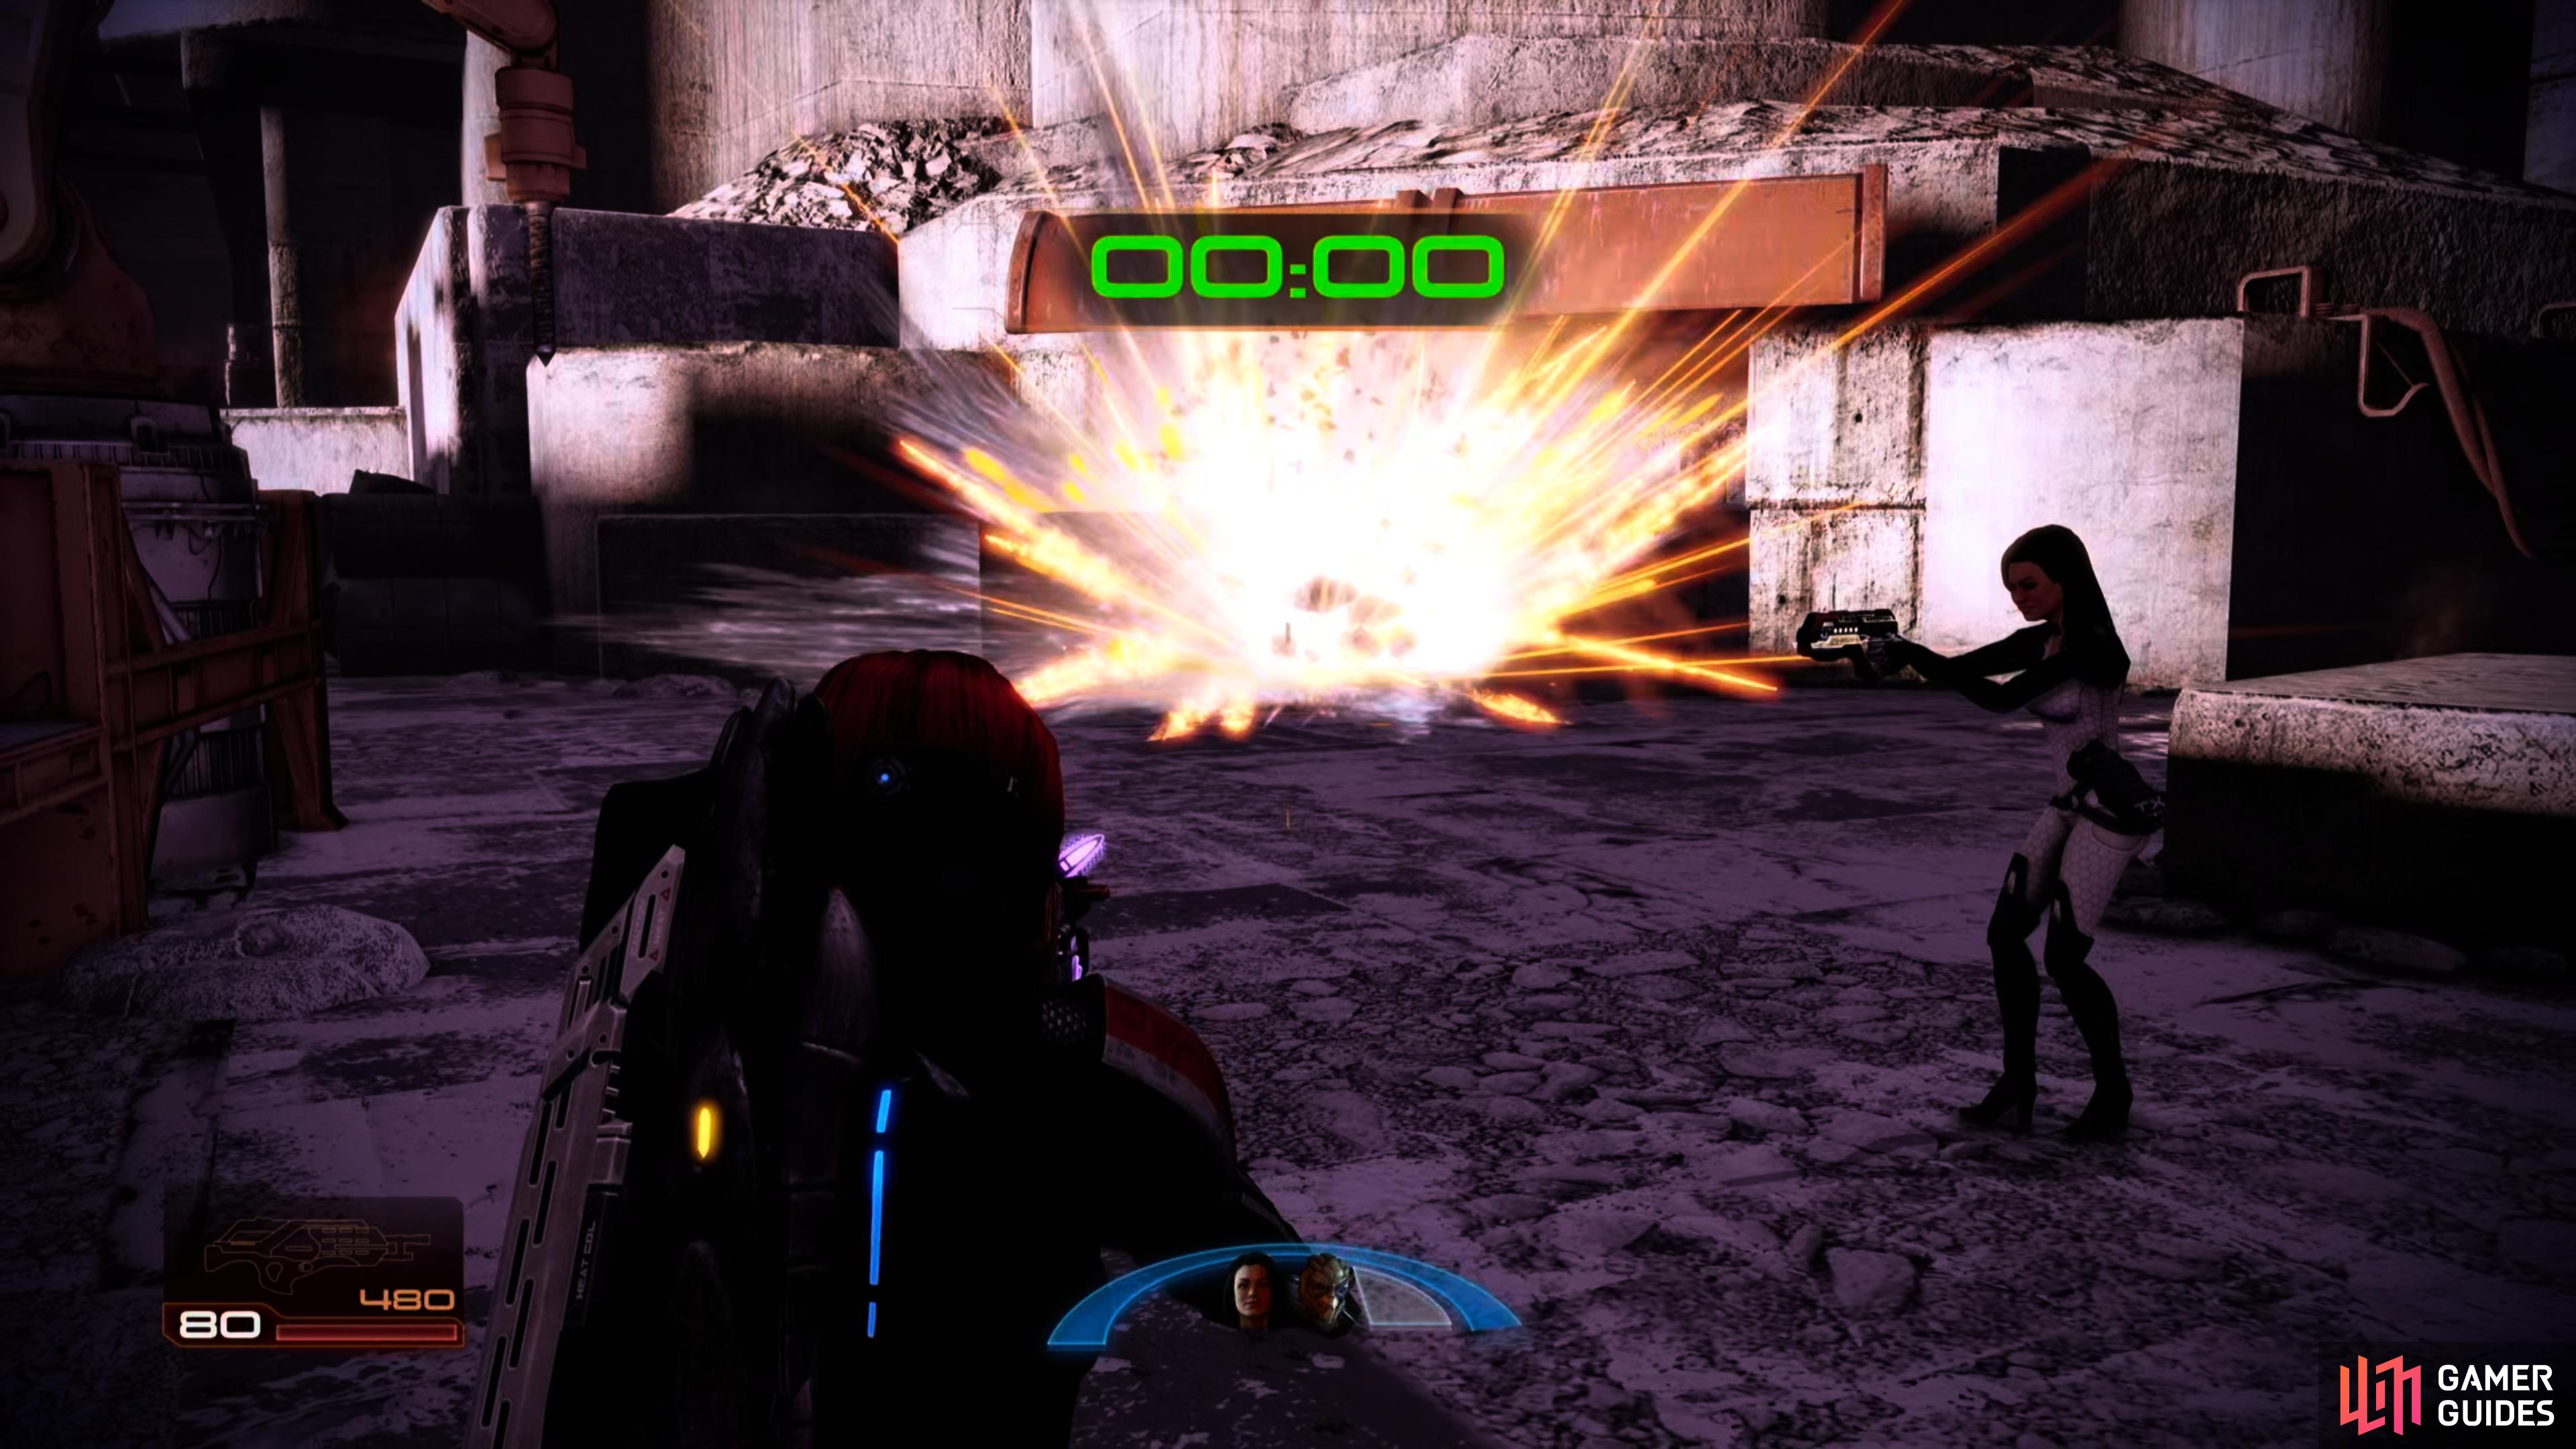
When the area is relatively safe, exit from the door onto the balcony where the group of Rocket Geth had previously been attempting to take you out and sprint to the end. Take cover from the sun behind the crate here and listen to the nearby snippet of Tali’s log if you are interested. Continue down the next ramp and back to the obstruction. Plant the charges and run to a safe distance. After the explosion, enter the door.

(1 of 3) Search the room beyond the pillar to find an Assault Rifle Damage upgrade,
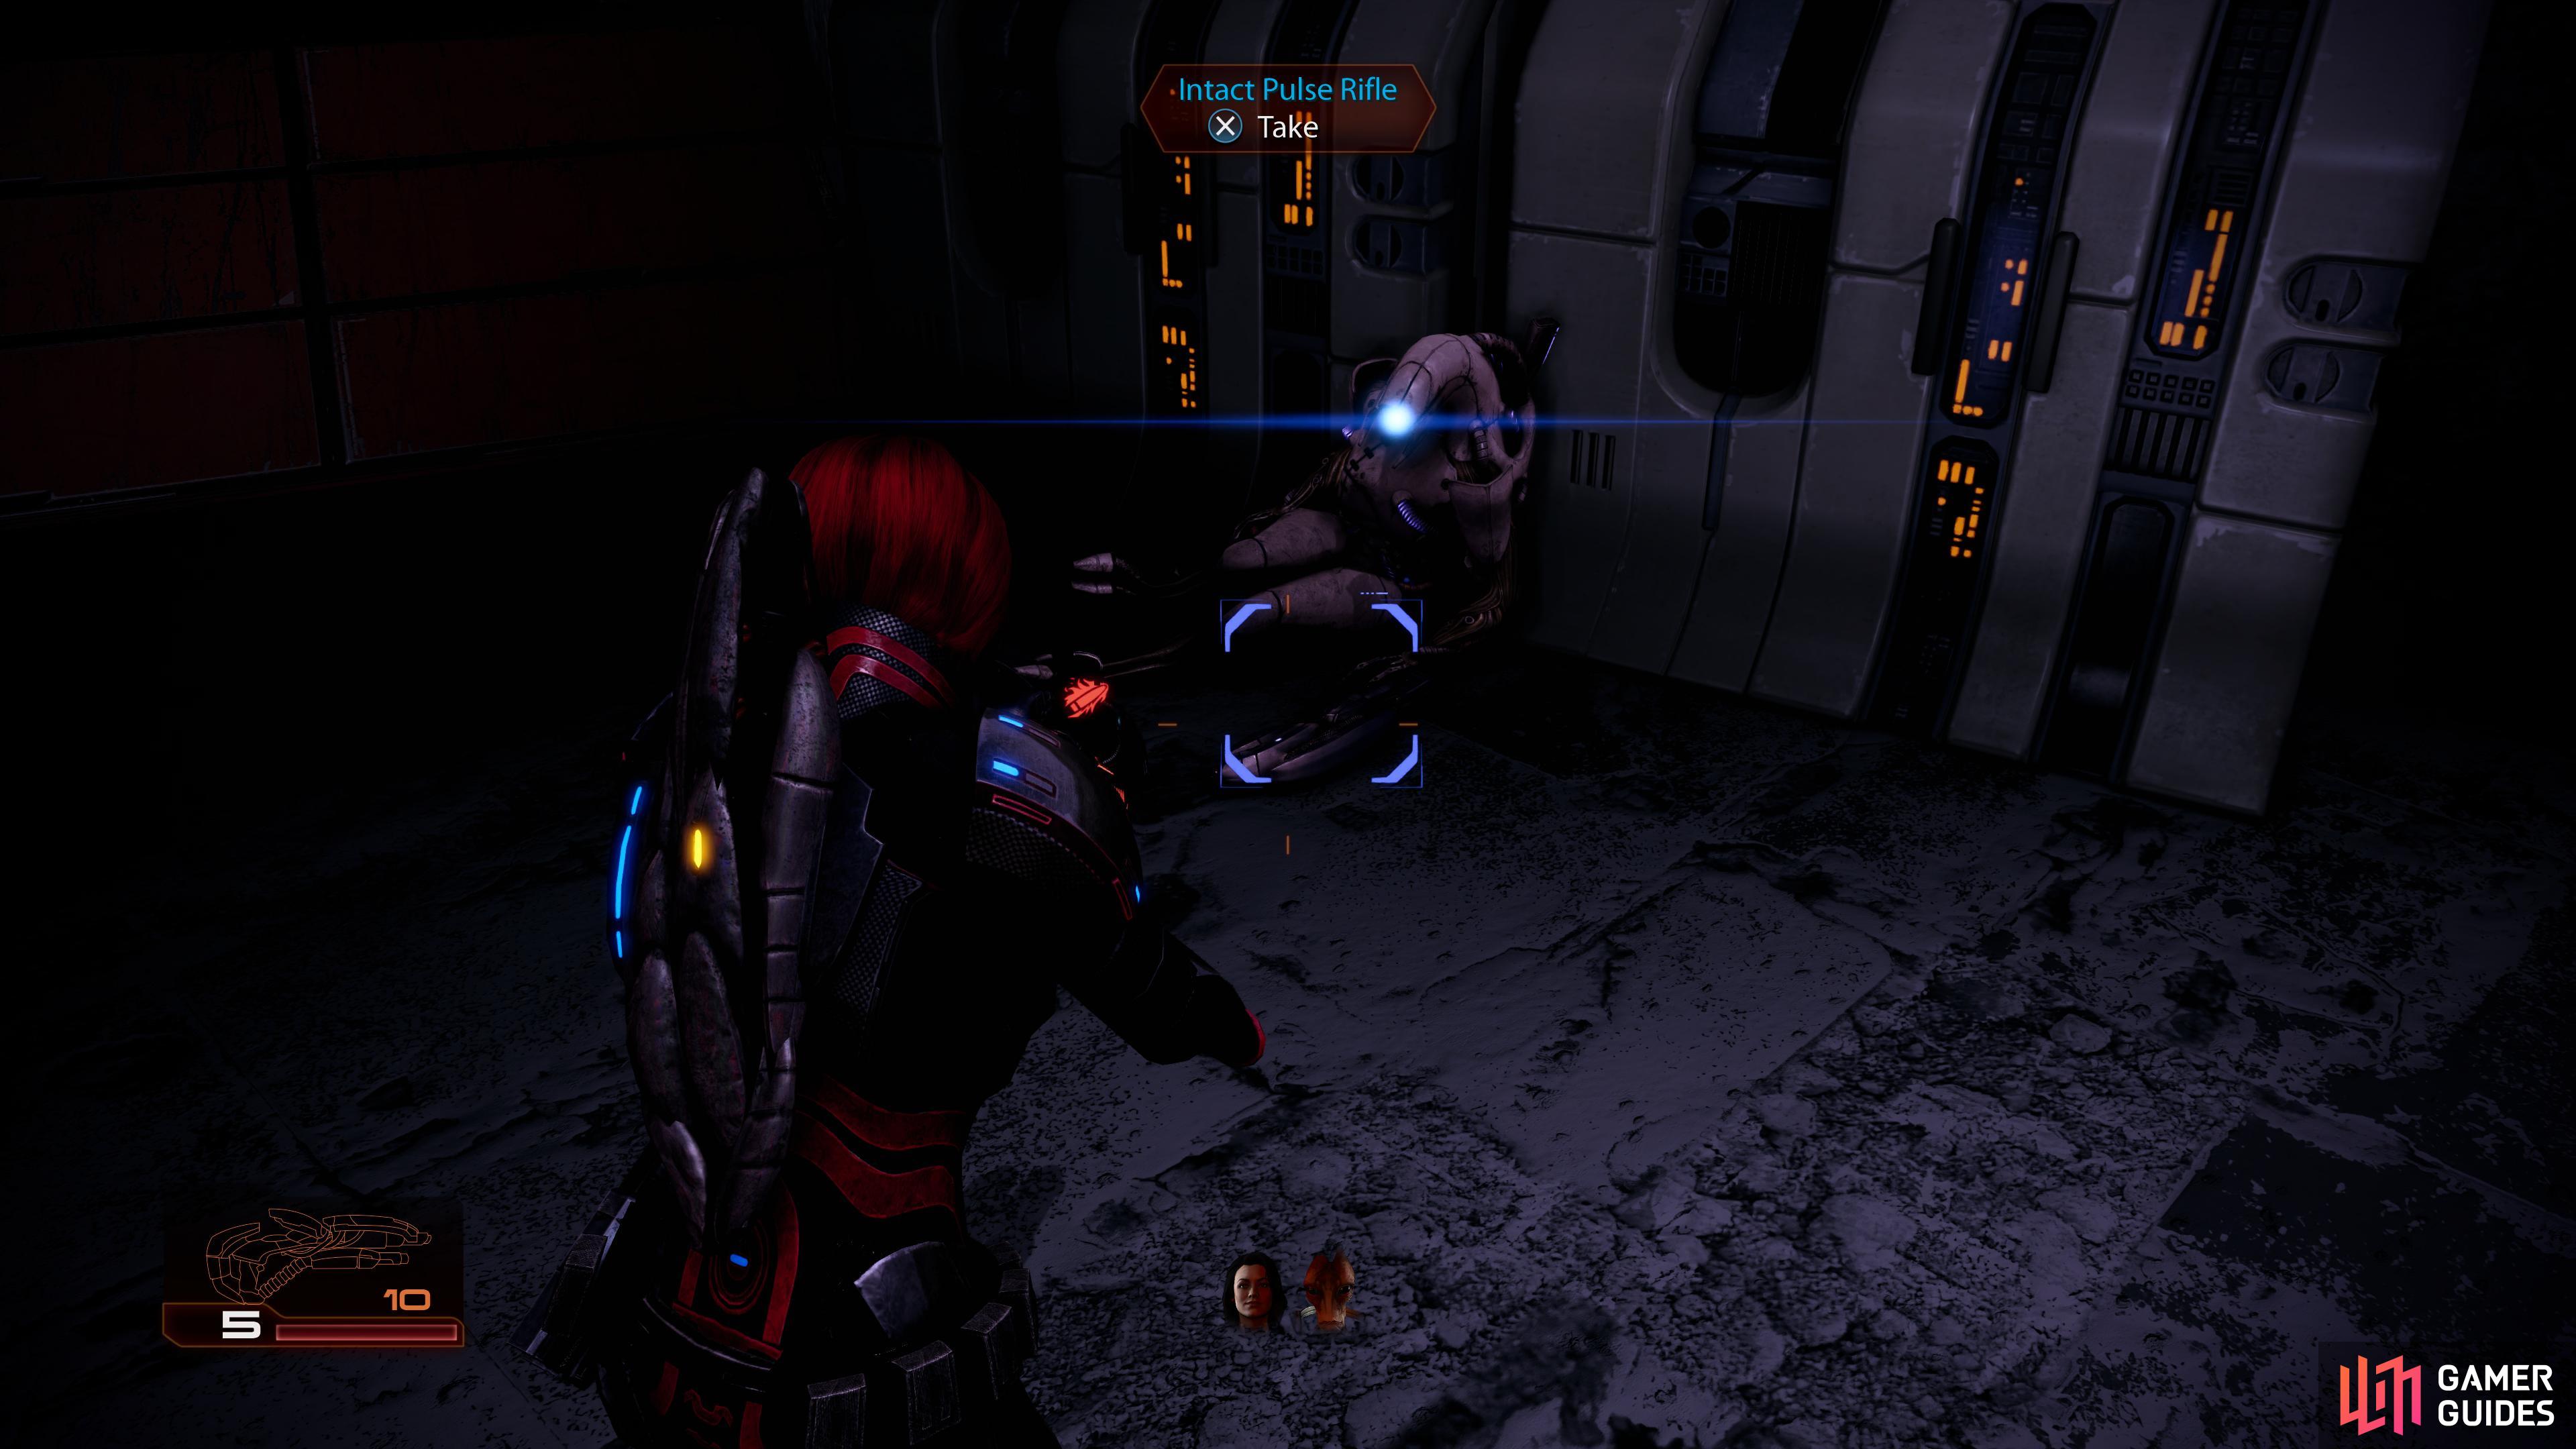
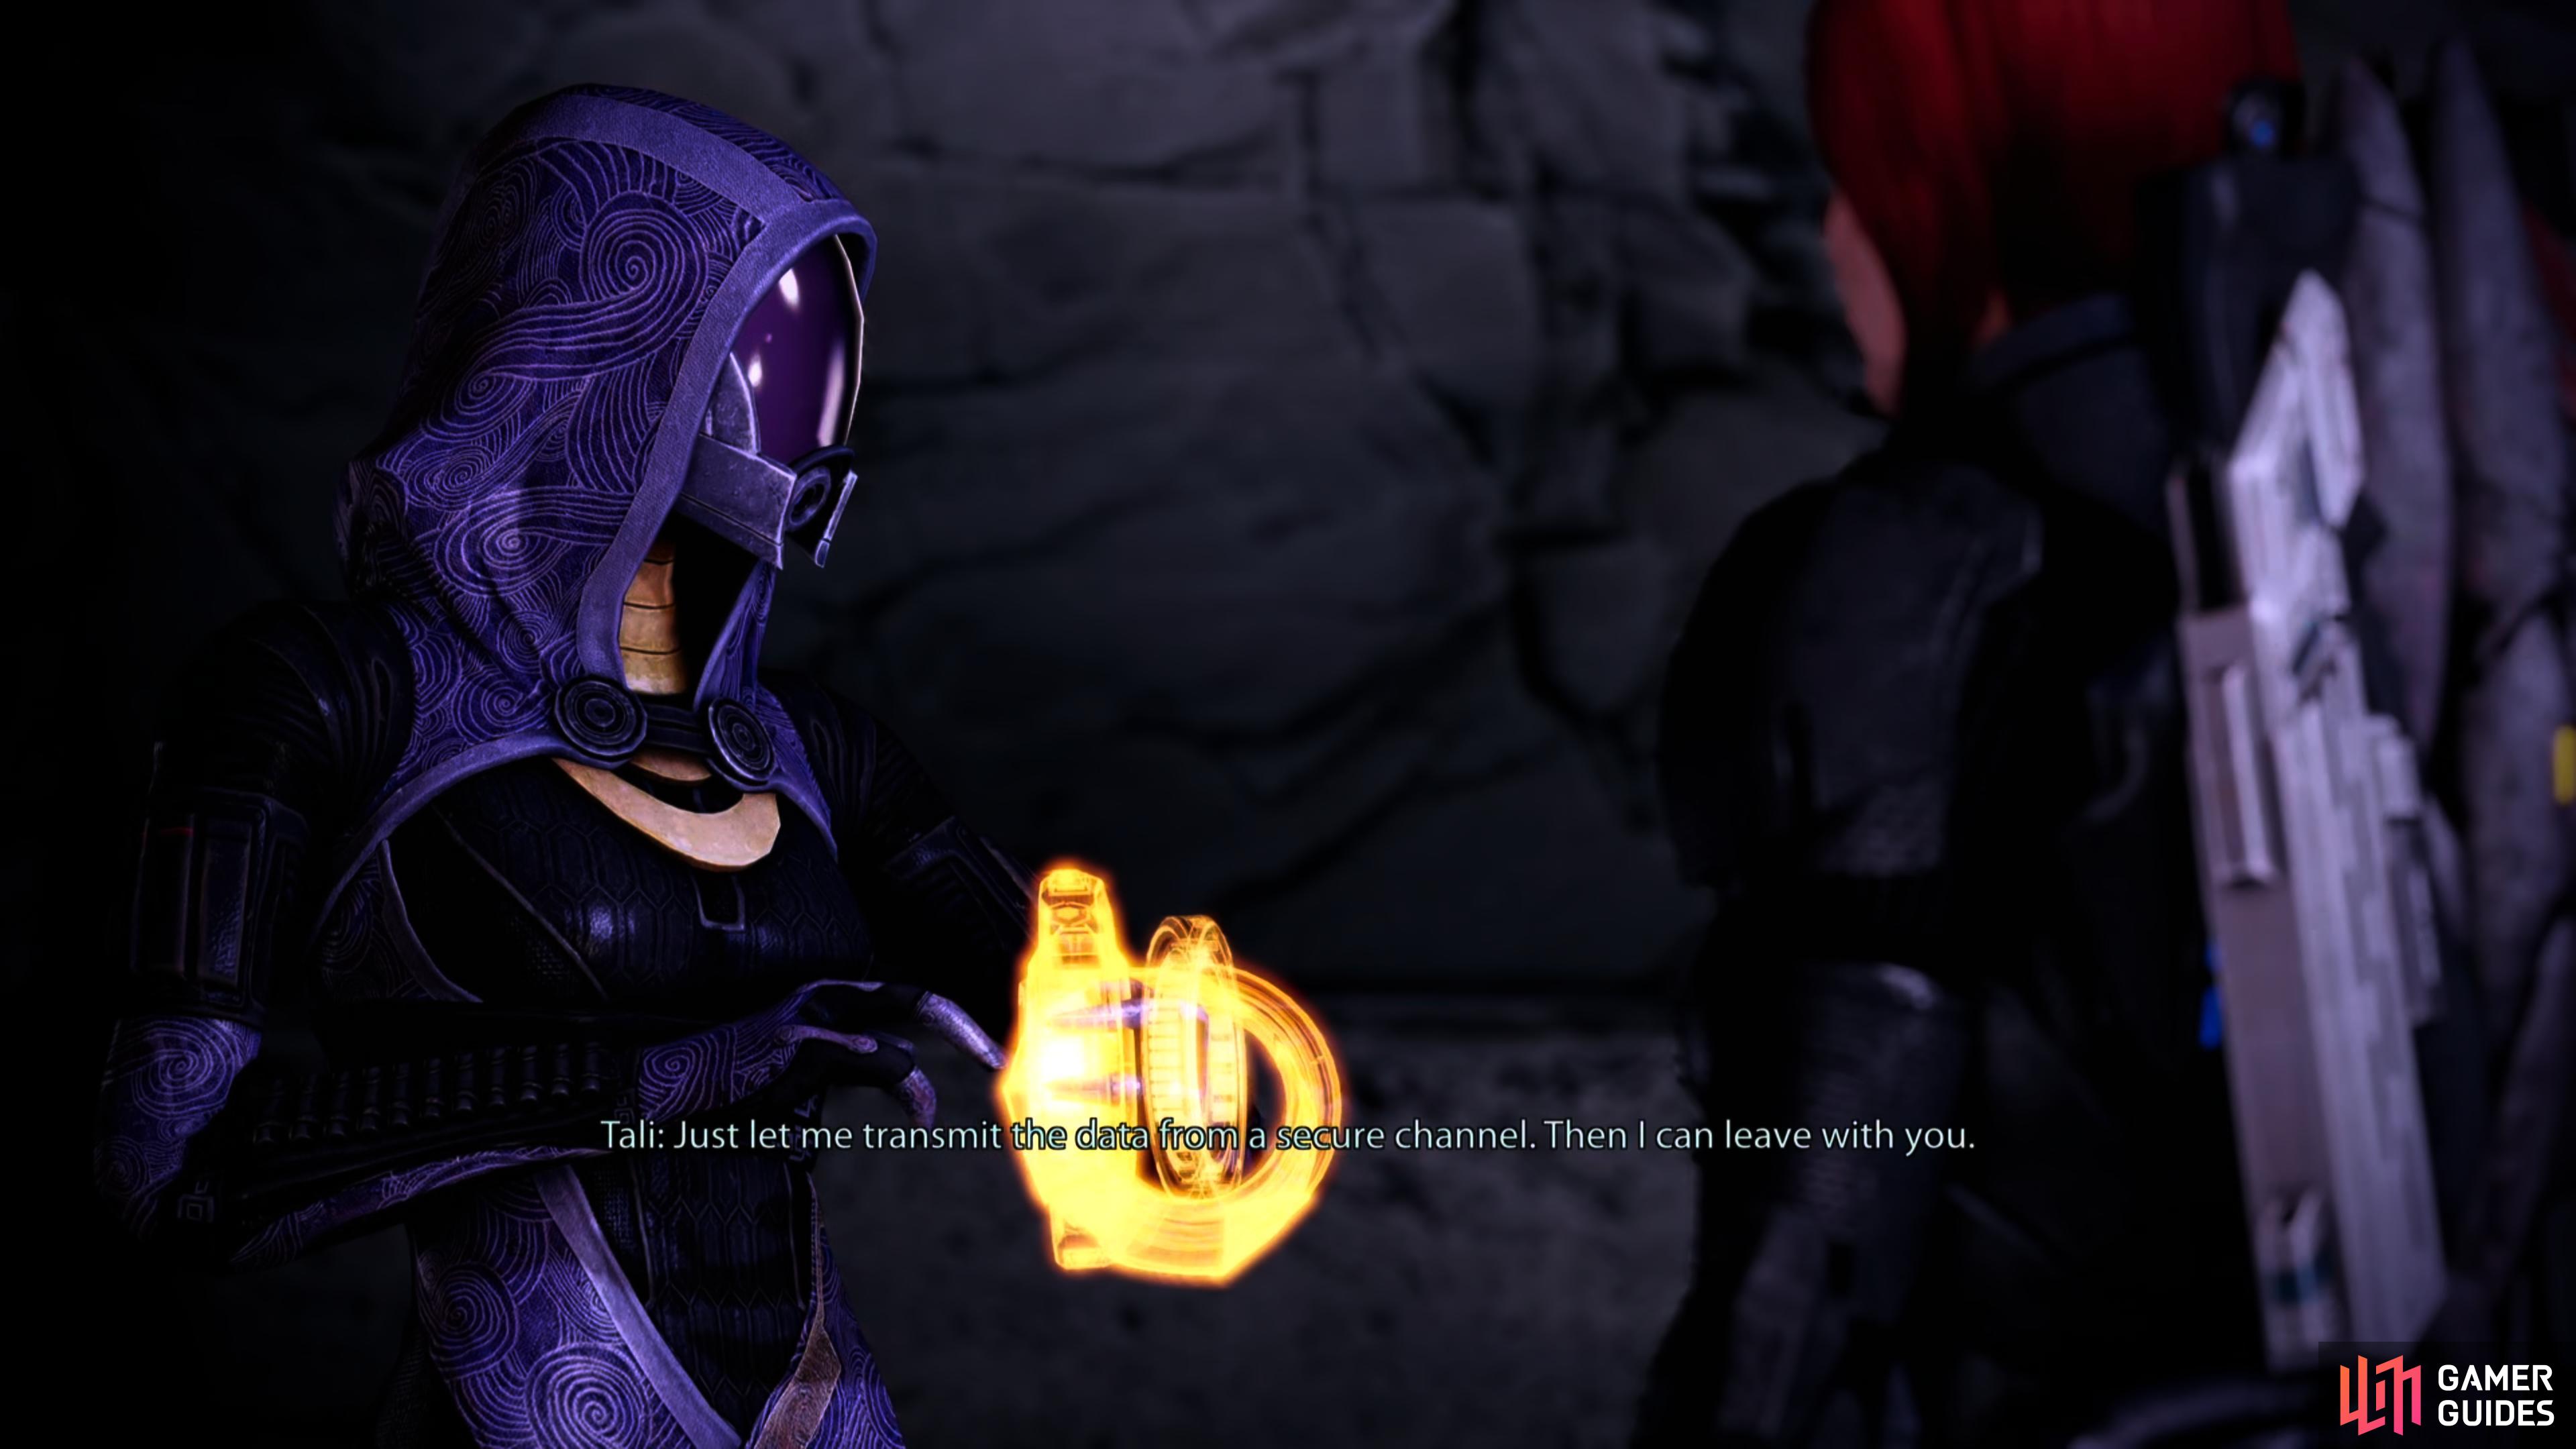
Once inside, look around the room. There is lots of stuff to pick up. Starting at the weapons locker, head to the right to find a Wall Safe , another of Tali’s journals on the desk, a pair of damaged Geth and a disassembled Geth rifle which will yield an Assault Rifle Damage upgrade. If you’re playing on Hardcore or Insanity difficulty, you’ll also find an Intact Pulse Rifle, which you can pick up to obtain the Geth Pulse Rifle. Find the locked door and use the communications device on the table next to it to converse with Tali.
After the conversation, open the unlocked door and pick up the Med Kit if required. Follow the passage around until it empties out into another open area. Kill the drones that appear at the entrance before entering the area. This zone is essentially one long room with several large support columns breaking it up into three paths. After entering, move forward to the first column to provoke a response from additional resident drones to come and get you. This will also activate a Geth Prime who will start moving towards your position. Follow the Geth Prime’s line of attack as he moves to the left and at each column, stop to destroy any drones that appear (and there are lots of them!). Prioritise the elimination of the drones before focusing your attacks on the Geth Prime.
After killing the first Geth Prime, you should try as much as possible to stick to the very right hand wall of the area and using the limited cover in the shade to eliminate the drones as you move towards the far end of the area. At the third set of columns, you will bump into another Geth Prime and a swarm or two of drones; execute the same strategy as before - destroy all the drones before ganging up on the Geth Prime. If it decides to come and pay you a visit, don’t be afraid to retreat a little to eliminate it from a safe distance. When it is dead, continue to move to the back wall eliminating any more drones that get in your way. At the far end, open the door.
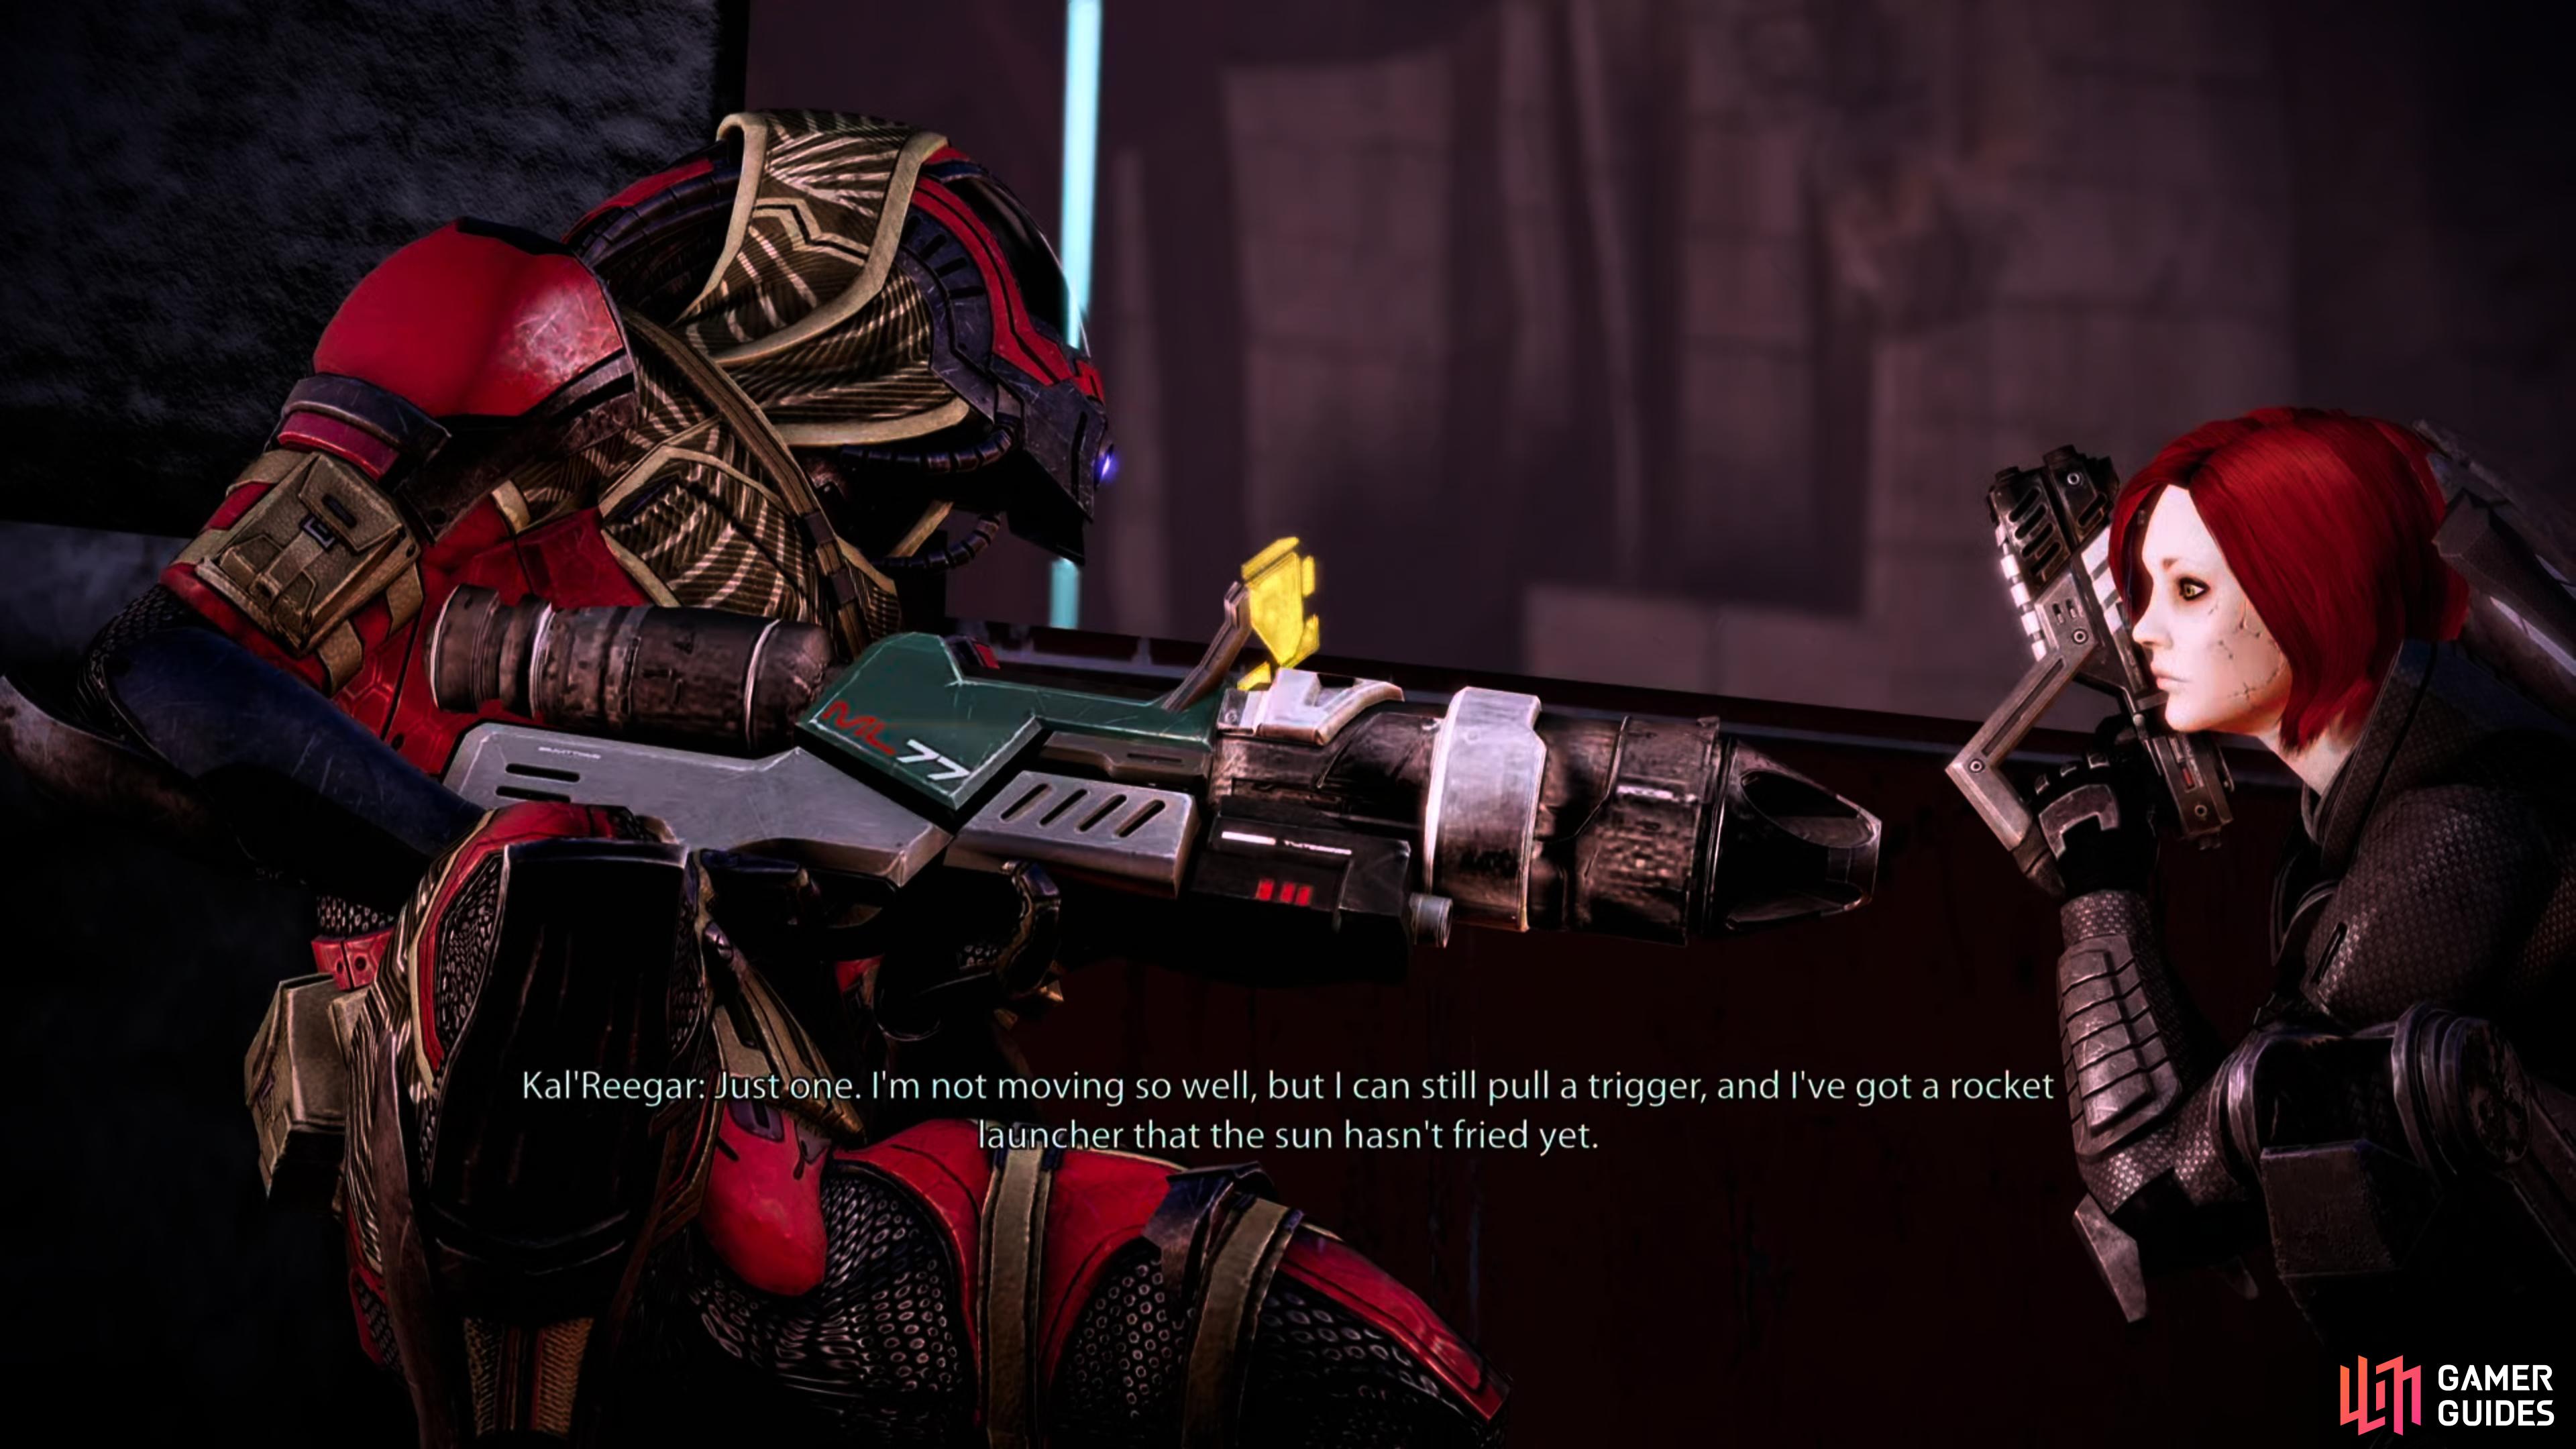

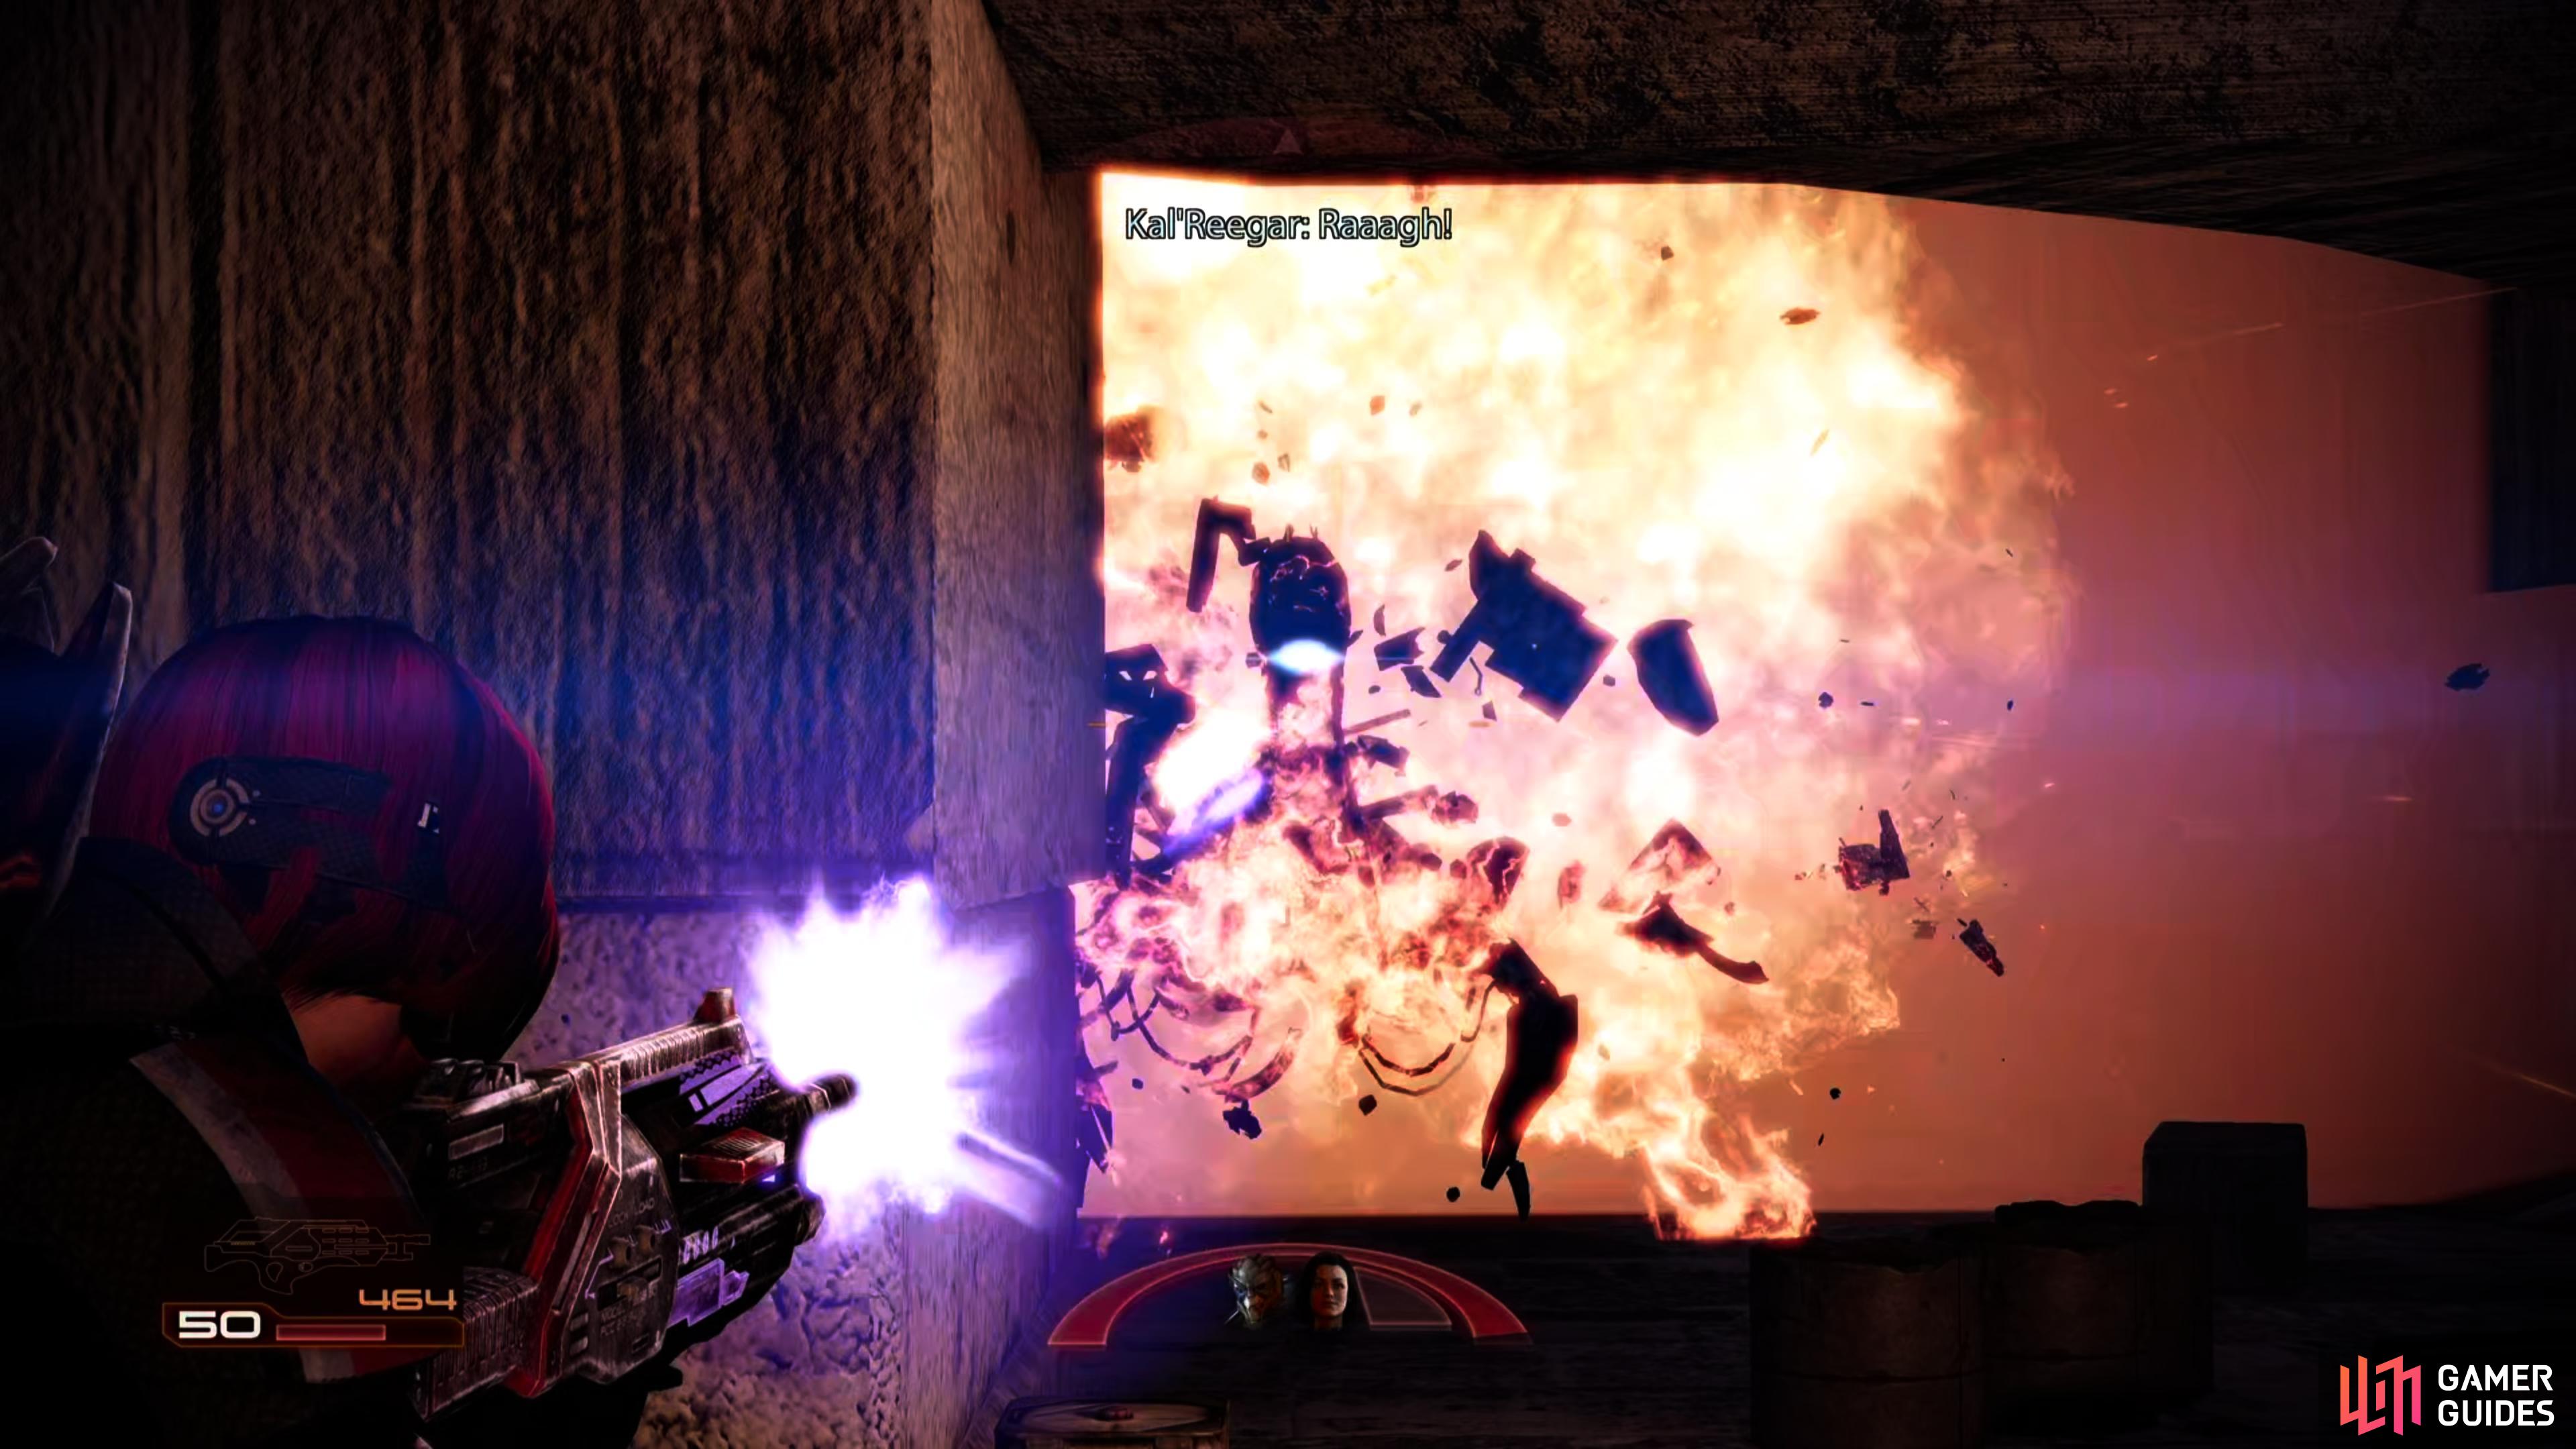
When you enter the room use the active console in front of you to disable the security lockdown, before heading through the door to the left. Make your way down the stairs and talk to Kal’Reegar. He will tell you about the current situation and you can let him help you (Renegade) or tell him to sit out (Paragon). Once the scene is over, it’s time to get down to business.
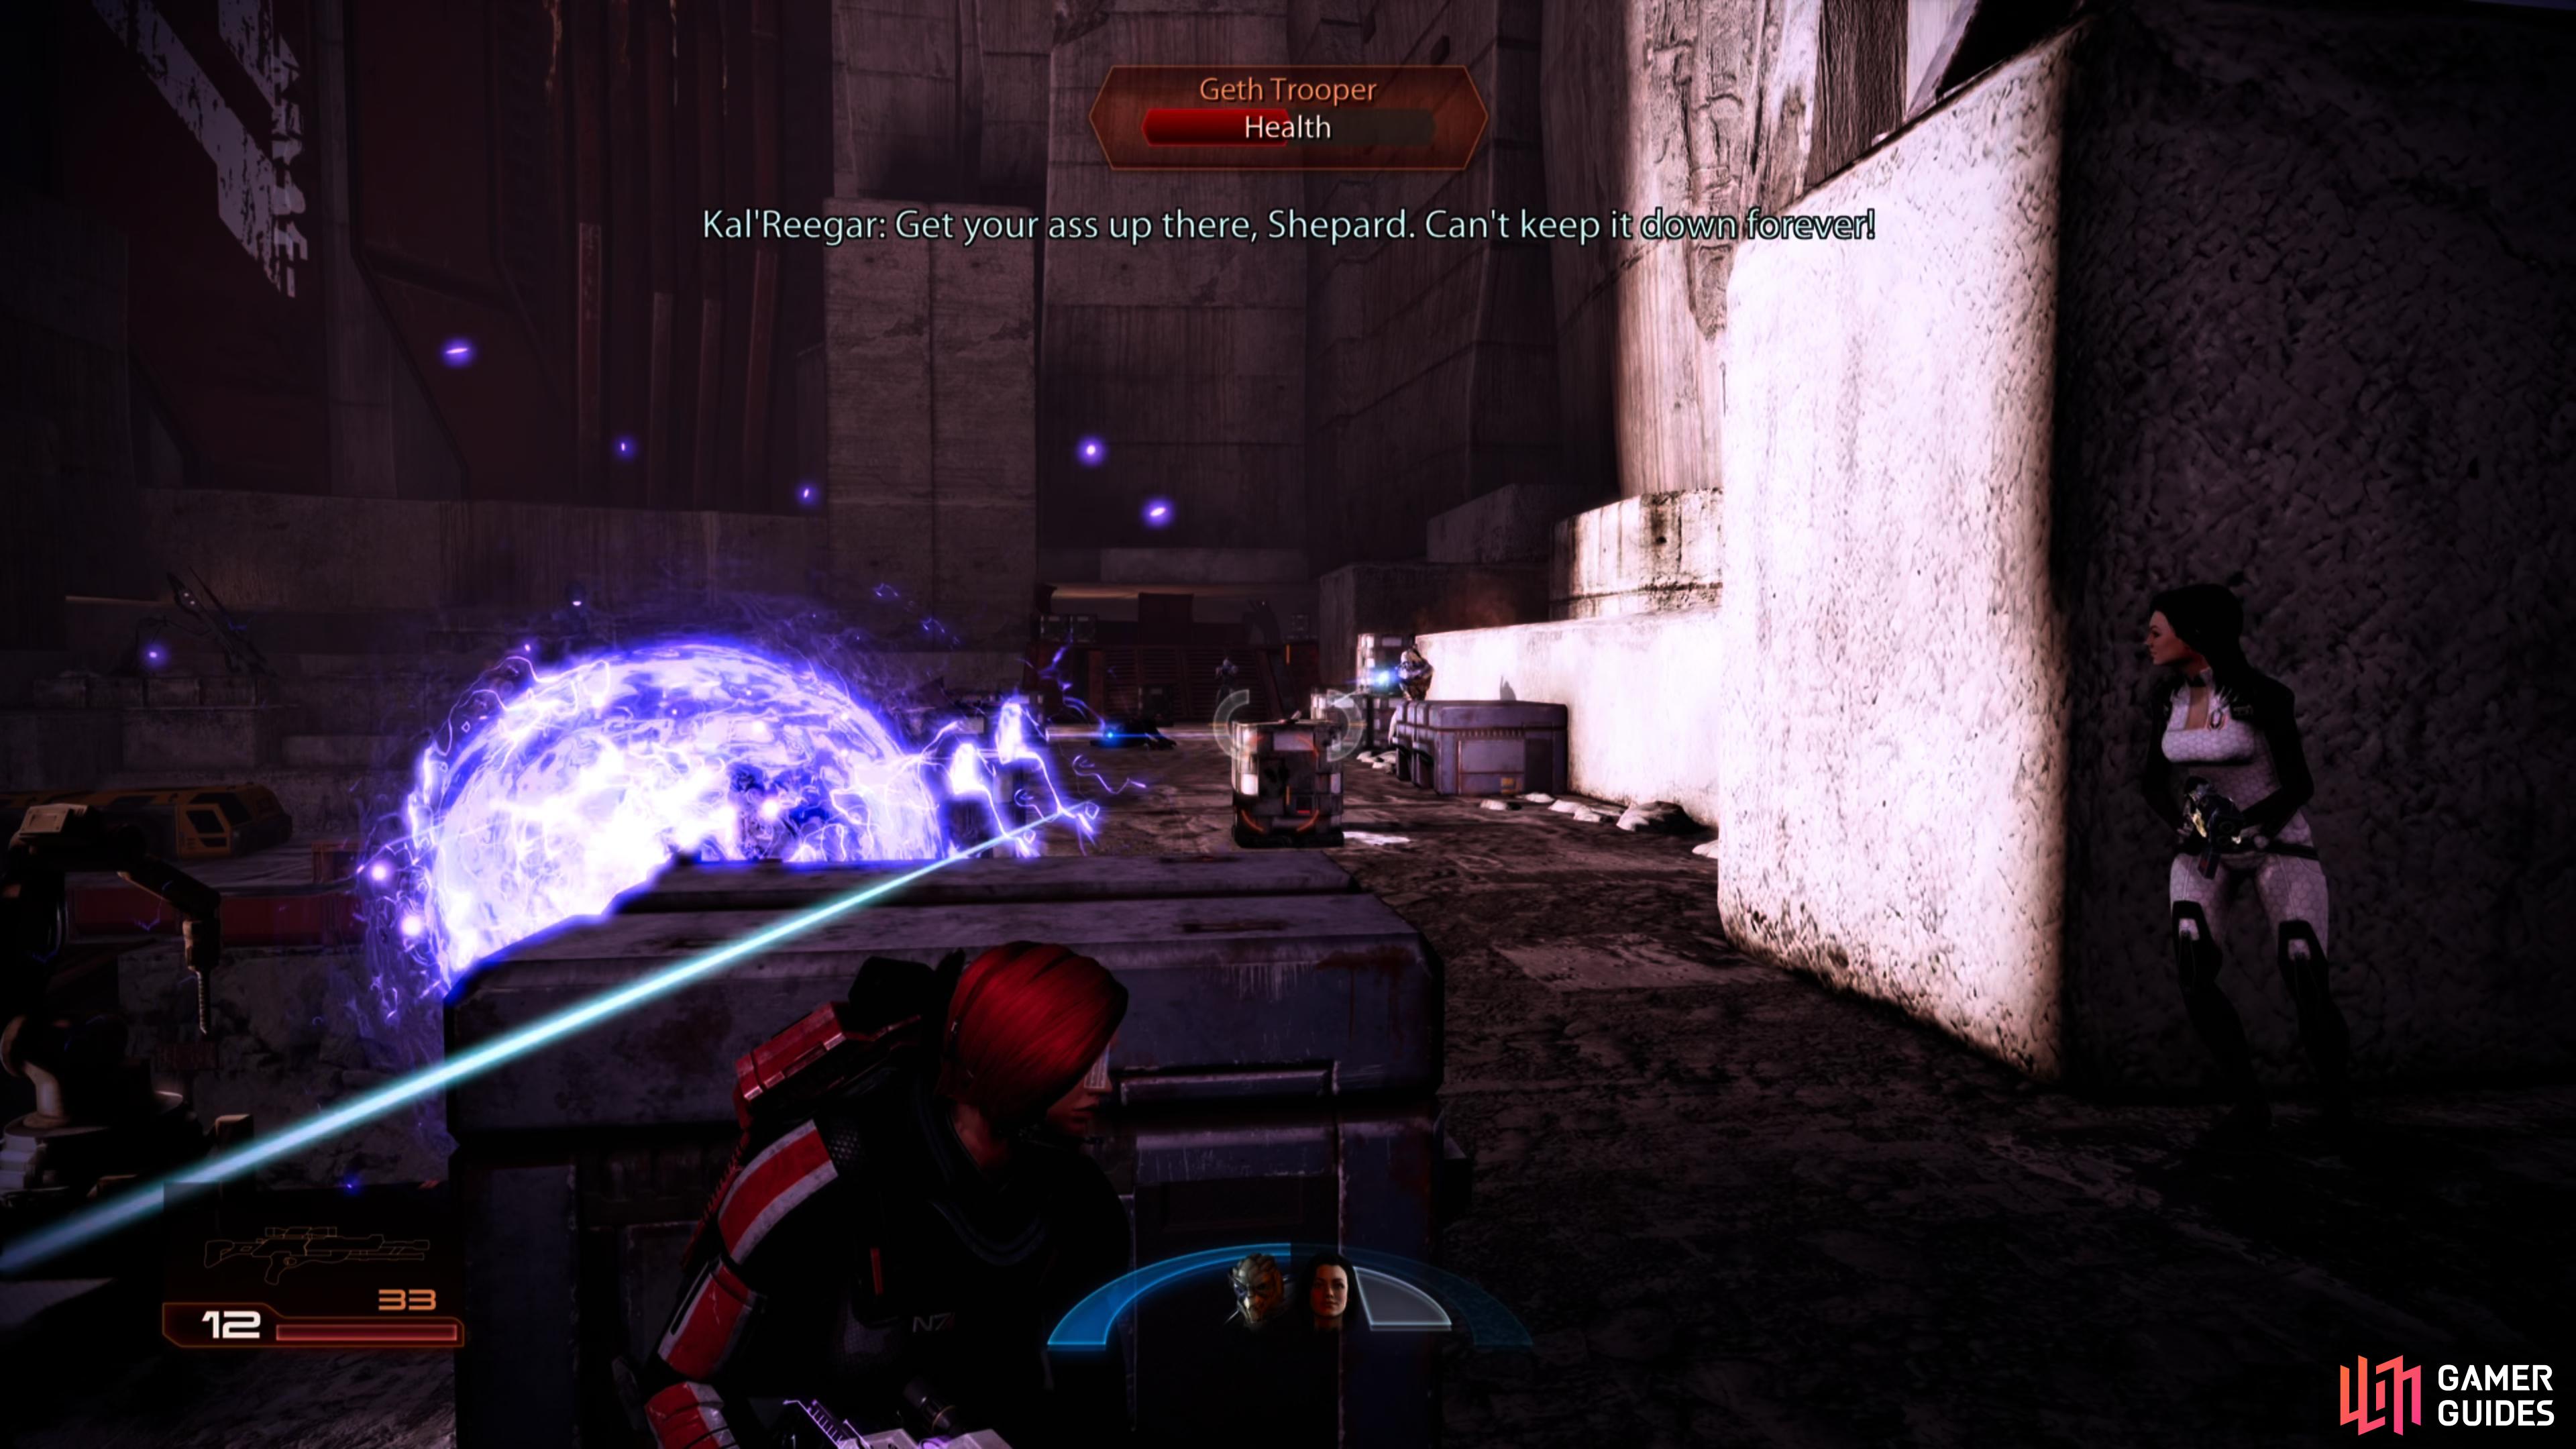
The Geth Colossus will sit at the far end of the room firing huge energy missiles your way. You will obviously need to stay in cover to prevent a sticky plasma death whilst you take out the Geth infantry forces in the courtyard below. There are 10-12 Geth Troopers to deal with initially, but moving down the stairs will trigger another group of 5-6 to appear. Make your way to the left side and up the ramp; grab the canister of Iridium here and fight your way across the walkway through the next wave of Geth infantry. Once you have eliminated a sufficient number of troopers, a pair of Geth Destroyers will arrive.
Kill them and continue to the end of the walkway; to the right you will notice there is a small platform directly beneath the Colossus; there are two canisters of Refined Iridium here. Pick them up if you wish and then head up the ramp on the left side of the area to take on the Colossus.
At the top of the ramp, immediately take cover behind the crates here as the Colossus will start to shoot at you with a heavy machine gun in addition to its regular plasma missiles. Not satisfied with this, the Colossus will also be backed up by a seemingly endless supply of Geth Troopers who will appear from a door behind the Colossus and continue to advance on your position. Try to ignore the infantry unless it is a Destroyer (focus fire on these immediately) or if they get too close and in the meantime, focus all of your efforts on the Colossus. After it falls, return to the left side of the courtyard by Kal’Reegar and look for a canister of Refined Iridium and pick up any other items laying around that you may have been too busy to grab during the fight before heading into the door behind the Colossus.
Examine the dead Geth on the floor here and move to the back of the room to speak with Tali to complete the mission.
| Mission Completion Rewards | |
|---|---|
| Experience Gained: | 1000 (1250) |
| Credits: | 30,000 + 30,000 |
| Iridium: | 2,000 |


 Sign up
No Comments