

This mission will immediately begin after you finis the first mission - just leave the base after talking to the Illusive Man (and perhaps Jacob and Miranda, if you wish, although this is unnecessary) and you’ll set off for Freedom’s Hope.
| Notable Items in This Area |
|---|
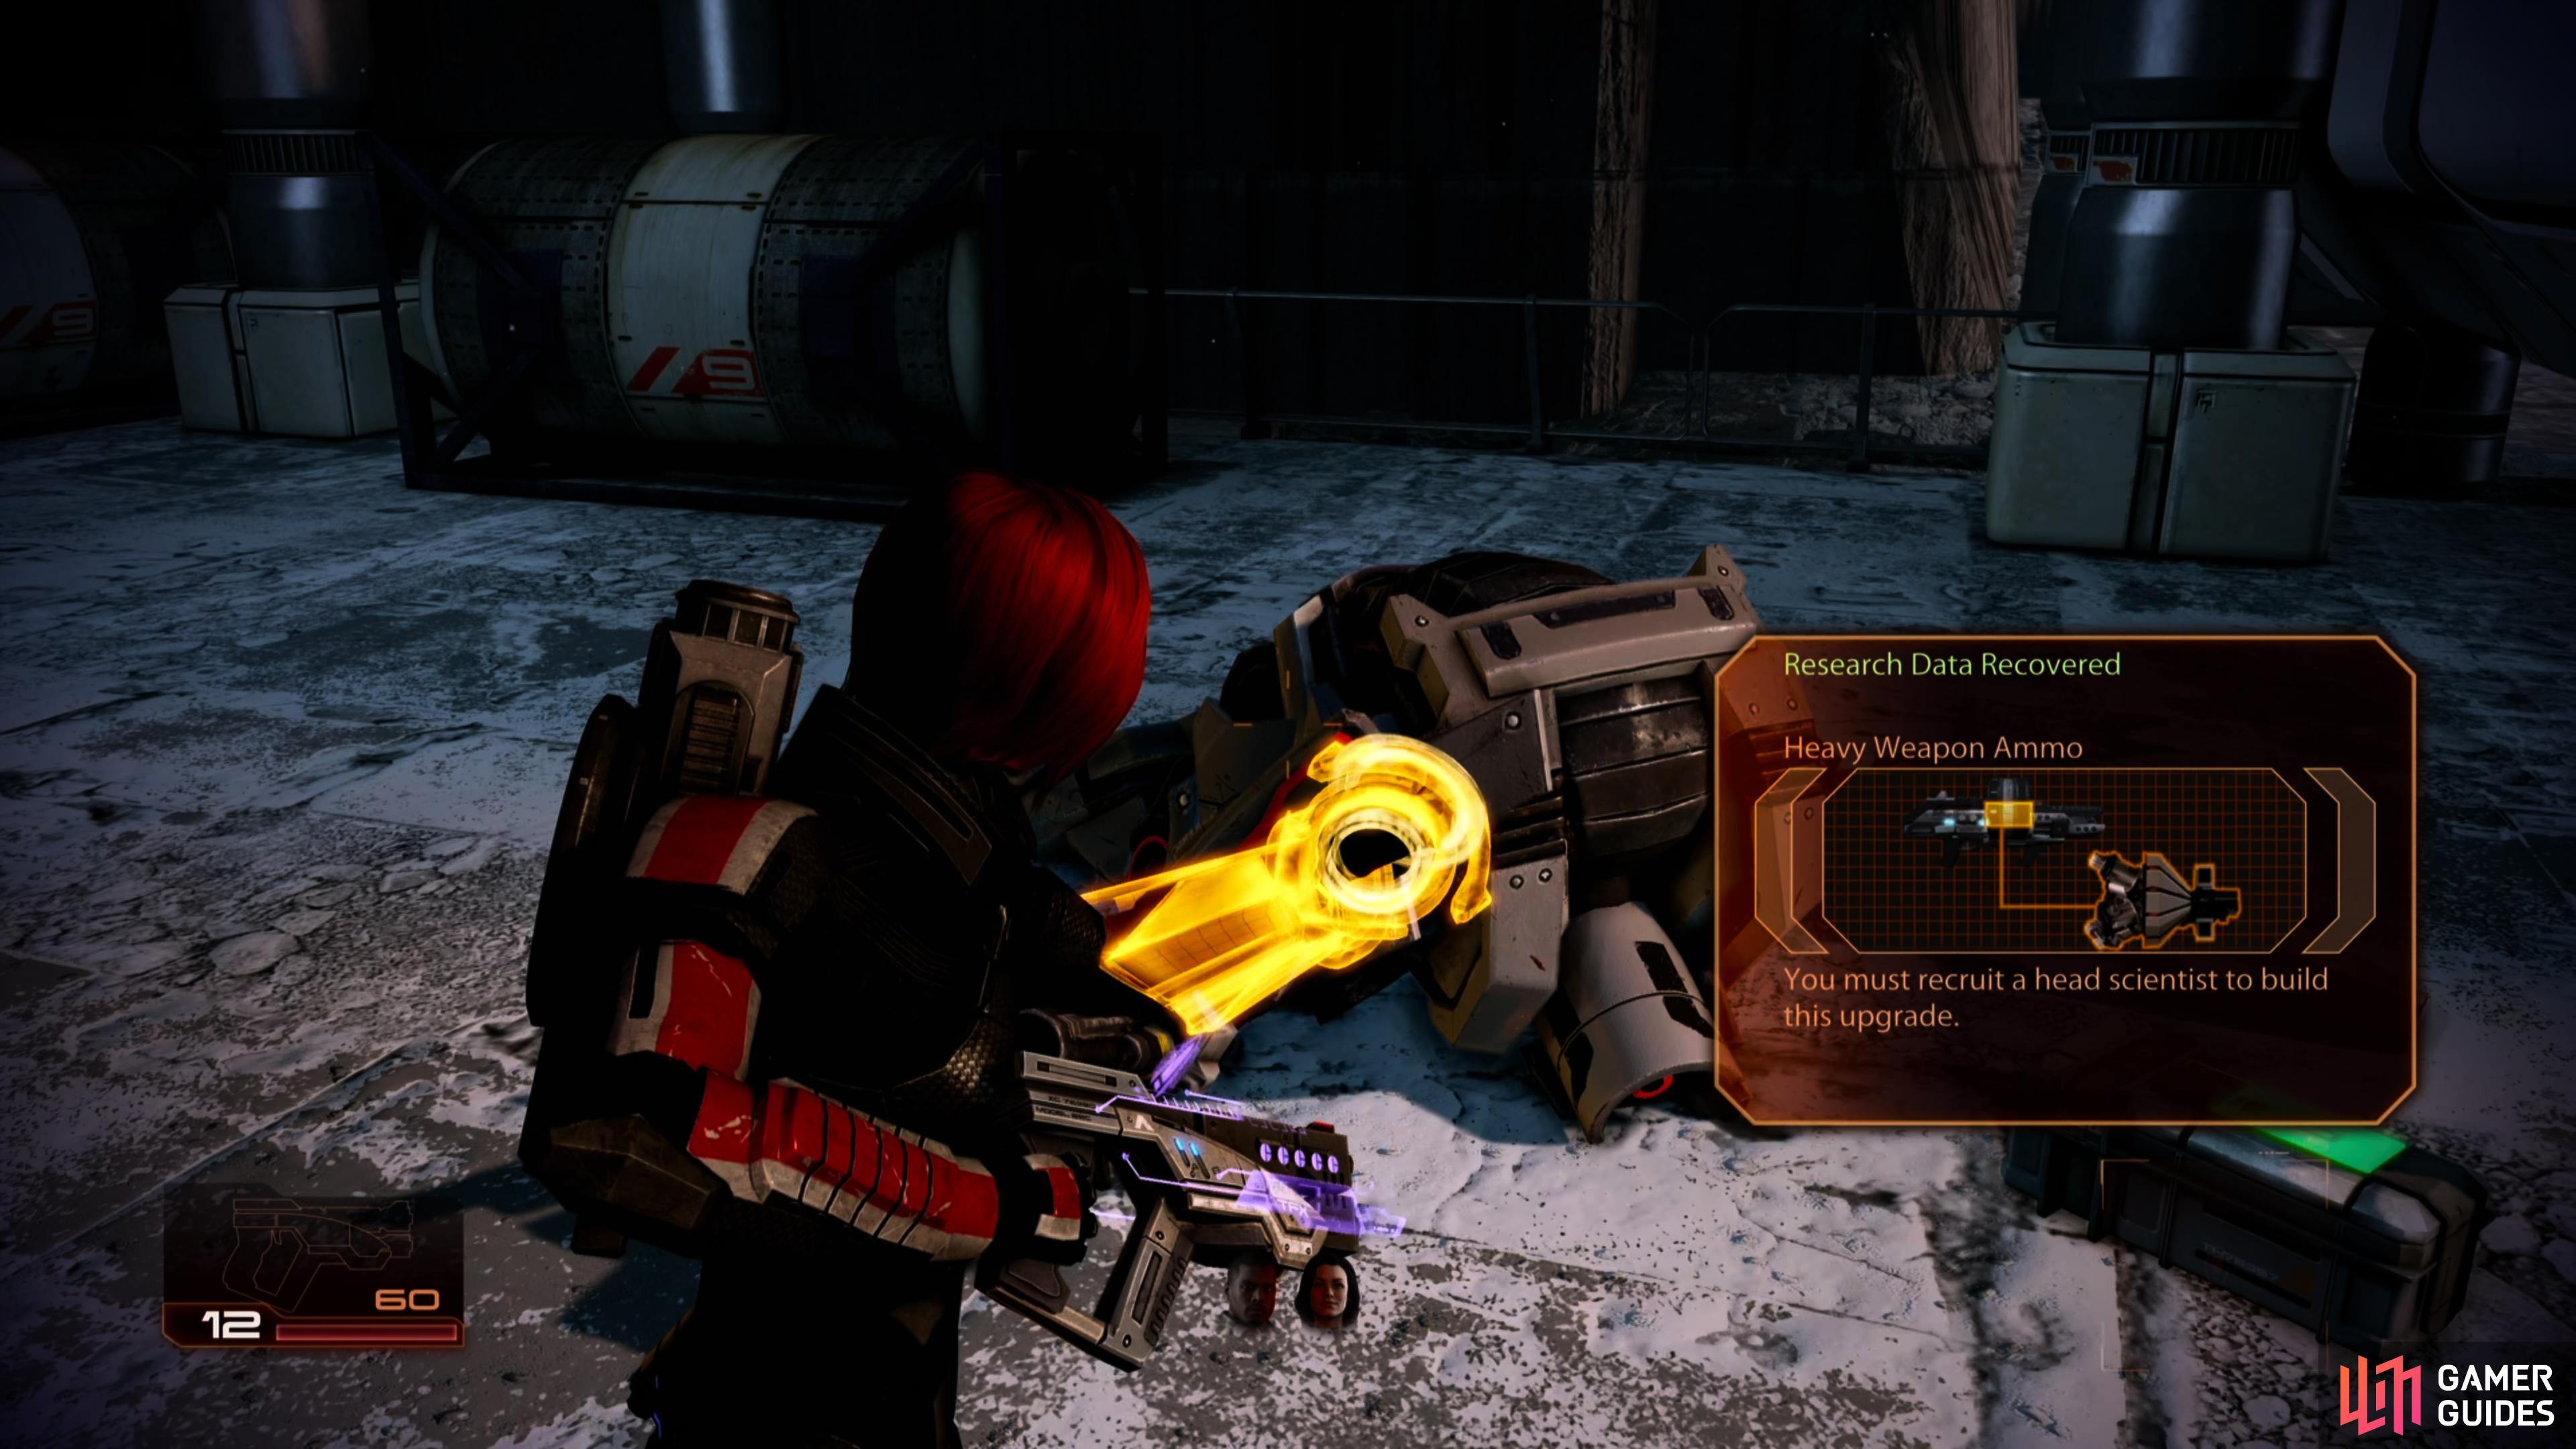
| Upgrade - Research Project: Heavy Weapon Ammo |
After landing, enter the door in front of you; exit via the door on the opposite side of the room. Follow the catwalk to the left and descend the stairs. Make your way over to the door on the far right of the area and pick up the spare parts on the crates to the left before you head through.

(1 of 2) Be wary of the dog-like FENRIS Mech, which can deal heavy damage if it gets within melee range.
Be wary of the dog-like FENRIS Mech, which can deal heavy damage if it gets within melee range. (left), These will, of course, be joined by the more familiar LOKI Mech. (right)
As you enter, a pair of LOKI mechs will attack you from a platform across from your current position. These guys are just like the hacked mechs you encountered earlier at the Cerberus space station but they have a little more armour. Take cover and eliminate them. When these two fall, another pair of LOKI mechs will appear on a raised area to your right and they will be accompanied by two FENRIS mechs (little dog robots that can do a ton of melee damage if they get too close).
Eliminate the FENRIS mechs first, and then pop the LOKIs (don’t be afraid to retreat into the previous area if they close on your position too fast). A third LOKI will appear across the gap (where you killed the first two) so kill him too.
Once the enemies have been reduced to scrap metal, walk up the stairs to your right and into the open building at the end. Grab the Med Kit and hack the wall safe here. Exit the door to see a LOKI and a FENRIS mech activate on the balcony of the building across the way. Retreat inside and use the cover of the door frame to take them down. Exit again, and check the crate on the left for some spare parts, then head up the next set of stairs and into the building here for a scene and a chat with a familiar face - your old friend Tali.
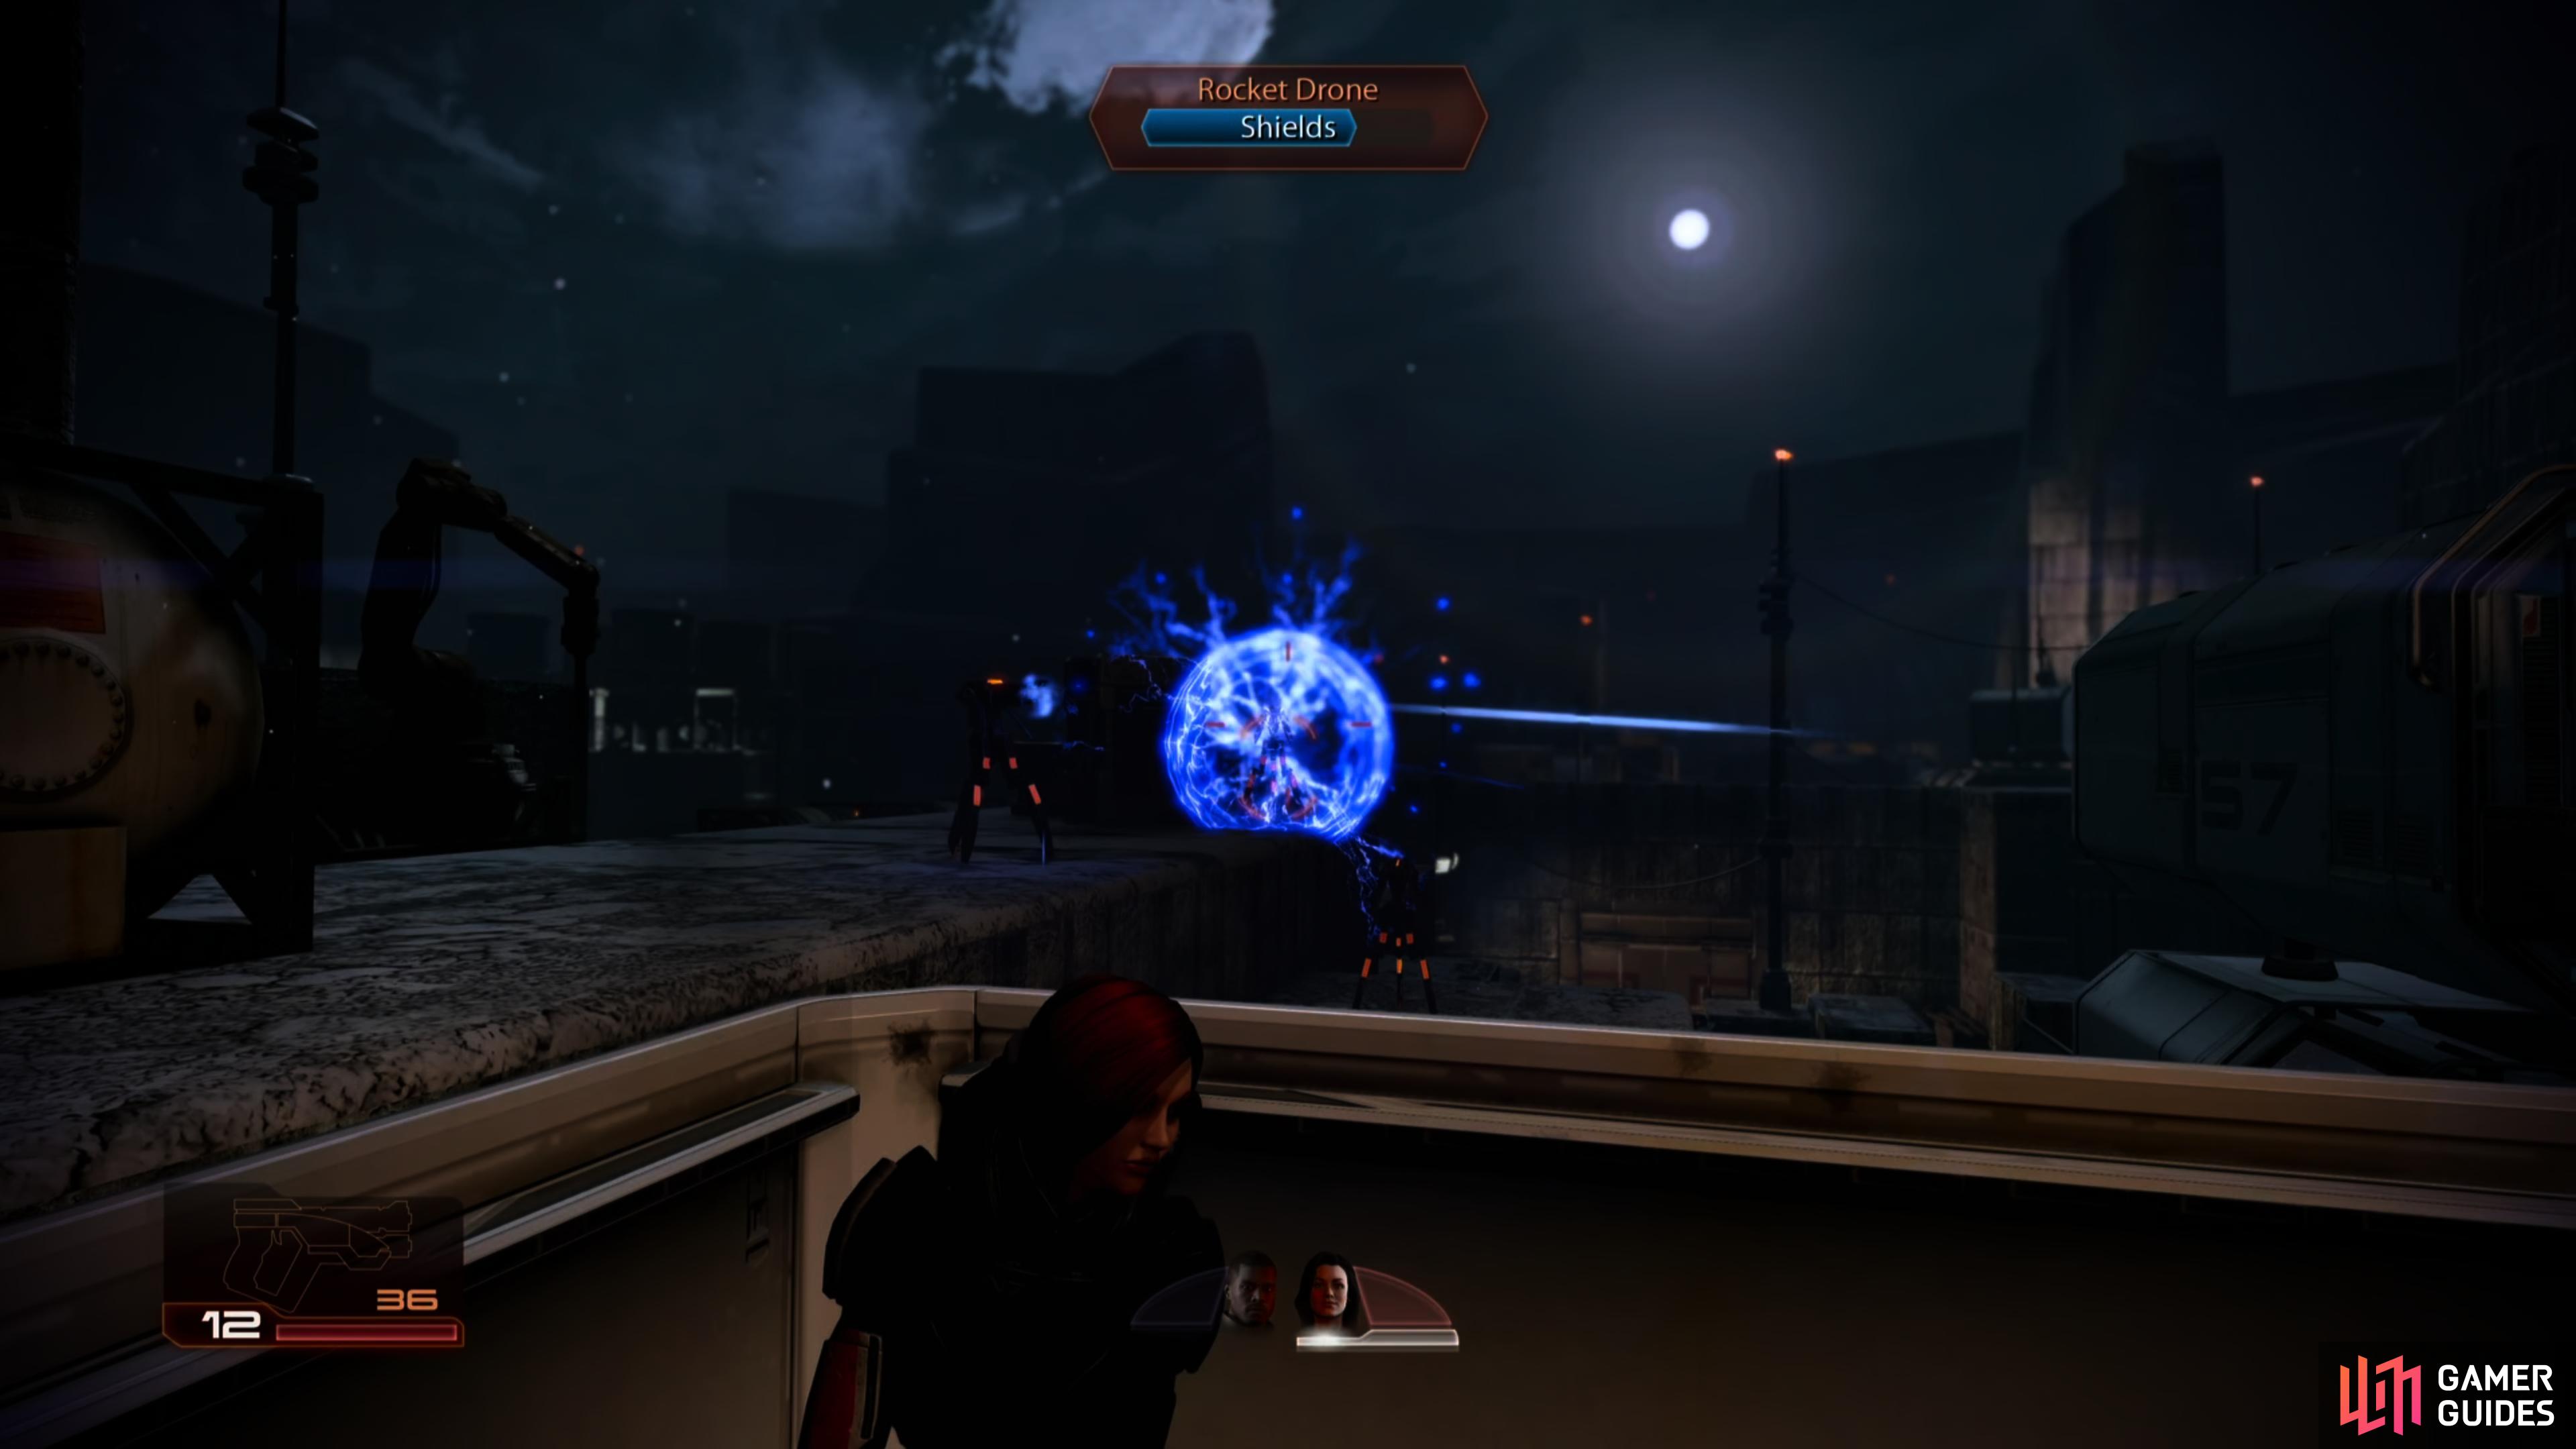
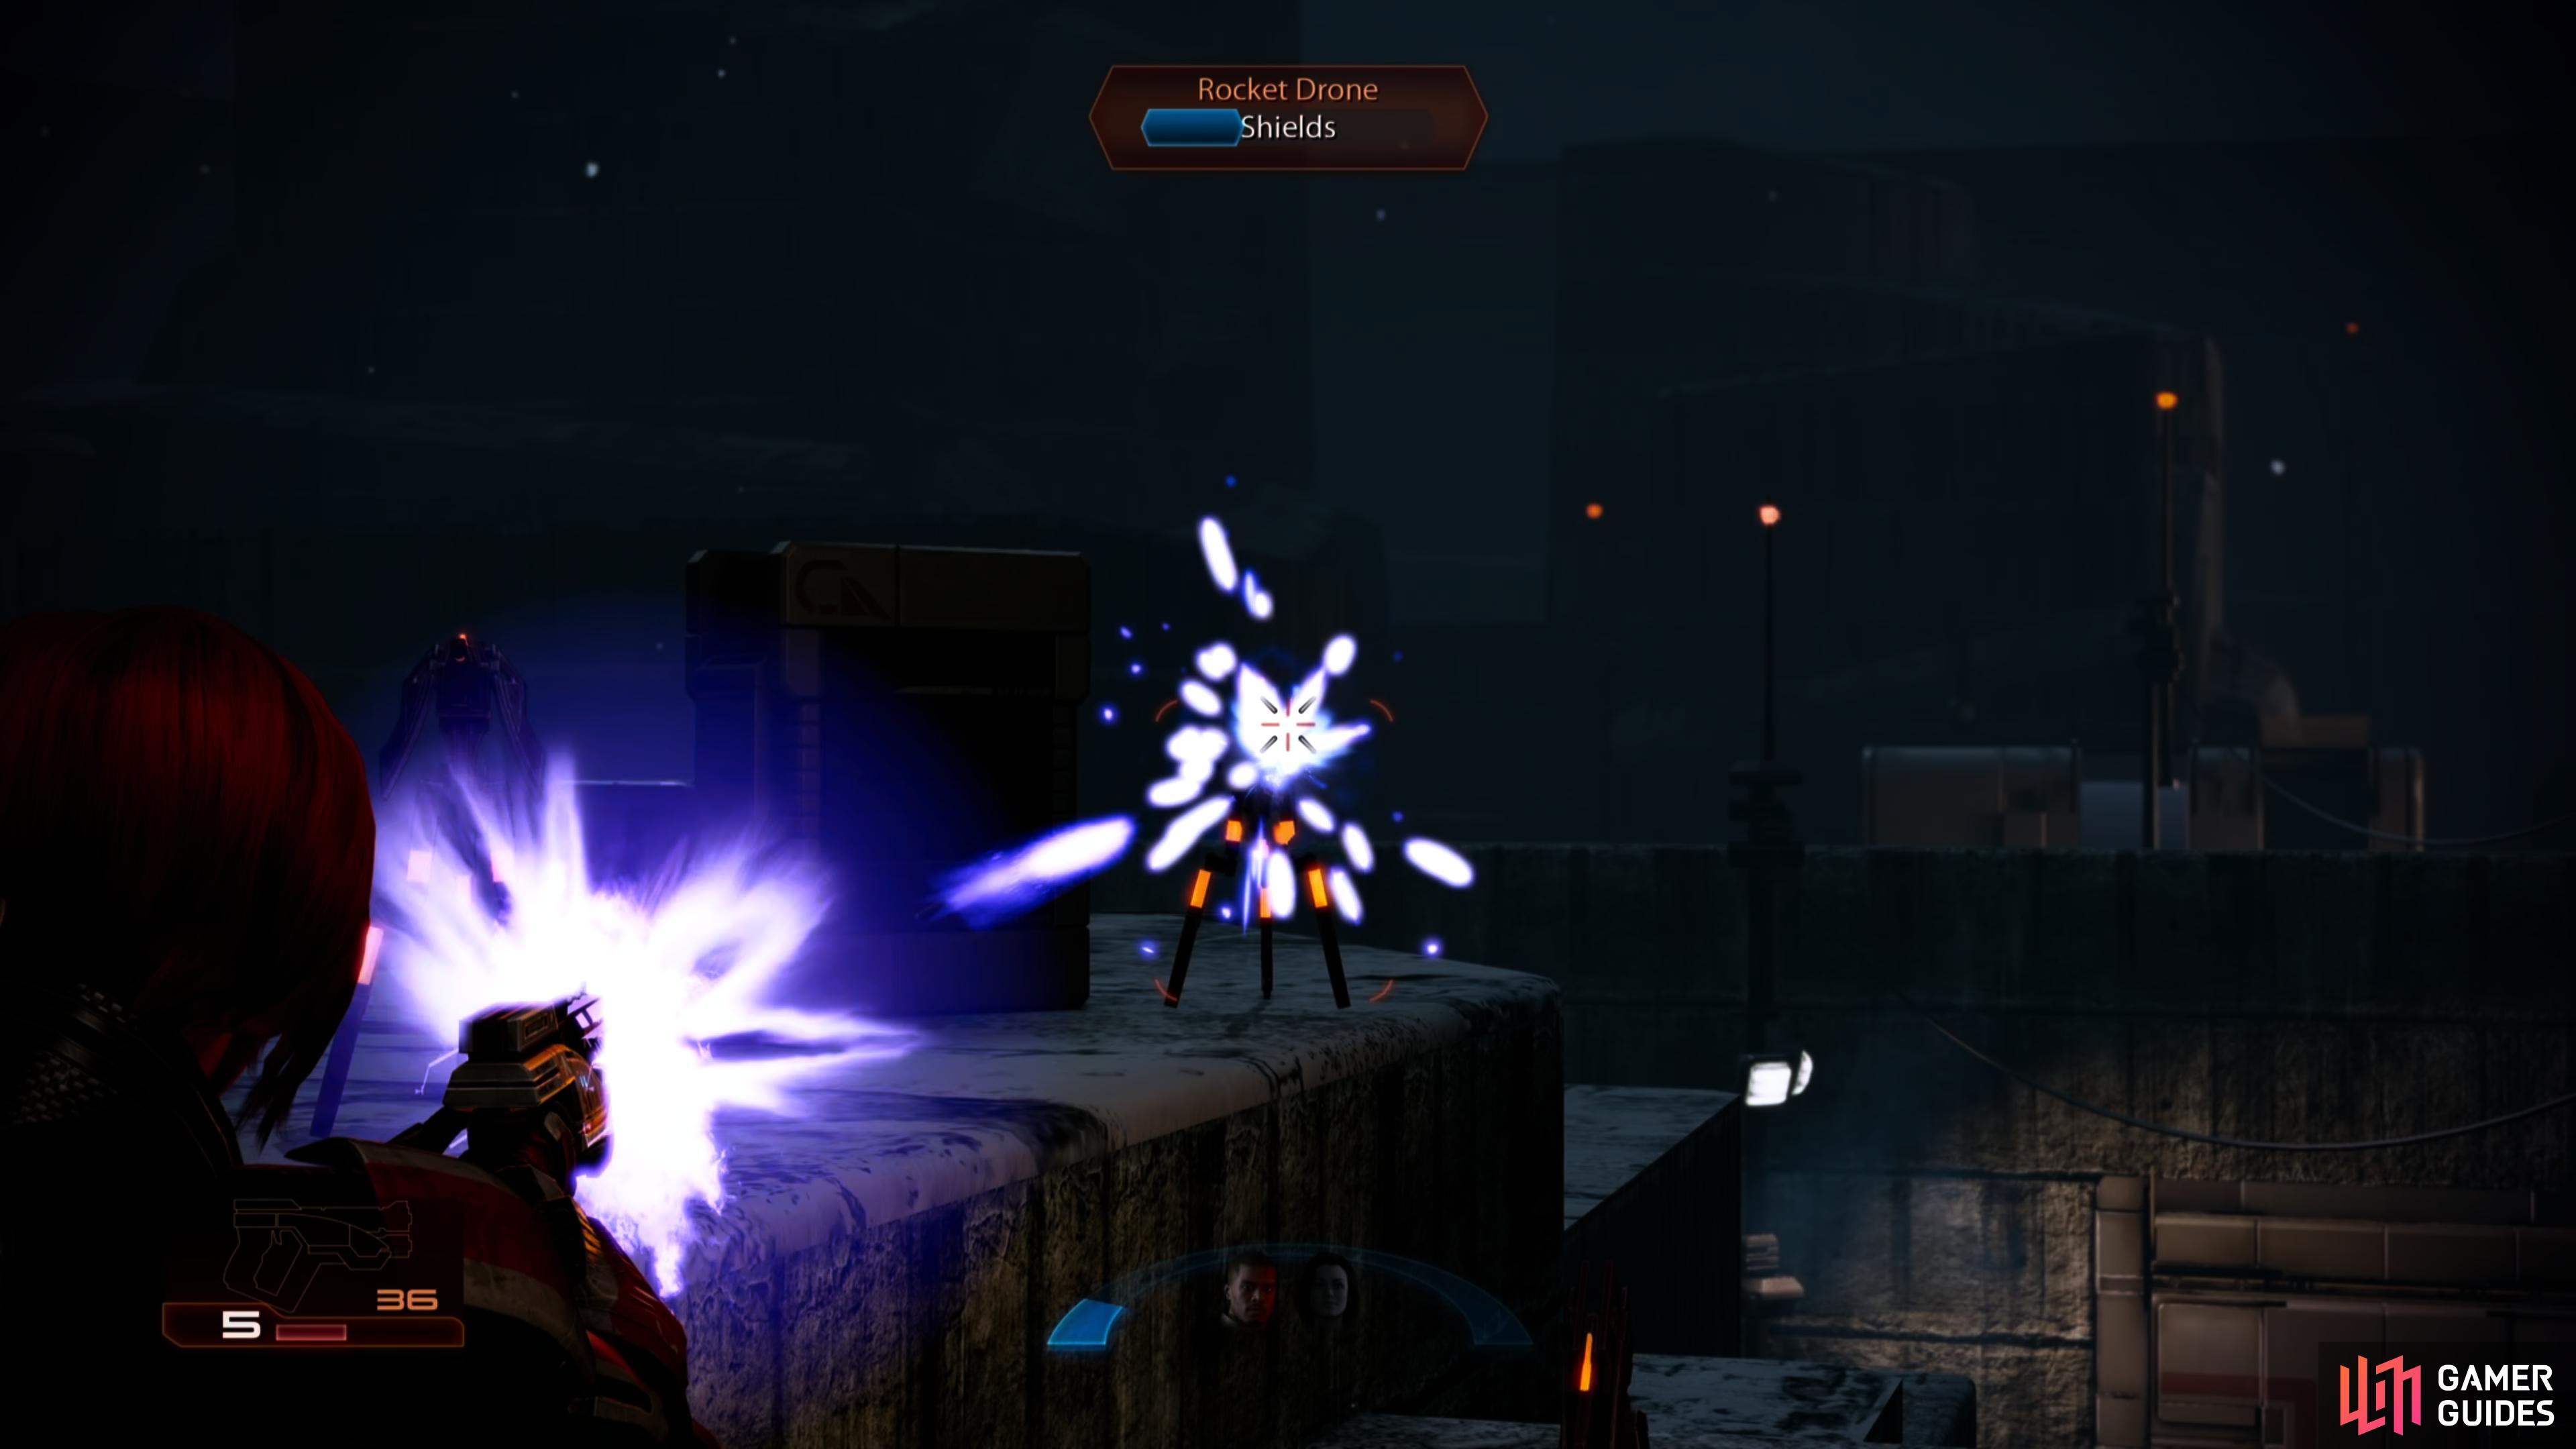
(1 of 2) Use Overload to take down the shields protecting drones,
Use Overload to take down the shields protecting drones, (left), although caution and gunfire will also suffice. (right)
When you are done, exit through the open door and make your way down the stairs and into the next building. Kill the LOKI mech hiding on the left side of the room and loot the wall safe next to him. Use the door on the far right of the room and take cover. You will be attacked by several groups of security drones. They are not all that powerful, but in numbers they can take your health down very quickly. Use Miranda’s Overload ability on them to take their shields down quick smart.
To start with, three drones will land on the building in front of you and slightly to the left, but as you kill them they will be replaced by additional drones. These guys will land in different spots and may be able to get to you behind your cover, so keep an eye out for the reinforcements and rethink your cover solution when you deem necessary. After destroying eight or so drones, things should go silent. When this happens continue along the path and into the open building nearby for a Med Kit; grab this and enter the nearby door.
Run through the next building and down the stairs. As you reach the bottom you will be attacked by another group of drones. As this occurs, take cover behind the crate or the low walls here. These guys will fly from left to right across the area and land on the crates to your right. As before, they will be backed up by another group of drones once defeated, so repeat the process to wipe them out.
Once the area is clear, continue down to the large open area to the right; pick up the Med Kit and follow the on-screen instructions to position your squad on either side of the door.
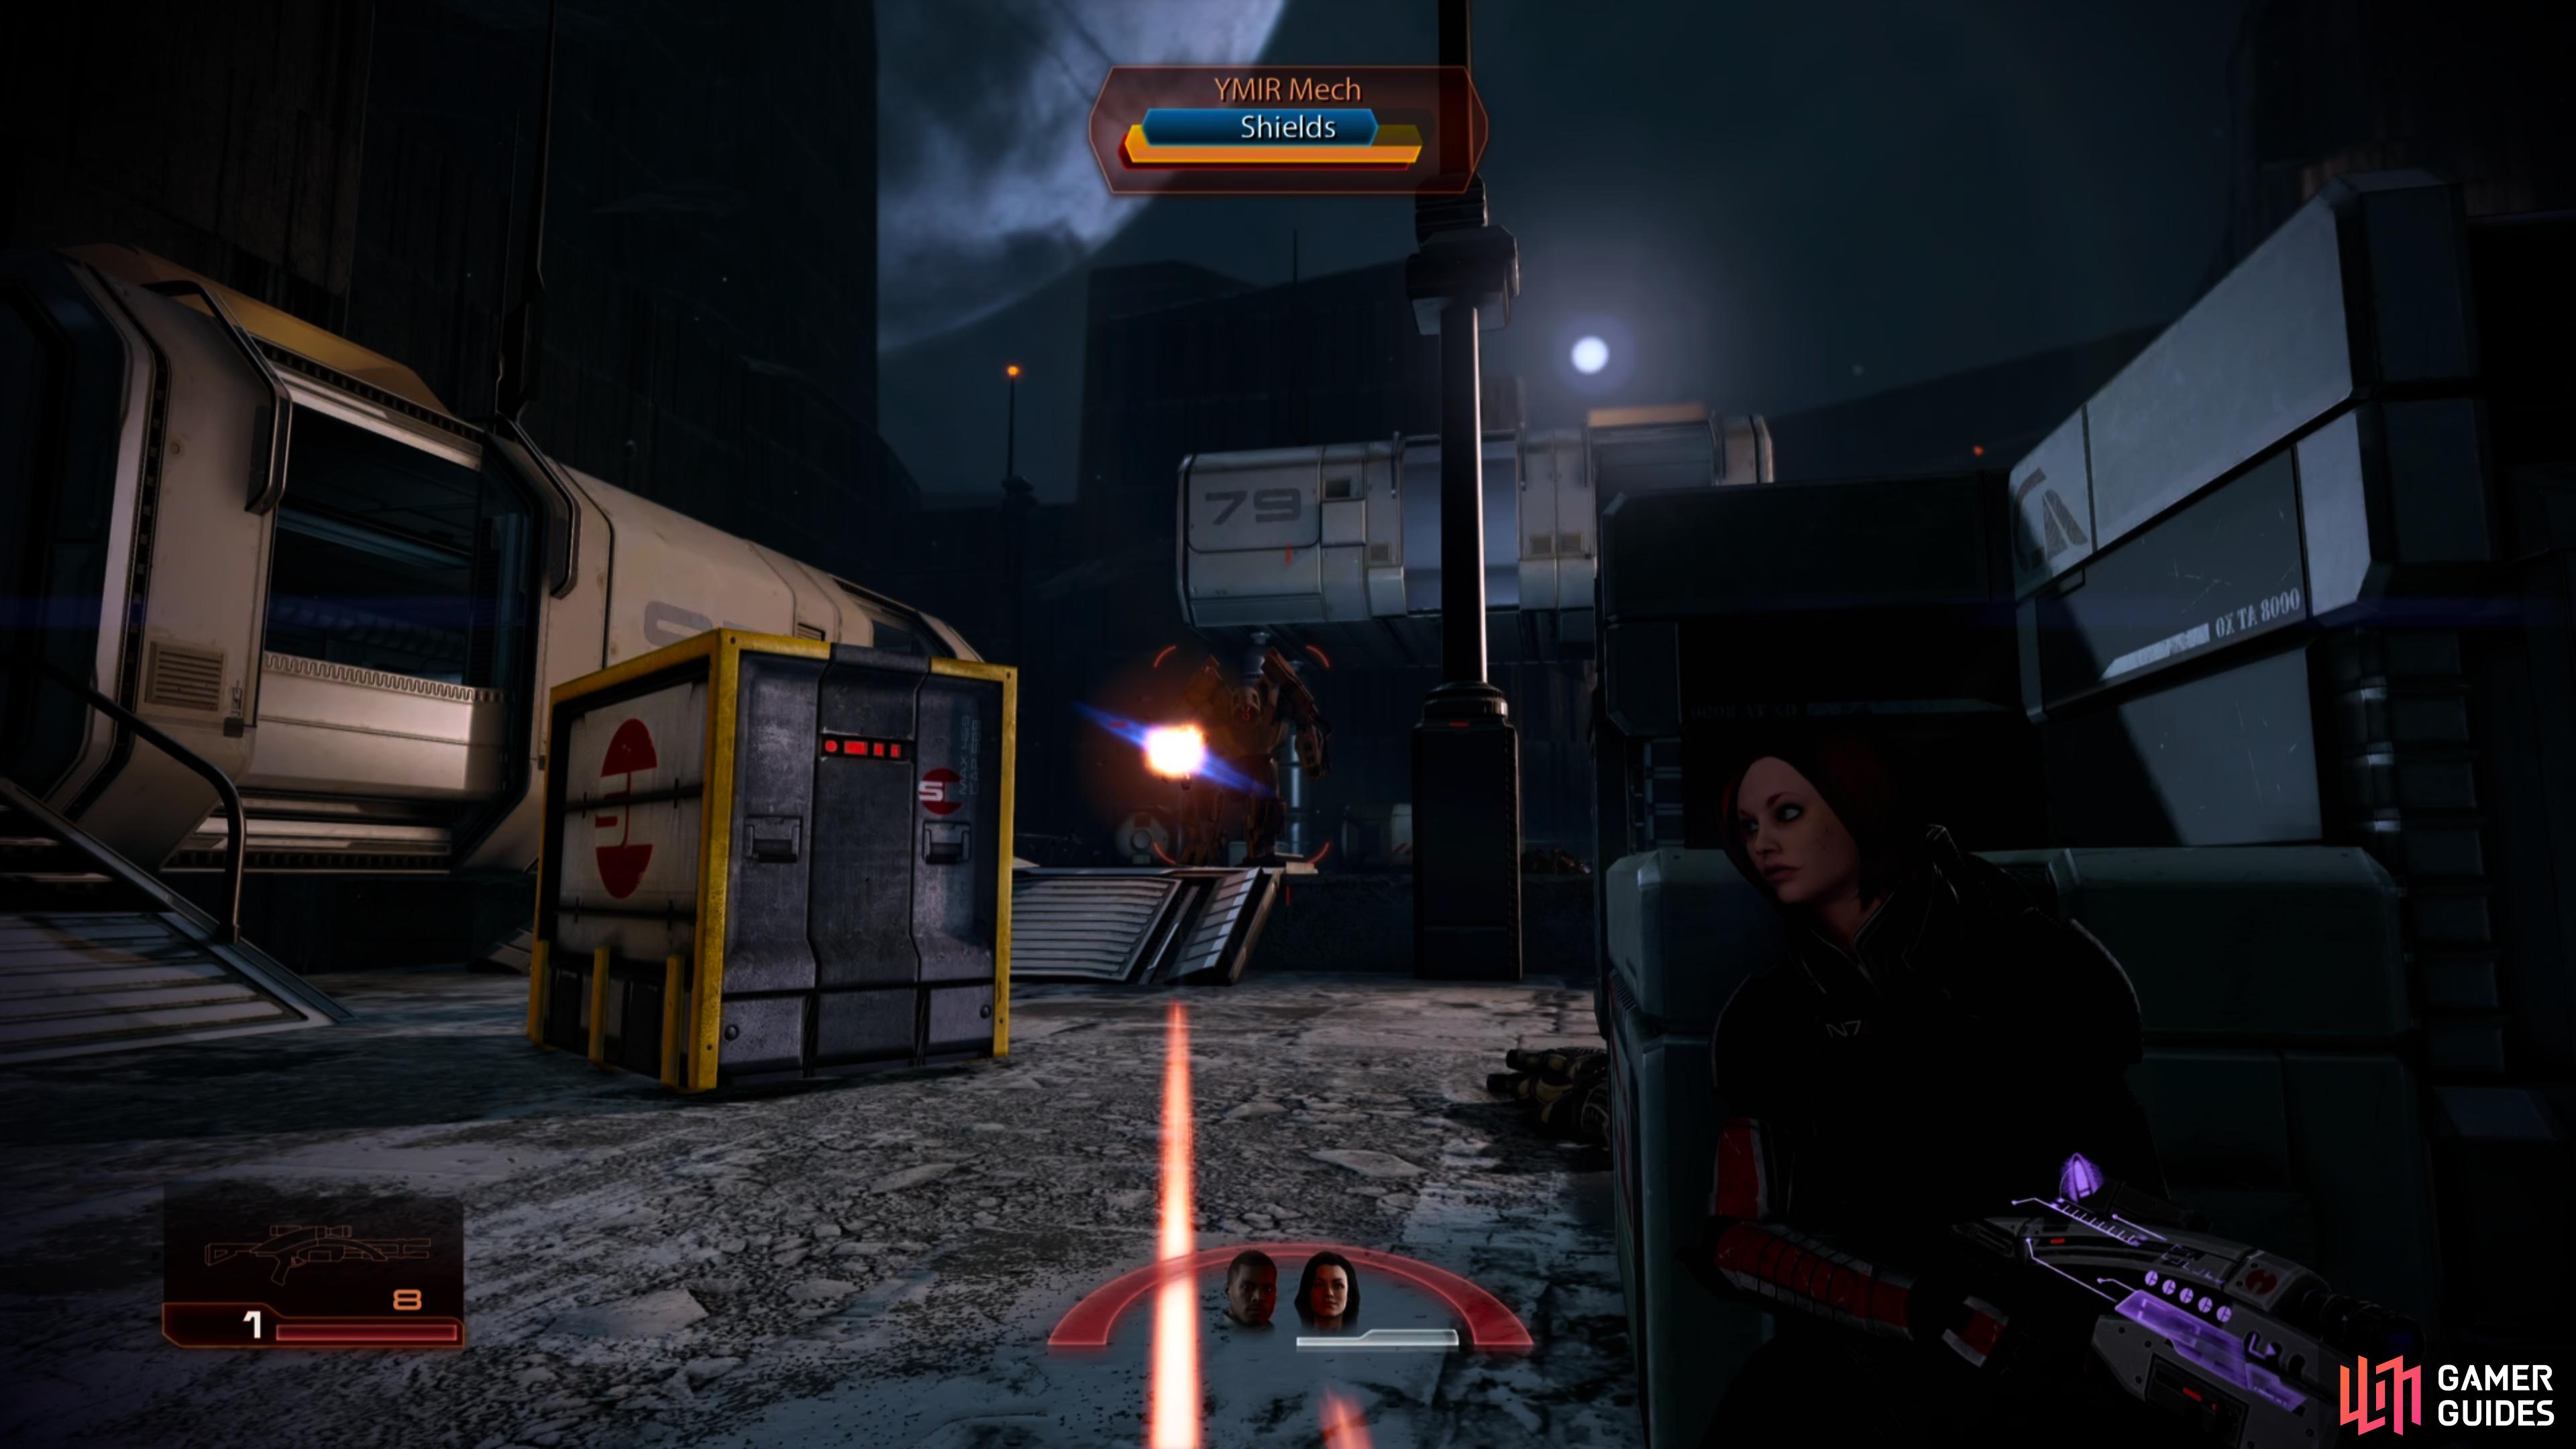
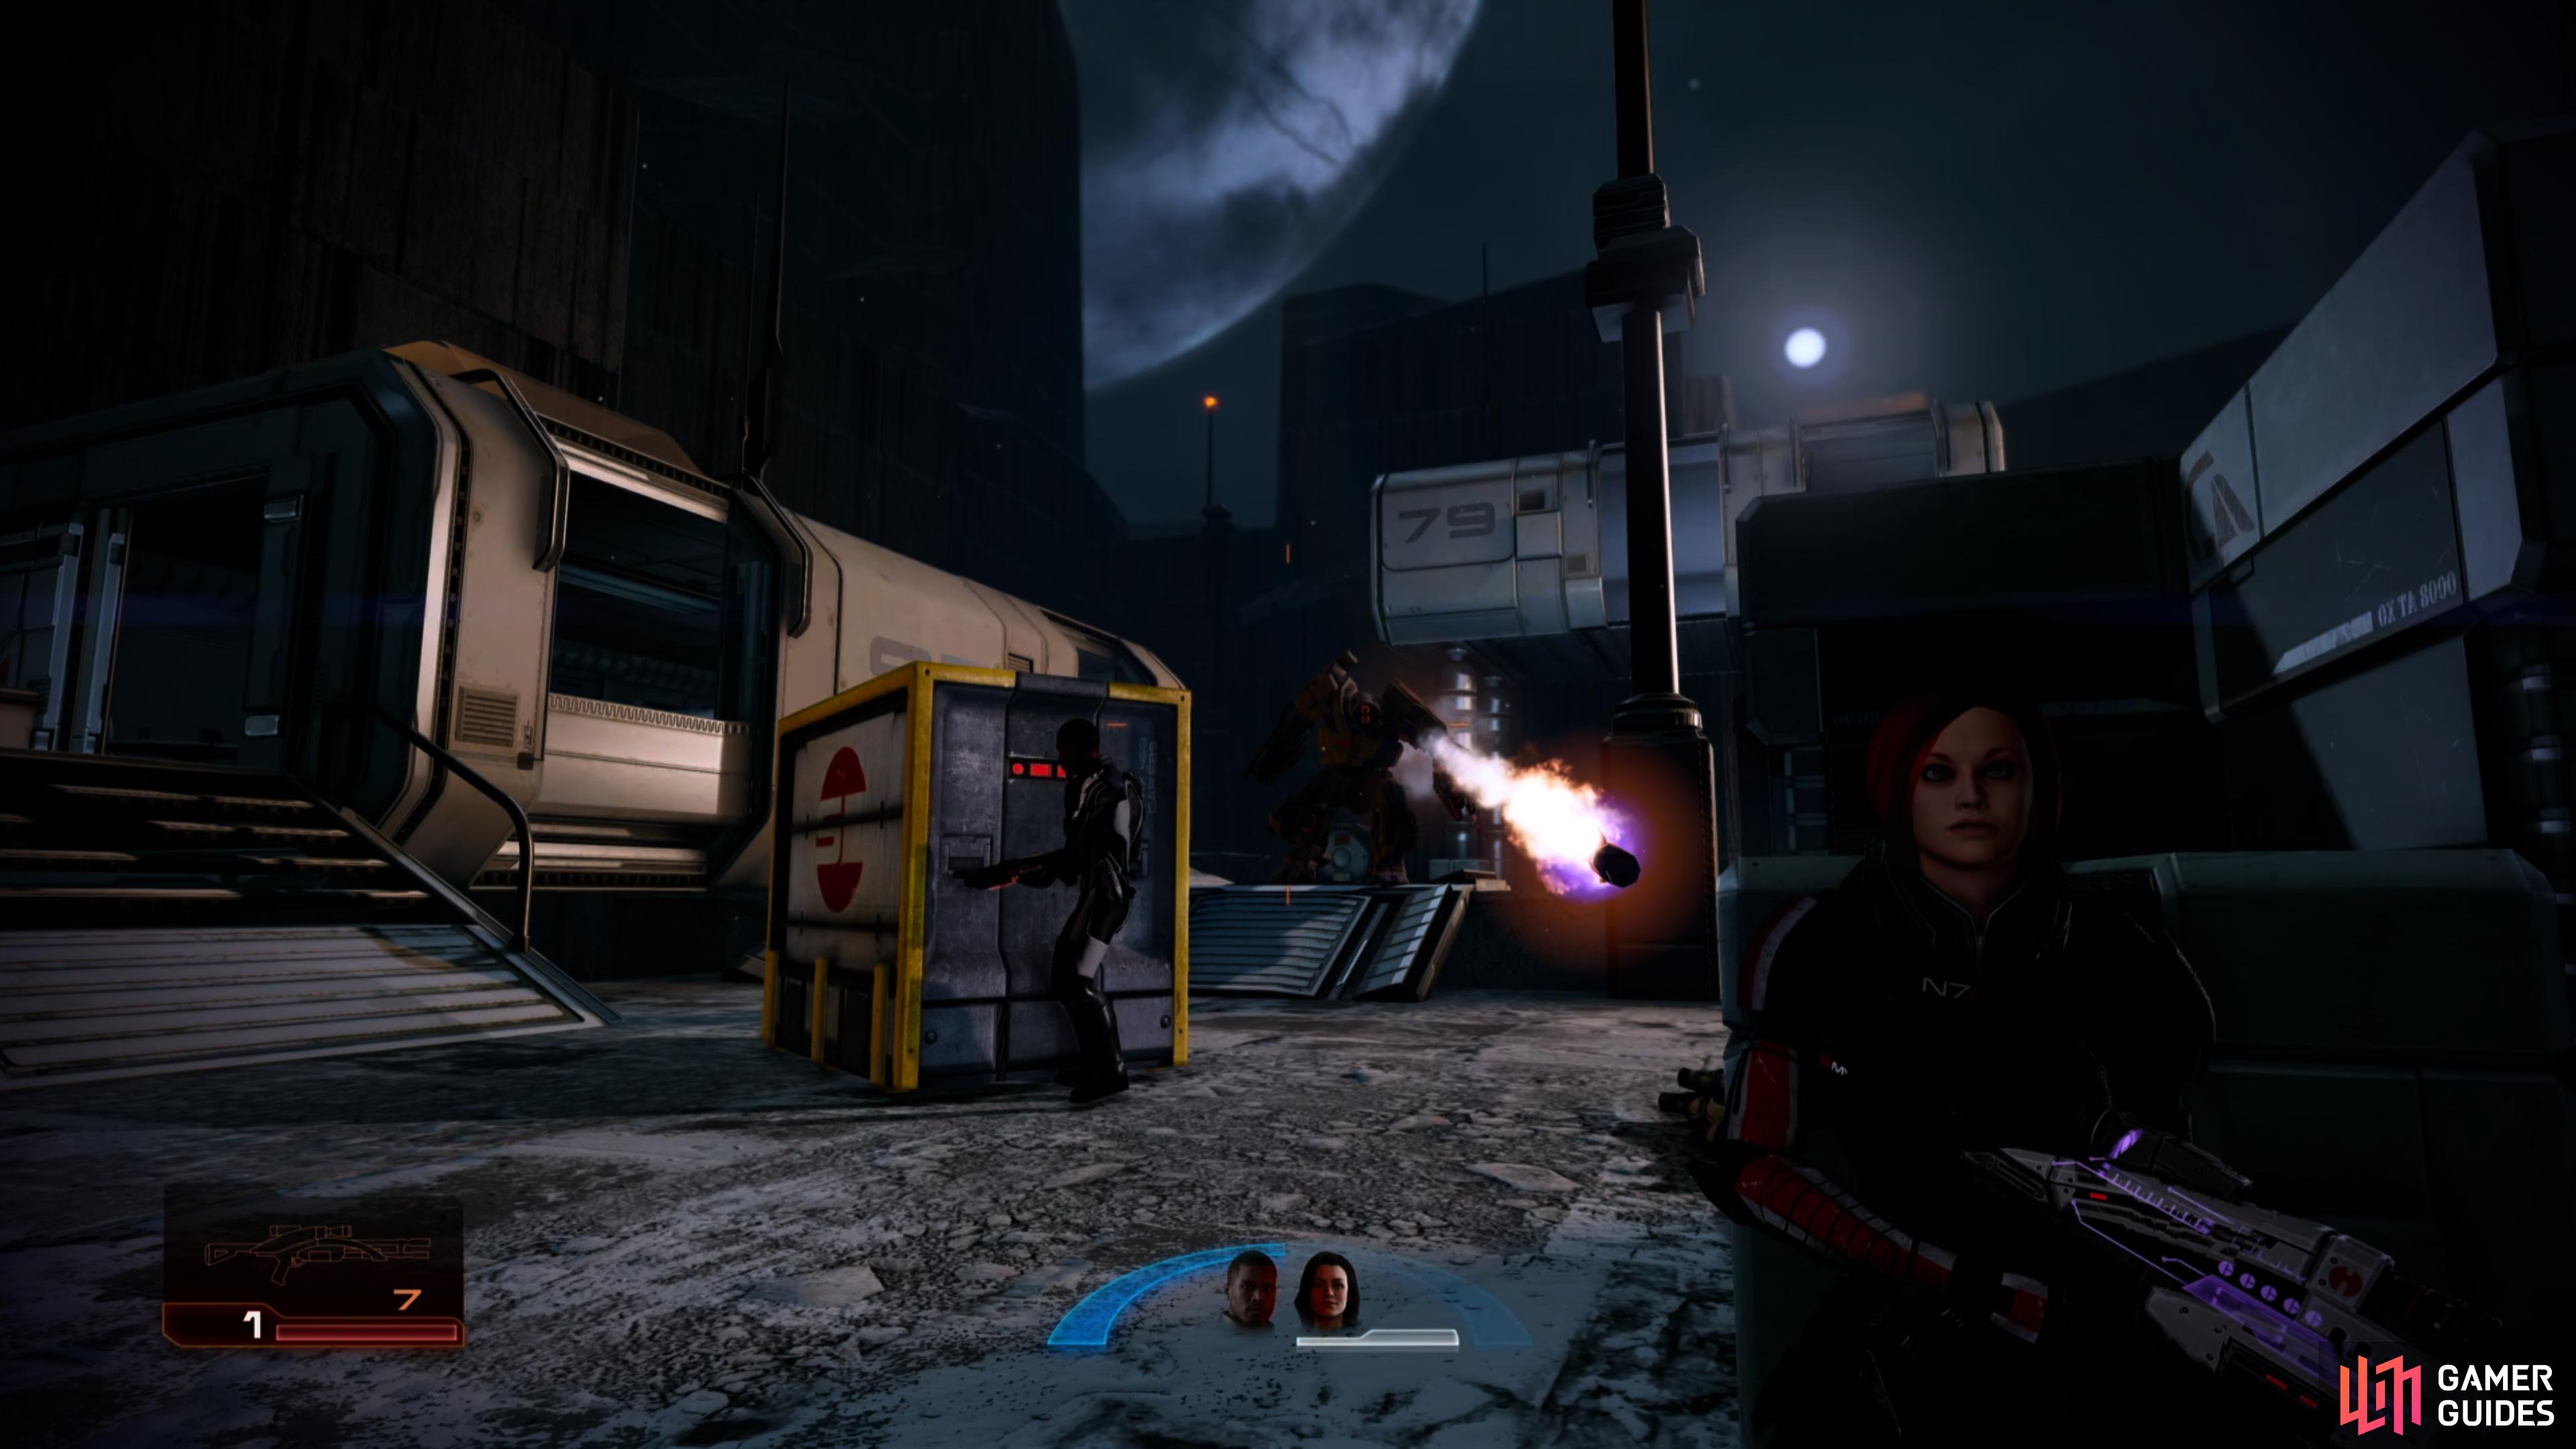
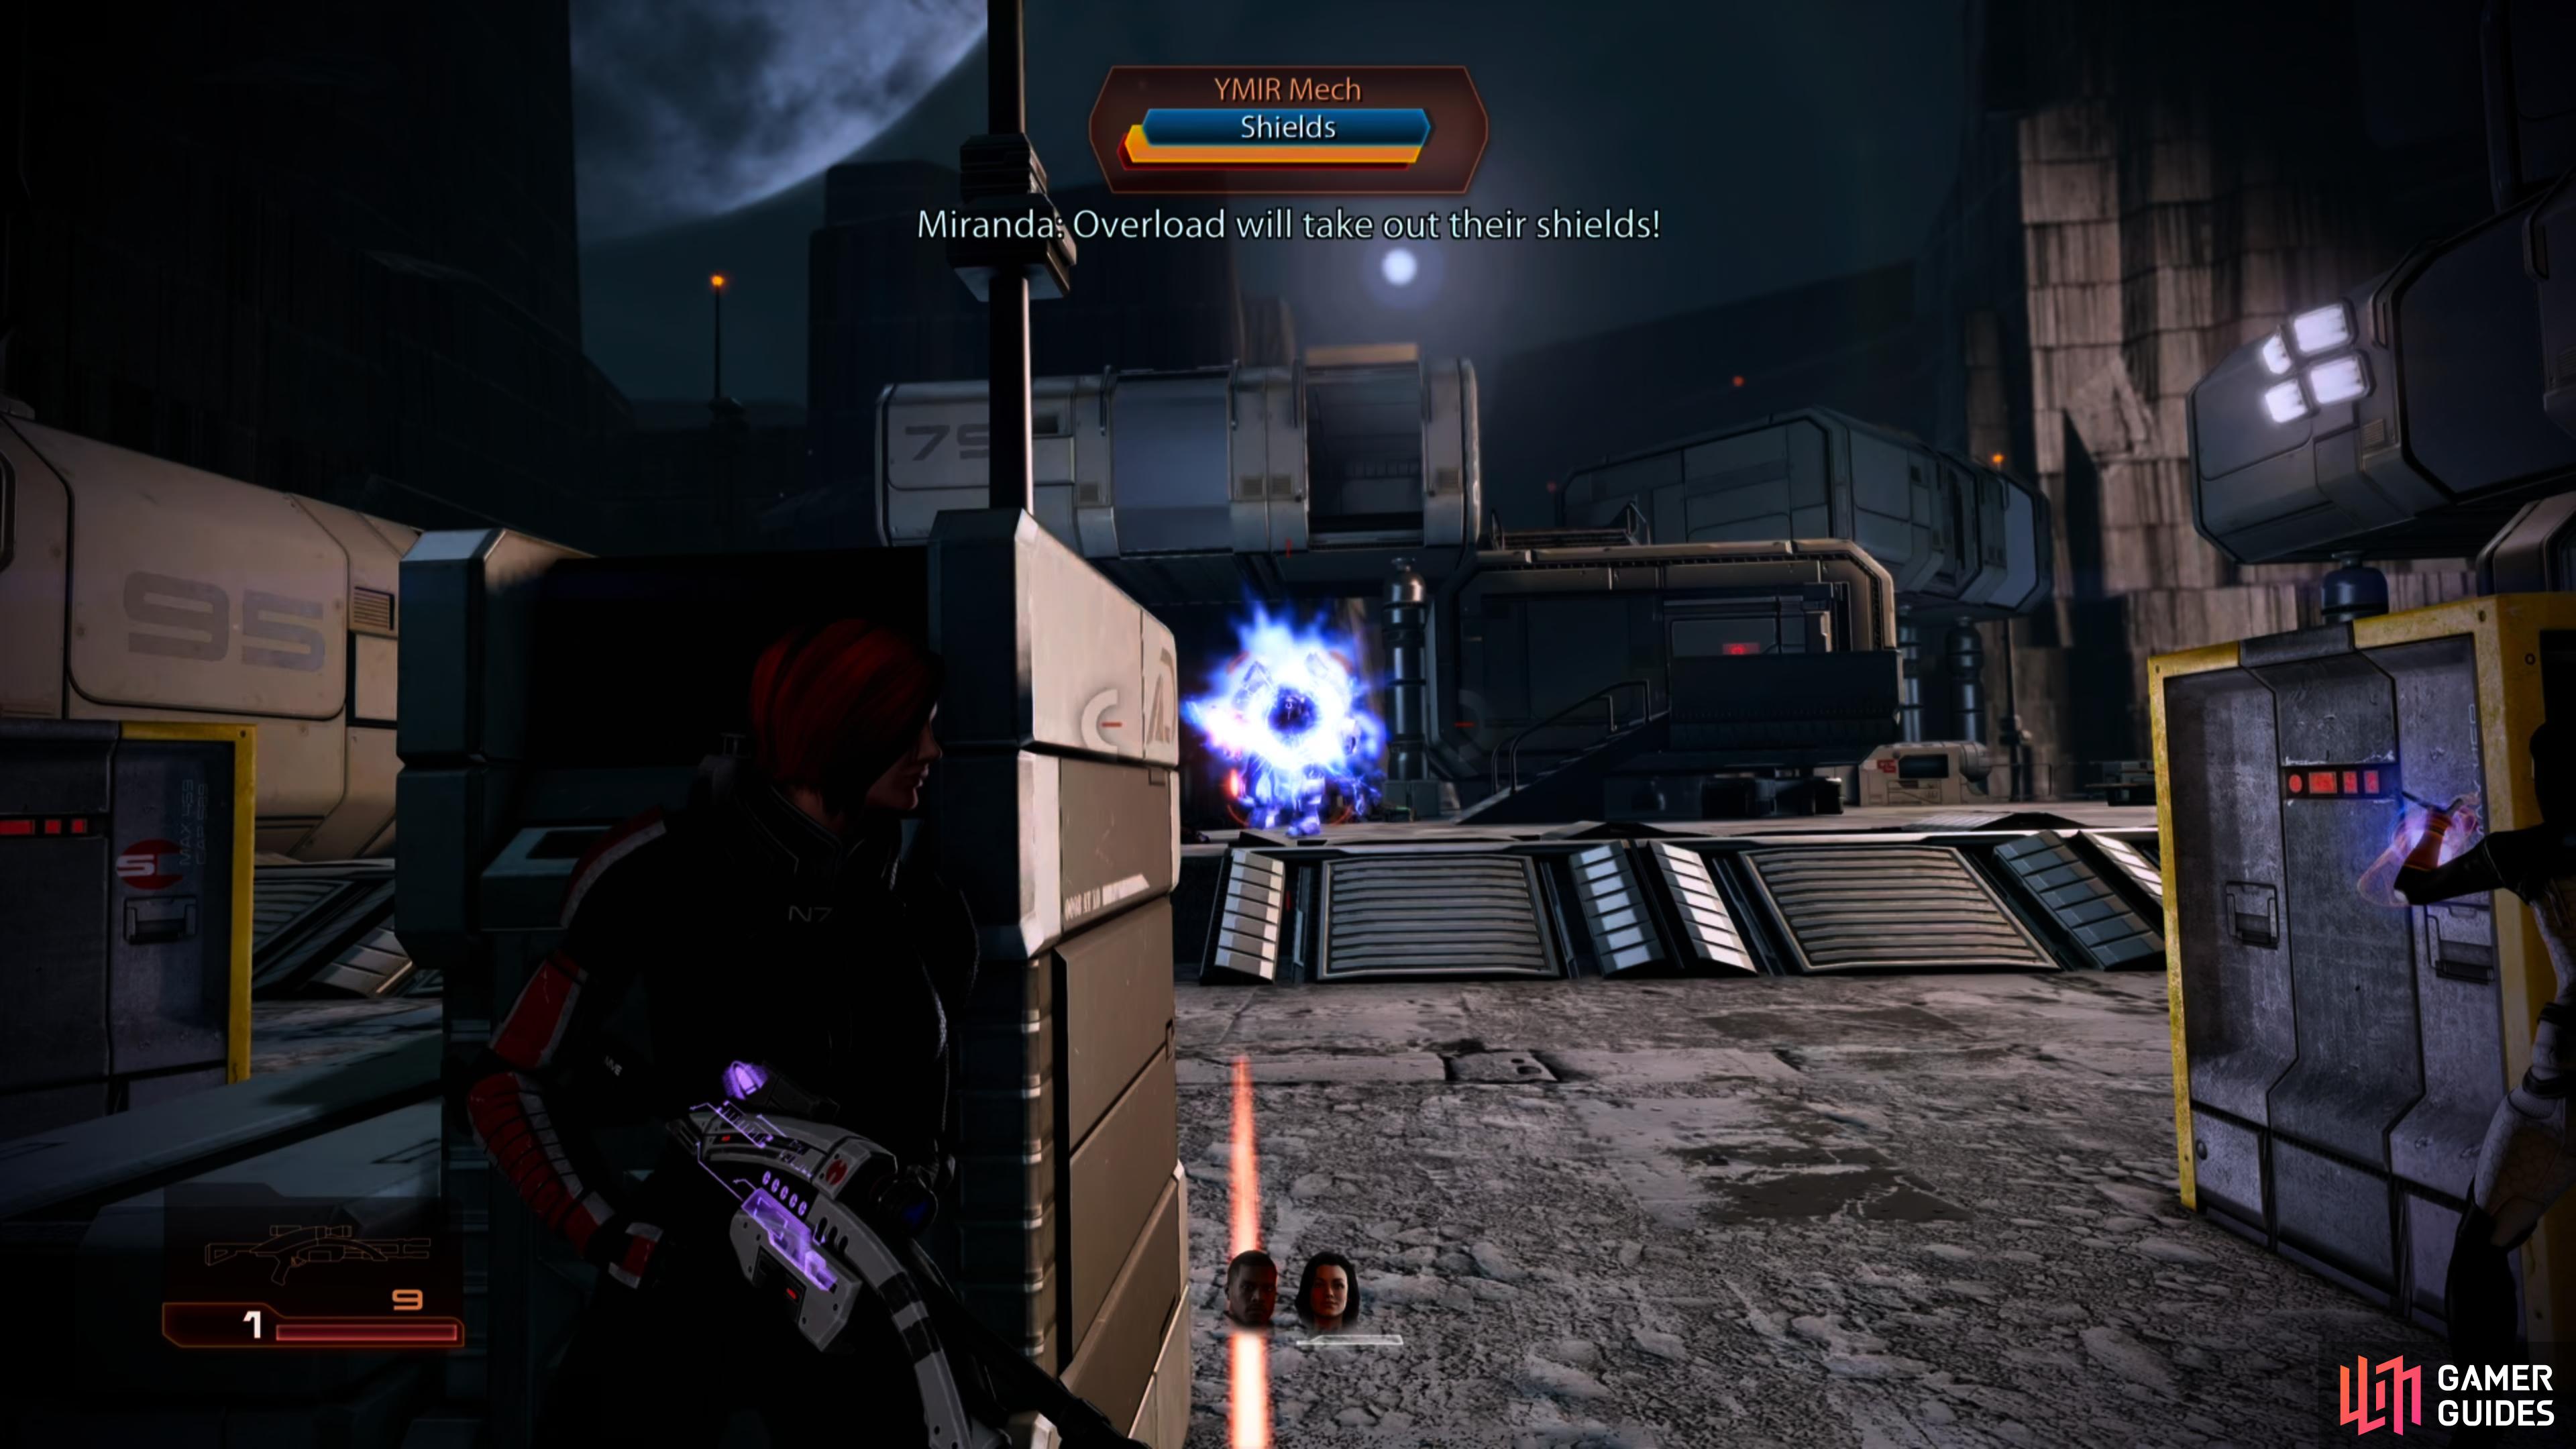
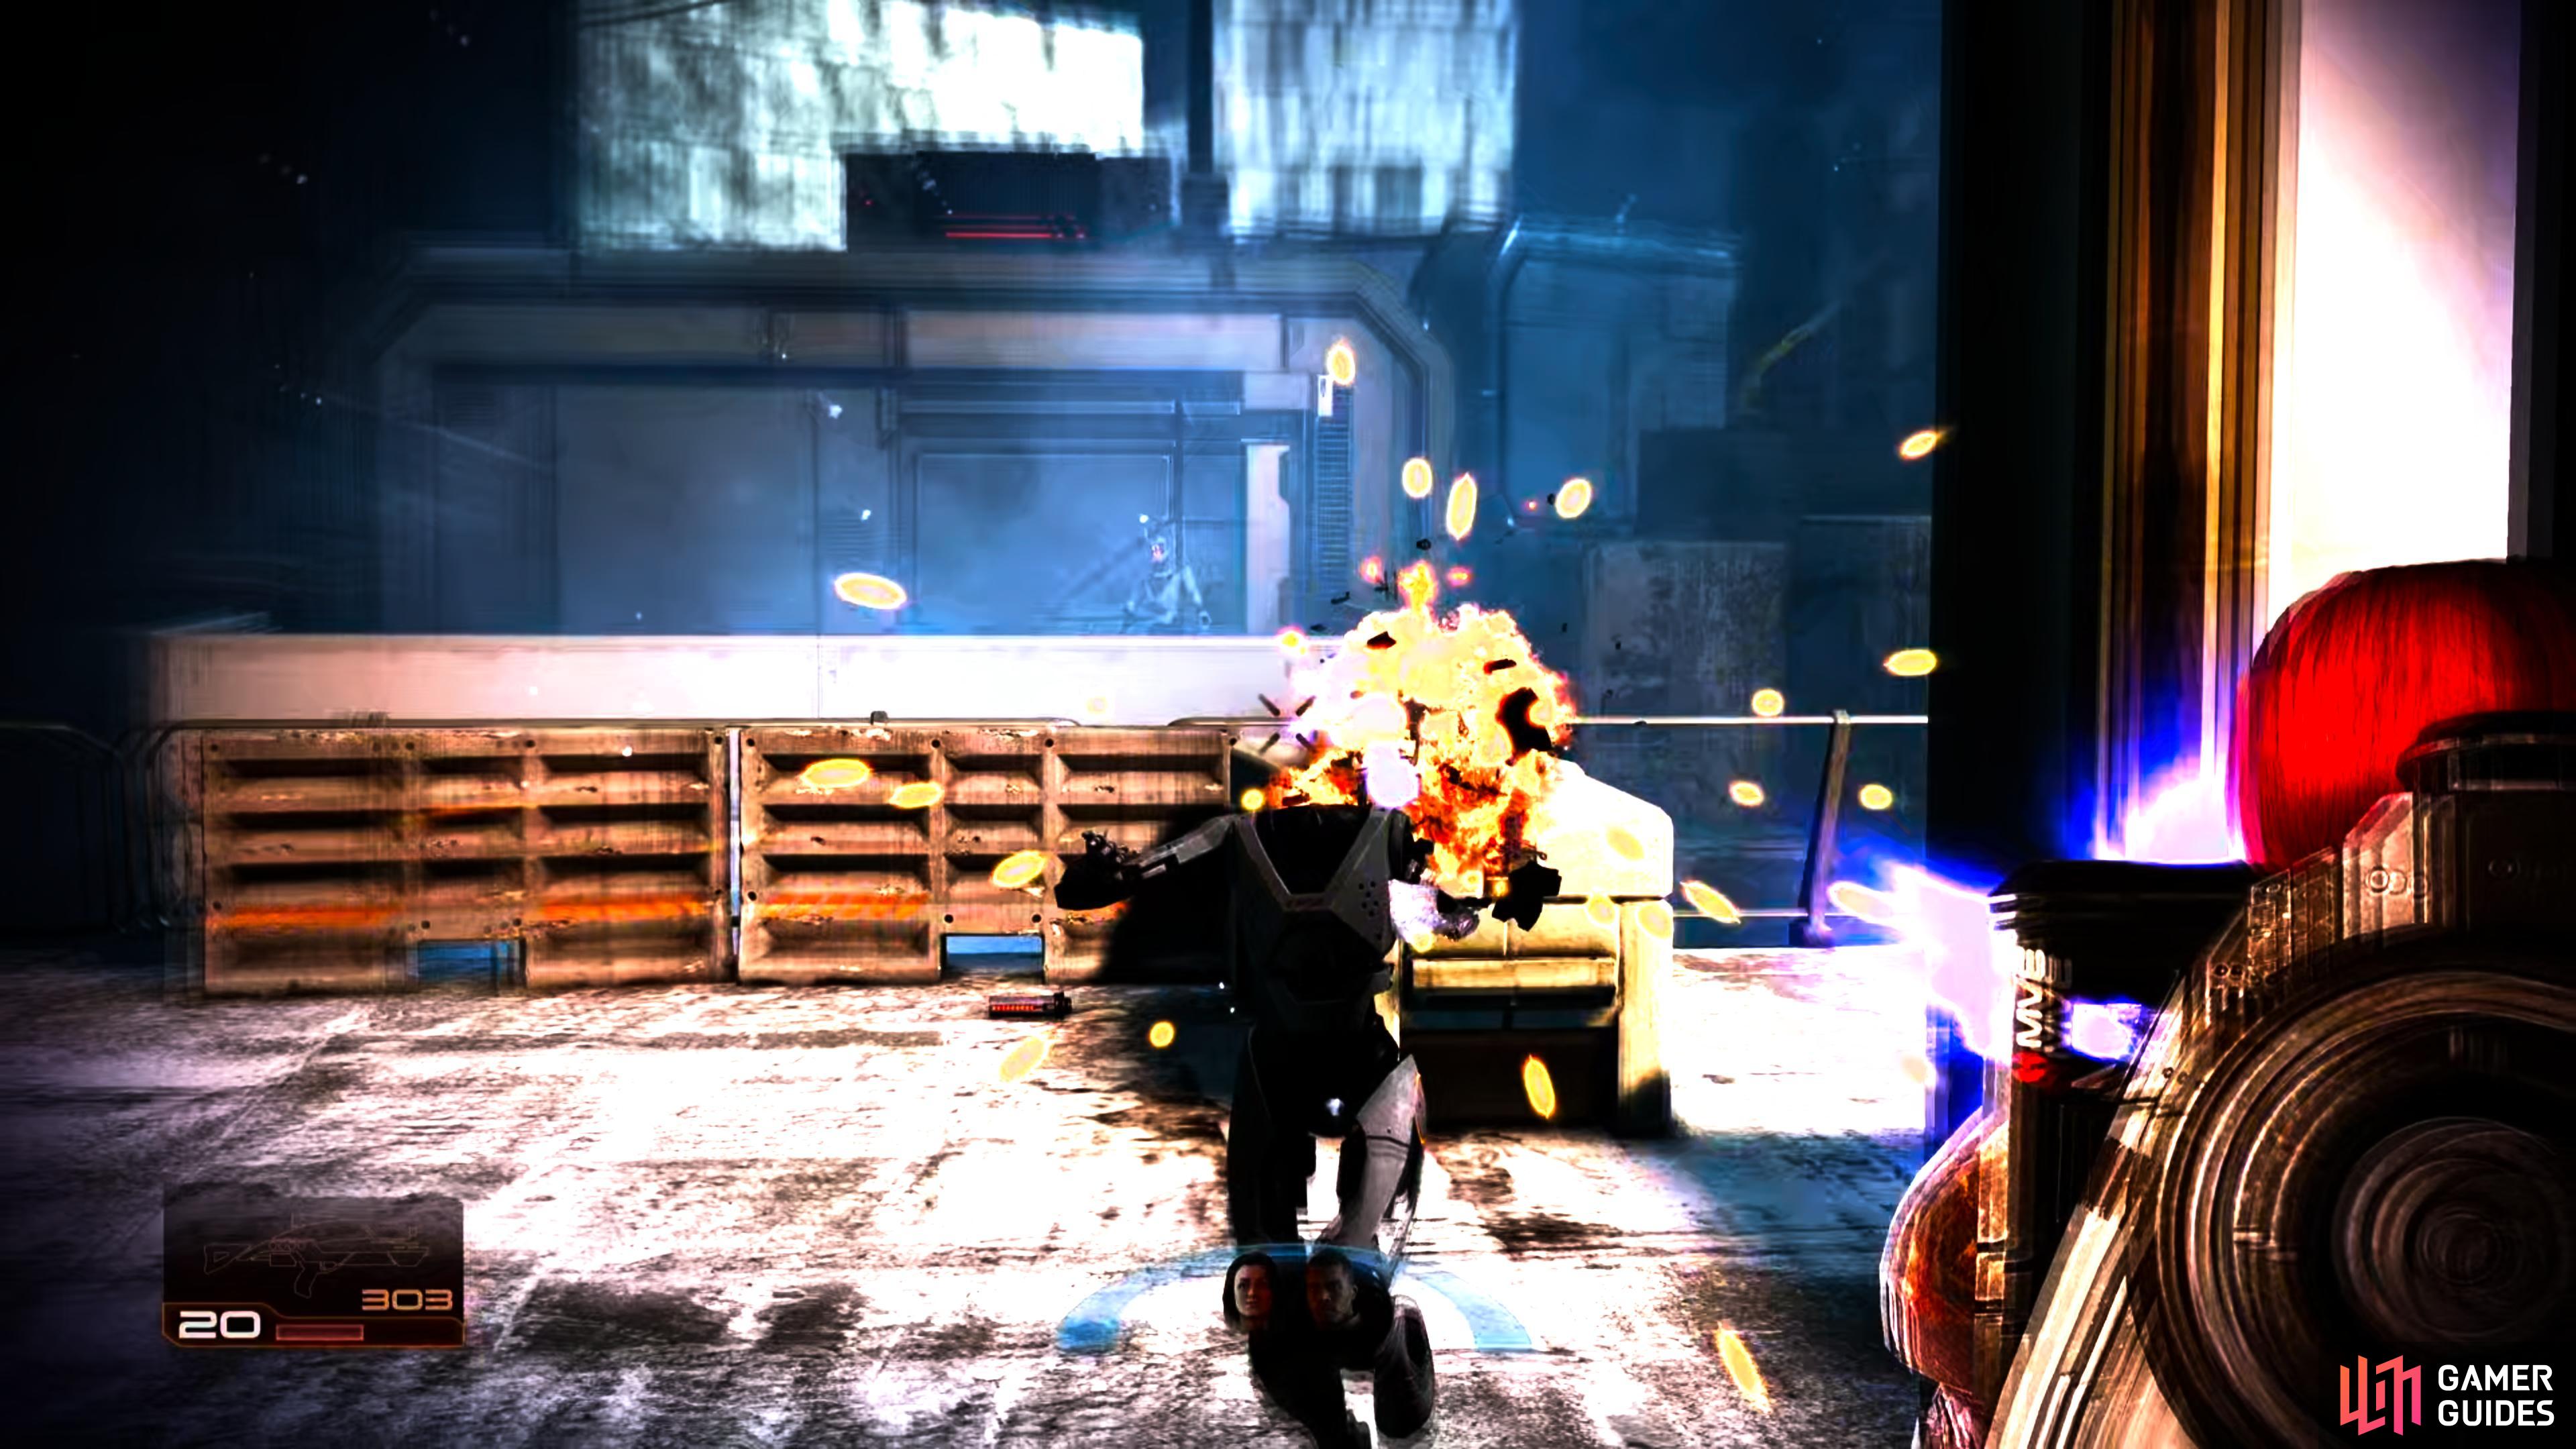
When the door opens you will have to fight a YMIR mech. These guys can be pretty tough as you will have to take out the big shield and armour before you will be able to damage him for real. The YMIR will fire rockets at you at irregular intervals and will whip out a minigun when a rocket is not on the menu. If you have a power weapon from the previous mission (grenade launcher), you can use this to do a fair deal of damage to the YMIR off the bat, and if required there is a box of power cells in the left building if you need a little extra ammo.
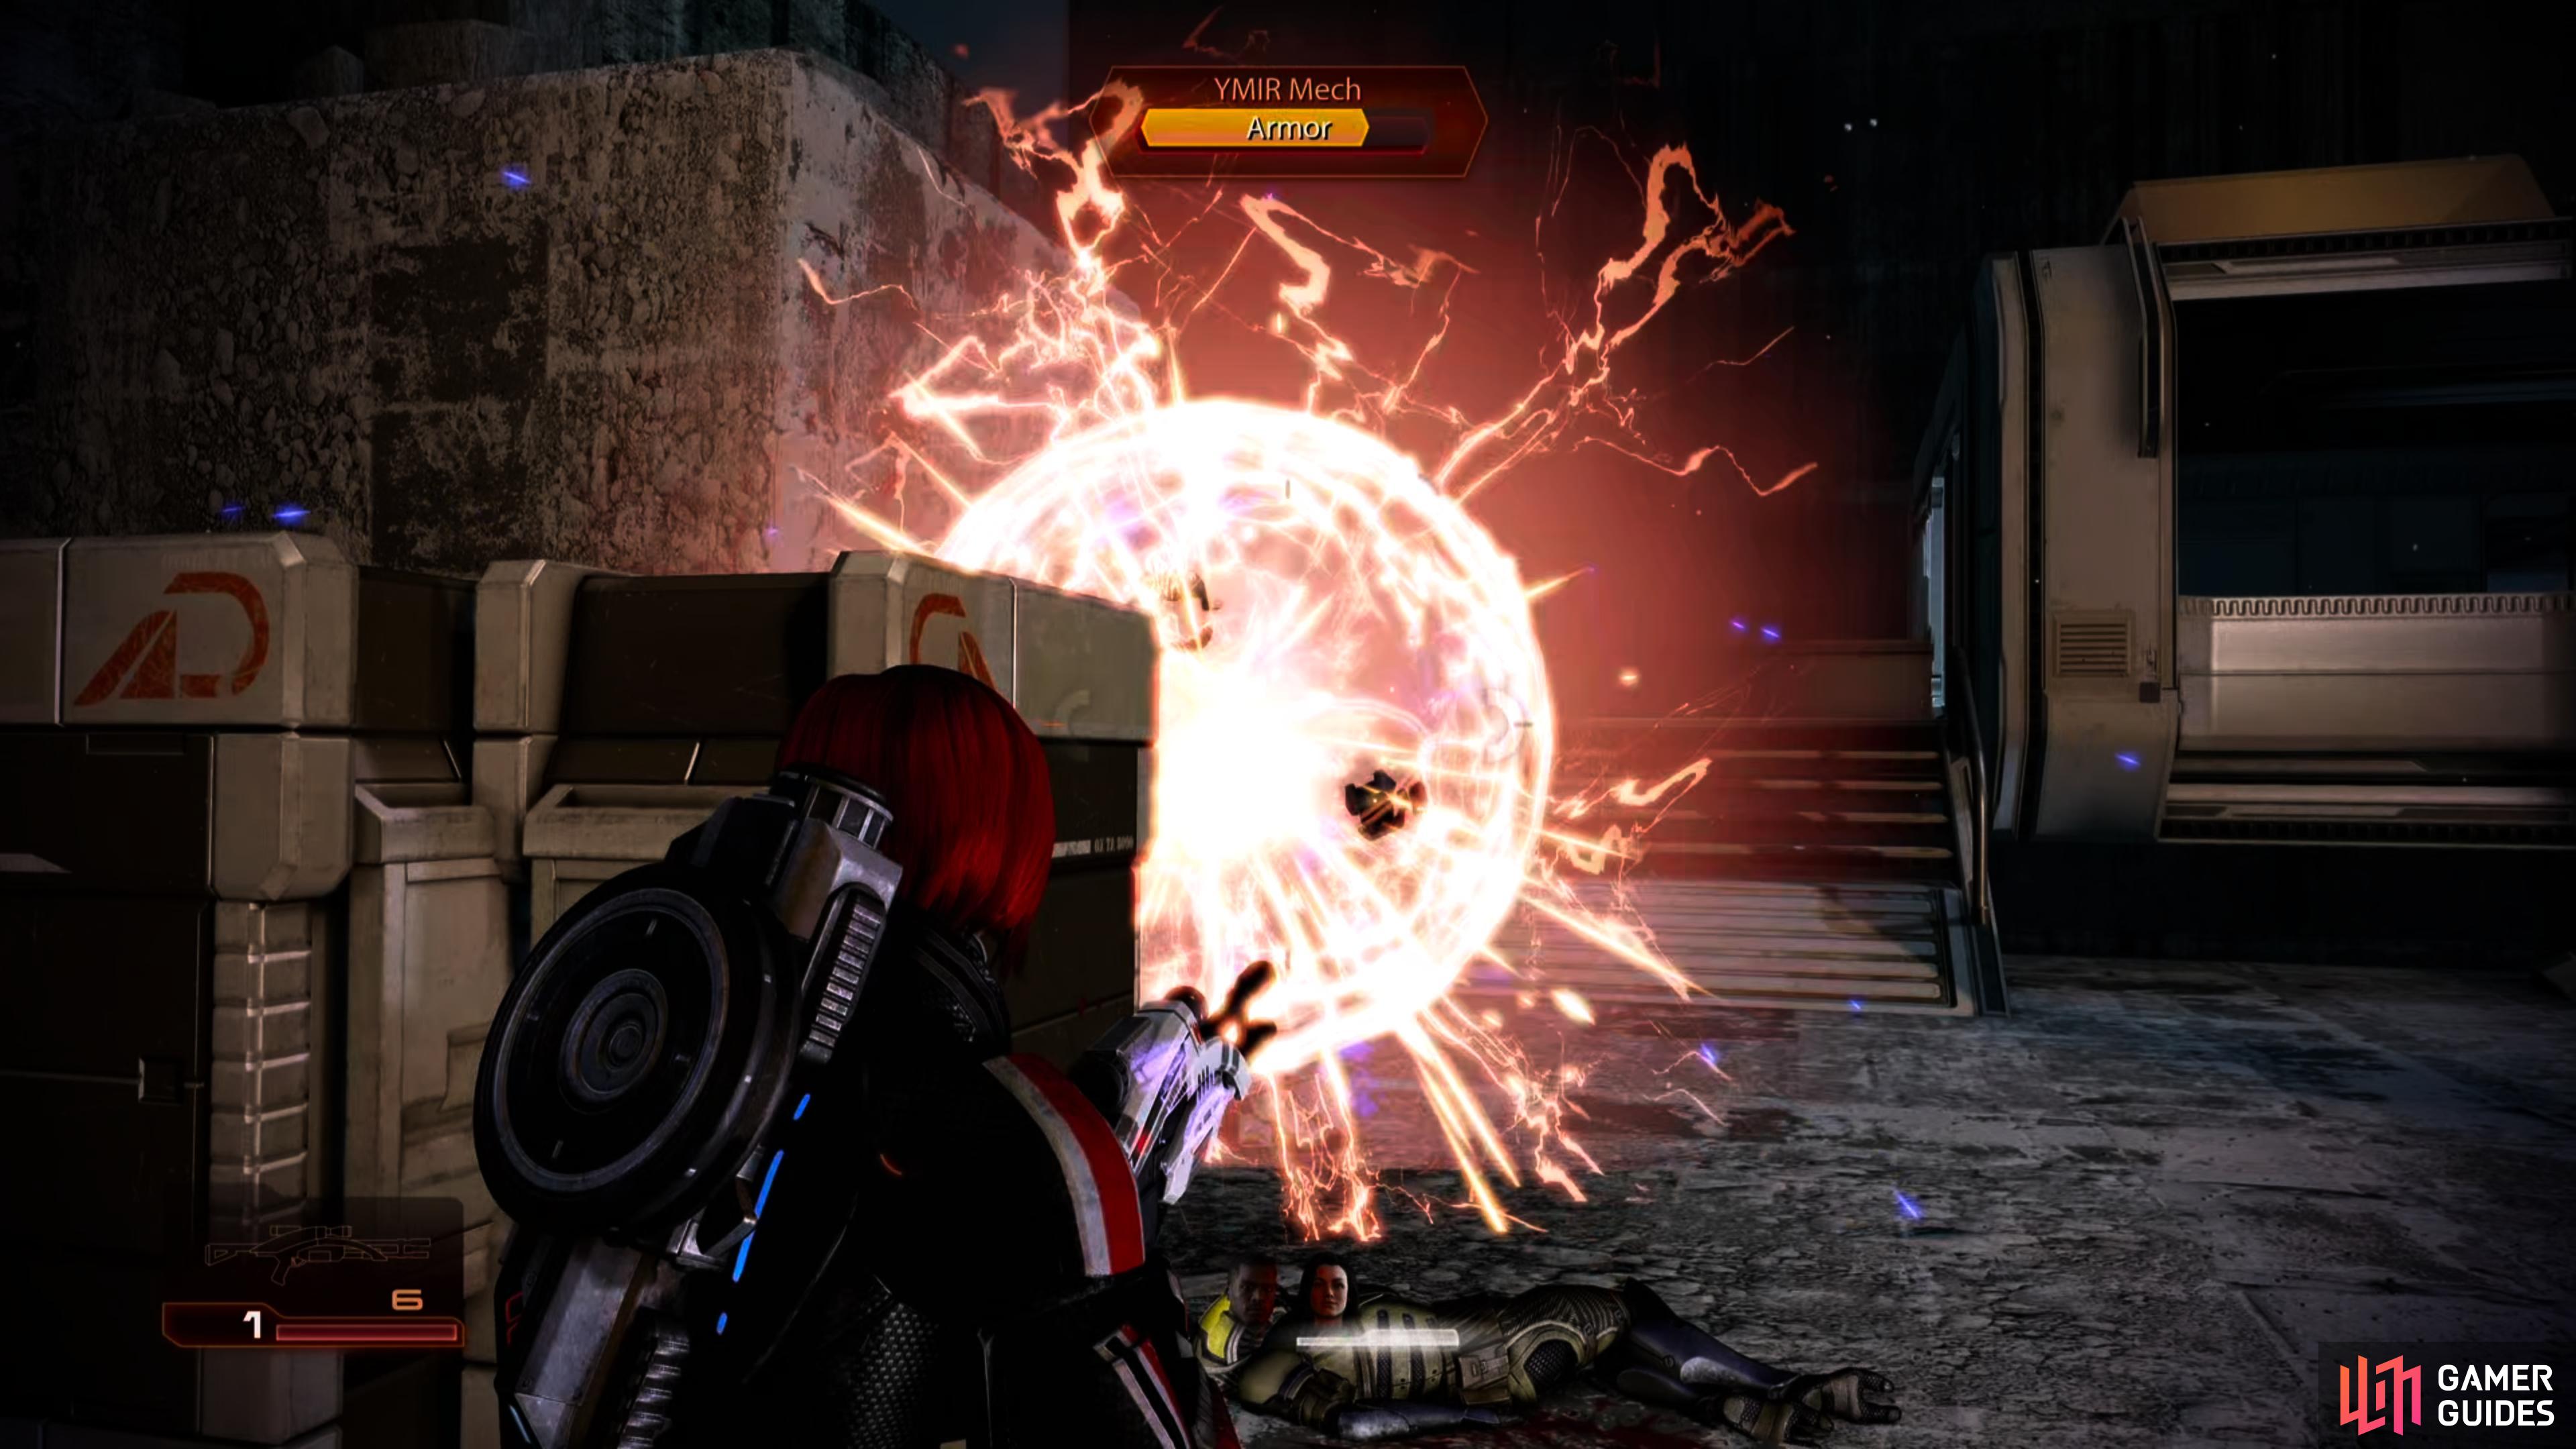
The easiest way we found though is to stay behind the crates where the game placed you at the beginning of the fight. Stay in cover and shoot at the mech until you get its attention and it approaches your position. When it starts to circle around the cover to get at you, move! Continue to keep the crate between the YMIR and Shepard and slowly circle around it to do so whilst firing off shots when you get the opportunity. It will take a minute or two, but you won’t take any damage and it is an easy enough way to defeat him, even on the Insanity difficulty. Watch out though - when the big guy takes enough damage he will explode.
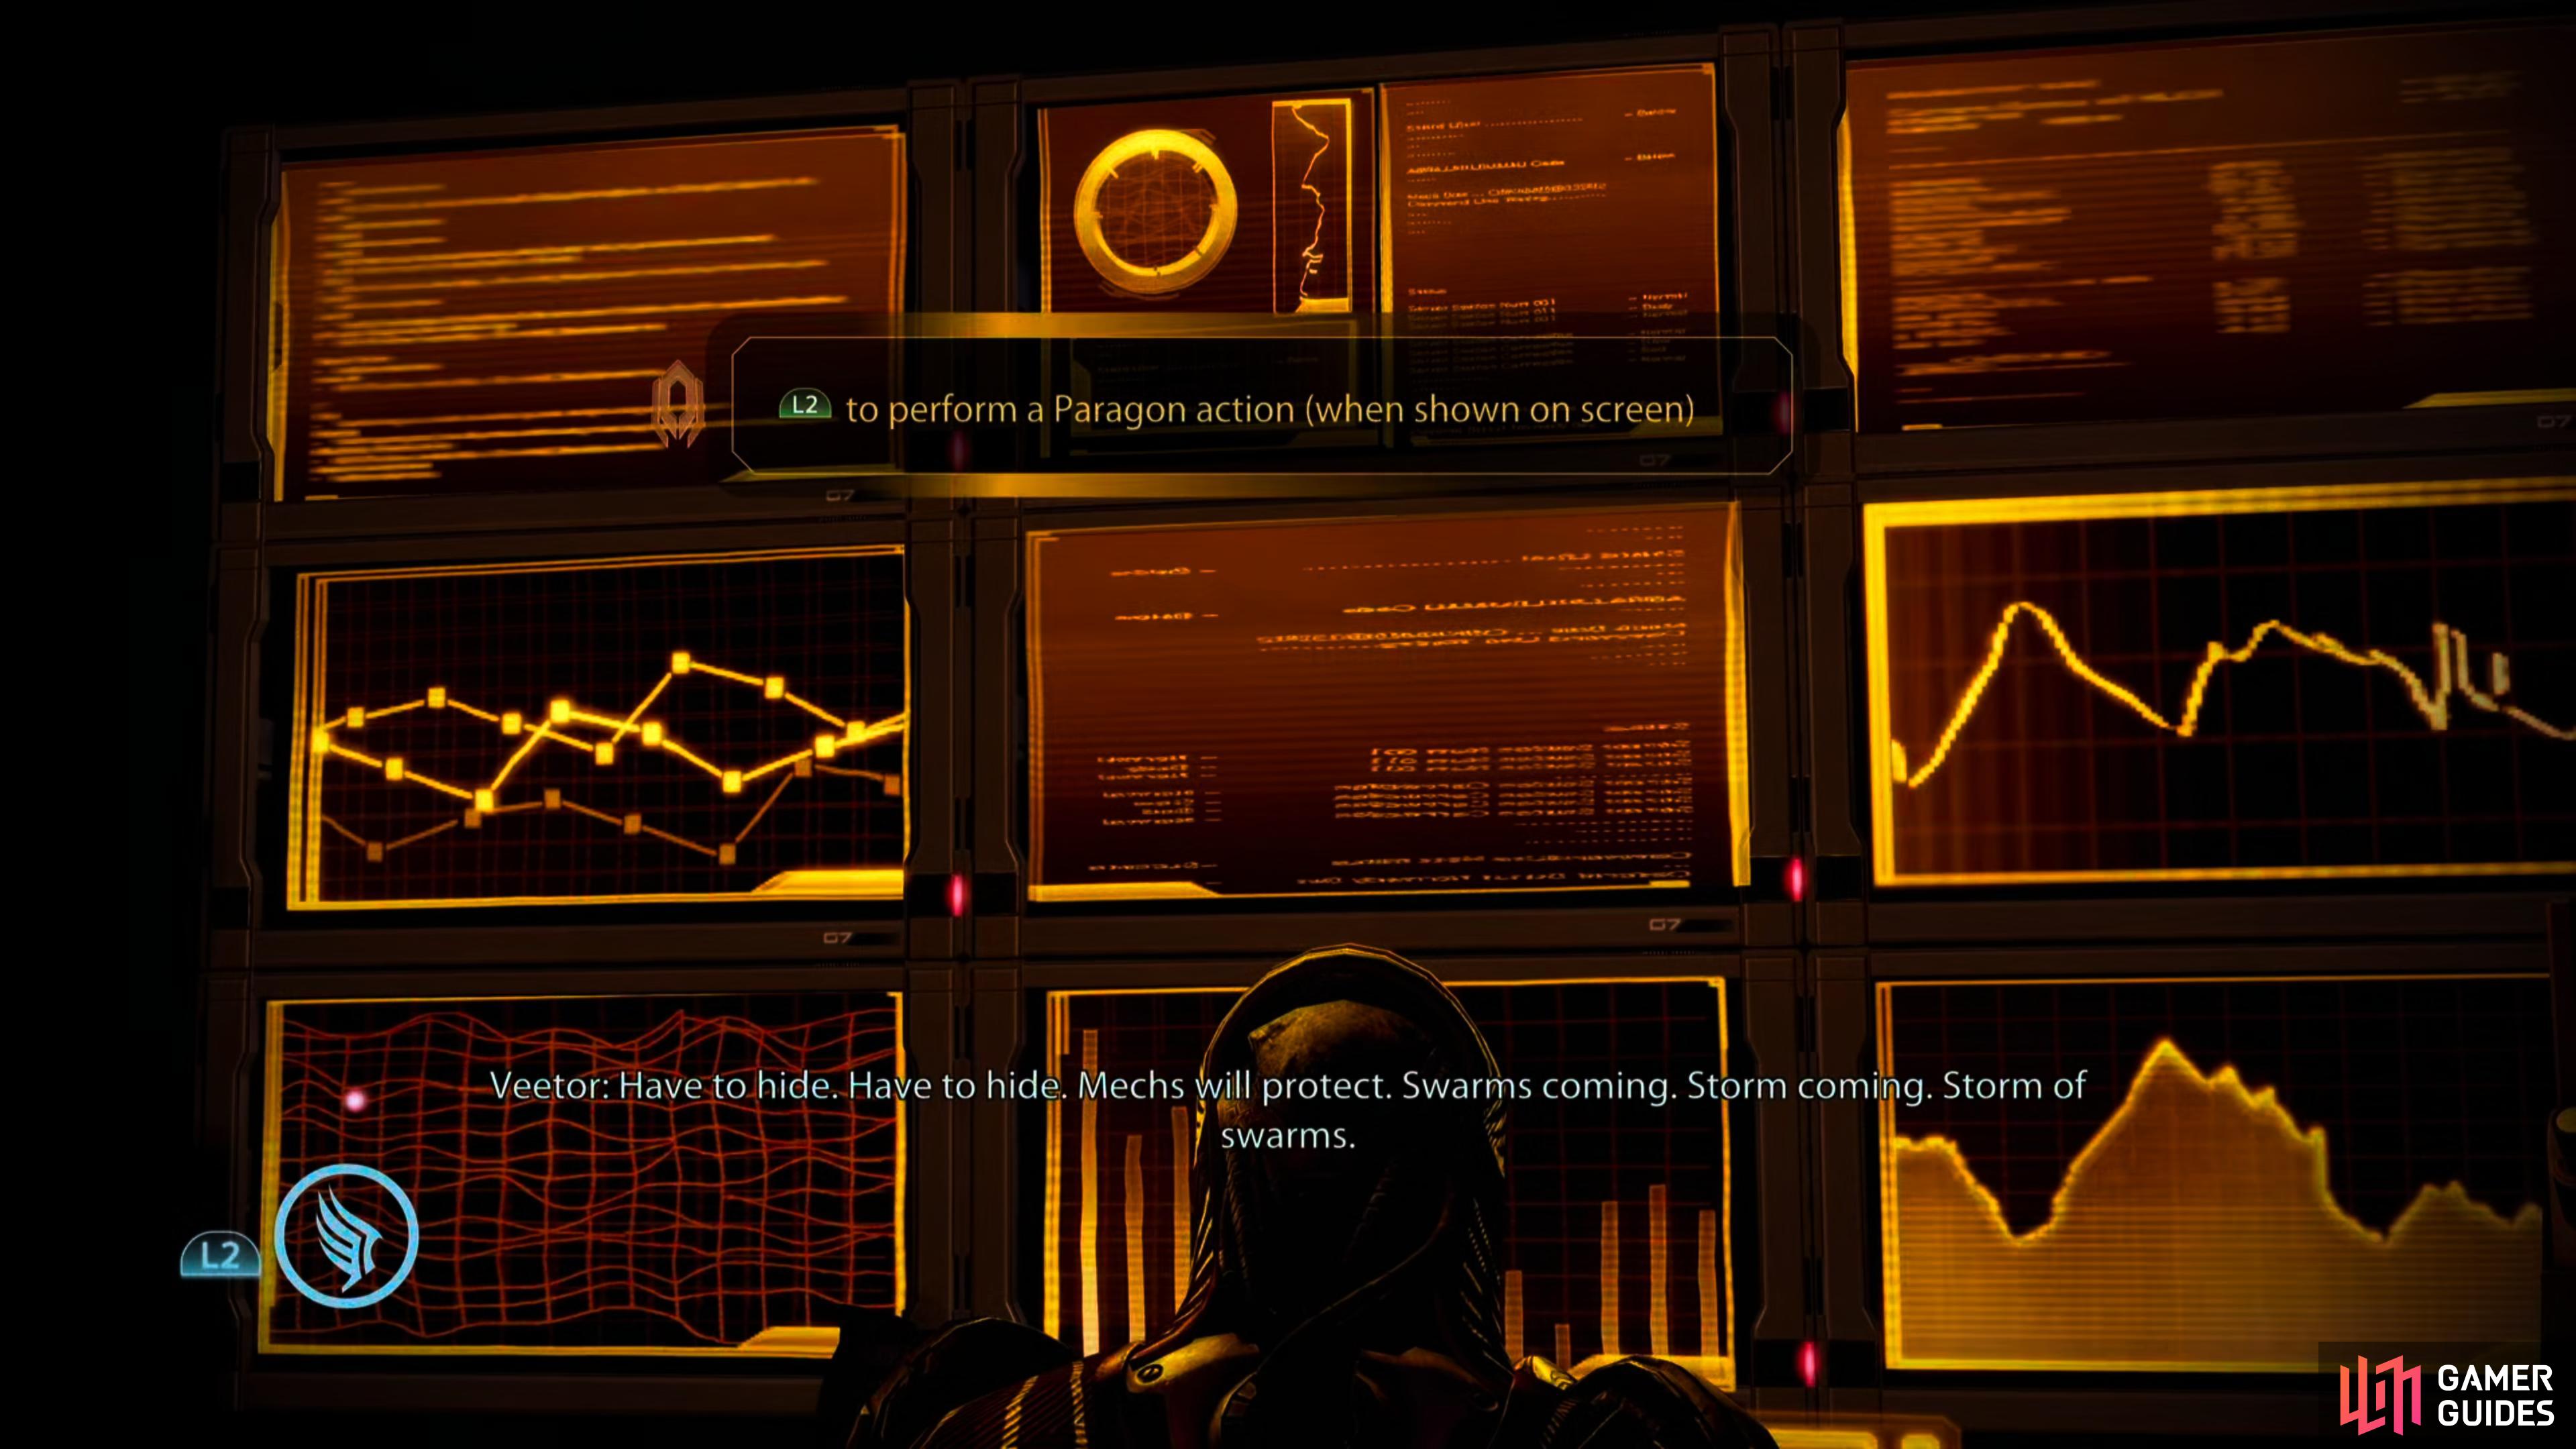

(1 of 3) When you come across Veetor you’ll have a chance to perform a Paragon interrupt,
Once the YMIR mech is dead, explore the area for some loot. In the left hand building you will find power cells (if you didn’t pick them up previously) and a hackable wall safe. In the right hand building you will find a Med Kit. Head to the building at the far end of the area and check out the Damaged YMIR mech close to the stairs for a research project (Heavy Weapon Ammo) . Pick up the Refined Iridium nearby and enter the door.
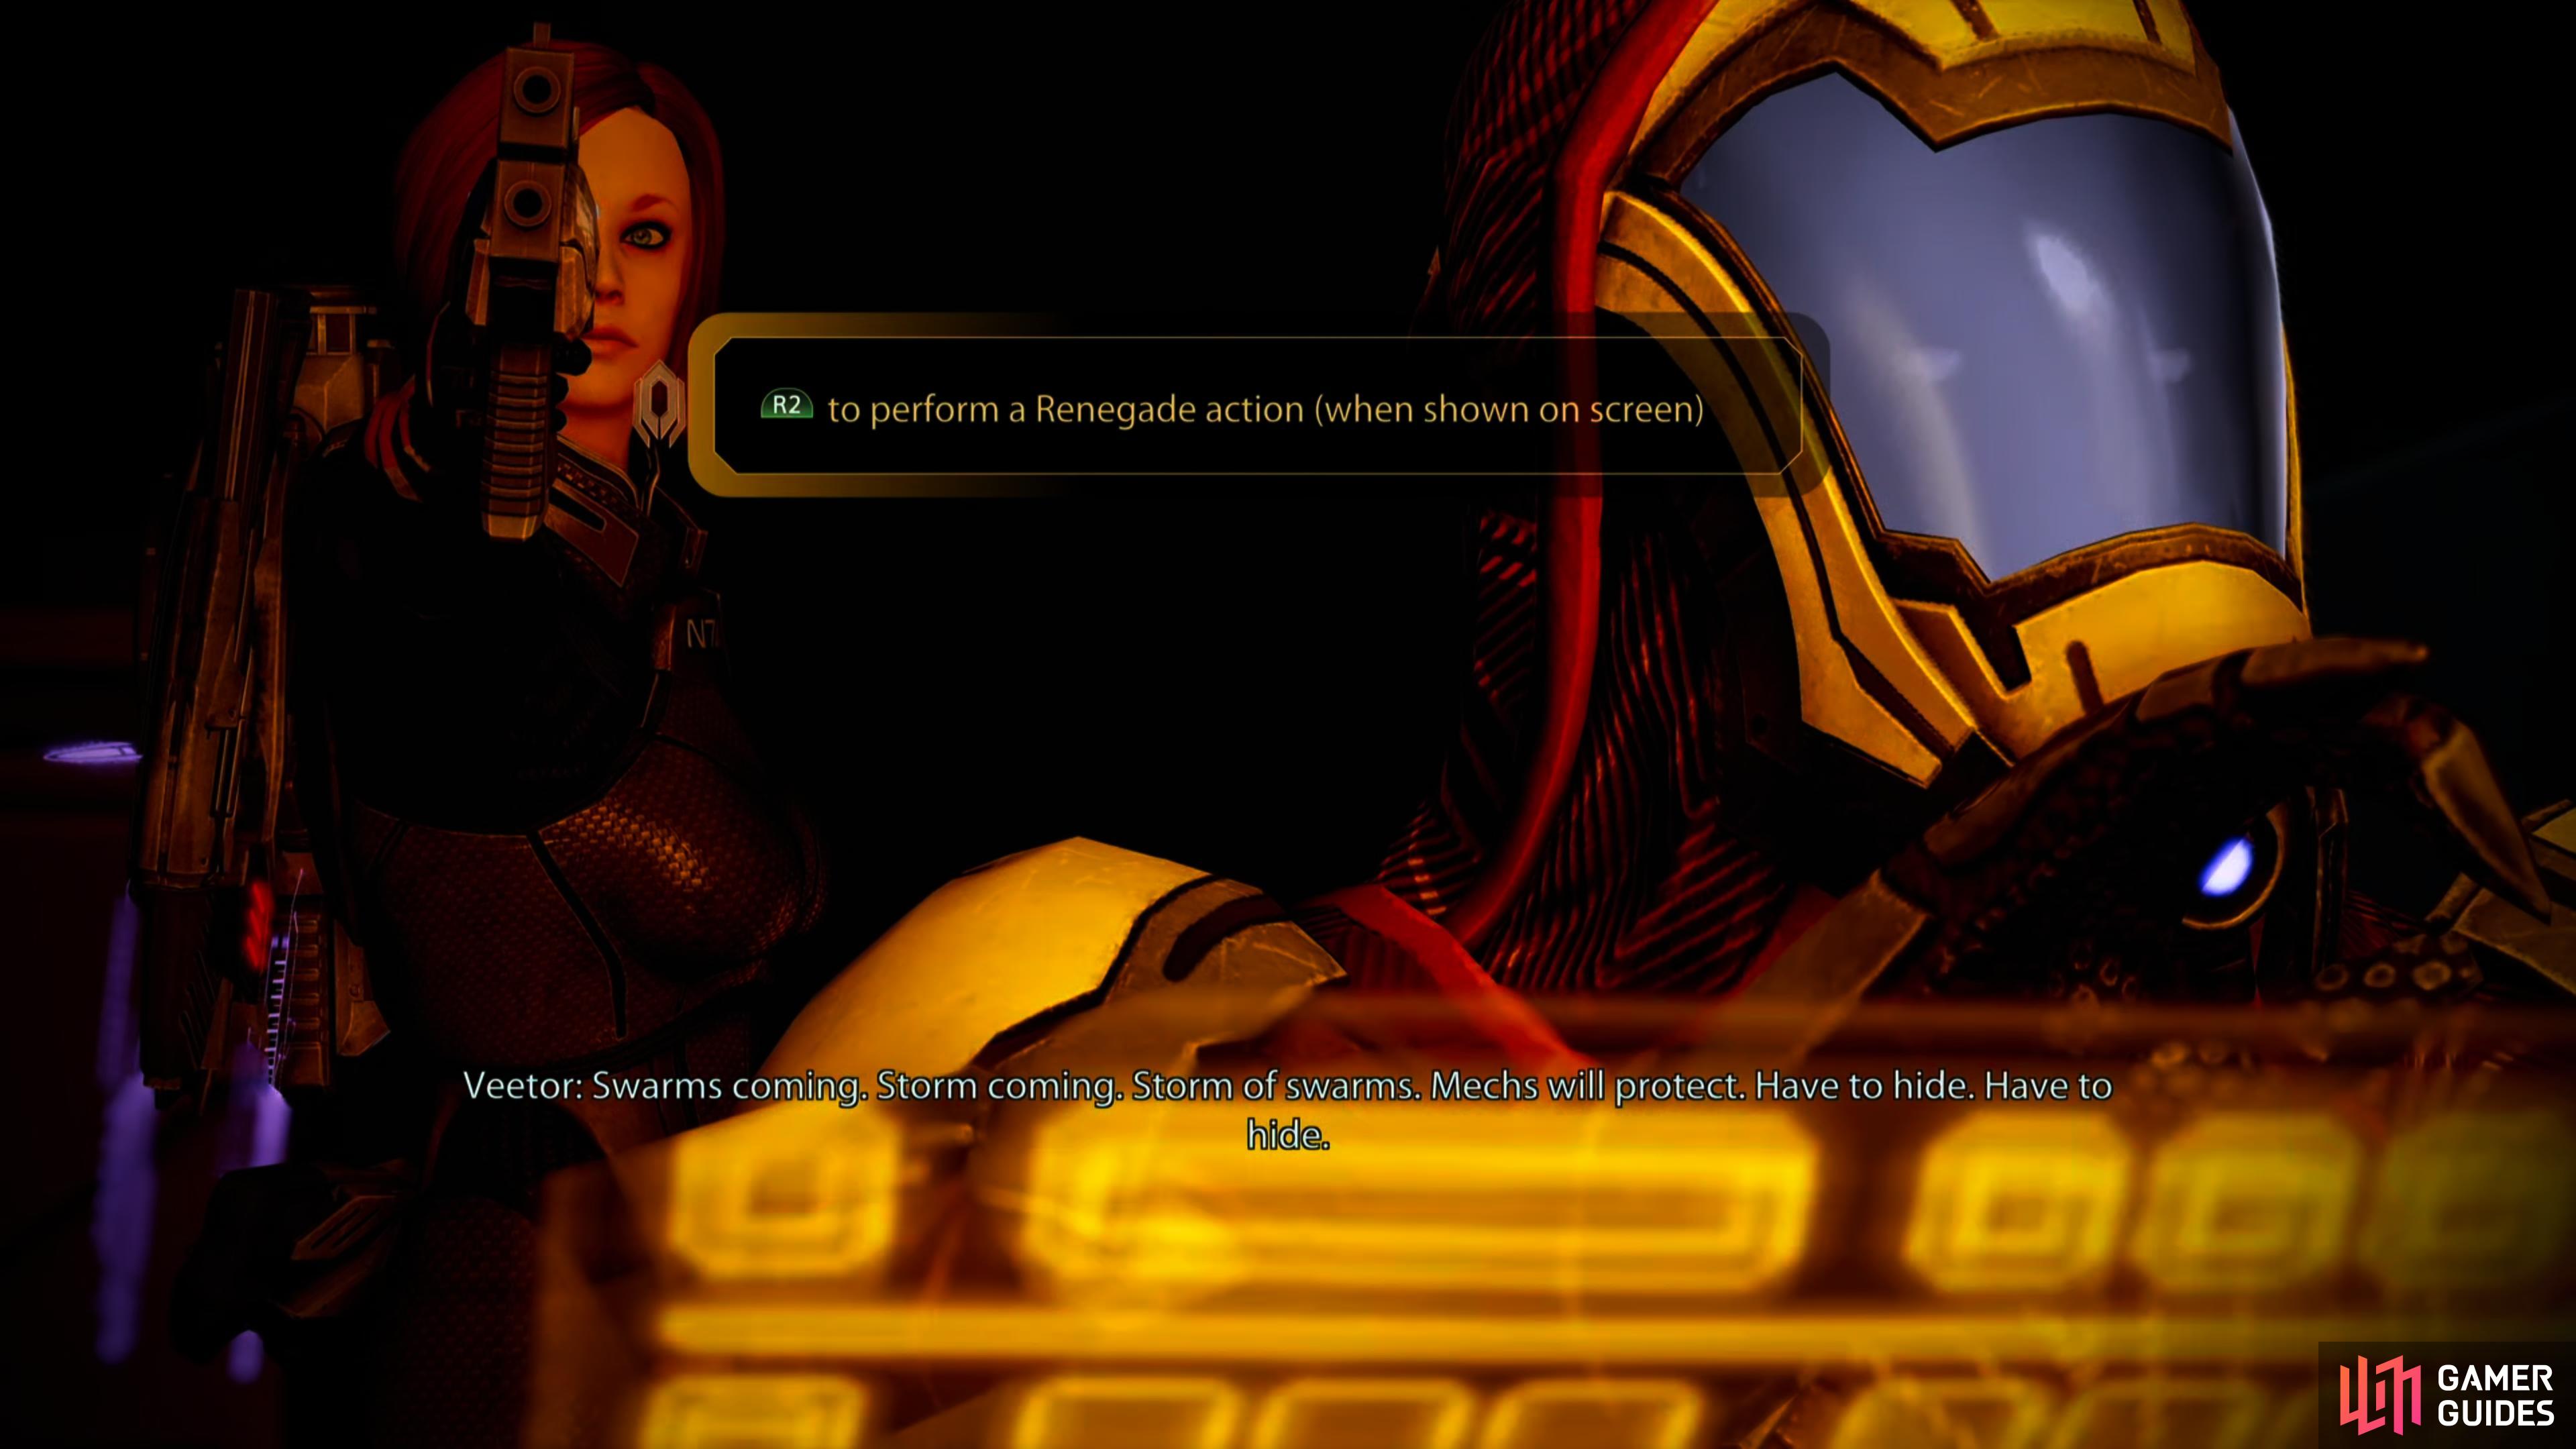
You’ll eventually have a chat with Veetor - after you’re introduced to the wonderful world of Paragon/Renegade interrupts (which one you’re prompted to perform will vary based on which you’ve acquired more points in thus far) - where you’ll learn who has been attacking alien colonies, and to some degree, how. Make a decision regarding Veetor and the mission will end.
| Mission Completion Rewards | |
|---|---|
| Experience Gained: | 1,000 (1,250) |
| Credits: | 10,000 + 10,000 |
| Iridium: | 2,000 |

Having proved your competence on Freedom’s Progress, you’ll be furnished with the Normandy SR2.

 Sign up
No Comments