
This phase of the suicide mission will begin after you complete the events immediately following your passage through the Omega 4 Relay, after you assign a tech expert and secondary squad leader.
To recap, the ideal tech experts include Tali and Legion, while the most qualified secondary squad leaders are Garrus, Jacob and Miranda - but only if they’re loyal. We recommend Tali and Jacob, respectively.
| Assignments | Suggested Characters |
|---|---|
| 2nd Squad Leader | Garrus, Jacob, Miranda |
| Tech Expert | Legion, Tali |
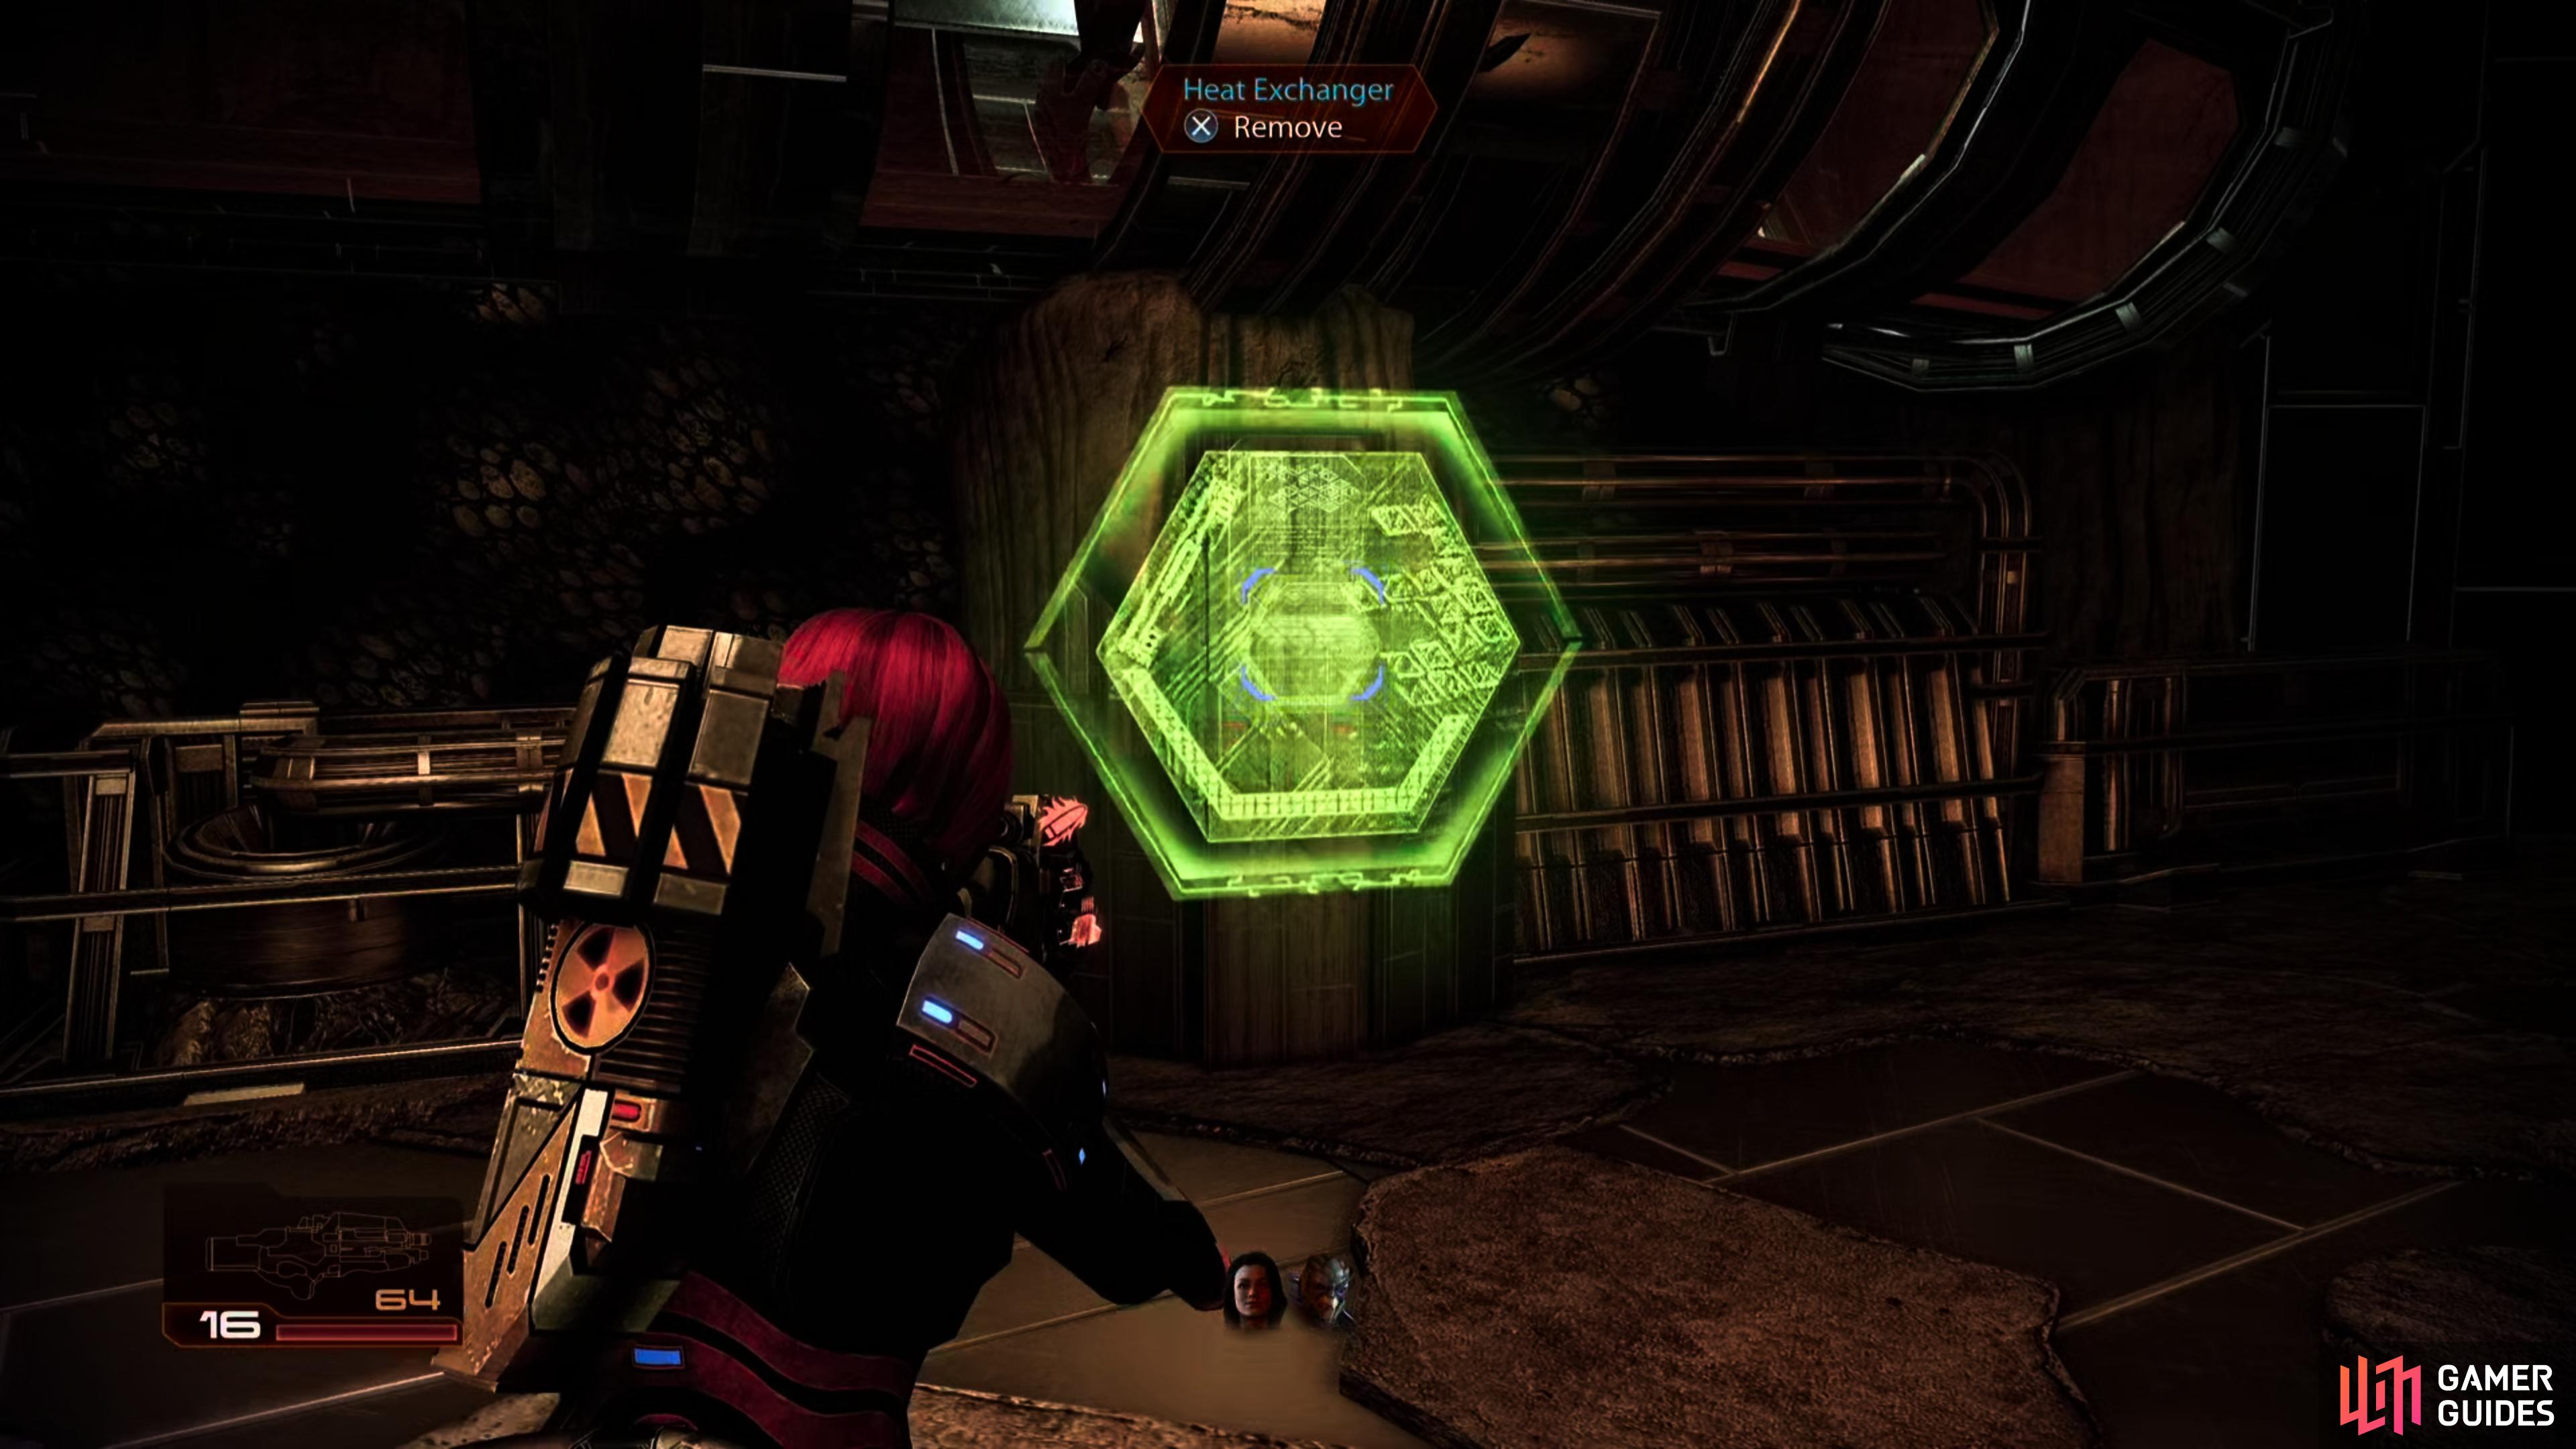
When you have control of your primary team, head down the ramp nearby and into the Collector base, follow the winding pathway around until it empties out into a large open room. Kill the three Collector Drones in the room to the right here and the reinforcements that arrive soon after. Move to the other end of the room and you will receive a communication from your team member in the vents telling you there is an obstruction in the vent. Move into the room opposite the entrance and use the green valve (1/8) here to assist.
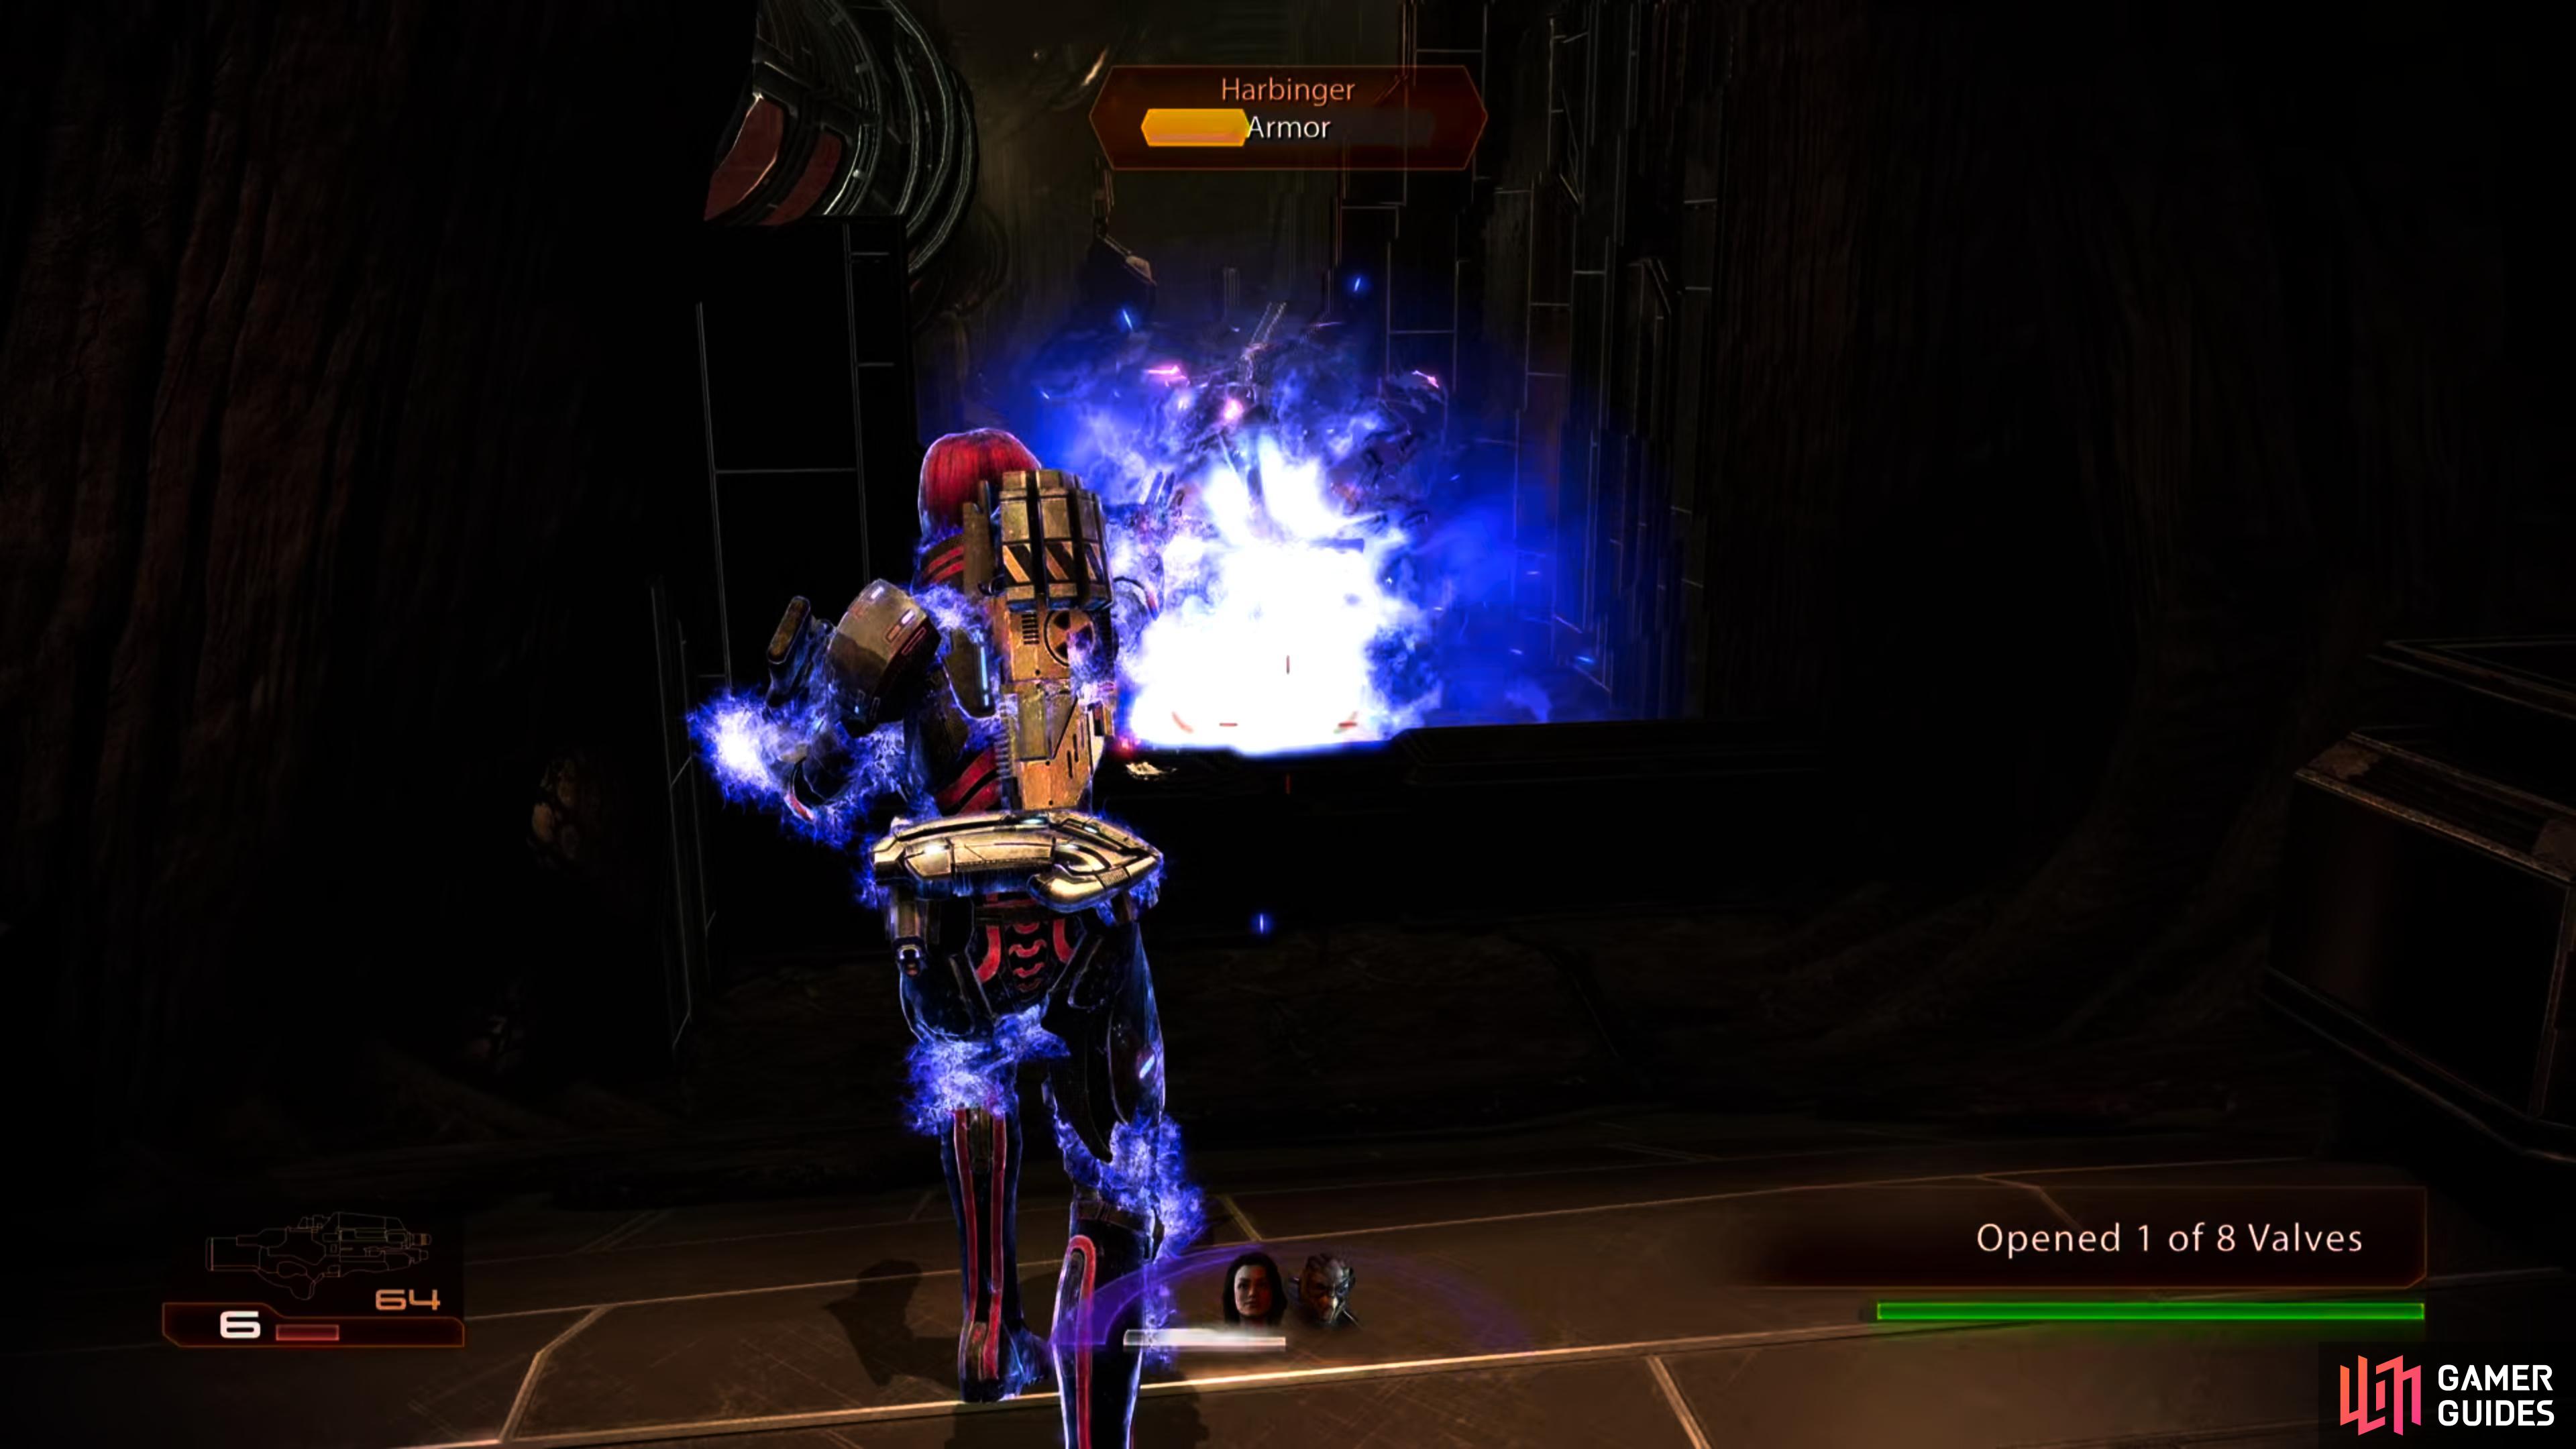
(1 of 2) Open the first valve to start a timer - you’ll have to continue to open valves so your tech expert can progress.
Open the first valve to start a timer - you’ll have to continue to open valves so your tech expert can progress. (left), Along the way you’ll be opposed by Collectors, including, of course, Harbinger. (right)
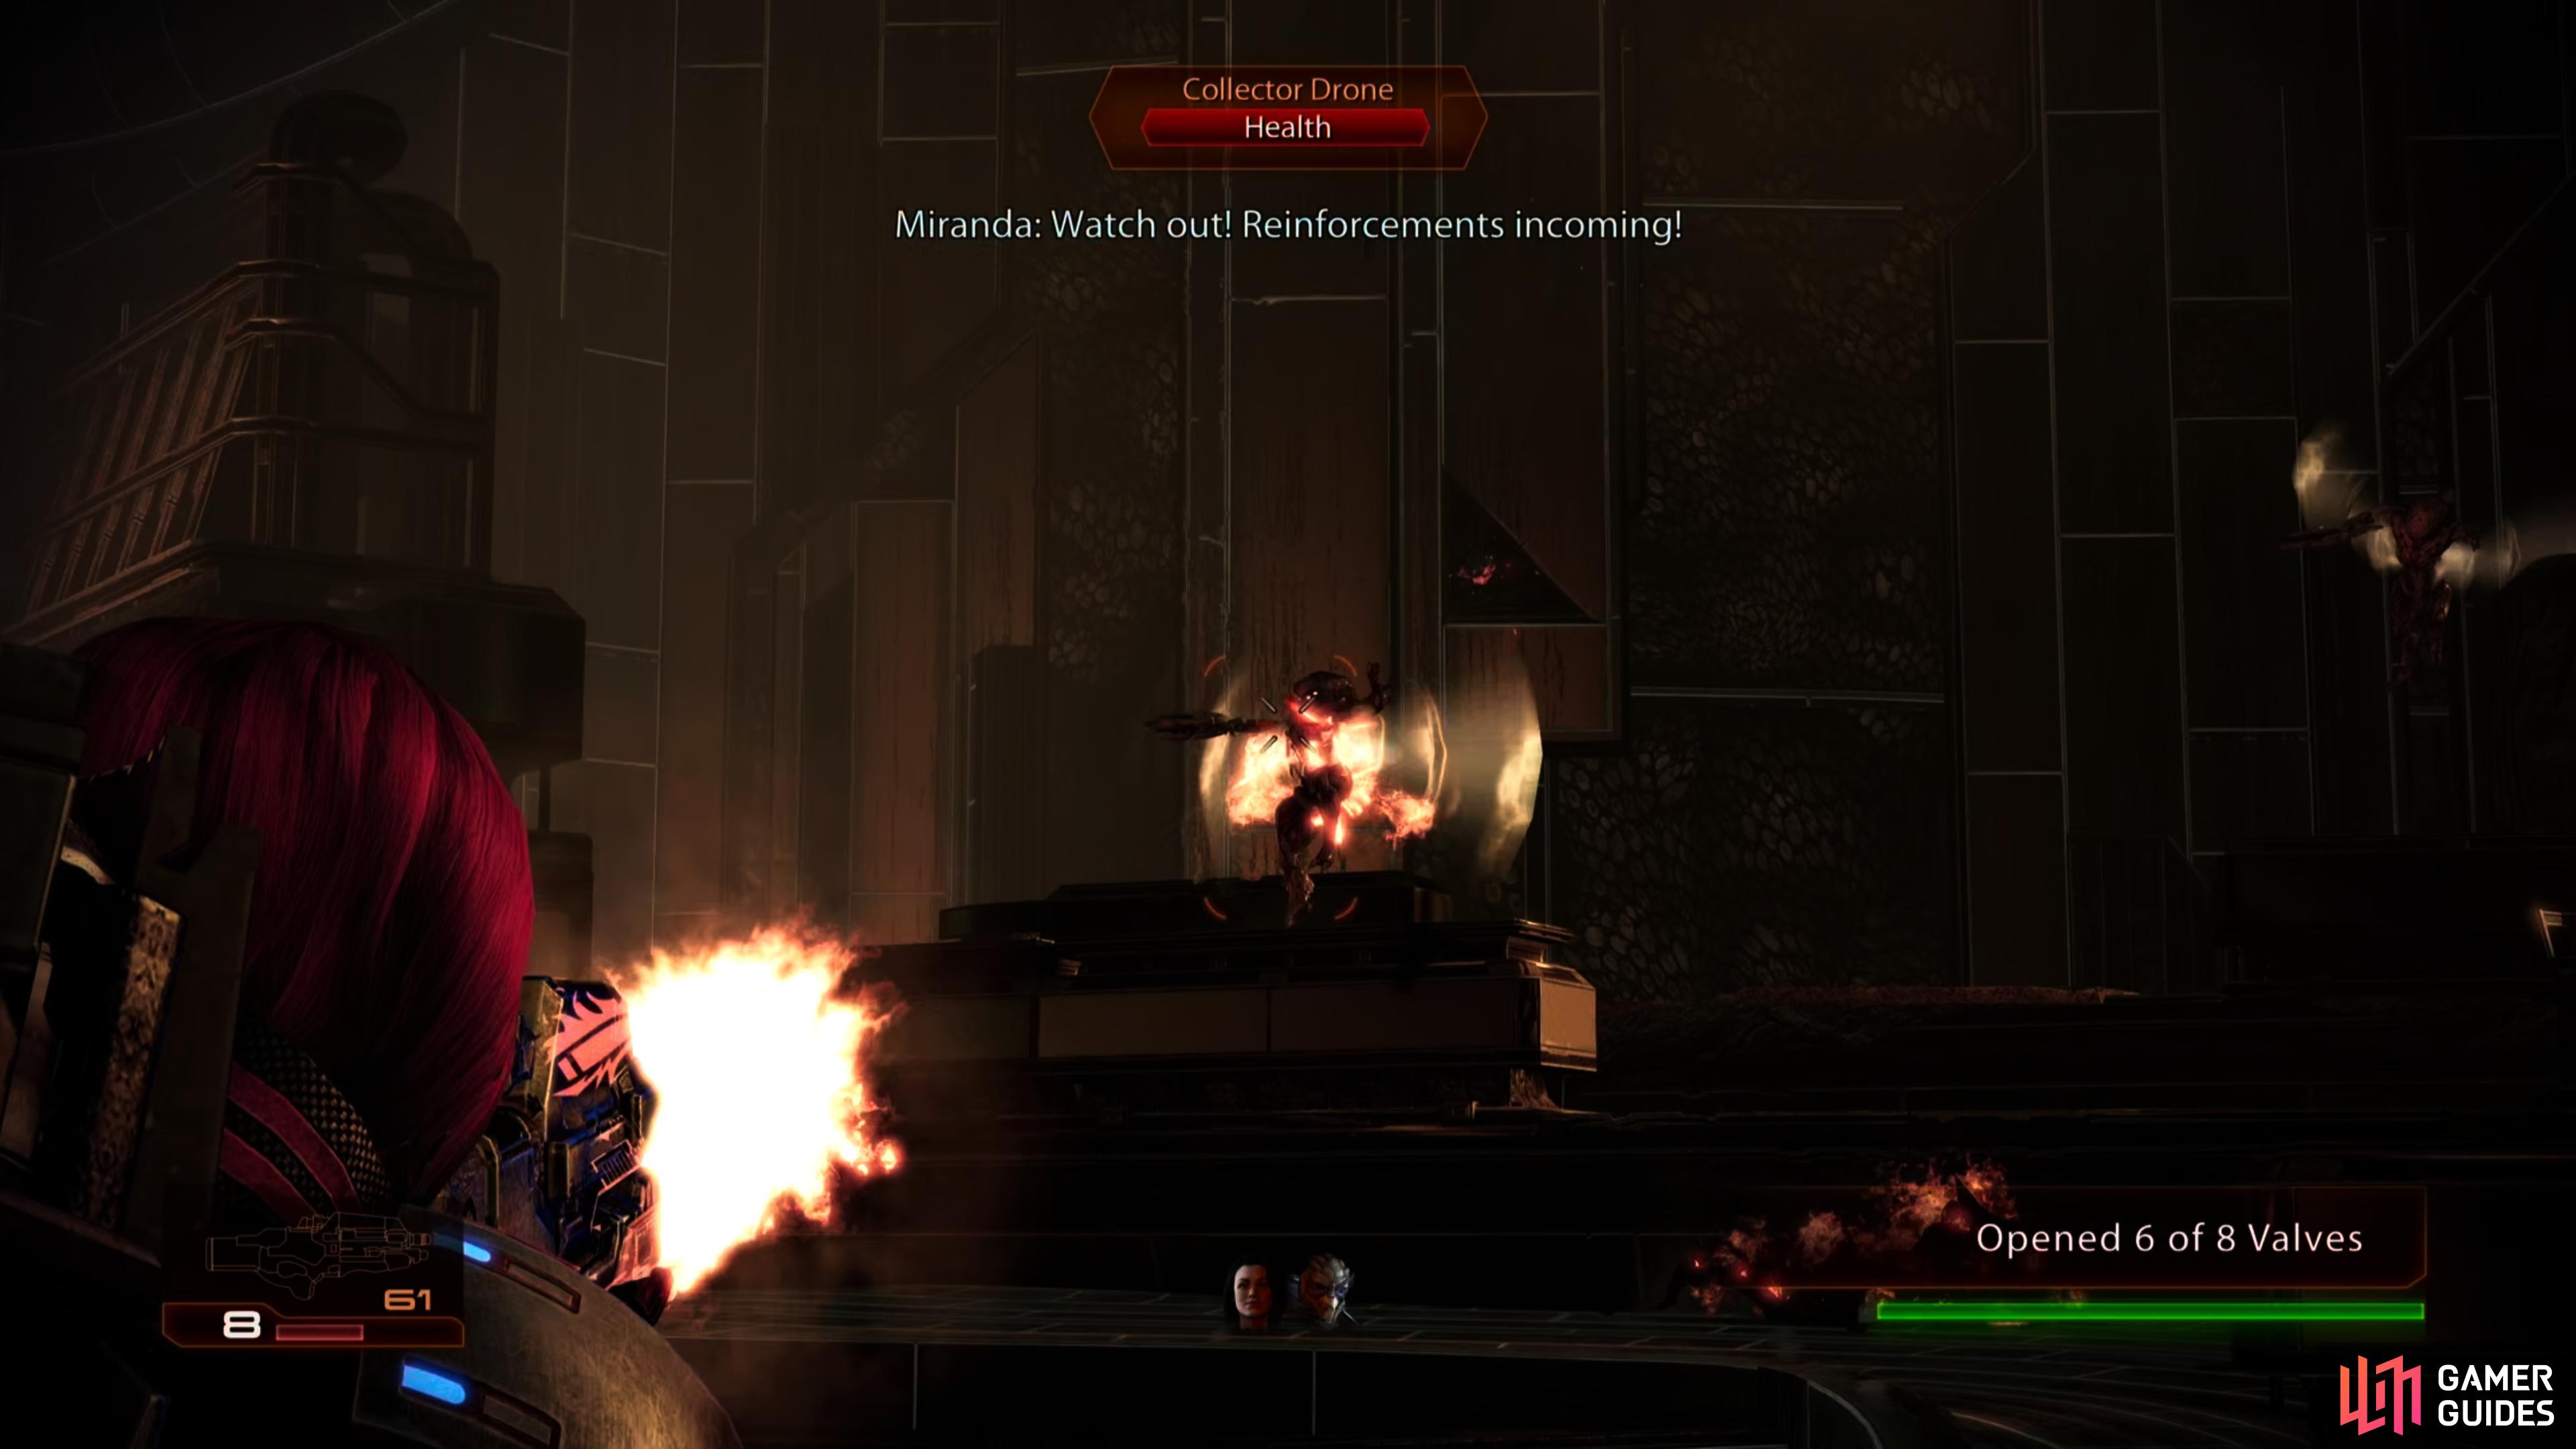
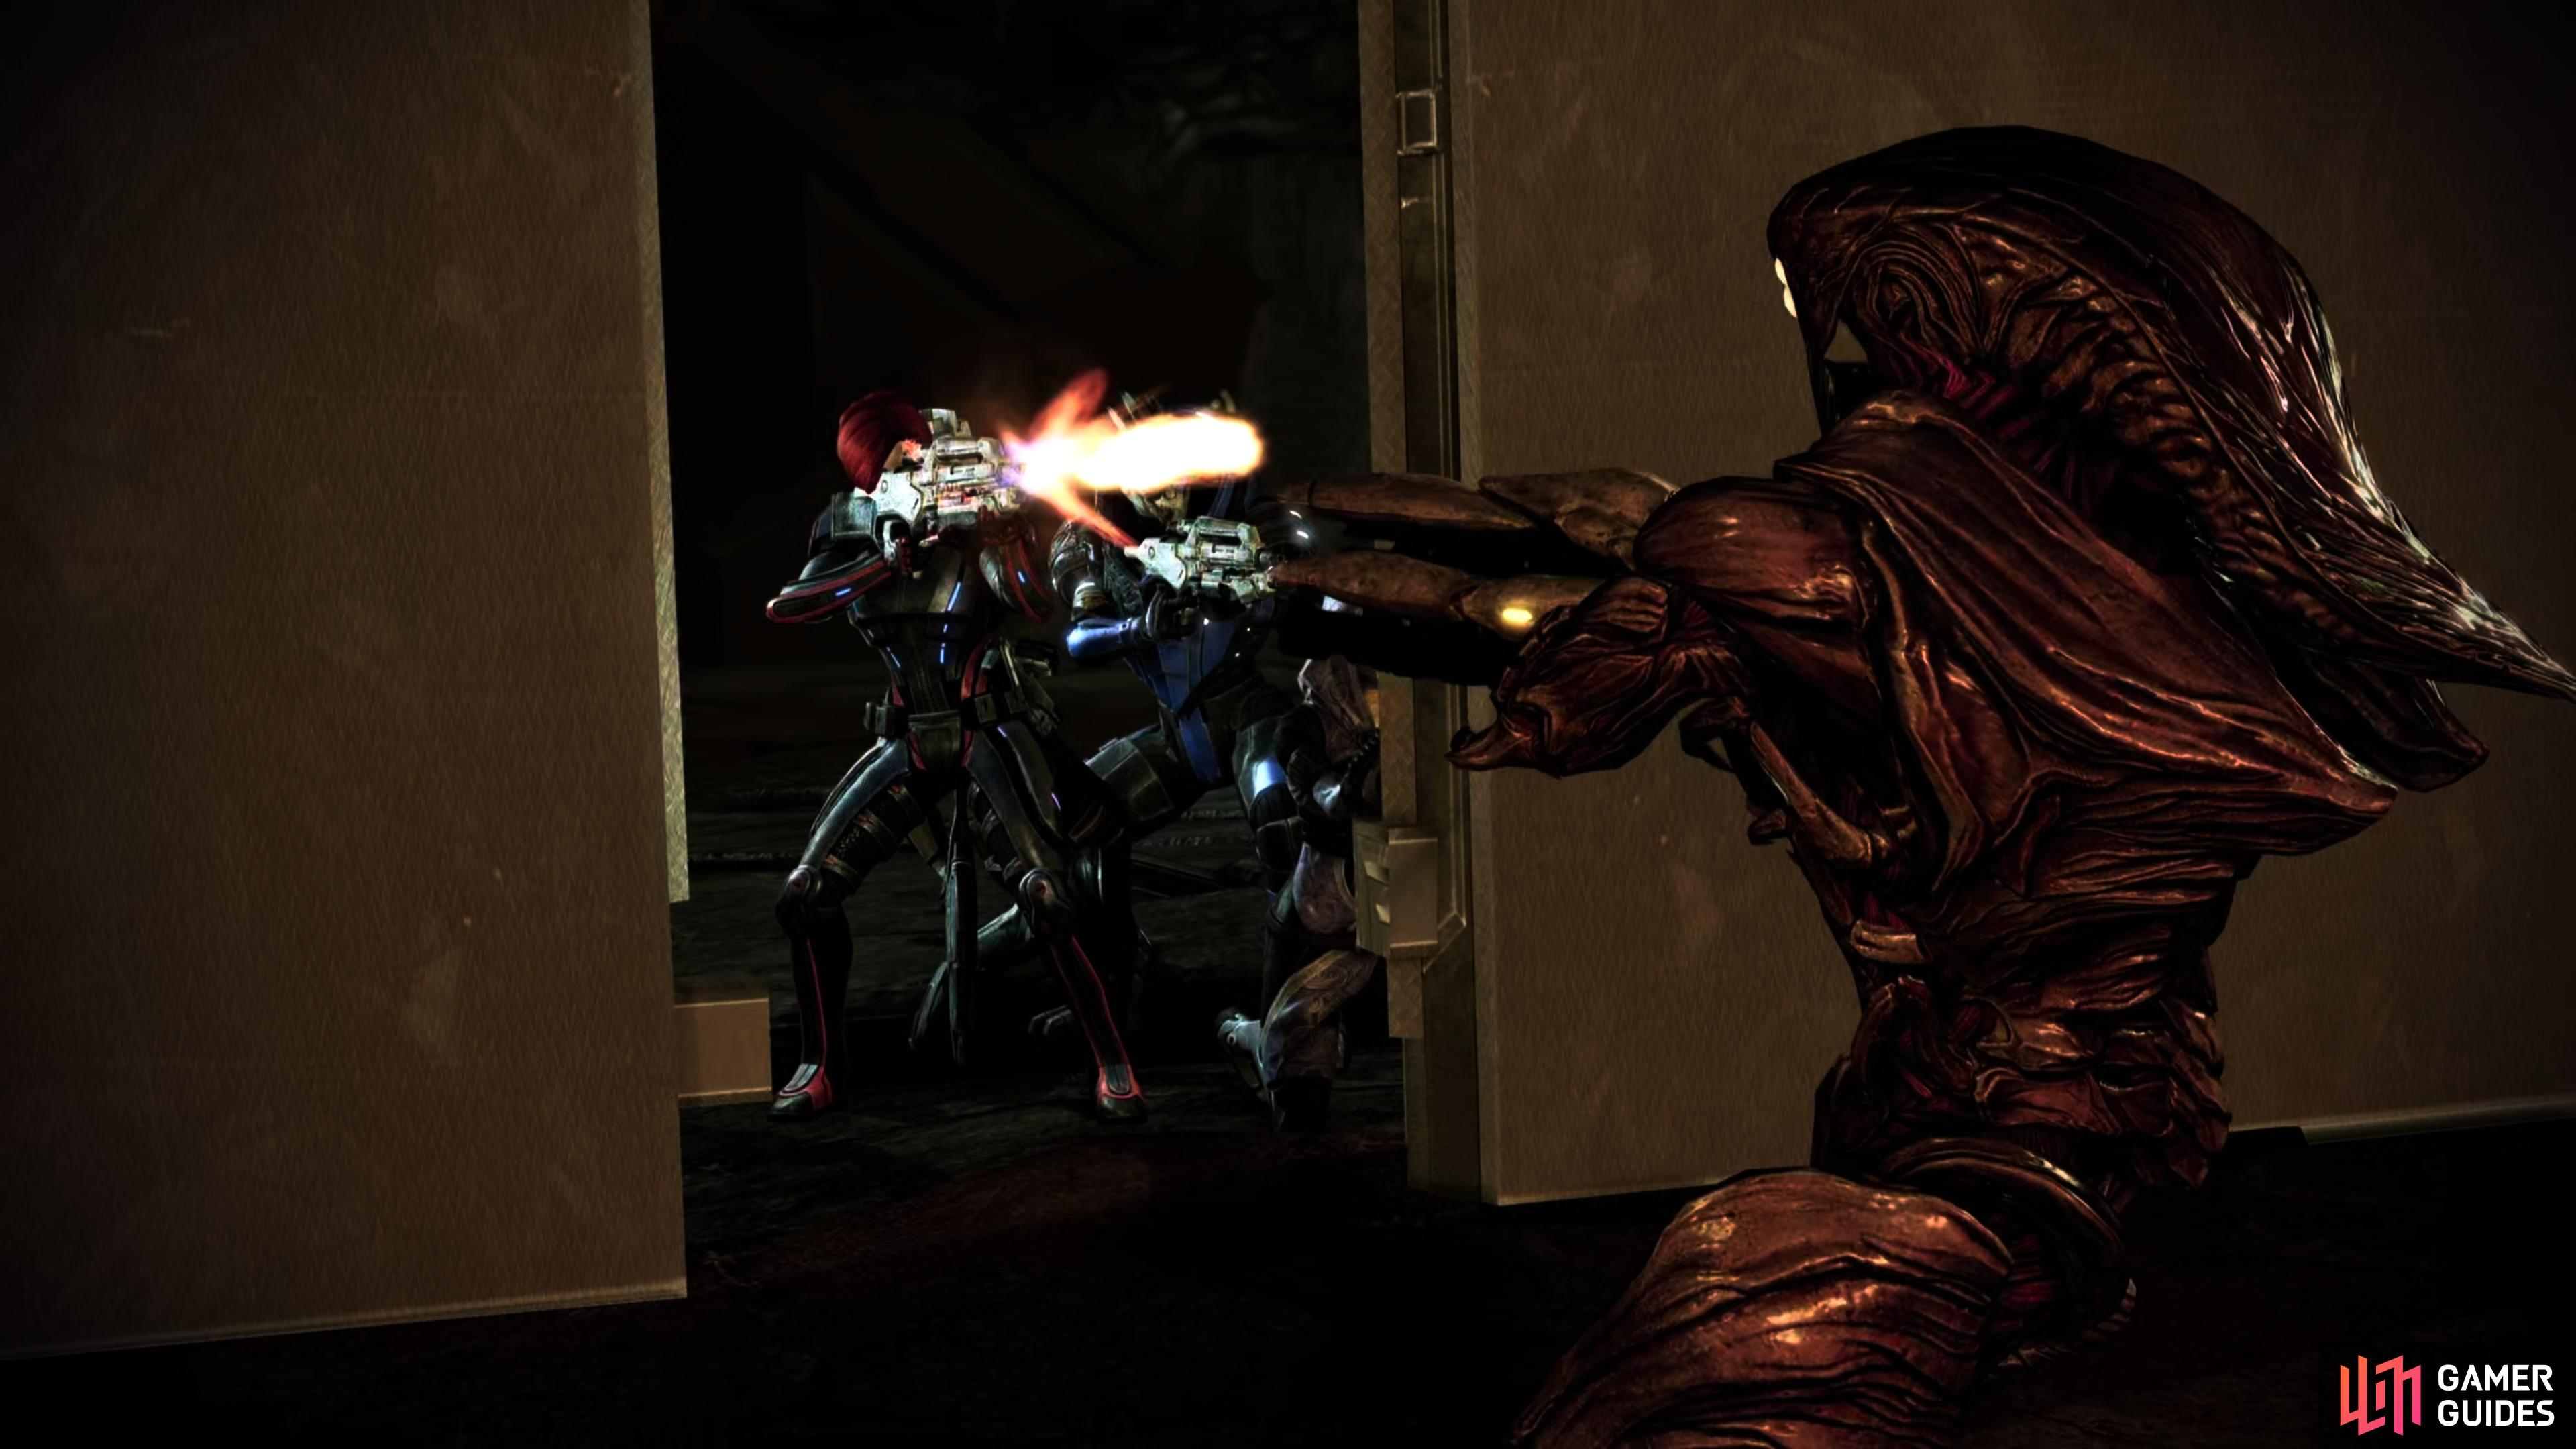
Move to the right of the valve and look down the ramp to the left. There are three Collector Drones here and one of these will become Harbinger. You didn’t think it would be that easy, did you? Once they are defeated, move down and vault the cover here. Hit the green valve (2/8) on the left and as you do, more Collectors will fly onto the platform from the right and unsurprisingly enough, one of these guys will become Harbinger. Once they have been capped, continue along the pathway here; hit the green valve (3/8) here and vault up into the raised area at the end. It’s always a good idea to kill any Collectors that arrive before hitting the valves, especially on Insanity difficulty where you will need more time.
Activate green valve (4/8) in this room. Continue to the right and take cover as you turn into another open area. Below and to the right, a group of 6-7 Collector Drones will be waiting for you and one will become Harbinger. When you have dropped them, look across the room and slightly to the left to see the next valve.
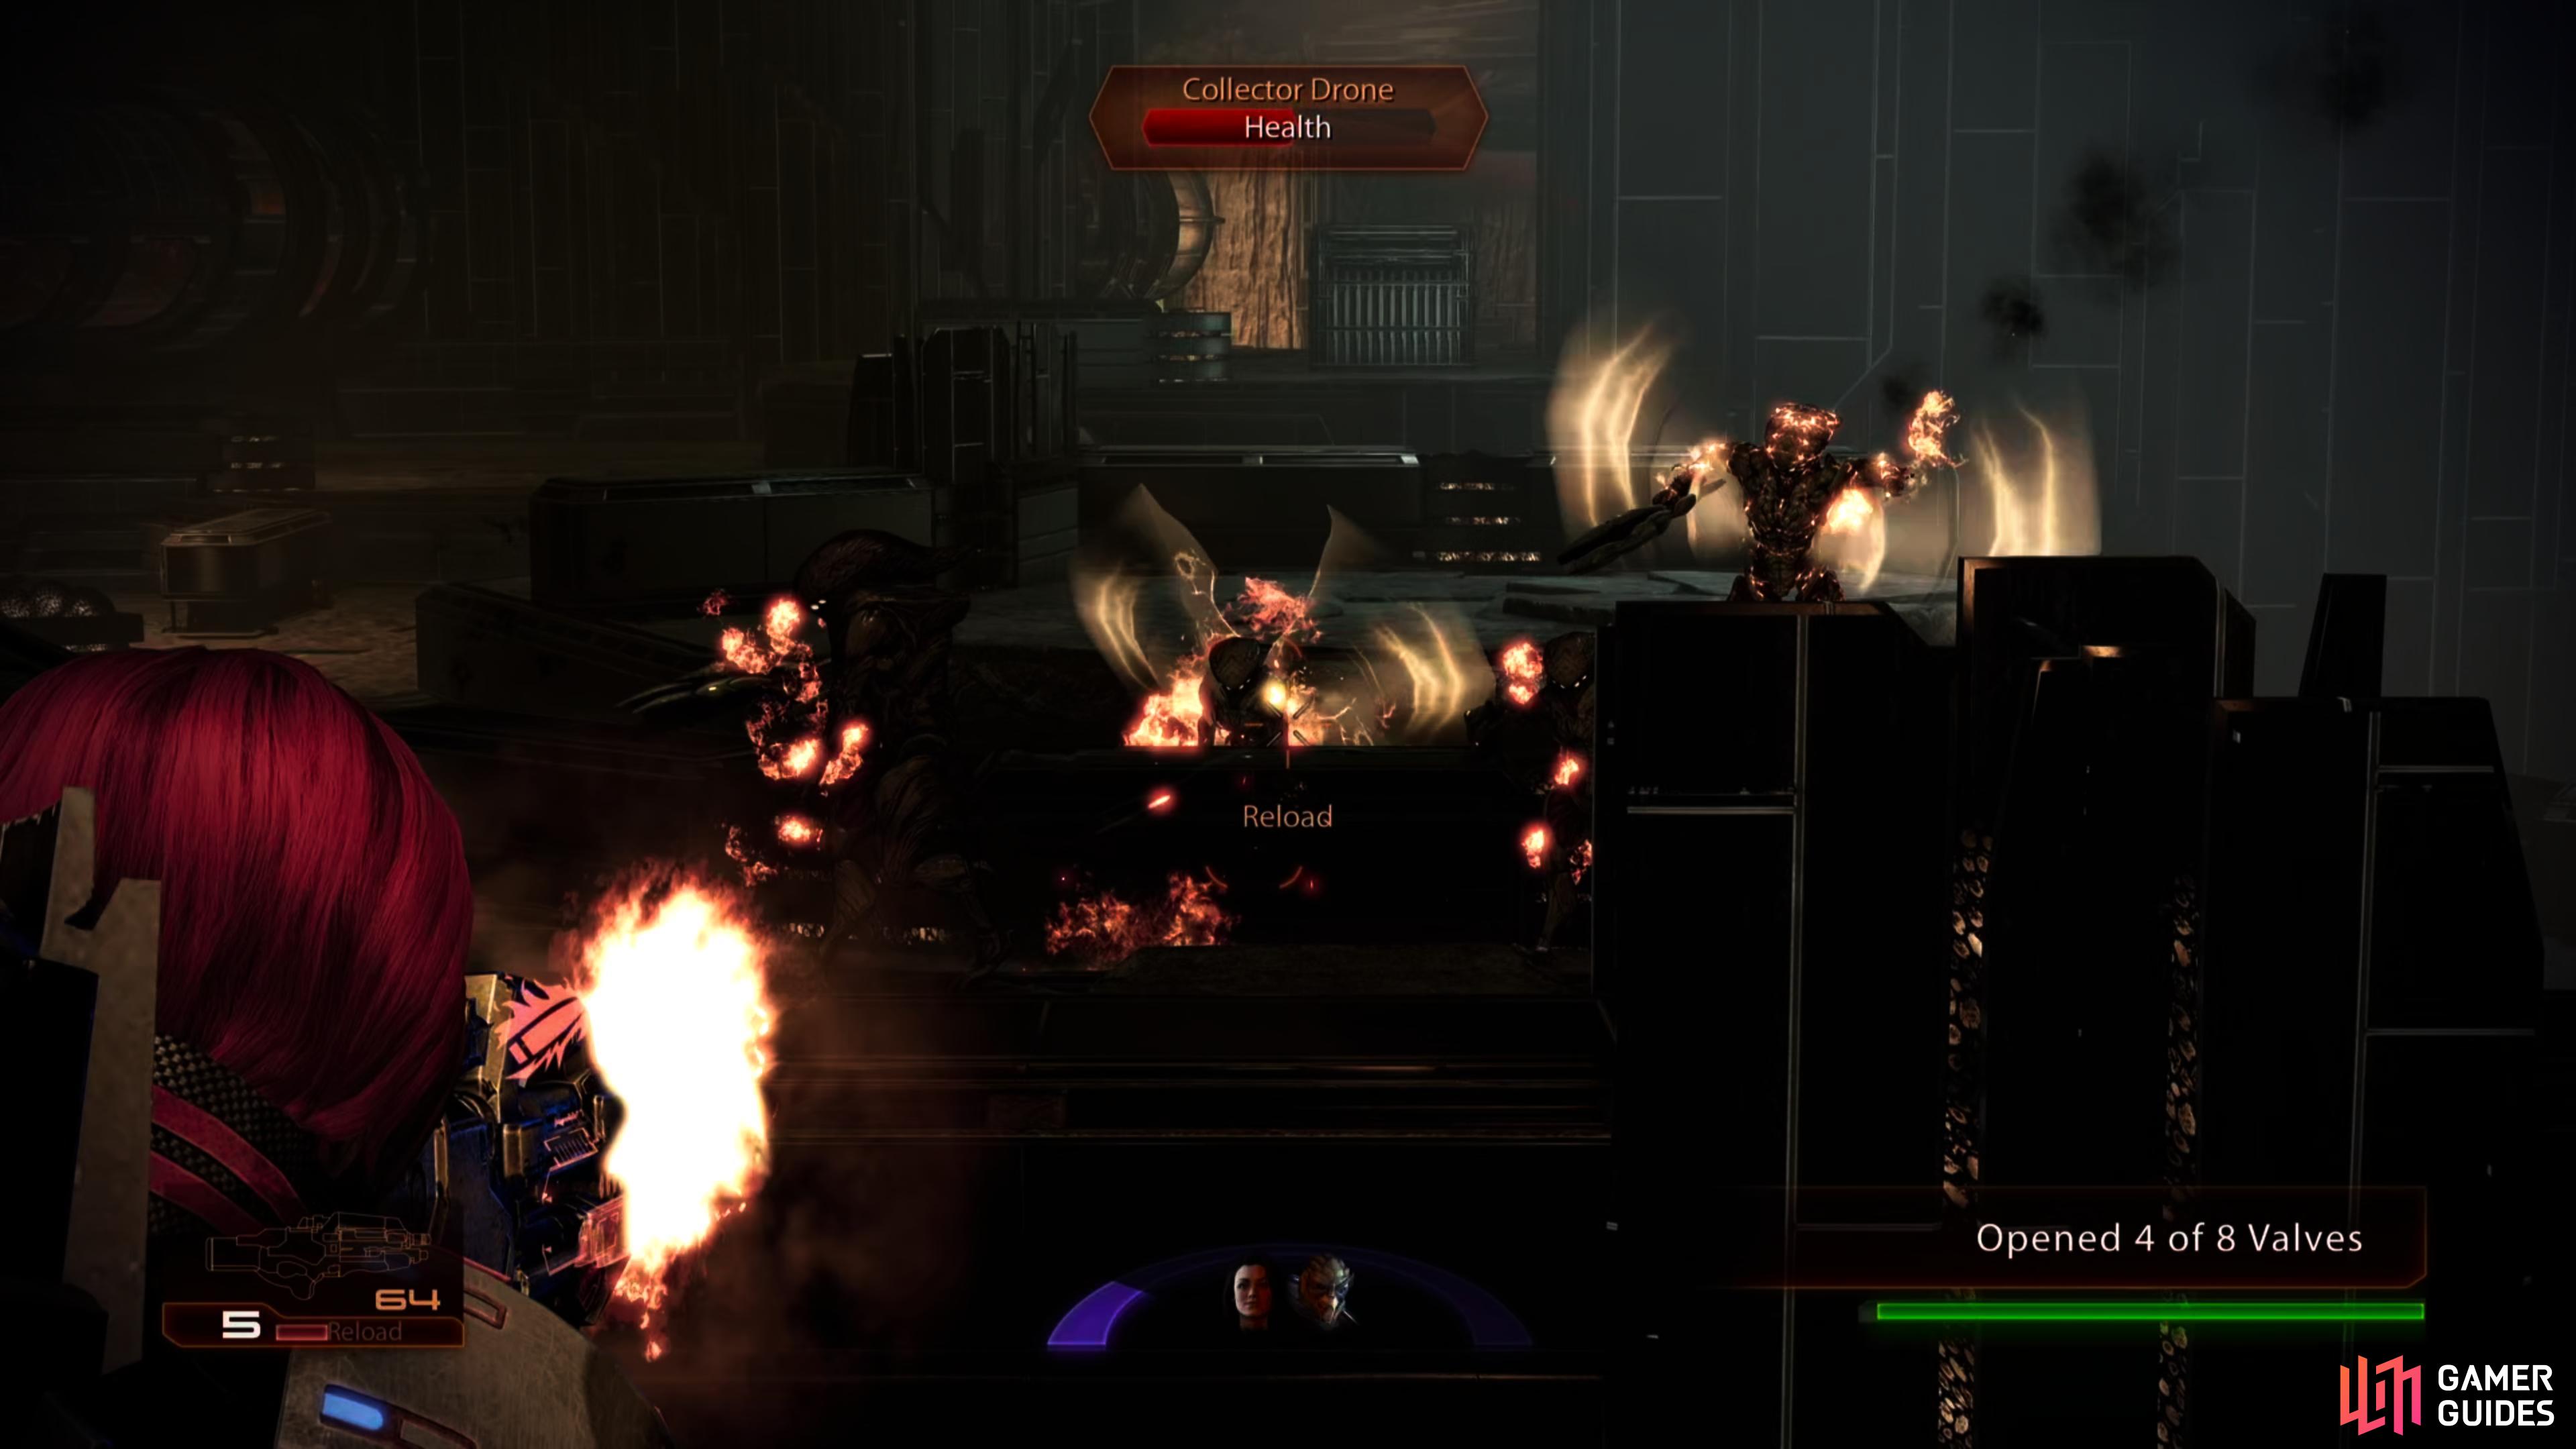
(1 of 2) Keep fighting through Collectors,
Keep fighting through Collectors, (left), and pressing valves - after you hit 6 out of 8, you’ll be on the final stretch. (right)
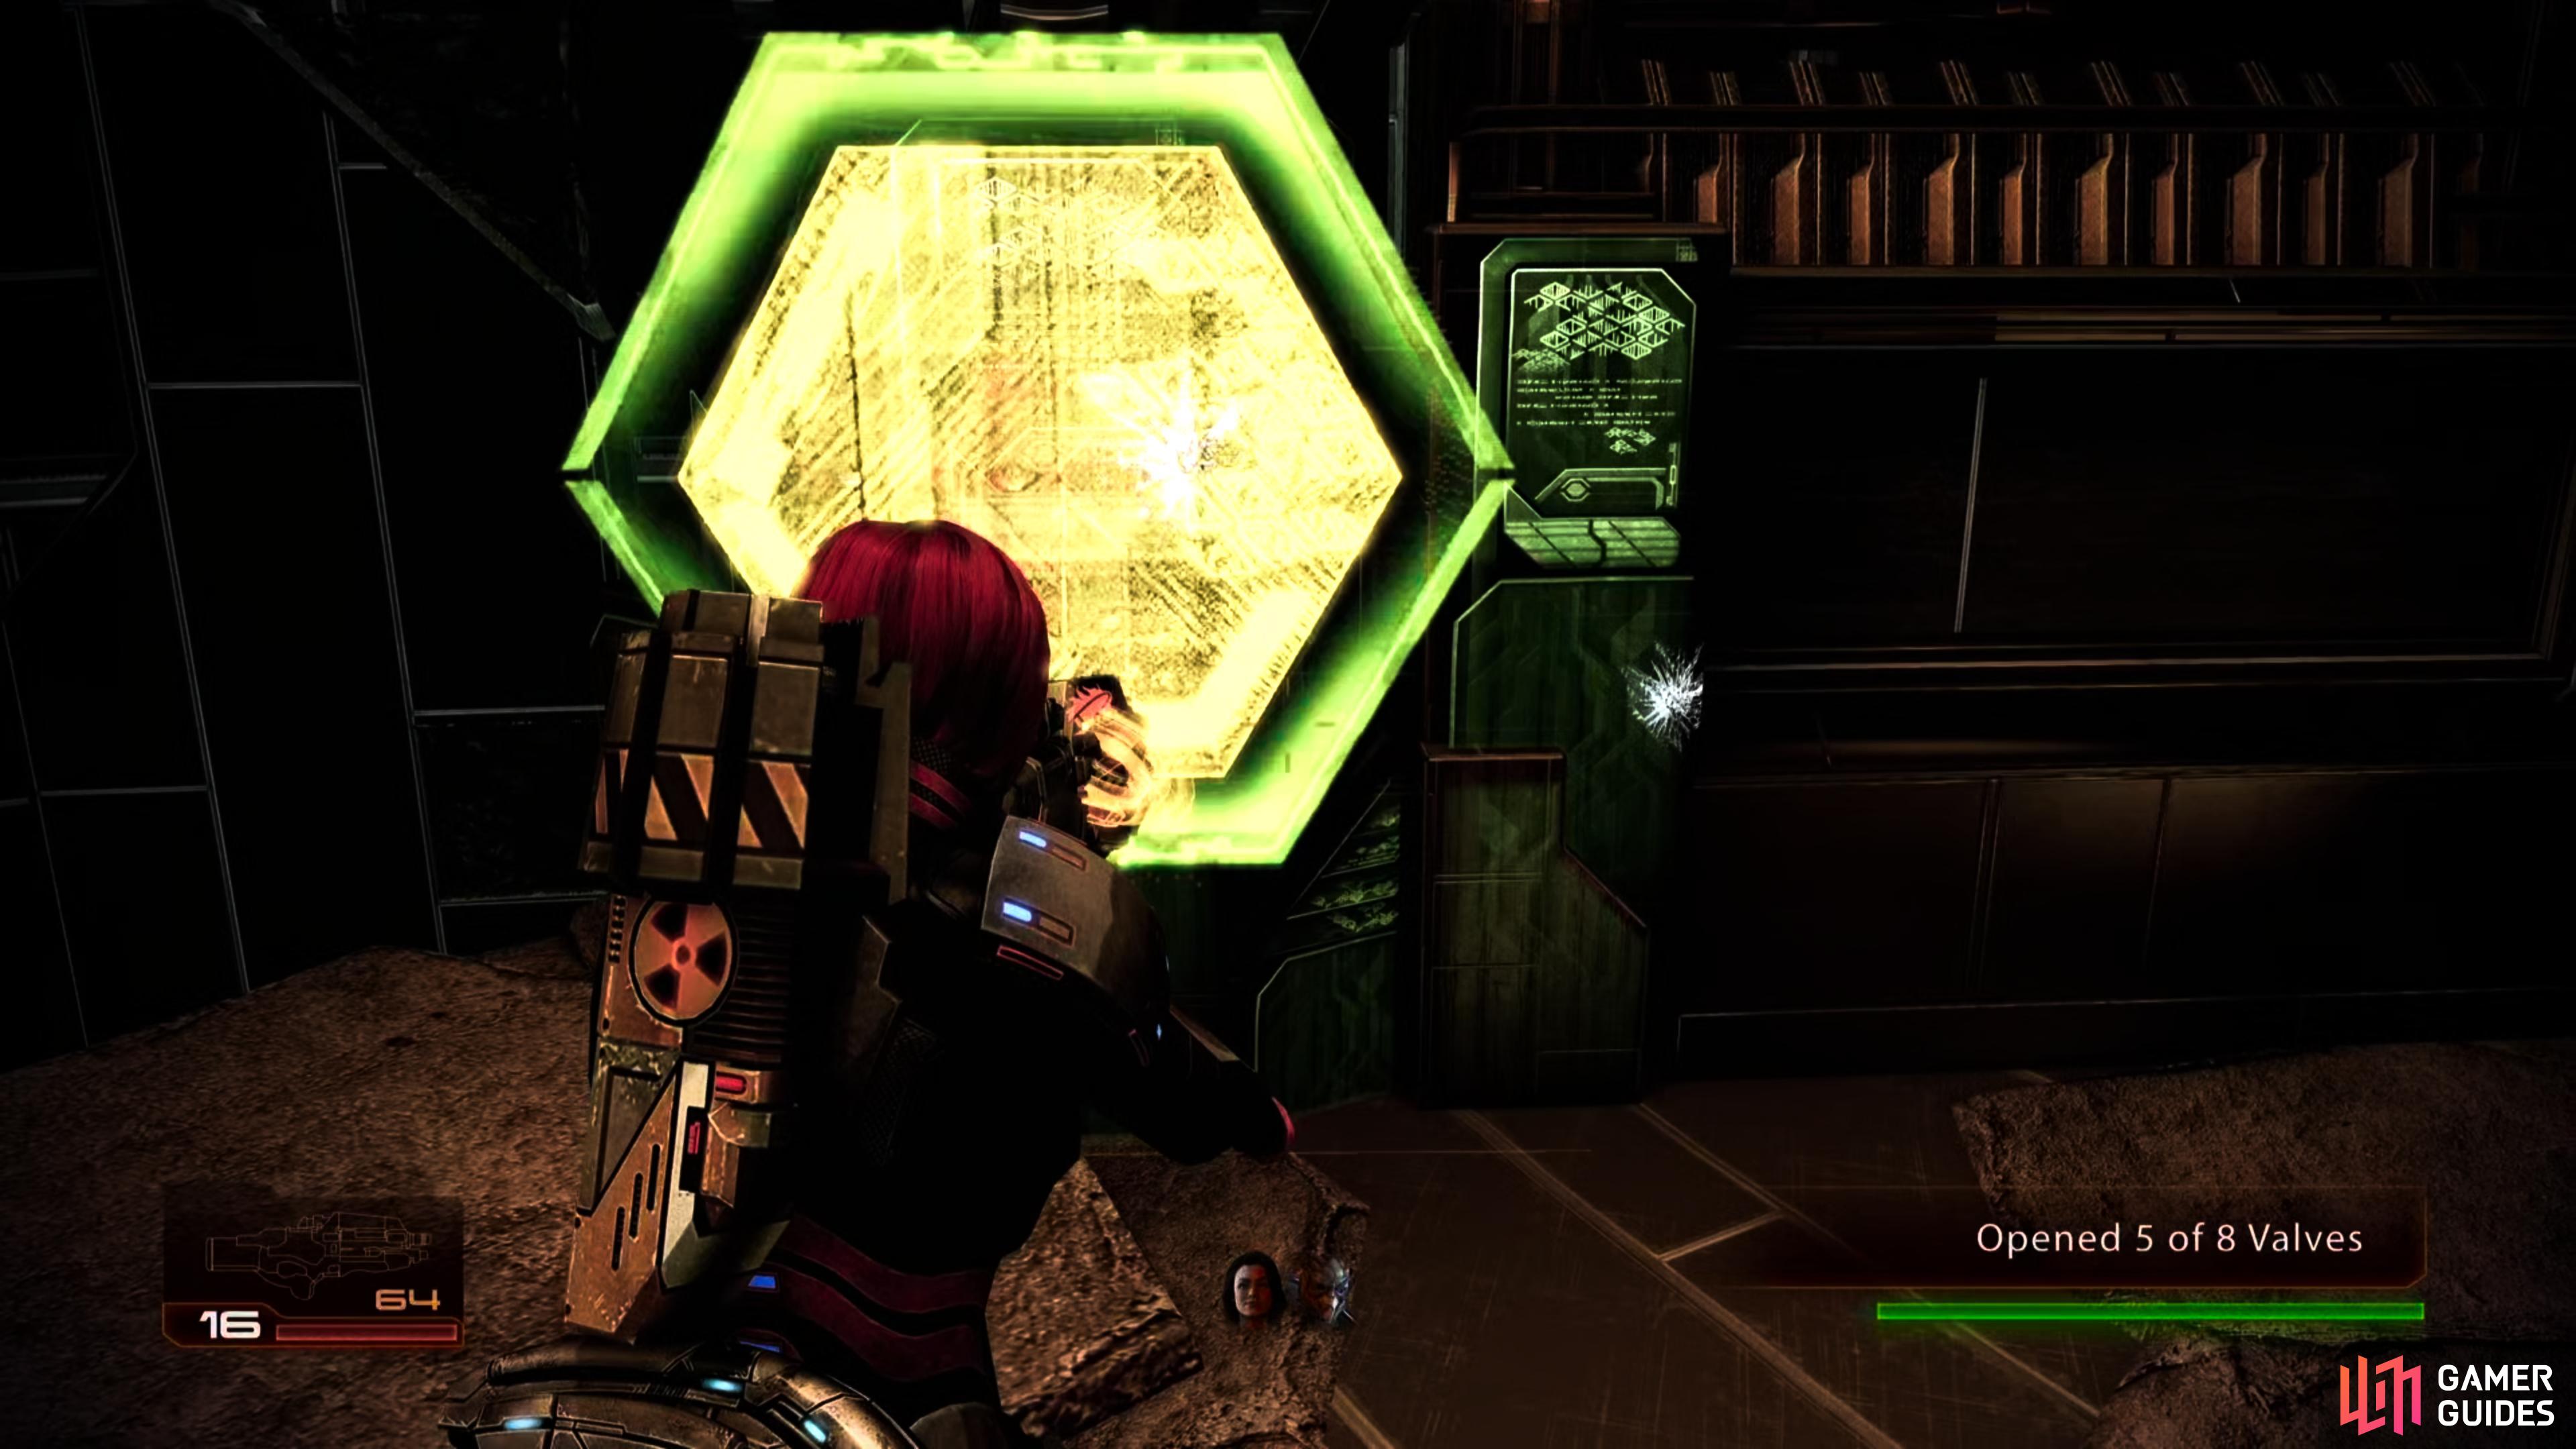
Once you know where you are going, drop down into the room below and use the various platforms to vault across to the other side of the area. About a third of the way across another group of two Drones and Harbinger will land. Dispatch them quickly before running over and hitting the green valve (5/8).
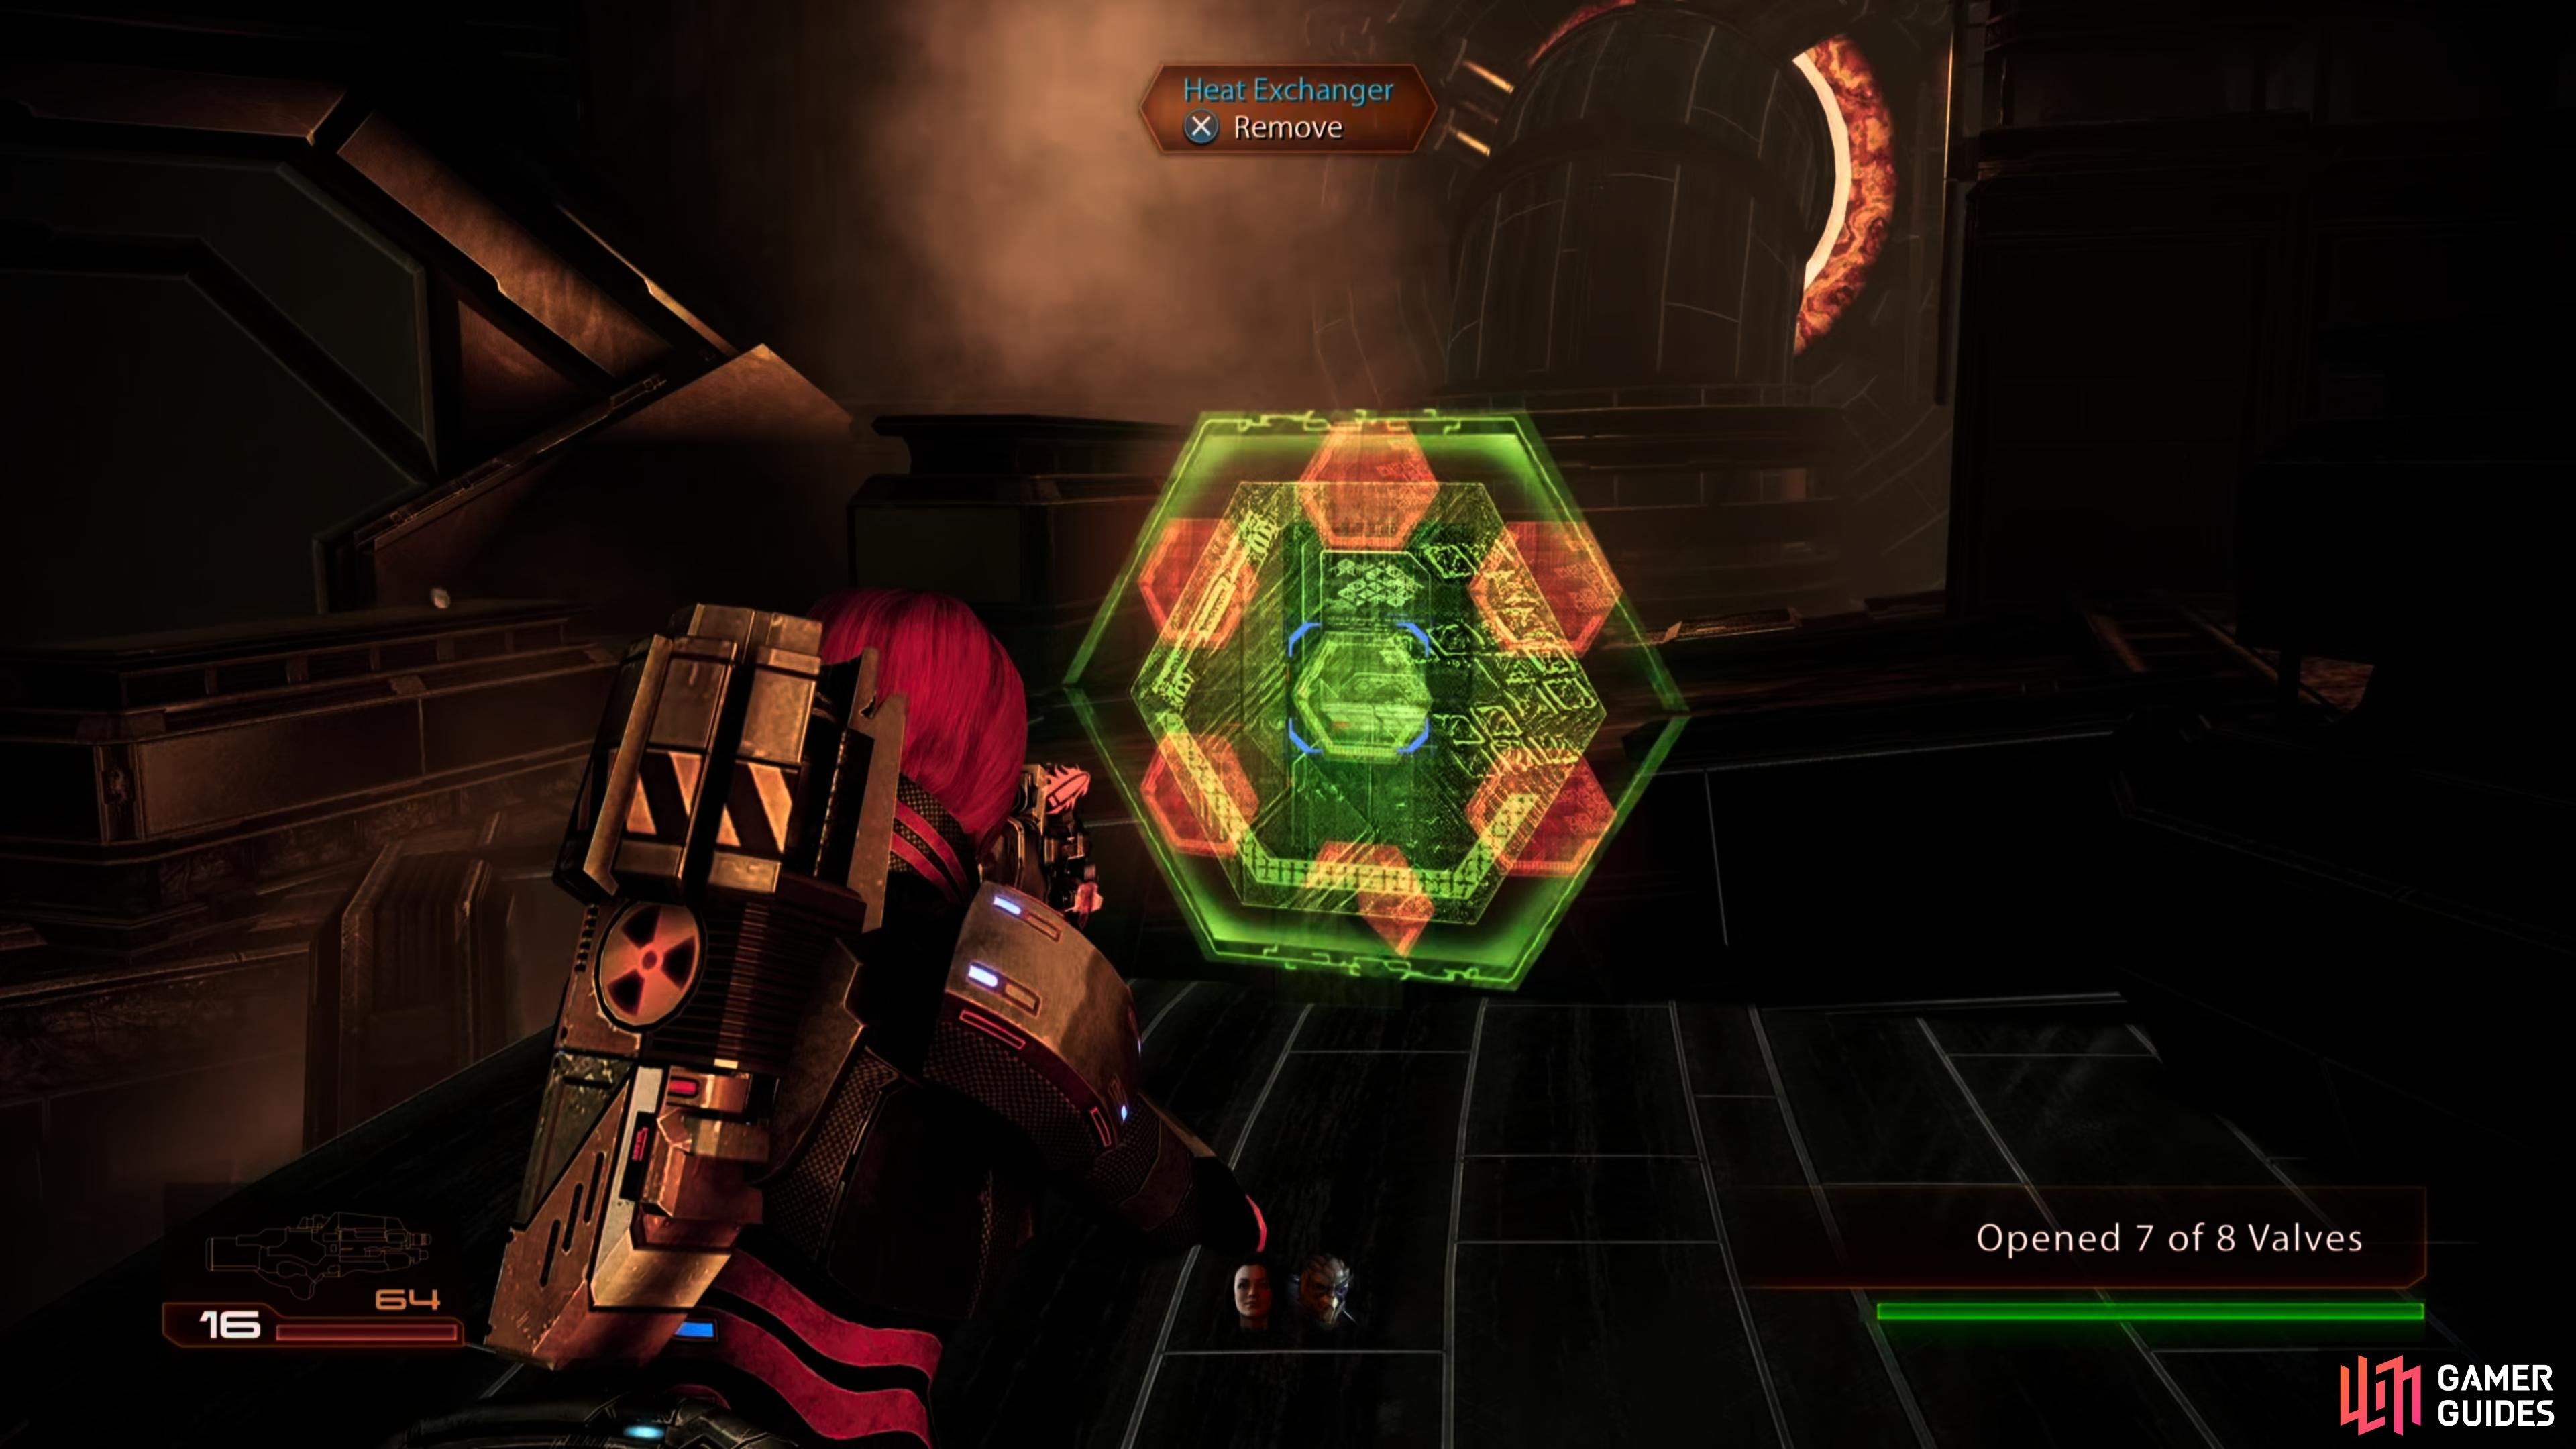
Continue into the hallway to the right and disable the next green valve (6/8) here. Follow the passage around the corner and eliminate the three drones here. Take cover behind the raised area to the right at the end of the hall and you should see the next valve in front of you at the near end of a bridge leading to a large platform. Stay in cover here and defeat the Collector Assassin and any other Drones in the immediate area. When they are dead, vault up to the platform and quickly run up to activate the green valve (7/8) and take cover.
(1 of 2) The final two valves will be heavily guarded - expect Collector reinforcements to arrive as you progress.
The final two valves will be heavily guarded - expect Collector reinforcements to arrive as you progress. (left), Keep pressing forward and hit the final valve to secure the safety of your tech expert. (right)
On the platform across the bridge 6-7 Drones and Harbinger will fly in to keep you at bay. Continue to move up and eliminate them as you go. When all the enemies are all dealt with and the coast is clear, make your way over to the left to hit the final green valve (8/8) to watch a short scene.
| Mission Completion Rewards | |
|---|---|
| Experience Gained: | 300 |
Assuming you delegated a loyal Tali and Jacob as your tech expert and secondary squad leader (or equally competent and loyal characters in roles they’re suited for), everybody should make it through unharmed. Likewise if you passed through the Omega 4 Relay immediately after the Collector Abduction, you should have rescued your entire crew. If you delayed, you may have arrived too late to prevent some casualties.
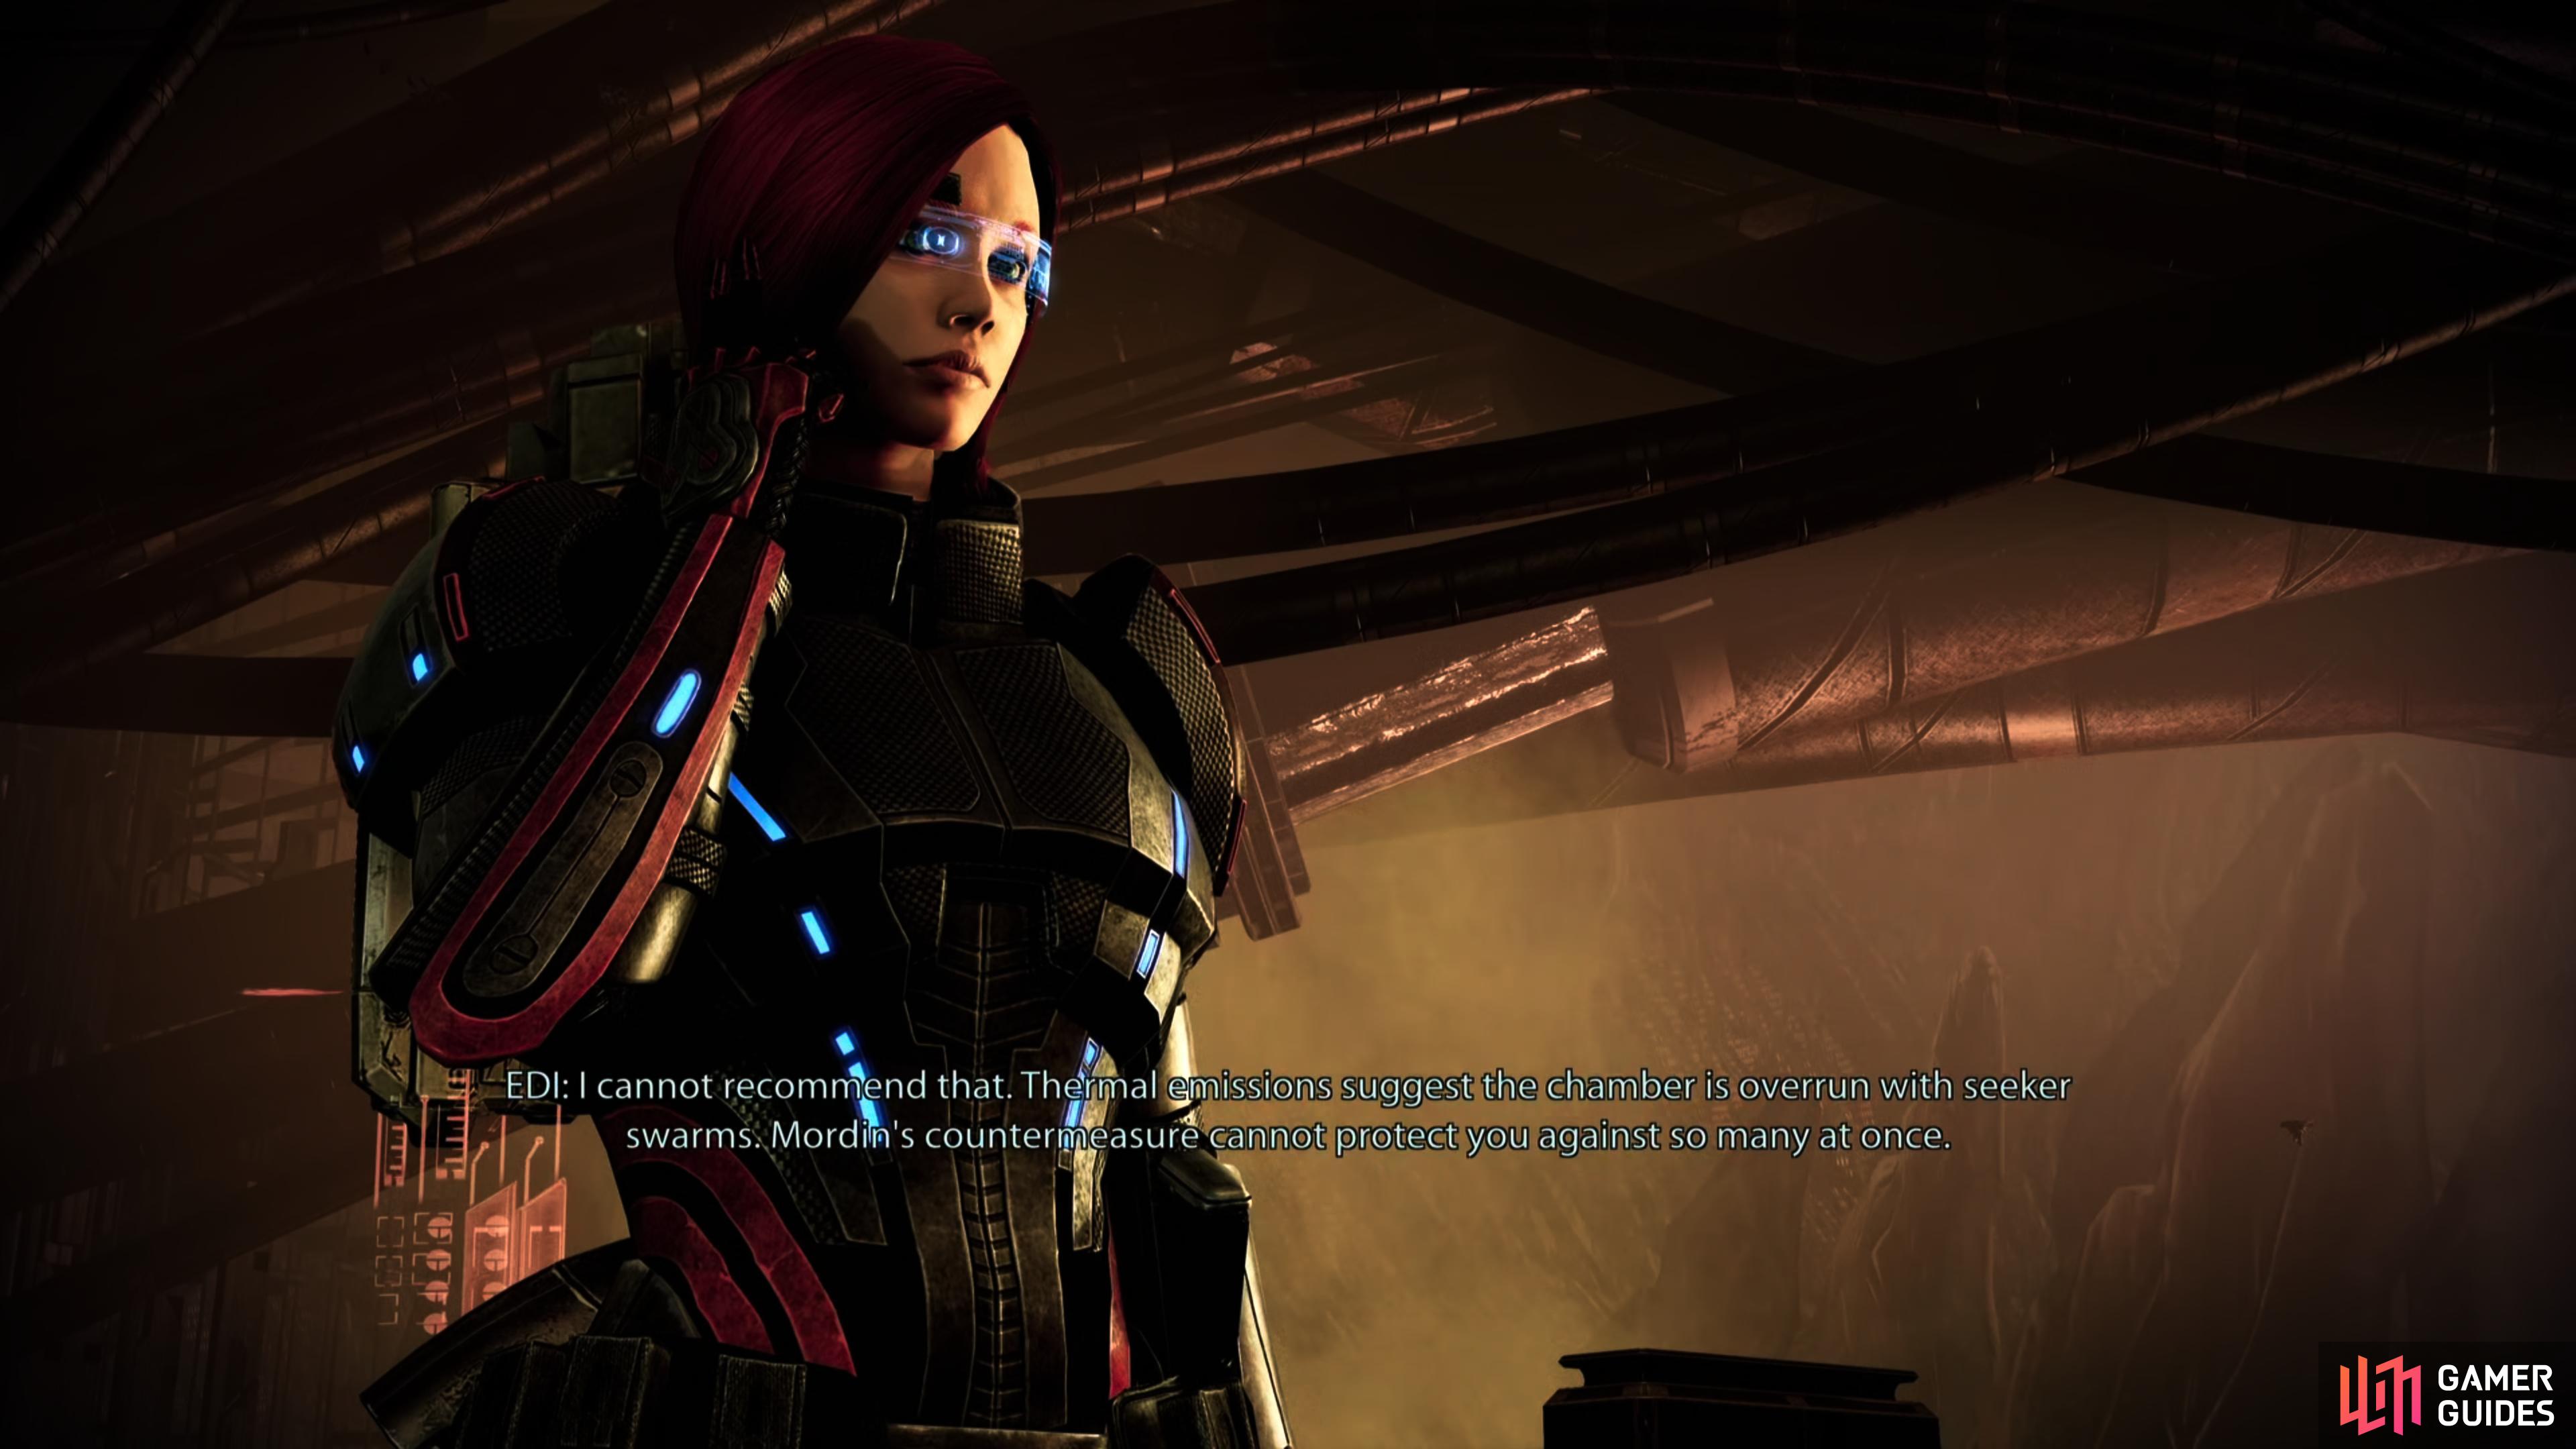

(1 of 3) After you get back in contact with EDI you’ll be informed of a complication - somebody needs to escort the survivors back to the Normandy.
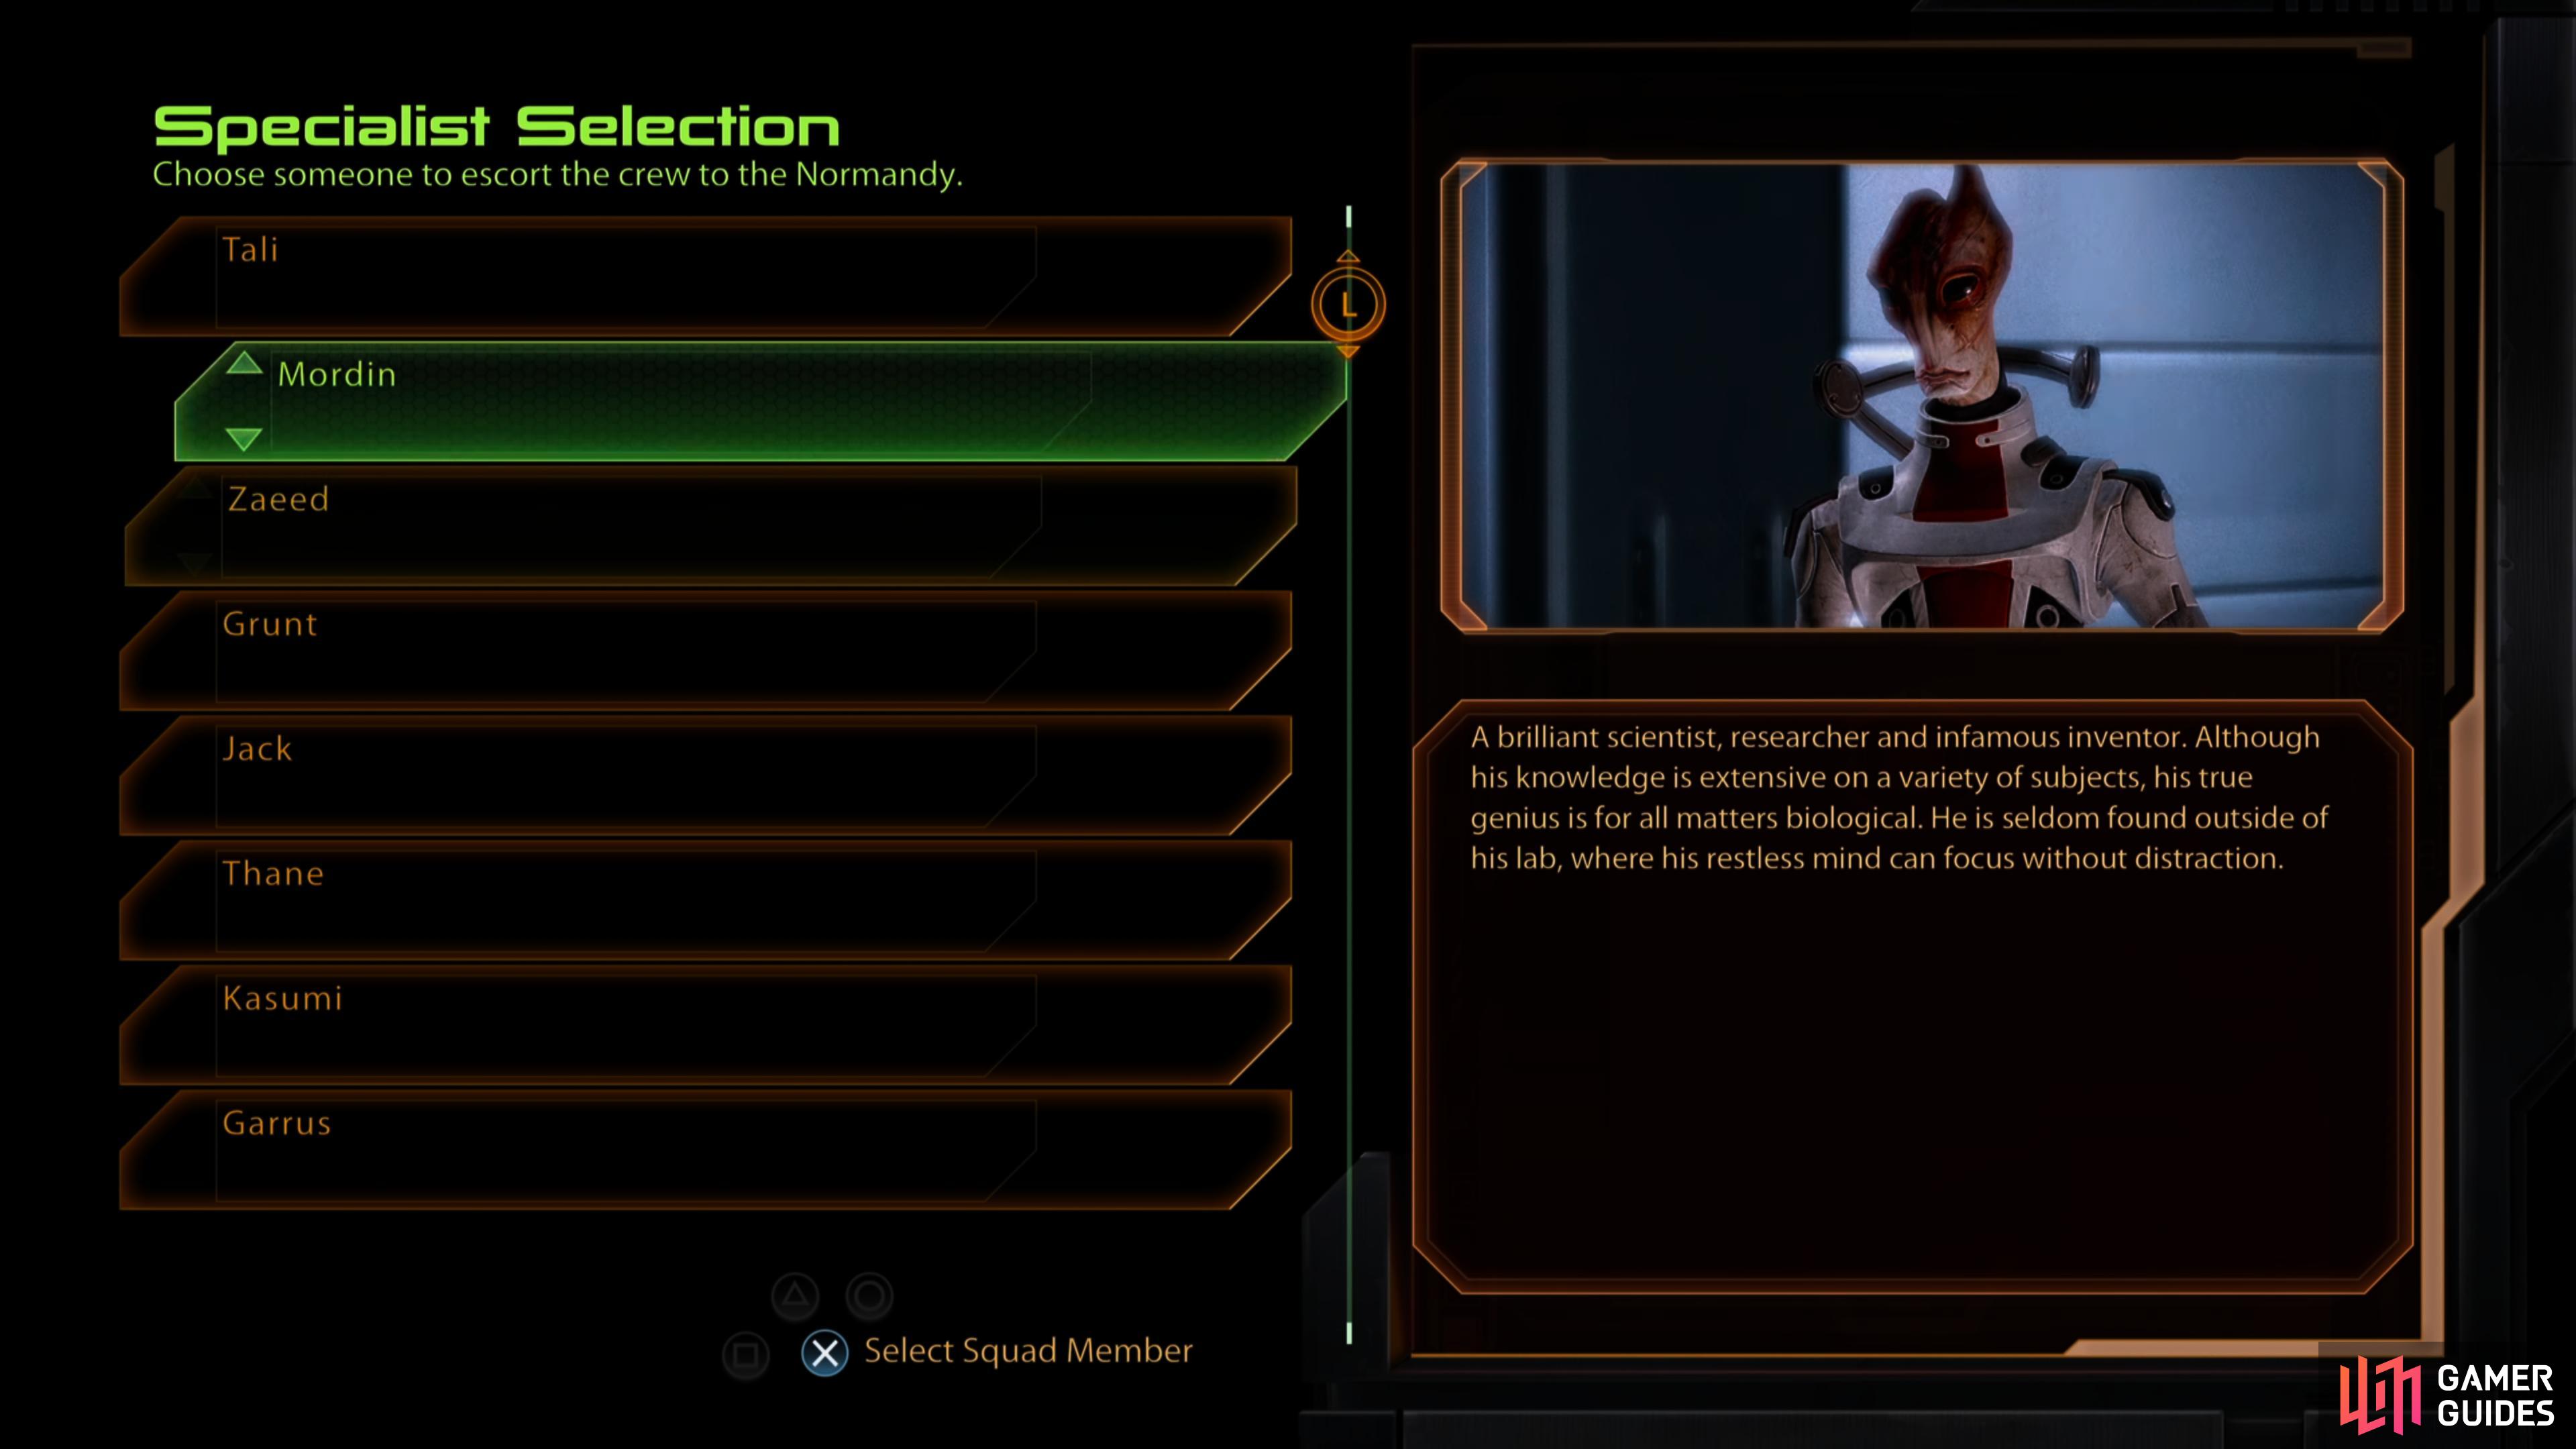
Regardless of how many crewmembers you managed to save, there are bound to be some survivors, and they’re not going to make it back to the Normandy without assistance. Changing circumstances call for an updated response, and accordingly you’ve got to assign a biotic specialist to protect you from unusually dense seeker swarms as well as an escort for whatever crew members you managed to rescue. You can also choose to reassign your secondary squad leader, should you see fit.
We recommend taking Samara along as your biotic expert (although Jack will suffice, if she’s alive and loyal) while sending Mordin back as your escort. Mordin’s not getting this job out of some great aptitude on his part, but rather because he’s just not needed later on, and his fragility may prove to be a detriment. Of course, this only applies if Mordin is loyal, if he’s not, send another character instead. We keep Jacob as our secondary squad leader.
| Assignments | Suggested Characters |
|---|---|
| 2nd Squad Leader | Garrus, Jacob, Miranda |
| Survivor Escort | Any loyal character |
| Biotic Expert | Jack, Samara |
When those assignments have been made, you’ll continue on with the mission.
If you delegated responsibilities wisely, you’ll keep your entire squad alive through the first phase of this mission.

 Sign up
No Comments