
| Quest Info |
|---|
| Objective: The Great Jagras Hunt |
| Reward Money: 1200z |
| Time Limit: 50 min. |
| Conditions: None |
| Failure Conditions: Time Expires / Faint 3 Times |
| Other Monsters: Aptonoth / Jagras / Mernos |
Sharpness and SOS
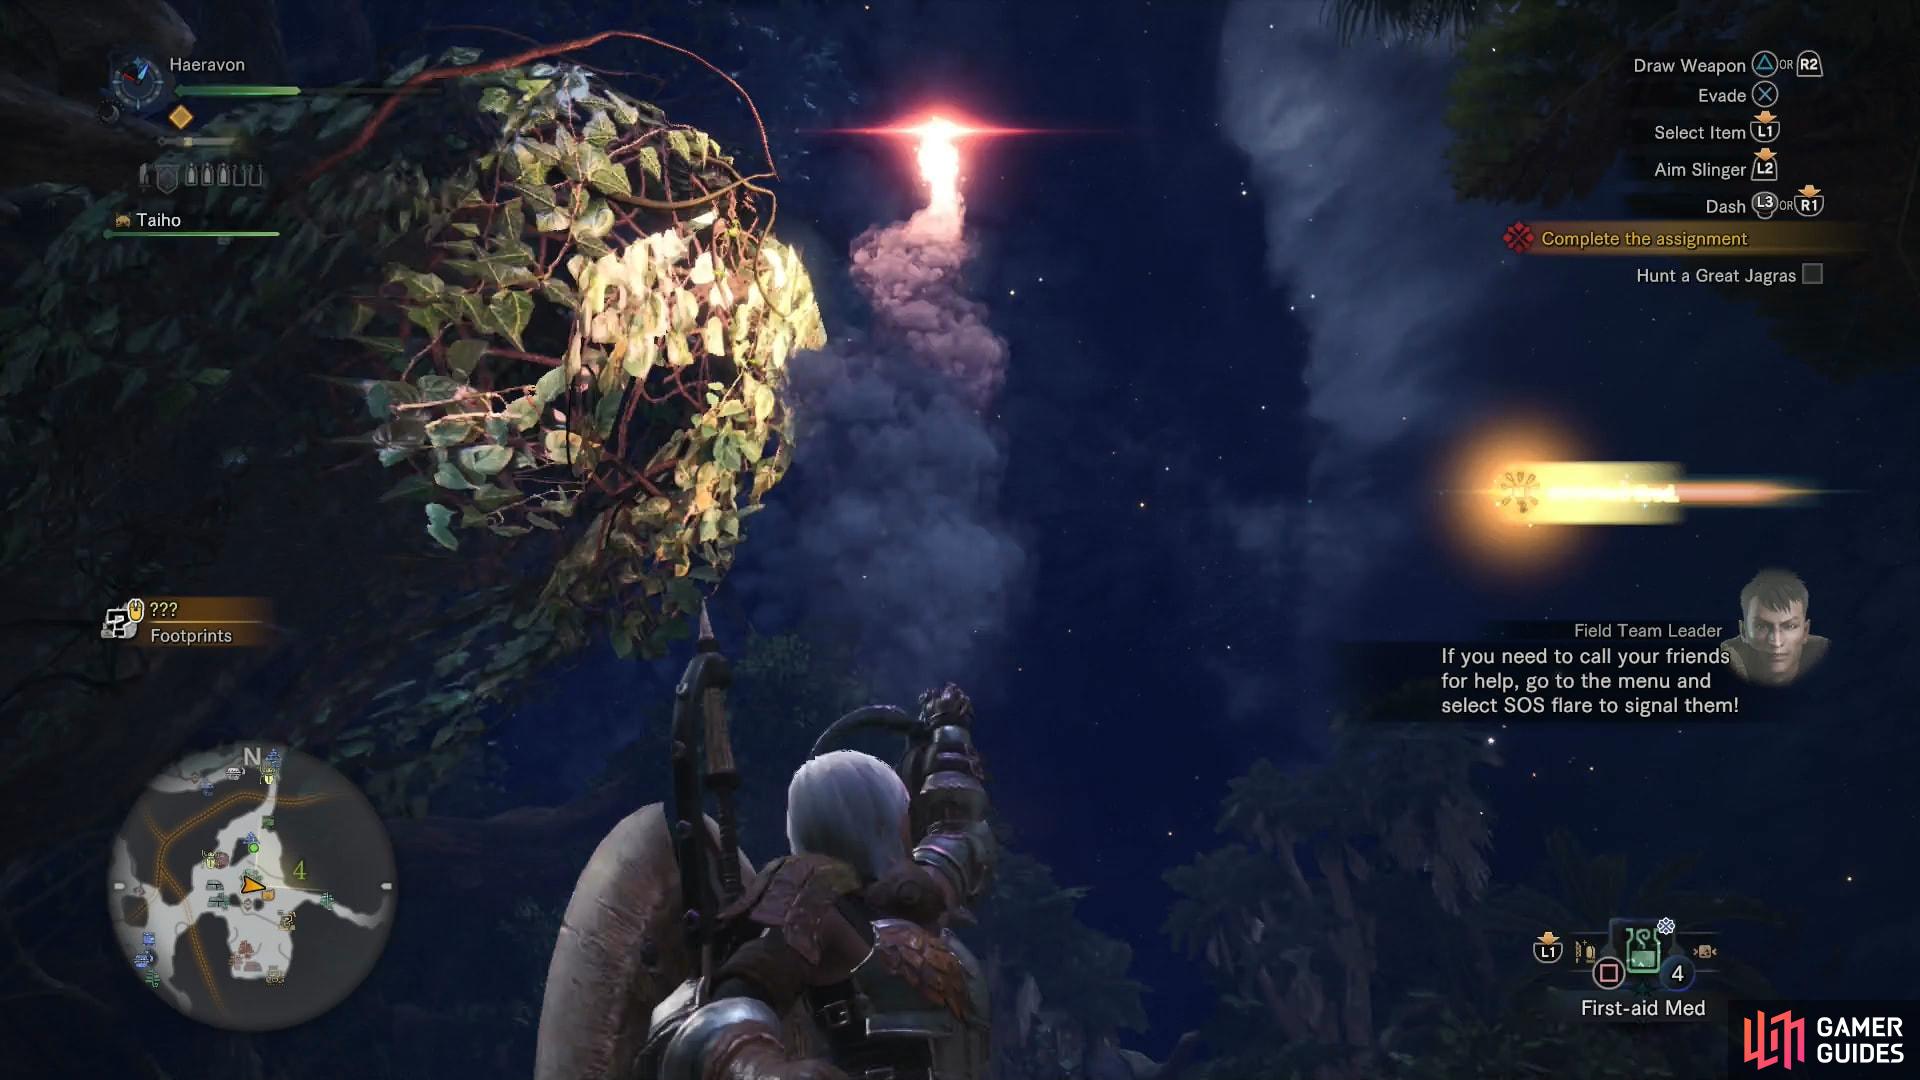
This quest flows seamlessly with A Kestodon Kerfuffle, beginning immediately after the completion of the aforementioned quest. The objectives and rewards are different, but you won’t be refunded any of the time limit you may have used up during A Kestodon Kerfuffle, nor will you have obtained a second set of supplies in your Supply Box. You can split this quest up more by returning to camp after A Kestodon Kerfuffle and returning by picking the quest The Great Jagras Hunt normally. Also, the he previous hunt couldn’t be completed in multiplayer, but this one can. If you don’t return to Astera between quests, be sure to use your Whetstone to sharpen your weapon, as the Field Team Leader will instruct, and if you want help, use an SOS Flare.
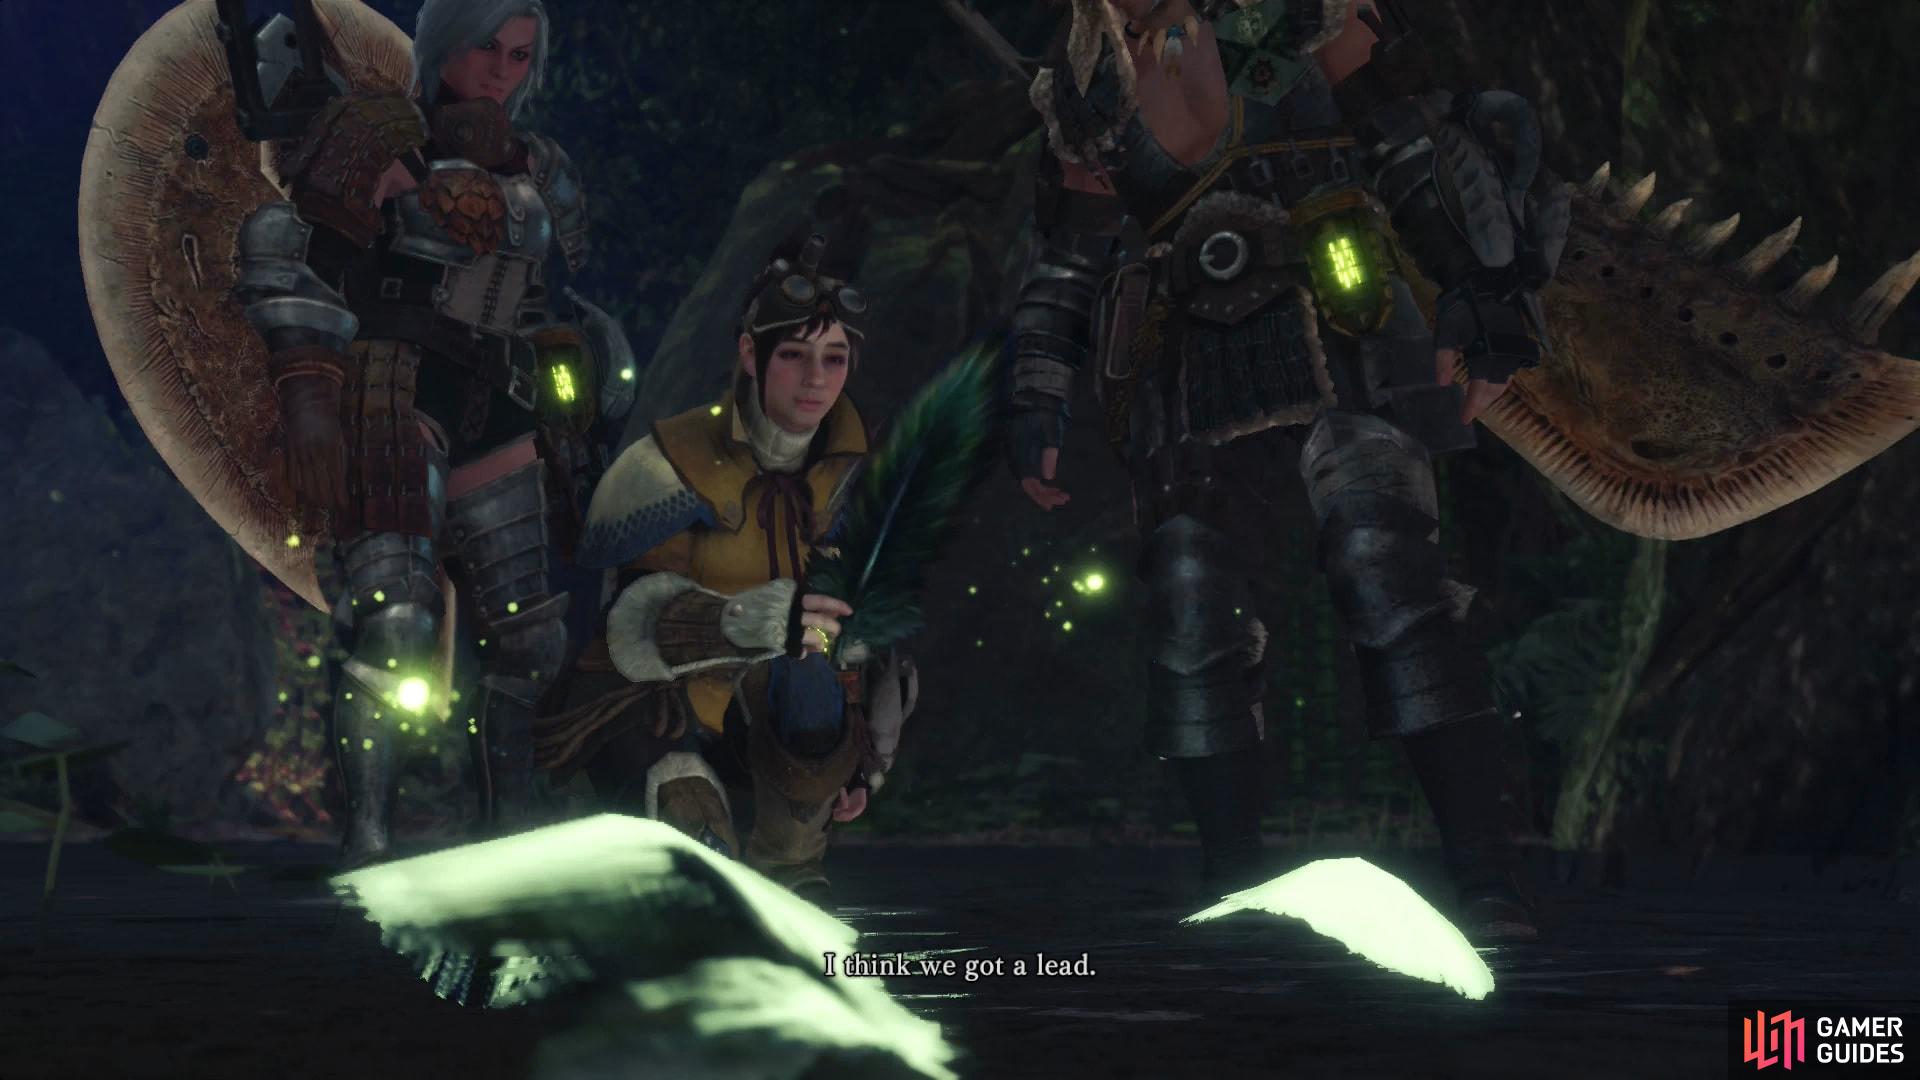
(1 of 2) Find various signs of the Great Jagras’ passage to gain Research Points and boost your Scoutfly Level
Find various signs of the Great Jagras’ passage to gain Research Points and boost your Scoutfly Level (left), If you feel you may need help for any hunt, don’t be afraid to use your SOS Flare to summon aid (right)
The Whetstone is permanently equipped on your Item Bar, just move the D-Pad left or right to reach it and press [Square]/[X] to use it. It takes a bit of time to sharpen your weapon, however, so keep that in mind before you’re tempted to use it in the middle of a fight, and be wary of the sharpness of your weapon. Encounters with larger monsters will certainly require you to resharpen your weapon - perhaps several times - before you emerge victorious.
A dull weapon deals less damage, and each weapon has its own sharpness levels, denoted by a multi-colored “Sharpness” bar. The basic weapons you currently have access to tend to have three sharpness colors - red, orange and yellow - on their sharpness bar, indicating the least sharpness/damage (red) to most sharpness/damage (yellow). More advanced weapons may add more colors, hence having higher degrees of sharpness, and the size of the colors on the sharpness bar may vary - the shorter the color, the fewer hits it’ll remain at that sharpness level. When in the field, you can monitor the sharpness of your current weapon by looking at the sword icon below your character’s Health and Stamina bars. Ranged weapons do not have sharpness.
To use the SOS Flare and summon online support, press the [Options]/[Menu] button, scroll to the “Quest” tab, and pick the option “Fire SOS Flare”. The first time you do this you’ll earn yourself a shiny new trophy.


Hunting the Great Jagras
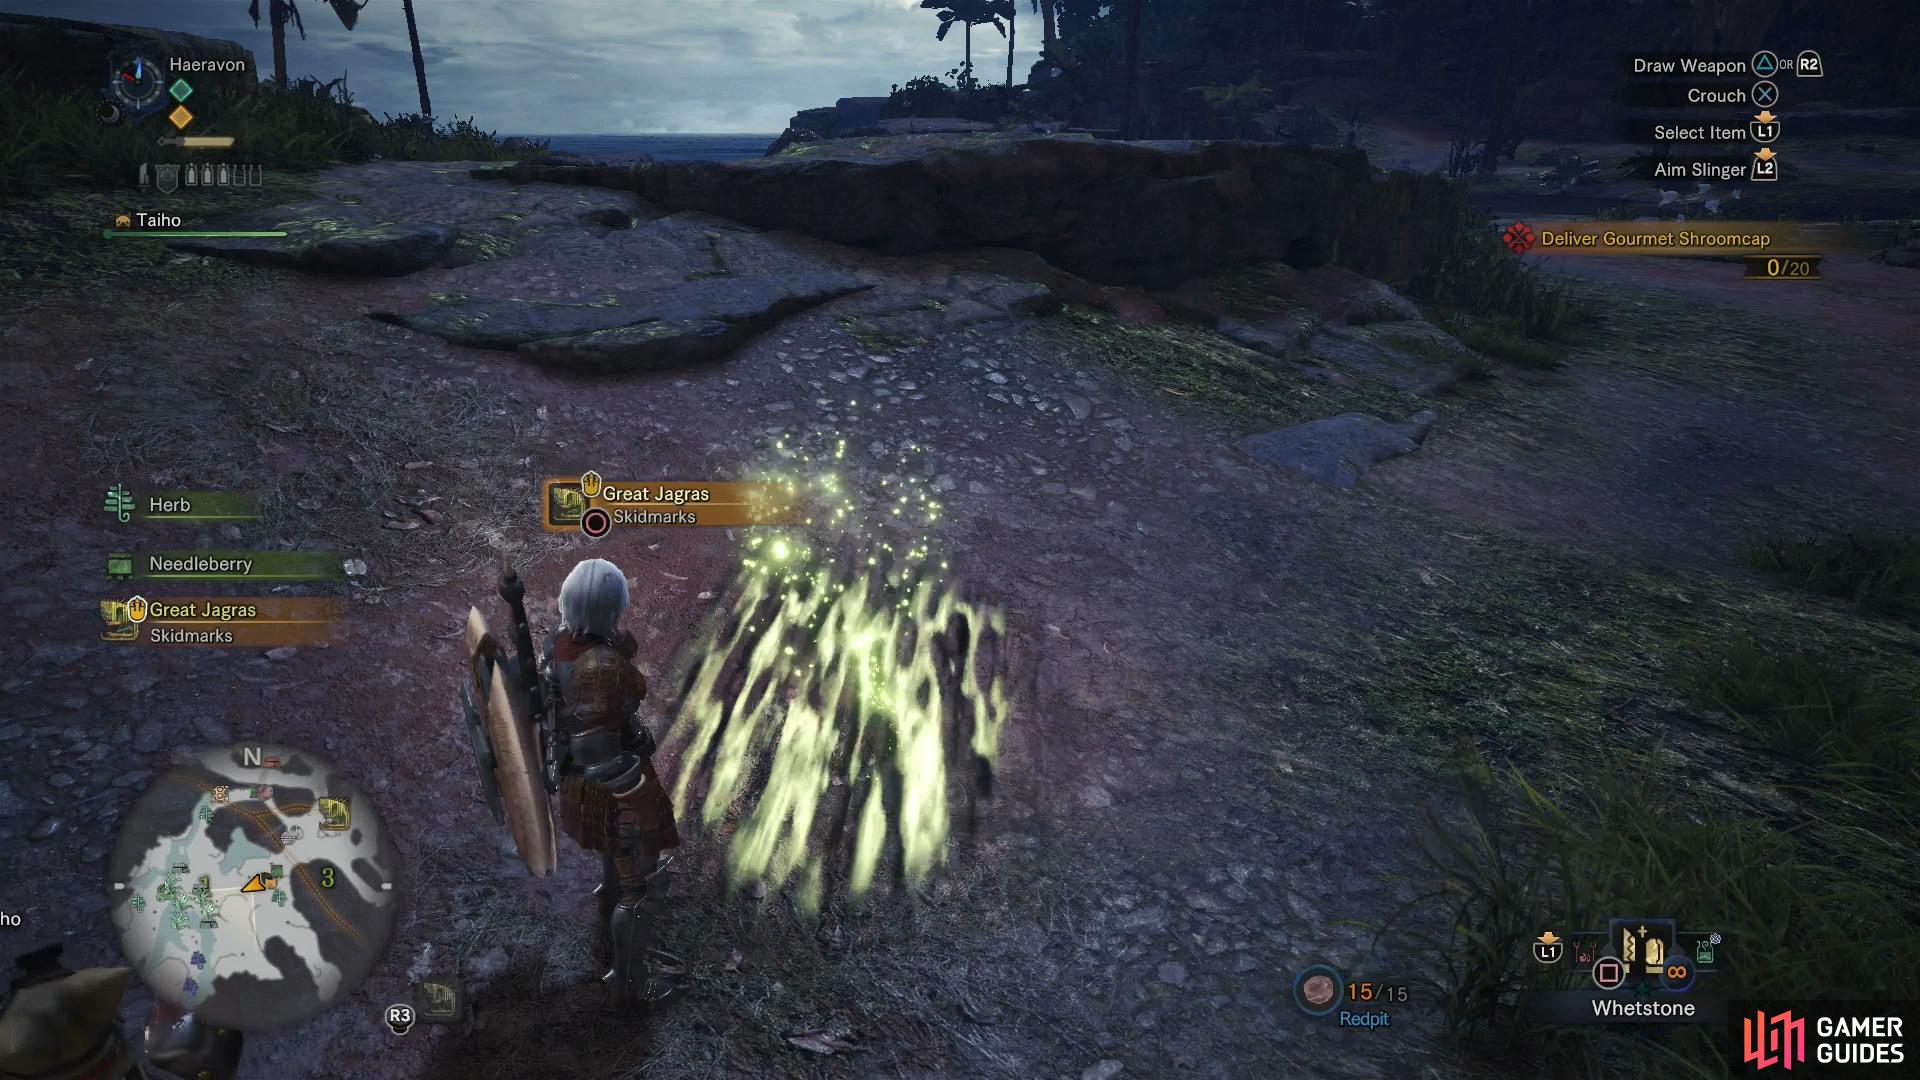
With all that out of the way… it’s time to hunt! The starting location of the Great Jagras will vary depending on how you’re approaching this quest. If you’re resuming from A Kestodon Kerfuffle, search for signs of the beast north of beach on which you fought the larger group of Kestodons. If you returned to Astera between quests, head north from the Southwest Camp to find tracks along the western edge of the river-crossed lowlands.
Once you find a track, investigate it to gain research points, which will be indicated on the right side of the screen along with a progress bar. This progress bar represents your Scoutfly Level, and if you recall, reaching one of the segmented lines on the progress bar will help you track your prey. After examining several clues, you should increase your Scoutfly Level, which will allow you to locate the Great Jagras tracks by following Scoutfly trails to the next track, and as it levels up, you’ll be able to locate the Great Jagras anywhere on your map. The Great Jagras lairs in AREA 2, which can be reached by going north from AREA 1 or AREA 3, but the beast commonly loops his way counter-clockwise from AREA 2 through AREA 1 and AREA 3.
Hunt - Great Jagras
| Elements | . |
|---|---|
| Fire | * * * |
| Water | X |
| Thunder | * * |
| Ice | * * |
| Dragon | * |
| Ailments | . |
|---|---|
| Poison | * * * |
| Sleep | * * * |
| Paralysis | * * * |
| Blast | * * * |
| Stun | * * * |
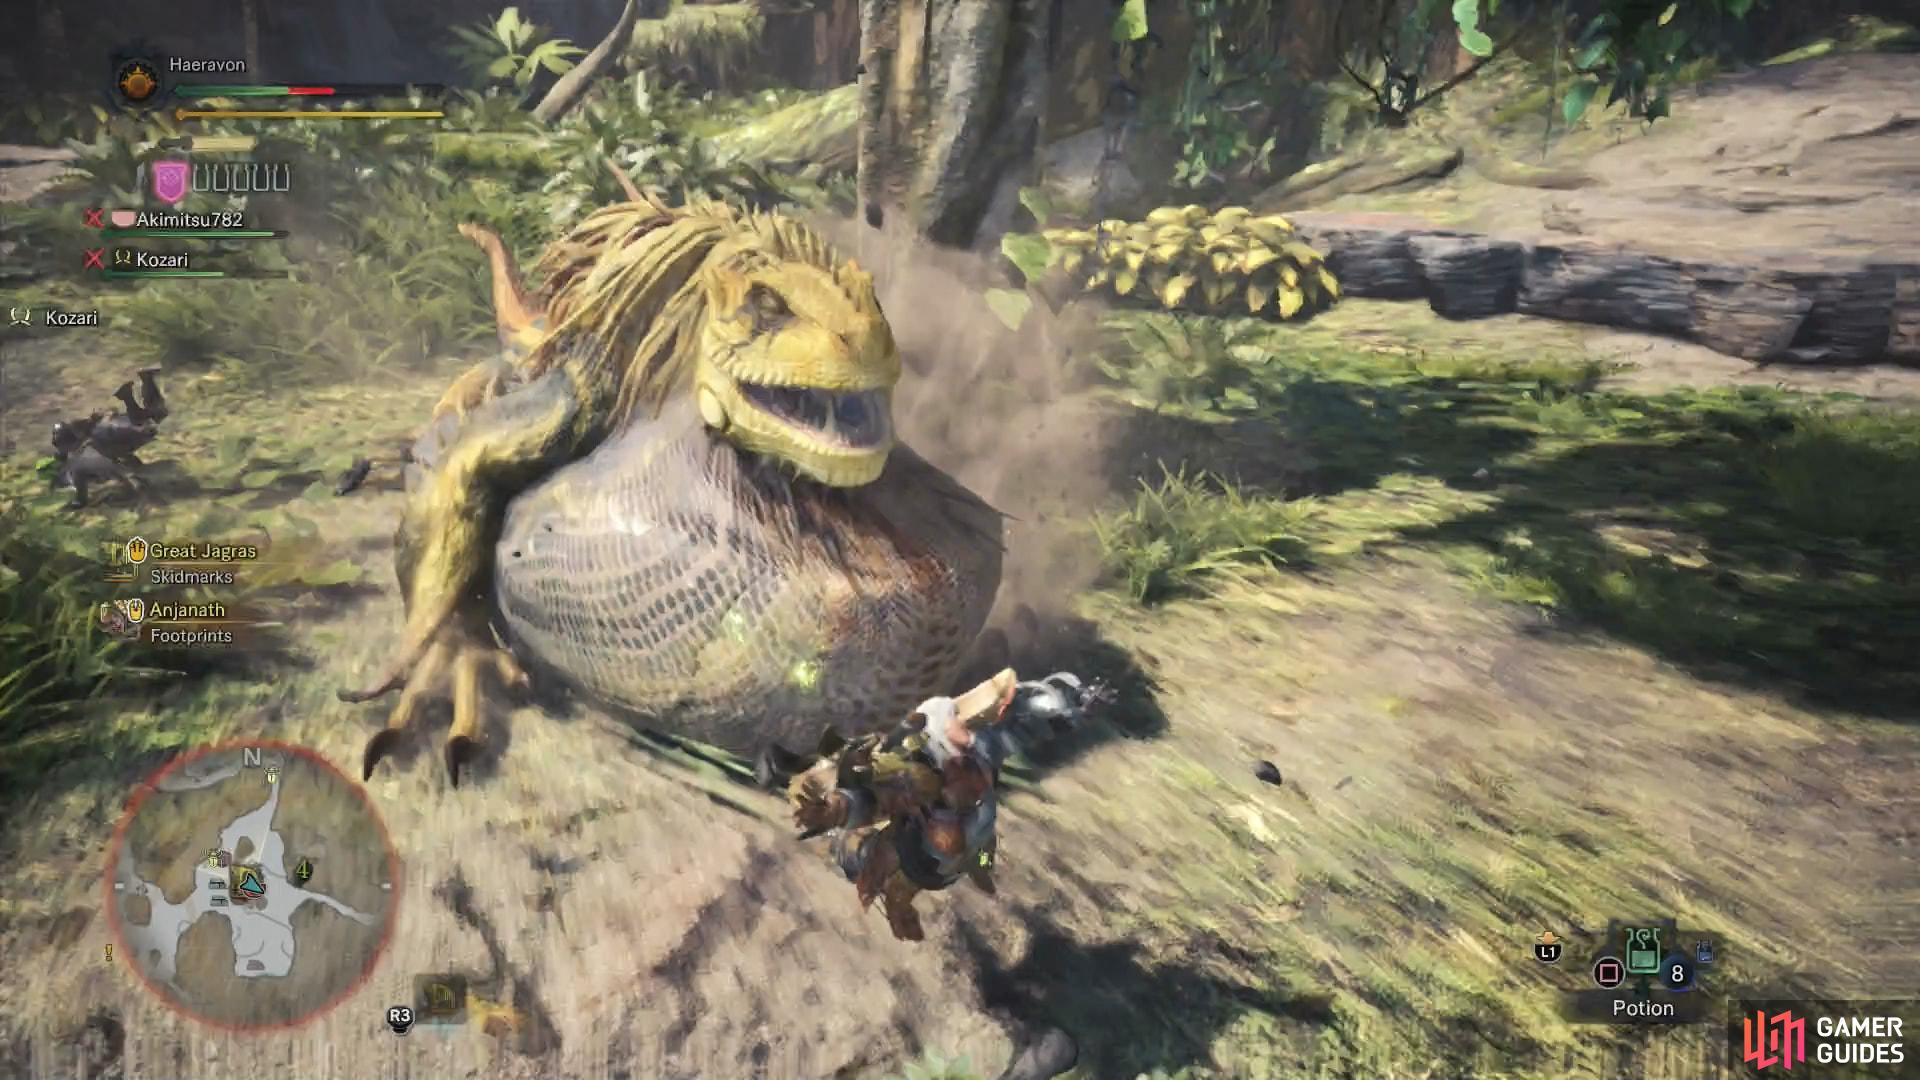
When you’ve located the Great Jagras, there’s little left to do but engage the beast. As the first large monster in Monster Hunter World, it’s reasonably also the weakest, weak enough that you can probably just tactlessly hack your way to victory, but some finesse will serve to make things easier, and it’s wise to start building up good habits early. Later monsters won’t tolerate mistakes like the Great Jagras will.
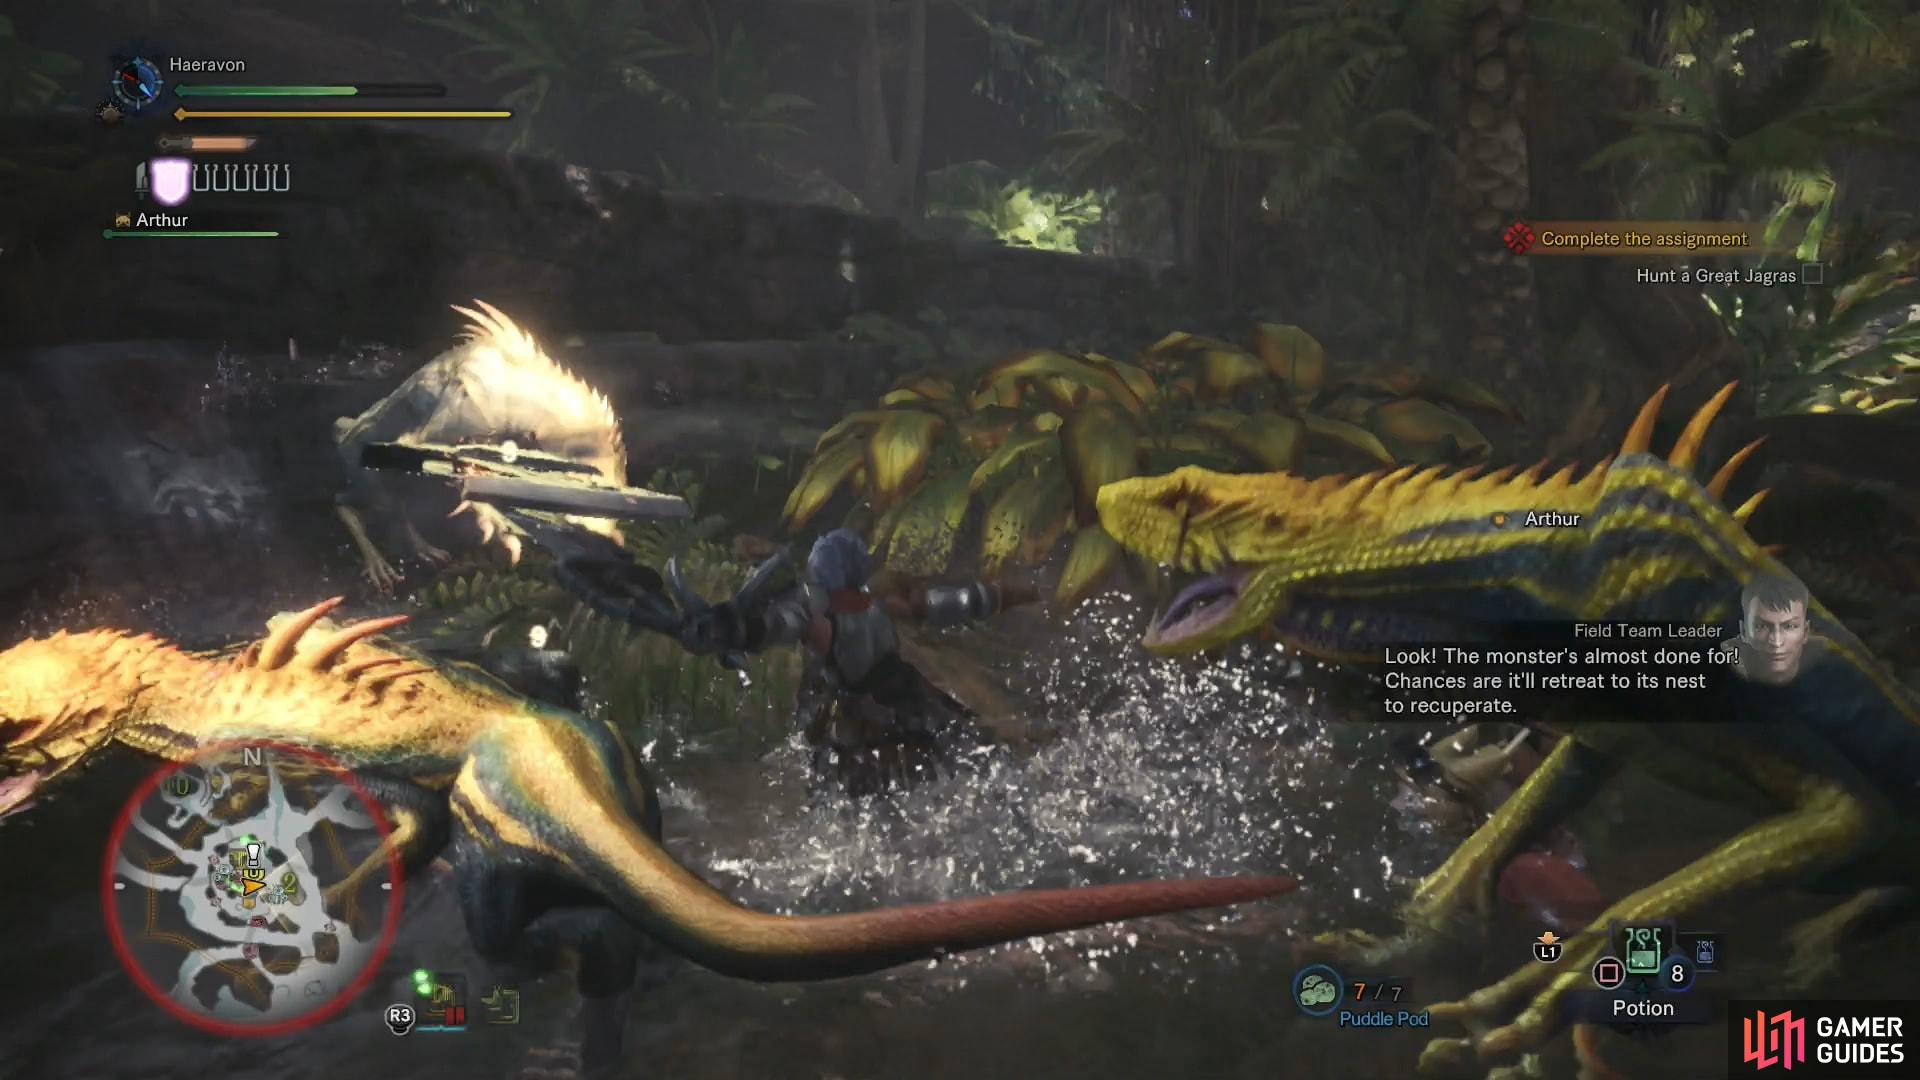
An ideal spot to engage the Great Jagras is in AREA 1, as it’s a relatively open, large area without too many distractions, and you can quickly harvest Vitality plants, which will instantaneously heal you. It doesn’t matter too much where you engage, however, as the Great Jagras will almost certainly flee to its lair in AREA 2 when pressured. Most monsters will withdraw periodically during combat, and for various reasons. Some seek the safety of their lair to recuperate, or because the terrain favors them, while others will move around more indiscriminately, hoping to draw other monsters into the fray. If your Scoutfly Level isn’t high enough, you may have to delay the encounter to search for more tracks, but if you’re diligent about boosting your Scoutfly Level before you engage the first time, you shouldn’t have to bother with this later. This is also a good time to heal up, sharpen your weapon, and perhaps grab a few handy materials lying around. Don’t take too long, however, as the beast may recover if allowed too much time to itself.
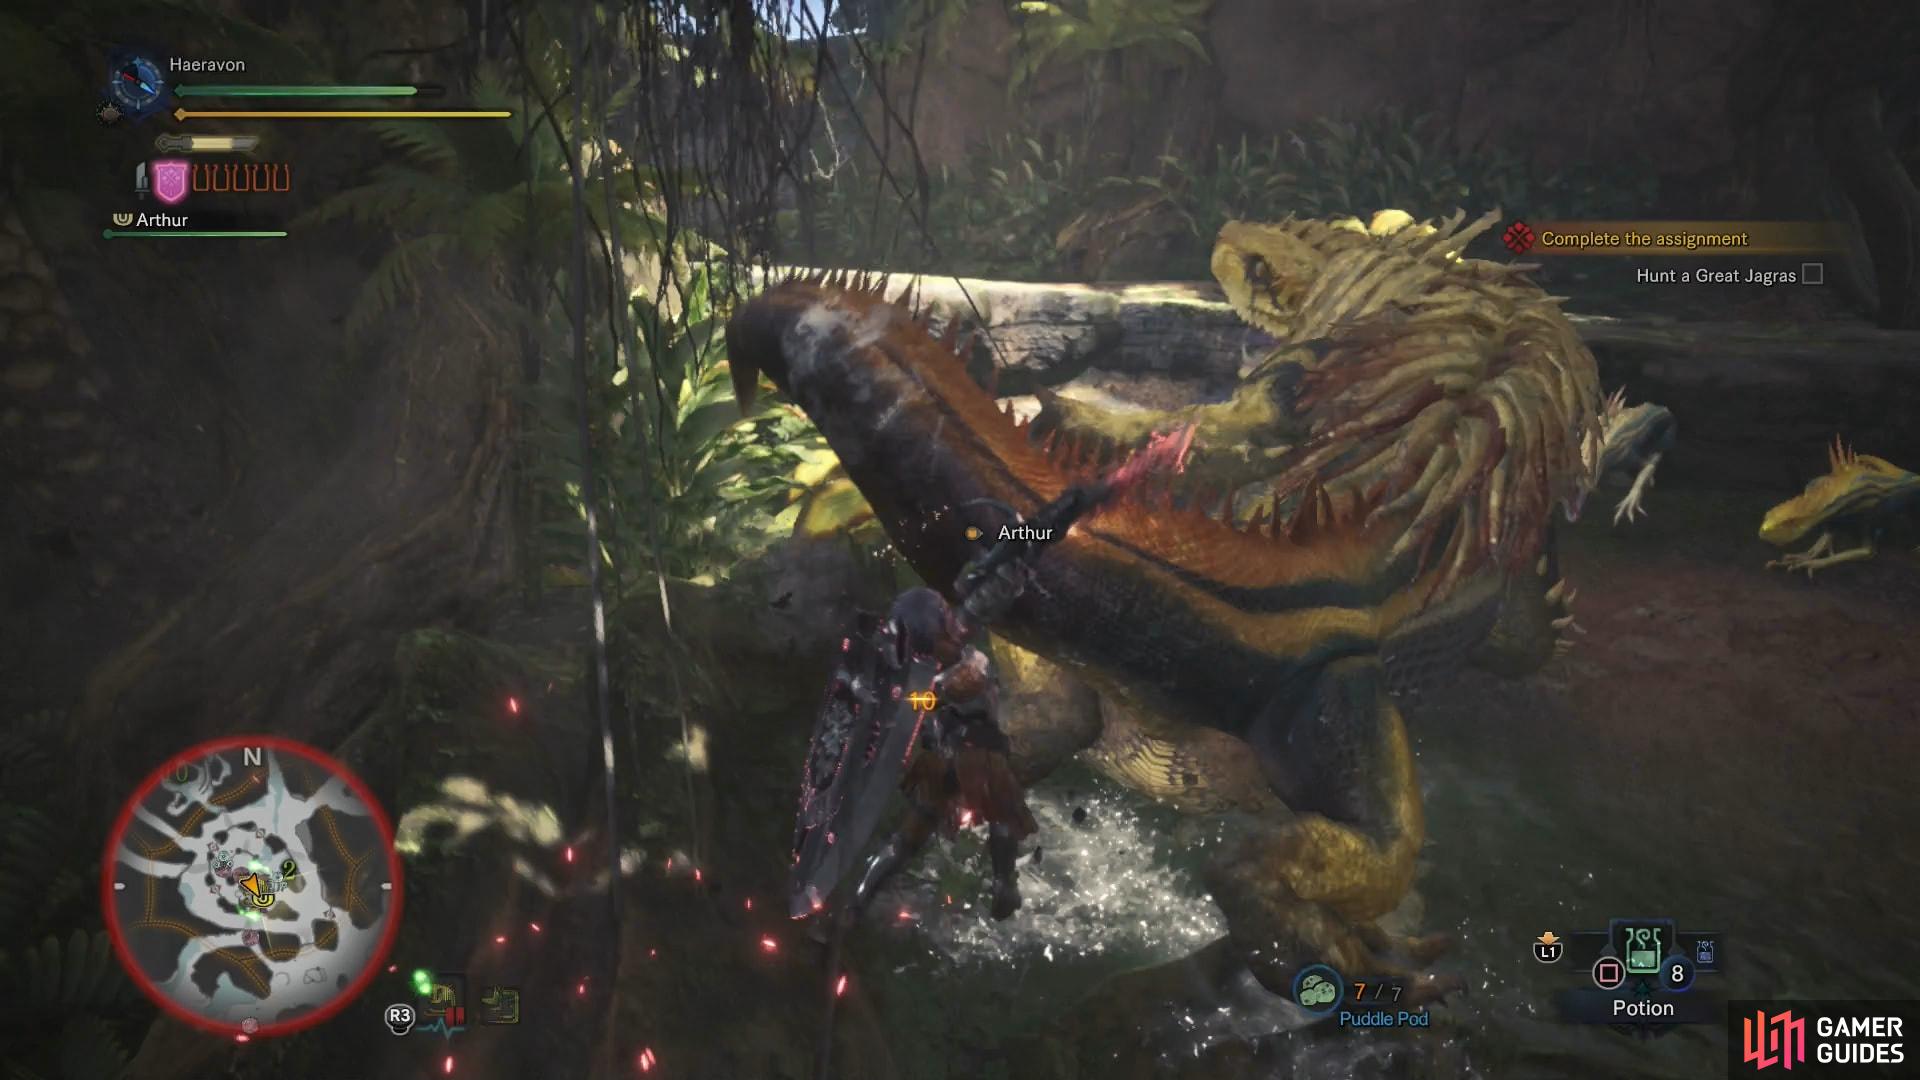
(1 of 2) The Great Jagras’ offense is mostly front-oriented, including various bites and lunges
The Great Jagras’ offense is mostly front-oriented, including various bites and lunges (left), but it can also deter attackers from the rear with tail sweeps (right)
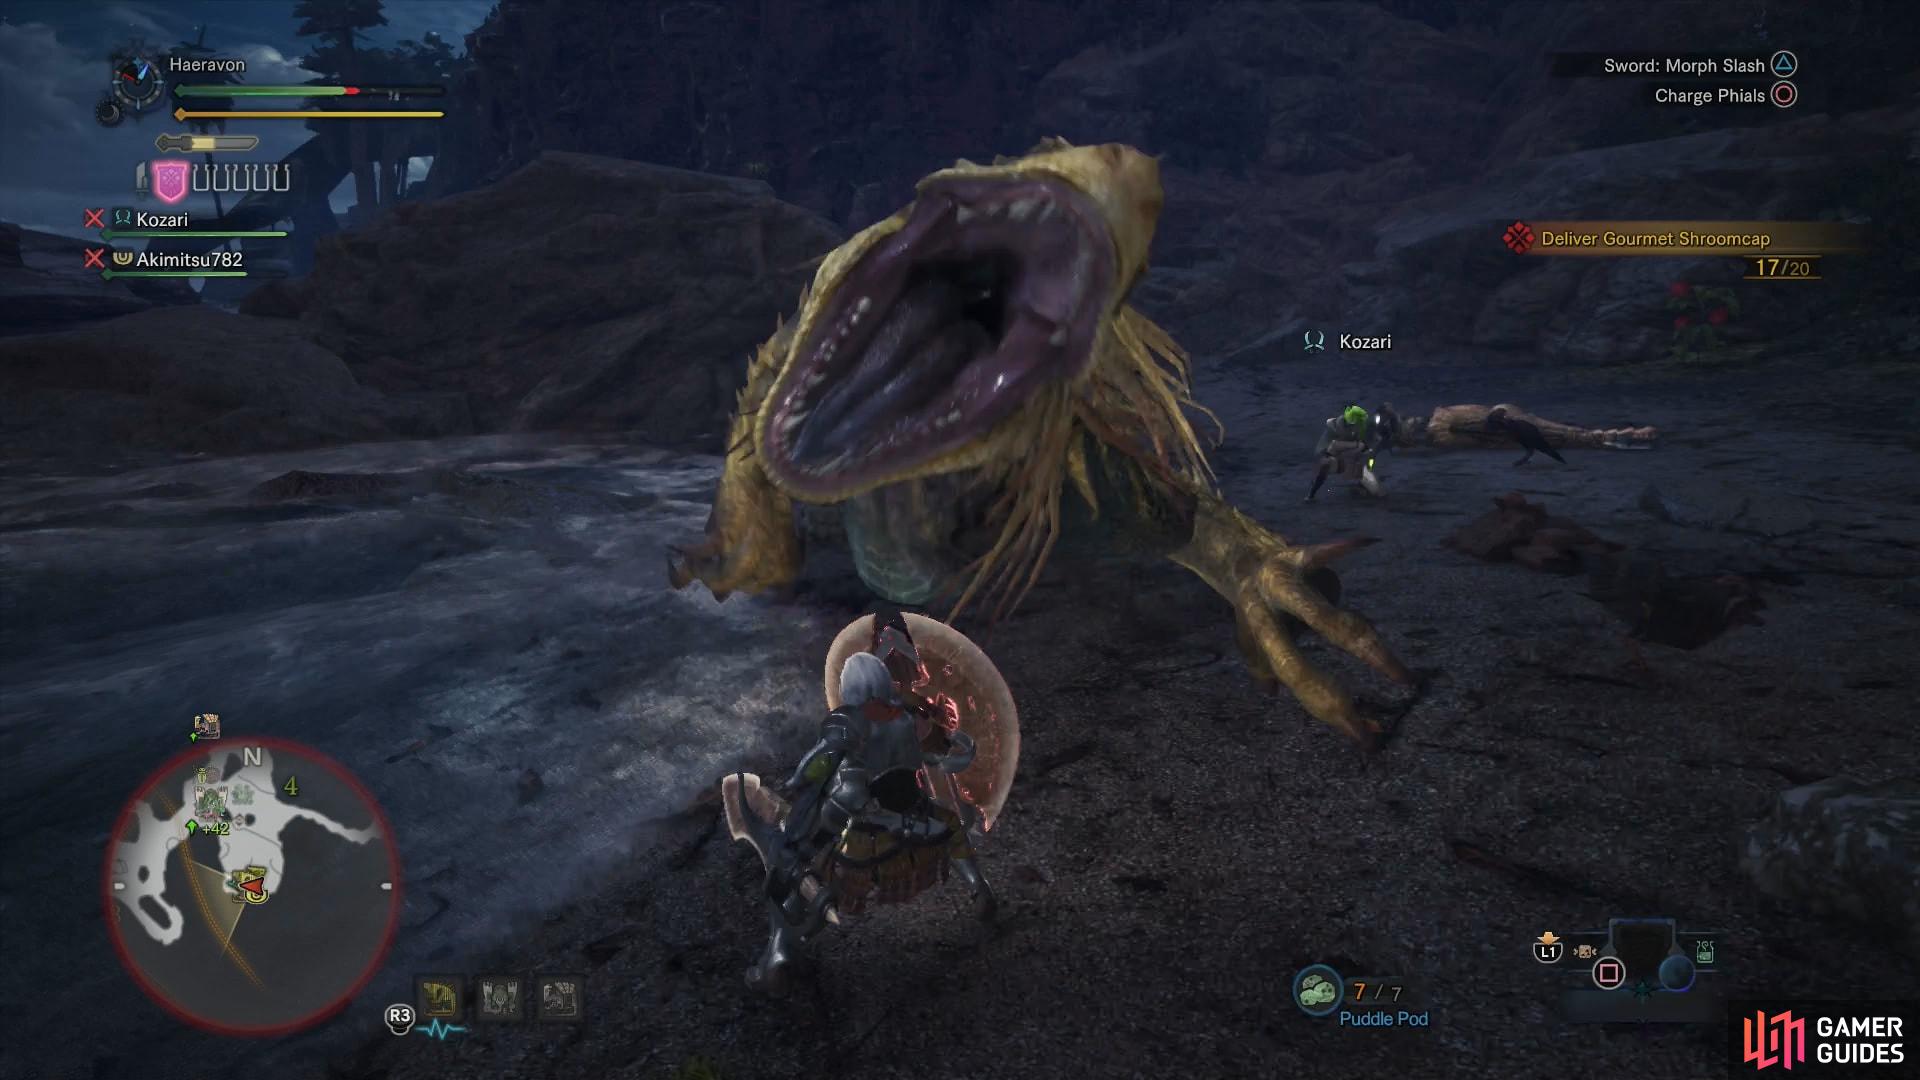
The Great Jagras’ lair adds another complication to the battle - lesser Jagras, which will both help the Great Jagras in its fight, and provide it with a snack, in a pinch. Generally, the Great Jagras isn’t dynamic enough of a foe to cause too much trouble, however, allowing you to kill or drive off its subordinates. It may also eat other meals before or during the fight, which will increase its power. Dealing enough damage to it - especially by attacking its distended stomach - may cause it to regurgitate its meal.
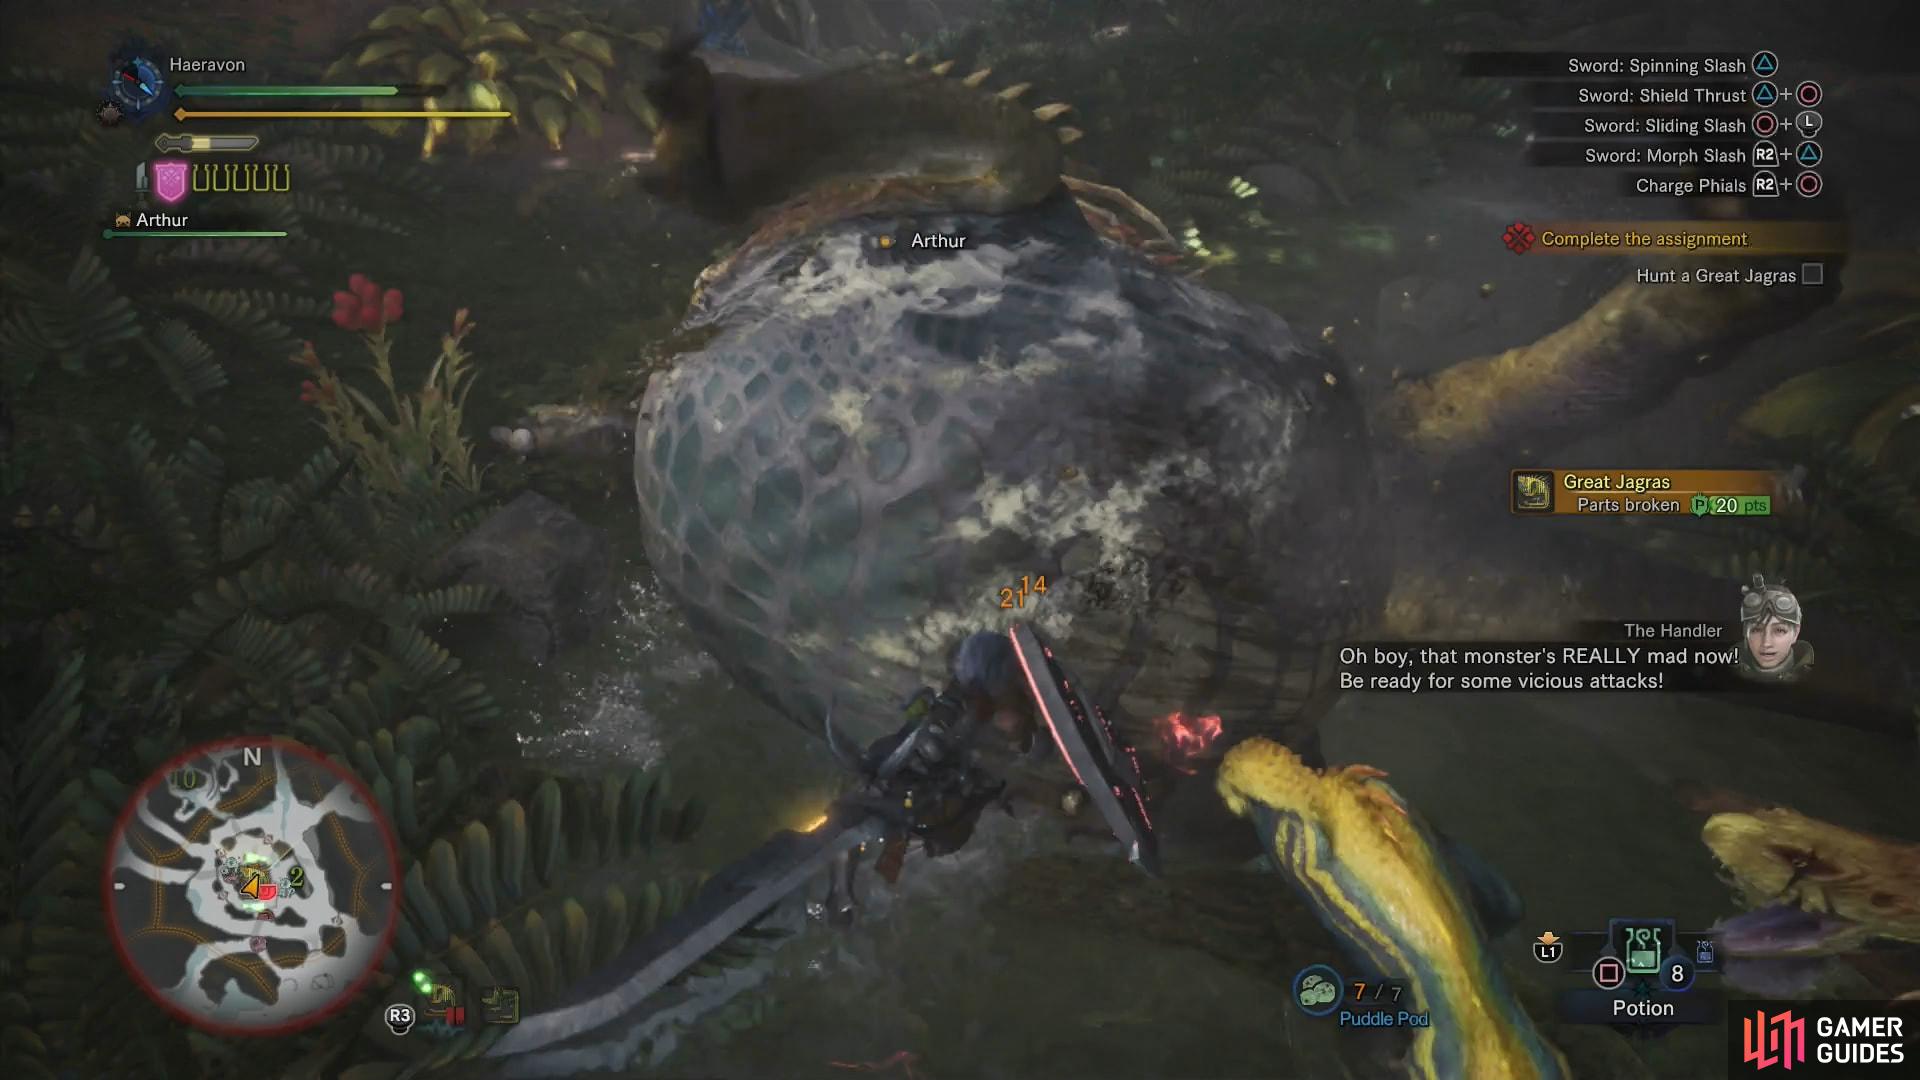
(1 of 2) When engorged with its last meal, the Great Jagras will be able to use different, more powerful attacks
When engorged with its last meal, the Great Jagras will be able to use different, more powerful attacks (left), You can cause it to regurgitate its meal by striking its vulnerable belly (right)
While it can be wounded by striking almost anywhere, the head and stomach are especially vulnerable, as are, to a lesser degree, its front limbs, all of which are breakable. While it’s unlikely you have much of a way to affect this, it is weak to all status ailments, fire element damage, and to a lesser degree, thunder and ice damage. It’s strong against water damage.
| Carves | Frequency |
|---|---|
| Great Jagras Scale | * * * * * |
| Great Jagras Hide | * * * * |
| Great Jagras Mane | * * * |
| Great Jagras Claw | * * * * |
| Rewards | Frequency |
|---|---|
| Great Jagras Hide | * * * * * |
| Great Jagras Scale | * * * * |
| Great Jagras Mane | * * * |
| Great Jagras Claw | * * |
| Iron Ore | * * * |
| Monster Bone S | * * * |
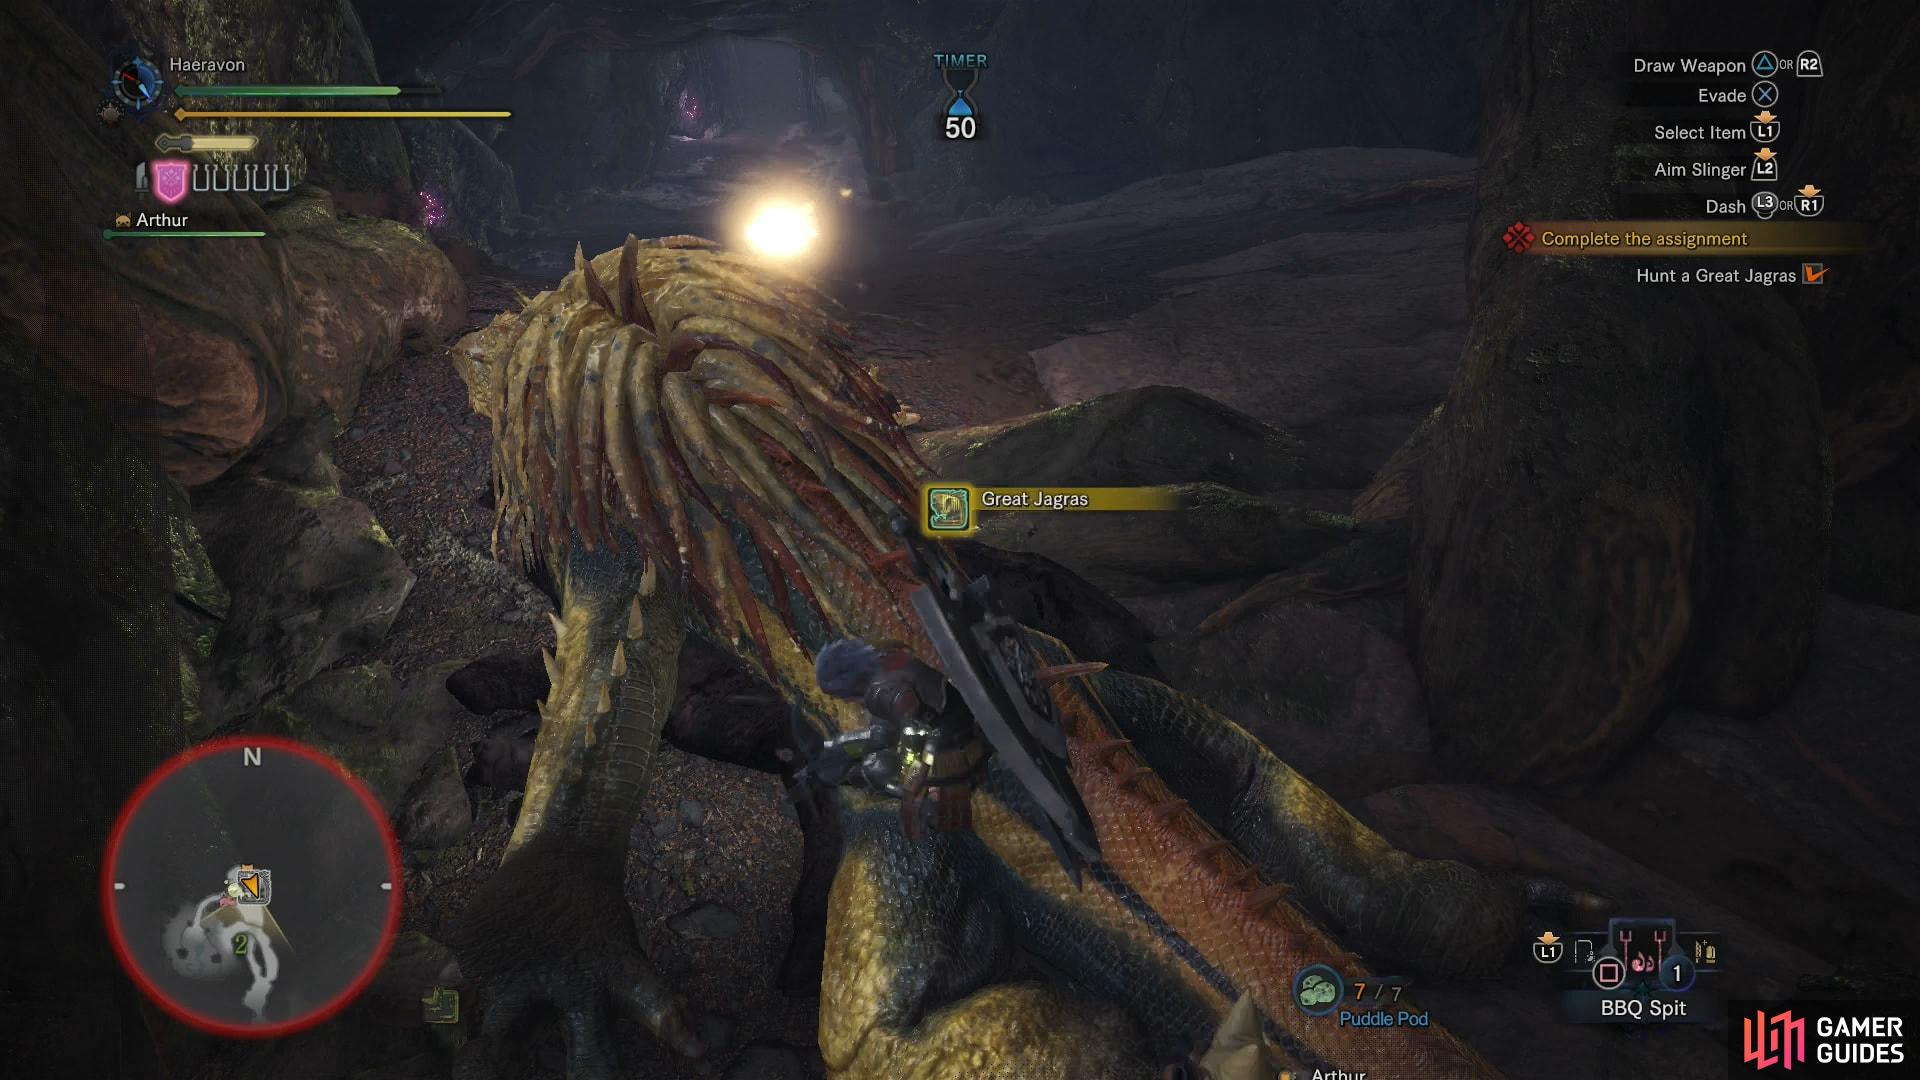
(1 of 2) If the Great Jagras retreats to its lair, you’ll have to deal with numerous lesser Jagras as well
If the Great Jagras retreats to its lair, you’ll have to deal with numerous lesser Jagras as well (left), After slaying the Great Jagras, be sure to carve materials out of its corpse (right)
Defeat and carve the Great Jagras (you can hold down [Circle]/[B] to more quickly gather all the items when harvesting/carving), after which the assignment will automatically end. In the scenes that follow, The Handler will discover some signs of another monster at large in the area, the bird-like Pukei-Pukei, which seems agitated… agitation possibly caused by the arrival of Zorah Magdaros. This time, however, the Field Team Leader will suggest withdrawal, rather than encourage you to fight yet another large monster.
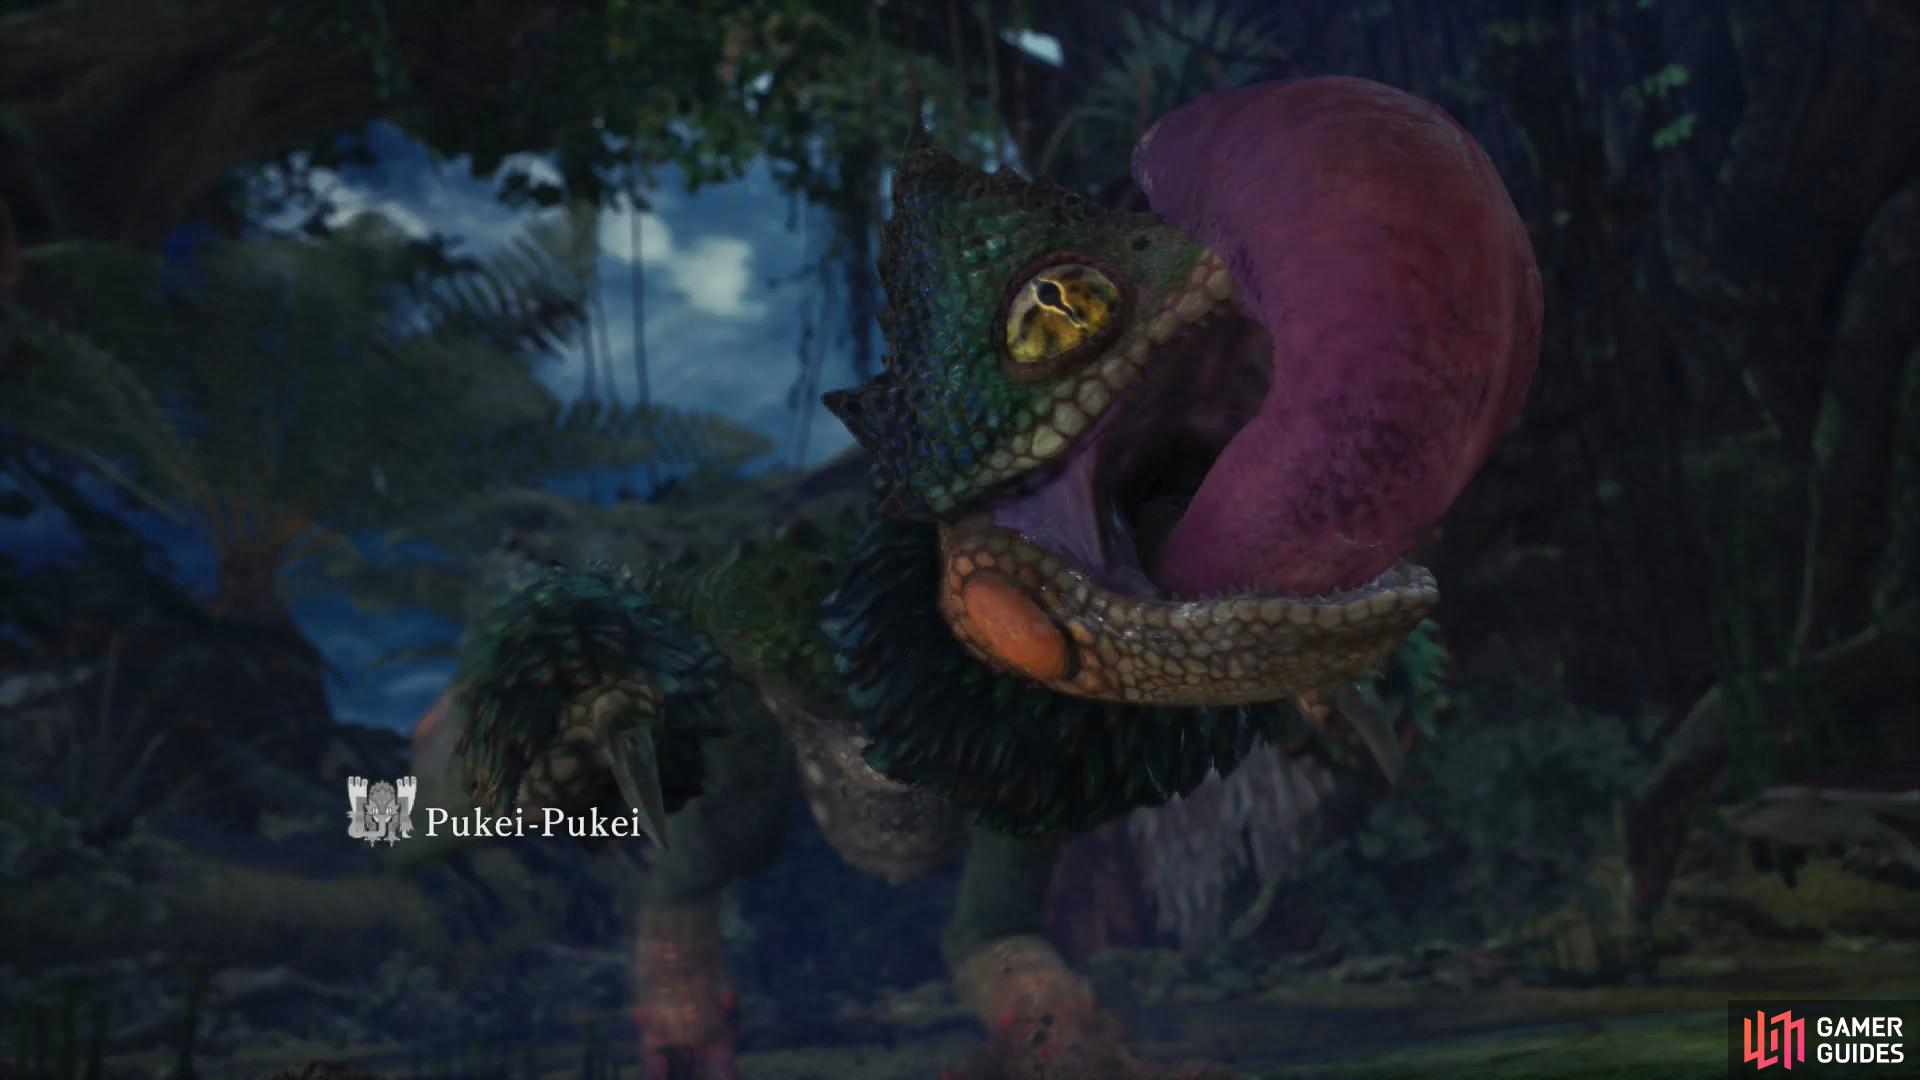
(1 of 2) After the Great Jagras hunt, your companions will find more monster tracks
After the Great Jagras hunt, your companions will find more monster tracks (left), which ultimately lead them to discover a rather agitated Pukei-Pukei (right)
Capturing and Bounties
When you’re back in Astera, you’ll have a chat with the Field Team Leader, who will express a desire to investigate anything concerning Zorah Magdaros… including whatever upset the Pukei-Pukei. Unfortunately, an angry Pukei-Pukei is too great a danger to expose researchers too, and it dwells rather deep in the Ancient Forest. To secure the area, you’ll need to get rid of the monsters in the area and expand the Commission’s operational reach in the Ancient Forest, both of which can be facilitated by setting up another camp in the Ancient Forest.
Before rushing off on your next assignment, there’s more to see and do in Astera, to let’s take care of that real quick. First chat with the Commander to get rid of his exclamation point (all he does is babble about “conviction”) then head northwest to find a Smart Biologist north of Astera’s western gate. He’ll talk to you about capturing monsters, which is beneficial to the researchers, promising greater rewards for the feat… plus, capturing a monster will shorten the fight somewhat.
To capture monsters, you’ll need to trap them, and hit them with a tranq item. Traps come in different forms, chiefly Pitfall Traps and Shock Traps, as do tranq items, which include Tranq Bombs and Tranq Knives. You won’t be capturing any monsters quite yet, so just be aware of it, and the mechanics will be covered in detail later, when the materials are more readily available.


(1 of 2) Talk to the Smart Biologist and hell tell you about capturing monsters, promising rewards for doing so
Talk to the Smart Biologist and hell tell you about capturing monsters, promising rewards for doing so (left), The Provisions Manager will tell you about bounties, and suggest setting up a new camp in the Ancient Forest (right)
Finally, talk to the Provisions Manager, who is southeast of the Smart Biologist, north of the Provisions Stockpile. She’ll largely reiterate what you already know, telling you that you’ll need to establish a camp, and chase off any nearby monsters before introducing you to a new feature: Bounties.
Bounties are a form of ongoing quest that you’ll complete as you do other tasks. Usually bounties charge you with killing a specific number of a certain monster, or recovering a set number of materials. There are three types of bounties, Registered Bounties, Critical Bounties, and Limited Bounties. Registered Bounties are your normal fare, with objectives as mentioned above. You can register for up to six at once, and unregistered bounties will not have their progress tracked, although bounties that task you with turning in specific items can be completed any time so long as you possess the requisite items. Critical Bounties are high priority bounties, usually given as part of the main questline. Limited Bounties are timed, online bounties. You do not have to register Critical Bounties or Limited Bounties.
You also have Investigations (talk to the creature running the Resource Center and pick the option “Manage Investigations” - you can review bounties by picking the “Register Bounties” option), which function like optional quests, but sometimes with different conditions (different max player limit, time limit, and faint limit). They must be registered, but you can have up to fifty of them active at once so it’s not much of a limitation, but like quests, you can only pursue them one at a time. Once registered, you can actually embark on them via the Quest Board, where they’ll appear under the “Investigations” tab. Each Investigation can be repeated (or attempted, as the case may be) a set number of times, as denoted under the “Left” category in the “Manage Investigations” tab.
Successfully completing an investigation will earn you bonus rewards as indicated under the “Rewards” tab, where you should see between two and five icons. The quality of these rewards vary according to the icon’s color - bronze, silver and gold - with bronze being the least valuable and gold being the most valuable. Each icon can reward you with one type of material, although you may get multiple items of that type from a single icon. Bronze icons generally drop more common items, and hence are mostly useful for gathering numerous common component quickly, while silver and gold have a higher chance than normal to bestow upon you that monster’s rarer drops… sometimes significantly higher. If you really need a gem or plate or some other rare (one star) treasure, silver and gold investigation rewards are the way to go.
The investigation’s rewards are, of course, related to the task at hand, so if you undertake an investigation for hunting a Great Jagras, for example, the bonus rewards you’ll get will likely be Great Jagras material. You have a chance to randomly unlock investigations when you slay, capture or break monster parts, or when you examine monster tracks. As a general rule of thumb, just check back after every assignment, quest or expedition to see if any new investigations were unlocked.
Bounties are a fine way to earn extra Armor Spheres while you attend to other tasks, while investigations are the best way to accumulate monster materials. Both will largely be left up to your own discretion.
With that, you’re done with all the new business in Astera. Time to turn your attention to the next task at hand - your first exhibition! Expeditions are like normal quests/assignments, save they’re more open-ended and have no time limit or faint limit. You can feel free to hunt and harvest as you wish, although this first one is somewhat odd in that, as part of the main quest, it does have an objective, namely the completion of the Critical Bounty Rebuild the Ancient Forest Camp. Exit via Astera’s front (western) gate and the world map will pop up. Simply select the Ancient Forest, pick the Southwest Camp as your destination and be on your way.

 Sign up
No Comments