
Making Tasty Meat!
When you arrive at the Ancient Forest, you’ll get a little tutorial pointing out some differences between normal quests/assignments and expeditions, some of which have been mentioned before (no time limits, no faint limits), while others are pretty obvious (no completion conditions or rewards). You should also be wary, however, that monsters in the area will depart after a set amount of time has passed, which is probably a fair balance considering that otherwise you could kill one merely through attrition. You can exit an exhibition by speaking to the Handler at camp, by selecting the “Return from Expedition” option in the “Quest” tab of the main menu, or by selecting Astera from the world map.
Before you get to work, talk to The Handler and she’ll tell you the wonders of meat! You may have noticed, but the longer you’re in the field, the more your maximum Stamina will diminish. This can be restored by consuming various Stamina-replenishing items, but the most iconic material you can get during expeditions is monster meat.
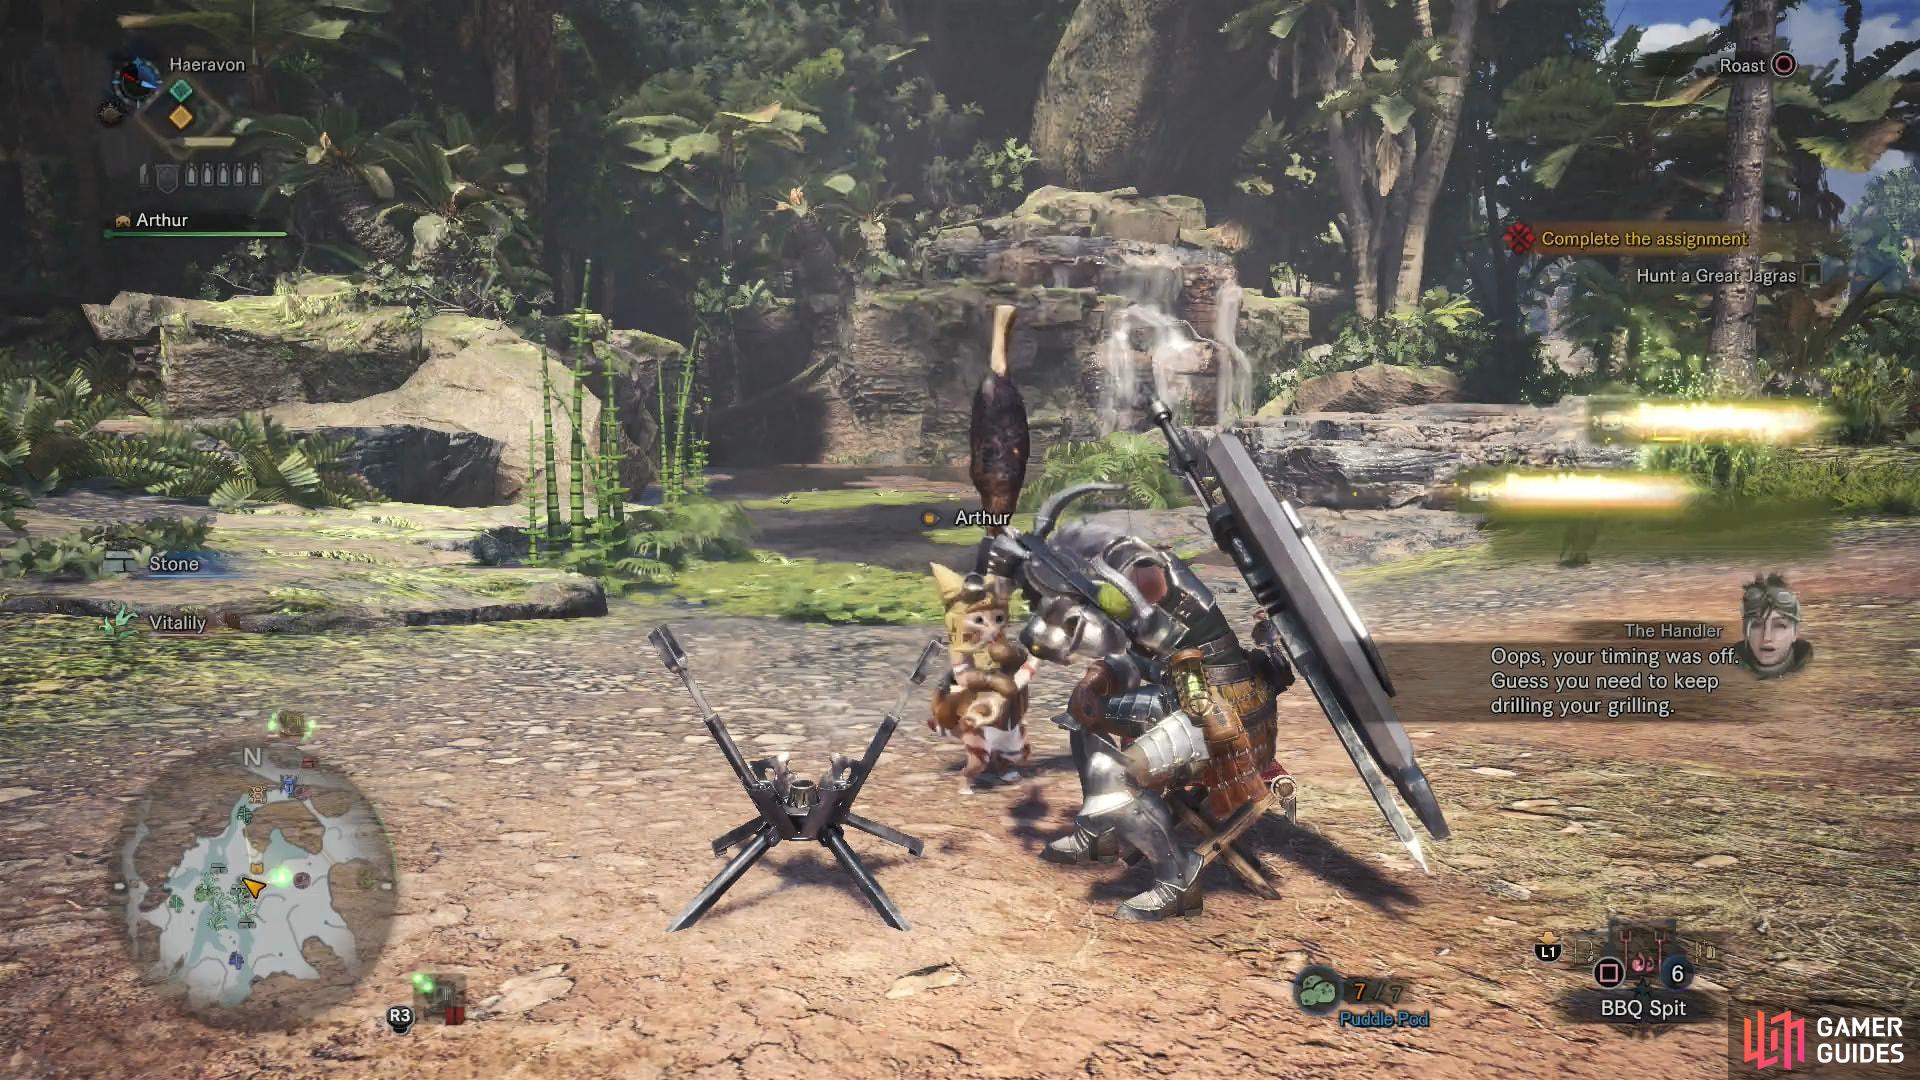
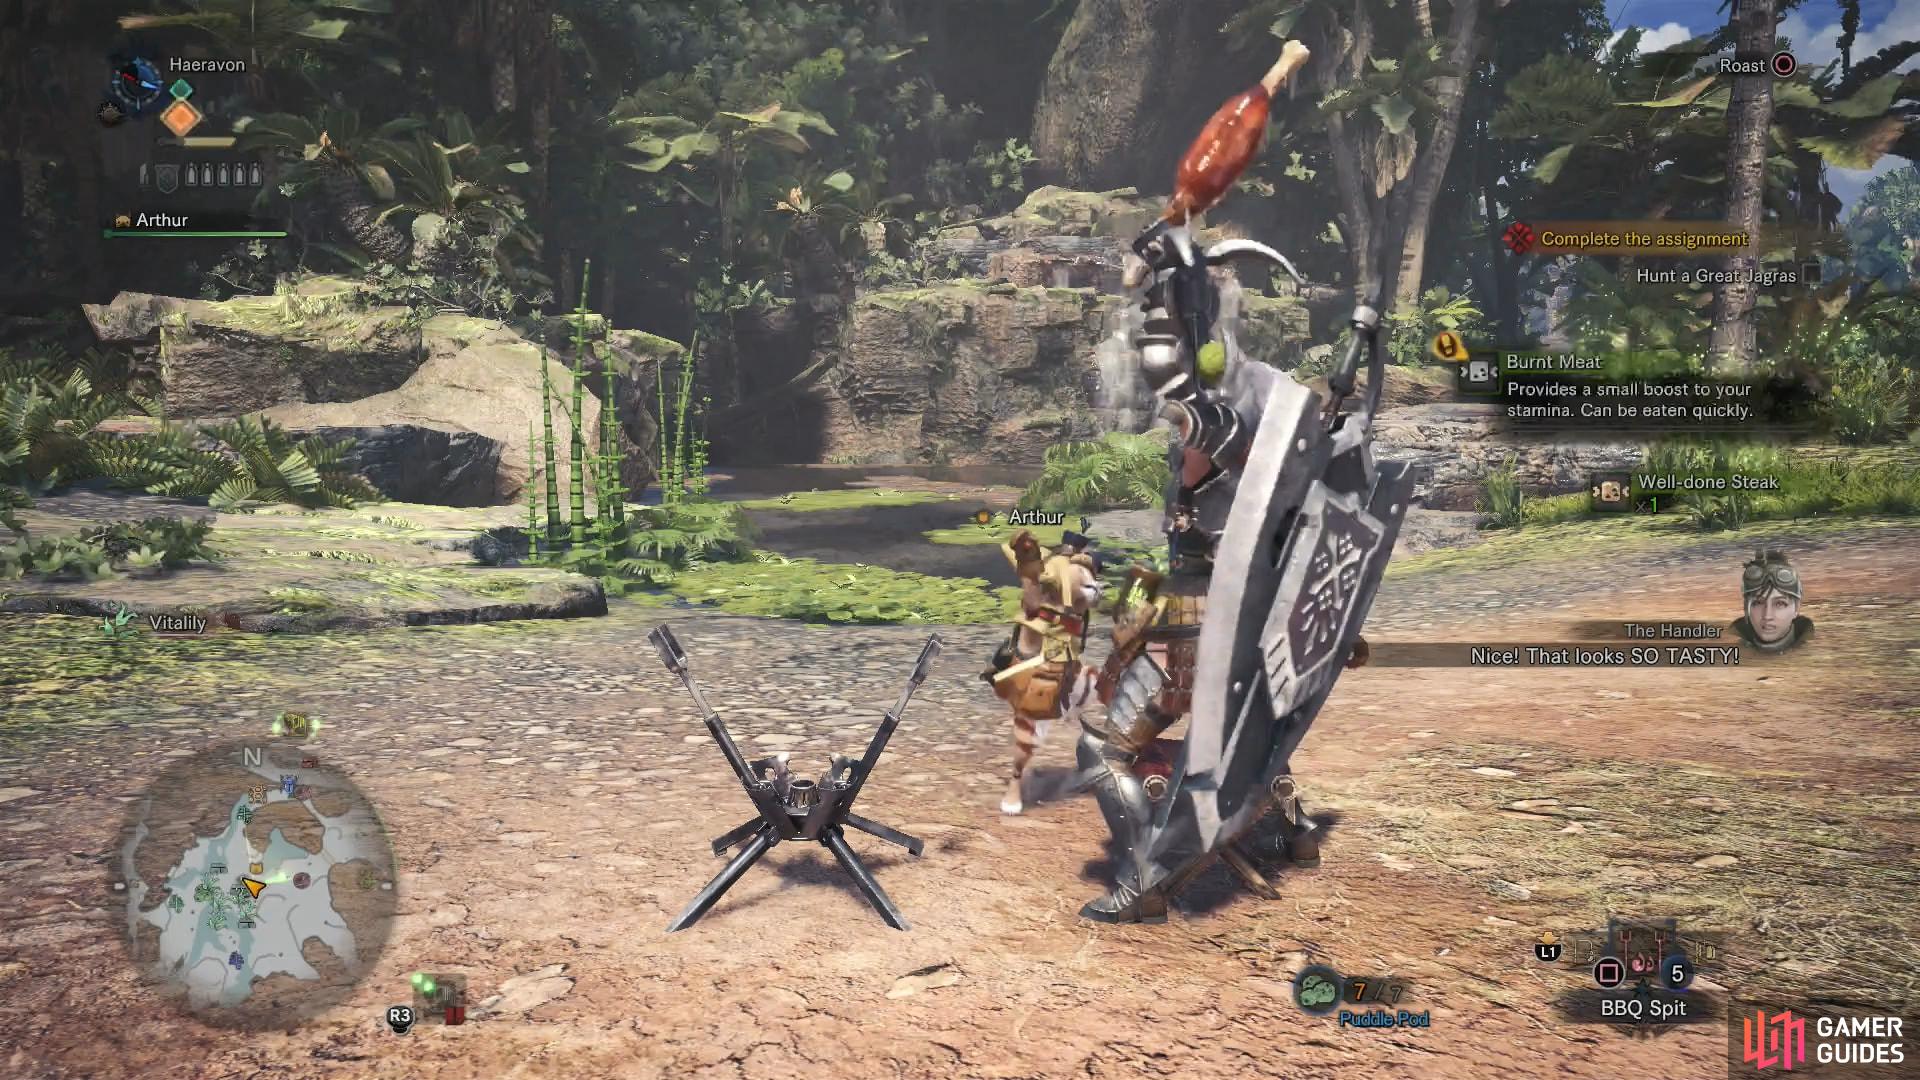
(1 of 2) If you cook Meat too long, you’ll end up with some less-than-desirable Burnt Meat
If you cook Meat too long, you’ll end up with some less-than-desirable Burnt Meat (left), Get the timing down, however, and you’ll be cooking up Well Done Steaks like a pro! (right)
Meat gained from monsters can, with a little cooking courtesy of your BBQ Spit, be turned into the useful Well-Done Steak. A series staple, this tasty treat will increase your maximum Stamina for a while, making it incredibly useful during expeditions… or long hunts, in general. Just watch the color of the meat as it cooks and use the tune that plays help you get the timing down. If you cook the meat too long, it’ll burn, if you don’t cook it long enough, it’ll be raw, and for some odd reason, you can’t just… you know, keep cooking an under-cooked portion. Regardless, after a bit of trial-and-error (and more than a few hunks of burnt meat!) later, and you should be a master! Select the BBQ Spit from your Item Bar using the D-Pad and use it by pressing [Square]/[X]. To stop cooking, press the [Circle]/[B] button.


Tracking Down Grimalkynes
There’s a few more tutorials in the area that need to be attended to before looking for this promising new camp location, so let’s clear those up, first. From the Southwest Camp head north until you reach a fork in the path. From here, you usually turned east to reach the river-crossed lowlands where Aptonoth roam. This time, however, continue north and drop down a ledge to find a Lynian Researcher. Talk to the little bearded fellow (they’re totally not Gnomes!) and he’ll ask you to help him track down some Grimalkynes. Something to keep in mind for later, to be sure.
This free-form objective might take a bit of doing, but it’ll facilitate exploration and provide an excuse to point a few things out, so let’s go look for these Grimalkynes. Around the Ancient Forces you’ll find strange doodles, which for all intents and purposes act like a normal monster trail in that Scoutflies will highlight them, you can examine them, and they’ll give you Research Points and improve your Scoutfly Level. Once you’ve found enough to reach Scoutfly Level one, open the Ancient Forest map and note that every monster you’ve gained Scoutfly research for - at least, any monster you’ve made research progress on recently - is noted on the bottom left of the screen. Move your cursor down there and you can select which of these monsters you wish to actively track, and this includes the Grimalkynes (although they remain unnamed right now).
Once you get the Scoutfly trail, follow it deep into the forest, being wary of dangerous large monsters like the Anjanath, which is best avoided at this point in time. The Scoutfly trail will lead you to the northern end of the forest, where in AREA 13 you’ll need to ascend a variety of ramps and climb vines to reach the top-most level of the ancient forest (elevation level three on your map). Here you’ll find walkways crafted from vines and branches leading further up to AREA 17, which is home to a variety of useful insects plants to harvest.
When you spot a Grimalkyne, it’ll rush off and your own Palico will encourage you to give chase. There’s no rush, though, so feel free to explore the area, plunder its resources, and follow along at a leisurely pace until you reach a potential new campsite. This will start the delivery request Setting Up Camp: Ancient Forest II, but this one is more complicated than the one you’ve yet to complete in that it takes materials as well to complete, including 1,000 Research Points, an Anjanath Pelt and two Monster Bone L’s. It may be a while before you’ve obtained some of those items. Still, something to keep in mind for the future.
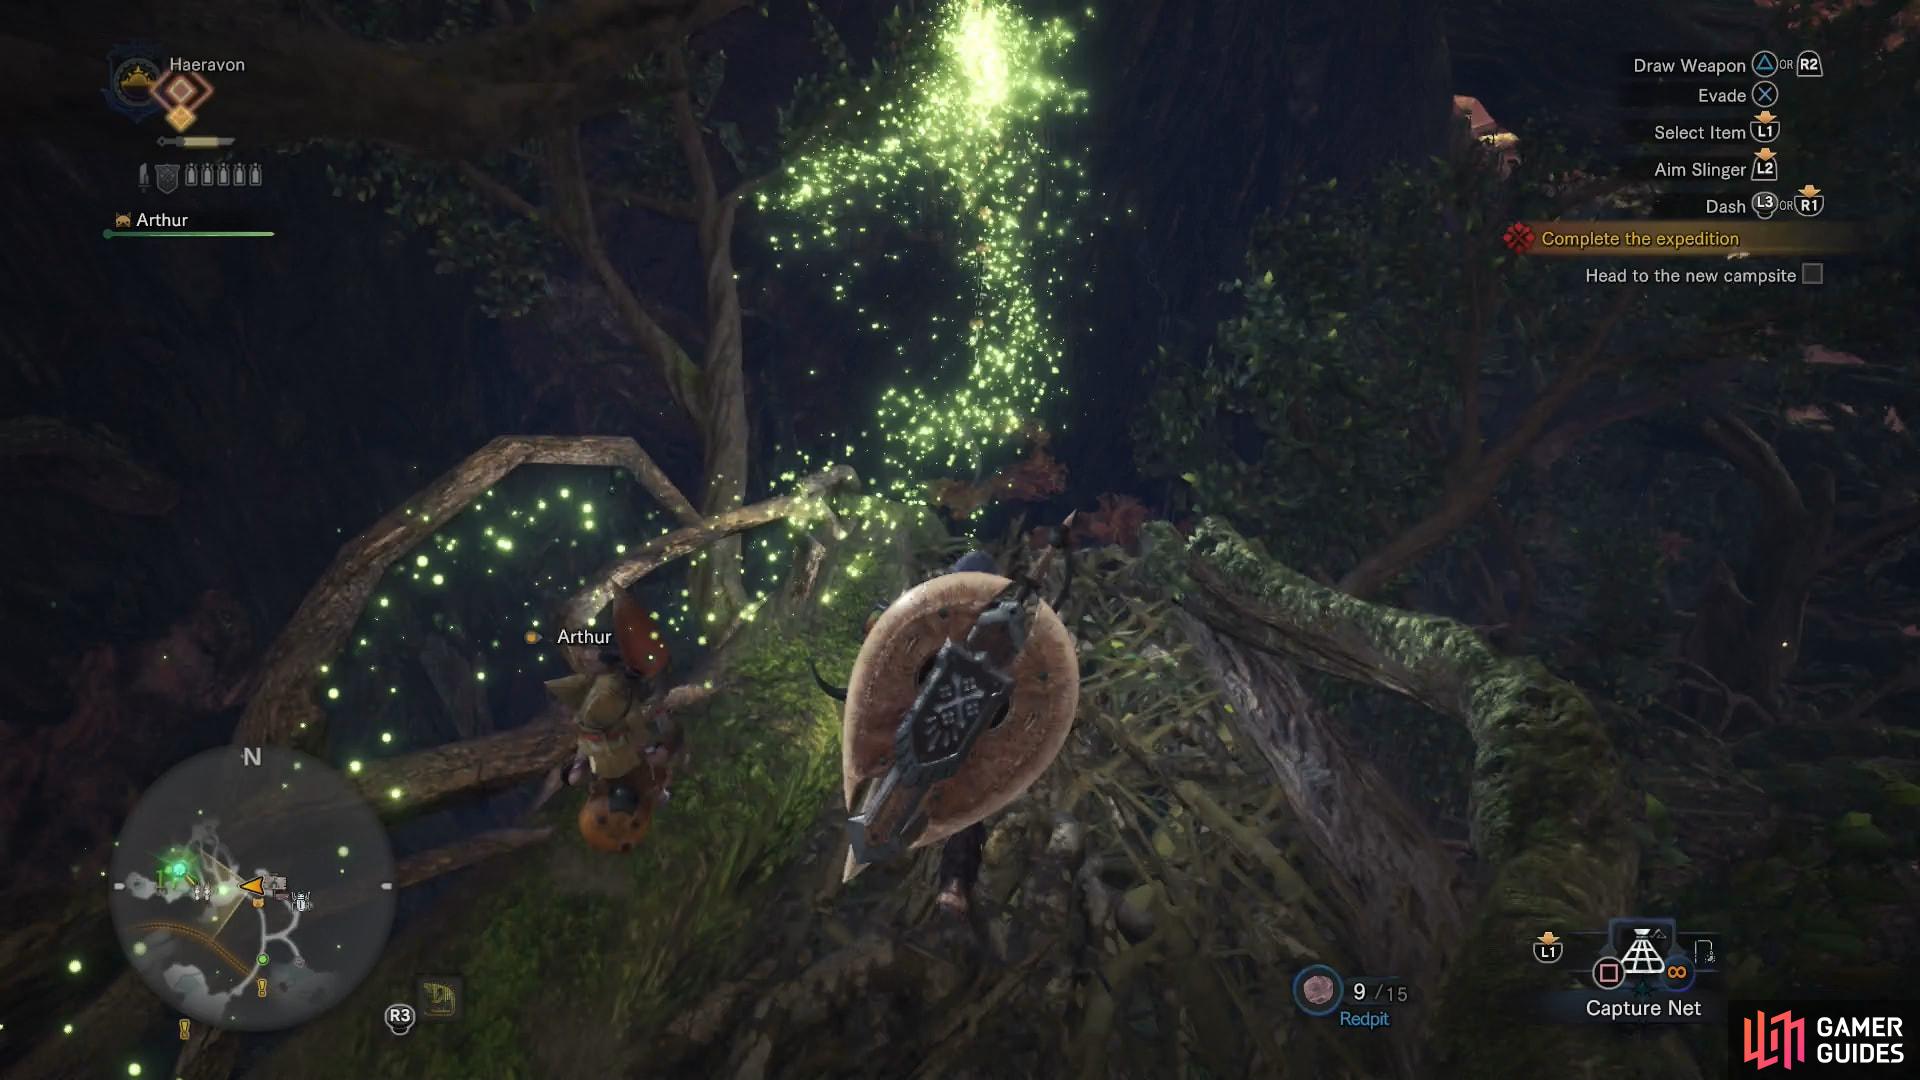
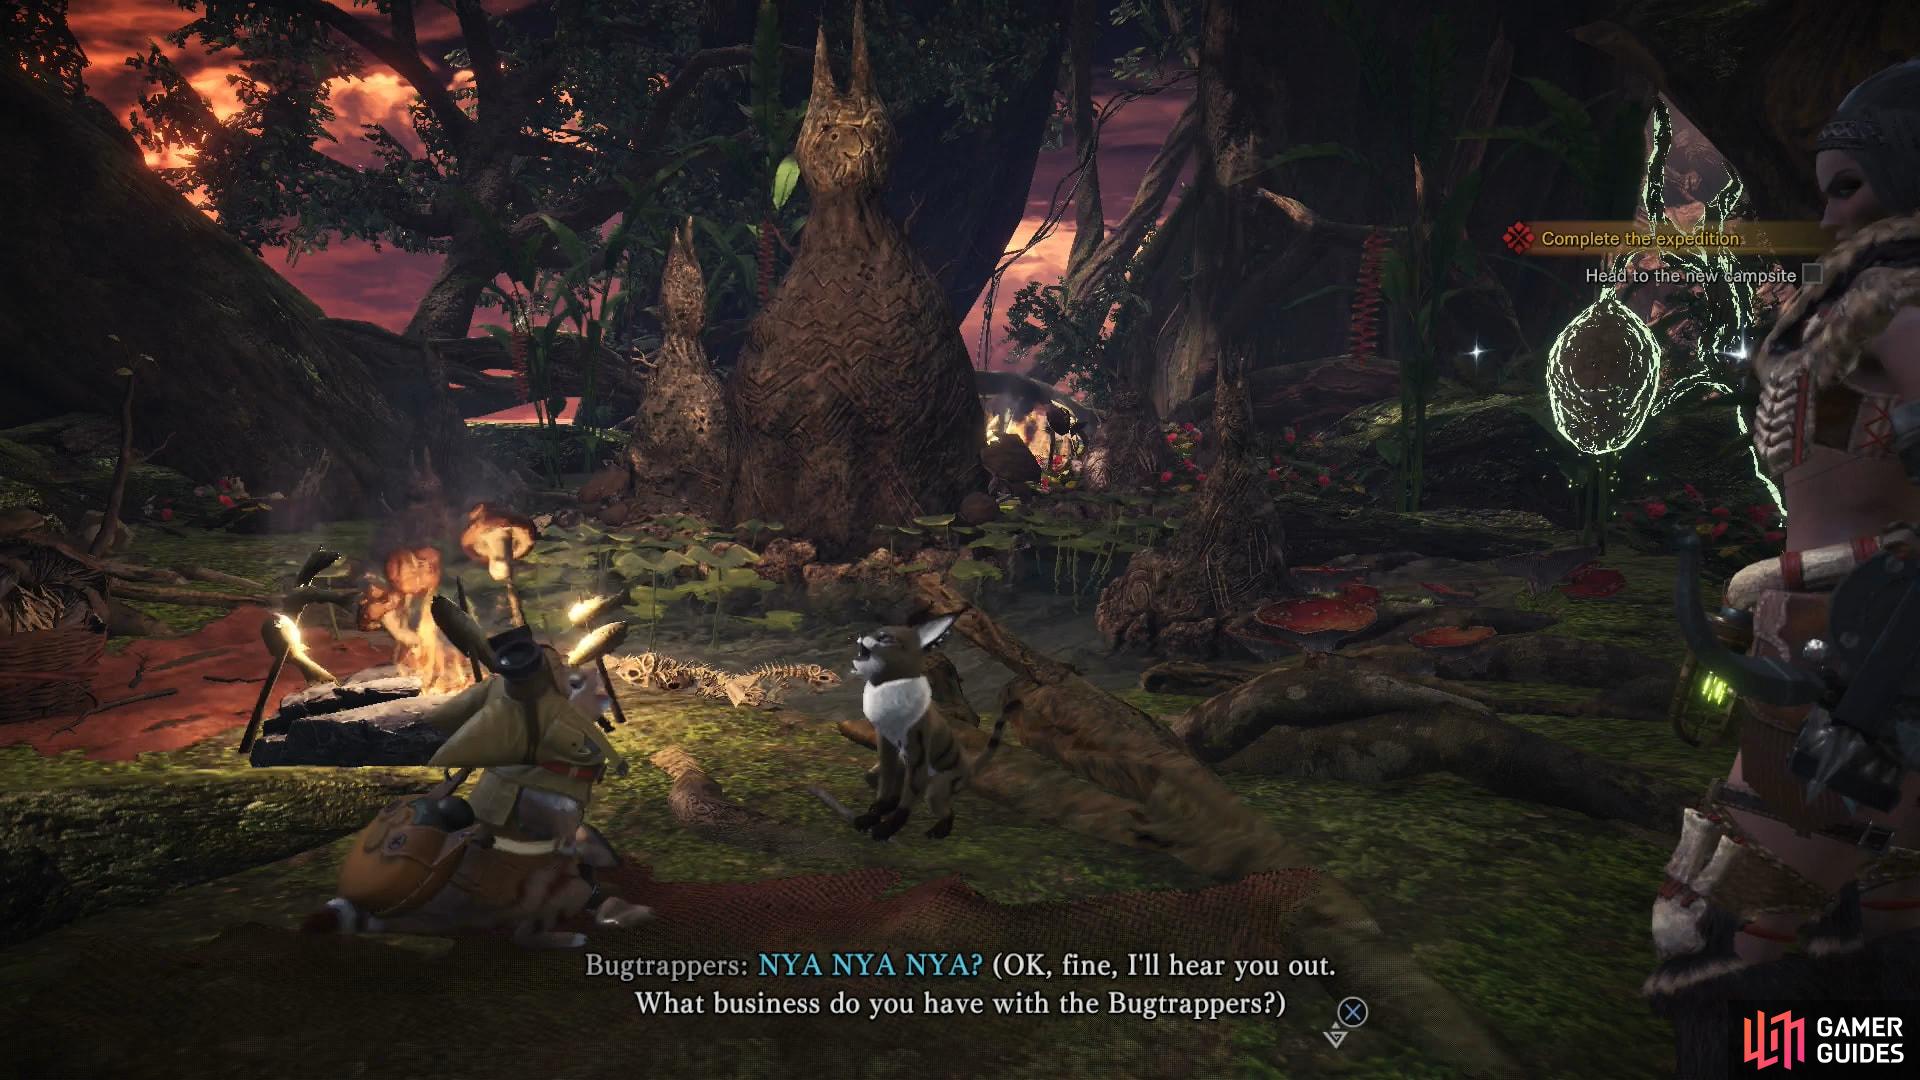
(1 of 2) Gather research on Grimalkynes and follow the Scoutfly trail to the boughs of the Ancient Forest
Gather research on Grimalkynes and follow the Scoutfly trail to the boughs of the Ancient Forest (left), When you reach the camp, your Palico will come to an understanding with the Grimalkynes (right)
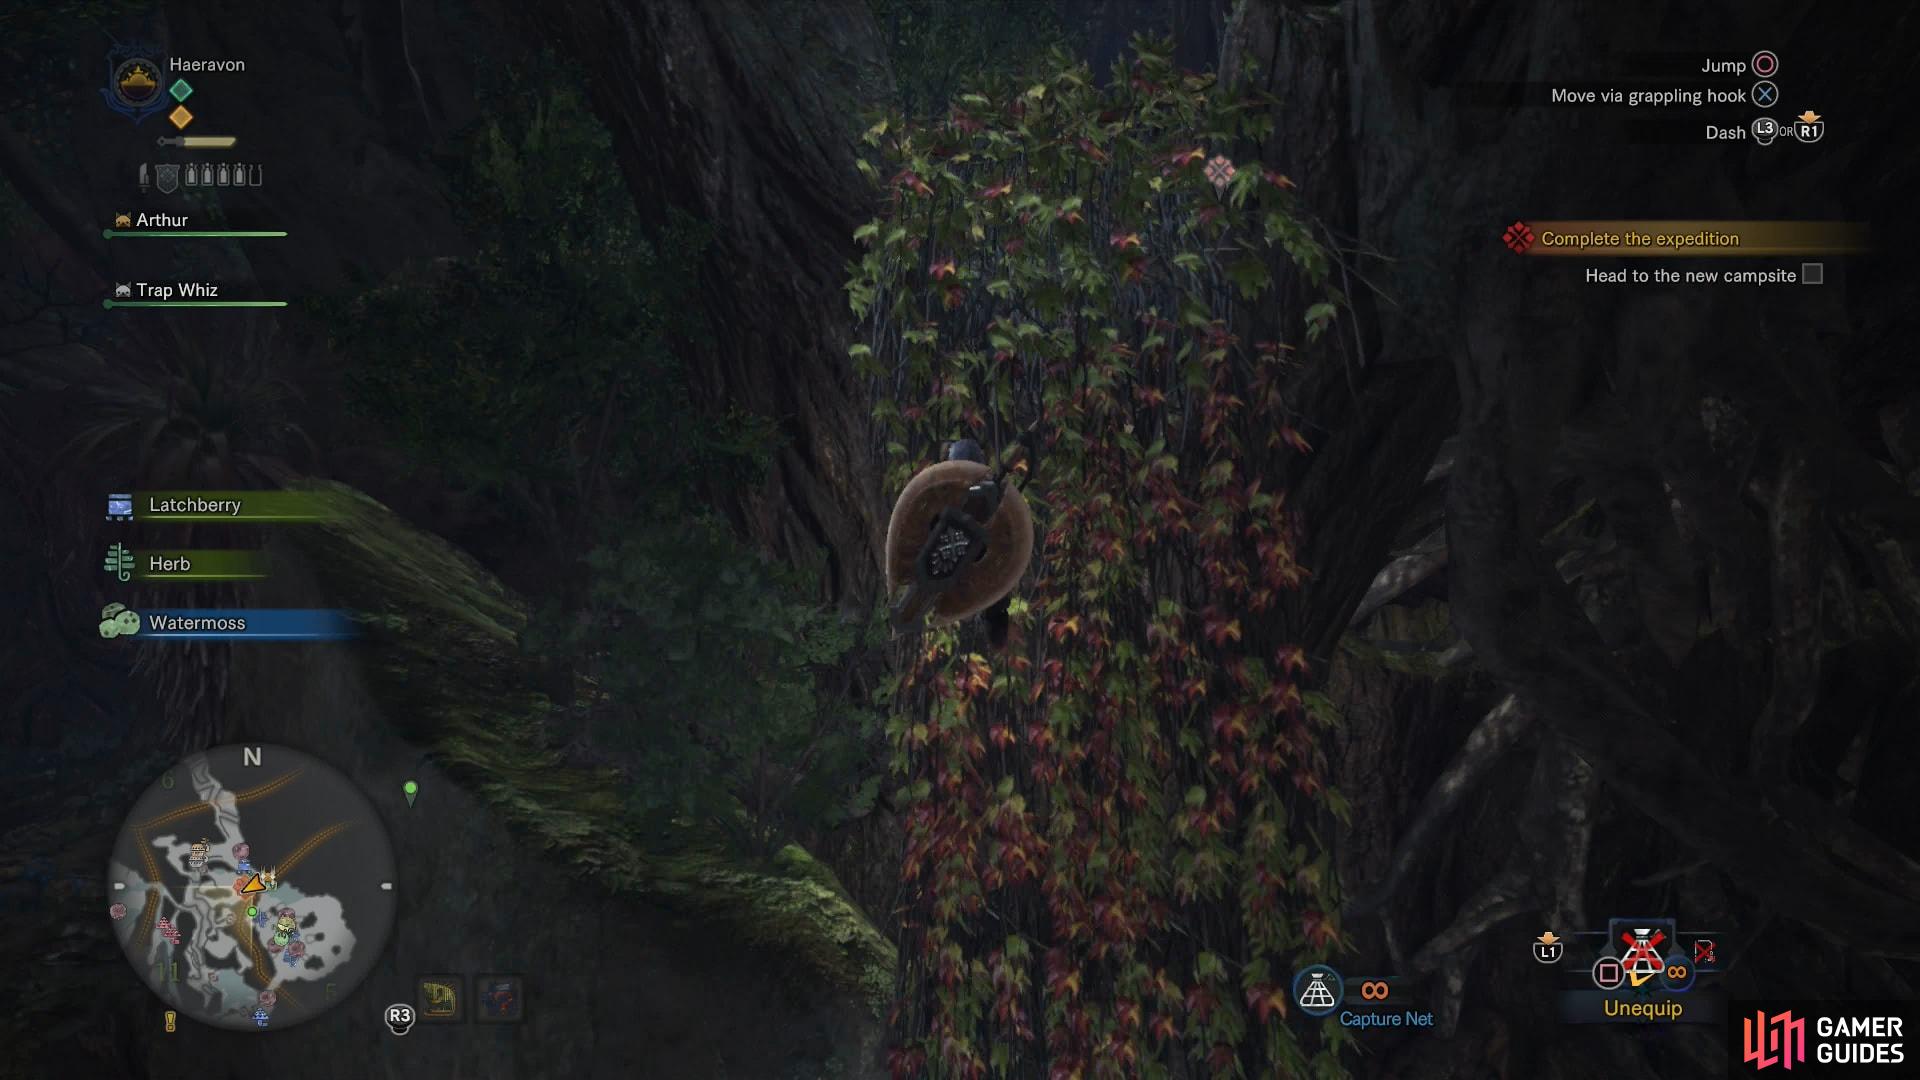
From the potential campsite, turn west and you’ll find some vines suspended before you, some which allow you to swing, and others you can climb. Get a running start and run off the edge of the future campground towards the vines and your character should make the jump to the first swinging vine automatically. Jump across to the vines you can climb, then climb up and use some more swinging vines to reach a ledge beyond. Once across, simply climb a tendril, then ascend another long series of climbable vines to reach the Grimalkyne camp. Approach the feral Felynes and your own Palico will make peace with this group of Grimalkynes, who style themselves the Bugtrappers… one may even join you as a “Tailraider”… or another NPC companion. As a reward, your Palico will obtain the Flashfly Cage gadget.

This area might become more accessible in time, when you set up another camp, but for now, it’s pretty far out of the way, so don’t hesitate to fast travel back to the Southwest Camp. Enter the tent and your Palico should tell you about another trick it learned from the Bugtrappers - the ability to talk to Jagras! Sure enough, from here on out, there’s a chance that your Palico will be able to recruit a Jagras to join as a Tailraider.
Research Help: Pink Parexus Capture
The next character you should talk to is the Piscine Researcher, who can be found in the northeastern end of AREA 1. Talk to him and he’ll brag about his job while encouraging you to take up the rod, yourself. Talk to him again after a display of his prowess and he’ll challenge you to catch a Pink Parexus, starting the Critical Bounty Research Help: Pink Parexus Capture.
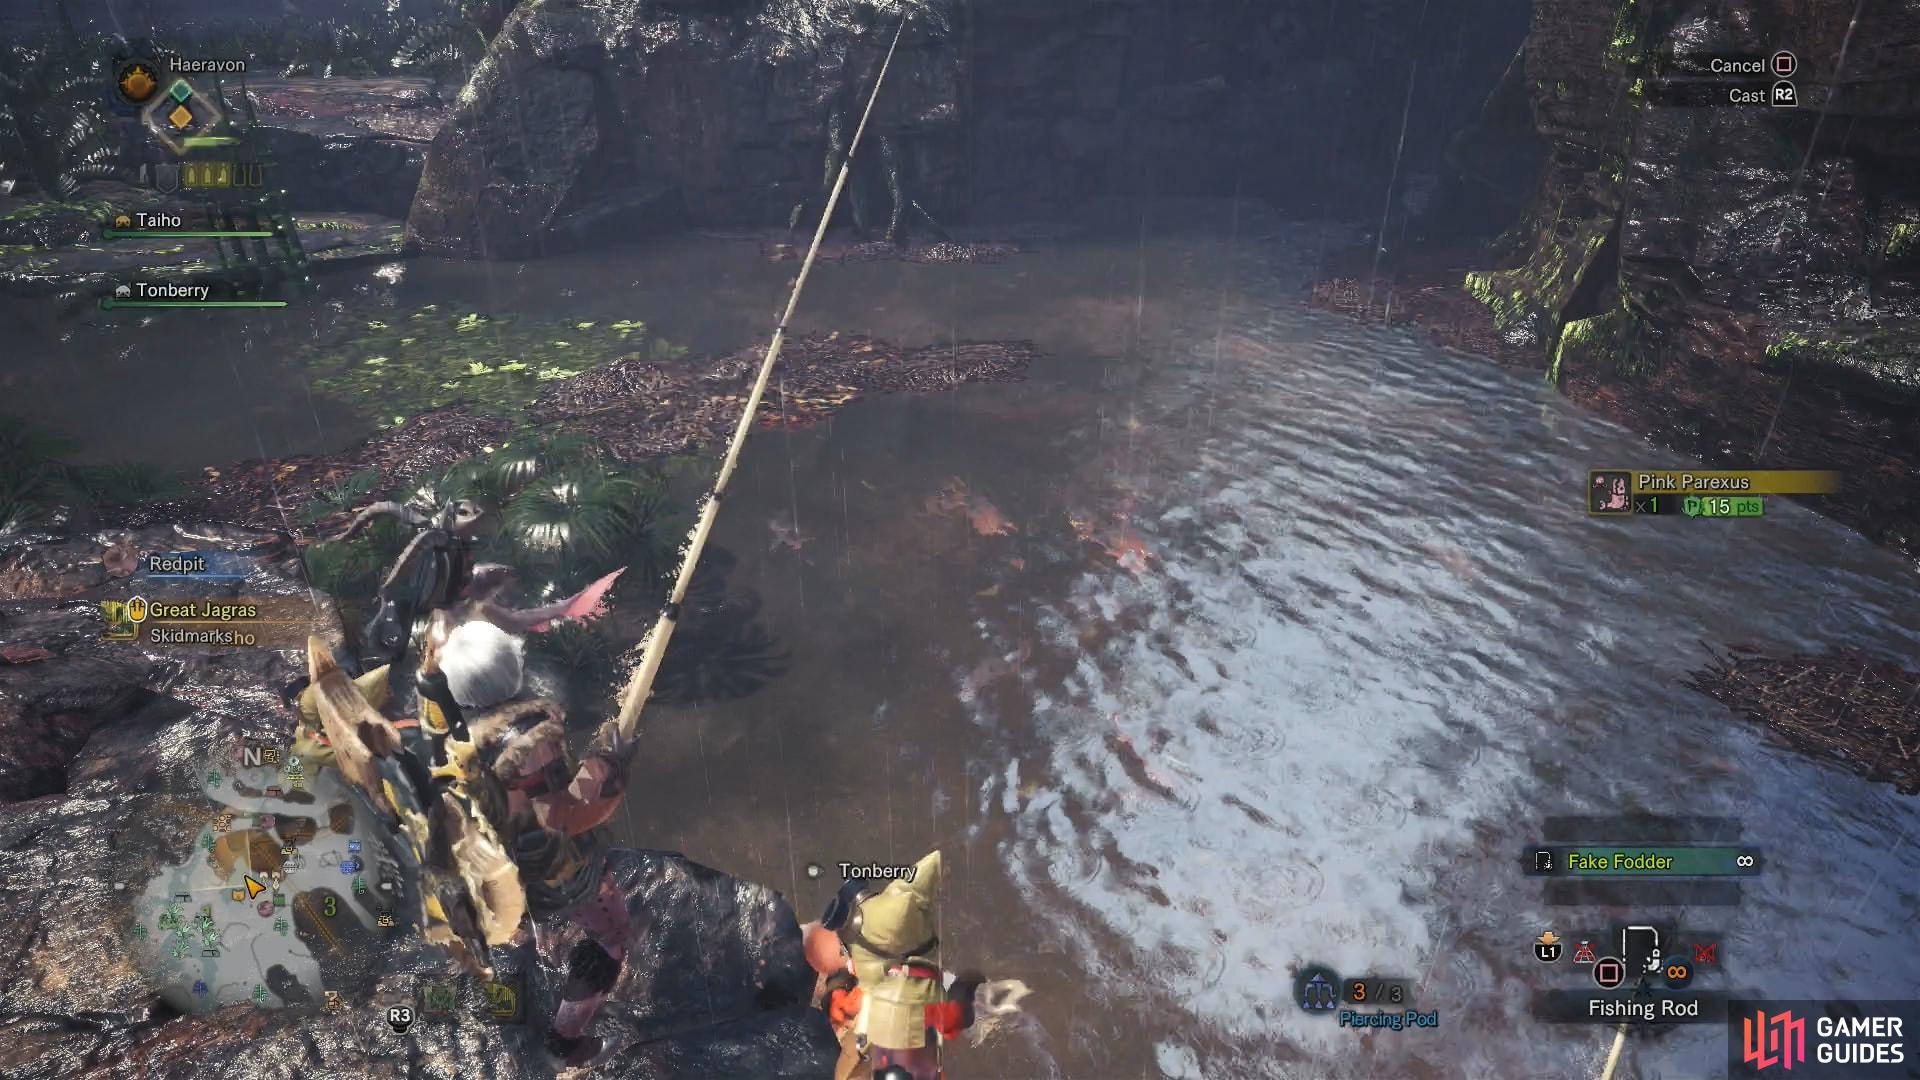
Time to test out your fishing skills! Fishing in Monster Hunter World is thankfully simple. Select your Fishing Rod from the Item Bar just like any other item, and press [Square]/[X] to use it. Once you have it handy, note the aiming line that appears, position near some fish, and press [R2]/[RT] to cast your line. You may be prompted your first time to press [Circle]/[B] to reel in the fish when it bites, but don’t rely on it - for future fishing endeavors, you’ll just have to wait for the bobber to get pulled under the water as the visual cue for when to reel the fish in. Also, it should be noted that some fish may require you to succeed at a quick-time event sequence in order to catch them.
The behaviors of fish can vary considerably, some are more aggressive and will readily bite when you cast your line, while others are flighty. If you go splashing around in the water, the fish will flee and hide, so generally you should avoid trying to swim with them too much. When your bobber is in the water, you can agitate it by moving the [Right Analog], which will entice some fish, but may scare off more timid ones. Some fish may be more easily caught with specific types of bait (some of which can be purchased at the Provisions Stockpile, eventually) but for most fish, if they don’t bite simple recast the line until they do. If they don’t move towards the bobber shortly after it hits the water, they probably won’t bite without teasing the line, and if they’re skittish, recasting is your best bet.
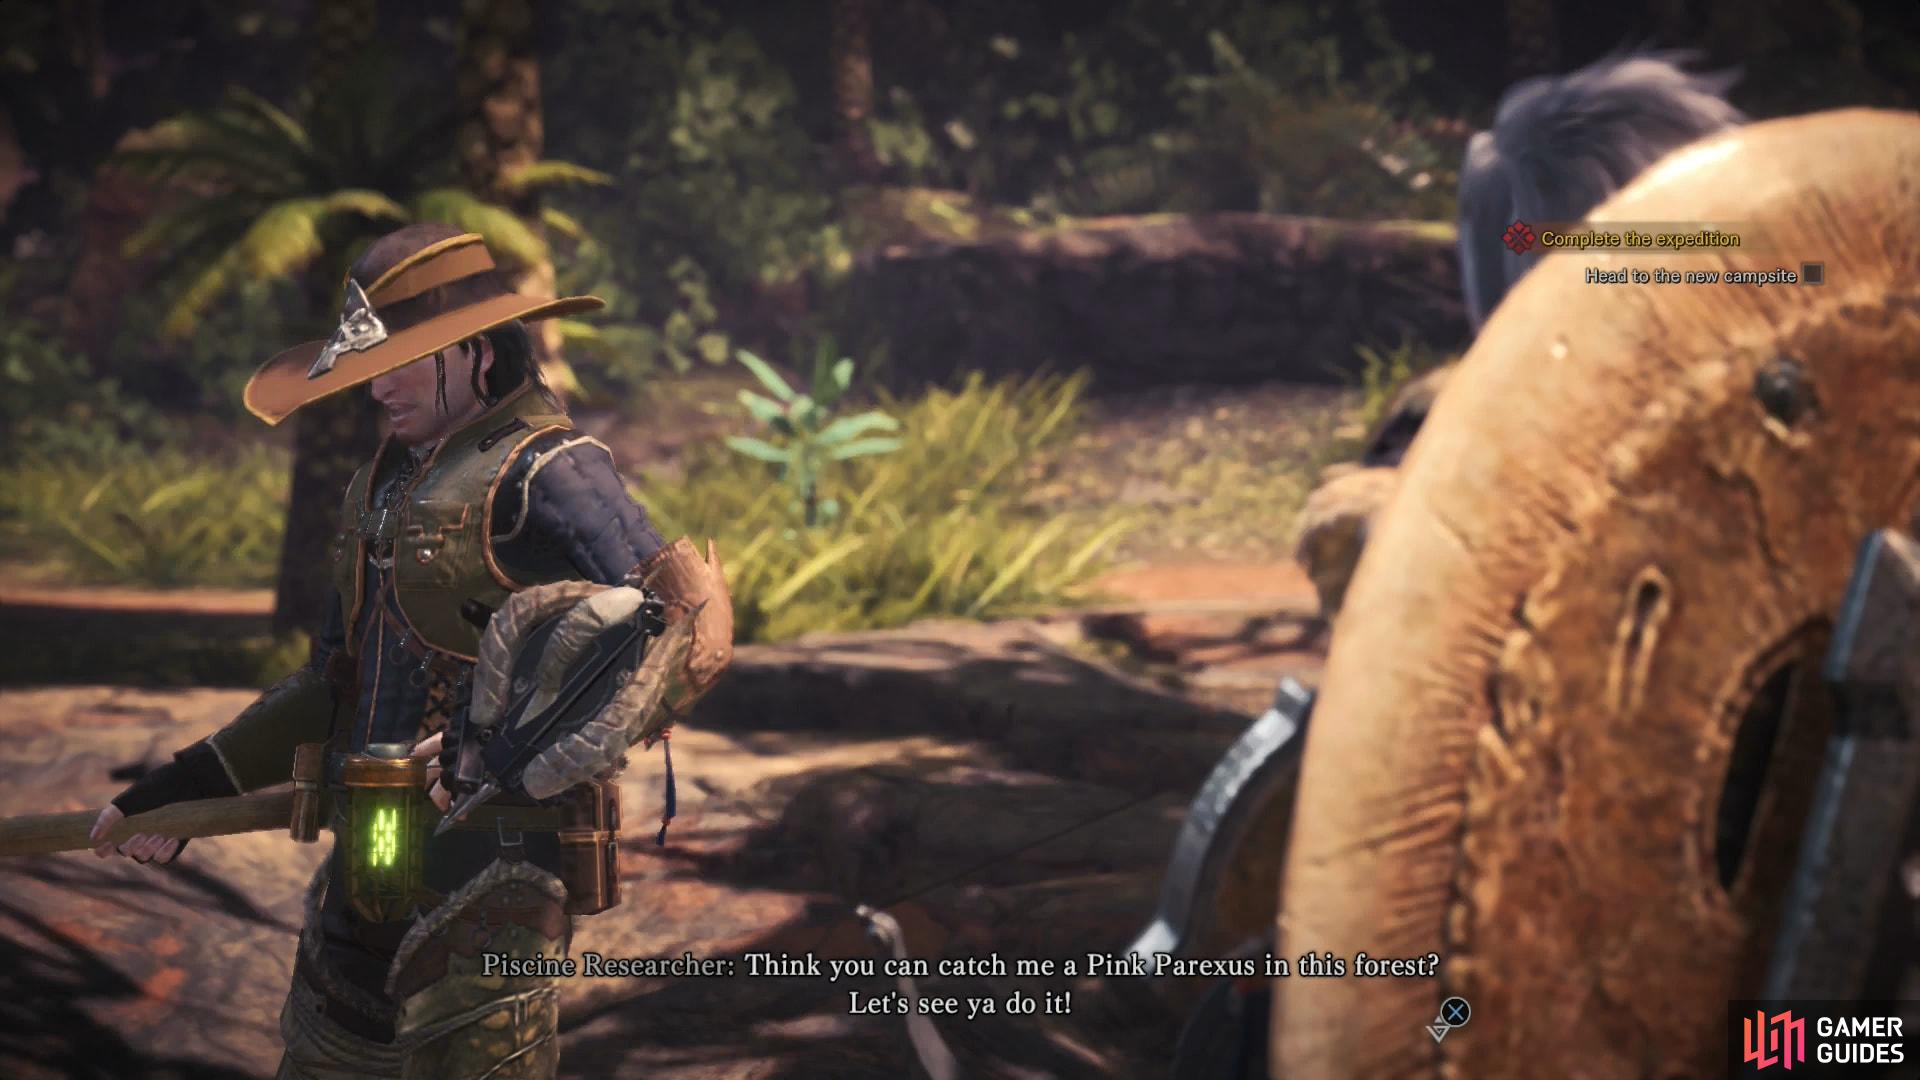
(1 of 2) Talk to the Piscine Researcher and he’ll challenge you to catch a Pink Parexus
Talk to the Piscine Researcher and he’ll challenge you to catch a Pink Parexus (left), Fish at the nearby pond and you should catch a Pink Parexus (right)
Give it a go now, as you can get some practice in, and with any luck you’ll catch the Pink Parexus the Piscine Researcher challenged you to catch. If so, inform him and he’ll tell you to report the catch to the folk at the Resource Center who handle bounties (not to be confused with the Chief Ecologist, who handles research). All in good time.

Research Help: Woodland Pteryx Capture
Only one more task to take care of, and this will take you pretty close to your objective! Fast travel back to the Southwest Camp if you’re not nearby and make your way to AREA 4 in the southeastern corner of the Ancient Forest. Exit this area by heading north and head up a ramp, continuing north past a fork until you reach a cavern in AREA 5. In the northwestern corner of the cavern you’ll find the Endemic Life Researcher waiting for you. Talk to her and she’ll ramble on about her job. While many crazy people have come to the New World to hunt large, dangerous beasts, she’s one of the few more interested in smaller, more docile creatures… but this being a whole new planet full of uncatalogued creatures, she could use a hand, and will ask you to recover a Woodland Pteryx for her. This starts the Critical Bounty Research Help: Woodland Pteryx Capture.
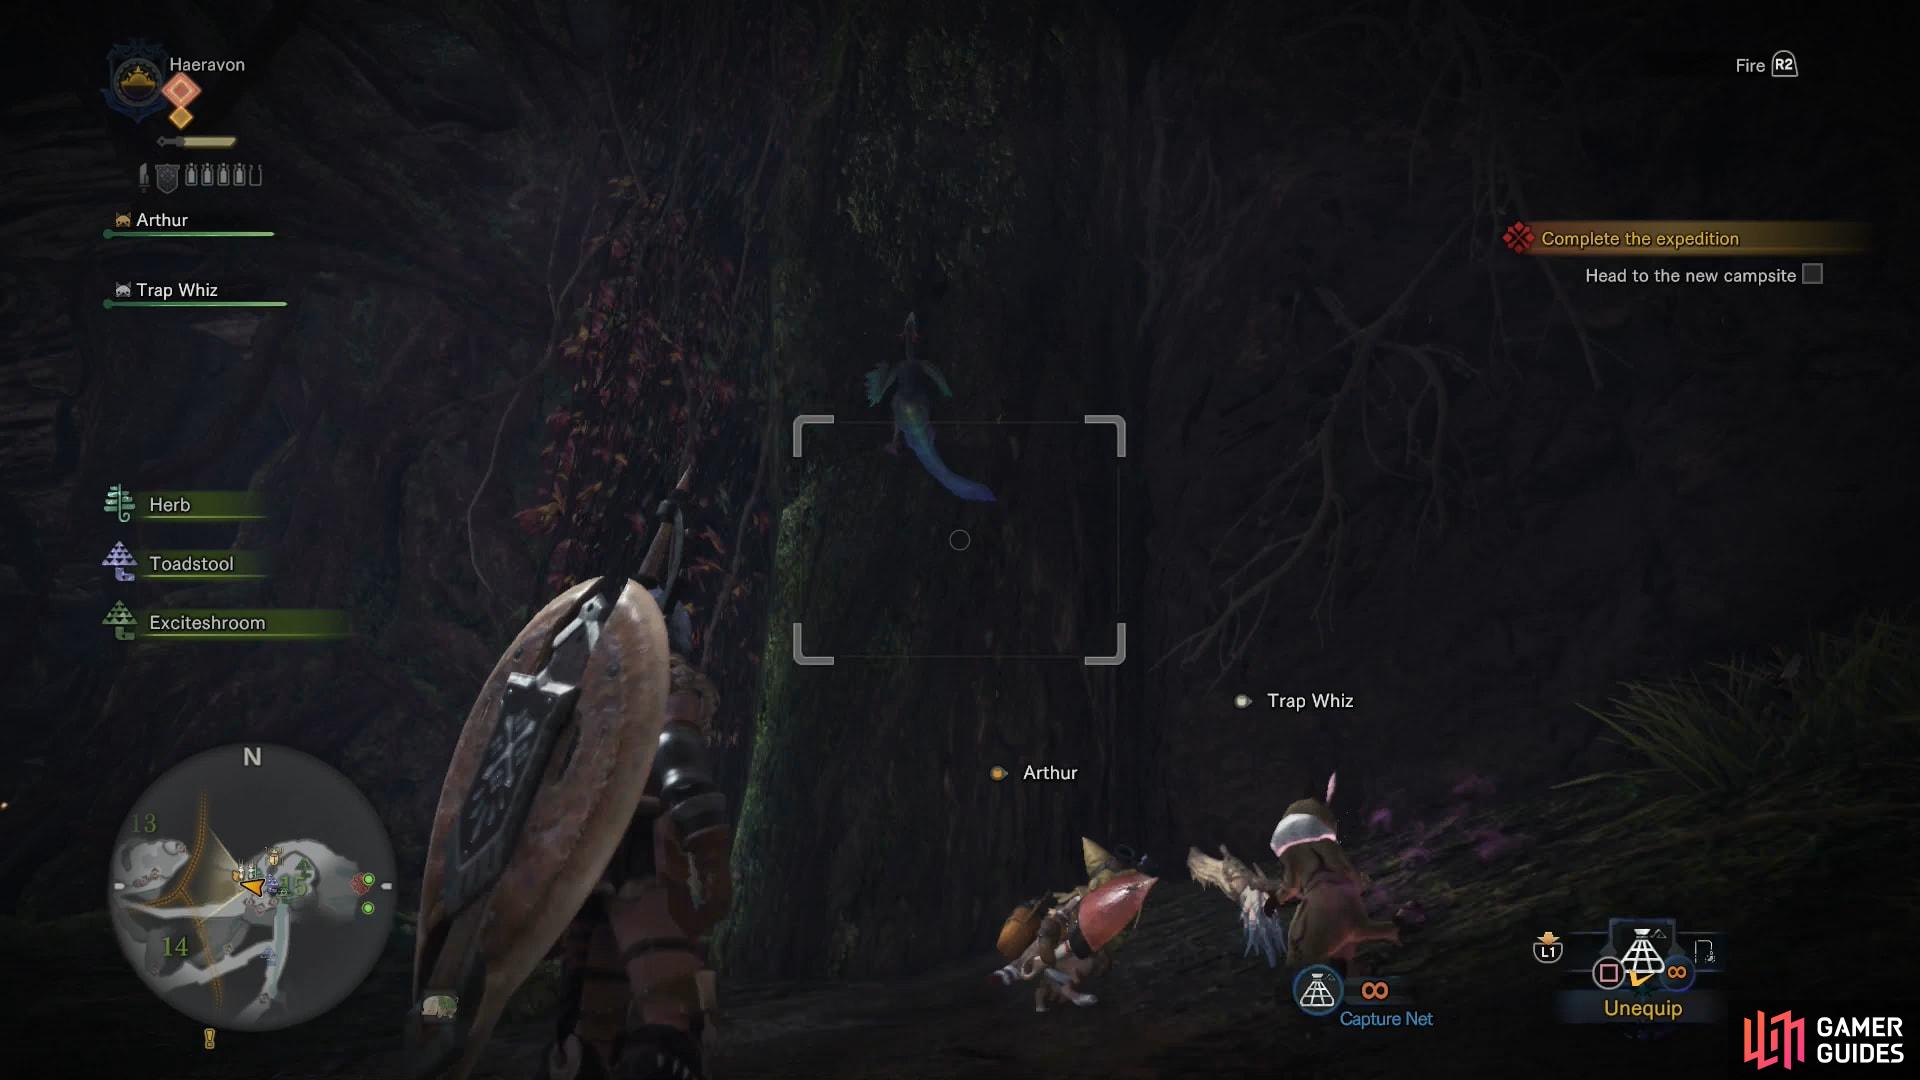
Catching small critters is nothing like hunting large ones, as weapons suited for chopping massive monsters down will leave only a mangled smear if used against smaller beasts. That’s where your Capture Net comes into play. like the Fishing Rod, it can be equipped via the Item Bar, and has unlimited uses. Find it on the Item Bar and equip it with [Square]/[X], after which you can fire it like any other item with the Slinger. Just hold down [L2]/[LT] to aim, and [R2]/[RT] to fire. Keep in mind that your range is relatively short with the Capture Net. Small creatures caught with the Capture Net will yield Research Points and possibly materials.
Leave the Cavern by heading south and this time take the path to the west which you neglected earlier. Follow it west until you find another fork, at which turn north and climb some vines. Continue north and ignore another fork to the west, instead following water uphill until you reach another cavern. Turn west and you should spot a flying critter gliding between three trees. Wait for it to land on the northwestern-most tree, then use your Capture Net to nab it.
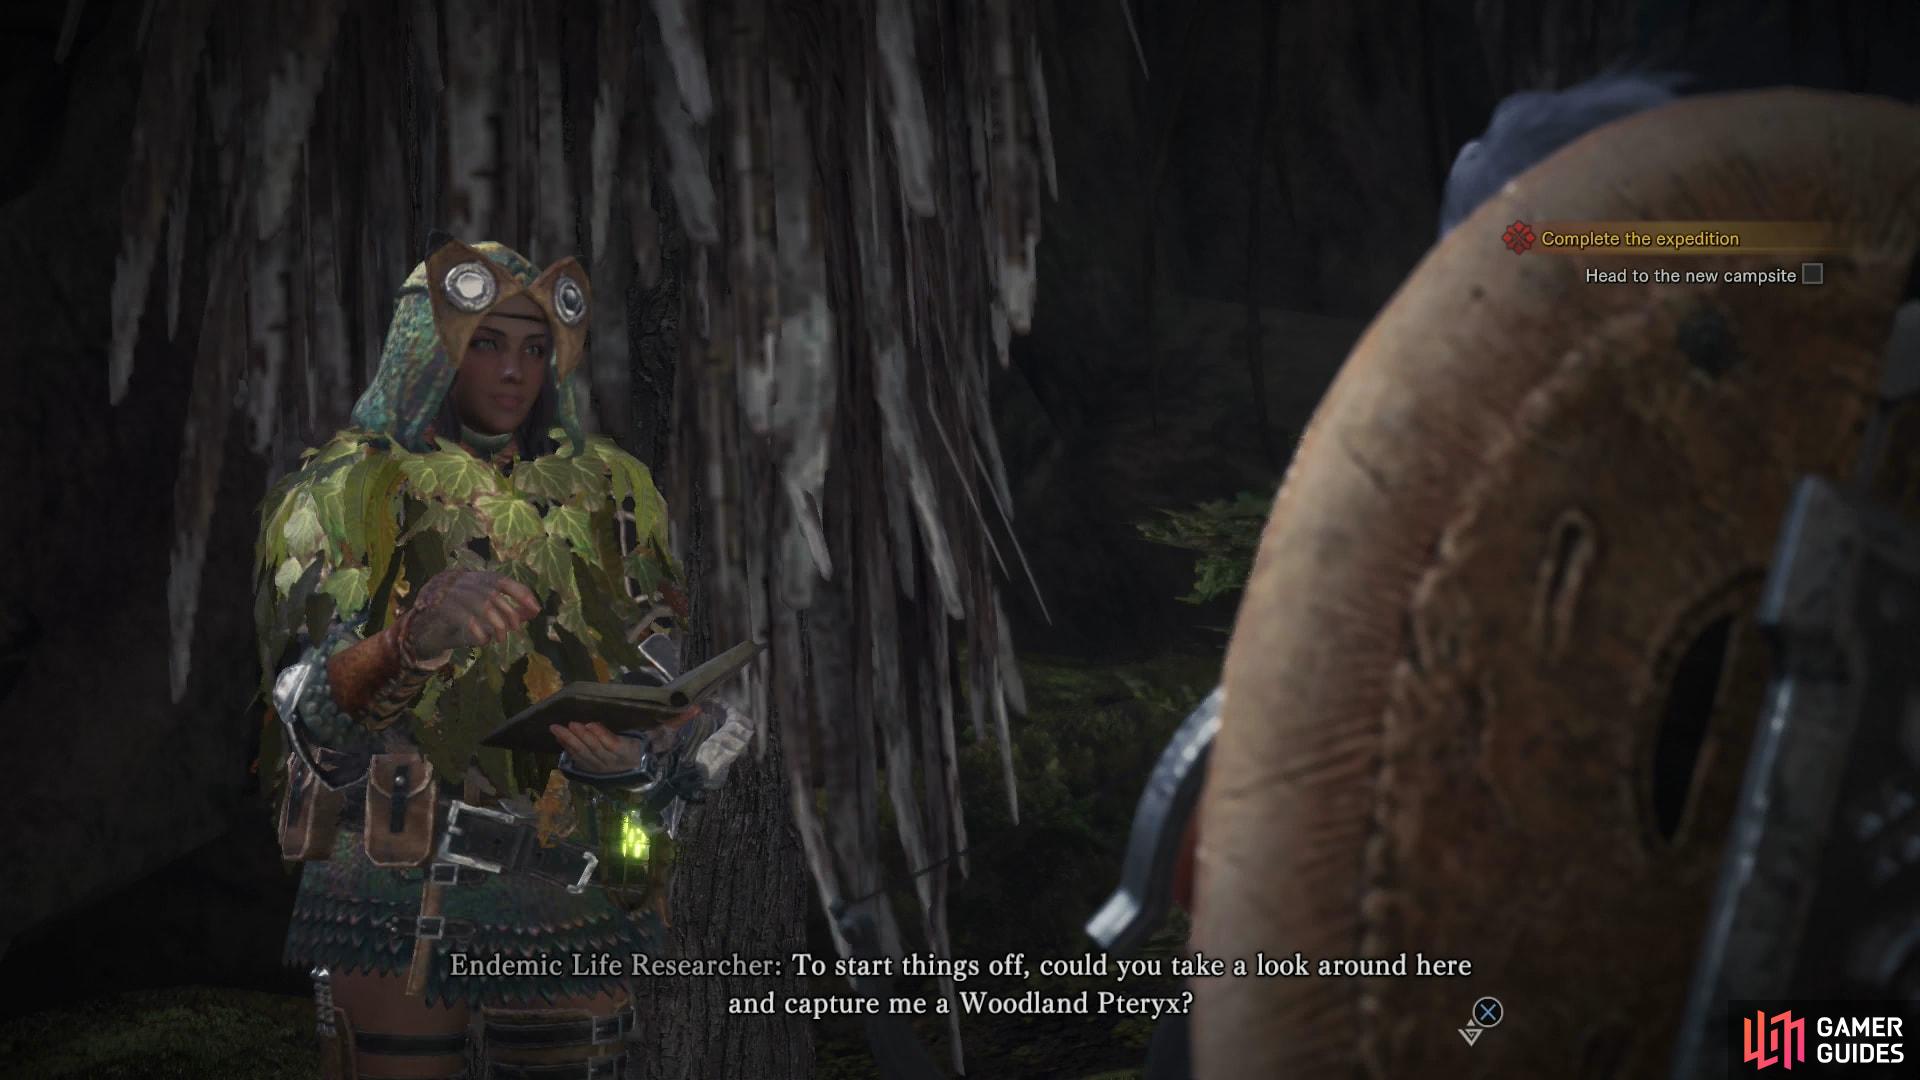
(1 of 2) Talk to the Endemic Life Researcher and she’ll ask you to catch a Woodland Pteryx
Talk to the Endemic Life Researcher and she’ll ask you to catch a Woodland Pteryx (left), You can find the Woodland Pteryx climb on - and gliding from - trees (right)
With the Woodland Pteryx on hand, return to the Endemic Life Researcher and tell her the good news. Unfortunately, you’ll have to wait until you go back to Astera to report the bounty as completed to the Resource Center.
(1 of 2) Climb the vines near the Endemic Life Researcher to reach the potential campsite
Climb the vines near the Endemic Life Researcher to reach the potential campsite (left), only to find out you’re not the only creature who has taken a liking to the locale (right)
Establishing the Northeast Camp
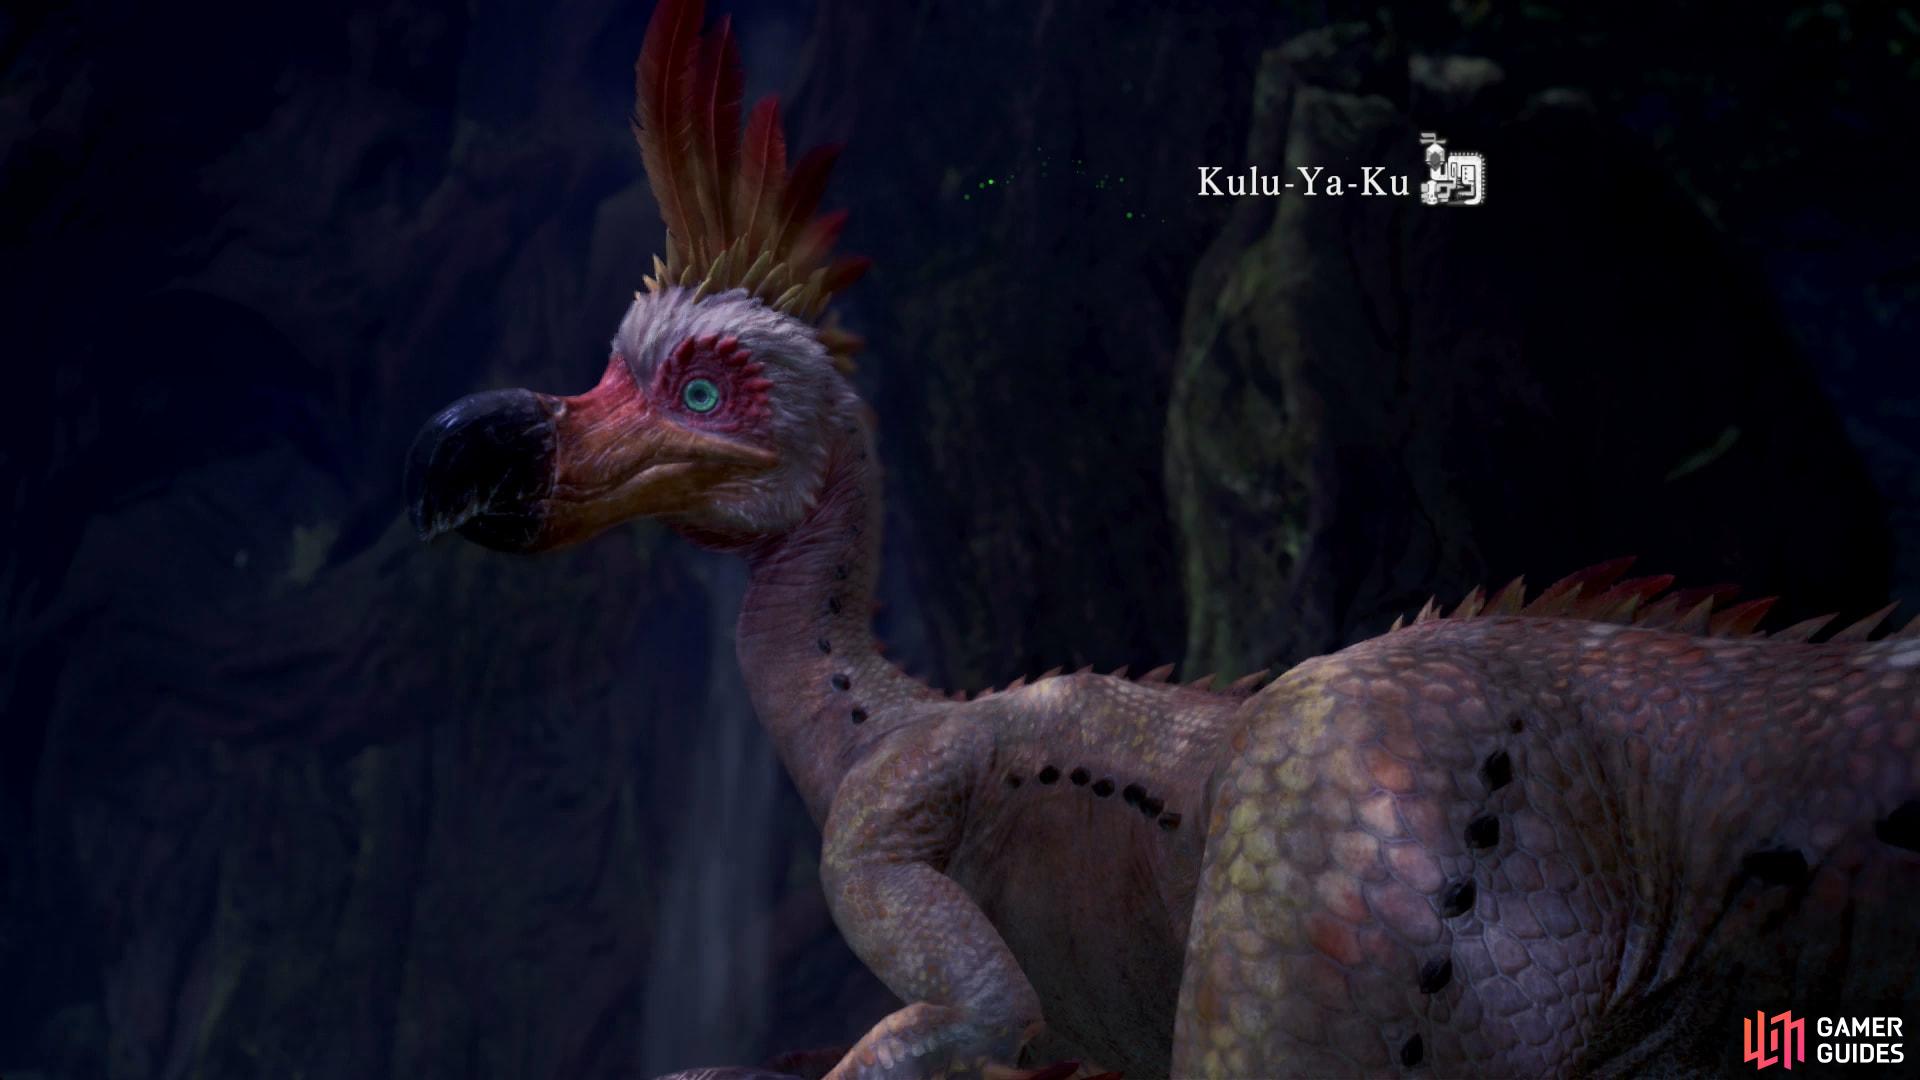
Now that you’re done with these errands, circle north around the rock the Endemic Life Researcher is standing near to find the Field Team Leader. Climb the vines near him to reach a suitable spot for the camp… but unfortunately, you’re not the only ones up here. An overly curious monster, a Kulu-Ya-Ku is busy digging for treasure up here, only to flee when it spots you. This isn’t good enough, though - the camp will never be secure so long as that Kulu-Ya-Ku is wandering around, thinking of digging up more treasure! This starts the assignment Bird-Brained Bandit, which you can complete by hunting a Kulu-Ya-Ku as part of this expedition, or by returning to town and properly starting the quest. Either way, it’ll be covered below.

 Sign up
No Comments