
| Quest Info |
|---|
| Objective: Complete the assignment |
| Reward Money: 4320z |
| Time Limit: 50 min. |
| Conditions: HR 5 or higher |
| Failure Conditions: Time Expires / Faint 3 Times |
| Other Monsters: Barnos |
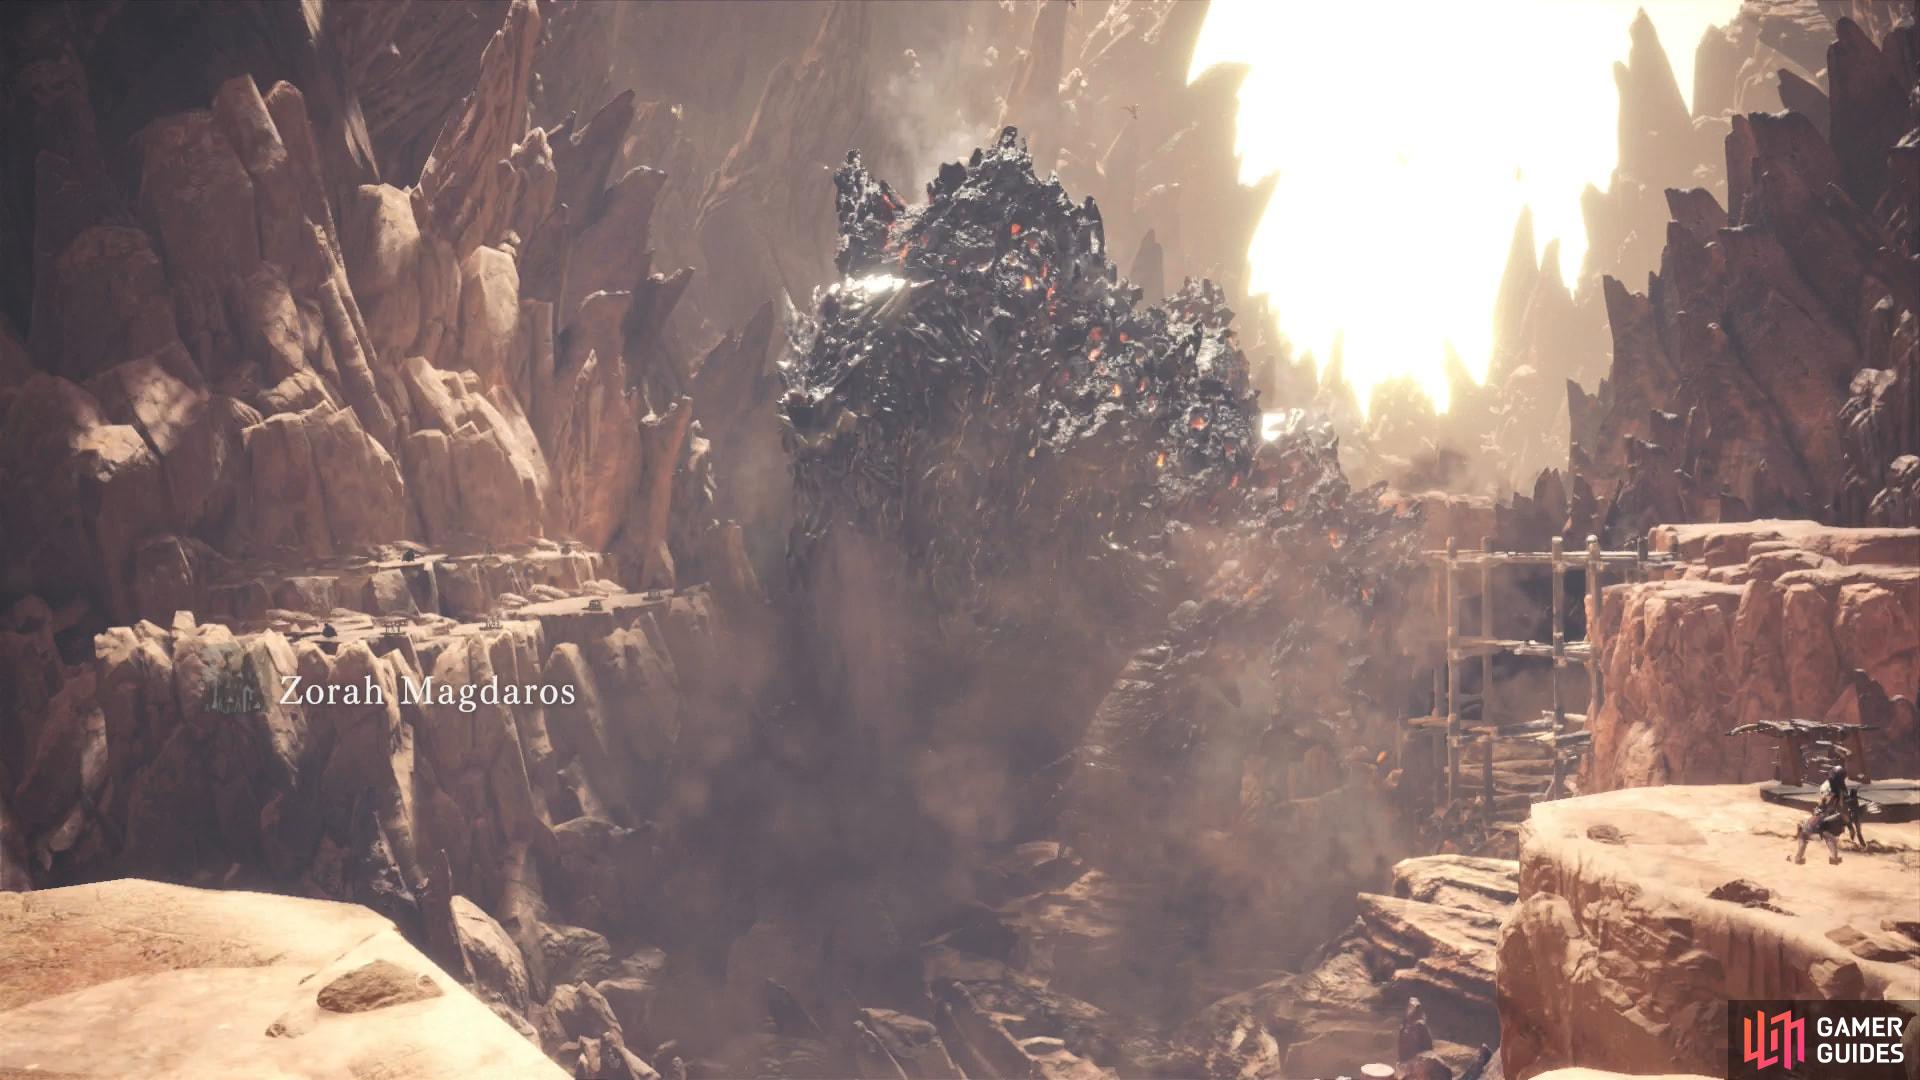
The First Barrier
Watch the scenes that follow as Zorah Magdaros makes an unexpected entrance, at which the hunters of Astera scramble to implement their plan. For this first phase of the battle, there’s little to do but attack Zorah Magdaros with the tools available, chief among them being the cannons stationed about. There are also ballistae, but they do much less damage than cannons, although they’ll prove their worth later on. Pick up cannon balls by finding their stores and pressing [Circle]/[B], walk them to the cannon, then load them. When a cannon has five cannon balls in it, fire by pressing [Circle]/[B]. You can also shift the aim of the cannon by move adjacent to the barrel and and pressing [Circle]/[B].
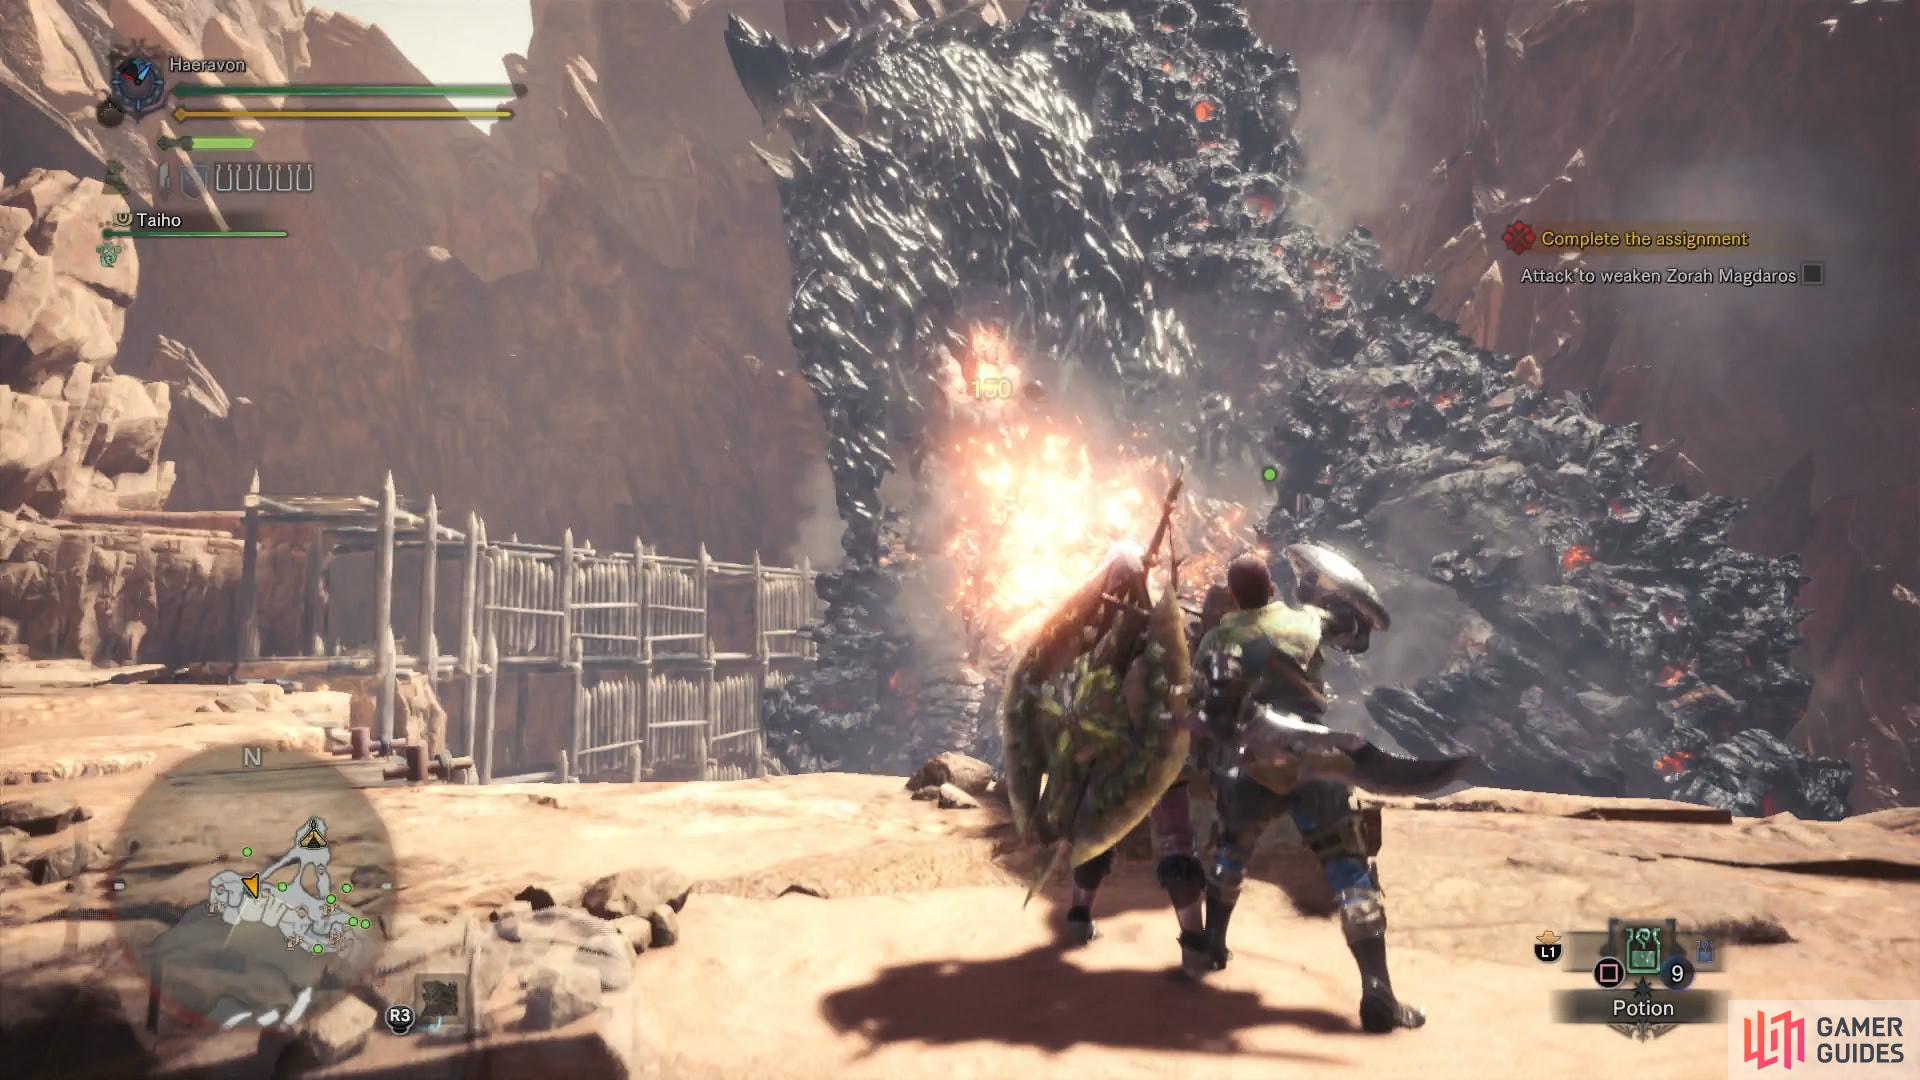
(1 of 2) Load the various cannons with up to fire cannon balls at a time, then fire them in a volley to deal big damage to Zorah Magdaros
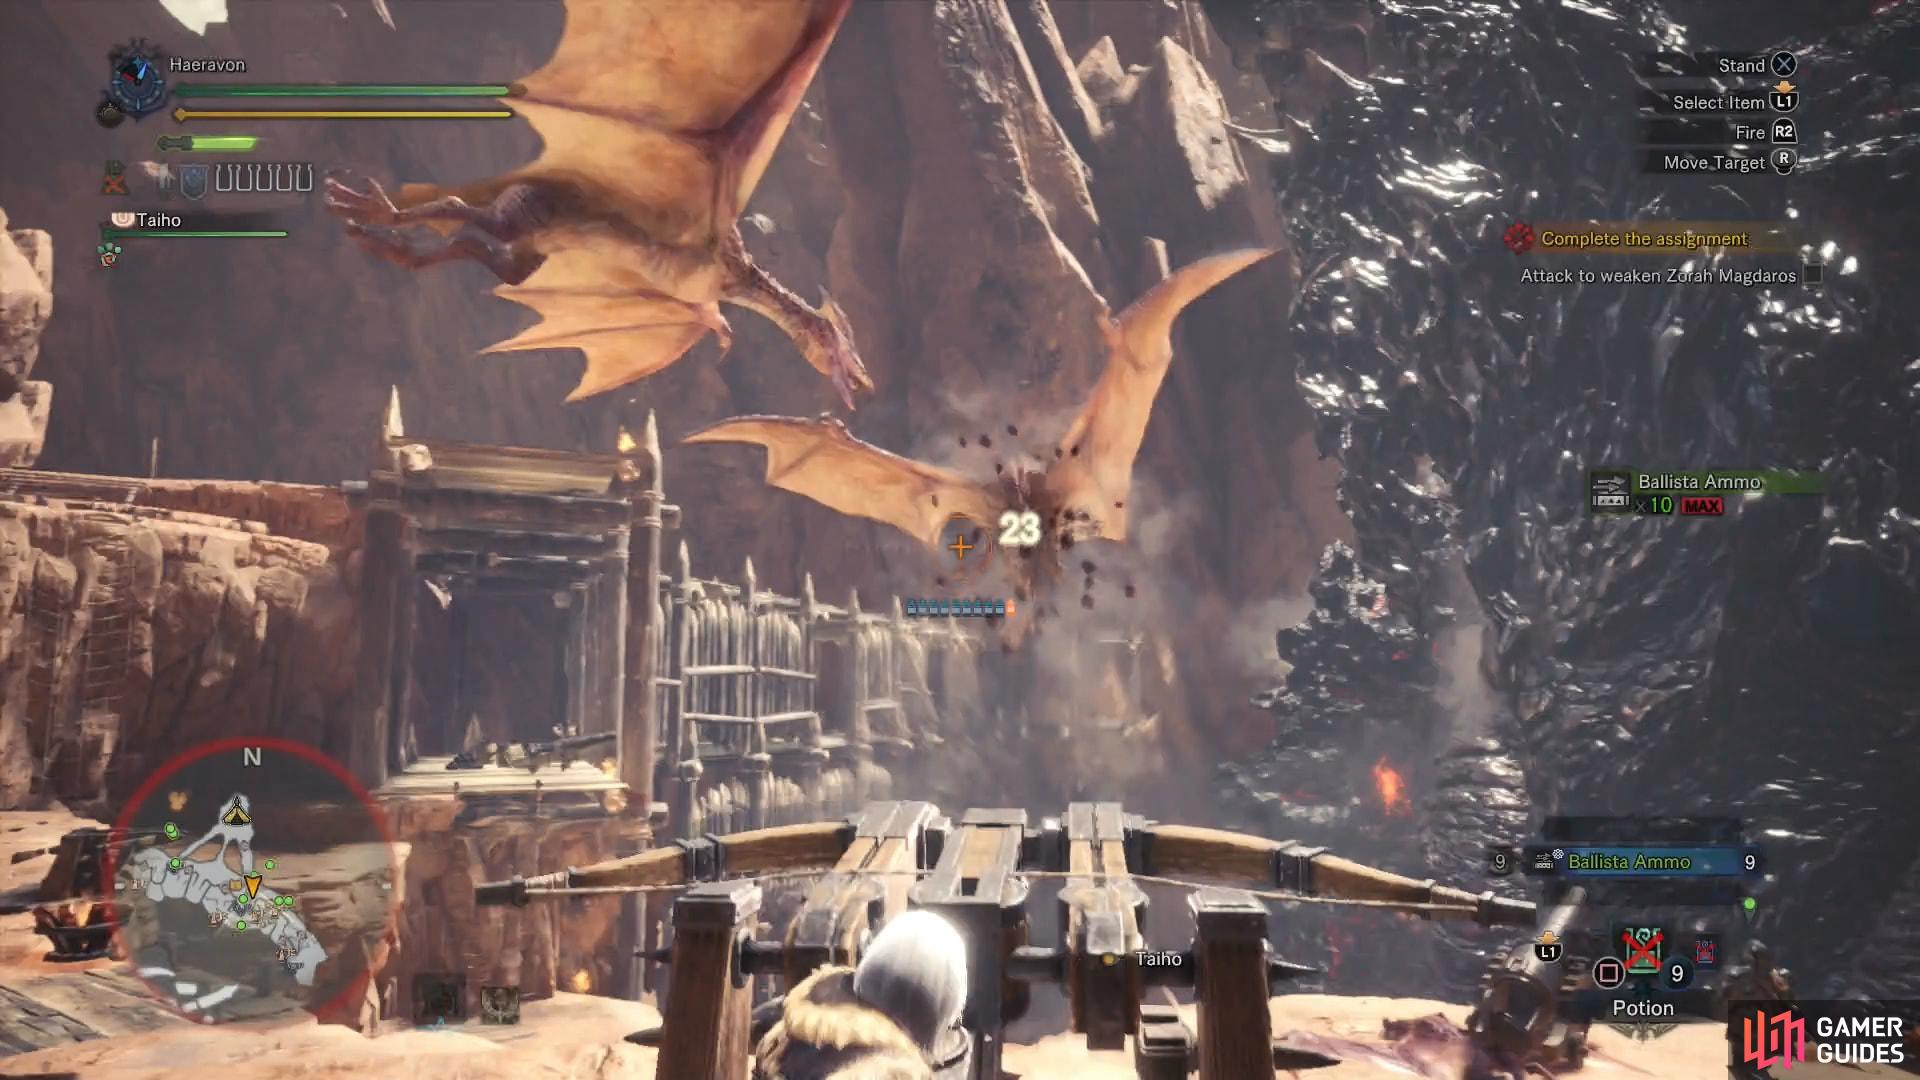
Load the various cannons with up to fire cannon balls at a time, then fire them in a volley to deal big damage to Zorah Magdaros (left), The Barnos that show up to pester you can be shot down with ballistae (right)
After a while of firing, some Barnos will show up to complicate matters. These weak monsters aren’t too strong, but cannon balls follow egg carrying rules - if you get hit, you’ll lose what you’re carrying, and the whole purpose of these Barnos are to be nuisances. Arm a ballistae by grabbing a bundle of bolts and loading them into the device (you don’t have to go through so much effort to carry bolts), then mount the ballistae and shoot down the Barnos, after which you can continue pelting Zorah Magdaros will cannon fire until he reaches the barrier.
A wooden wall (albeit a large one) faces off against a mountainous monster made of magma. Was the outcome ever in doubt? After Zorah Magdaros imposes his will on the petty fortifications of man, head over to the southeastern end of the artillery area, climbing to reach the highest elevation, then interact with the Hitching Post to fly off and onto the back of Zorah Magdaros.
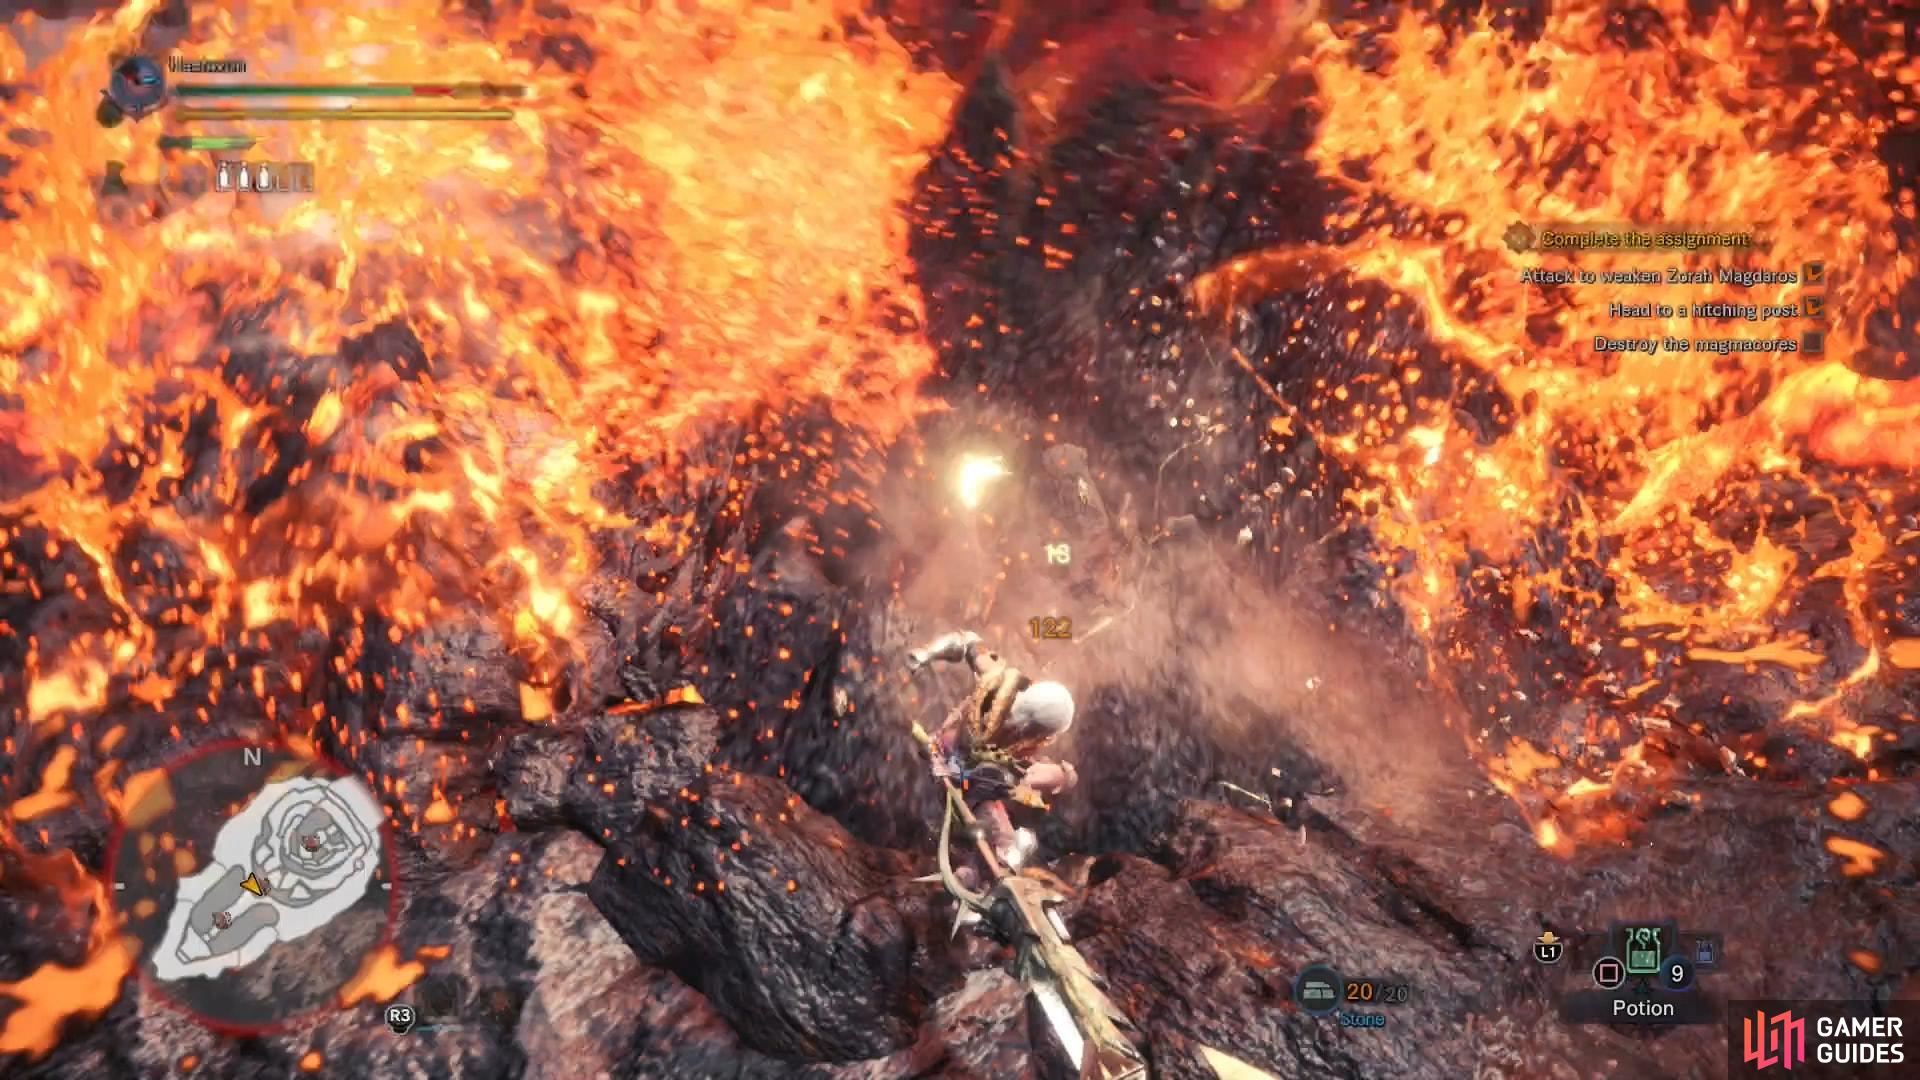
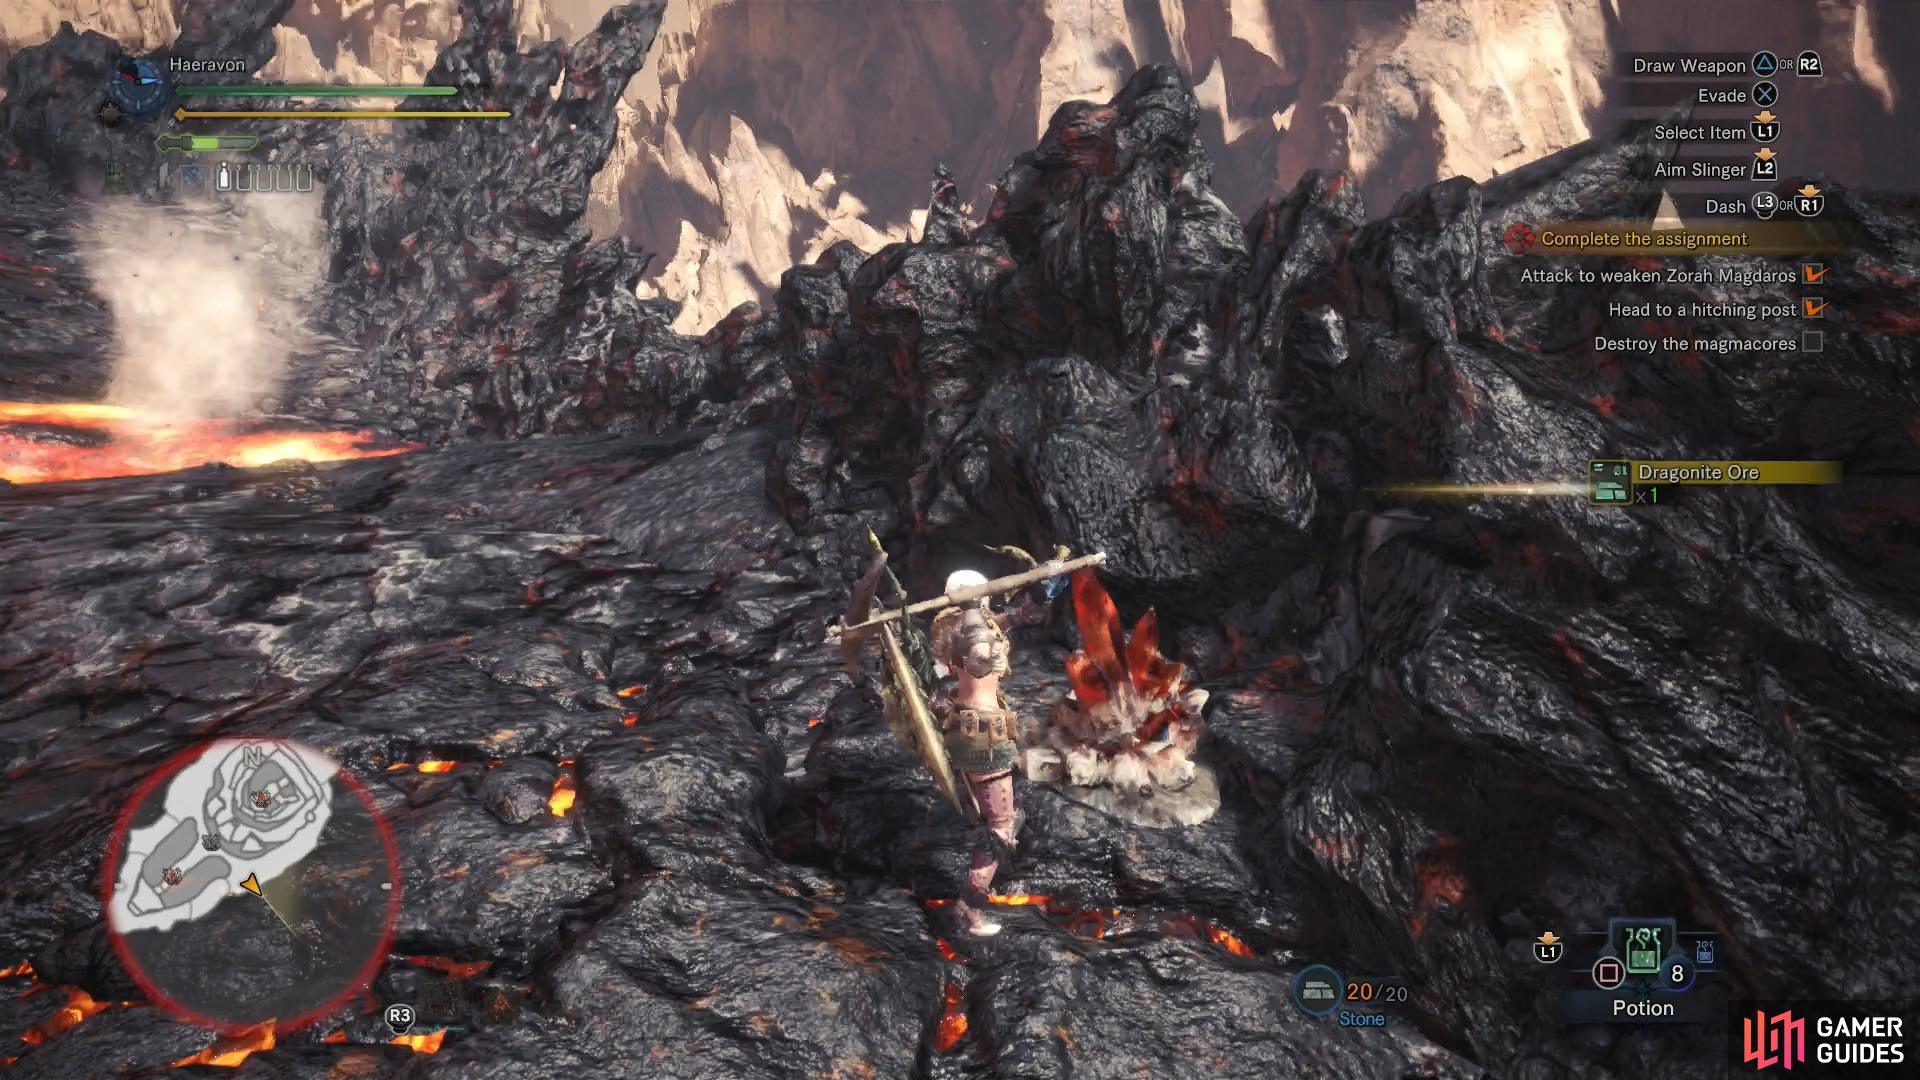
(1 of 2) Find and destroy any Magmacores on Zorah Magdaros you find, but be wary of their fiery discharge
Find and destroy any Magmacores on Zorah Magdaros you find, but be wary of their fiery discharge (left), While you’re on the mountainous monster, look out for mining opportunities (right)
There and Back Again
Brings back memories, doesn’t it? This time, however, you’re a little more well-prepared, and accordingly your goal isn’t just mere survival, but to weaken the massive elder dragon. You can achieve this by destroying some Magmacores on its back, which looks like… well, a rocky, magma spike. Suffice to say, it blends in with the rest of the beast. Maybe it’s Zorah Magdaros’s equivalent of a pimple? Whatever the case, don’t be in too much of a rush to destroy it, as you can explore the back of the elder dragon to find all sorts of mineral deposits (they look like normal mineral deposits, but the crystals are orange instead of blue) which may yield rare minerals like a Zorah Magdaros Carapace and  Dragonite Ore.
When you’re done searching for minerals, find the Magmacore. You’ll know your close when The Handler starts yapping about it. Also, you’ll take damage while you’re in the vicinity. Yay. Persevere, and when the magmatic pustule showers you with fire, roll to put out the fire then keep attacking. When it finally is destroyed, make your way to the eastern end of the elder dragon, then watch the scene that follows.
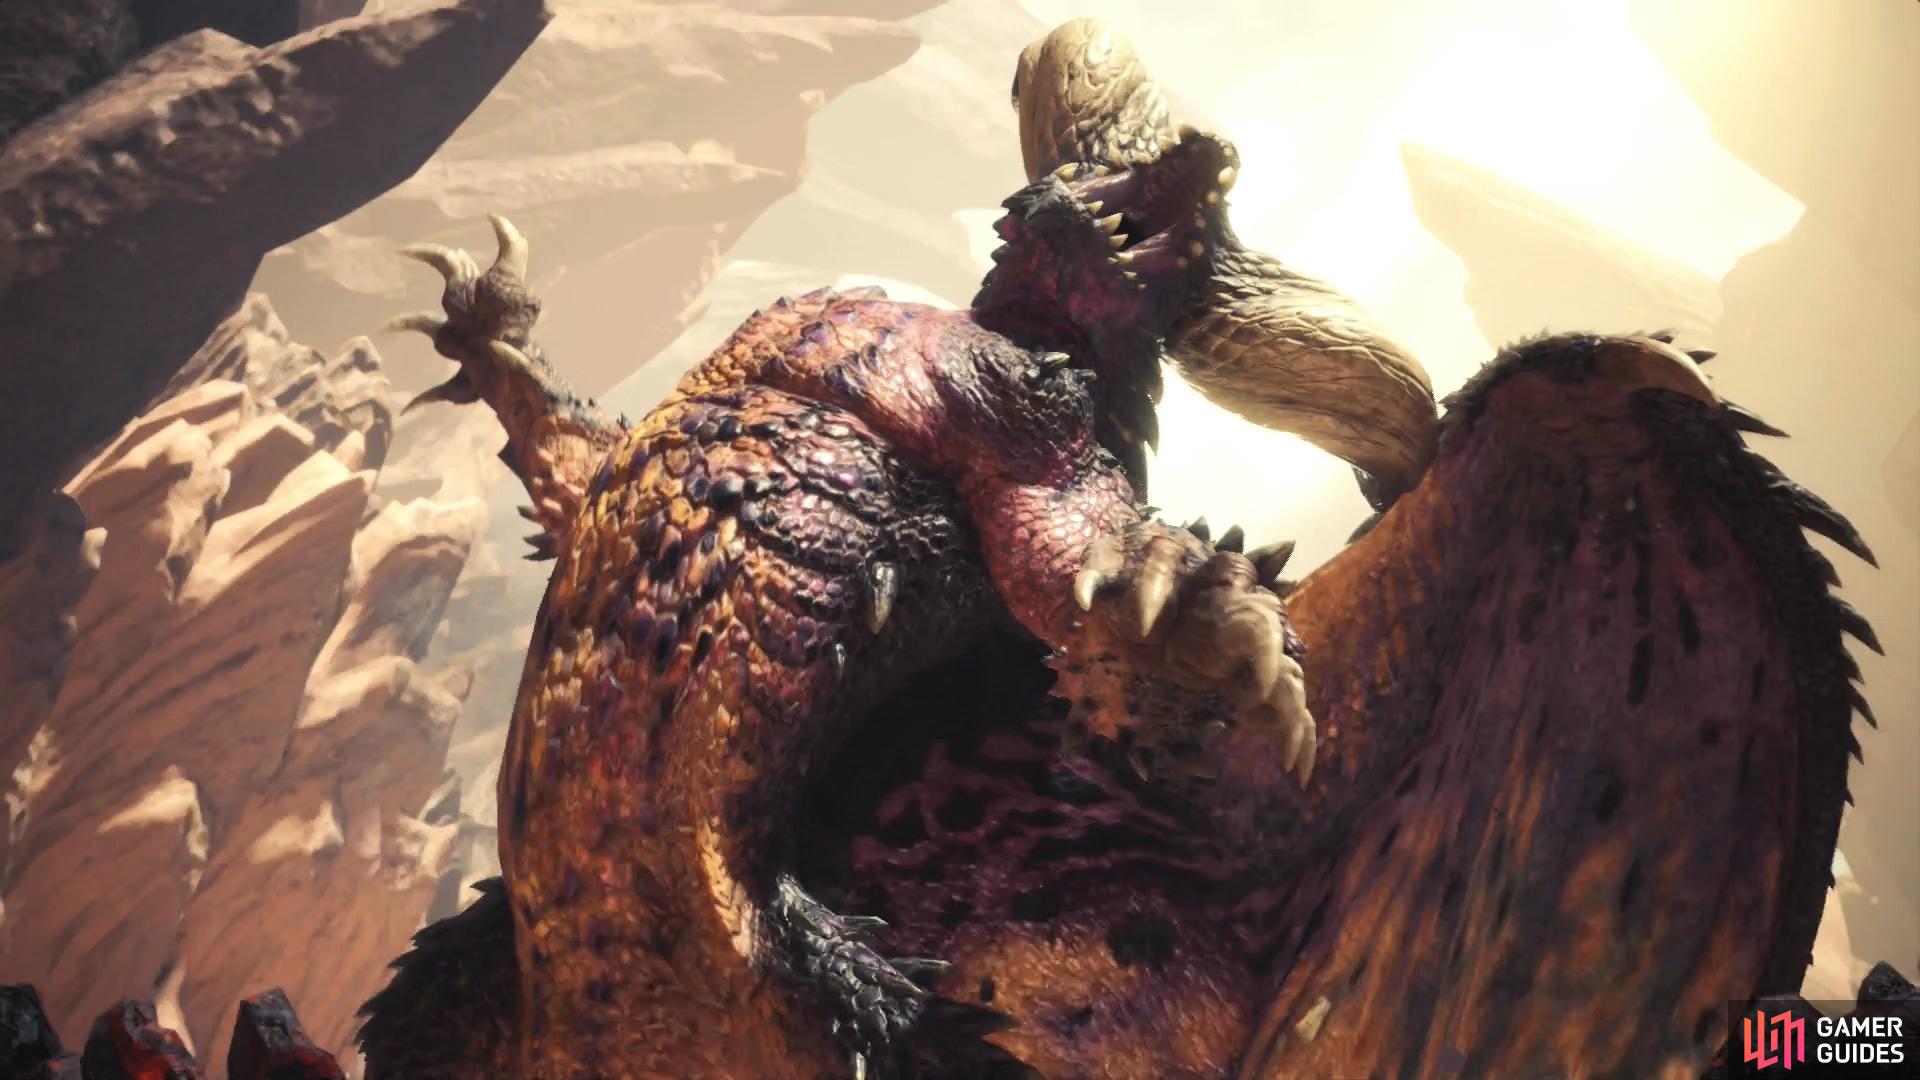
Battle on the Beast
Once you’re back in control you’ll find yourself facing off a large monster. Nowhere near as large as Zorah Magdaros, but at the moment it’s certainly more of a threat. Your goal here isn’t to secure victory, but merely survive long enough to get support from your fellow hunters. Dodge constantly and heal as needed, and after a while help will arrive and you’ll get to see how the attempt to capture Zorah Magdaros ends.
The Aftermath
After the debacle with Zorah Magdaros is over, you’ll automatically travel back to Astera, where the Commander will take stock of how things stand. Though their resources may be depleted, they resolve to fight on, opting to take advantage of a fissure that Zorah Magdaros’s activity opened up. This unlocks a third area for you to explore - the Great Ravine. Furthermore, you’ll be given the Health Booster hunter’s tool as a reward. This item creates a cloud of restorative mist you can place, which will heal you and all allies who enter it… so basically an infinite use (albeit with a cool down) area-of-effect healing item. Not bad…
Before you leave, there are a few folks who can talk to around Astera. First talk to the Commander, who will identify the monster that attacked you during the last mission as Nergigante, a beast which seems to have taken a special interest in Zorah Magdaros.
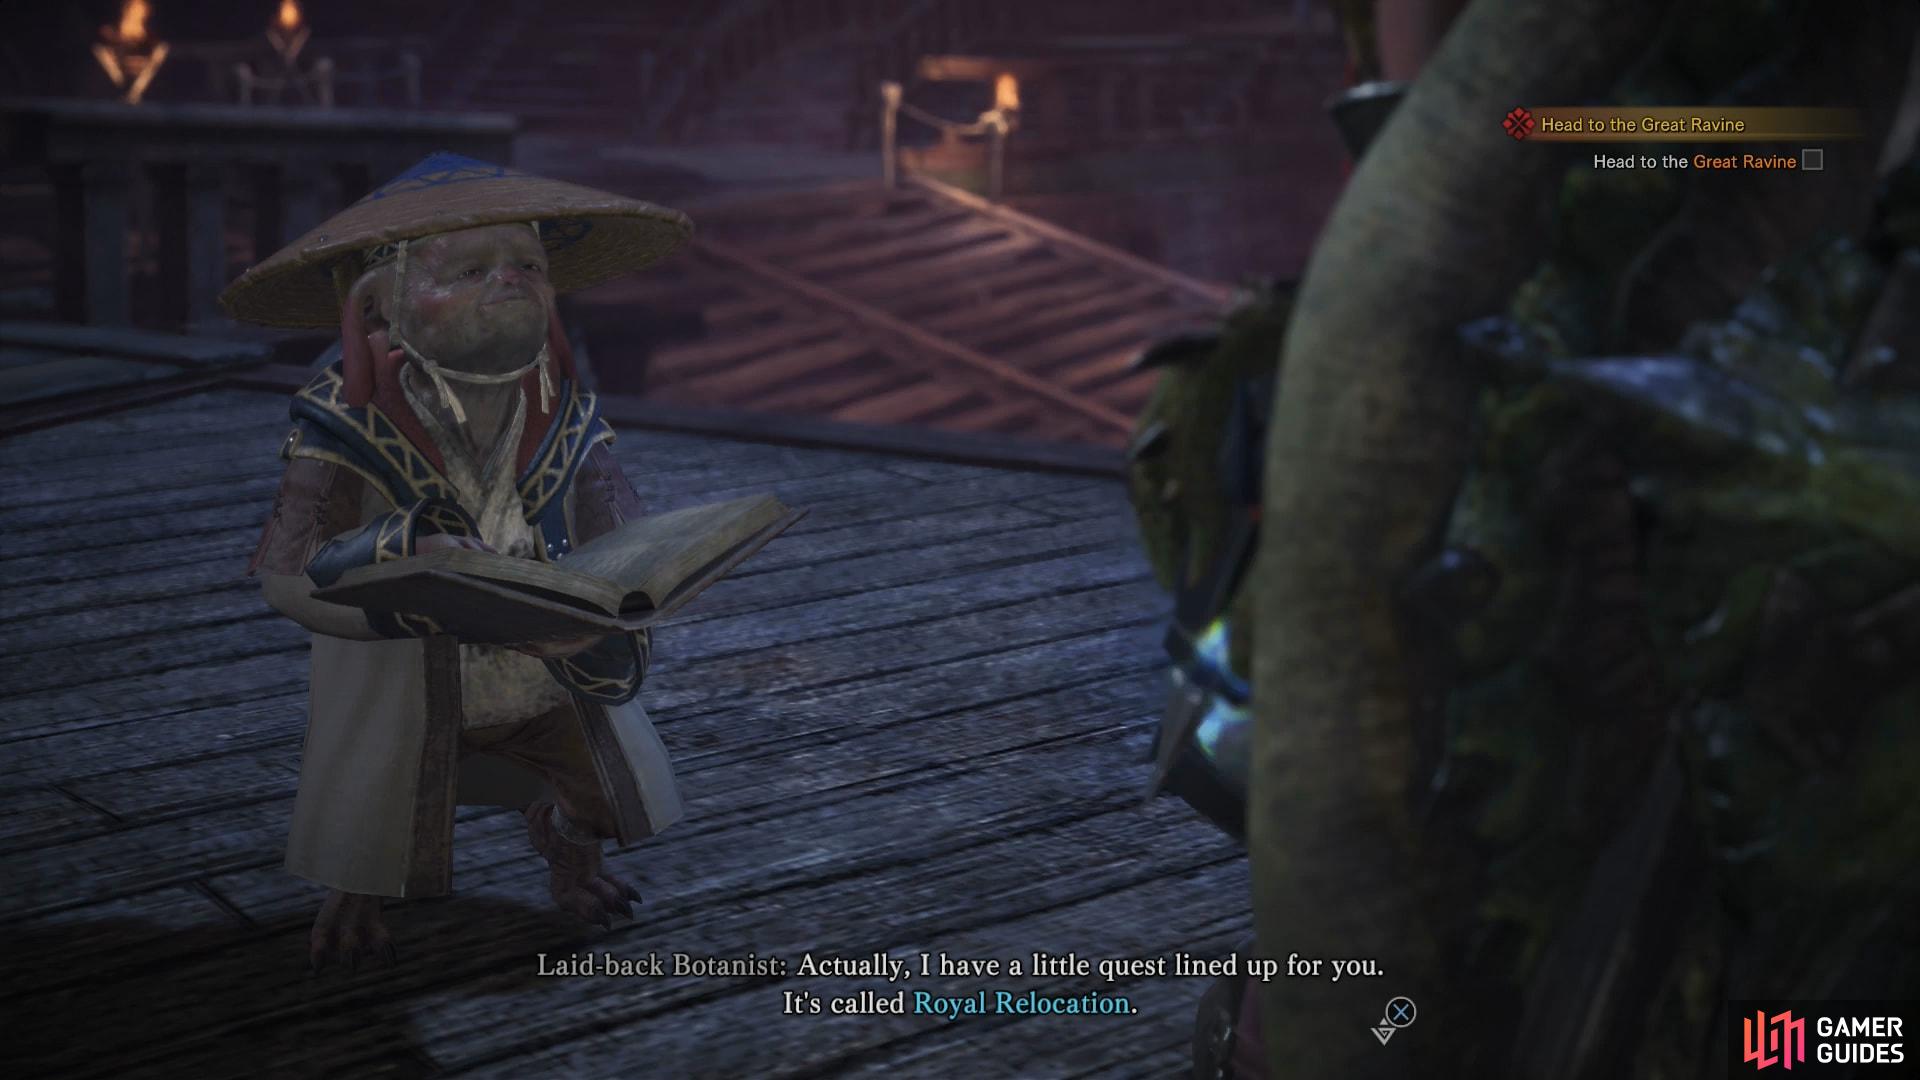

(1 of 2) Talk to the Laid Back Biologist to pick up the quest Royal Relocation
Talk to the Laid Back Biologist to pick up the quest Royal Relocation (left), The Meowscular Chef also has more egg larceny in mind for you with the quest Gettin’ Yolked in the Forest (right)
Next, make your way to the Botanical Research area and talk to the Laid Back Biologist, who will give you the quest Royal Relocation, tasking you with hunting a Rathian… for science, of course!
The Meowscular Chef - in his endless pursuit of gains - also has a new quest for you: Gettin’ Yolked in the Forest. Herbivore Eggs are one thing, but for real gains, you need them Wyvern Eggs!
Go pay the Armory a visit to find out that they’re selling new armor… although nothing you couldn’t have made a long, long time ago by now. Still, it’s worth checking out just to get rid of that exclamation point, right?
Last and certainly not least, return to the Quarters and talk to the Housekeeper, who will inform you that your actions have earned you a quality of life upgrade in the form of a new room! Pick the option “Move to a New Room”, then pick the option “Private Quarters” to move out of the old Living Quarters area and into a more spacious, more private, abode. Not half bad! This room has all the amenities of the old one, with the benefit of more places for pets. On top of the “Floor” option that the Living Quarters had, the Private Quarters has a “Pot Area”, a “Tree”, a “Ceiling”, and two “Aquariums”. Nice.


With that, you’re done in Astera for now, time to get back to questing. As usual, optional quests will be covered first, followed by the next assignment… which is actually an expedition to the Great Ravine.

 Sign up
No Comments