
| Quest Info |
|---|
| Objective: Capture a Kula-Ya-Ku |
| Reward Money: 2520z |
| Time Limit: 50 min. |
| Conditions: HR 3 or higher |
| Failure Conditions: Time Expires / Faint 3 Times / Kula-Ya-Ku is slain |
| Other Monsters: Apceros / Kestodon / Gajau / Noios |
This quest isn’t too different from a standard hunt, and you should already know what to expect from a Kula-Ya-Ku. The difference here, then, is preparation. Visit the Provisions Stockpile and buy at least one Trap Tool, but ideally you’ll get a couple. They cost 200z each, they’re not individually expensive, but it can add up.
Next you’ll need some Thunderbugs, Sleep Herbs and Parashrooms, all of which can be found in the Ancient Forest. Many of these are more abundant in the upper boughs of the Ancient Forest, but Thunderbugs and Parashrooms can be found near the Northeast Camp, as well. Sleep Herbs are abundant in the Wildspire Wastes, particularly in AREA 4 and AREA 9, and a cluster of three Parashrooms can be found in AREA 5.
When you have those components, go interact with your Item Box and select the “Crafting List” option, which will allow you to craft with all your resources at your disposal. Craft at least one Shock Trap and at least two Tranq Bombs - or get some EZ versions from the Supply Box (capture missions tend to give you the tools outright, along with a bonus Trap Tool in case you need more). Keep in mind you can only carry type of each type at a time, although the EZ versions do not conflict with normal versions, so you could carry a Shock Trap and an EZ Shock Trap at the same time. You can also carry two Trap Tools and some Thunderbugs, giving you the ability to craft more Shock Traps on the go, if necessary.
Now that the how has been covered… how about the why? Capturing monsters is ideal for two good reasons; first, you don’t actually have to do all the work of killing the monster. As soon as it has a skull by its icon, just follow it back to its lair, wait for it to sleep, then drop your Shock Trap. Failing that, if it refuses to retreat, just drop your Shock Trap near it. Once ensnared simply run up to it and drop a Tranq Bomb or two near its head. Taa-daa! Captured monster. The second reason to capture them is simply because you get greater rewards for doing so. What’s not to like? Less hassle, more rewards.
As for the quest itself, this hunt takes place in the Wildspire Waste, not your usual Kulu-Ya-Ku stomping grounds in the Ancient Forest. That said, the critter likes to steal eggs, and there are at least two nests in the Wildspire Wastes, a Rathian nest in AREA 12, and an Apceros nest in the southern reaches of AREA 4. The Kulu-Ya-Ku lairs in a cave along the northwestern end of AREA 6.
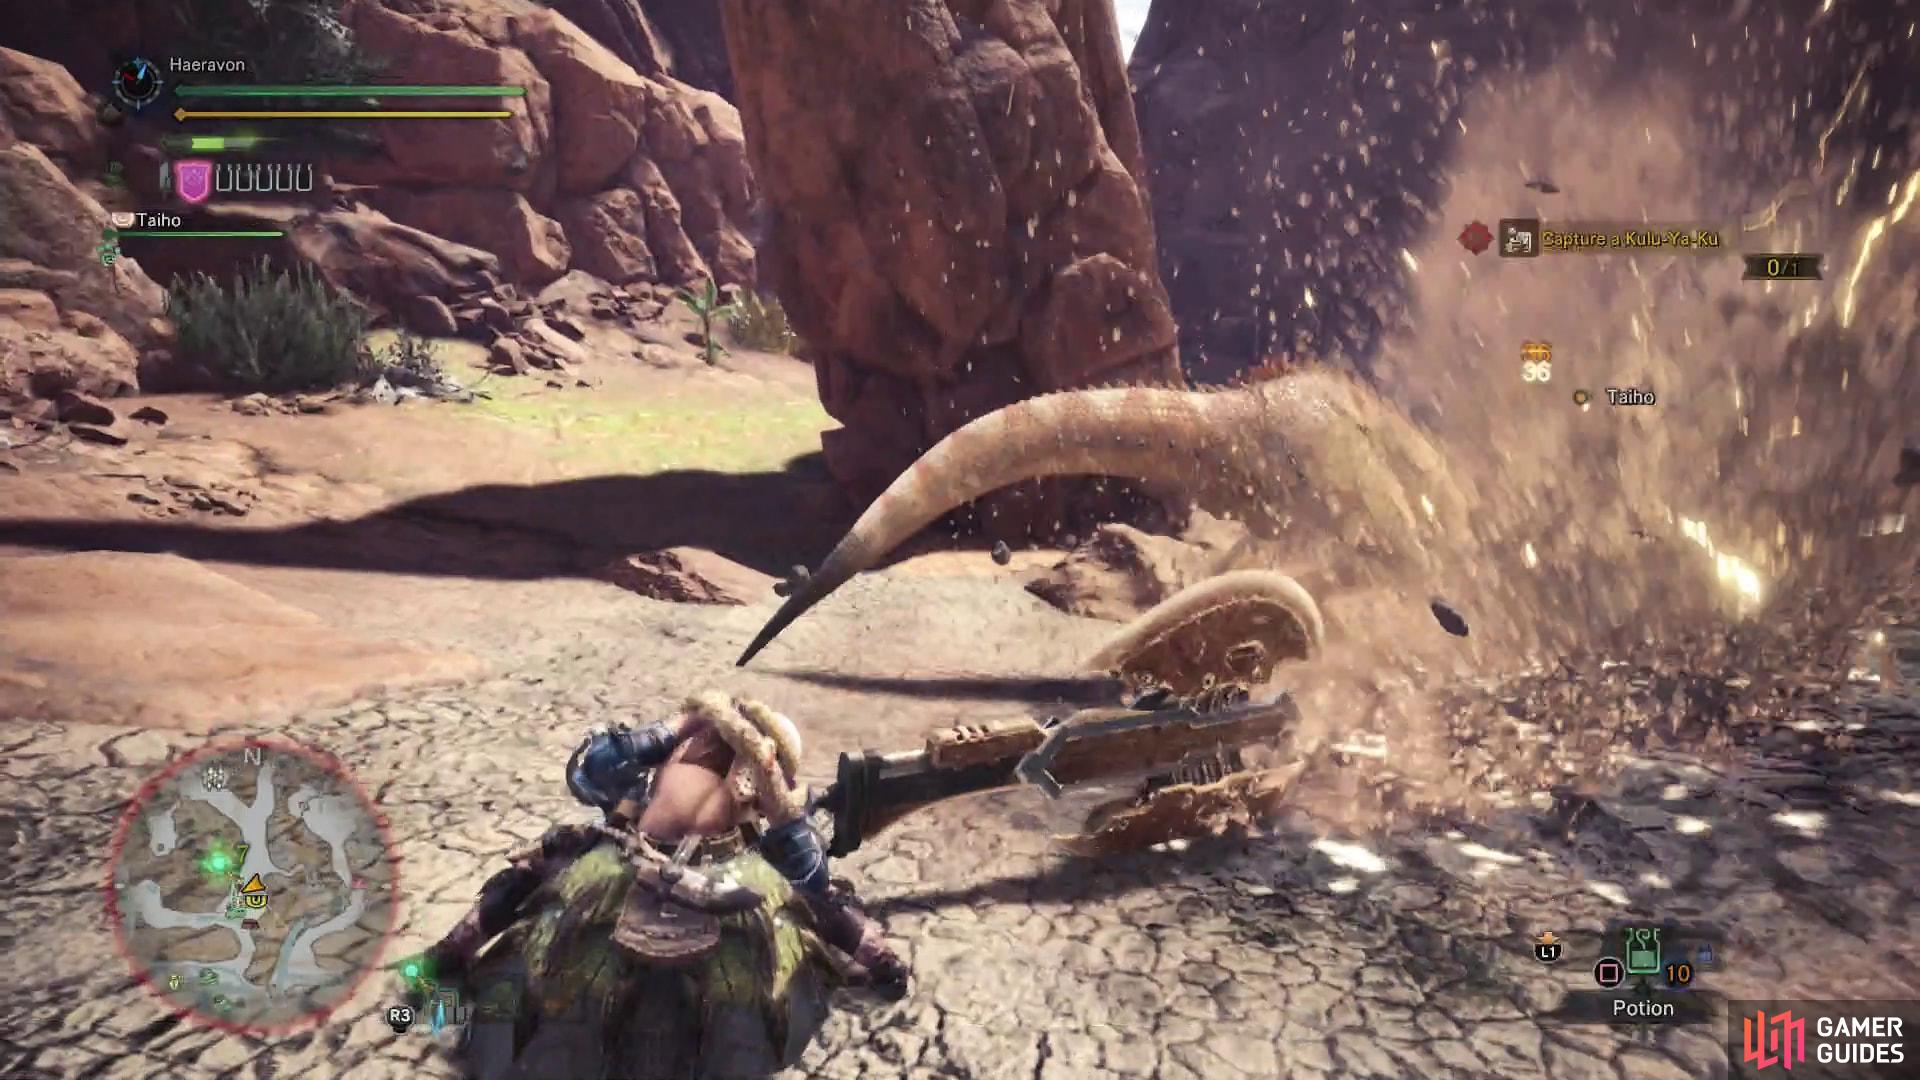
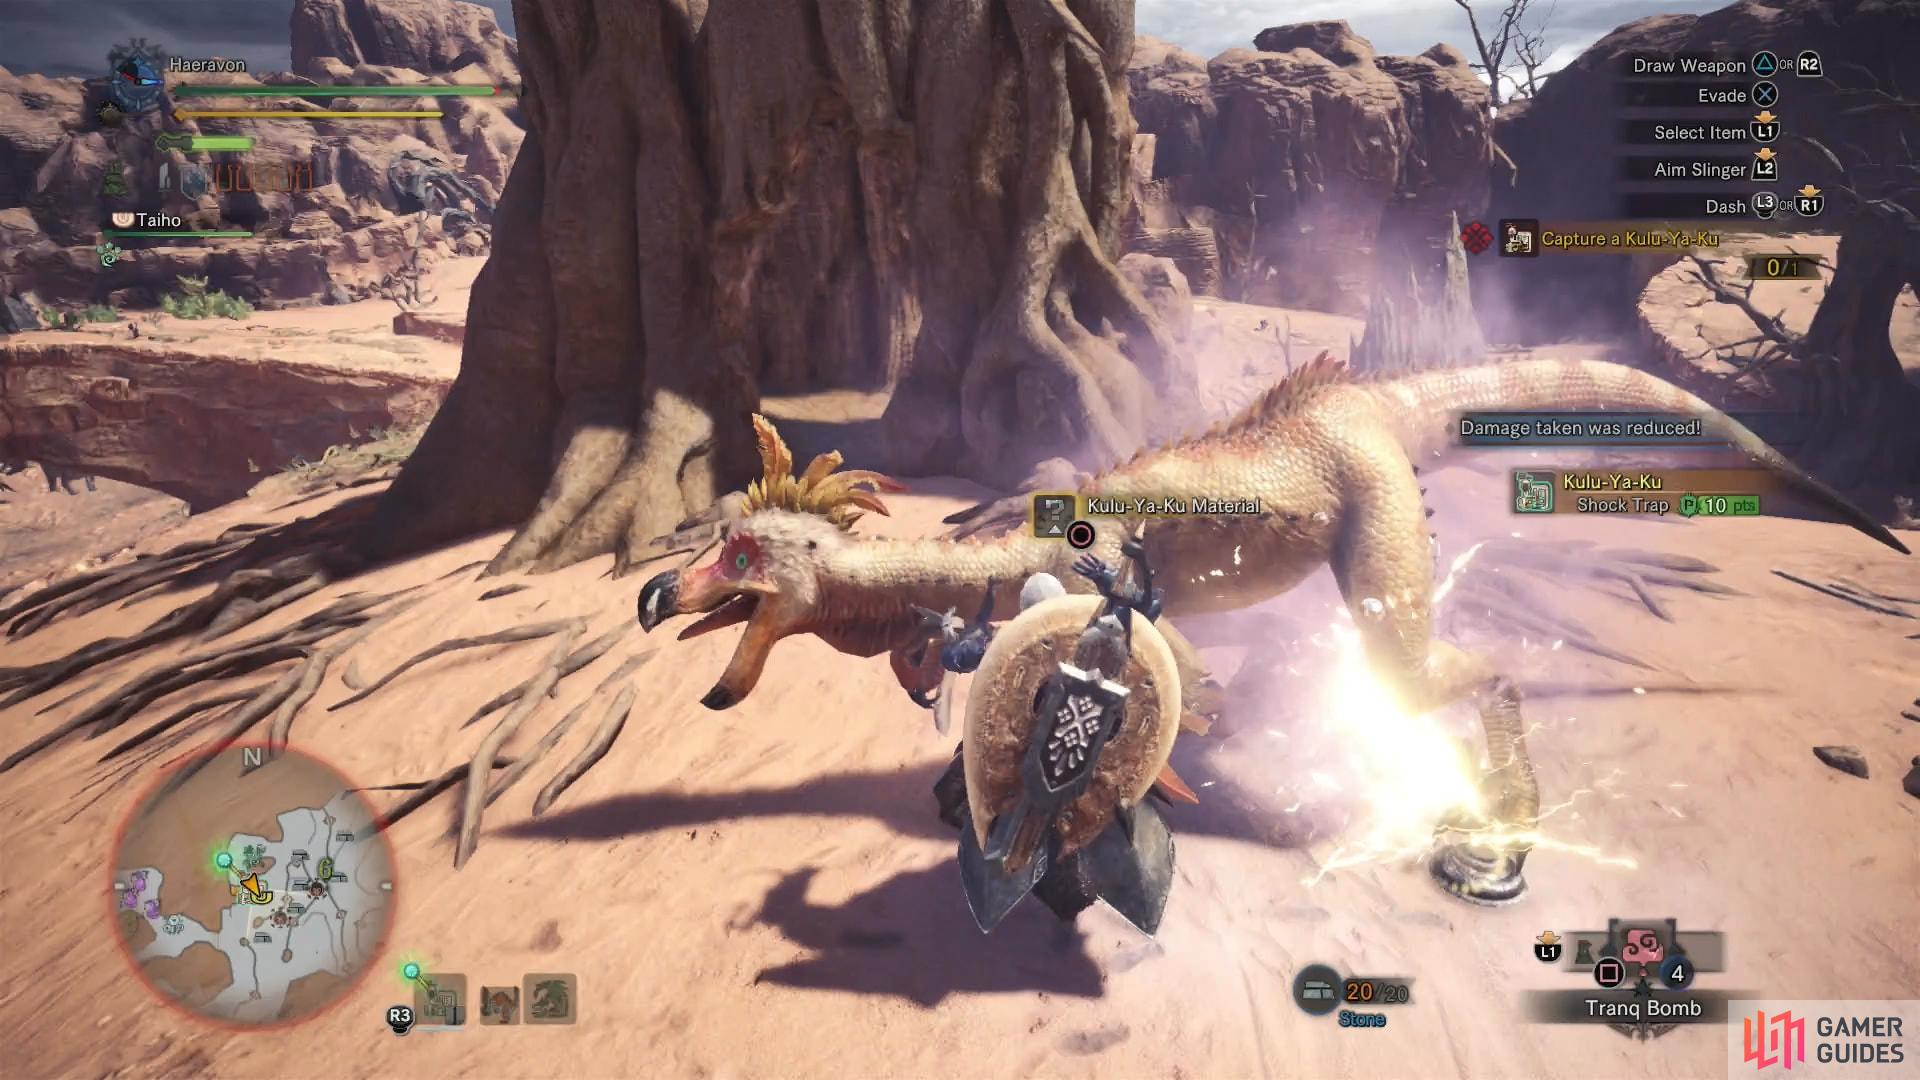
(1 of 2) Wear down the Kulu-Ya-Ku like normal
Wear down the Kulu-Ya-Ku like normal (left), then trap and tranq the monster (right)
So much for the build up, the execution is, by comparison, pretty simple. Or at least, redundant, in that you’ve already fought a Kulu-Ya-Ku, and should already know how to fight one. Be sure to research it thoroughly before engaging - if your Scoutfly Level isn’t three, you won’t know when it’s near death save by watching its mannerisms. If he head for its aforementioned lair, that’s an obvious sign it’s hurting… but a skull by the icon is more fool-proof. When it’s nearly dead, drop a Shock Trap near it, then drop a Tranq Bomb (or two, just to be sure) near its head.
After completing the quest Snatch the Snatcher, return to Astera and find the Smart Biologist in the northwestern end of the city, near the Ecological Research station. He’ll reward you with 500 Research Points, after which you can immediately talk to him again and he’ll have another request for you. This time he wants you to capture a Barroth, and to this end posts the quest Landing the Landslide Wyvern.

 Sign up
No Comments