
You’ve been around the Wildspire Waste a few times at this point, but there are a few things you can do here on expedition that you may not have taken care of earlier. Now’s the time to deal with these little free-form quests that may otherwise go neglected.
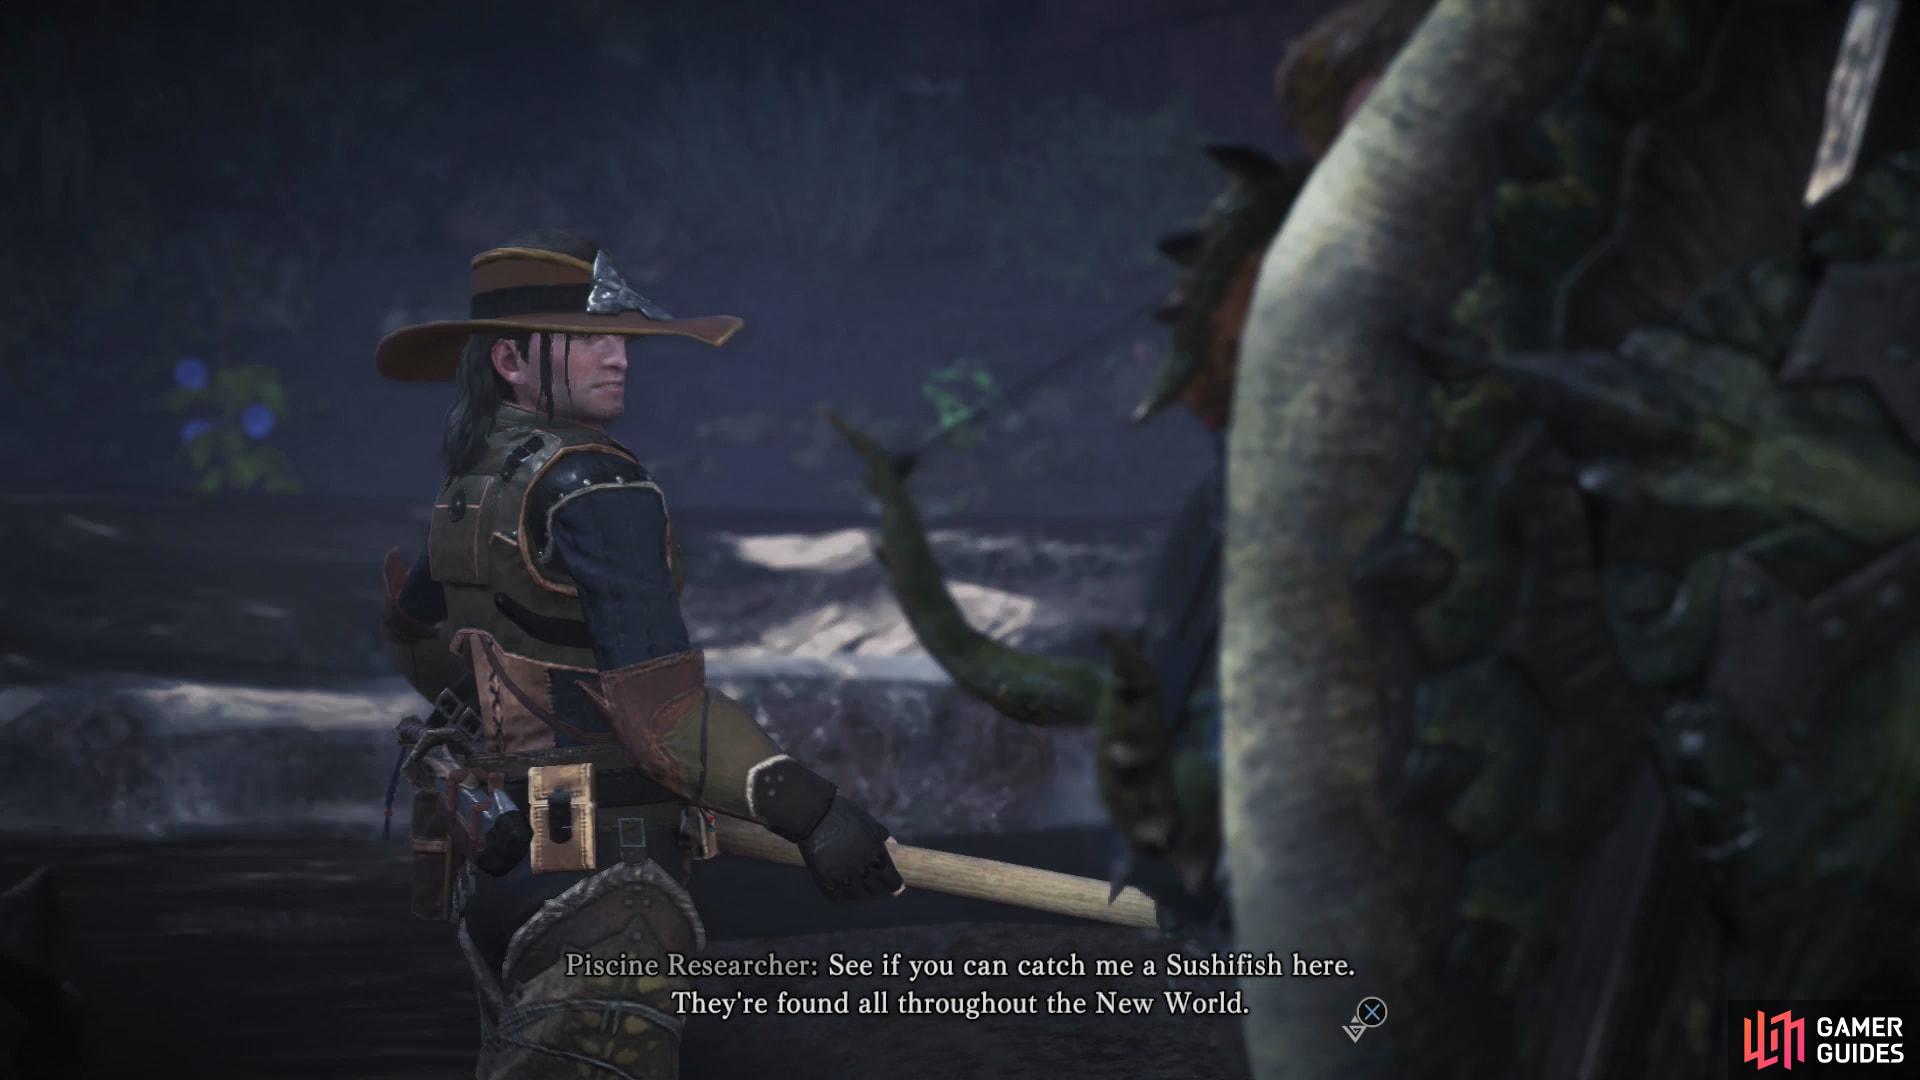
(1 of 2) Talk to the Piscine Researcher in the Wildspire Waste and he’ll challenge you to capture a Sushifish
Talk to the Piscine Researcher in the Wildspire Waste and he’ll challenge you to capture a Sushifish (left), You need not travel far to find a fishing spot, almost any will do, as Sushifish are ubiquitous (right)
Research Help: Sushifish Capture
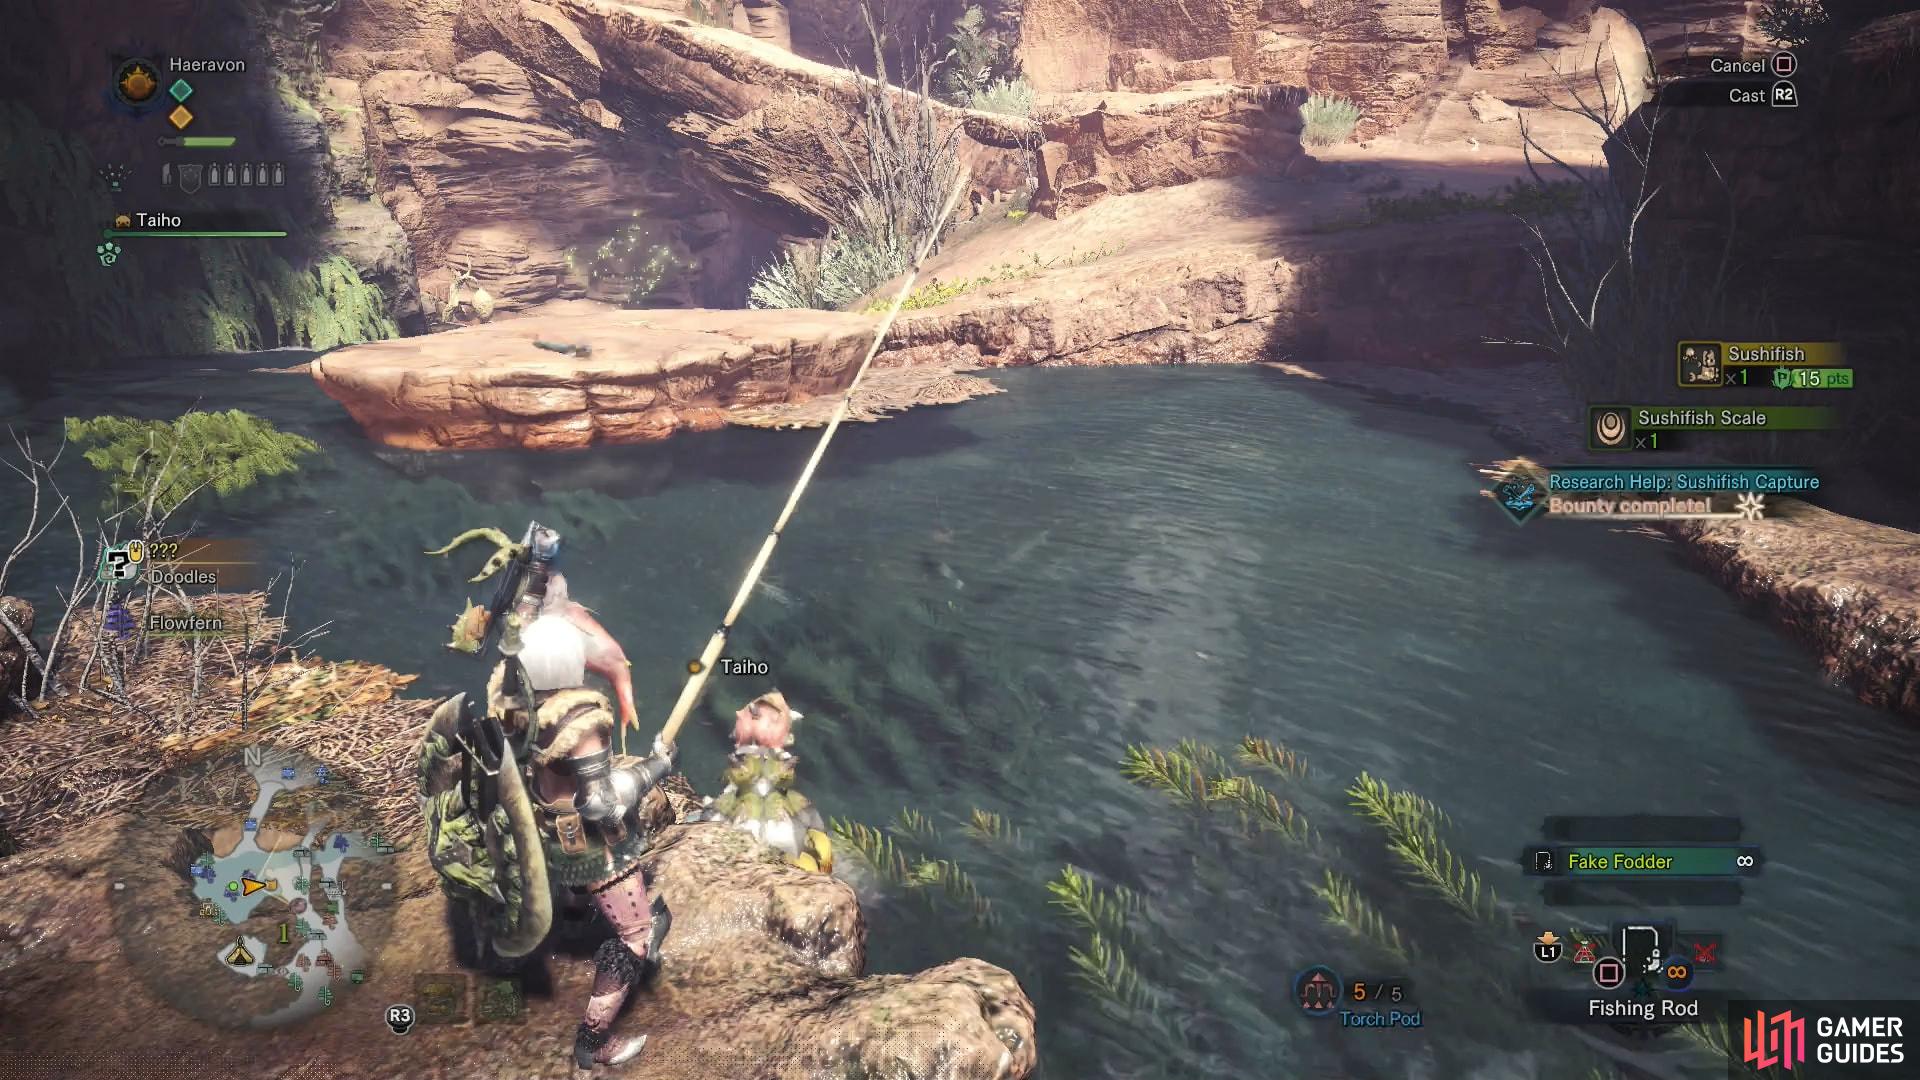
First up, head to a watery area north of the Southwest Camp to find everybody’s favorite Piscine Researcher, who has another challenge for you. This time he expects you to catch a Sushifish. This starts the Critical Bounty Research Help: Sushifish Capture. Just head east to find a humble fishing spot where you may find Sushifish and try your luck. Just note that you don’t need to catch your Sushifish here, nor can you turn this bounty in until you return to Astera anyways.
Cultural Exchange: Wildspire Waste
As in the Ancient Forest, Grimalkynes dwell in the Wildspire Waste, and you’ll find their doodles scattered about the desert. Find them, raise your Scoutfly Level, then follow the Scoutfly trail to the northeastern edge of the wastes (AREA 8) where you’ll find a hole you can jump down. Do so and crawl into some nearby side chambers to find another tribe of Grimalkynes - the Protectors. One of them will inform you - or rather, your Palico - that three of their buddies went missing after an encounter with a Barroth, and they want you to bring them back. Sounds simple, right? Well, not quite. The Grimalkyne aren’t familiar with you, so they may not come willingly. You’ll have to use your Slinger net to catch them, and of course, you’ll have to track them down, first.
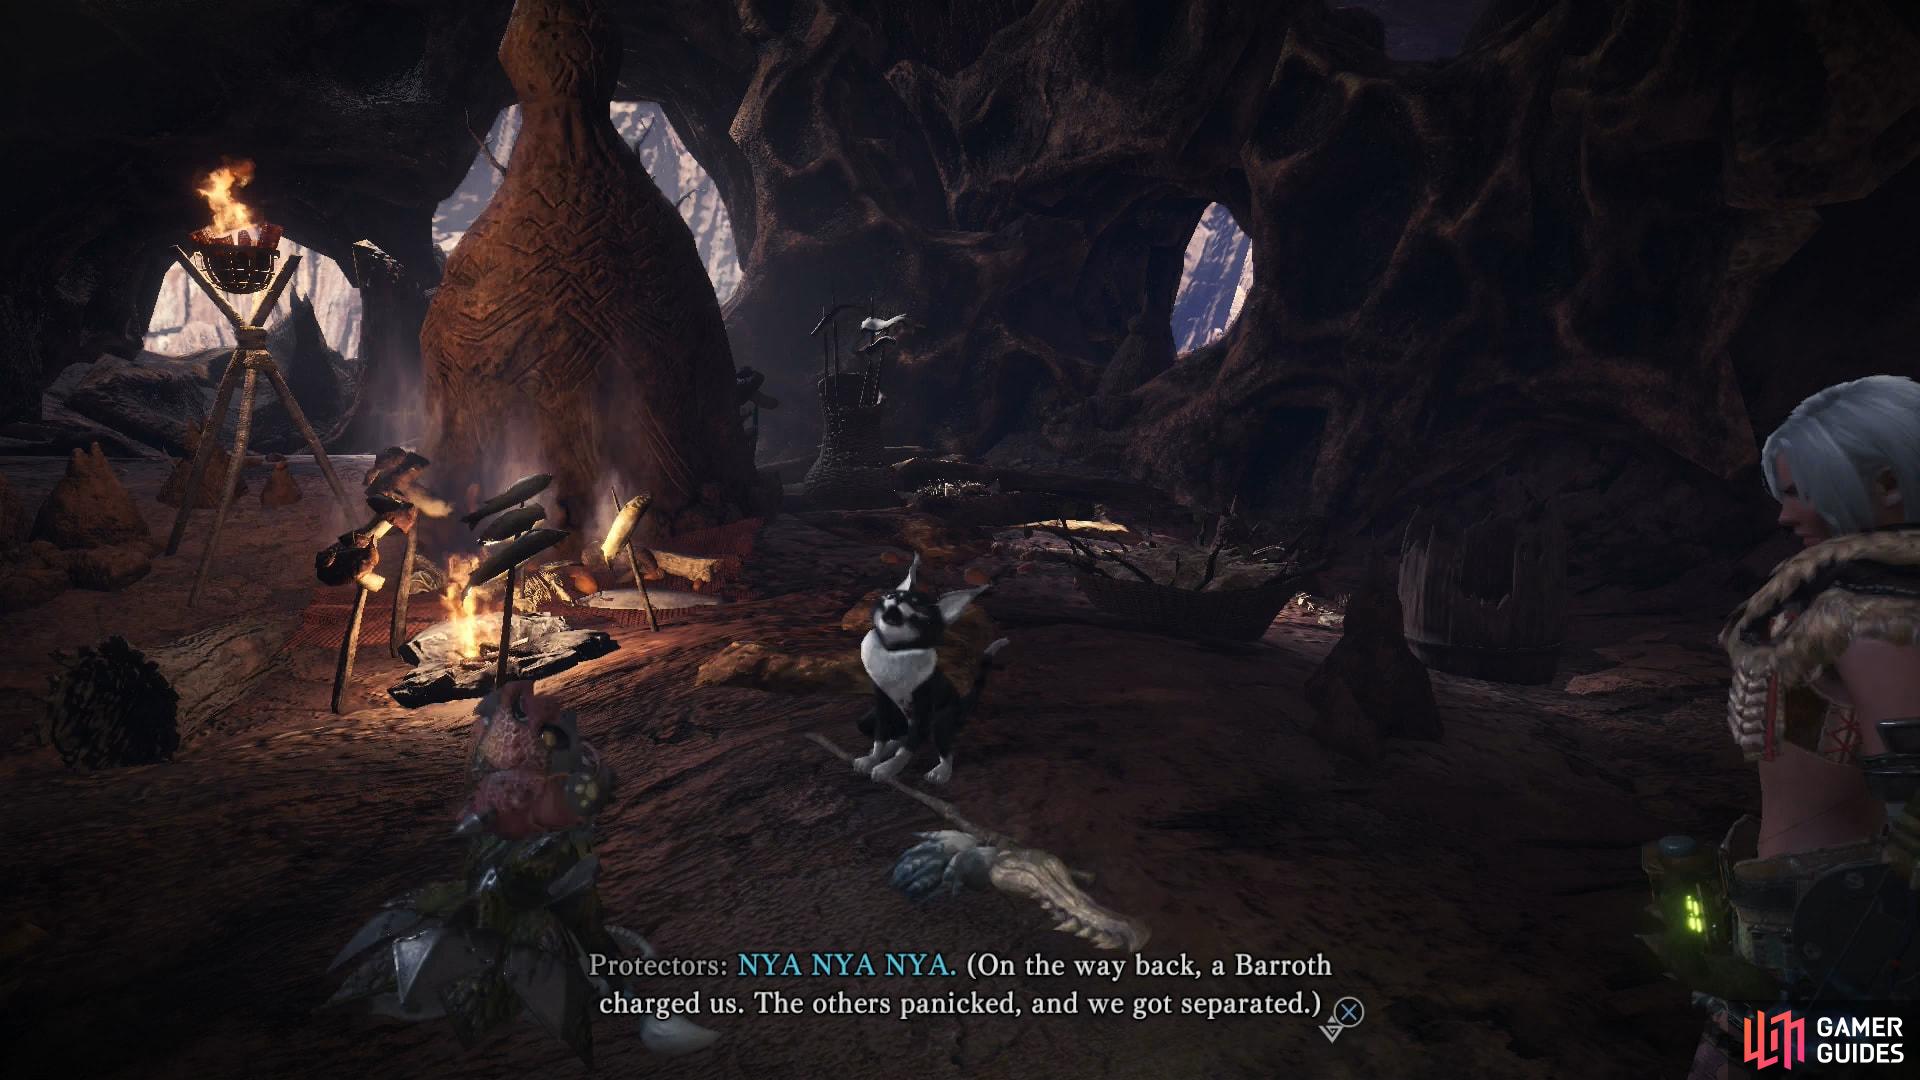
(1 of 2) Locate the Grimalkyne lair and they’ll ask you to capture… err… rescue their missing friends
Locate the Grimalkyne lair and they’ll ask you to capture… err… rescue their missing friends (left), You can be sneaky if you wish, or you can simply rush up and spring your Capture Net before they get away (right)
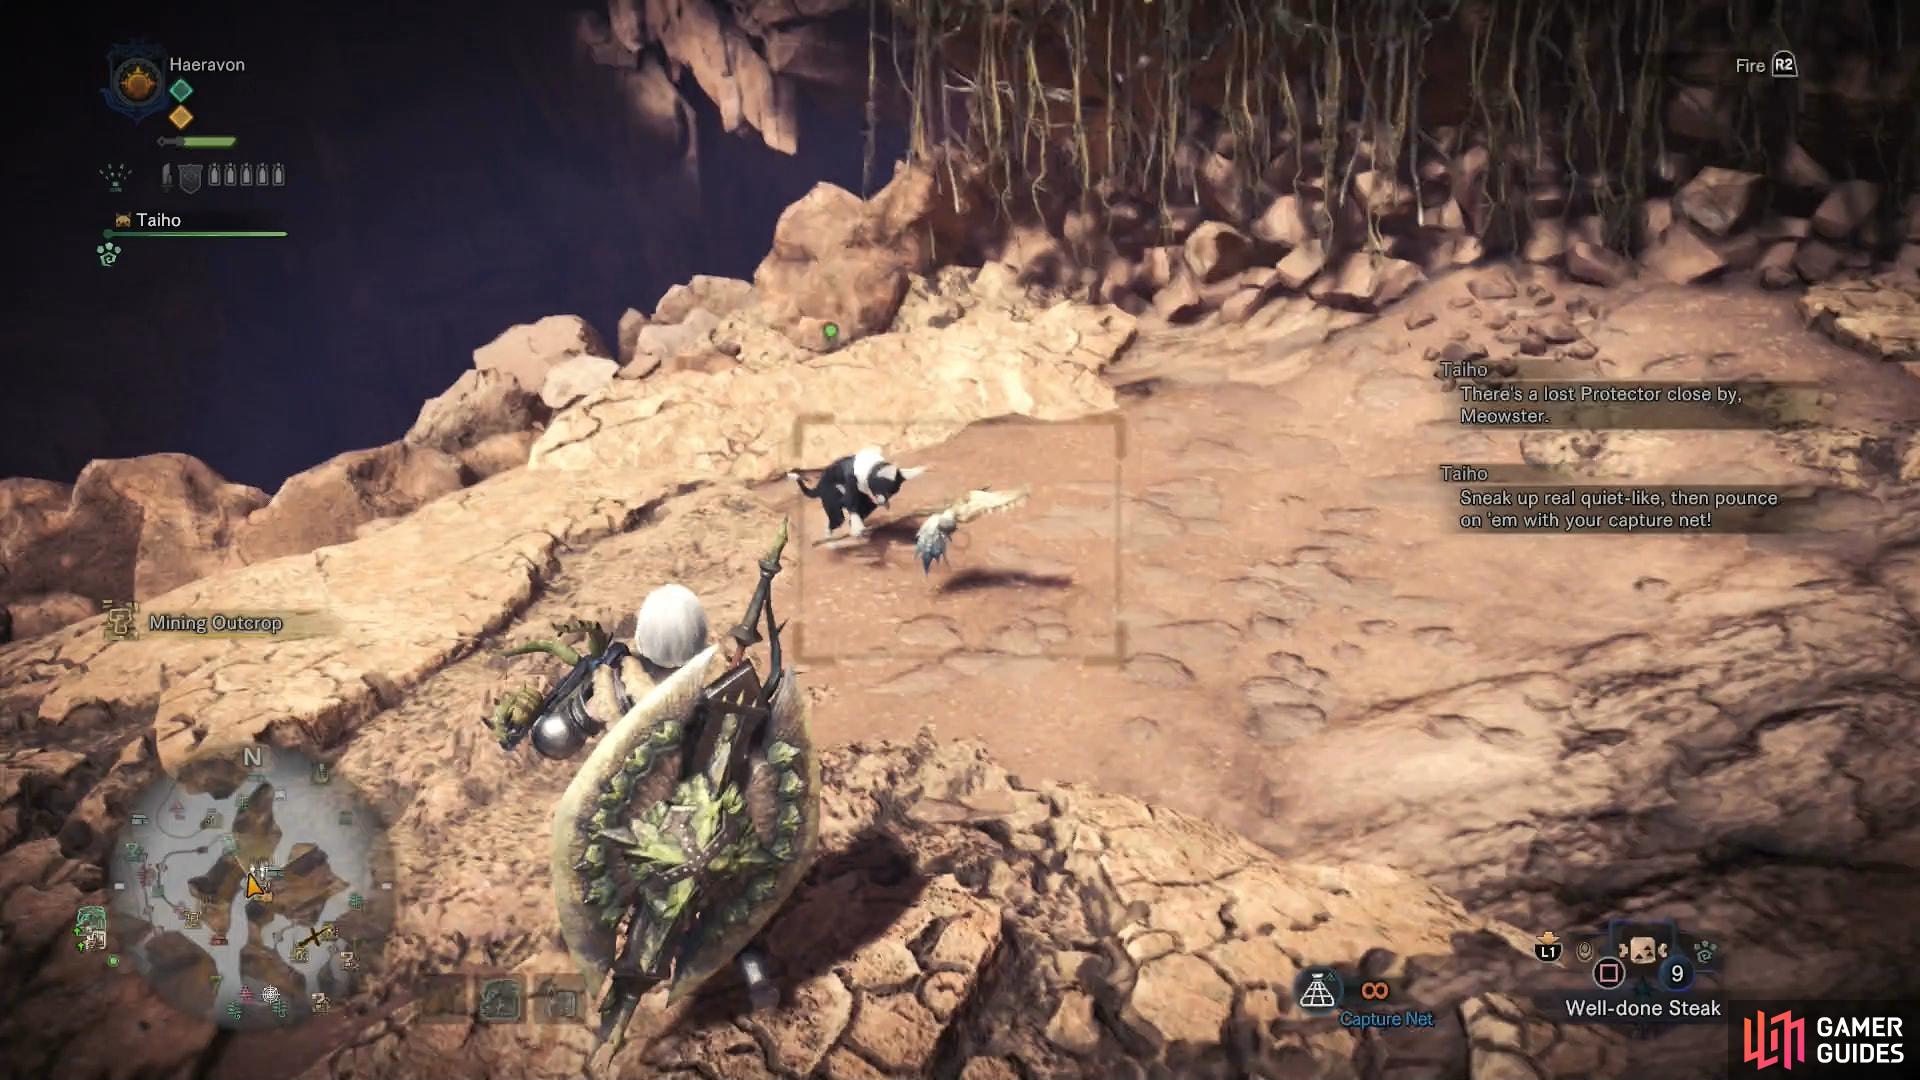
No sense in putting it off, time to hunt some Grimalkyne! You’ll find your first one along the northern end of AREA 7, in a depression between two vine-covered cliffs. Another can be found in the tunnel in AREA 11, while a third can be found along the west-of-center of AREA 10, on an elevated, dry rock near some waterfalls. If the Grimalkyne spot you approaching, they’ll start to burrow, and if they get away they’ll resurface in one of the three areas described above. You can be subtle, but frankly, running up to them and just shooting the Capture Net as they burrow into the ground works well enough.
Capture all three, then return to the Protector’s hideout to complete the bounty, which will gain you a temporary Grimalkyne companion and the Palico tool Shieldspire. Also, your Palico can now talk to and recruit Kestodon, giving you more options when it comes to recruiting Tailraiders.
Setting Up Camp: Wildspire Waste II
While you’re here, there’s another camp nearby you can unlock. Leave the Grimalkyne lair and from the hole you crawl through to reach their lair turn west to spot a vine-covered cliff. Jump down the cliff and continue west into another small cavern, at which point The Handler should comment on the feasibility of setting up a camp here. This should get you the delivery request Setting Up Camp: Wildspire Waste II, which you can complete by turning in one Coral Bone and 500 Research Points… so you may need to wait until you gain access to a new area before you find the requisite materials.
Research Help: Carrier Ant Capture
East of the Southwest Camp you’ll find the Endemic Life Researcher, who is on the hunt for more critters. This time she seeks some Carrier Ants, and… she’s standing right next to some. There’s plenty of them about, and this is a good thing, as she wants you to capture nine of them. You can easily net three in one shot, too, so you really need only find three colonies. This starts Research Help: Carrier Ant Capture.
As stated before, the Endemic Life Researcher is standing on top of a trail of Carrier Ants, so just load your Capture Net and let loose. You’ll find another colony to the northwest, and a third can be found to the southwest of the Endemic Life Researcher. More colonies can be found along the northern end of AREA 8, but you can also just wait a minute or so and the colonies here will respawn.
When you have nine Carrier Ants, return to the Endemic Life Researcher to satisfy her request… but you’ll still have to report to the Resource Center in Astera to get your reward.
Setting Up Camp: Wildspire Waste I
Now that all those tasks are done, it’s time to find some new camps! Near the center of AREA 7 you’ll find a fork, with one path continuing northeast to AREA 8, while another splits off to AREA 6. Head up the path to AREA 6 and keep your eye on the southern cliffs until you find a cave. Jump or climb down the ivy-covered cliff and explore the interior until you get a notification from The Handler telling you about a new delivery request Setting Up Camp: Wildspire Waste I. To complete this you’ll need to turn in two Vespoid Shells, one Monster Bone M and 300 Research Points, all of which are easily obtained by completing quests in the Wildspire Waste.

 Sign up
No Comments