
The chapter begins with everyone deciding on the location of Evan’s new kingdom, with Roland settling on the Heartlands. The only problem will be the bandits on the way, so it looks like a couple of the pirates are coming with you. One of them, Batu, even joins your actual party. This will prompt a tutorial, as you can only have three characters in your active party, so you’ll need to put someone in your reserves. Your reserves will still earn experience, but slightly less than your active party.
Exit the base when you’re ready and open your map. You should see the objective marker to yout south, not too far northeast from Cloudcoil Canyon. In fact, you want to take that little path as if you were going to Cloudcoil Canyon, but head northeast from there. Once you reach the marker, Batu will stop you and say it’s time to take down the bandits. Instead of normal battles, though, you will be conducting a Skirmish. These are army-on-army battles in which Evan will take to the field to command up to four units. To start a skirmish, approach the standard (flag) planted in the ground and order your soldiers to form ranks.
The Battle for the Heartlands
Your main party levels do not transfer over to the skirmishes, so you will begin at level 1, which is what this skirmish level is. Interact with the flag and pick “yes” to begin the skirmish, where you’ll be brought to the briefing screen. Here, you can bolster your forces, inspect the enemy, muster your forces (change out the units), and mobilize your forces (start the battle). Go ahead and start the skirmish when you’re ready, which will put you out on the field.
The way skirmishes work are that you control Evan and the four units you bring into battle surround him (you will only have two for this one). Whenever a unit encounters an enemy, it will attack automatically and you can rotate units with the L1 and R1 buttons. Using this knowledge, go ahead and fight the four enemy units ahead of you, knowing full well your characters will decimate them very quickly. Once you take them out, you will receive a short tutorial on the might gauge. This bar is in the bottom right and you can either hold down X or Square to do one of two things. The X button will allow you to do a Quick March, while Square lets you to an All-Out Assault. The gauge will deplete while holding down either button.
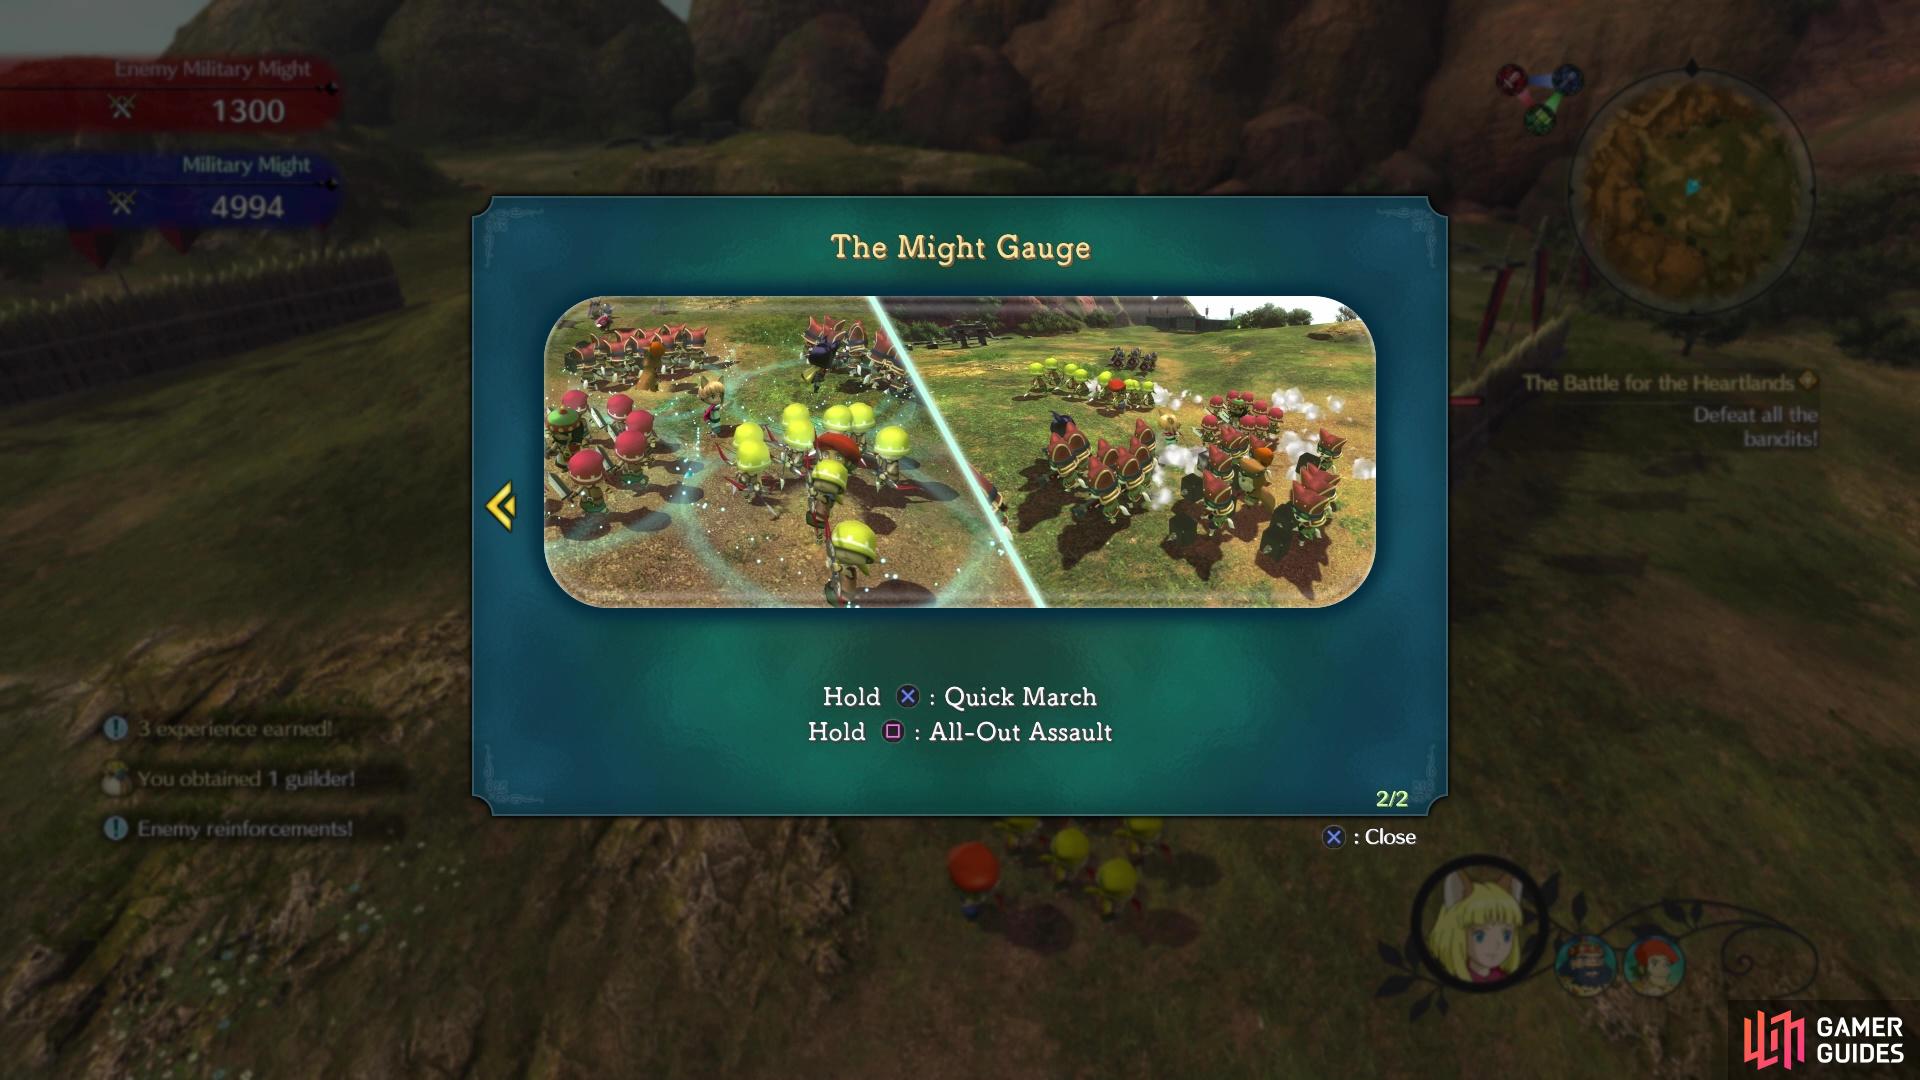
(1 of 2) Hold down X or Square during skirmishes to perform special maneuvers
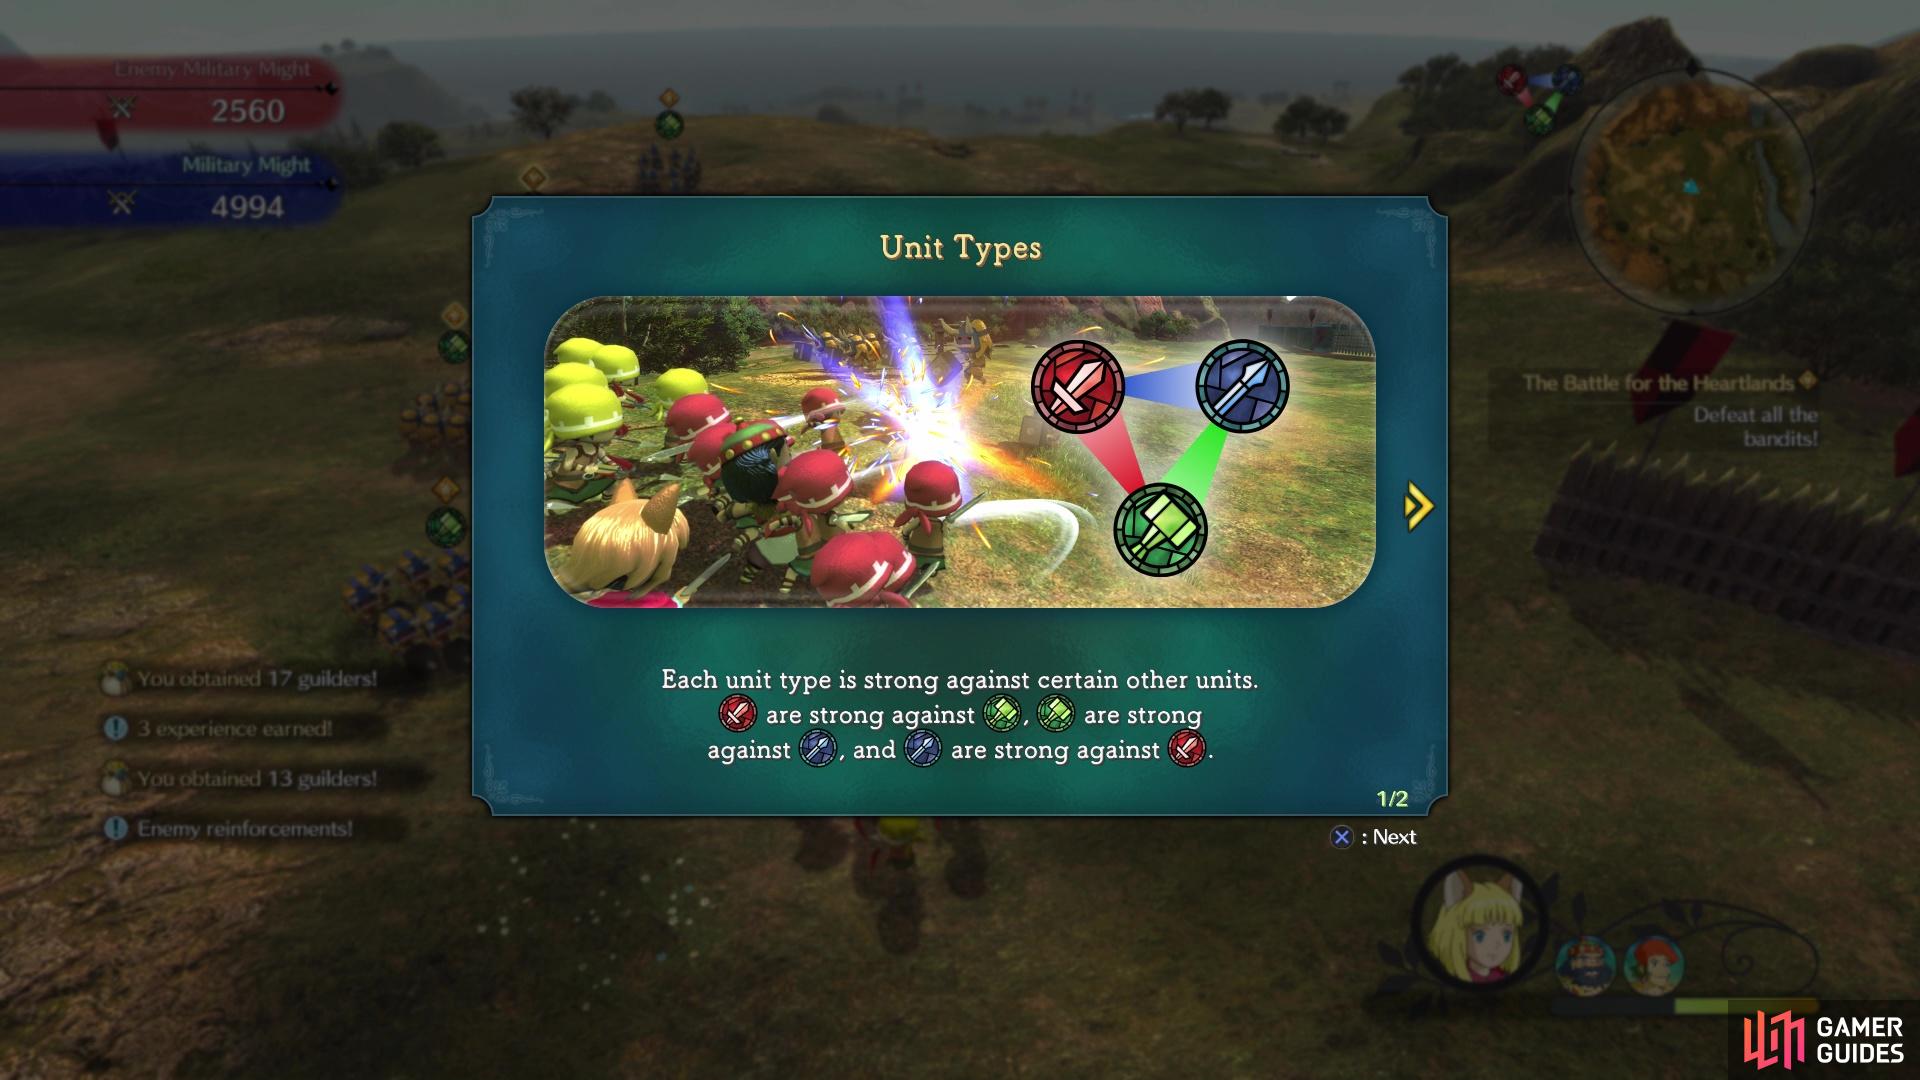
Hold down X or Square during skirmishes to perform special maneuvers (left), The weapon triangle is very important during these battles (right)
Defeat the next group of enemies that appear, using the above knowledge if you want, then you’ll see another tutorial, this one on unit types. This is basically a rock-paper-scissors situation, where each unit is strong against a second unit, but weak against a third one. In this instance, sword is strong against hammer but weak to spear, hammer is strong against spear and weak to sword, and spear is strong against sword and weak to hammer. When your troops are at an advantage, you will see a blue arrow, while a red arrow indicates a disadvantage. The next four enemy units are all hammer, so keep your sword one out front to defeat them.
Next up is a tutorial on special tactics, which each individual unit has. Whenever the Special Tactics Gauge is full, hold down R2 and press the corresponding button to use the tactic. Note that this uses military might, which is shown in the upper left corner of the screen. Chingis will be able to call in an airstrike, while Khunbish can temporarily freeze an enemy unit. That will bring you to the next battle on the map, which is definitely more challenging than the previous ones. You have an elite unit in the fray, so you’ll need to be careful and use up some of your special tactics to sway things in your favor.
You’re likely hurting after that previous battle, and you can keep an eye on a unit’s health by the number of soldiers it has remaining. Should you need some extra troops, you can hold down the Circle button to summon more, but it will cost you some might. Approach the gate to make it open, then blow through the next set of enemy units. Note that there is an enemy archer tower near the one unit, so be swift in taking it down.
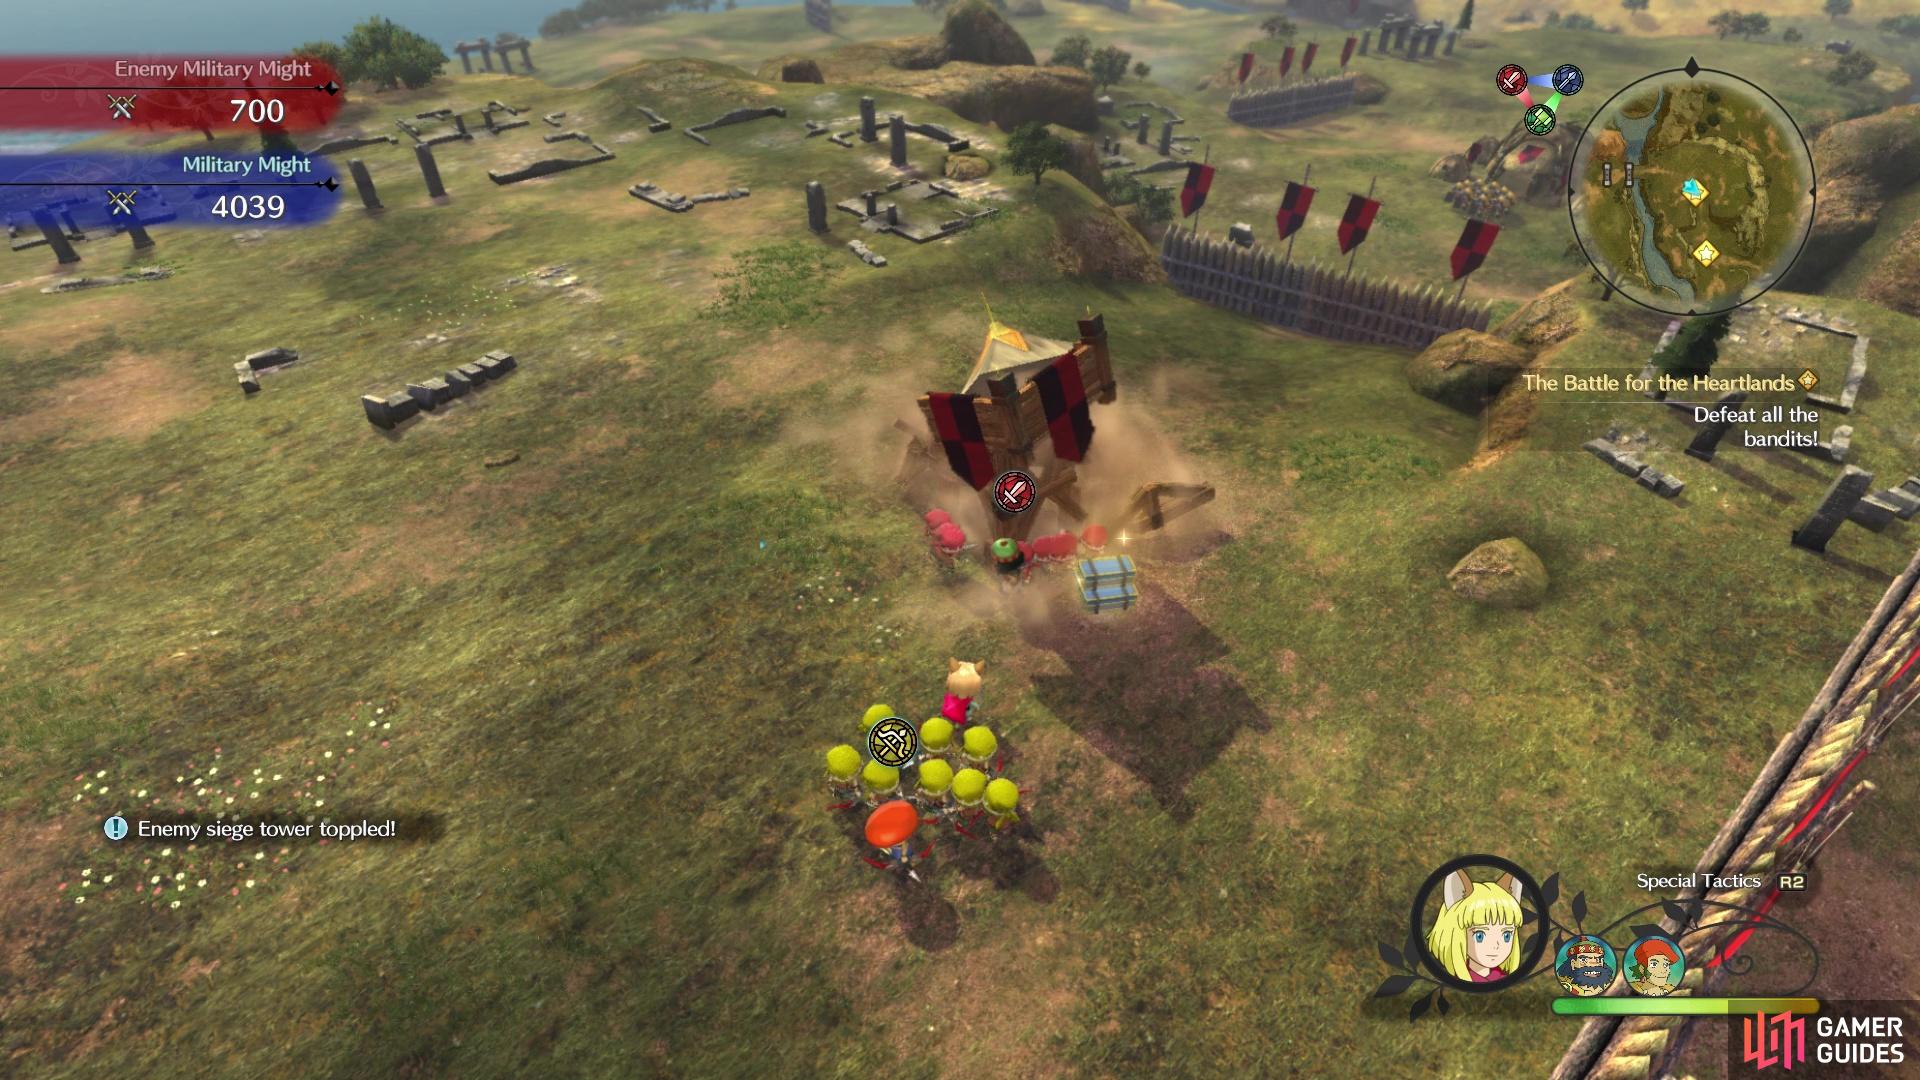
Keep a lookout for items on the ground, as they will replenish your Military Might
Break through the last wooden gate, defeat the unit guarding the tent, then destroy the tent with your troops. Finishing that will bring up another tutorial, for Shock Tactics. Basically, if you feel outmatched or your units are in trouble, pressing the Triangle button will make all unit types effective against all others while also slowing down the rate at which the might gauge is depleted. A bunch of enemy troops will show up shortly after, which is the perfect chance to test out Shock Tactics. It shouldn’t take too long to defeat them all, which will put an end to this skirmish.


Exploring Rubbly Ruins
| Sparkle Items |
|---|
| Comely Coral, Coral-Pink Thread, Crude Sap, Dinky Eggs, Fresh Wonderwater, Hearty Wheat, Humble Button, Jinglewheat, Lambkin Cotton, Plain Cloth, Soreaway, Thorngerine, Waggleduck Feather, Wild Wool |
Your first skirmish is over, so you have a basic understanding of them now. You can look at your units in the menu, although you still only have the two. Once you regain control, activate the Trip Door (Rubbly Ruins) nearby, then you’ll be heading north to look around the new area. Note that crossing the bridge to the south will initiate some scenes and bring you to the next story objective, so don’t do that quite yet. The enemies are mostly the same here, but their levels have been boosted a bit, so you might want to grind some to up your character levels (especially Tani, since she joined at a low level).
Start off by going north a tiny bit, then up the small hill to the west. There will be a chest on the ledge above where the Trip Door was, which contains a Hush-Be-Gone. Continue north, bypassing the hill you just climbed, and look along the thin ledge next to the terrain to find a slightly hidden chest (Close-Range Ring). Head straight west from there to spot another chest behind a stone arch of some kind (500 guilders). Ascend the next hill and look for more sparkles, as well as a big enemy named a Manticore. This is a very challenging battle and there is absolutely no reason to fight it, unless you want a challenge.
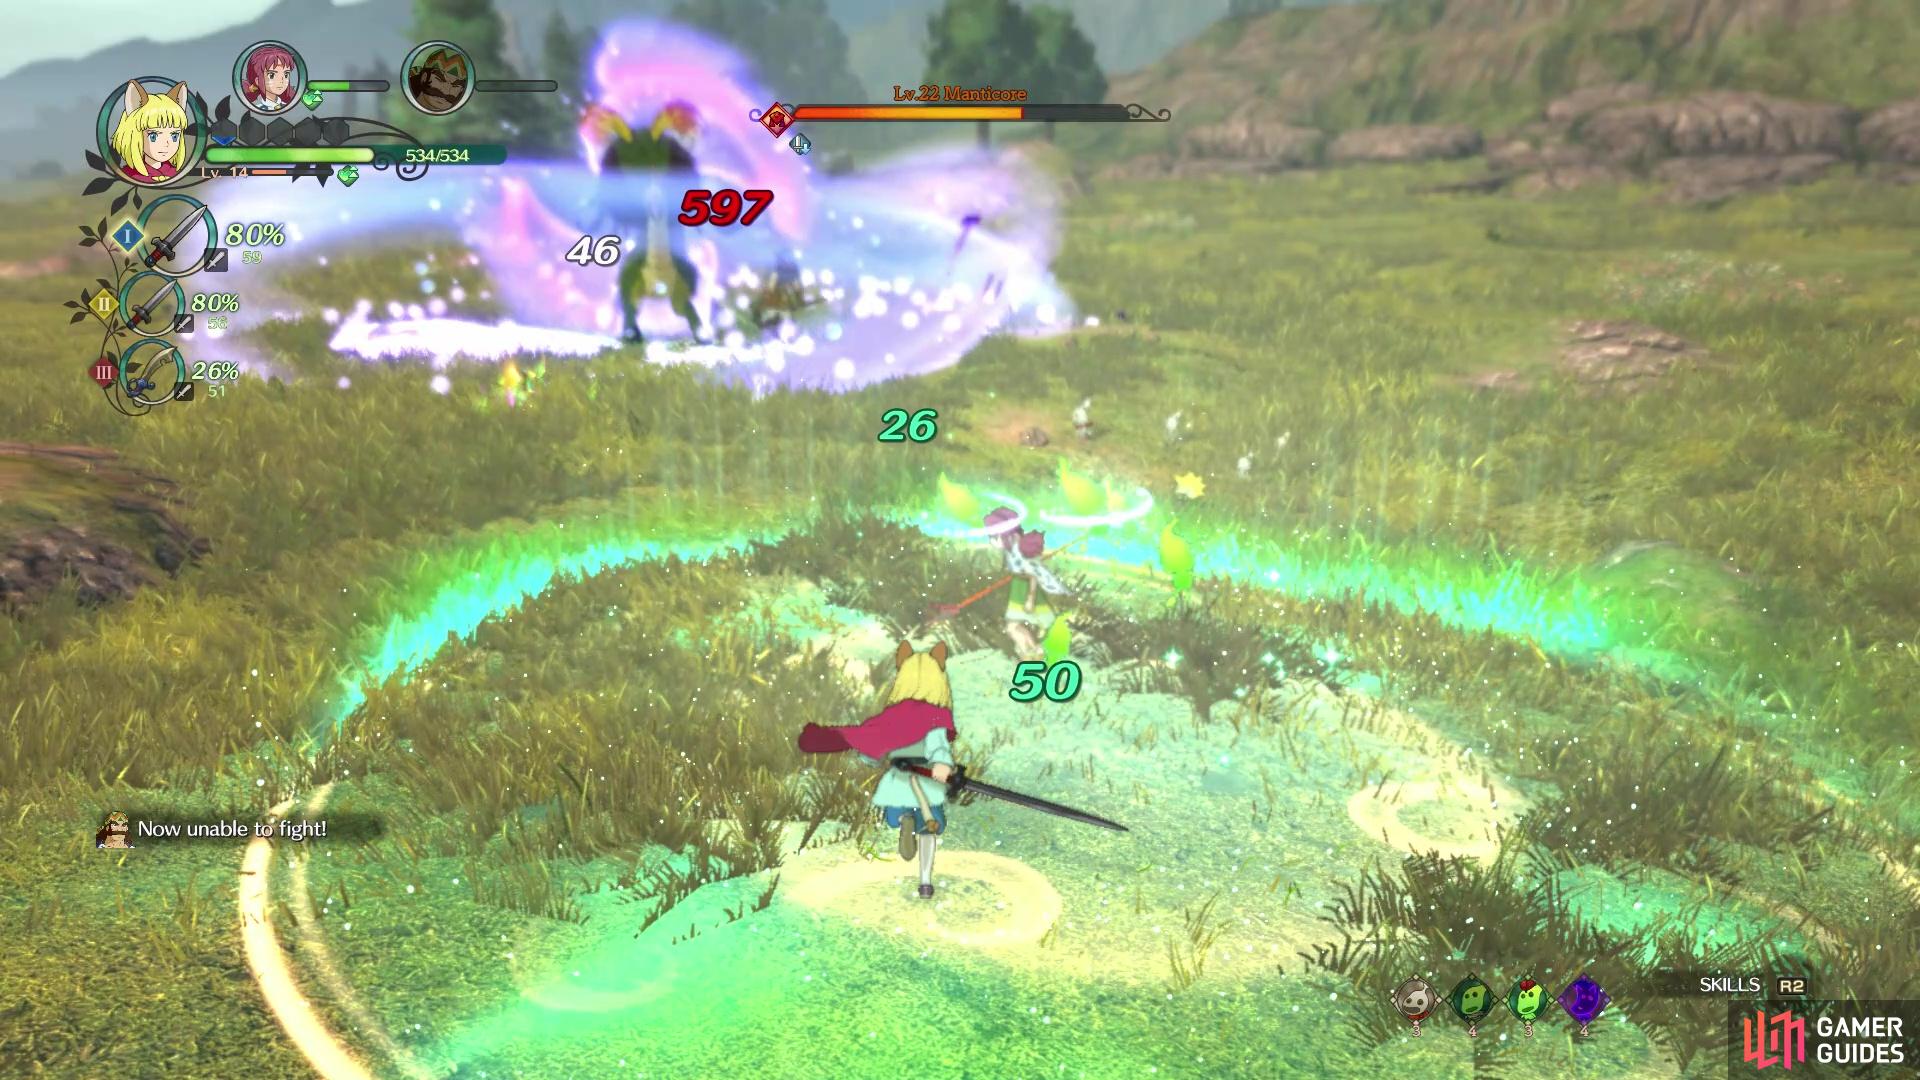
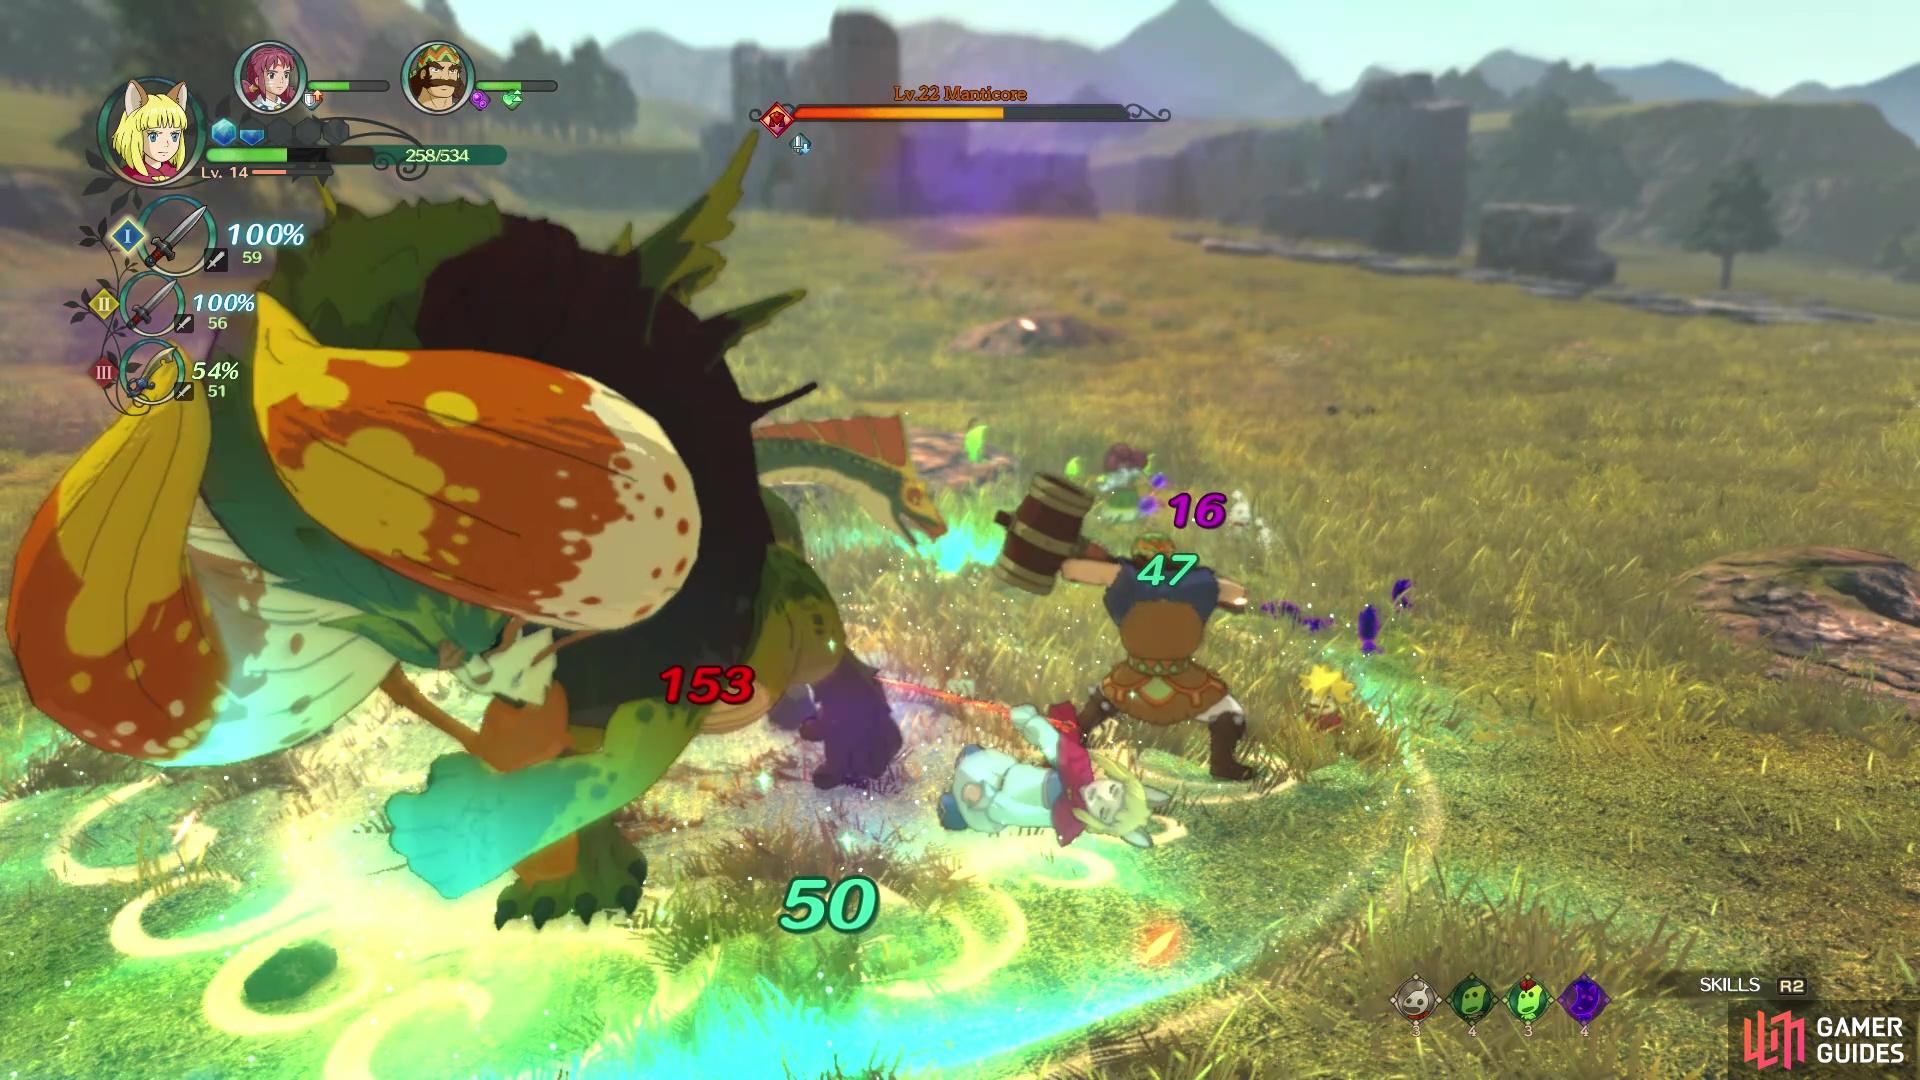
(1 of 2) The Manticore is an enemy that will be very challenging at this point
The Manticore is an enemy that will be very challenging at this point (left), as it will be able to deal a lot of damage (right)
In fact, you can simply ignore the Manticore and come back later, if you wish. There is a bridge north of where the Manticore is located, bringing you to the Plainview Plateau, but other than some sparkles, a way back to Snaketooth Ridge and a locked chest, there’s nothing else of any value. Return to the very bottom and go straight north on your search for more goodies. There will be a chest in the northwest corner of this area (Three-Leafed Soreaway), as well as another on top of a hill (Magic Muffler); there is another locked chest on top of the hill, too.
For the final chest here, look to the northern part of the area to see a cave, which is actually the Tightfit Cavern. Don’t go inside yet, but instead head behind it to find the chest in the corner back there (Soreaway Sweet). Venture inside Tightfit Cavern to find a single sparkle and another higgledy stone. This one wants some kind of wool, but the Wild Wool you have is not exactly it, so you’ll need to come back later. You’re done exploring the Rubbly Ruins and surrounding areas, so exit the cavern and return to the bridge in the south, crossing it to initiate some story scenes and set your next objective.
 Sign up
No Comments