
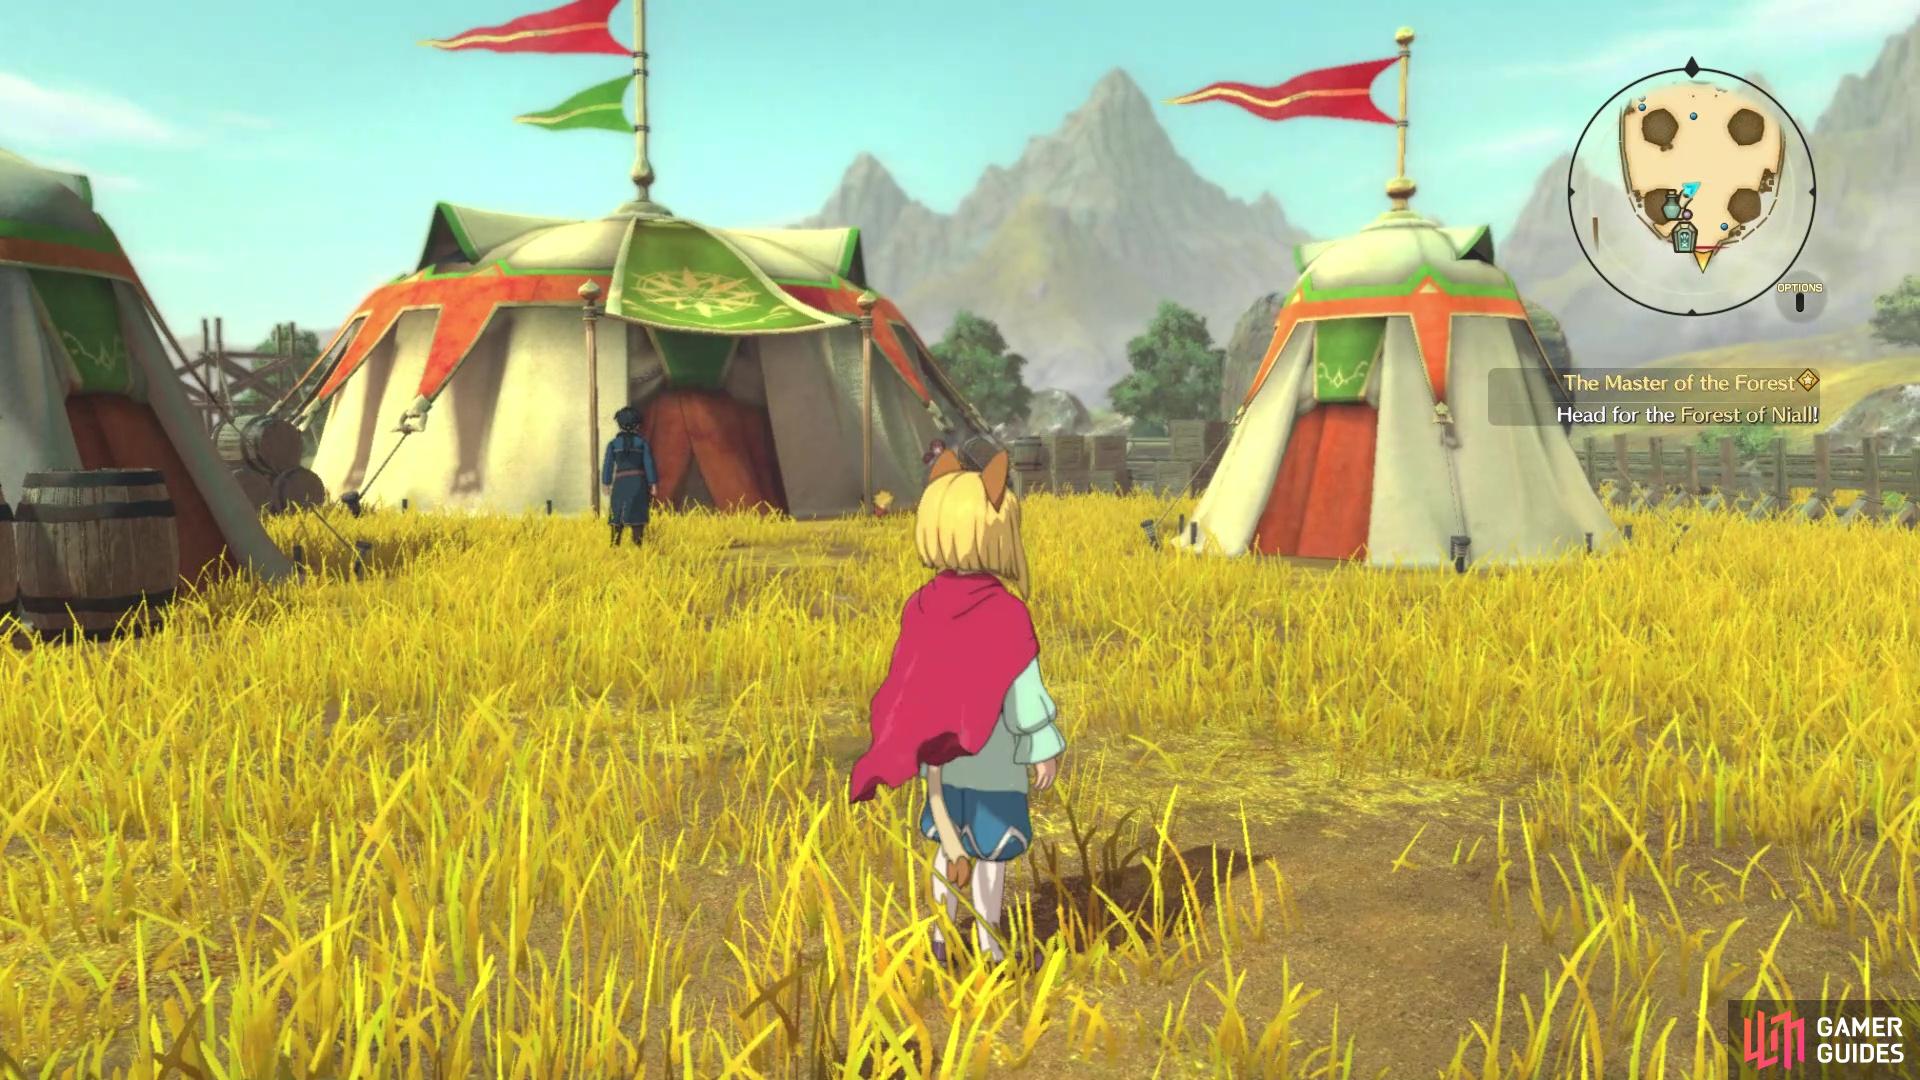
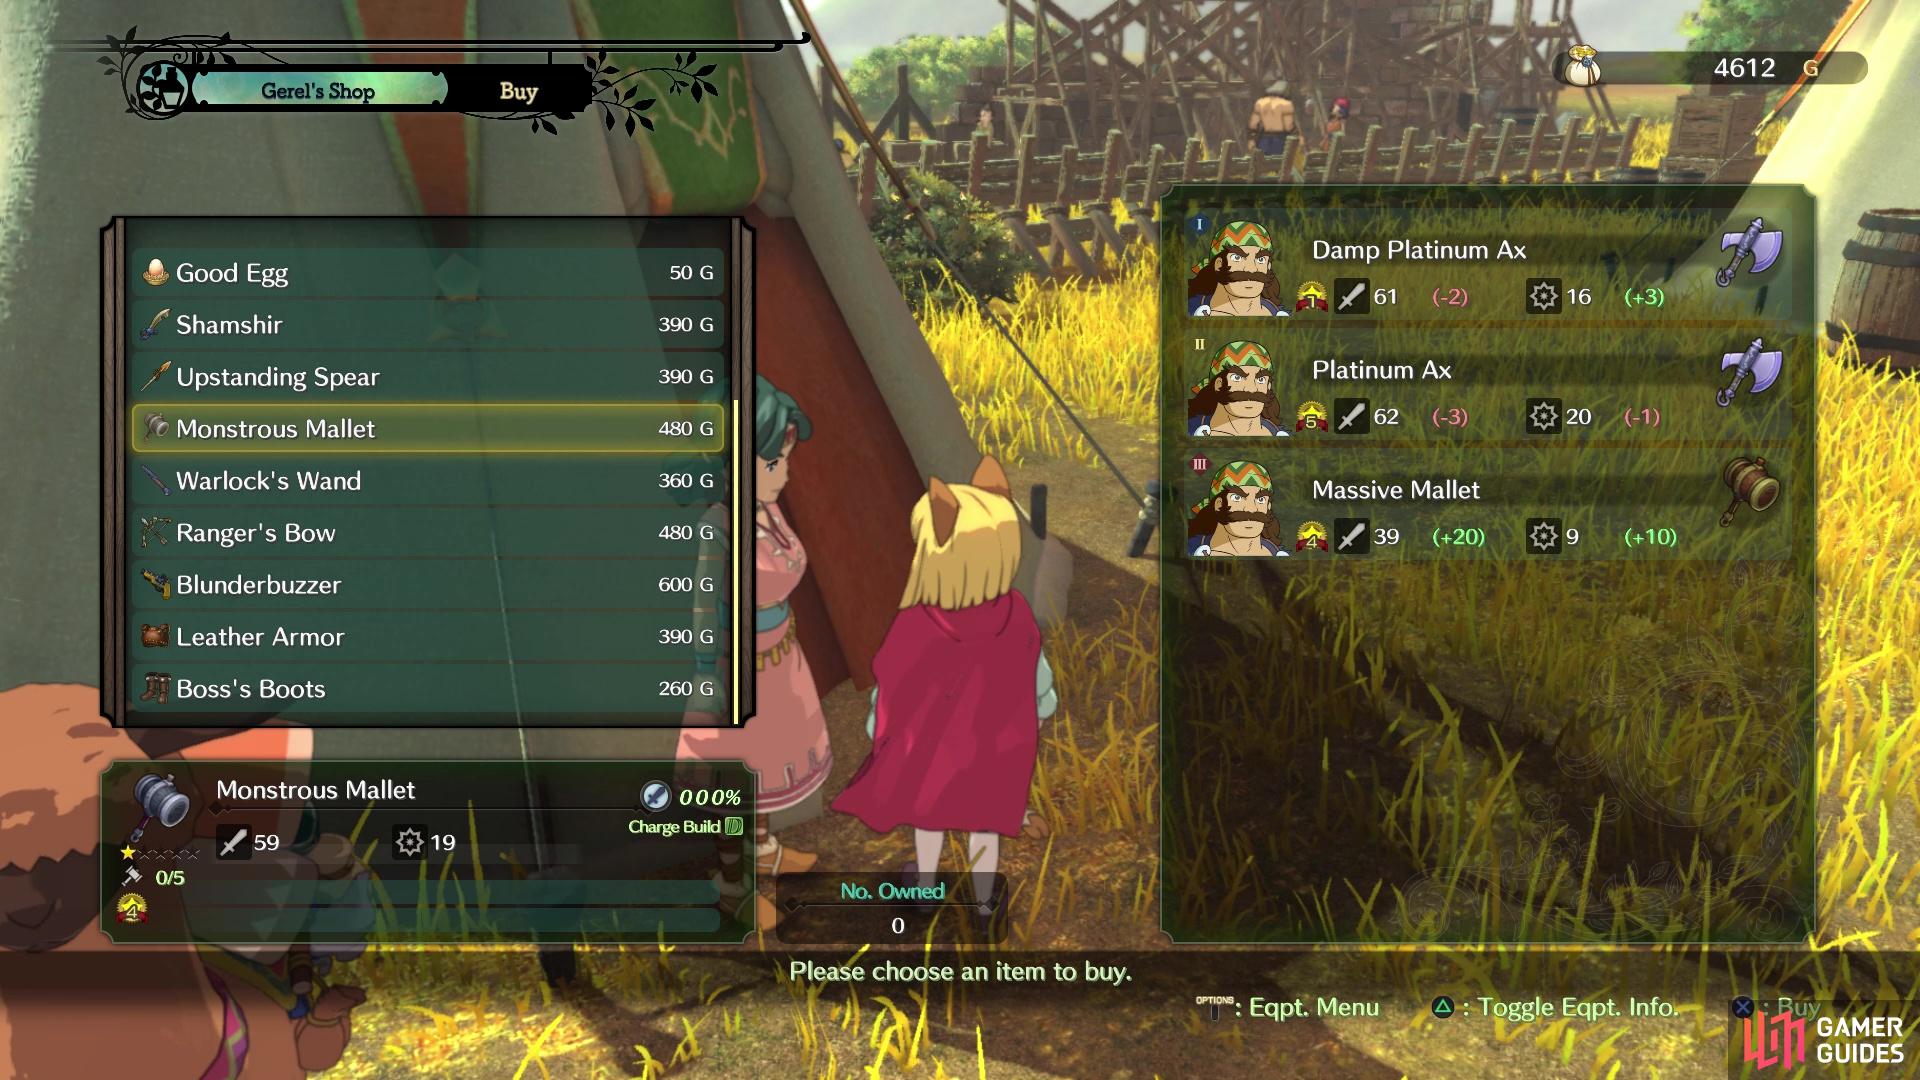
So, it looks like the party will need to speak with this Niall fellow and see if they can get any help with some materials. You will have control in your little camp, which doesn’t have much in it, besides a merchant (Gerel) and a waystone. Note that Gerel does sell some upgrades for equipment, should you need any. When you’re ready, go ahead and leave to get back on the world map. From where your kingdom to come is located, venture west and then north when you see a bridge. Cross it, being wary of the Manticore here and open the chest for a Windy Shamshir. Travel north from the chest to find a small dungeon, Spineshiver Grove.
(1 of 2) There isn’t much of anything at your campsite
There isn’t much of anything at your campsite (left), but you might be able to upgrade some equipment at Gerel’s store (right)
Spineshiver Grove
Not long after you enter, there will be a split, so take the eastern path first. There will be some enemies in a dead end, so take them out and look for a chest, which contains a Three-Leafed Soreaway. Return to the fork and go south to find more enemies, as well as another two paths to take. Travel west to another split, then west again and north to find another dead end, with more enemies and another chest (Perky Light Tunic).
Double back to the last split you passed and head south. The first openish area will have some enemies, while the one south of that will have a chest with a Long-Range Ring in it. There’s only one more place to explore here, which is on the eastern side. Make your way over there and venture south to have another battle with enemies. When it’s clear, look at the southern end to spot another chest that has 3 Waddleduck Feathers inside. That’s all of the treasures in this mini-dungeon, so exit back to the world map.
The Manticore will have respawned here, if you defeated it earlier, so keep an eye on it. Cross the bridge again and as soon as you do, follow the riverbank to the west to find a chest nestled amongst some trees (Angel’s Tear). Return to your campsite and you will notice the battle standard just to its south. The recommended level for this skirmish is level 3, which should be right within your range, so go ahead and start it.
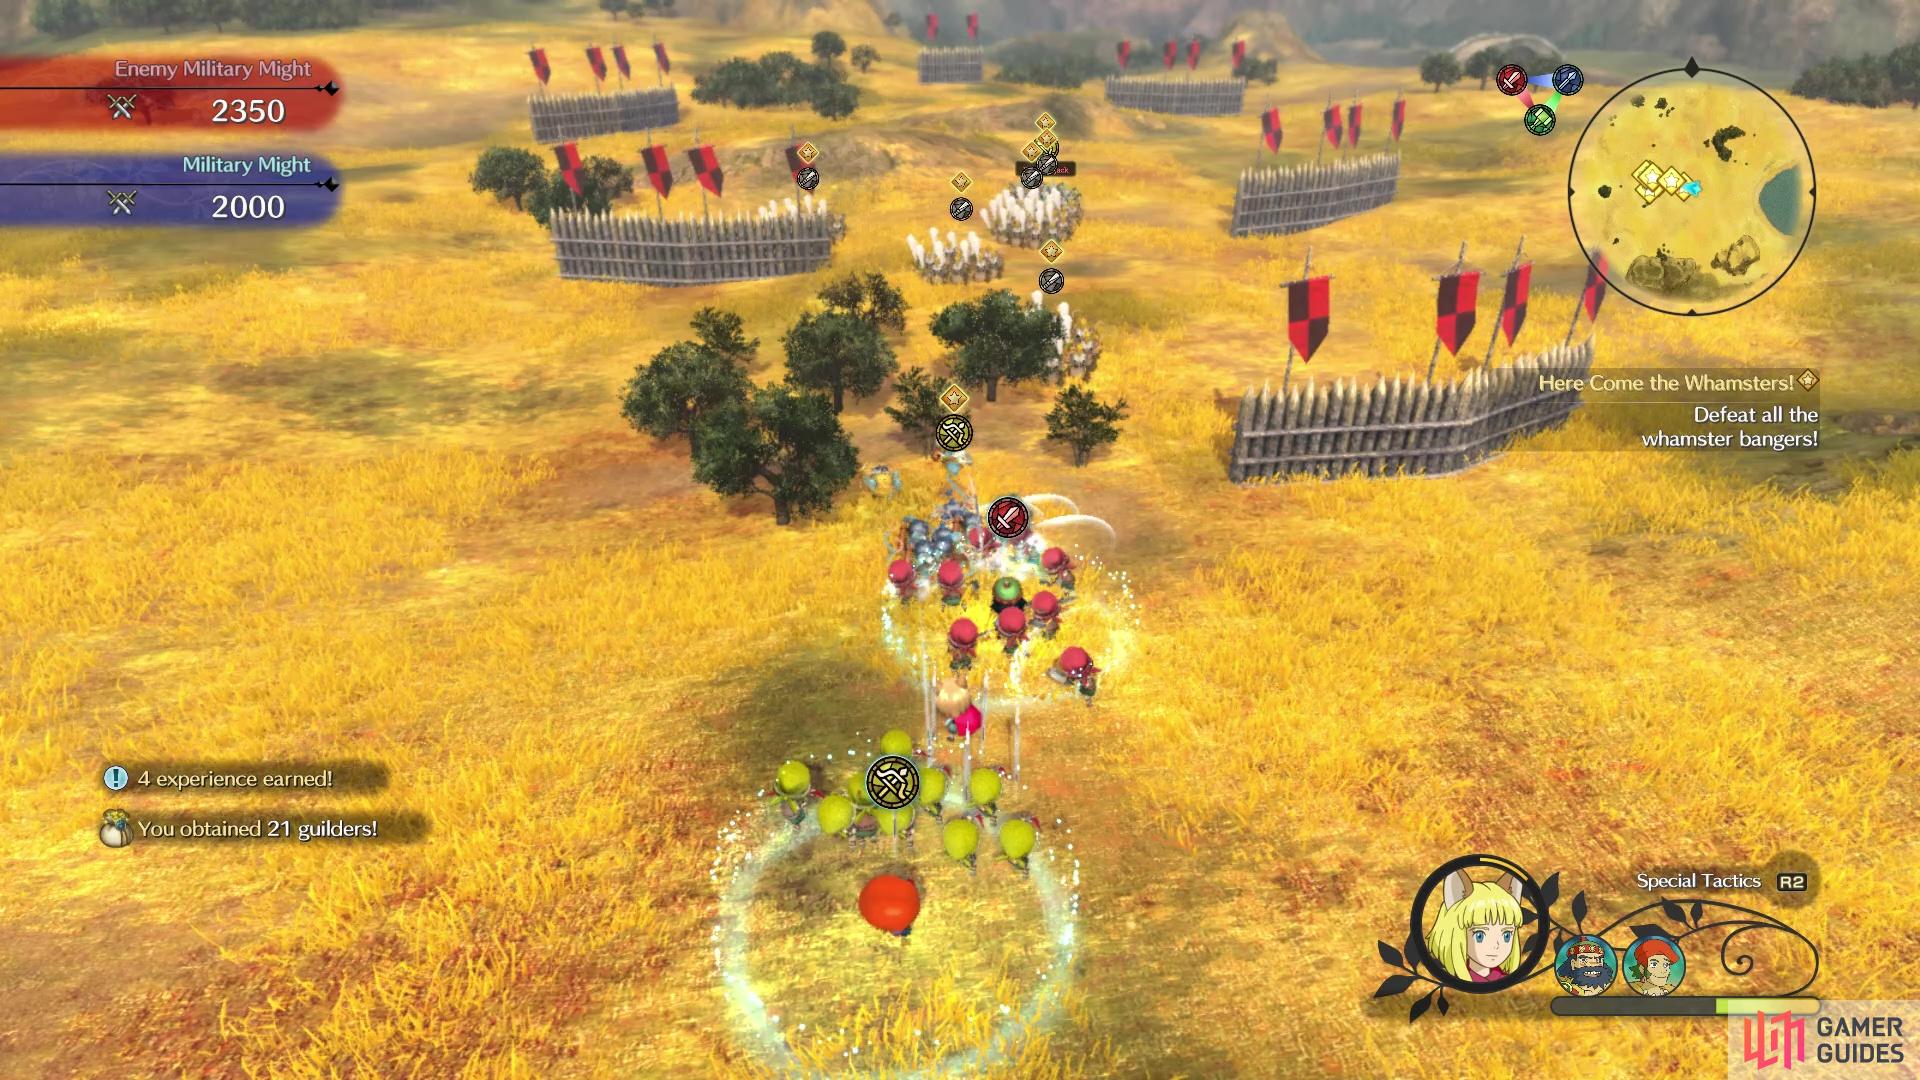
Here Come the Whamsters!
Remember that you still only have the two units for these types of battles right now, but you shouldn’t have much trouble with this skirmish. There isn’t anything you can do in the briefing, so immediately start it. The first part of the battle is your true test to see if you’re ready, as you want to be careful how far you advance. It’s possible that all of the whamster units will come charging in at the same time, so make sure you use your tactics and keep track of your units’ health. If things start to get hairy, don’t be afraid to retreat and summon more troops.
After defeating the first set of enemy troops, a second set will spawn, with some level 3 units being mixed in. These are obviously a little stronger than the previous set of units, plus the worry of them all charging you at once is still a problem here. It also doesn’t help that your might isn’t as high as when you first started, so you might want to forgo the special tactics of each unit and just use your might for respawning troops. The final unit is actually made up of three smaller ones, so go for the hammer one first, then focus on the other two. The skirmish will be over after defeating this second commander, netting you some items (they seem to be random).
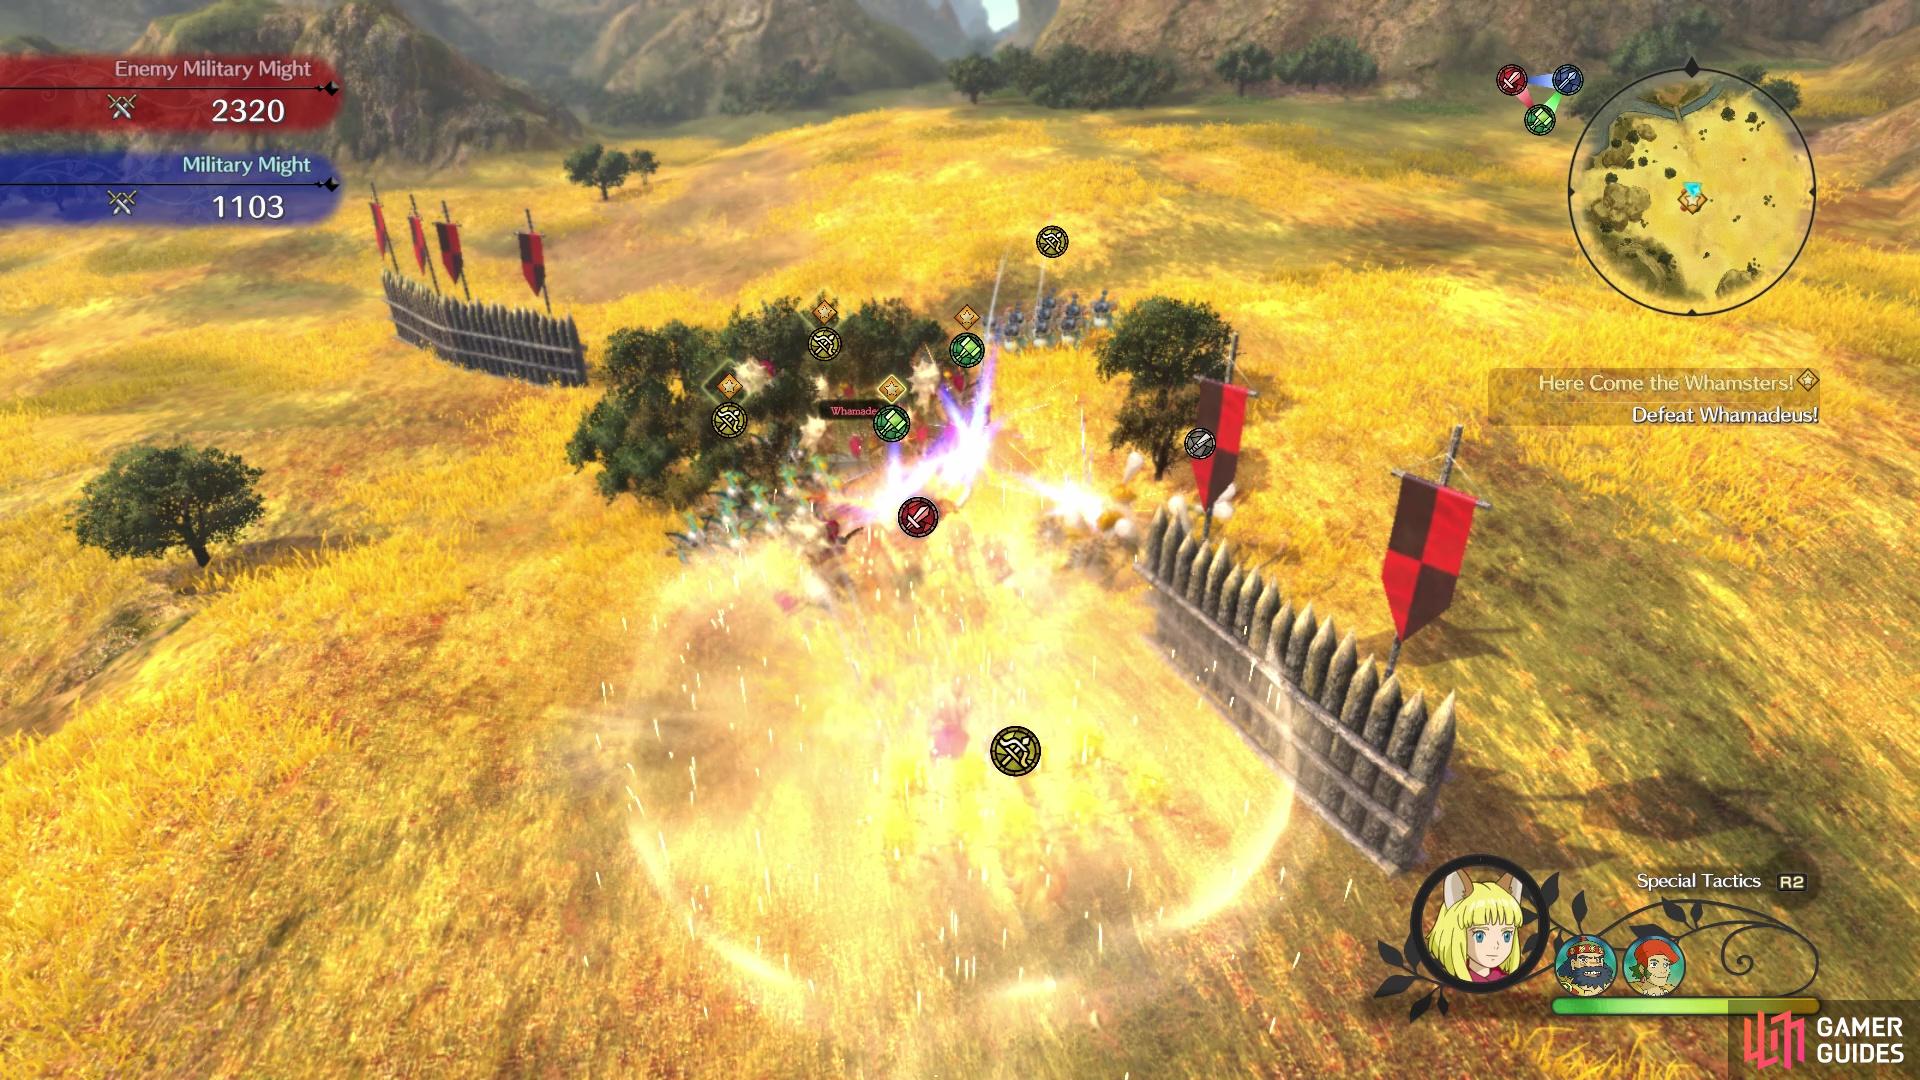
(1 of 2) Isolation is the key to winning this skirmish
Isolation is the key to winning this skirmish (left), Don’t forget about using Shock Tactics if you get overwhelmed (right)
Exploring the Heartlands
You will return to where the flag was on the map, so it’s time to finish up exploring the Heartlands area. Travel east from the skirmish flag, to the beach, then follow it southeast until it joins up with some mountains. Start following the mountains and not more than a few steps, you should spot a chest hidden behind some trees (Shooty Leather Armor). Note that the chest on the hill west of the previous one cannot be gotten right now, so ignore it and continue going along the mountains as you move west.
Eventually, you will run into another chest, which contains 2 Soreaways and farther west will be another chest with a Confusing Blunderbuzzer inside. The path will cut to the south and you might see an enemy to your south, with a purple aura around it. Ignore that for now and continue west here to find another mini-dungeon, but look to the north of the entrance to find another chest (Sixth Censer). Now you can enter that dungeon, called the Jumblewoods.
Jumblewoods
Upon entering, you will notice some higgledies sitting on the tree in front of you. There are two paths ahead of you and it doesn’t matter which you go down first, as you will be visiting both. So, for now, travel down the southwestern path to find a man with a higgledy mask on at a fork. This man, who calls himself Mr. Higglesworth, will offer you some stat-increasing candy for 10 pebbles, which you should have a good number of at this point. When you’re done with him, activate the Trip Door nearby (Higgledy Playground), then look southwest to find a higgledy stone. It will want some fur, specifically Rugged Fur, so give it some and Twinkle the Twee will join you on your adventure.
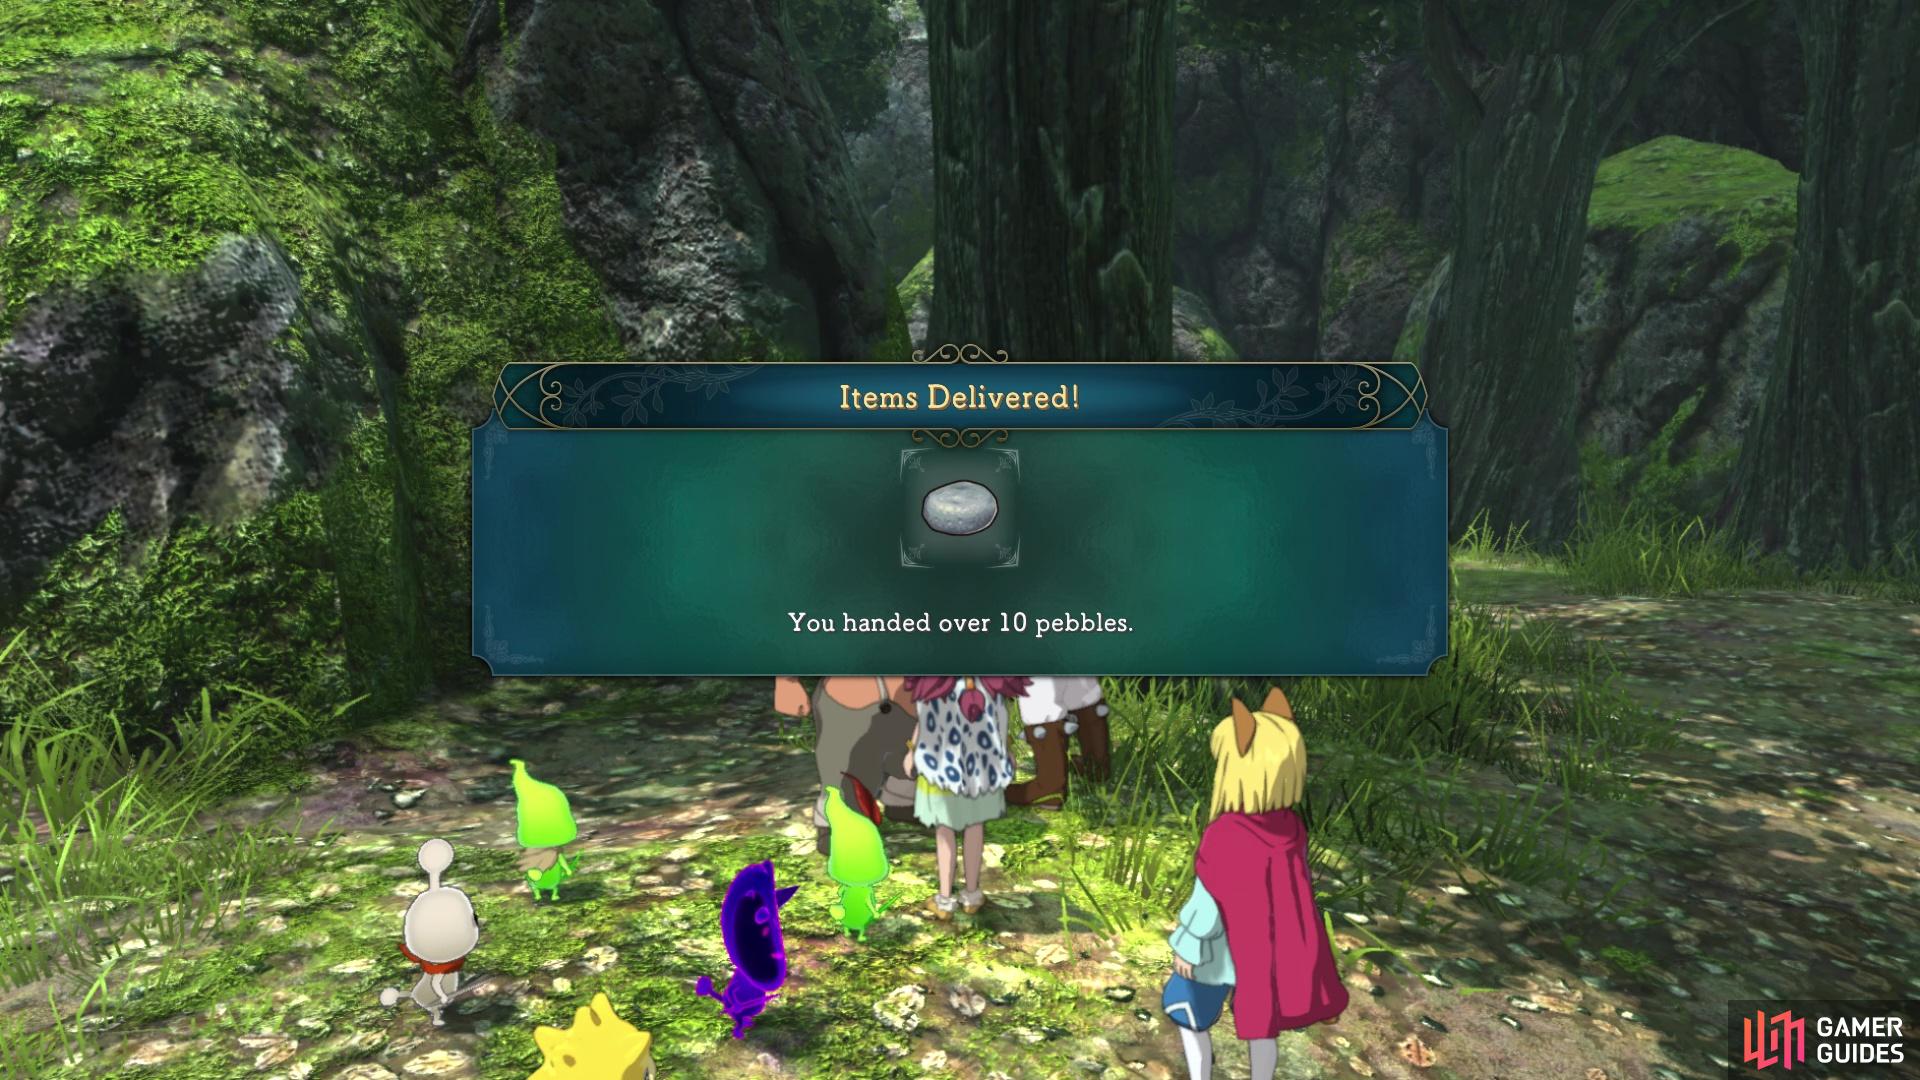
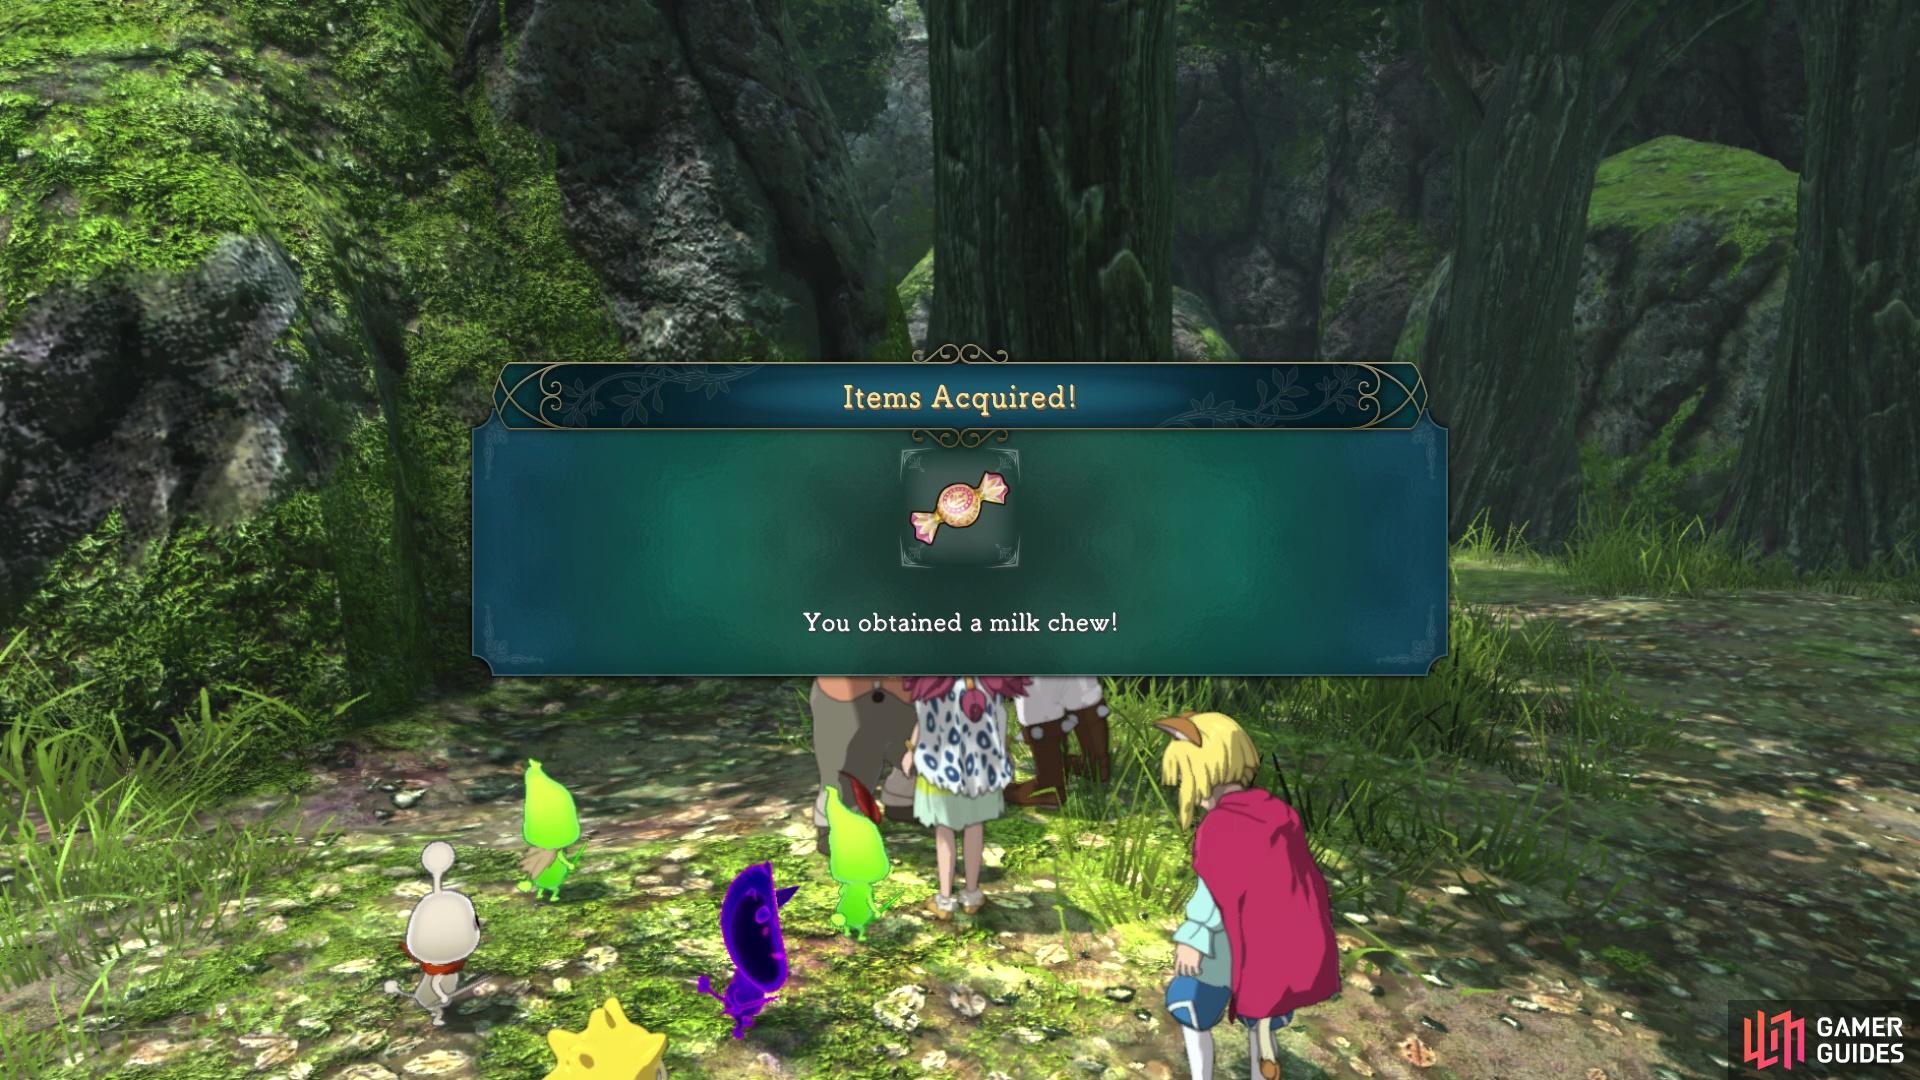
(1 of 2) Trade Mr. Higglesworth some Pebbles
Trade Mr. Higglesworth some Pebbles (left), to get a random piece of stat-raising candy (right)
Return to the entrance and go down the other path, fighting a group of enemies and then a second one. After vanquishing the second group, you can go either east or west. Venture east first to find a chest at a dead end (5 Jinglewheats), then double back and go west. Eventually, you will come to another dead end with enemies, so do battle and look for another higgledy stone here. Unfortunately, you don’t have the feather it wants, so you’ll have to come back here later. That’s all there is to do in Jumblewoods, so return to the entrance and exit back to the world map.
Approach the monster with the purple aura to learn about Tainted Monsters. These creatures, who have been infected with some kind of evil, are a lot stronger than their normal counterparts. They are quite dangerous, which is why they have bounties on them. You can freely approach the Tainted Monster, as it won’t attack you and will prompt you if you actually want to fight it. You see, fighting these creatures will happen in their own special arena, like any other normal field battle. You will also unlock the Tainted Monsters option in the Library, which allows you to see a bunch of them, their rewards and their threat level.
Back on the world map (ignore Googah), continue south and keep an eye out for a path just north of the giant forest on the map, as you can find a chest at the end (Gutsy Boss’s Boots). Double back to the eastern mountain wall and hug it as you travel south, where you’ll eventually happen upon another mini-dungeon, this one called Sundown Woods.
Sundown Woods
The first room where you enter is empty, barring a single sparkle, so move south to the next area to find some enemies waiting for you. There are two ways to go here, so head west first to find a waystone and one of those locked doors from before, which you still can’t open. Return to the previous room and look in the northeast corner, on top of the little hill there, for a chest (3 Earthy Saps). Venture south now to find a new enemy, a Mumshroom; it’s nothing too special, so attack like normal.
Continue south to find yet another fork (this game really likes split paths), where you will want to move southwest first to a dead end. There will be some enemies here, as well as a chest with a Wolfram Sword inside. Take the other path to come face-to-face with another Tainted Monster, this one being the level 24 Mystral. It’s entirely up to you if you want to fight it, but unlike Googah earlier with its high defenses, Mystral will definitely take a lot more damage.
Mystral - Tainted Monster
Mystral will do a lot of damage, but both of her moves are highly telegraphed and easy to avoid, as long as you don’t get greedy with your attacks. The first of which is when she’ll move her arms back, which means she’ll fire off a magic projectile. The second attack she has will have her flying across the screen and anyone she touches while doing this will take damage; she’ll do a quick flip before doing this. Both maneuvers can easily be avoided if you keep moving. In between her attacks, do two of three attacks, then back off to dodge her next attack. Follow this simple strategy and Mystral will go down in no time.
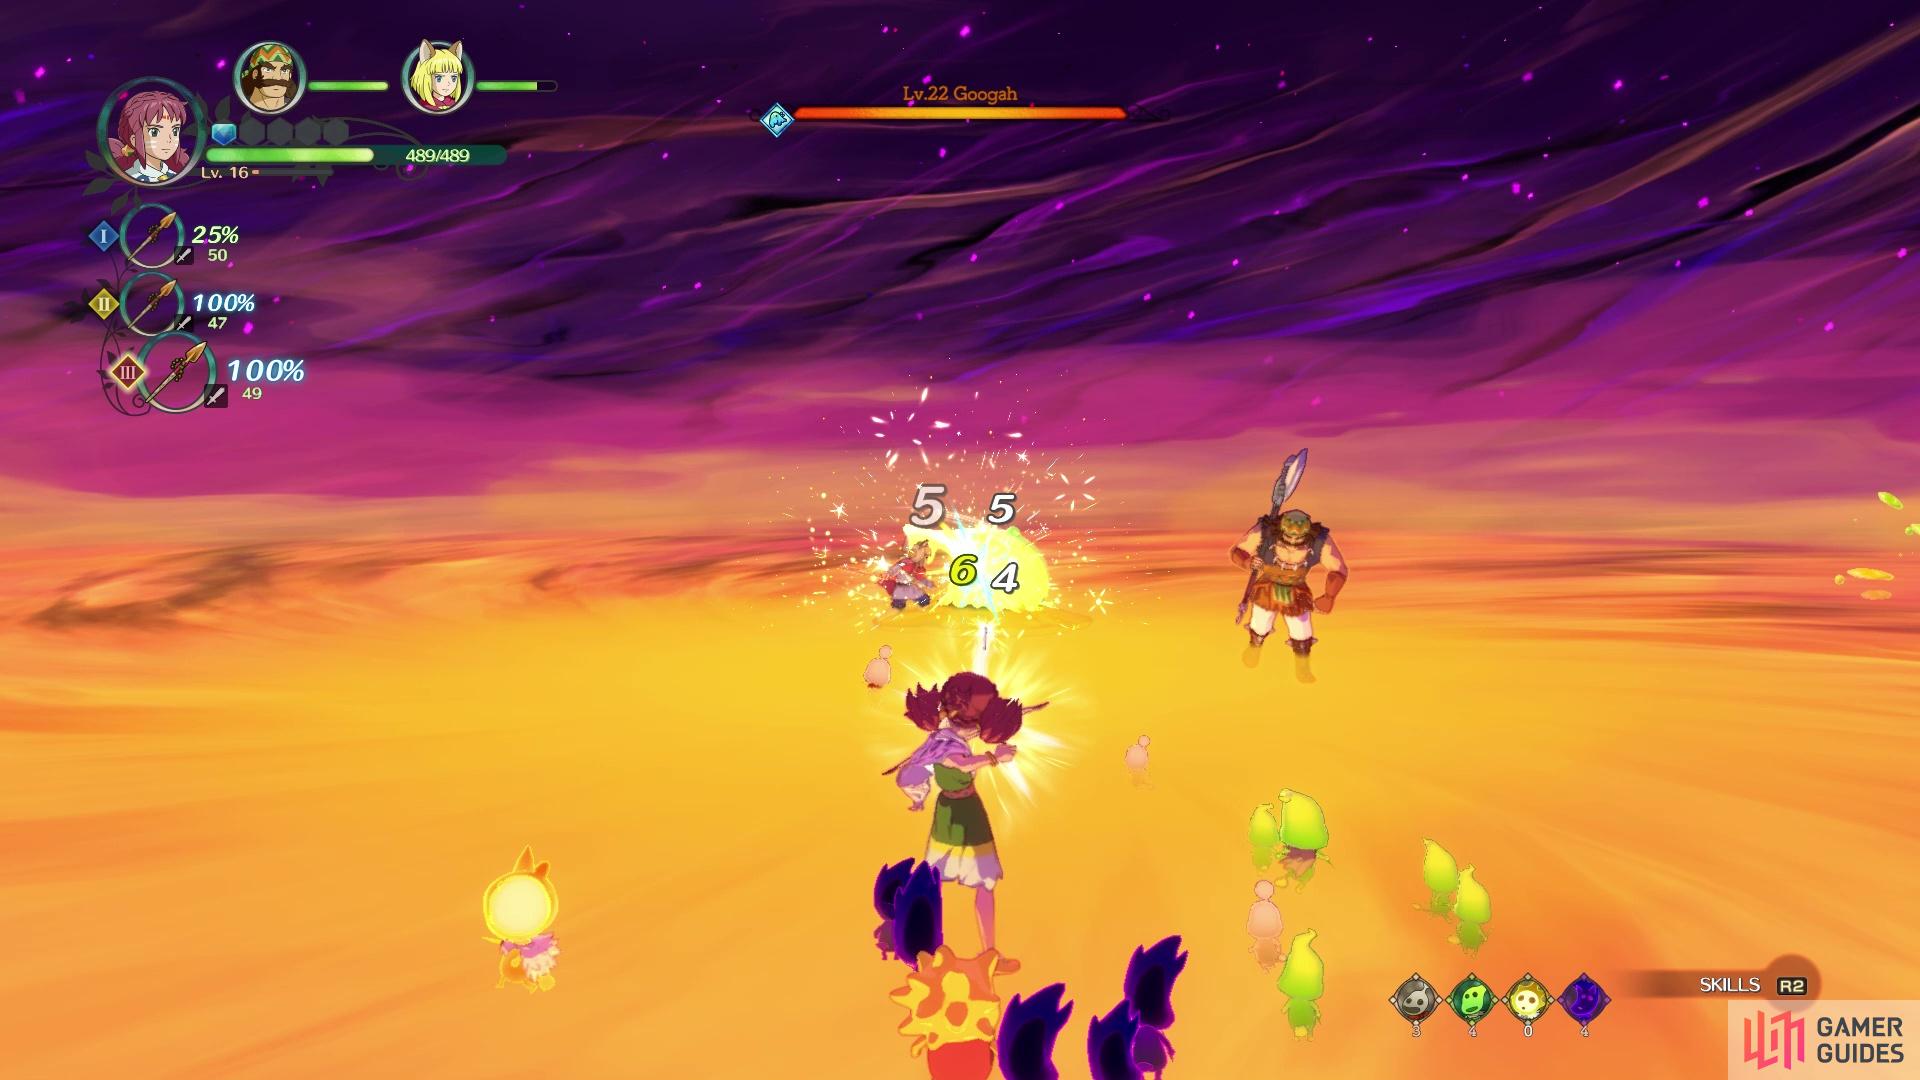
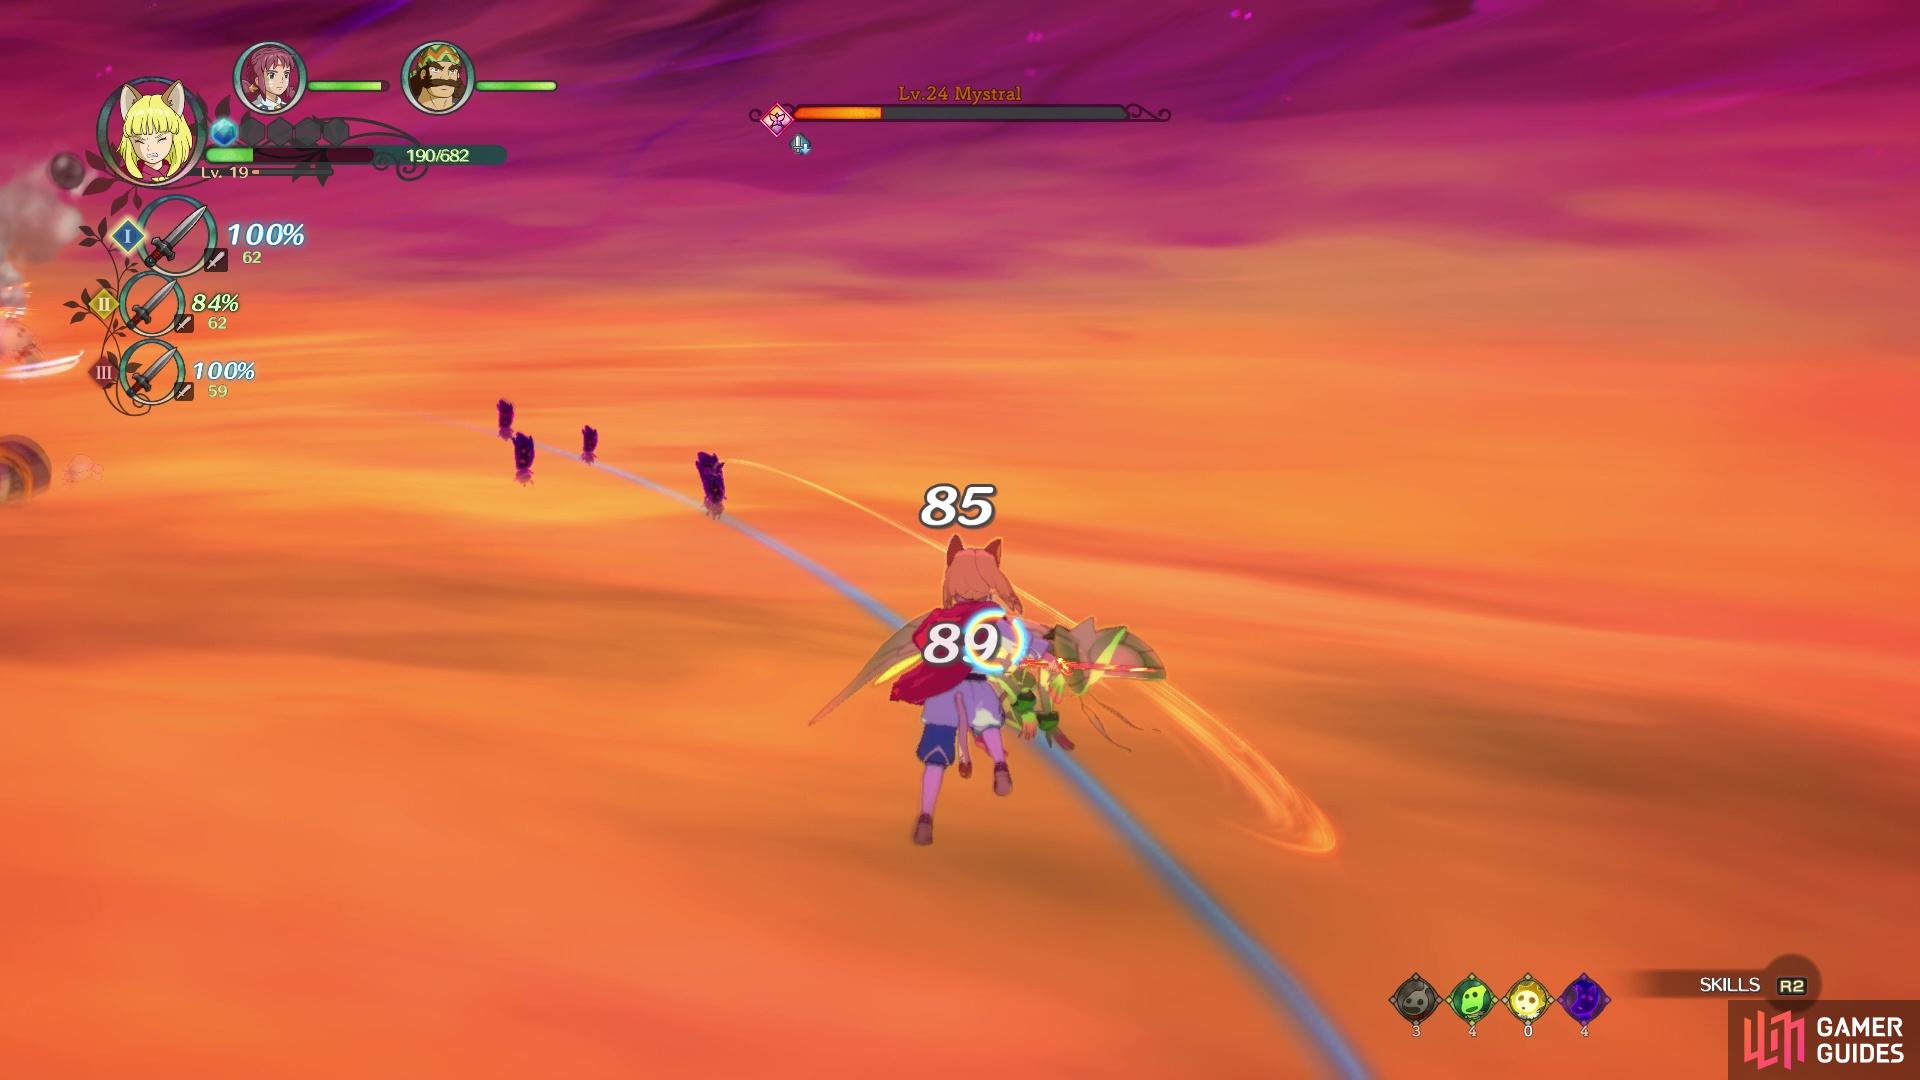
(1 of 2) Googah doesn’t take a lot of damage so wait to fight him
Googah doesn’t take a lot of damage so wait to fight him (left), but Mystral is definitely doable when you get to her (right)
| Objective | Rewards |
|---|---|
| Defeated Mystral | 39646 Exp; 2240G; Wizard’s Posy |


Exit Sundown Woods and not too far south from its entrance will be a chest, with some Duskproof Leather Armor. If you look at your map, you see that the area is composed of small “islands,” with giant roots/fallen trees acting as bridges. The first bridge southwest of Sundown Woods has a Trip Door immediately to its west (Wiggly Way). See the purple icon on your map to the south? That’s another Tainted Monster, which is level 46, so avoid it, but note that there is a blue chest on the same piece of land as it.
One the island northwest of the one with the Tainted Monster is Shiverwood Shrine, a dungeon with high leveled monsters in it, so you can simply enter it to put it on the map. There is also a treasure chest on the same island as Shiverwood Shrine, which houses a Peach’s Player Punch. There’s nothing else to grab (well, one more thing) on the map in this region and you can’t go into the Eventide Trail area, as Batu stops you, so you can only enter the Forest of Niall. Before going inside, look to the east of the entrance for a chest with a Sixth Censer.
Forest of Niall
| Sparkle List |
|---|
| Cobbler’s Nails, Earthy Sap, Emerald Huebloom, Gunkshrooms, Heartwarming Wool, Jinglewheat, Lesser-Spotted Egg, Lightweight Lumber, Lumpen Lumber, Mock Toadstool, Moonbeam Mushrooms, Runny Honey, Soreaway, Stonewashed Cloth, Sun-Kissed Tomato, Toadstool, Verdant Crystal, Waddleduck Feather |
As soon as you enter, there will be a short scene, then you’ll be able to move. There will be a waystone and Trip Door (Greenling Grove) right by the entrance, so make sure you utilize both of them. The first area is a decently sized section, with a lot of sparkles, and the enemies are all ones you’ve fought already. Take a peek inside of the large tree near the entrance to find a chest that contains a Wolfram Spear. Behind that very same tree will be another chest, which will have 5 Mock Toadstools.
Mosey on over to the western side of the map and follow the edge to the south, looking for the thin trail that leads to a dead end, where you’ll find another chest (Venom-Be-Gone). You should be next to a stream/river right now, so follow its bank back east and then south to find a chest behind another large tree (Angel’s Tear). Double back north and follow the tree to your immediate east around to find a group of people; approach them for a scene. Once it’s over, you will have yourself your first actual citizen for your new kingdom, a chef nonetheless.
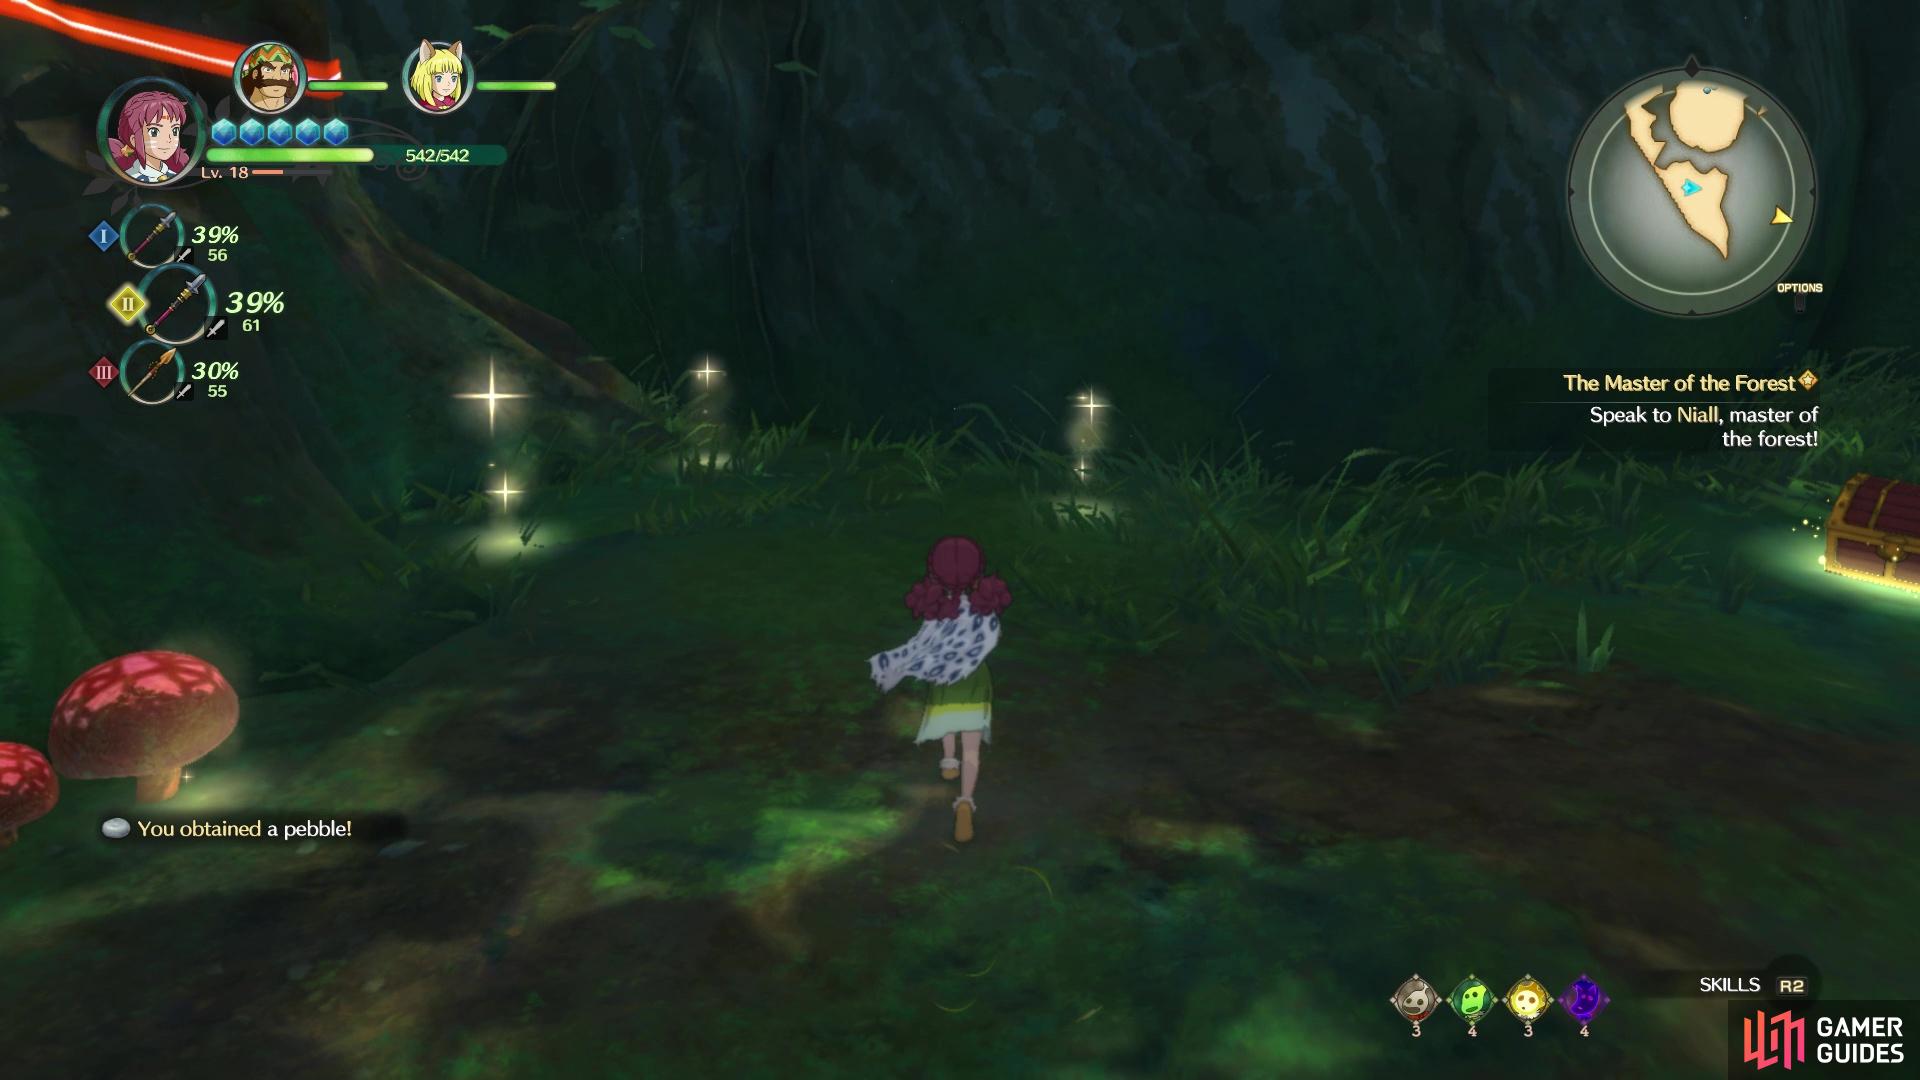
There are a lot of sparkles for you to grab in the Forest of Niall
Thanking you for your favor of getting the desperate grimalkin off their backs, the denizens of the forest will allow you to pass, but you’re not quite done exploring this area yet. Venture to the northeast corner of the map to find some enemies and to the east of them will be another chest (500 guilders). See the path on your map to the east of the previous treasure? Take that large branch up to find another chest, which will have a Fiery Ranger’s Bow inside. Next up is the southeast section of the map, where a treasure will be hidden behind the root of a tree more towards the western side in this area (Dice Dumplings).
The end of the path in the very southeast corner can’t be explored, since you won’t be able to climb the wall. Notice the mushrooms, though, as you can inspect them and it says they are too small, but if you can make them grow, then you’ll be able to get to the top. The narrow path to the south of that, though, does house a chest at the end (2 Soreaways). That’s all you can explore right now (the southwestern section is blocked off by some spiky objects), so pass through the opening to arrive in Sunnypatch Pond.
You’ll finally meet Niall here, who’s in a wee bit of trouble, since he gambled away his forest to Pugnacius, the Grand High Roller of Goldpaw. If you manage to get his forest back, then Niall will gladly help you in securing the supplies needed to build your kingdom. Before you leave, look around for some sparkles and you should see a blue chest underneath the wood. There is also a Trip Door here, so make sure you activate it (Sunnypatch Pond). Now you can leave and return to the world map to set off for Goldpaw.

 Sign up
No Comments