
Have a look at your map real quick to see that the Old Well is in the northeastern part of town. When you regain control, follow the path east until it deviates to the north, which will bring you straight to the Old Well.
Old Well
As soon as you enter, there will be a Trip Door right beside you (Old Well), as well as a waystone. The monsters in here are in their upper 40s, which shouldn’t really be a problem for you. Where you begin, head north to the intersection, then east and north to another one. Here, go all the way west for a chest, which contains 3000 guilders. Return east and then south when you can to a dead end with a higgledy stone. This one wants some Blossomwheat, which you should have plenty of, so hand one over to get Bawbee the Bandit to join you.
Double back and continue east, ignoring the northern path for now to explore the small room east of you for a chest (Superior Sixth Censer). Take that northern path this time, stopping for a small detour into the circular room for another treasure chest (Gloomy Sword of Sighs). Venture west and then north, into the room with a familiar statue, provided you played the first game. Ignore Bracken about lighting the braziers for now and exit to the south. Check the path to the west for another dead end, as well as another chest (All-Be-Gone).
(1 of 2) The braziers have a time limit for lighting them all
The braziers have a time limit for lighting them all (left), so you will need to hurry up and plan out a path for them after the first batch (right)
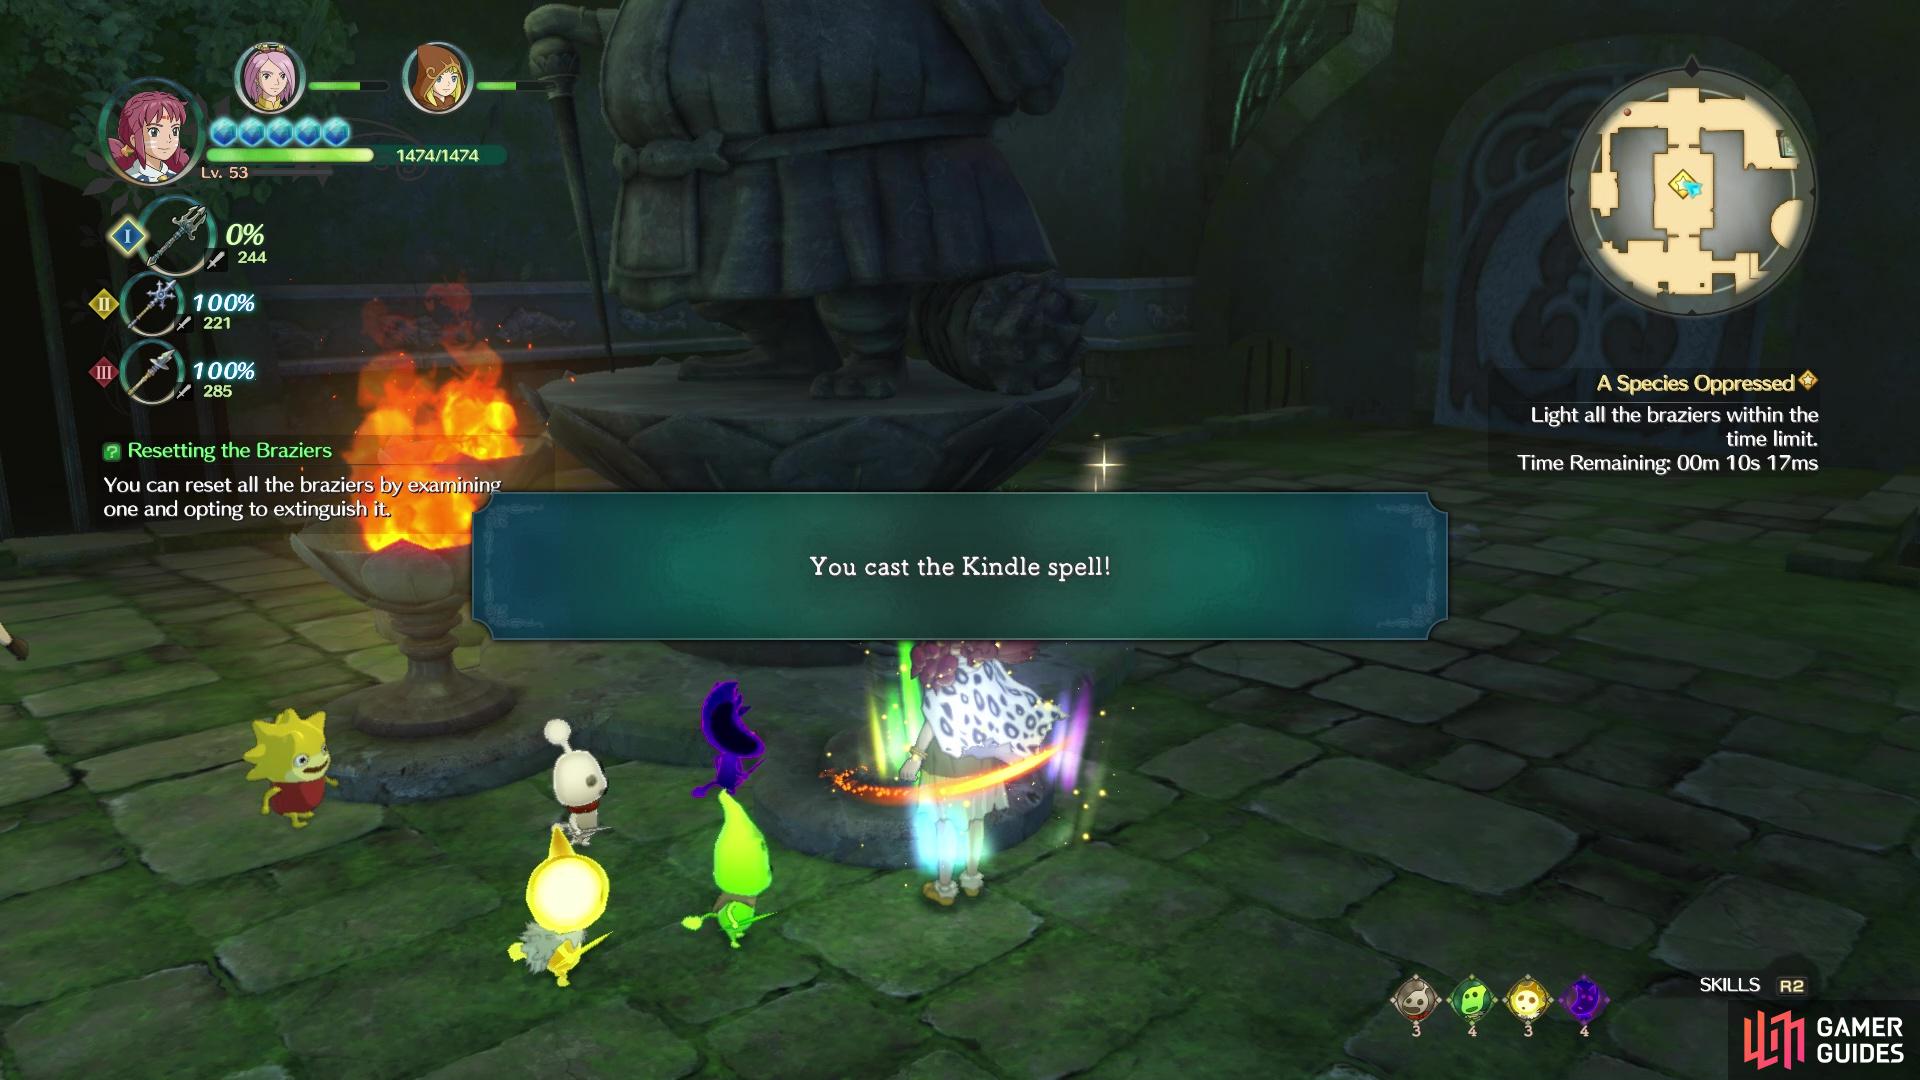
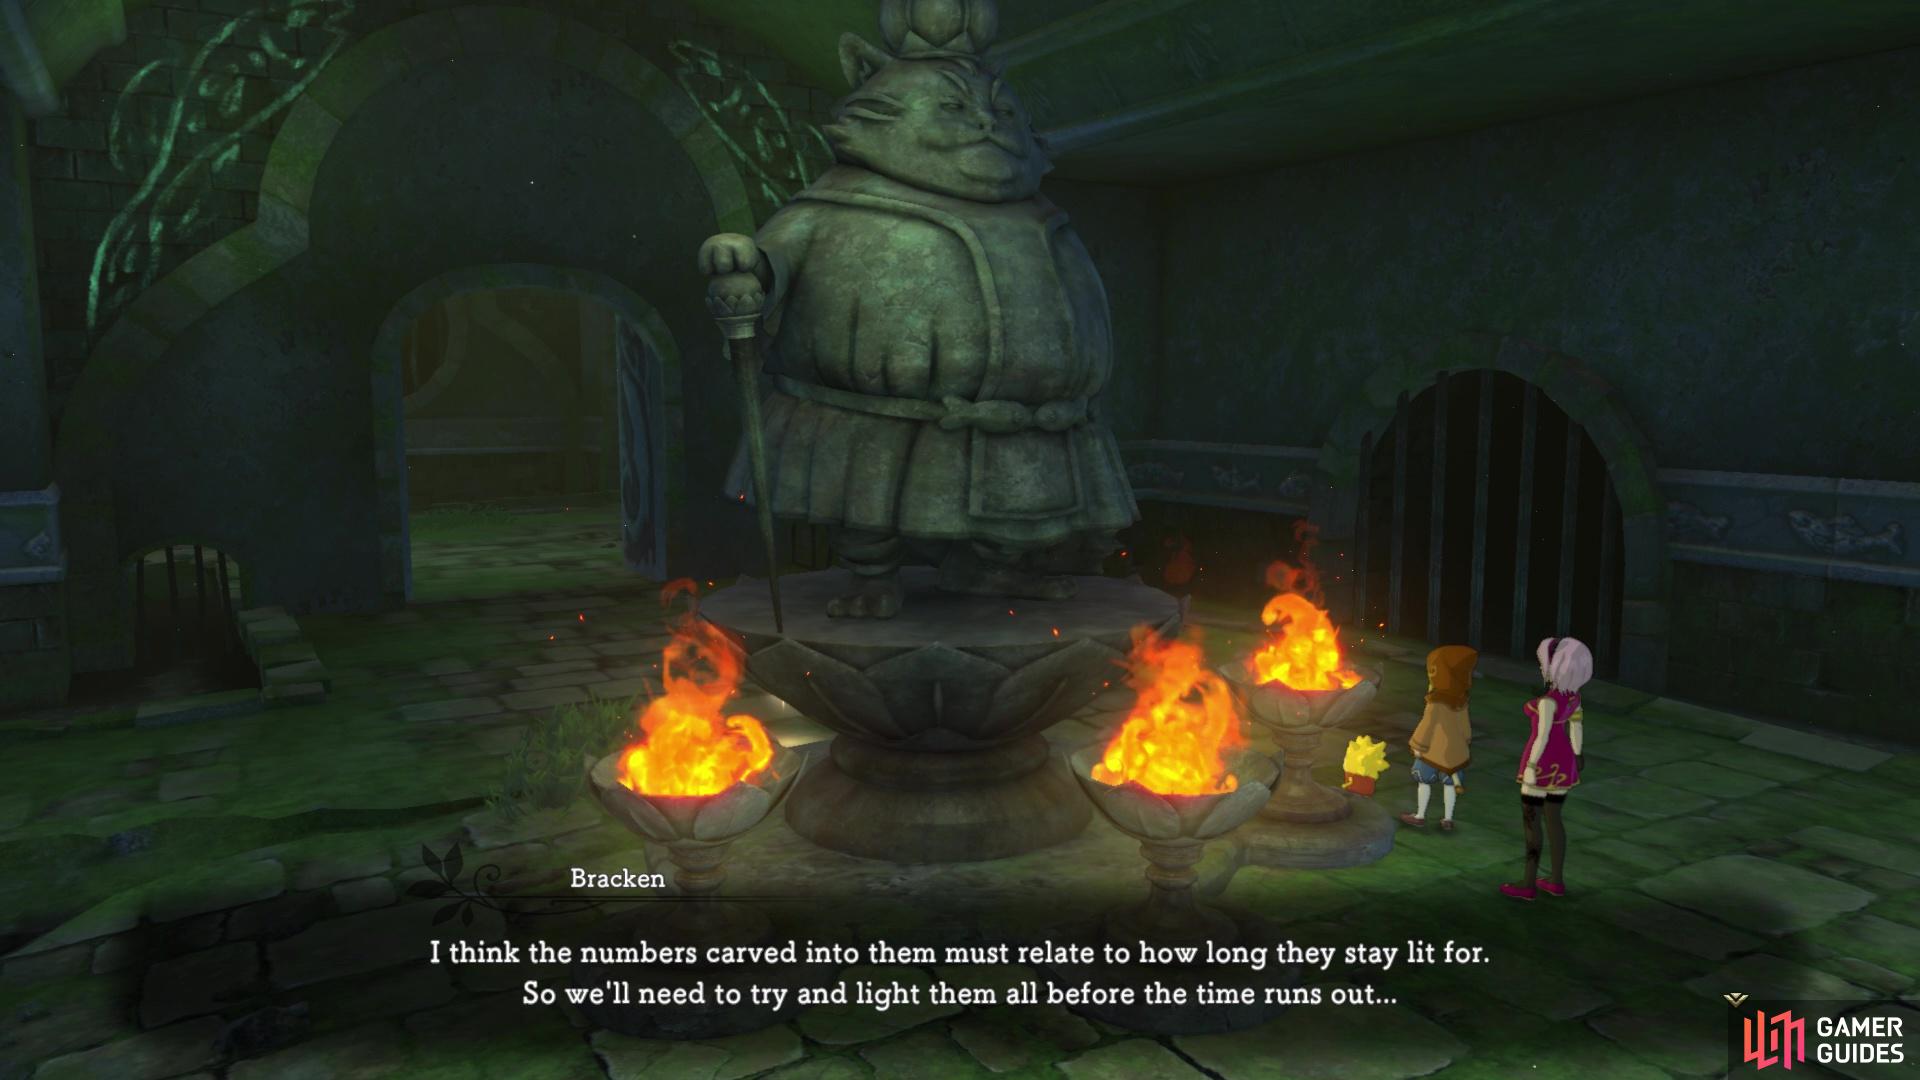
Return to the room with the big cat statue and light the braziers to open the door to the north. The party will quickly talk about the numbers on the braziers, but that has no importance for these ones. Continue north to a split, opting for the western path that leads to another. Only the southern one here has anything important, which is a treasure chest (Zappy Gaudy Galoshes). To the east will be another waystone and if you check right by the stairs, there will be a slightly hidden chest (3 Tranquilium Nuggets). Heal up and save, then continue east to find another brazier.
Remember those numbers from the previous set of braziers? Well, they will come into play here, with each one having “25” on them. That means each brazier will stay lit for only 25 seconds before they extinguish on their own. Ignore the first one for now and head south, opening the chest that’s past the zig-zag path (Four-Leafed Soreaway). Go east and take the first northern path to find a prop-leafed clover, so cast the spell on it and return south. Keep going east to find the second brazer, but once again, ignore it. The third brazier will be north of the second, by the statue. What you want to do is light the one by the statue, run south to light that one, then use the clover in the one hallway to get back to the last one.
You should have plenty of time to light all three, which will open the metal gate just north of the first one you encountered. Head north into the Downstream Tunnels area, continuing straight north to the end, where you will find a higgledy stone to the east. This one wants a Forked Tail Bone, so fork it over to have Dimity the Dastardly join your party. Head west now to a north-south split, opting for the southern path to find a chest at the end (Chilly Dreadstare Staff). Now you can follow the northern trail as it moves east, making sure you open the chest in the room with the enemies (5 Spectral Silks).
Keep going east to a larger room with a waystone and more braziers. The first one is at the top of the stairs in the same room as the waystone, requiring another prop-leafed clover, and they have a 45-second timer on them. Before you light it, you will want to clear out the enemies in the next room, as well as open the chest in the northeast corner (Savior’s Tear). Continue south, into the Inspection Tunnel, going east when you can, to find the second brazier. The third will be to the south of the second, and is guarded by some monsters. There’s another chest in the same room as the third brazier (Sage’s Secret).
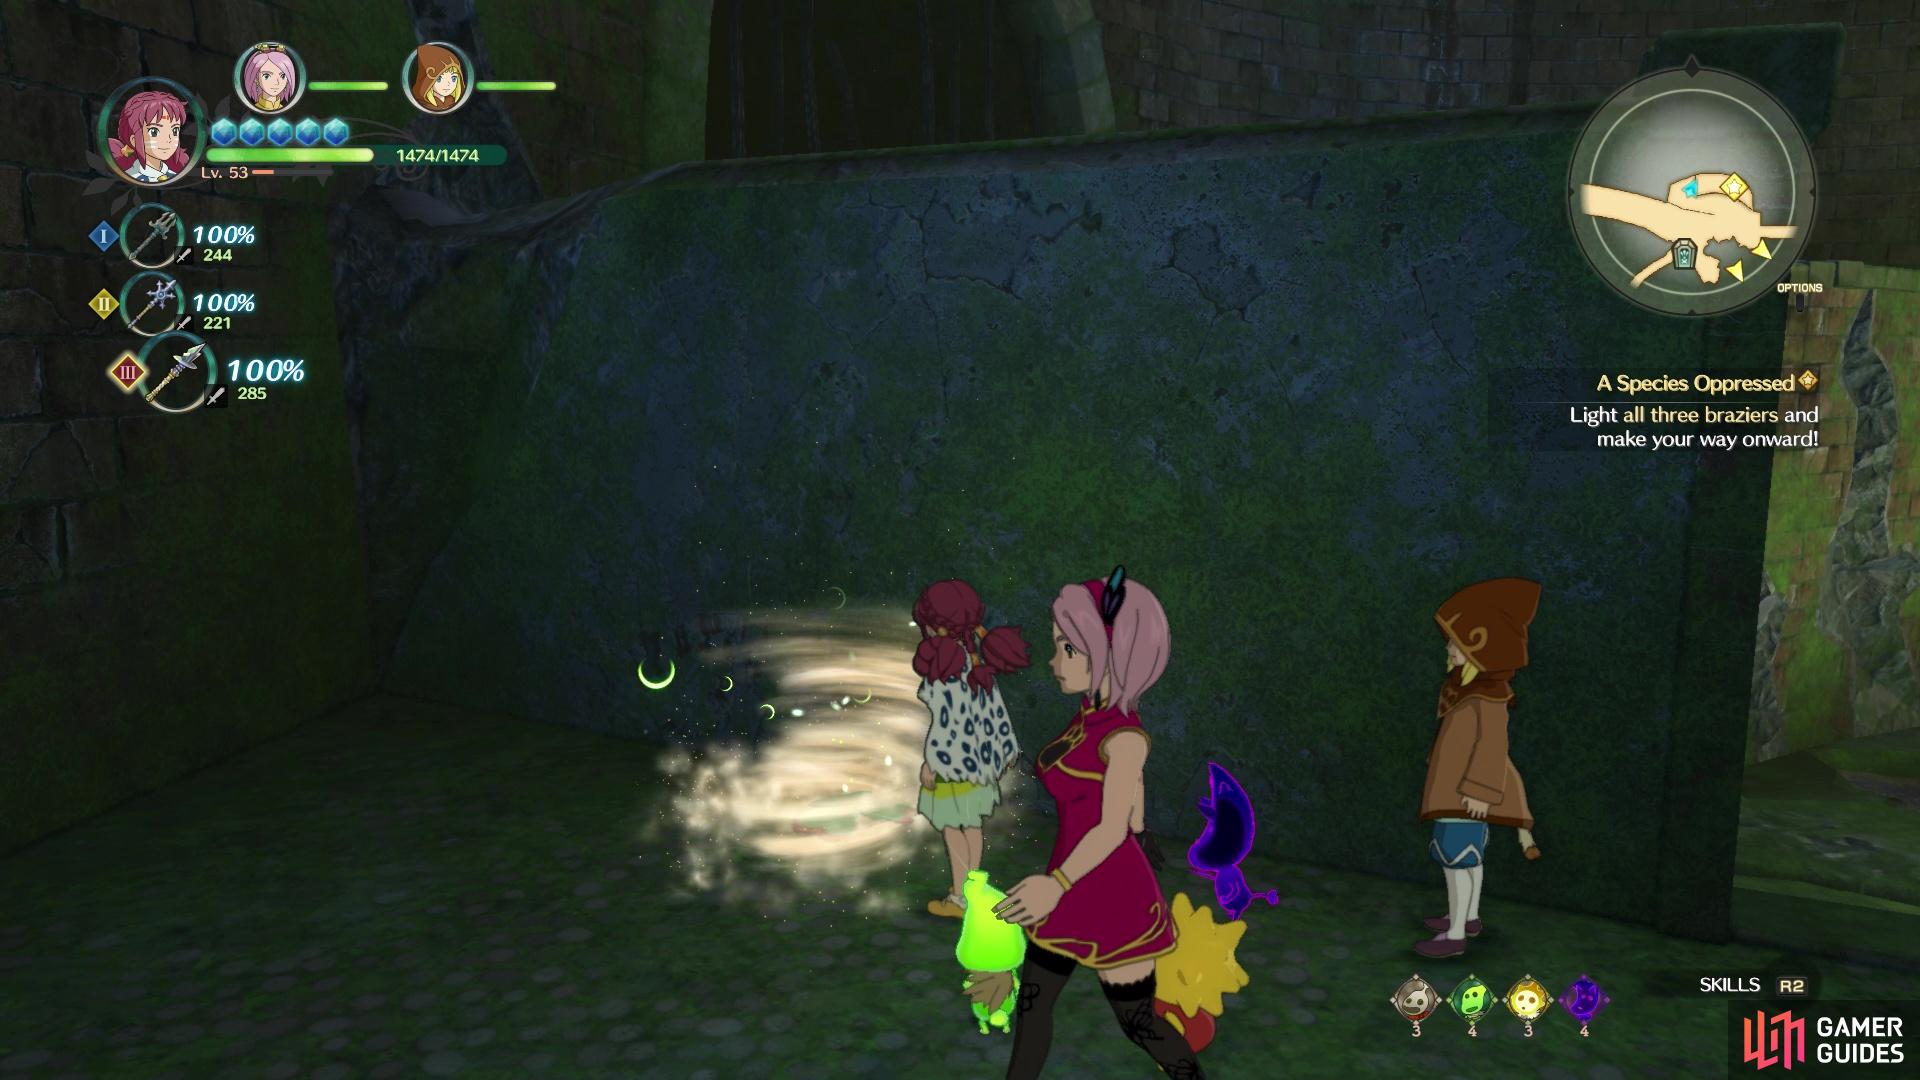
(1 of 2) You’ll need to use the clover
You’ll need to use the clover (left), as well as the puffer whelk to light the final set of braziers (right)
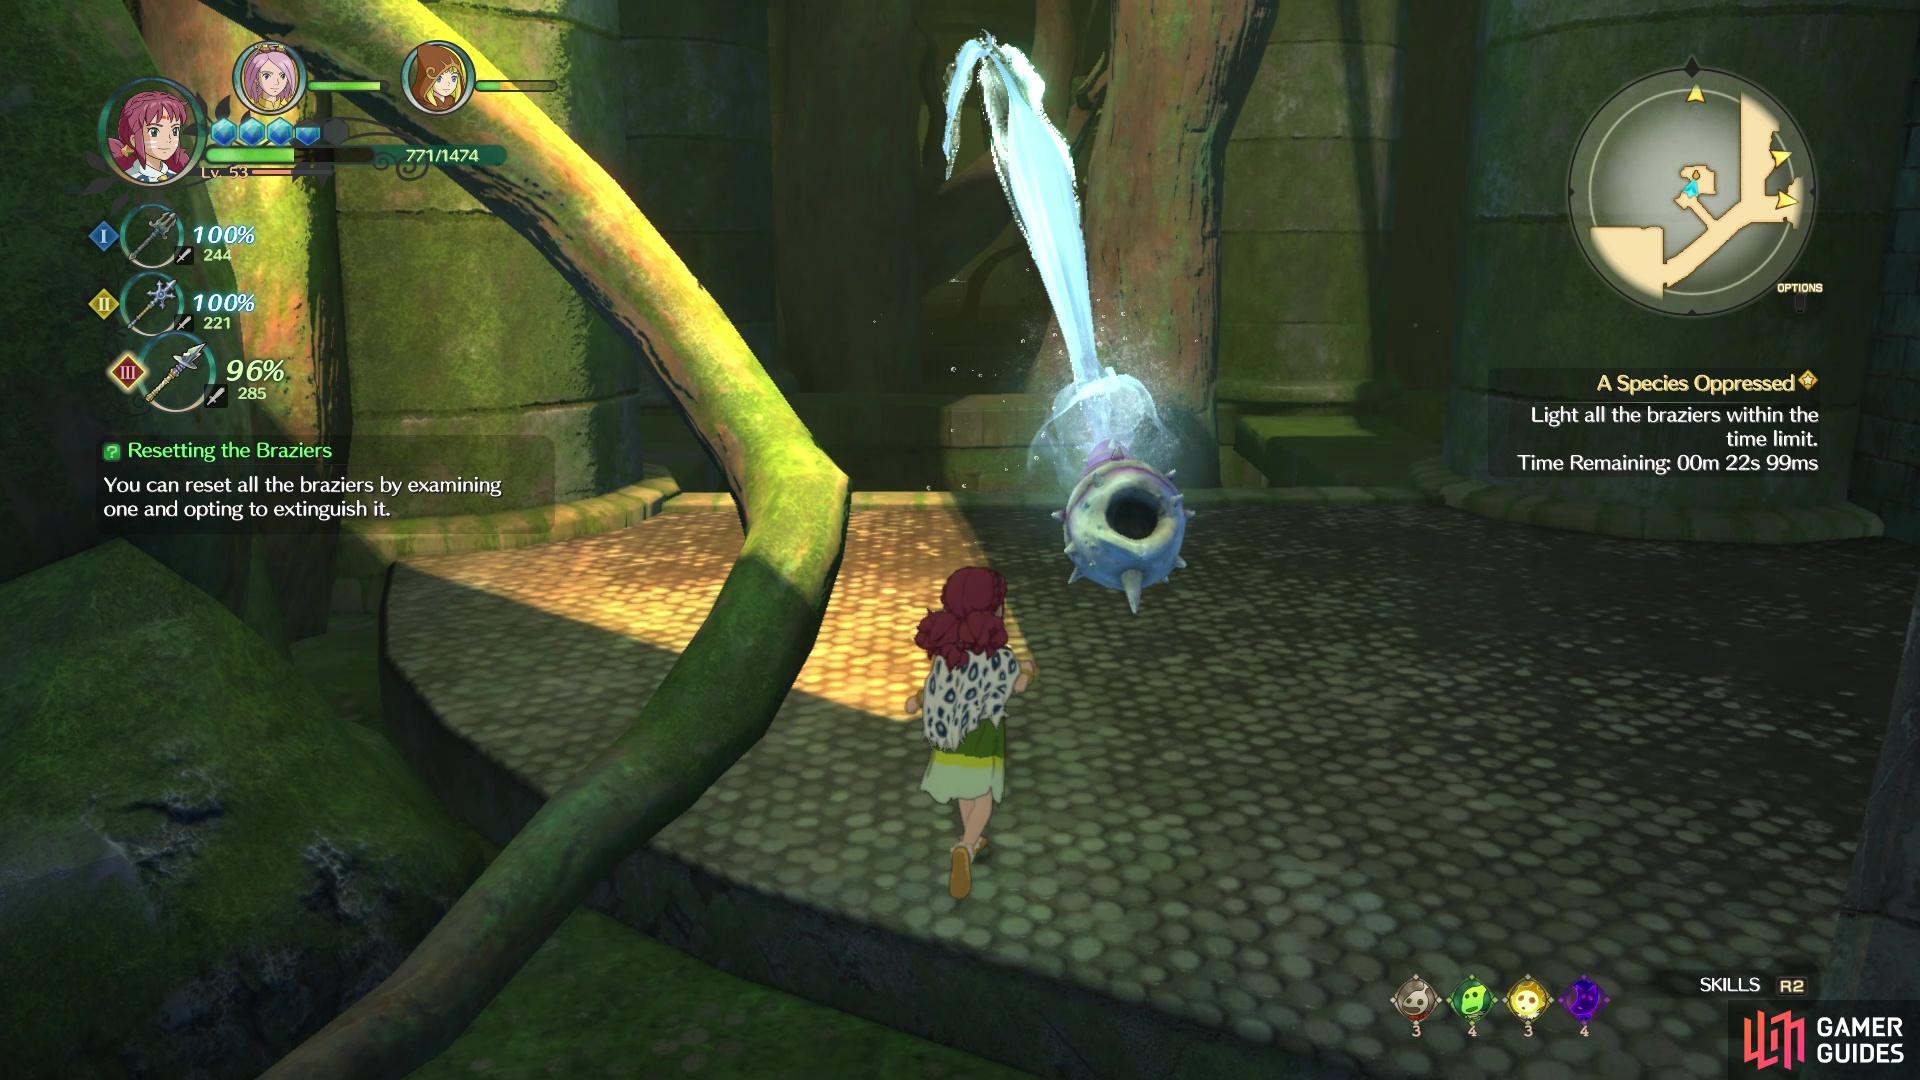
There’s still a bit more to explore before you return to the braziers. Southwest has two more rooms of interest, with the small one containing a puffer whelk. All the way at the end if a bigger room with some enemies, as well as a small one with a chest (Vengeful Daredevil’s Armor). Now, it’s time to return to the braziers. The best course of action is to light them in the following order: 2-3-1. The puffer whelk will take you back to the room with the waystone, which is where the first brazier was, so you will be able to get them all with around 5-10 seconds left on the clock. This will open the gate next to the waystone, so save and follow the path to face a boss.
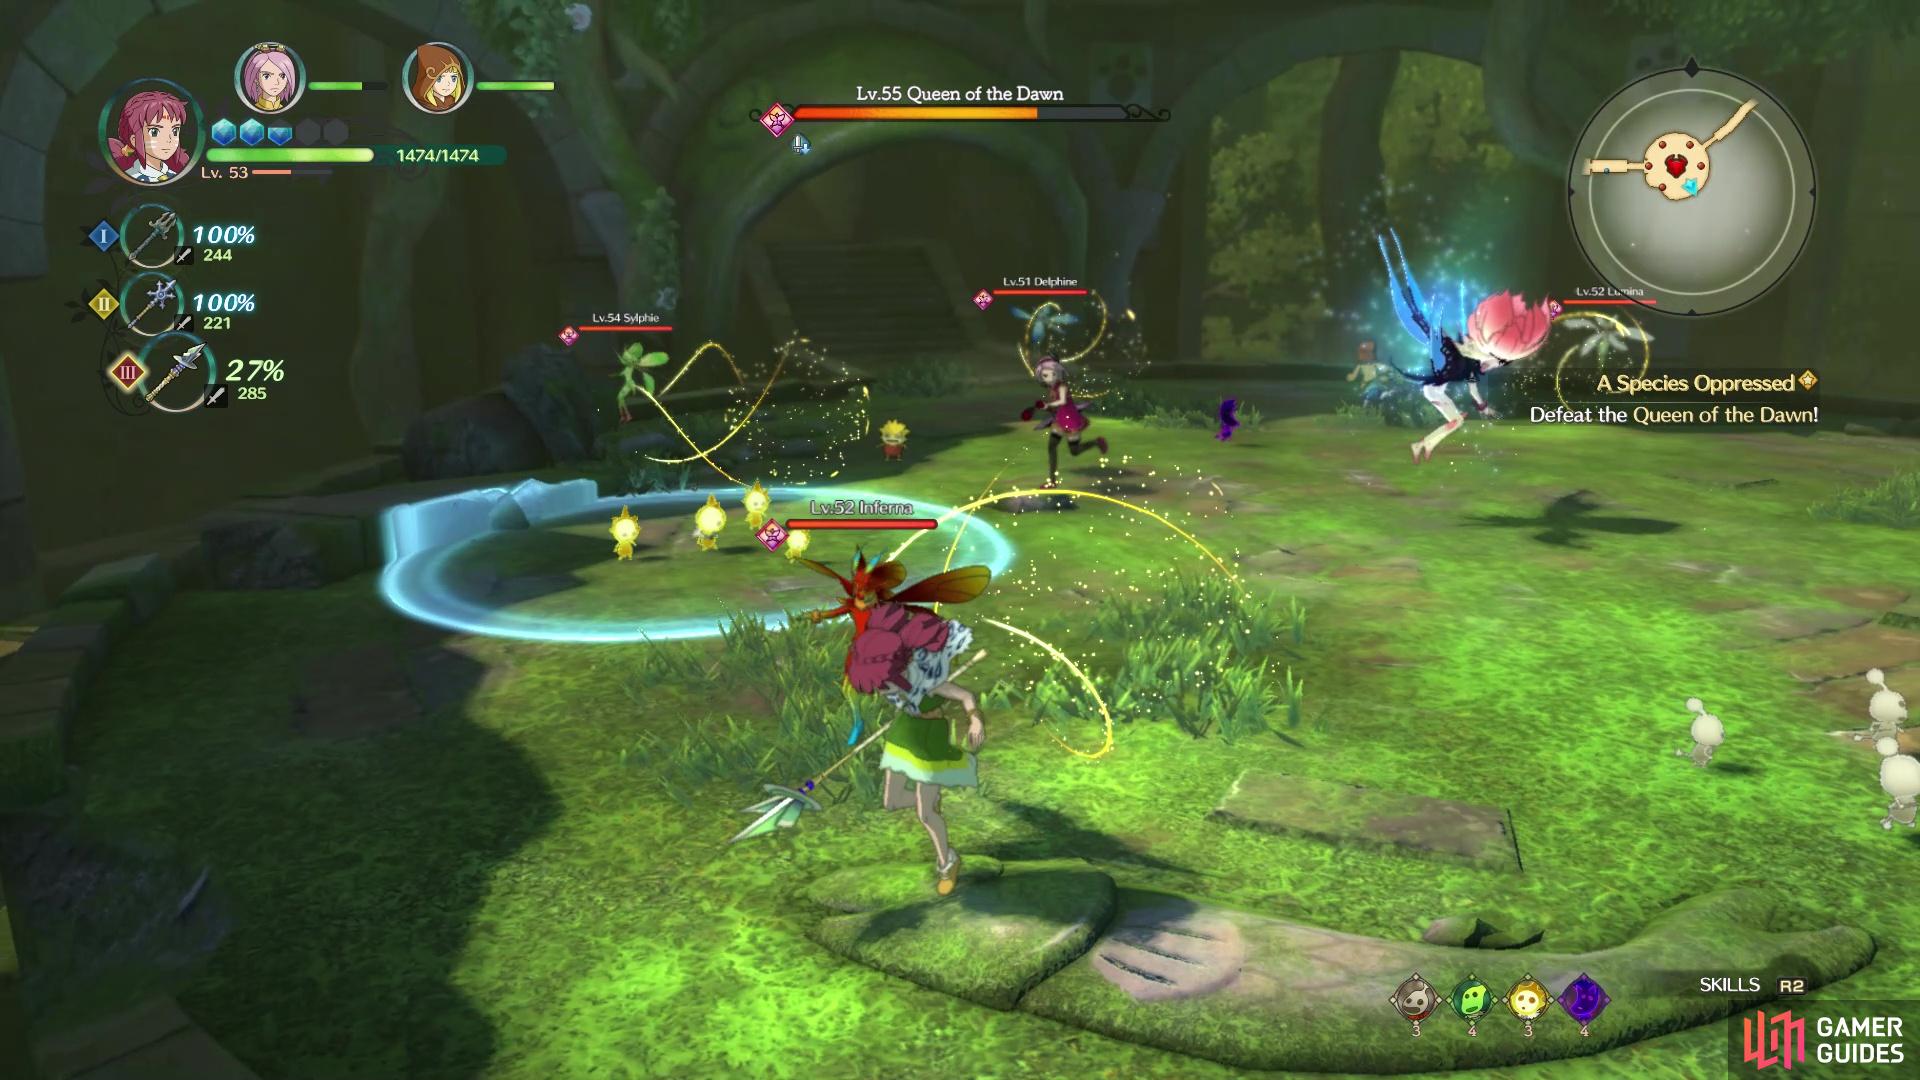
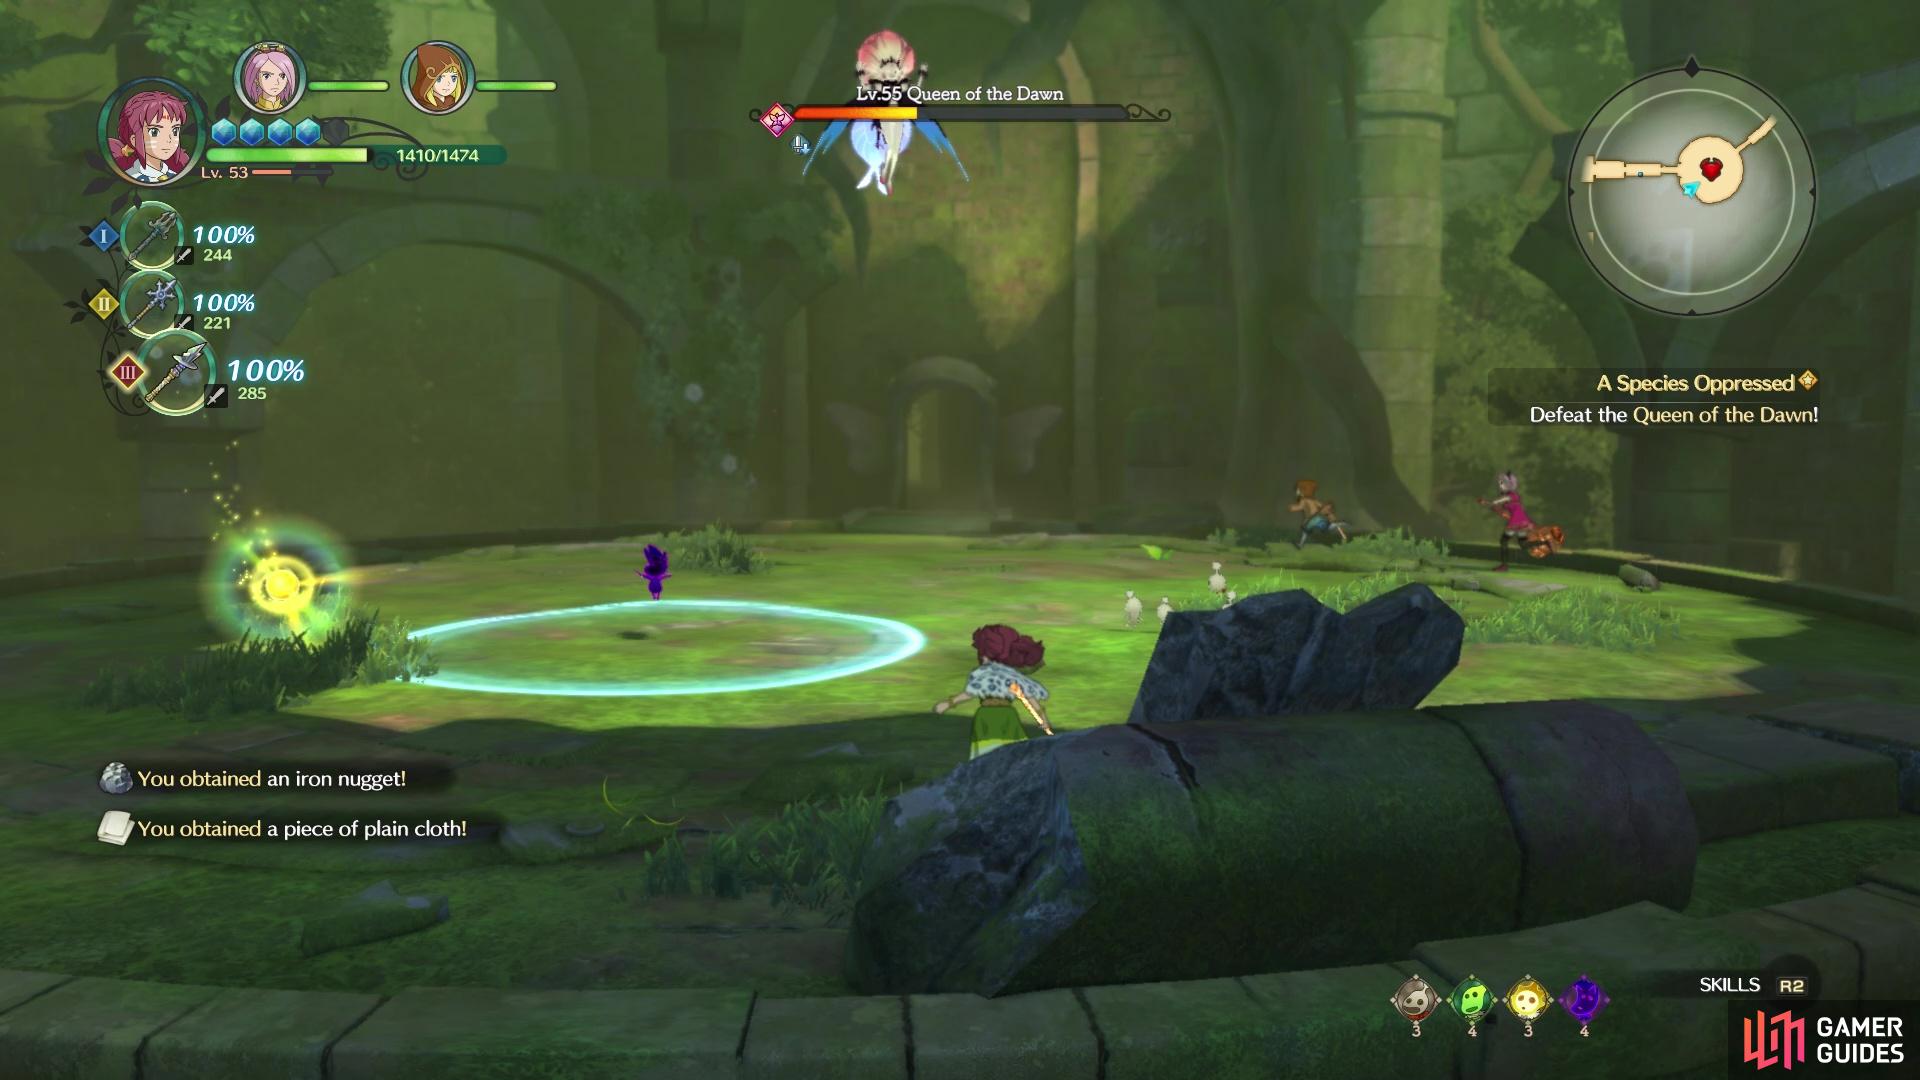
BOSS - Queen of the Dawn
This boss is one of those sylph-type monsters, with it beginning the battle by summoning the normal sylph monsters. Things can get a little hectic here, as all the little ones will be shooting projectiles or charging, while the big one can charge up and shoot a bigger projectile. You will want to get rid of the smaller ones as soon as possible, as this limits the projectiles on the field and also allows you to focus on the boss. The Queen of the Dawn also likes teleporting around the arena, meaning you’ll have to chase her down continually.
You will find that the Queen will summon more sylphs periodically and will usually stick to this strategy until around half health, where she’ll teleport to the middle. At this point, she’ll begin summoning streams of water or something from the ground, which appear randomly. She can also charge, similar to the smaller ones, with the same pillars coming out of the ground along her trail. The best thing to do is just get out of the way.
Eventually, once she’s a little lower on health, she will rise into the air, meaning you won’t be able to hit her with melee attacks, although ranged ones still work. She will be charging up for something, where she’ll fire elemental blasts to the ground, causing a huge explosion of the same element. These hit multiple times if you happen to be in their radius. She will continue all of the above attacks until she finally goes down for the count.
(1 of 2) The Queen can summon smaller sylphs throughout the battle
The Queen can summon smaller sylphs throughout the battle (left), When she goes into the air you will have to resort to ranged attacks (right)
With the boss defeated, the grimalkin you saved will run back to the slums and you can carry onward. Go west and then south to find a chest at the dead end, which contains Songbook No. 12. The stairs to the north lead to the slums. The first thing you want to do here is activate the Trip Door (Slums), then speak to the three grimalkin with markers above their heads. When you’ve done that, some cutscenes will play out and you will need to head to Evan’s father’s tomb.
A Father’s Truth
Unfortunately, you can’t get out of the slums via the normal exit, so just teleport to one of the other two trip doors in Ding Dong Dell. Make your way back to the Kingsway and exit Ding Dong Dell, then look at your map for a second. See where “Memoria Moor” is on the map just northwest of the town? There is a hill here that you can climb, which will lead you straight to the Crypt of the Cat Kings. Enter it and unlock the door with the Mark of Kings, then approach the small chest in front of the tomb. Interact with it to obtain King Leonhard’s Diary, then watch the scene that follows. You’ll be back in Evermore, with Mausinger sending a letter to have you visit him, officially. It’s obviously a trap, but something must be done.

 Sign up
No Comments