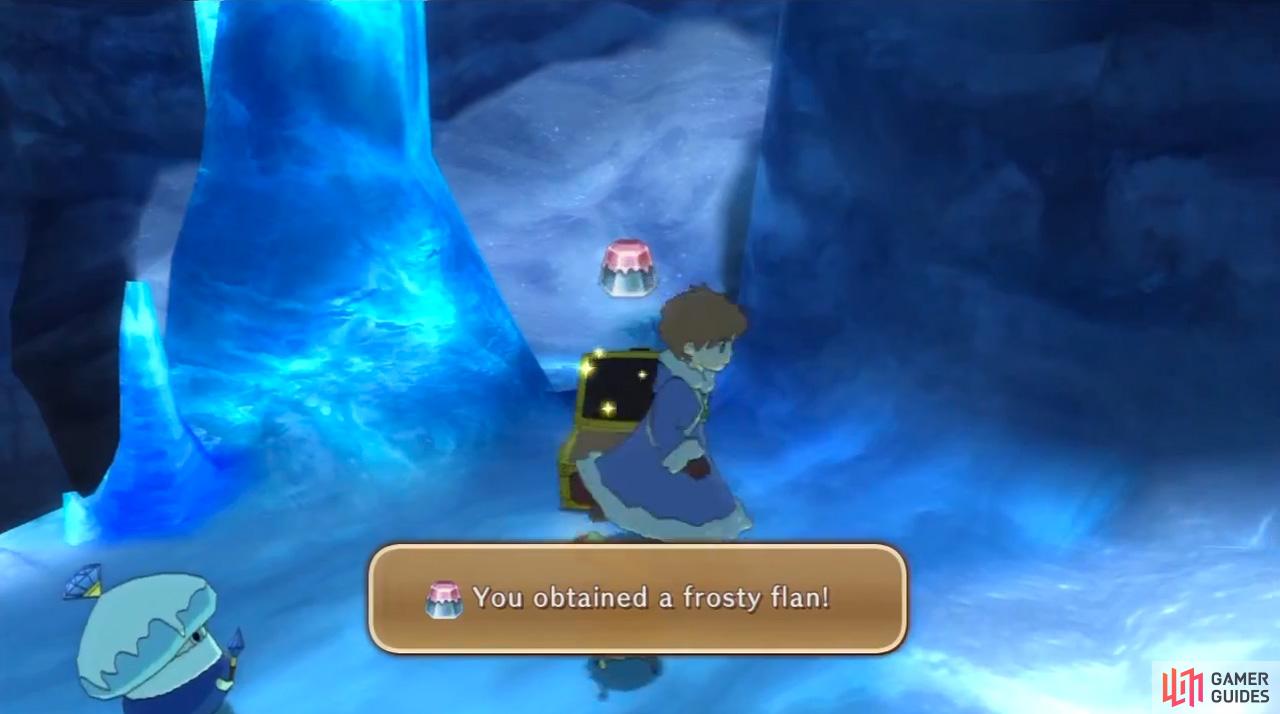
The first part of the Glittering Grotto is fairly straightforward, but there are some sideways that contain treasures. These are all located on the west side of the area, the first being in a chest to the southern dead end that contains a [FROSTY FLAN] .
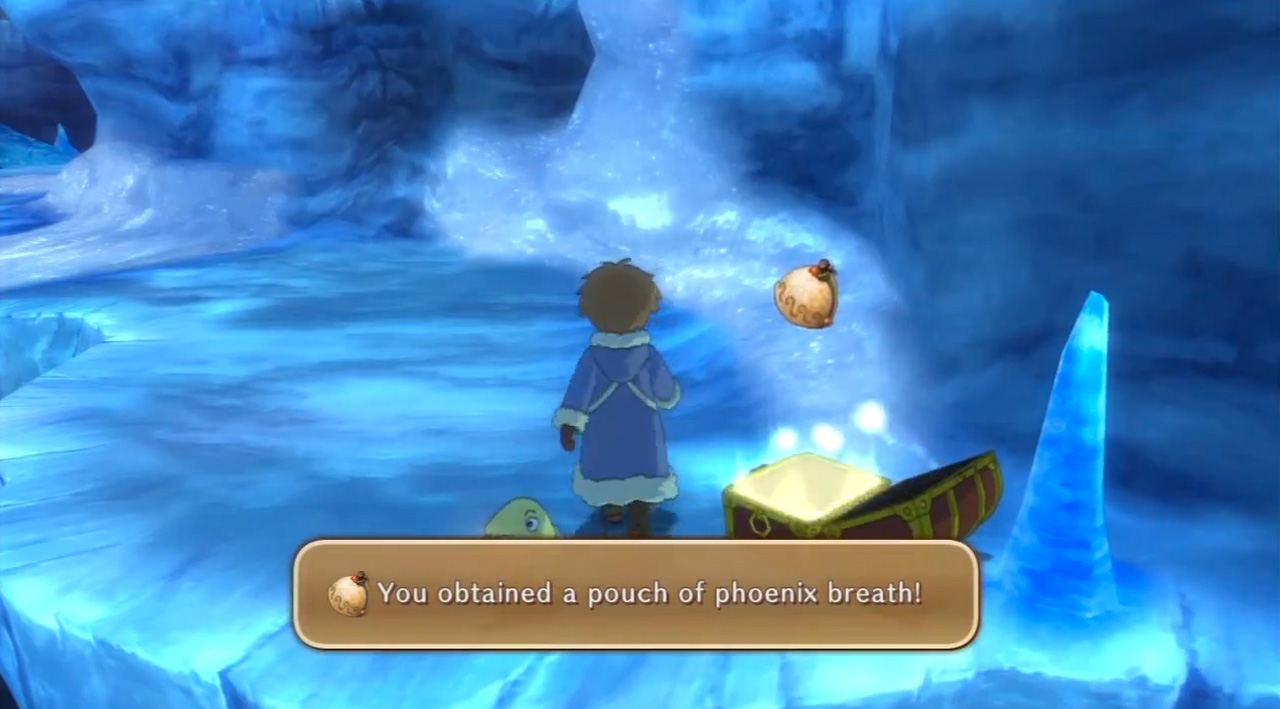
Return to the main path and follow it to the north until you reach a chest with a [PHOENIX BREATH] inside. Hop on the ice pillar to the east, using it as stepping stone to continue north. Doing so causes it to break.
You can still backtrack by heading right/south at the intersection up ahead, moving through the hidden tunnel next to the tomte. In any case, continue north until you reach a chasm; cast your Pulse spell to break the stalactites loose and use them as stepping stones. The large stalagmites blocking the western path can be molten with a dose of Fireball.
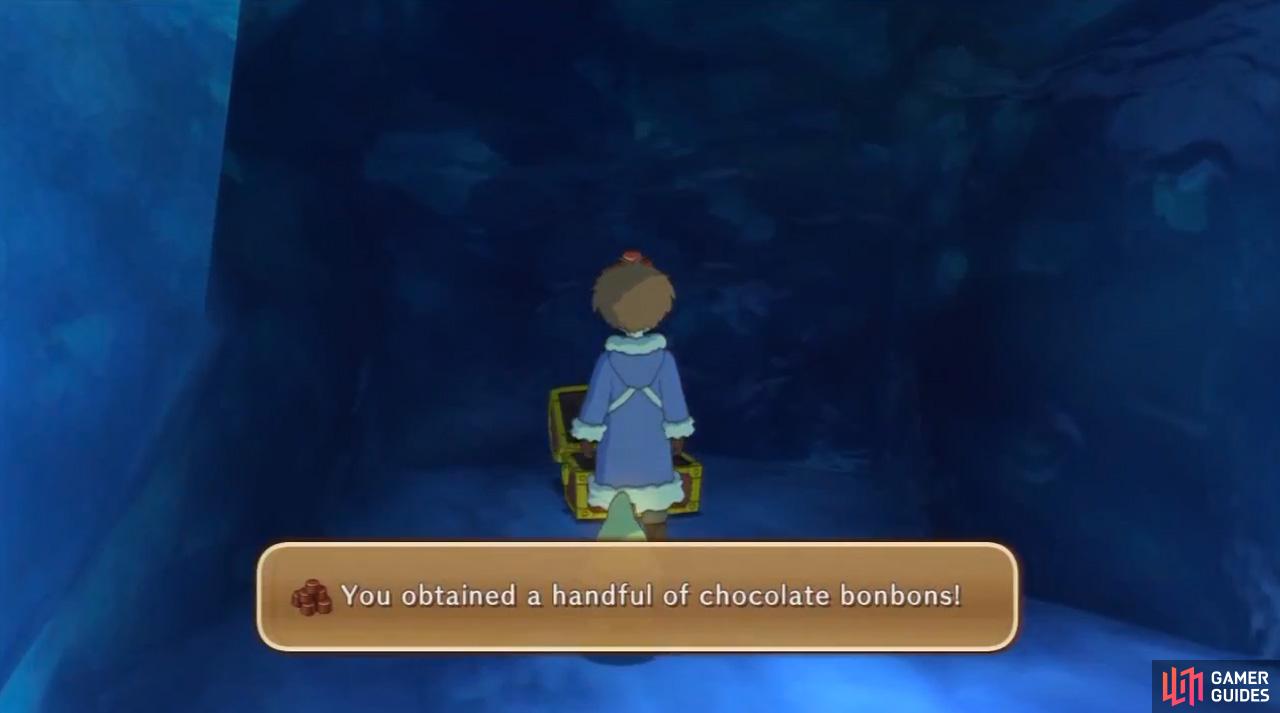
At the intersection up ahead, turn right/east and melt away the fallen stalactites to reach a chest with [SAGE’S SECRET] in it (the stalactites will grow back to the ceiling). Return to the intersection and follow the path, melting two sets of icicles (the second revealing a chest with [CHOCOLATE BONBONS] . Following the trail leads to the lower area of the Glimmering Grotto, but be sure to cast Pulse as you curve around the corner - there’s a stalactite on the right side of the trail as you go down - creating another stepping stone down below.
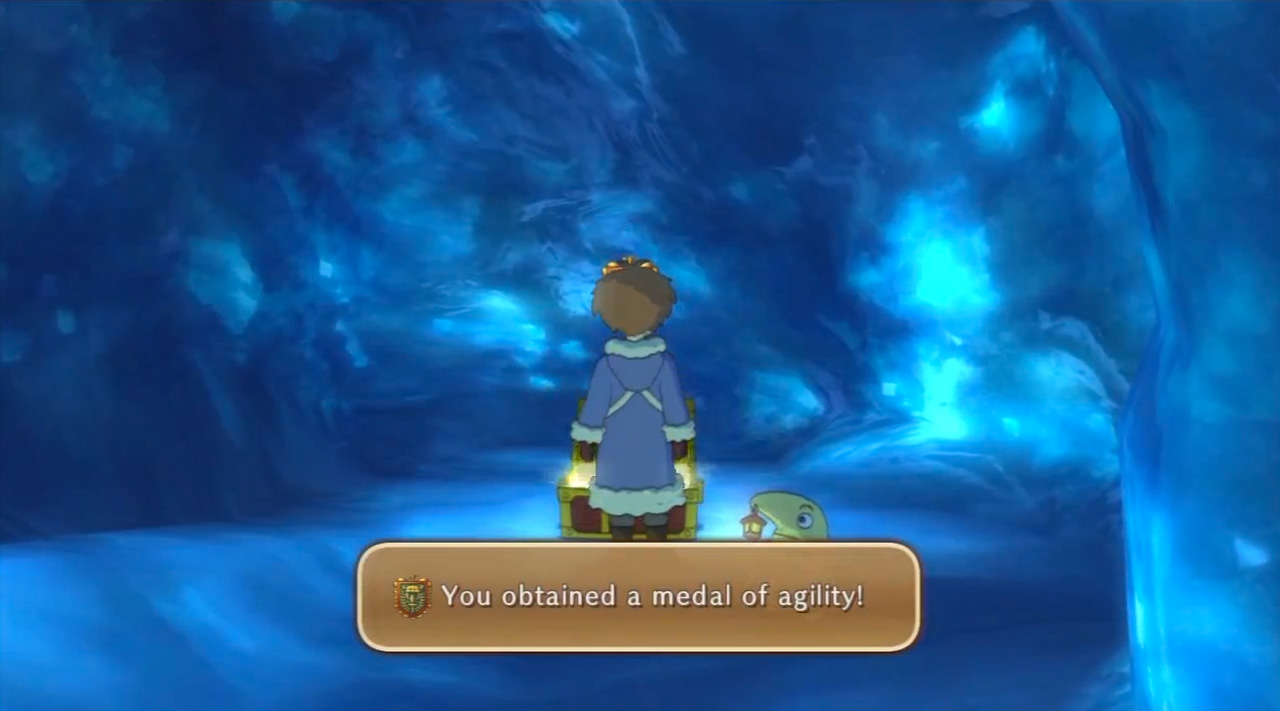
In this lower area are several paths to take. First, move left of the platform with the regular chest to find a green chest containing a [HOLY SHIELD] . Now head back and take the eastern path going up the hill, moving over the stalactite you knocked down just now. To reach the chest, simply cast Pulse again; its contents are a [BLUSTER BLADE] . Return to the lower floor, melt the first set of stalactites at the narrow path to the east, then run straight through the wall. The chest in this hidden section contains a [MEDAL OF AGILITY] .
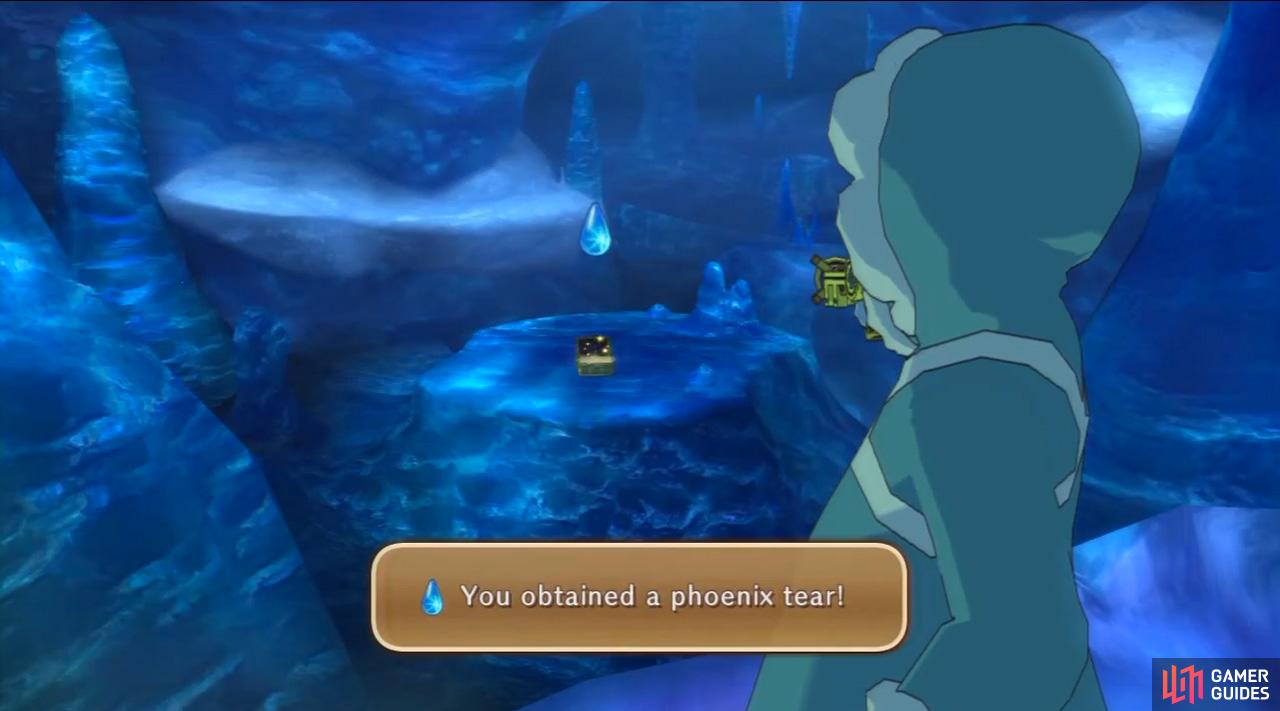
Melt the other set of stalactites that’s blocking the northern path to proceed north where you’ll reach an intersection. Follow the left/west path to its northwest end to shoot a [PHOENIX TEAR] out of the green chest laying on a platform to the far west. Don’t go over the stepping stones; instead, backtrack to the intersection and follow the eastern path.
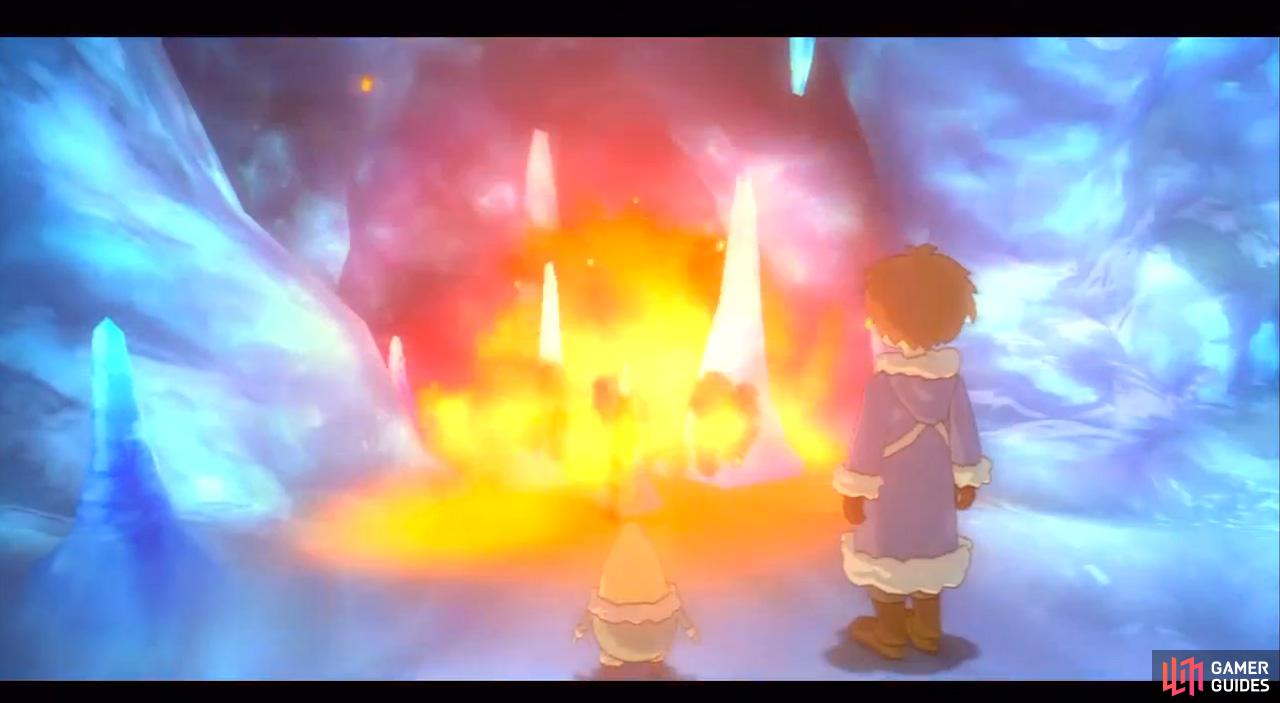
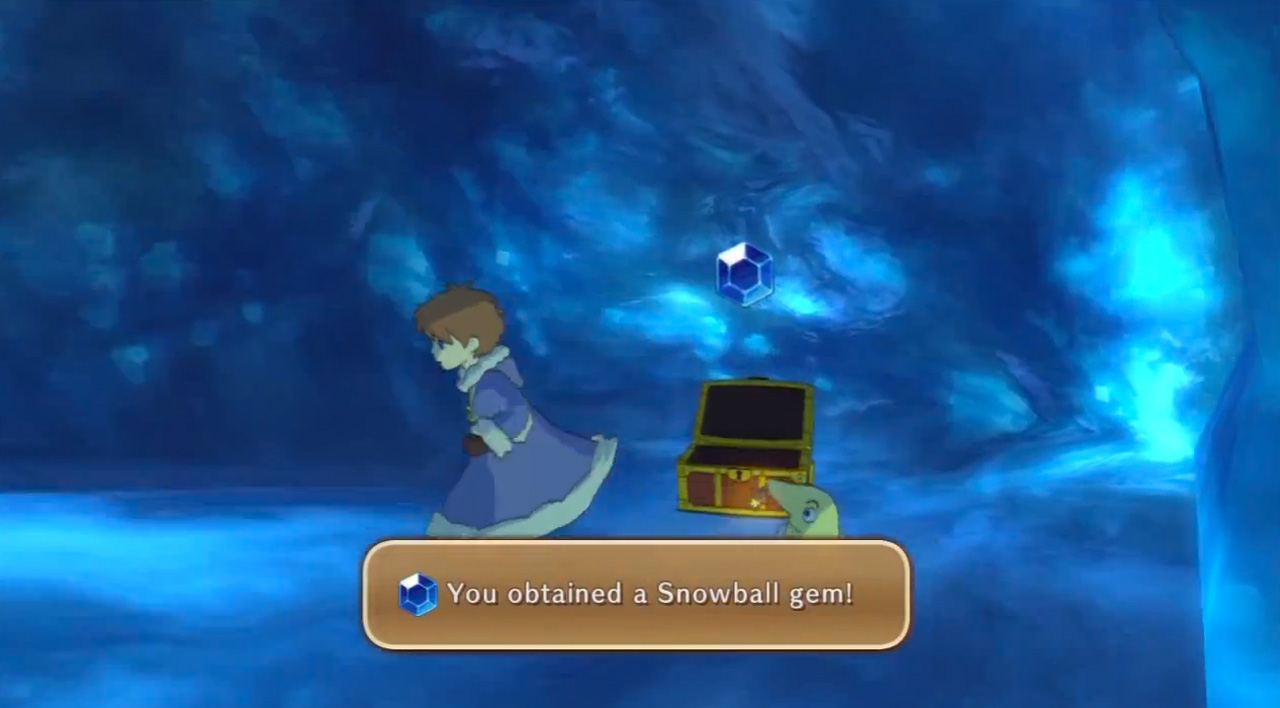
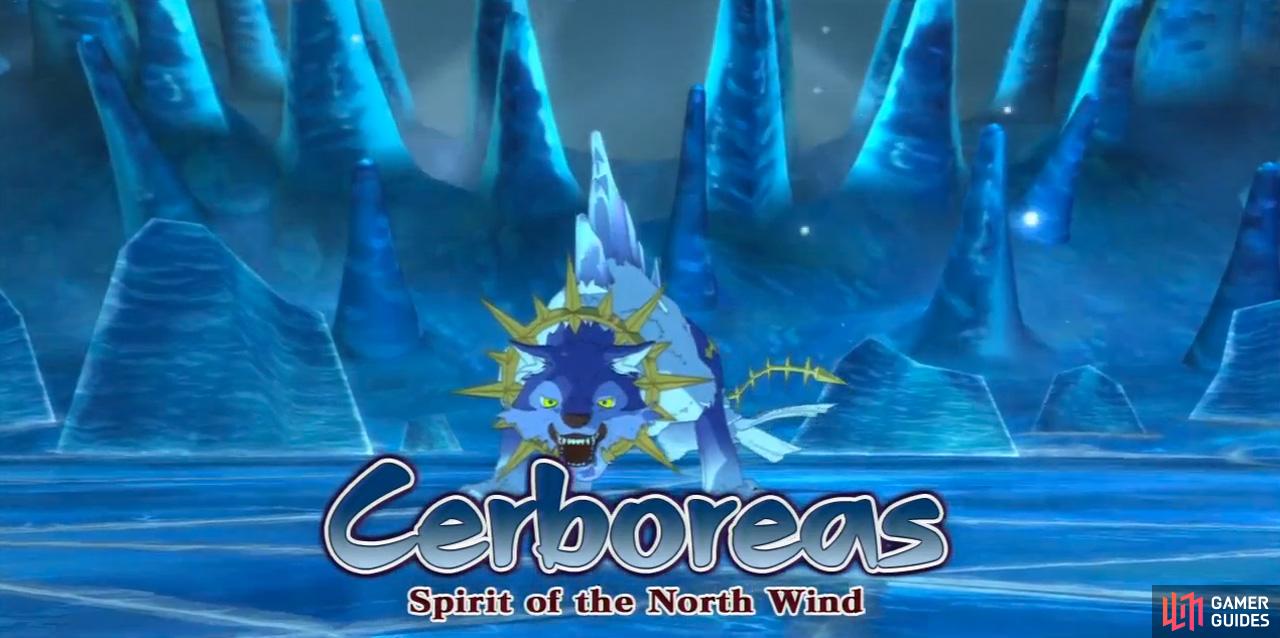
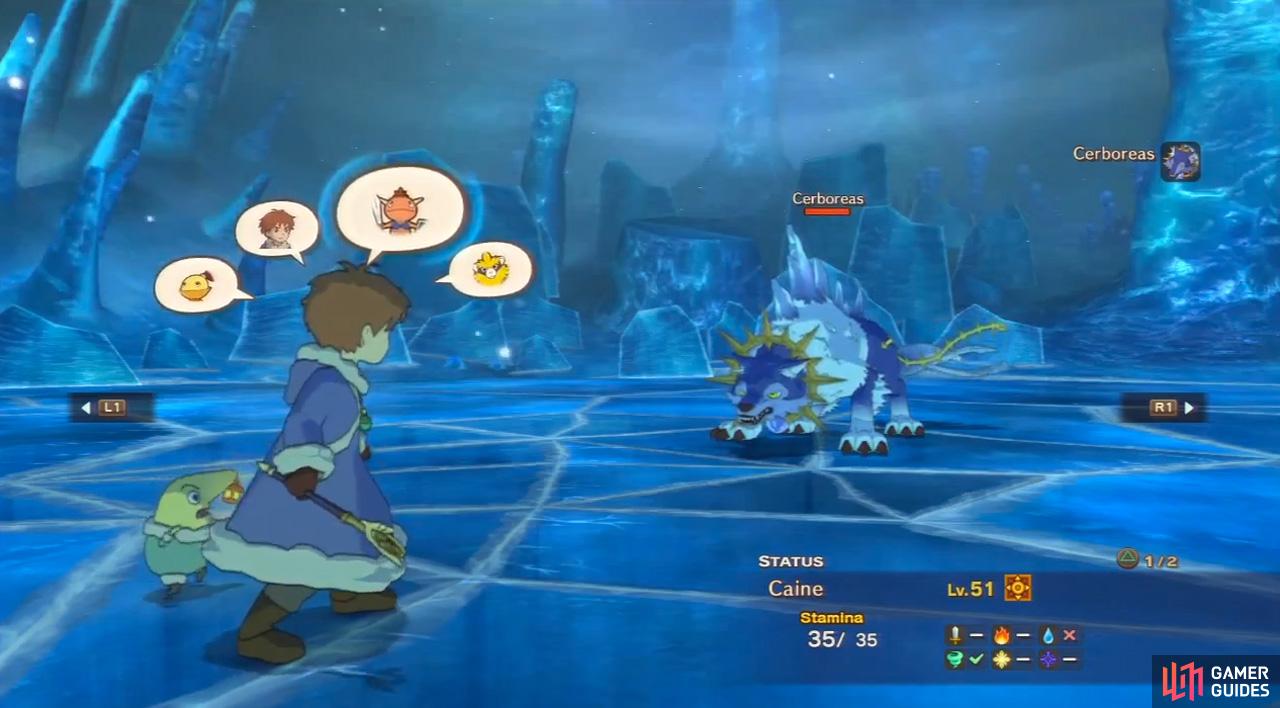
After crossing the ice bridge, keep hugging the wall to your right/east until you find a hidden passage giving access to a chest with a [SNOWBALL GEM] inside. Save your game at the waystone up ahead and prepare yourself for an upcoming boss battle; definitely equip the Blazing Blade, as well as the water-resisting equipment you bought earlier on.
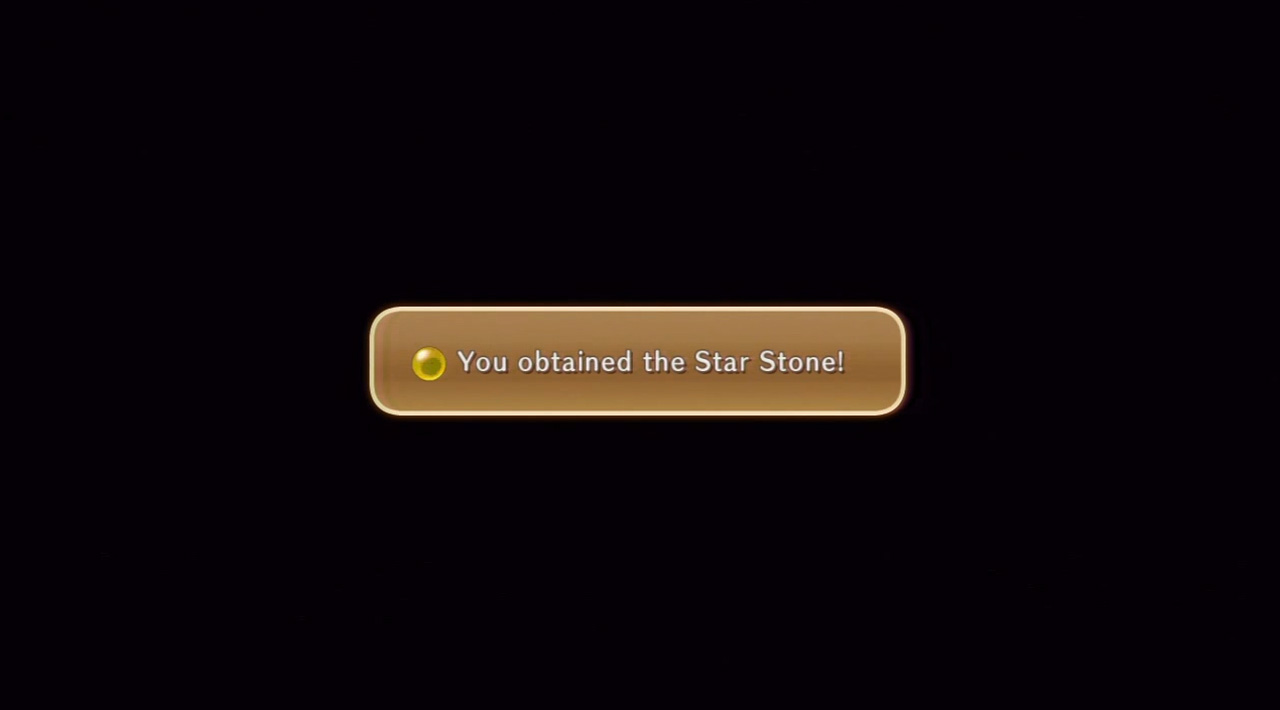
After defeating Cerboreas you’re finally granted the third and final magical stone, the [STAR STONE] . You’ll also unlock the [CERBOREAS] page for your Wizard’s Companion. Watch the long set of scenes that follow.
Now that you have all three stones for Mornstar, it’s time to head to Hamelin to try and figure out how to get them reunited with the wand. Feel free to take care of the two Errands left in Yule.


 Sign up
No Comments