Travel: Technic League Encampment
First step, travel to Thorn Ford, which you should know the way to by now. From there you’ll want to go the following directions:
- West
- Northwest
- Southwest
- Southwest
With any luck you’ll make it to the Technic League Encampment without being fatigued, but if not, you can always rest when you reach the area. You’ll want to be fully rested, too, as a rather large fight awaits.
Battle The Technic League
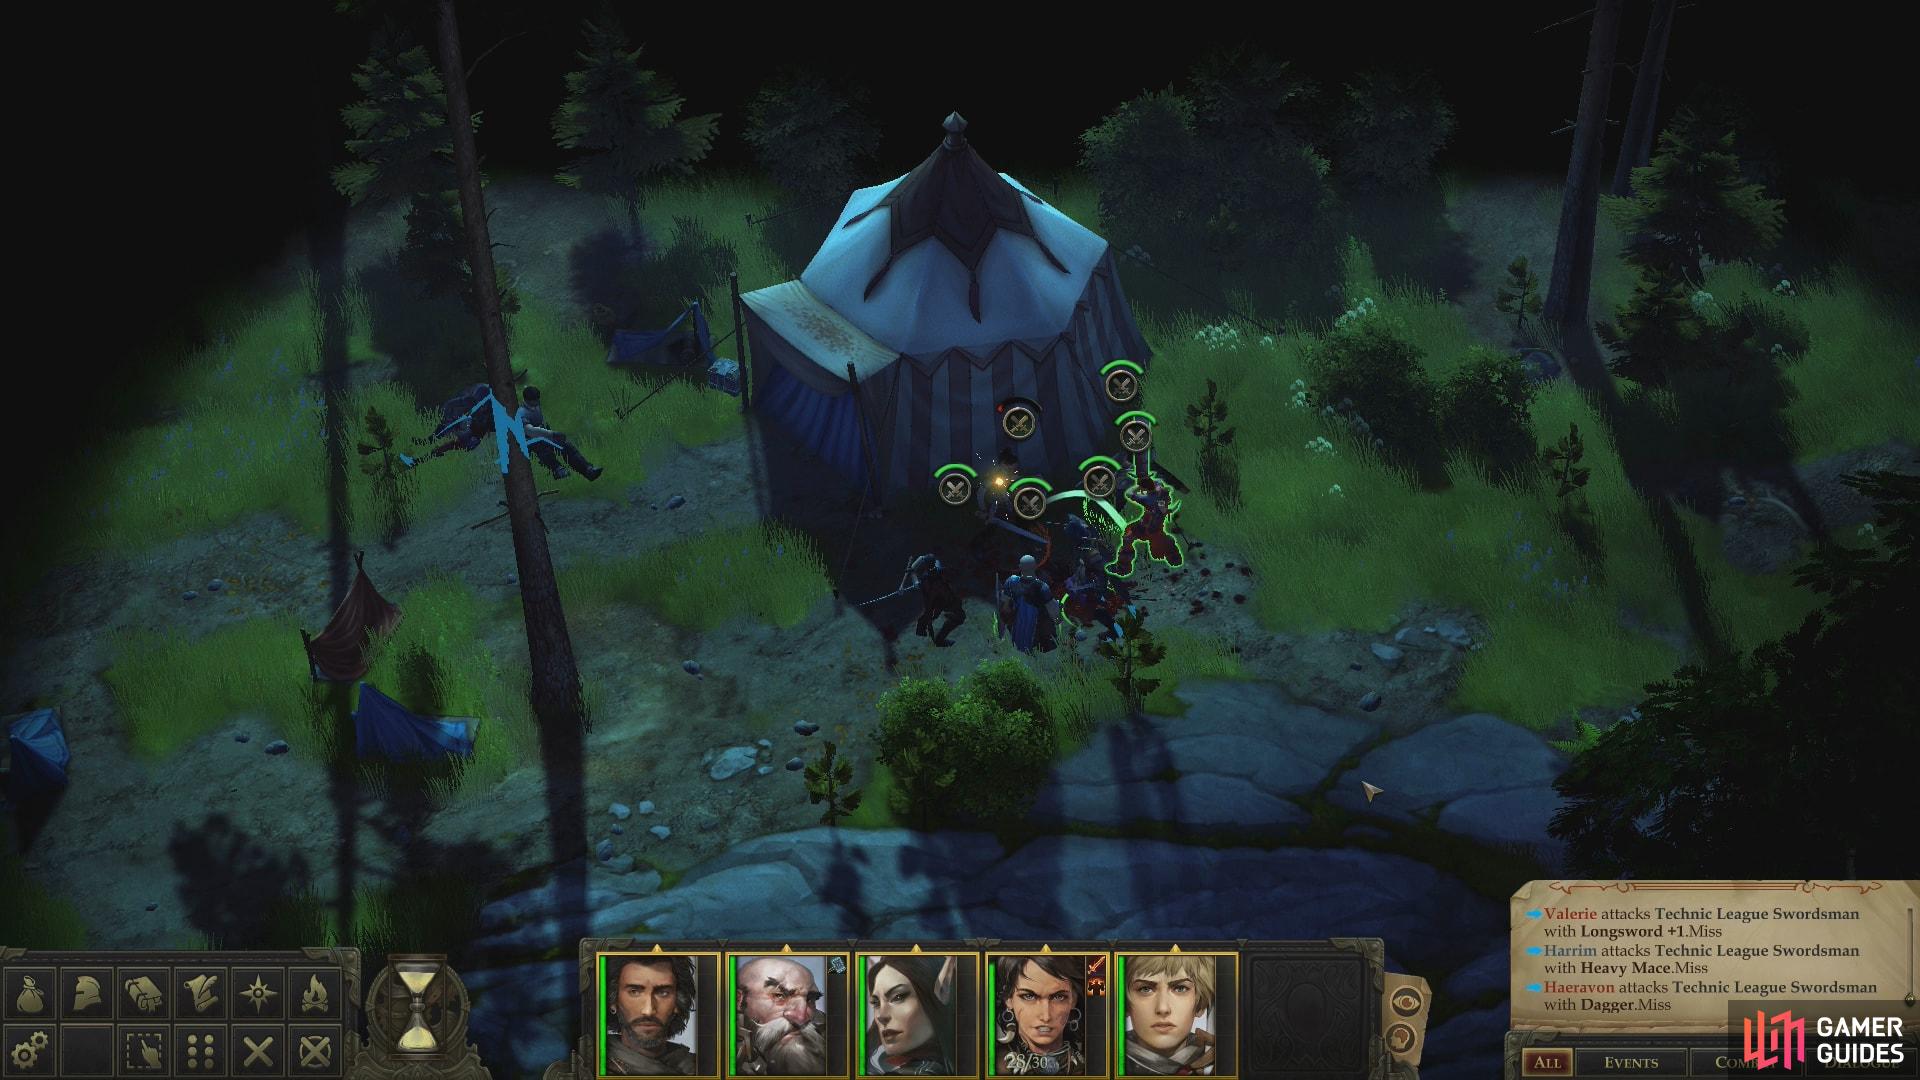
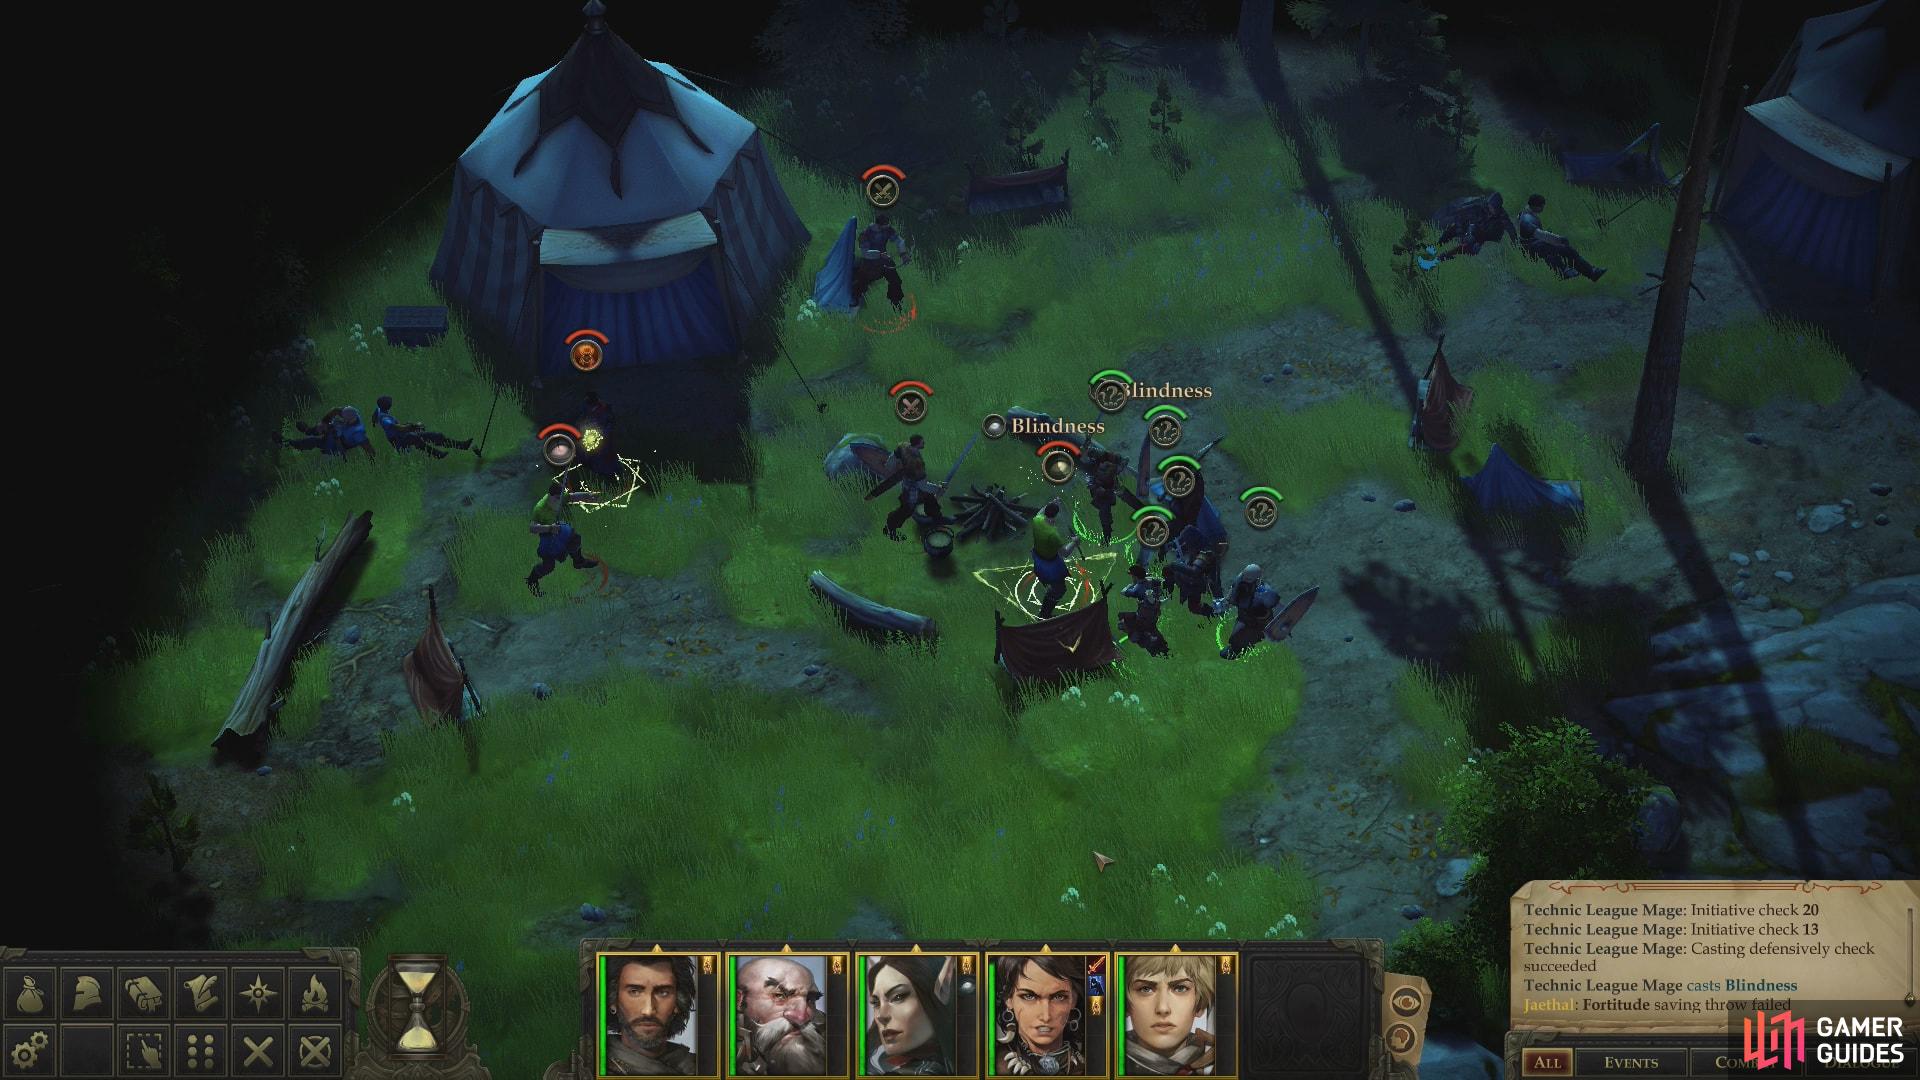
From where you start at the southwestern end of the area, head north until you reach the northernmost edge of the area. From here, turn west and you should spot a tent, near which two stragglers - a Technic League Bowman and a Technic League Swordsman - lurk. Pounce upon them and kill them, a feat which shouldn’t alert the rest of the camp, then carefully proceed to the west until the rest of your foes are in view.
(1 of 2) Attack the isolated guards on the eastern end of the camp to easily wipe them out
Attack the isolated guards on the eastern end of the camp to easily wipe them out (left), Rushing the stronger western section of the camp will be more difficult (right)
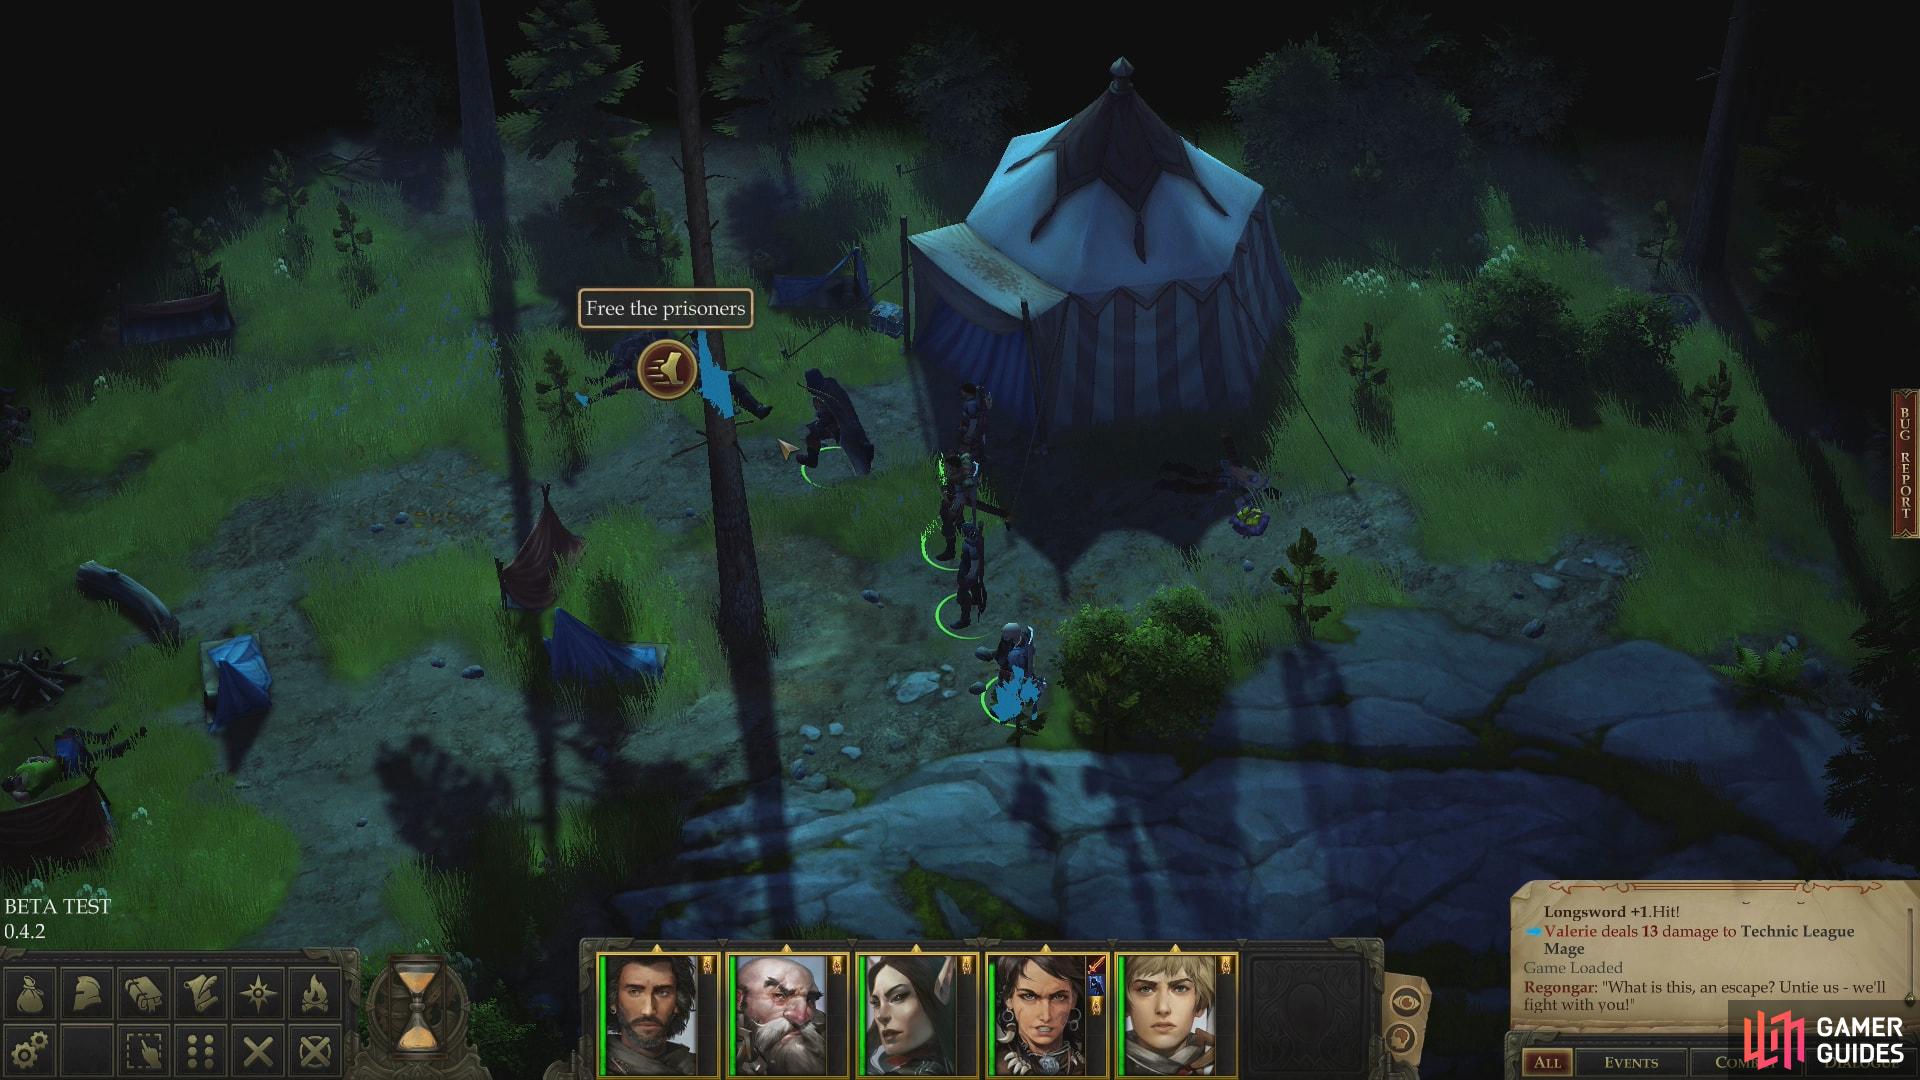
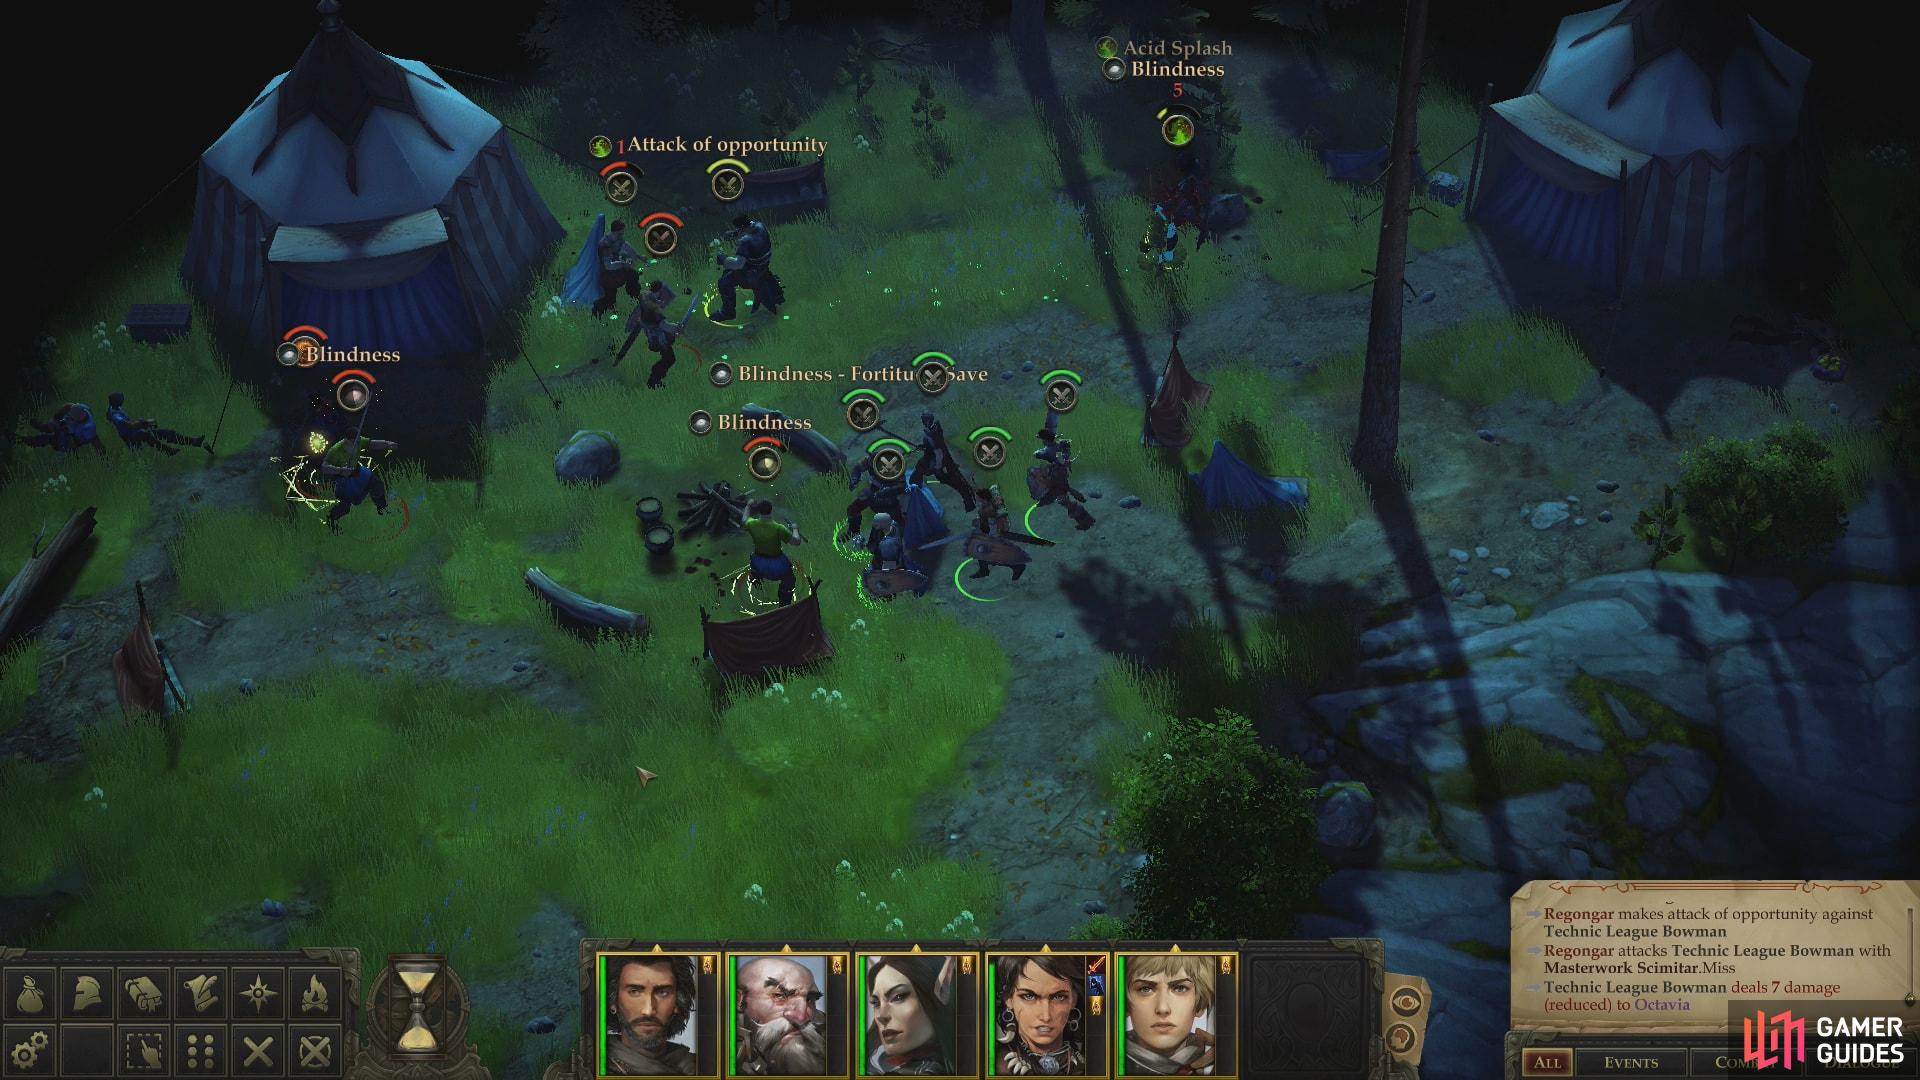
The majority of your foes still remain, and they include a Technic League Archer, a Technic League Swordsman, two Technic League Mages and Kalannah. You can sway the odds more in your favor by freeing some prisoners - Regongar and Octavia - who are bound west of the eastern-most tent. They’ll immediately leap to attack and spoil any element of surprise you may otherwise have had, but they’ll also hopefully draw fire to themselves and spare you the attention. While they distract the archer and swordsman, sic your entire party on Kalanah to prevent her from summoning more enemies. If you have summons, consider a divide-and-conquer approach, as the Mages will cast Cause Fear repeatedly, making them almost as disruptive as Kalannah herself. Once she falls it should be a simple matter to mop up the archer and swordsman.
(1 of 2) To even the odds you can free some prisoners
To even the odds you can free some prisoners (left), and let them engage and soak up enemy spells. (right)
Otherwise the enemies have the same abilities here that they had during the random encounter. The archer will take pot shots at you, Kalannah will summon some Wolves, and the Swordsman is just there to deter you from hindering the casters.
Decide Kalannah’s Fate
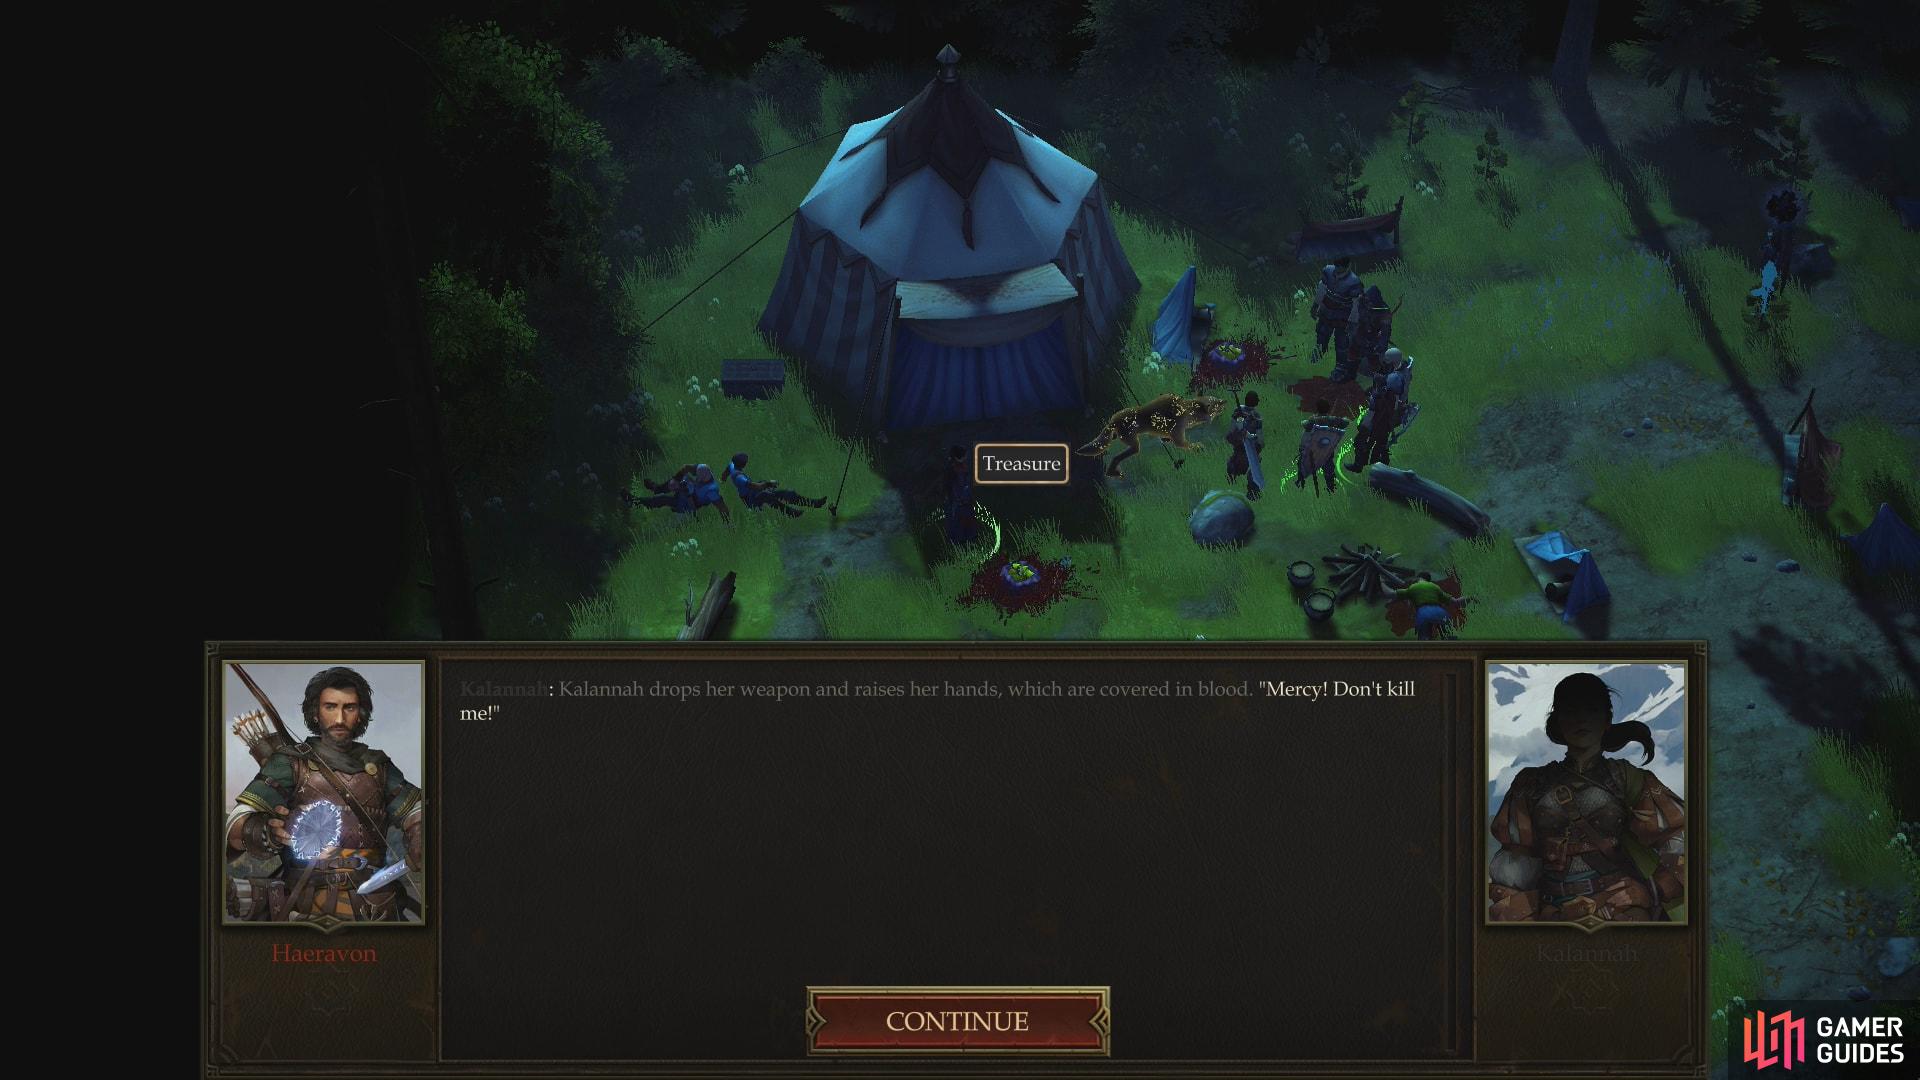
After you defeat your enemies, Kalannah will immediately begin to beg for mercy, and in her current predicament, she’s far more forthcoming with information. Her former slave, Regongar, however, is hungering for revenge. Get what information you can out of her, then pick between three options: allow Regongar to kill her, kill her yourself, or let her go free (a [Neutral Good] act). There’s no immediate penalty for killing her, and if she doesn’t leave the camp alive you can loot her Wand of Expeditious Retreat and Headband of Vast Intelligence +2, making her demise a lucrative one. If you spare her, however, she’ll offer some assistance in a quest quite a distance in the future. While that Headband of Vast Intelligence is a fine early-game prize, you’ll find many other identical (and superior) pieces of headwear in the future.
| Reward: For defeating the Technic League under Kalannah |
|---|
| 200 XP |
(1 of 2) Defeat the Technic League and Kalannah will surrender
Defeat the Technic League and Kalannah will surrender (left), Whatever her fate, the slaves Regongar and Octavia will join your party (right)
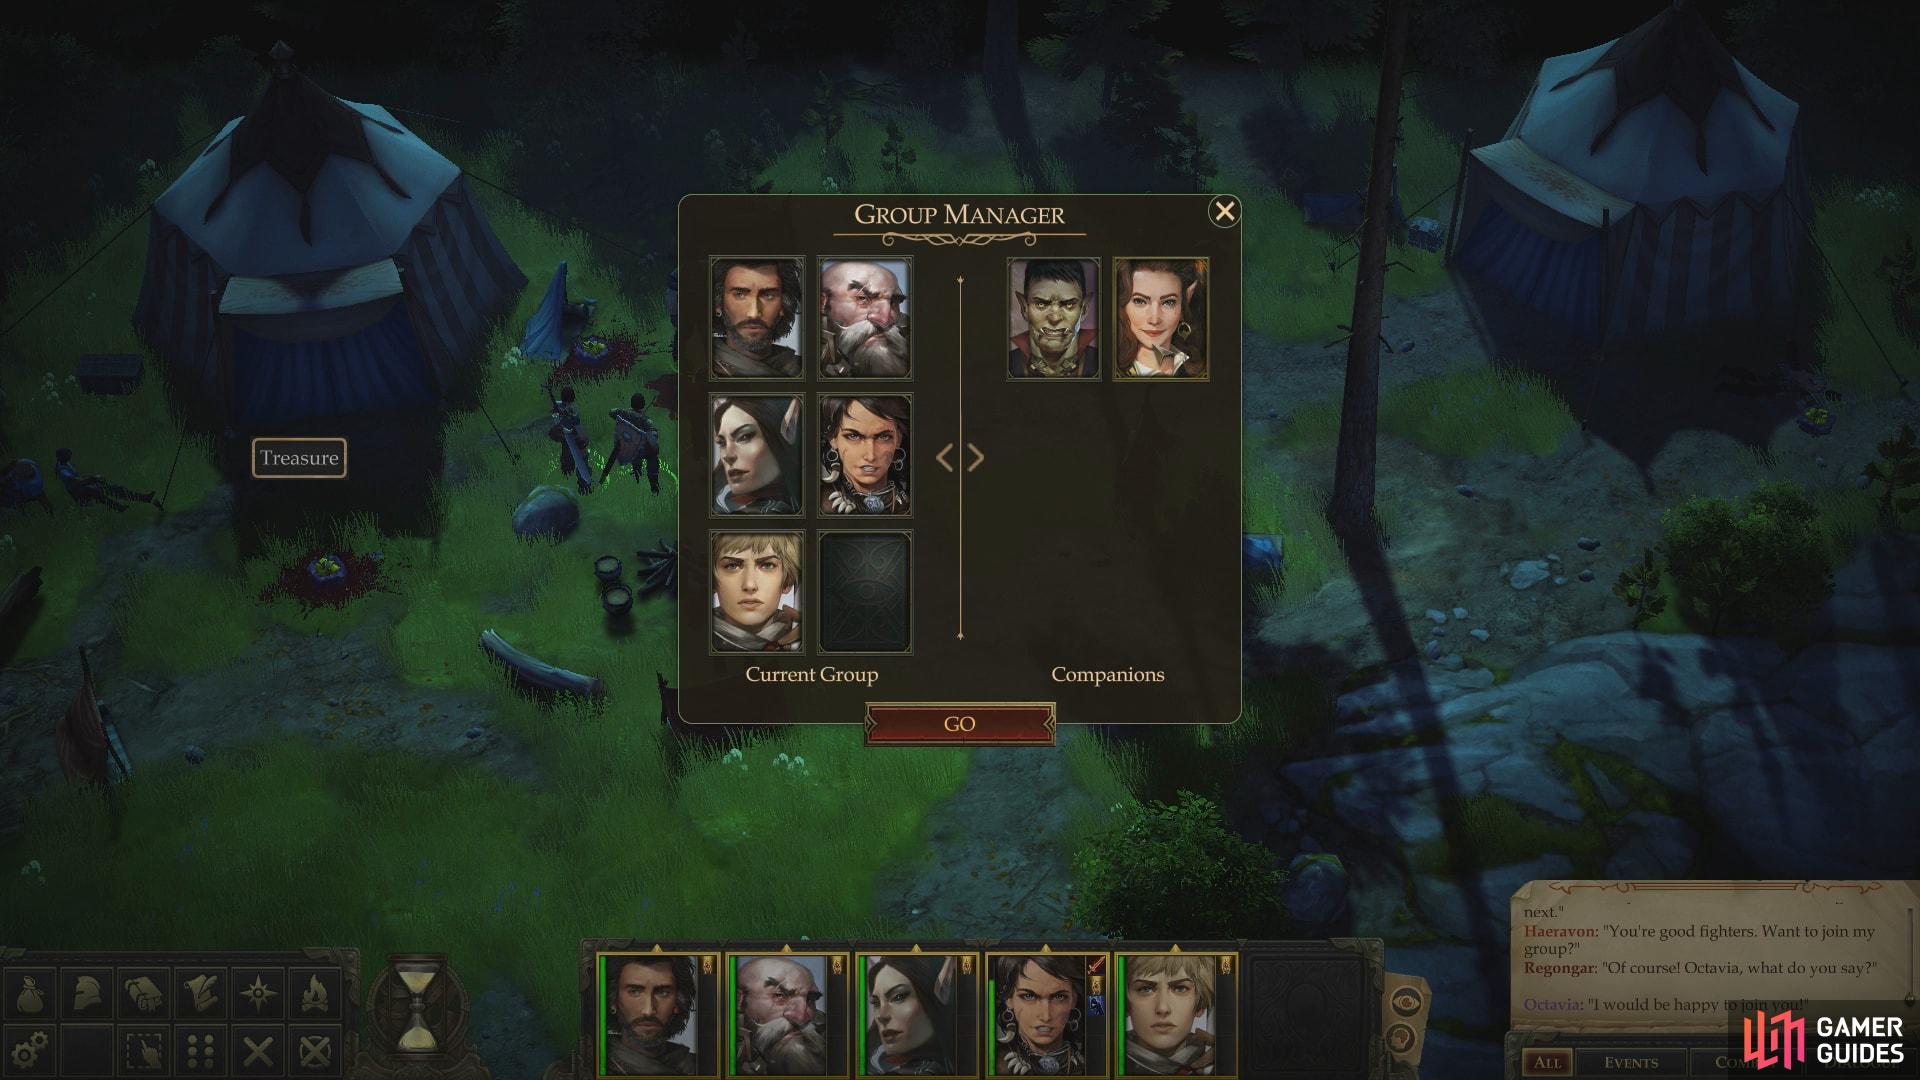
Decide what you will, and regardless of your choice Regongar and Octavia will offer to join you. They were willing enough to fight at your side after you freed them, and look to continue in that line of work if you merely accept them. The unlikely pair are both spell-casters, with Regongar being an Eldritch Scion and Octavia being a Rogue/Wizard. Regongar won’t be of much immediate use as an arcane spellcaster, as his spells are suited to enhancing his combat abilities, and should ideally remain so. Octavia, despite her level in Rogue, is your typical spell-caster, albeit her high Dexterity and Rogue proficiencies will make her more competent than usual at ranged combat, for the short-term.
With that, you’ve avenged the attack of the Technic League and have acquired two new companions. If you stole an ally away from Tartuccio earlier, you should now have six possible companions (not including your protagonist). Whomever you do not currently have in your party will return to Oleg’s Trading Post, and you’ll be able to select which characters you wish to bring with you every time you depart. Of course, if you put dedication to evil over practicality, you can pick the [Chaotic Evil] option to attack the two, if you wish.
Before you leave, it’s time to get to looting and liberating. Free any remaining prisoners - including your abducted companion, if applicable, then plunder the bodies of the slain to score a Masterwork Longbow from the Bowman, Masterwork Estocs and some Scrolls from the Mages and a Wand of Expeditious Retreat and Headband of Vast Intelligence +2 from Kalanah… if you killed her or allowed her to be killed, anyways.
Be sure to also loot the various sacks and chests around the camp - especially the chest near Kalanah’s tent, which is bound to contain some magical item or another (our had a Chainshirt +1. If Octavia is your first character with a decent Trickery score, she’ll be able to help you get into all those locked chests you’ve encountered thus far, which may be worth venturing back to get. Another chest near a tent to the east contains a Scroll of Bane, a Potion of Mage Armor and a Potion of Reduce Person.
With that, you should be done in the Technic League Encampment. Return to the area transition in the southwestern corner of the map, as the Temple of the Elk beckons.

 Sign up

No Comments