

You’ll discover the Womb of Lamashtu - the source of The Bloom - after defeating the Goblin Shaman, and while it might seem like you should head there immediately to put an end to this threat to your kingdom, some complications arise. First, The Bloom begins shortly after the fight with the Goblin Shaman, where a plague that once took some time to bear its dreadful fruit now causes monsters to spawn expediently. Given that your capital is the largest settlement in the region - and many sick people were brought there to await treatment - the violent scene that occurred at Kesten’s camp is bound to have repeated itself many times over in your capital. Second, while Jhod and an untold number of your citizens are in mortal peril in your capital, Kesten wishes to head to the Womb of Lamashtu immediately, putting his own life in danger should you fail to follow suit.
If you want to save Jhod, you’ll need to return to your capital after clearing the Goblin Fort, the events of which are covered in The Bloom in Tuskdale. Alternatively, if you wish to save Kesten you’ll need to head to the Womb of Lamashtu immediately, leaving Jhod and the capital to its fate. Only via a [Lawful]-exclusive dialog option can you convince Kesten to return with you to the capital, which is the ideal way to handle matters.
In any event, you’ll need to end up going to the Womb of Lamashtu eventually, either immediately after clearing the Goblin Fort (if you want to rescue Kesten), or you’ll need to go deal with The Bloom in Tuskdale (if you want to save Jhod, or if you convinced Kesten to go back with you).
Travel: Womb of Lamashtu
The locations from the Goblin Fort area are as follows:
- North
- East (along the Gudrin River)
- Southeast (along the Gudrin River)
- Northeast (along Lake Silverstep)
- East (across Lake Silverstep) to landmark: Lake Silverstep Village
- East
- East
- South (path veers southwest)
This area is quite a ways off from the capital, so you may need to rest up before entering.
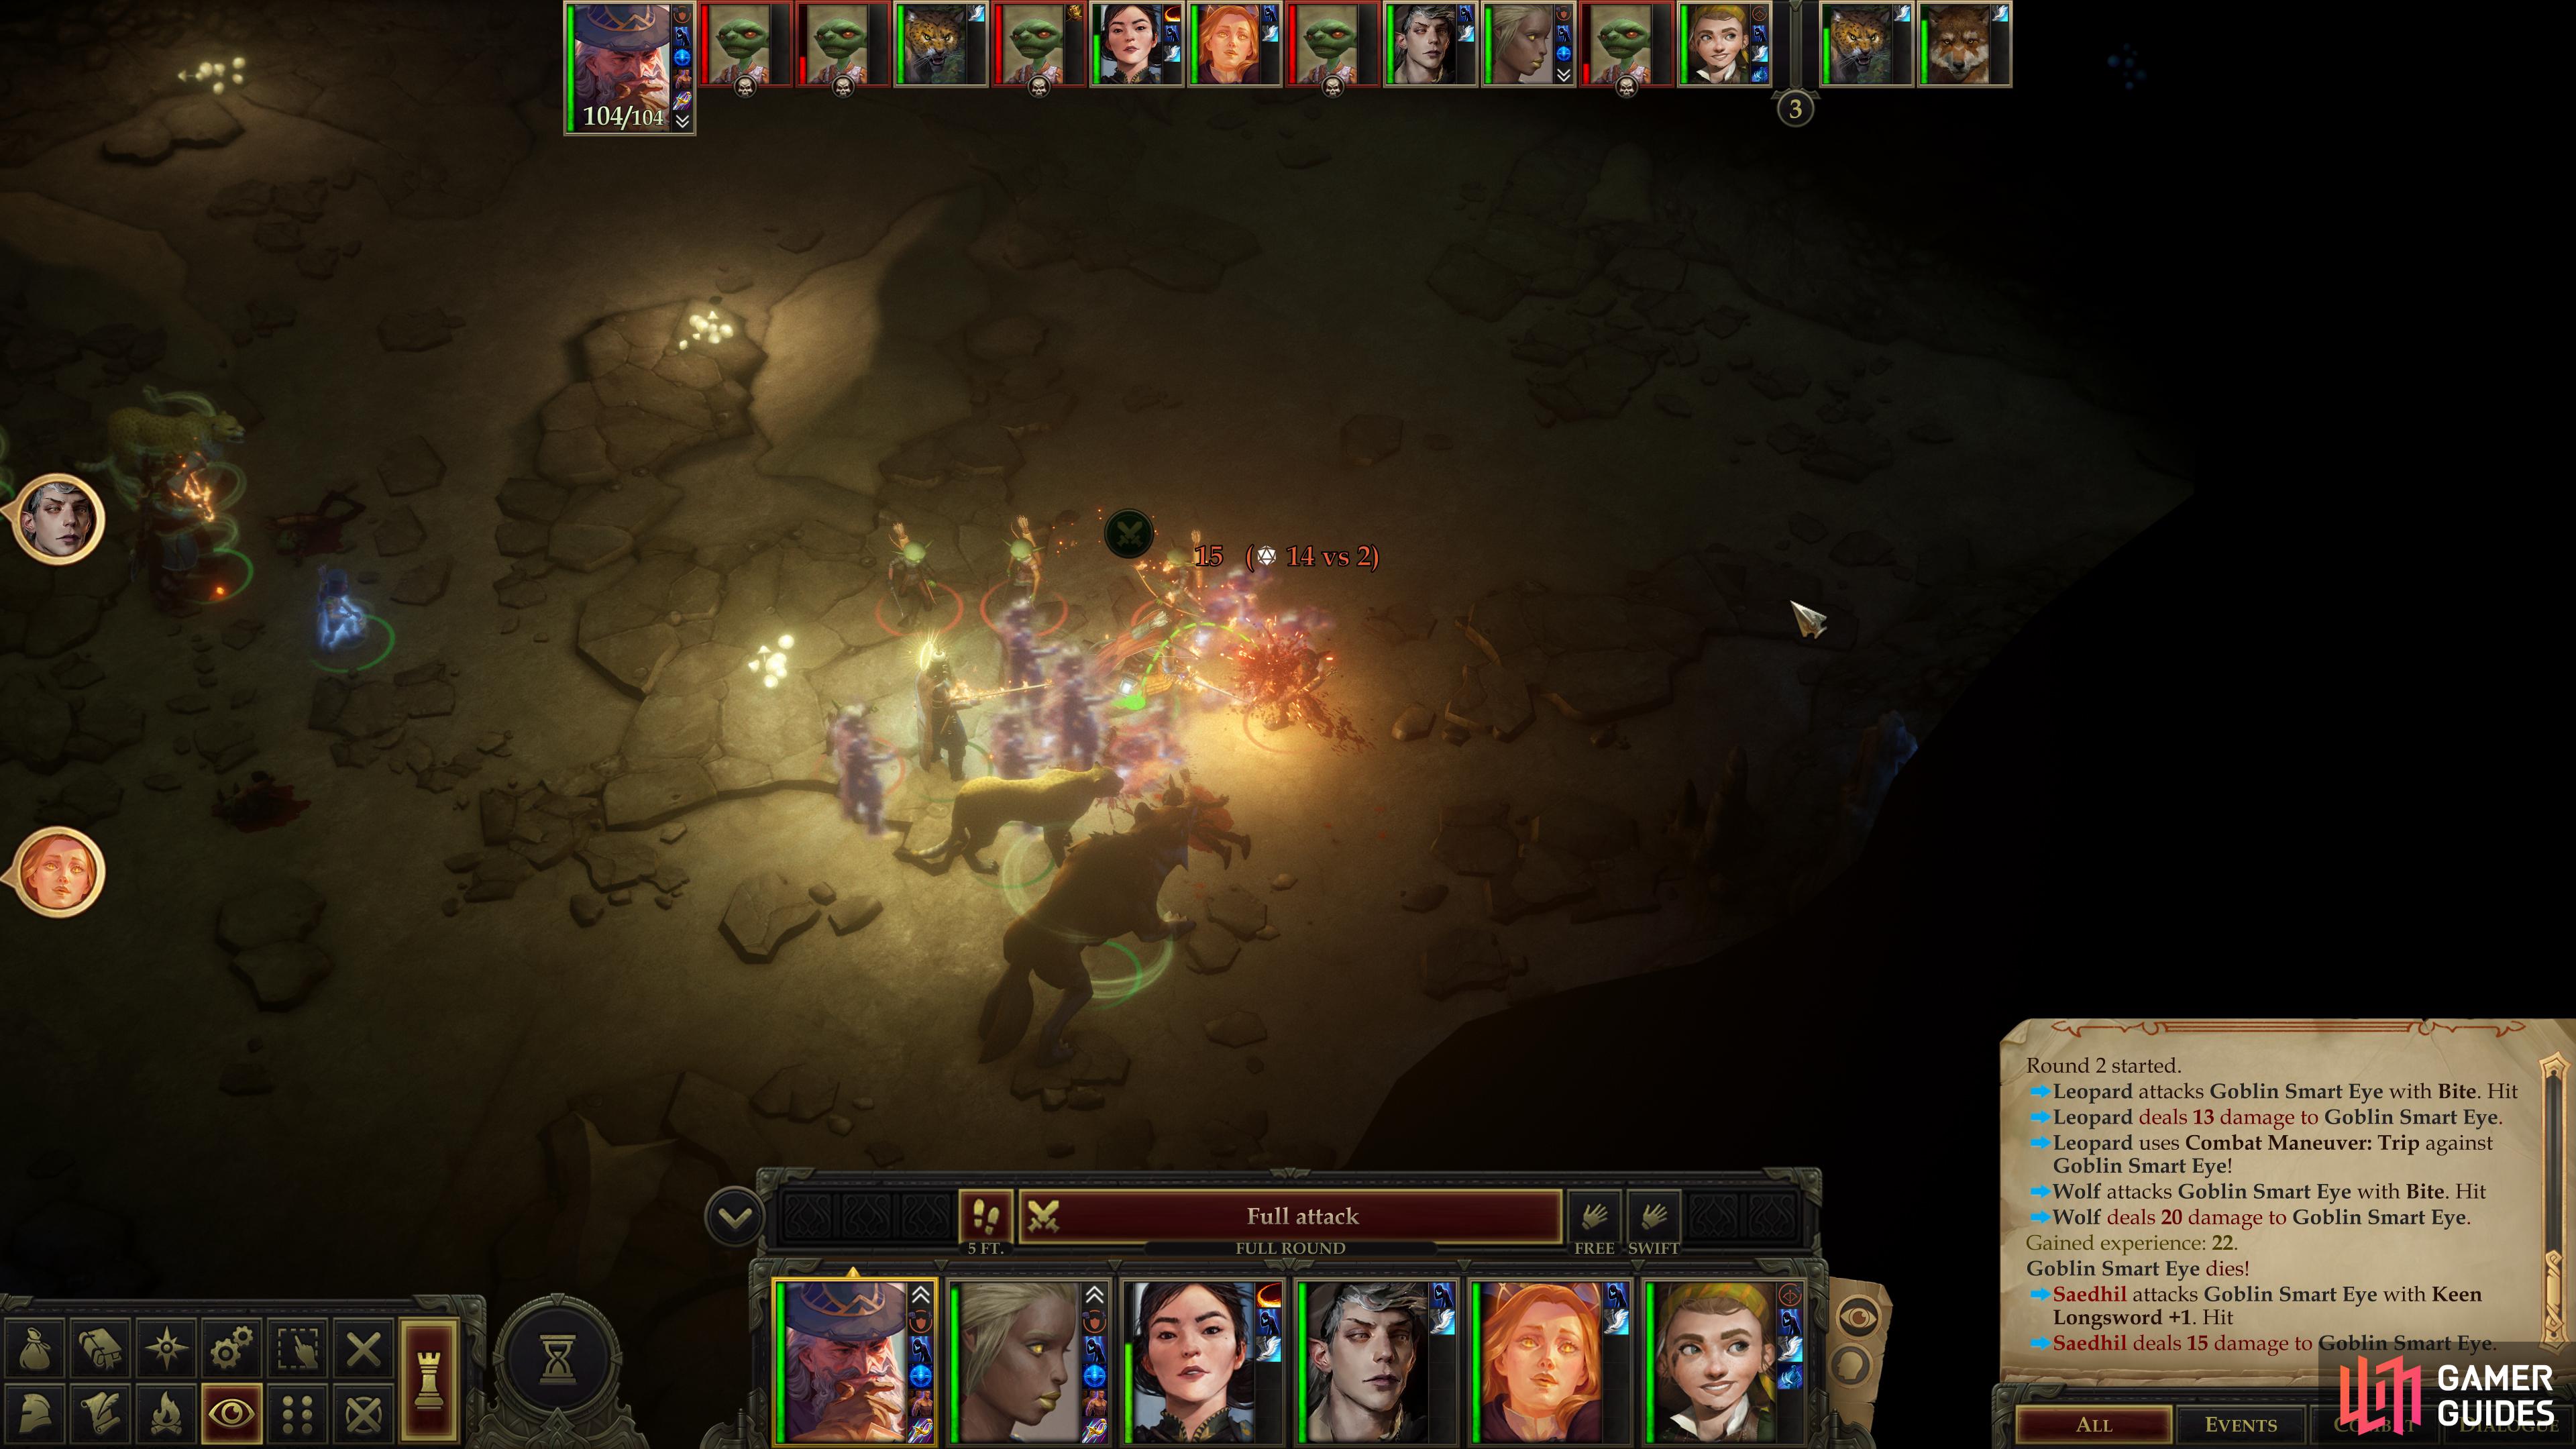
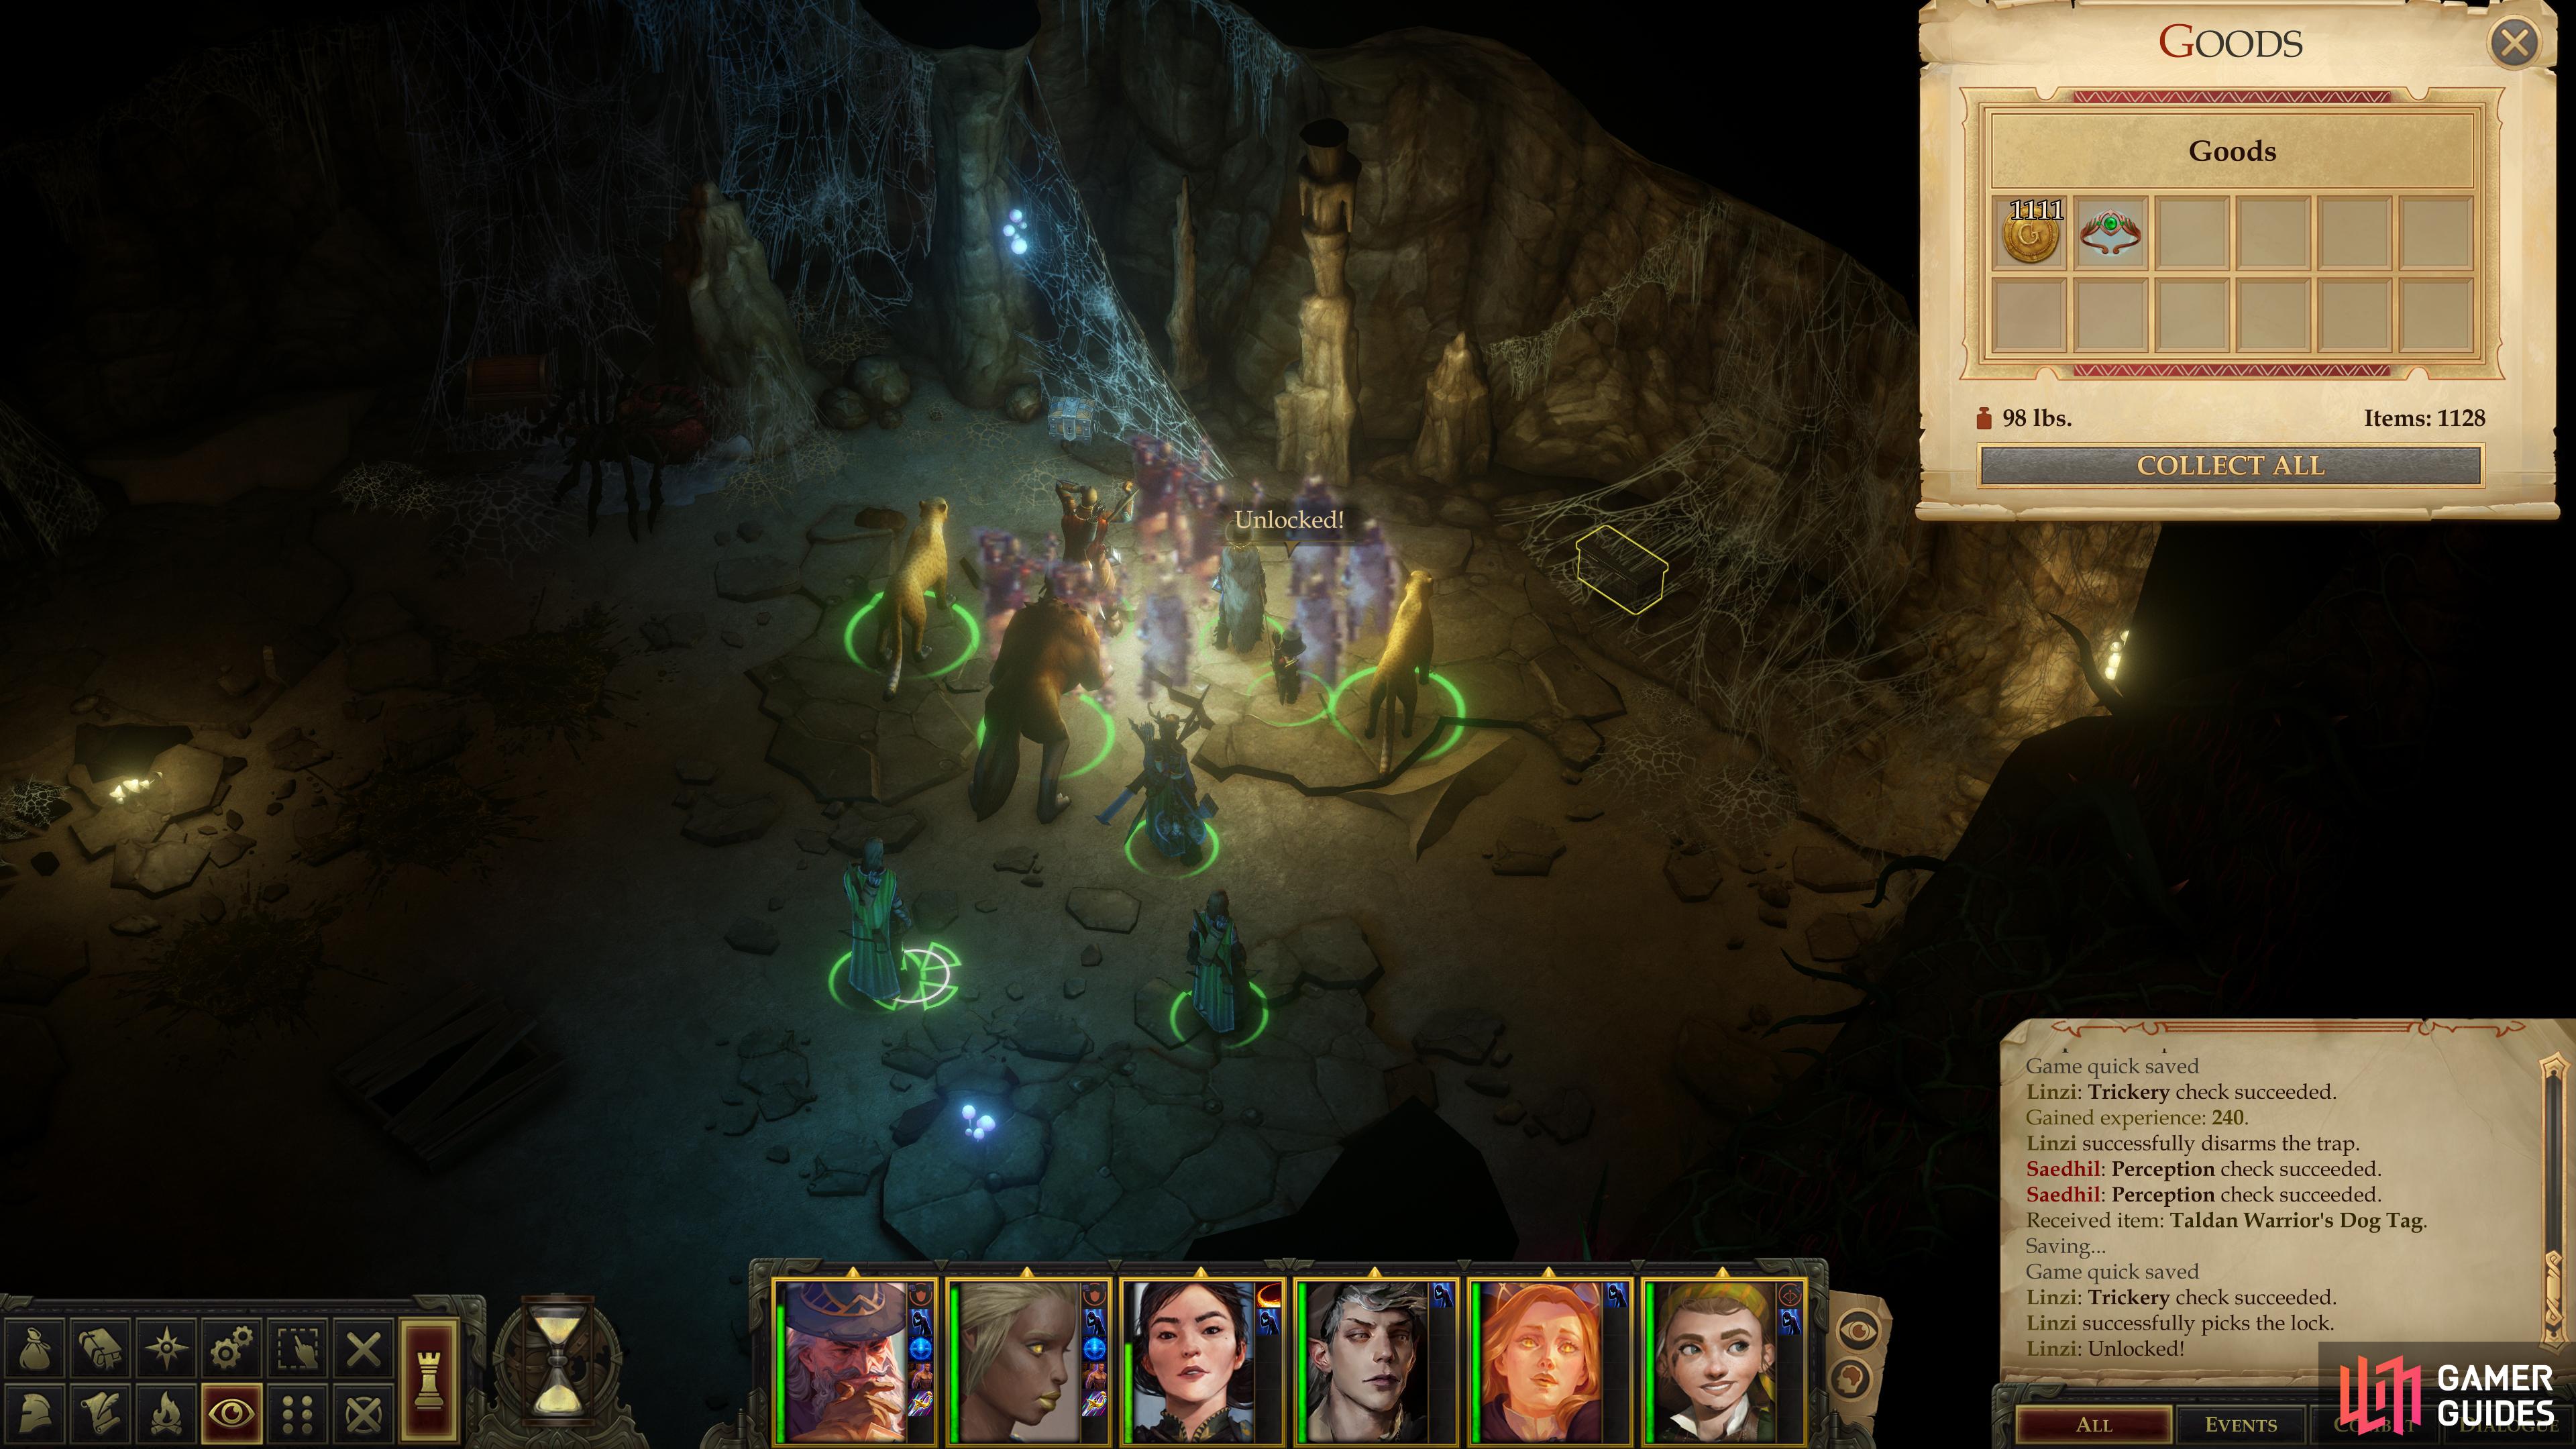
(1 of 2) In the first chamber, you’ll encounter various enemies, depending on your actions regarding Kesten after the Goblin Fort.
In the first chamber, you’ll encounter various enemies, depending on your actions regarding Kesten after the Goblin Fort. (left), Search a verdant passage to the south to find a “Taldan Warrior’s Dog Tag”. (right)
Womb of Lamashtu: Rescue Kesten
This step will vary greatly depending on what choices you made and actions you took after clearing the Goblin Fort area. If Kesten left for the Womb of Lamashtu after the events at the Goblin Fort you’ll find him a short distance to the east. If you traveled to the Womb of Lamashtu immediately after the Goblin Fort, Kesten and some of his fellow guards will be alive, and they’ll be fighting a group of goblins. If you went to save Jhod first, however, you’ll find Kesten facing off against the Greater Enraged Owlbear alone, the rest of his companions long since fallen. Alternatively, if you convinced Kesten to return to the capital, he won’t be here at all and you’ll have to fight a mob of goblins followed by a Greater Enraged Owlbear.
Defeat whatever enemies you’re confronted by then talk to Kesten (if he’s there) and if you arrive too late he’ll succumb to his wounds after inquiring about the fate of the capital. If you neglected Jhod for Kesten’s sake he’ll implore you to continue exploring the caverns ahead.
Womb of Lamashtu: The Southern Passage
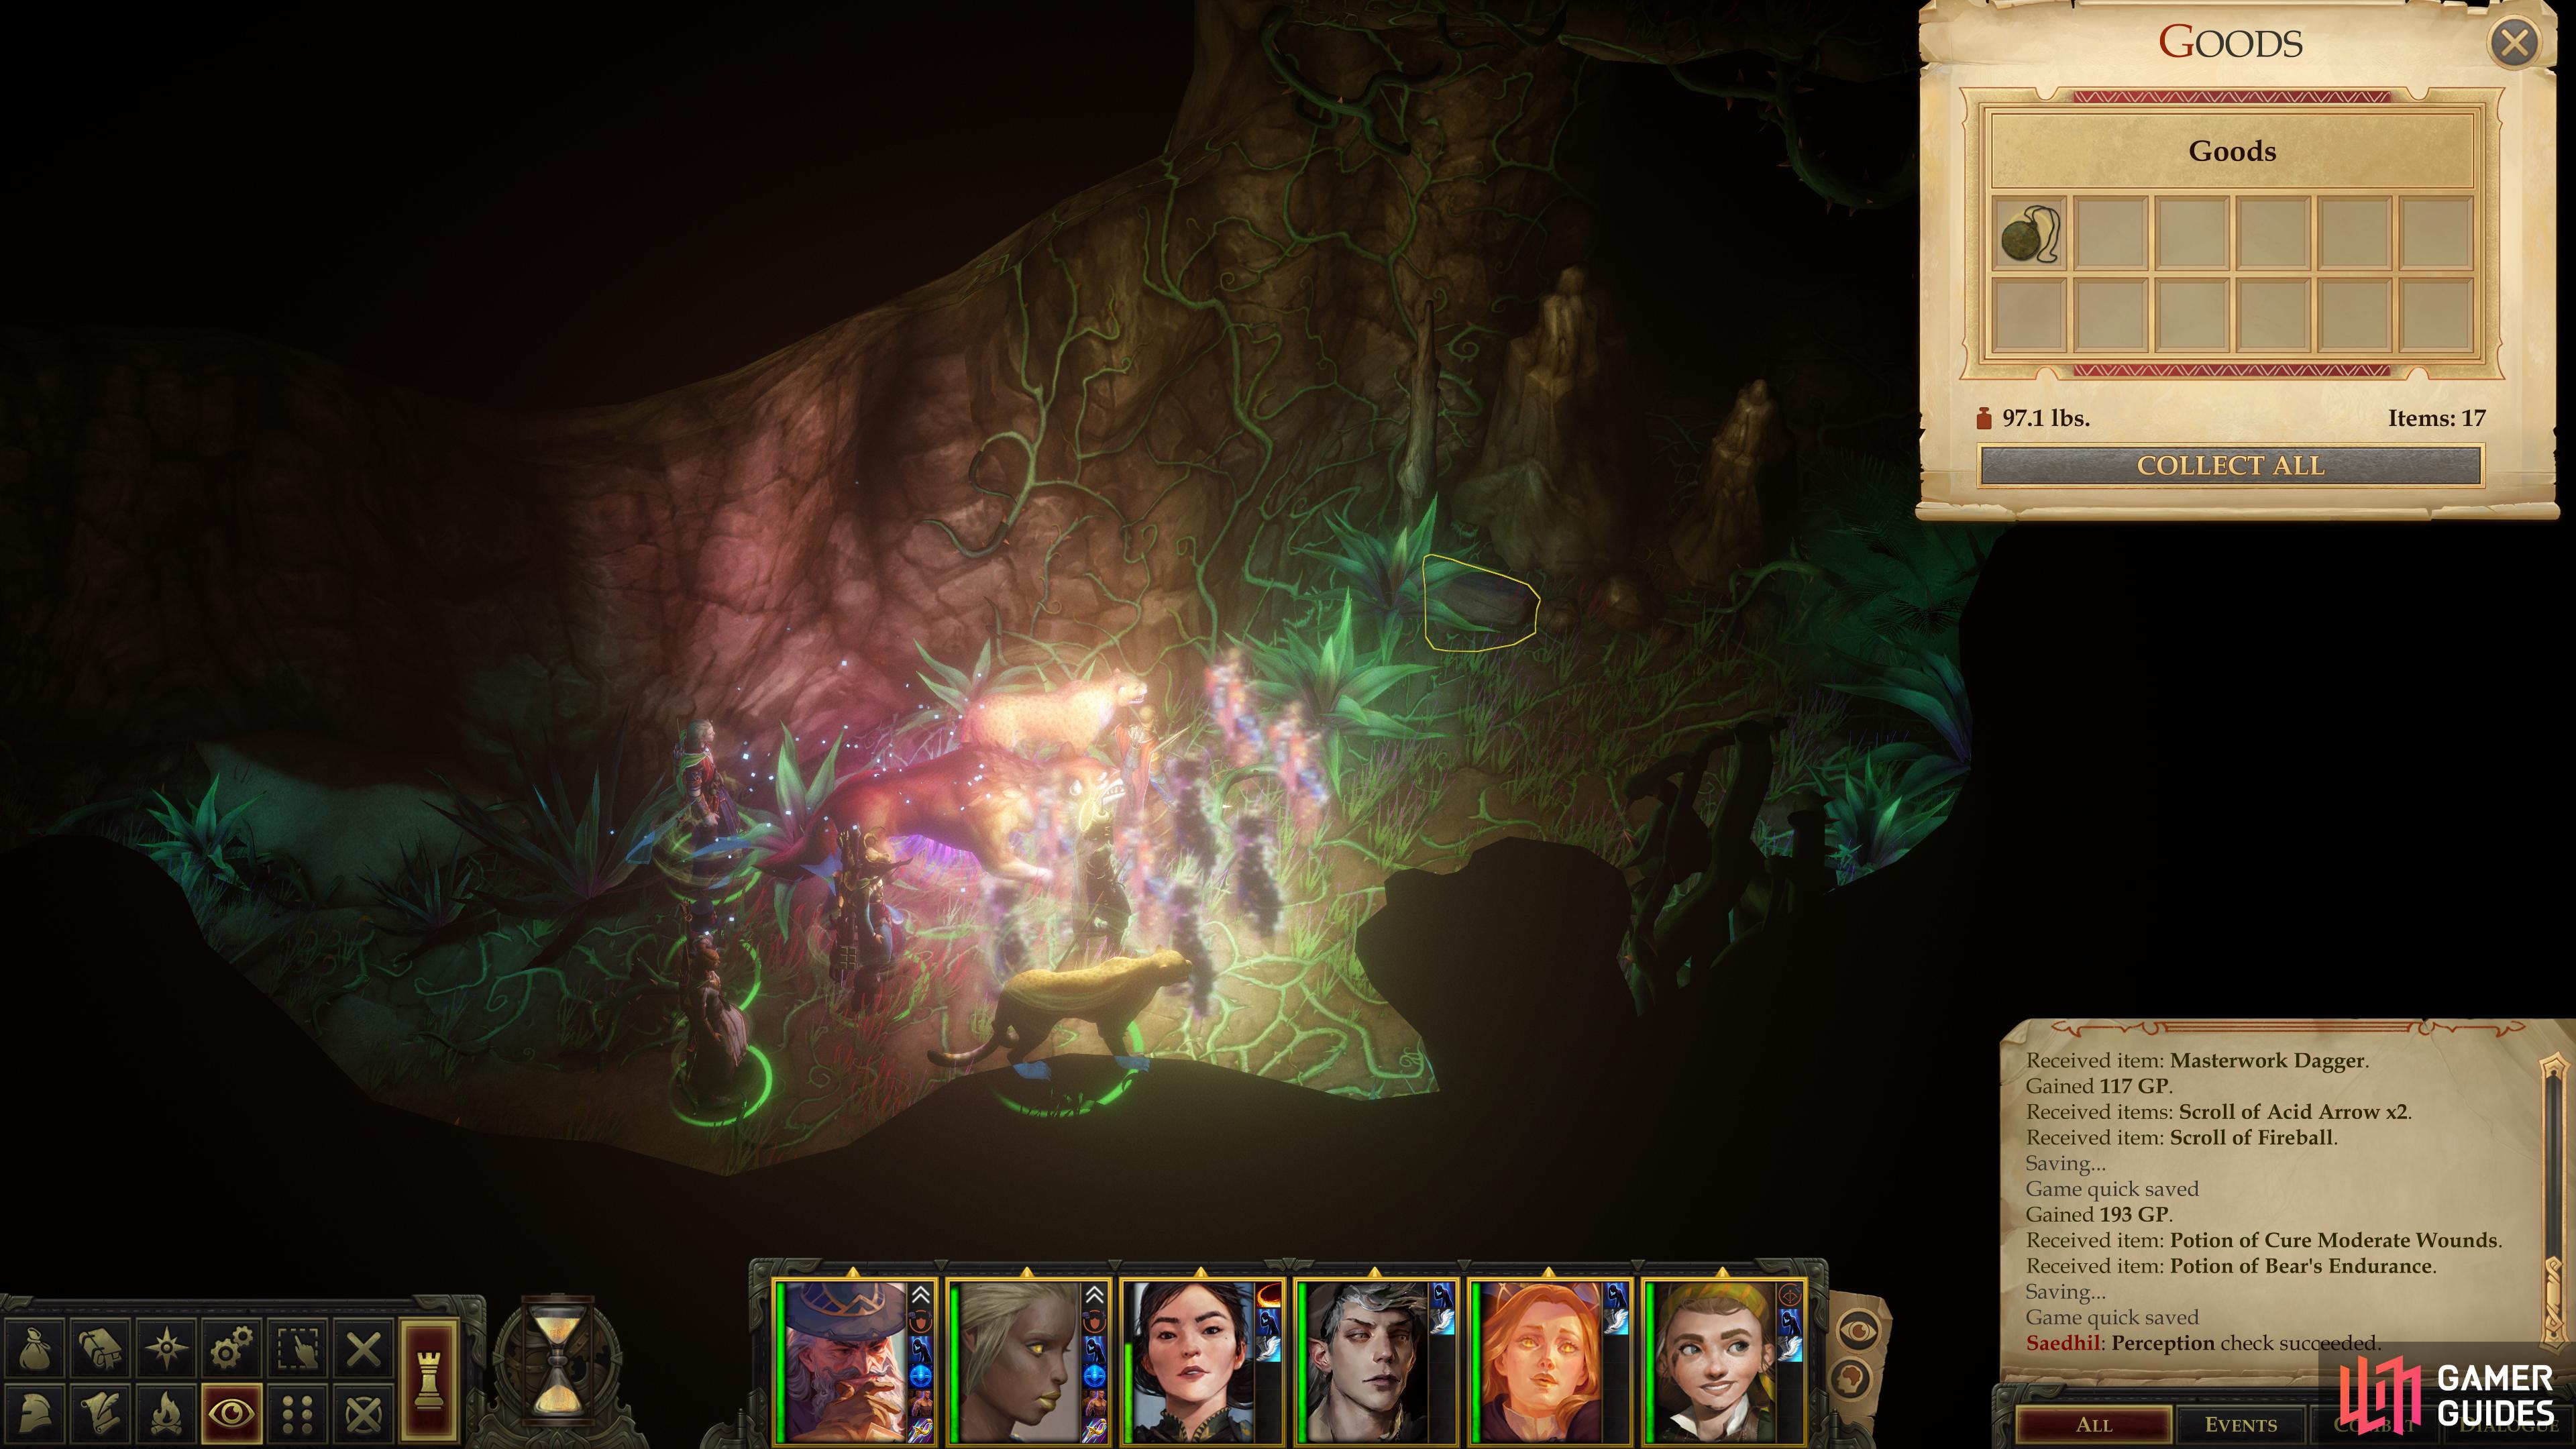
There are three tunnels branching off the chamber where you found Jhod (or fought the goblins, as the case may be). Head south first and loot a chest to score 117 gold and some scrolls, then continue down the tunnel to the south to find another chest, this one containing 193 GP and some potions. At the end of the tunnel - which becomes oddly verdant as you travel - you’ll find a slab of rock [Perception 7] hiding a Taldan Warrior’s Dog Tag.
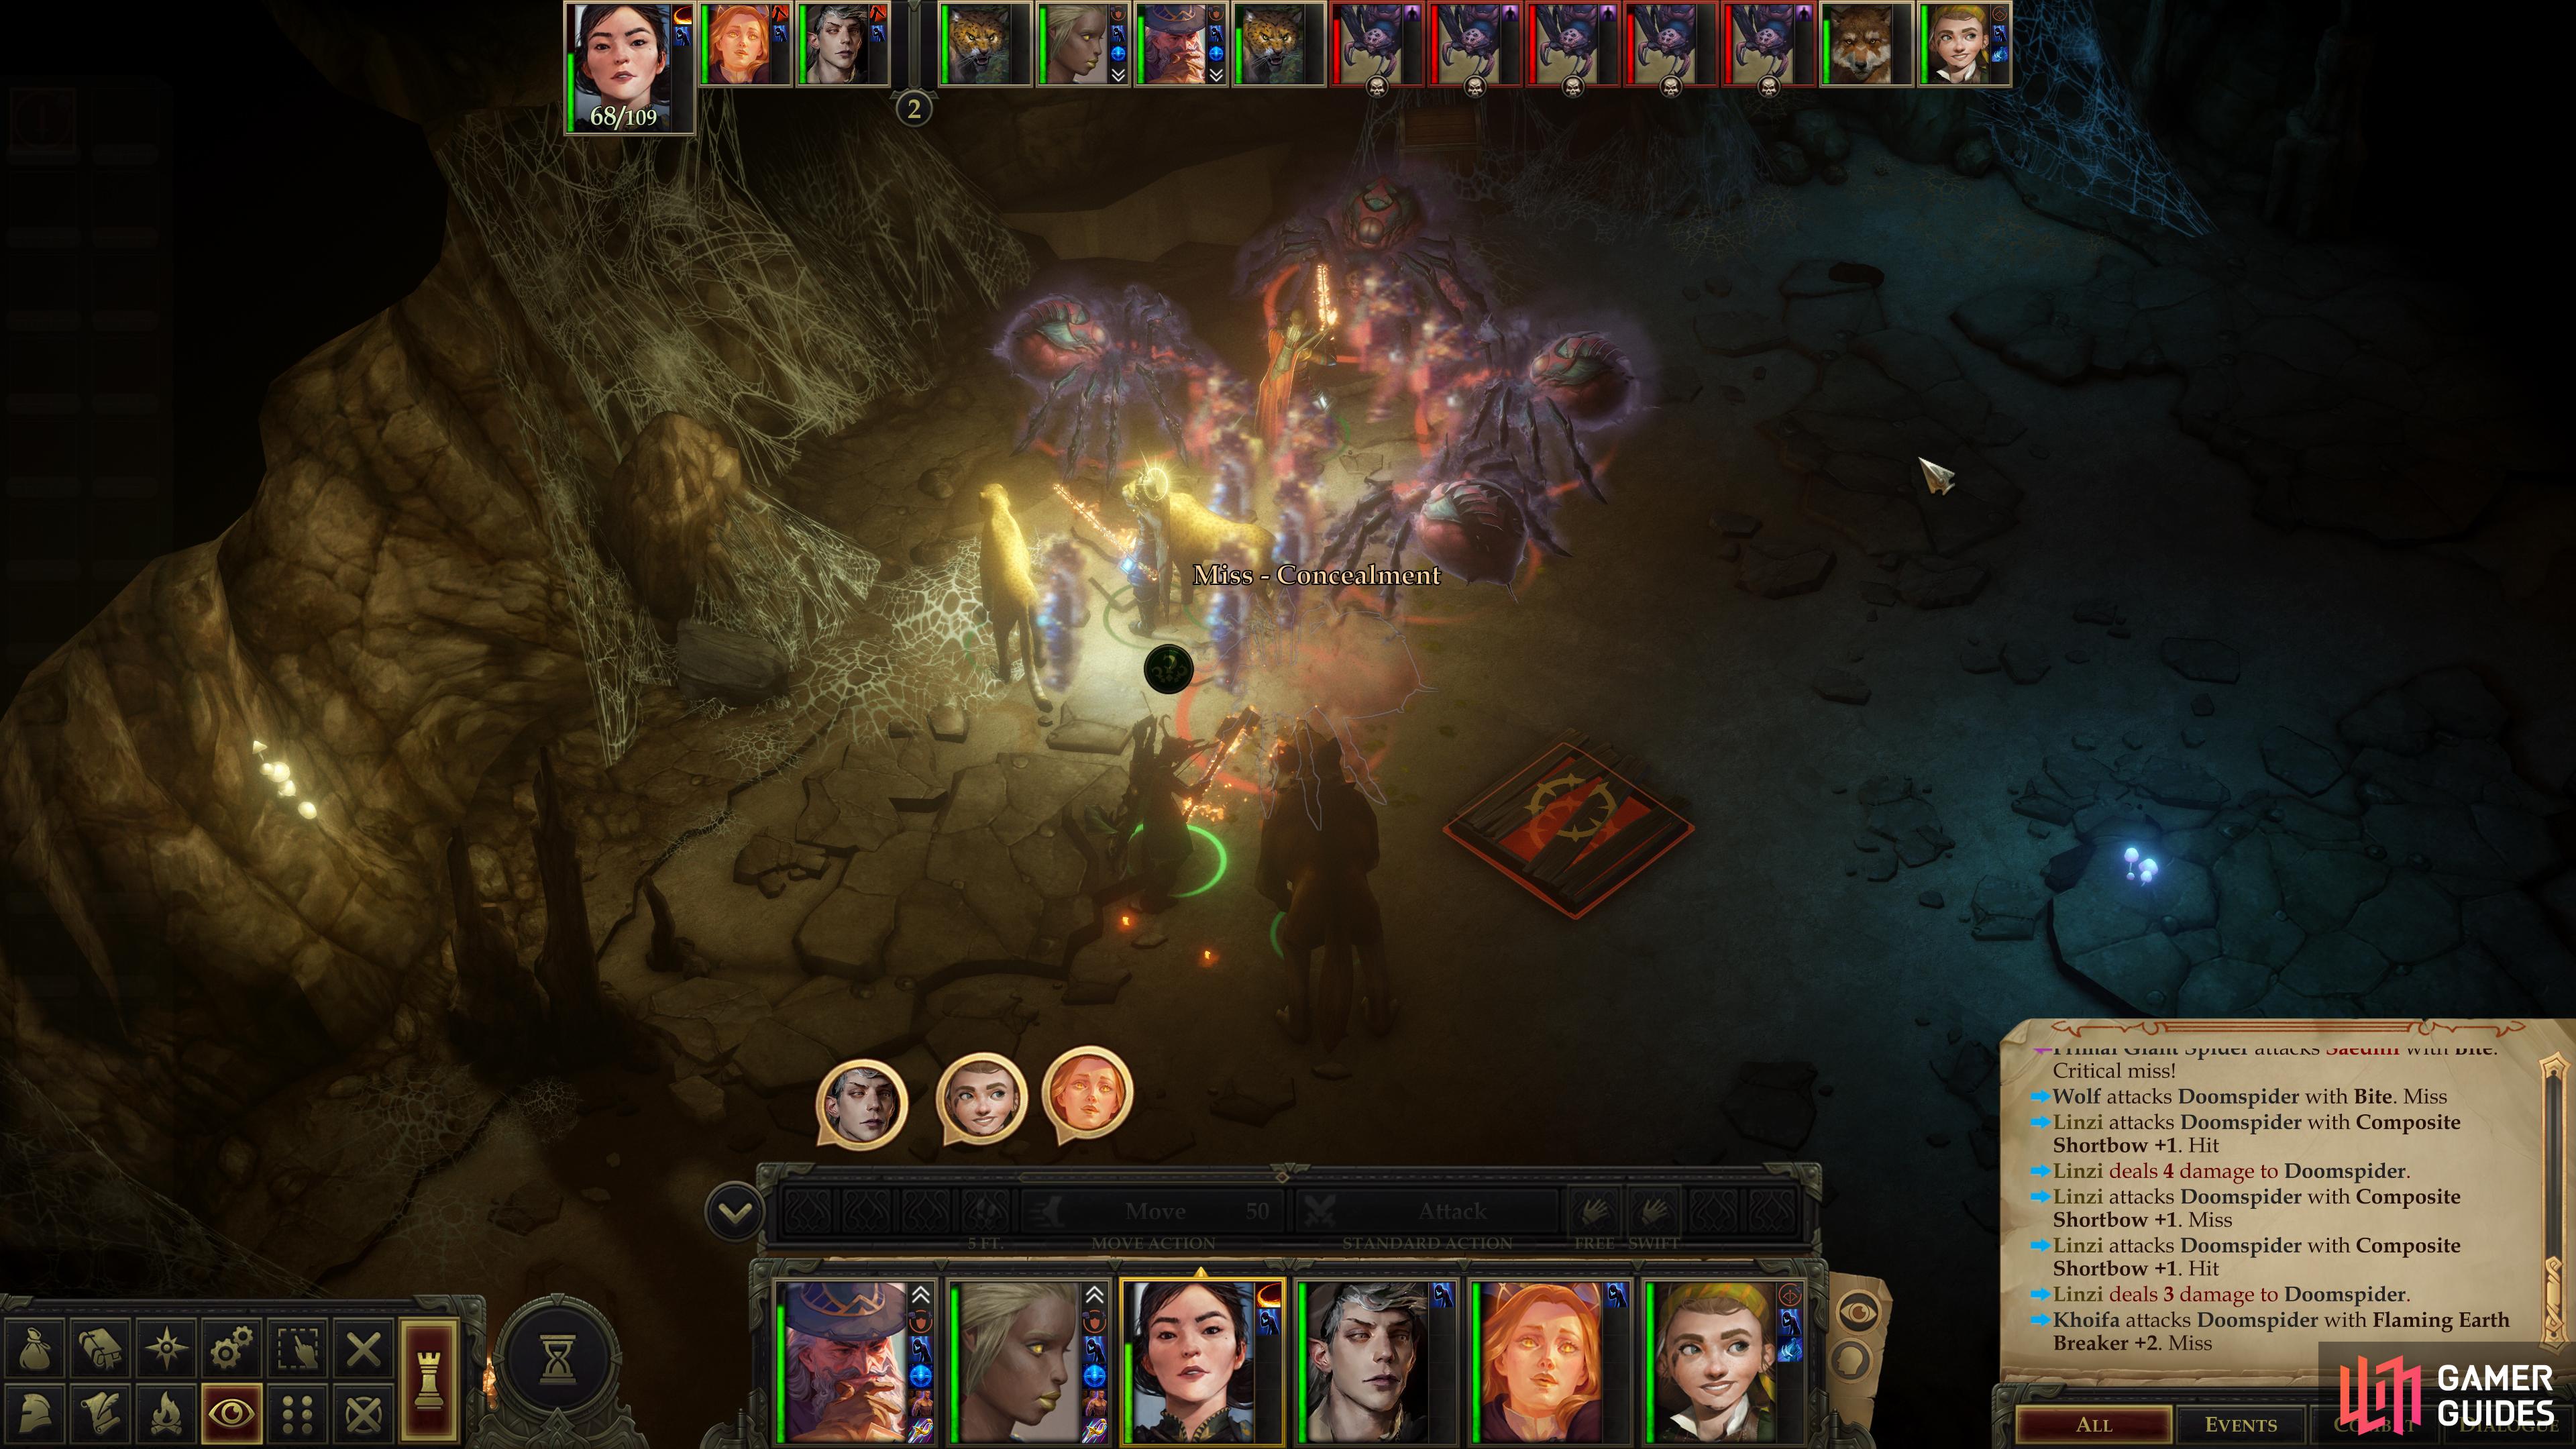
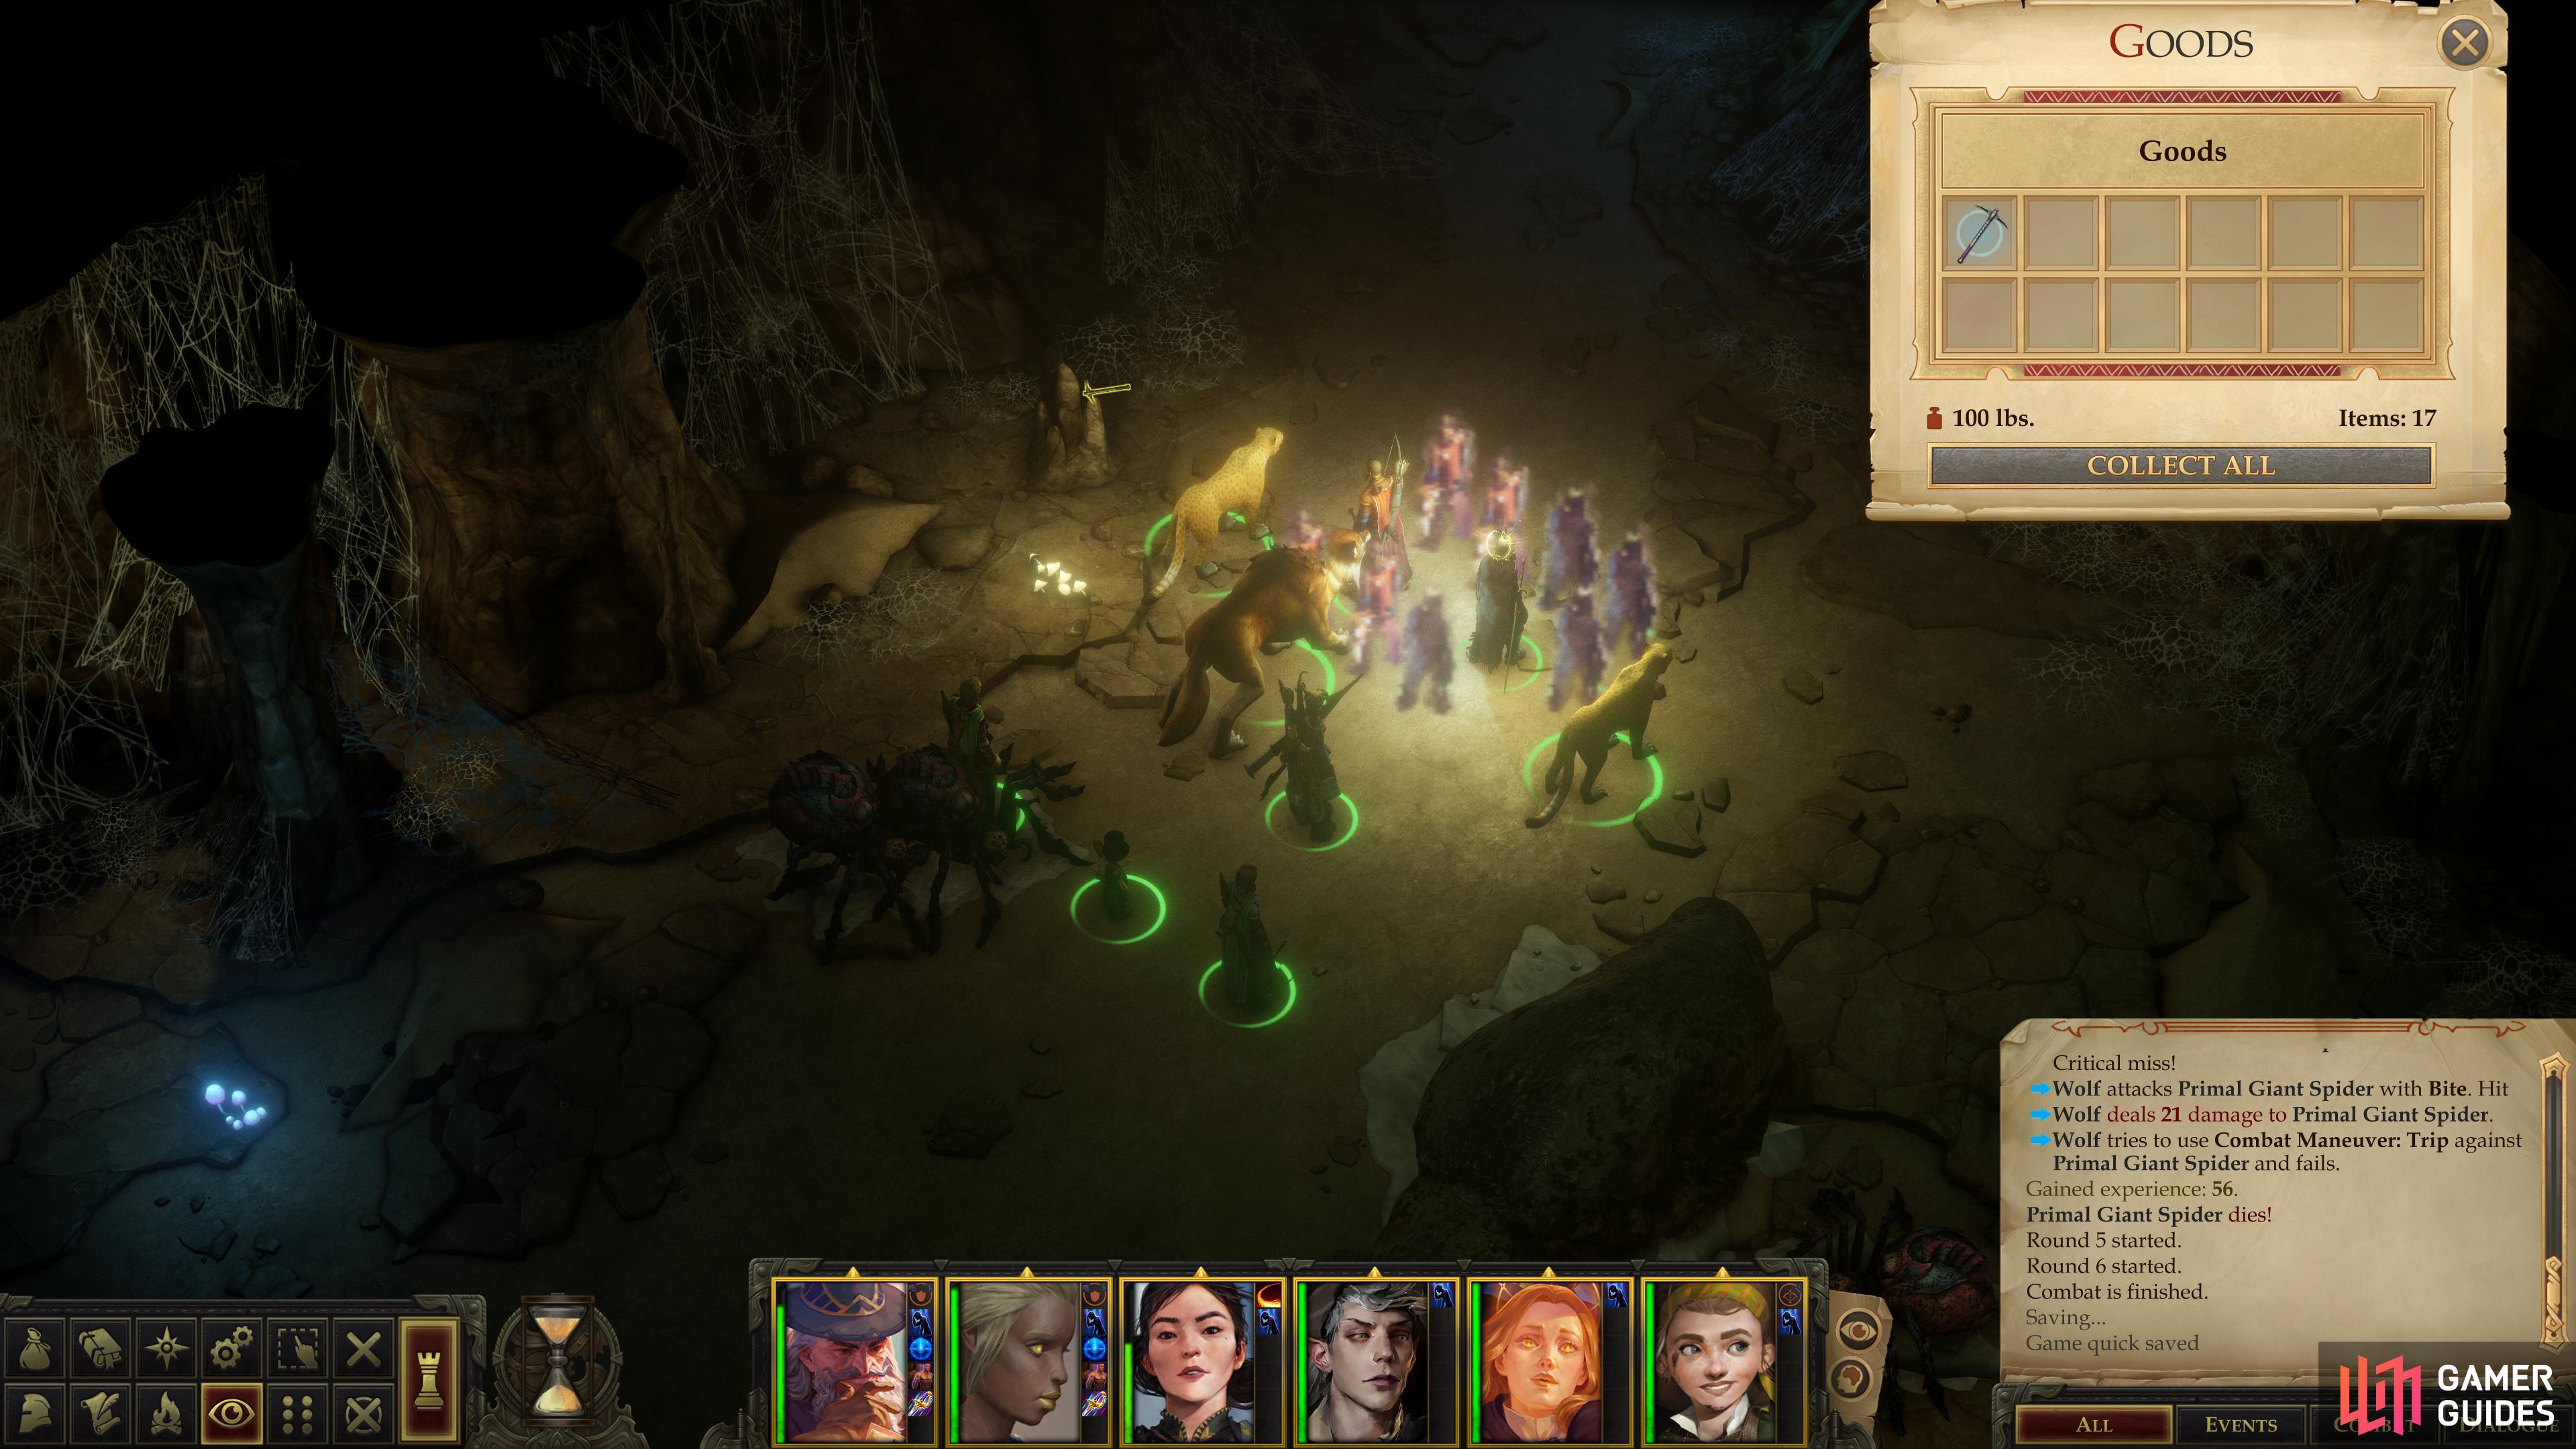
(1 of 4) The various spiders in this area aren’t terribly strong, offensively, but they do have concealment.
Womb of Lamashtu: The Eastern Passage
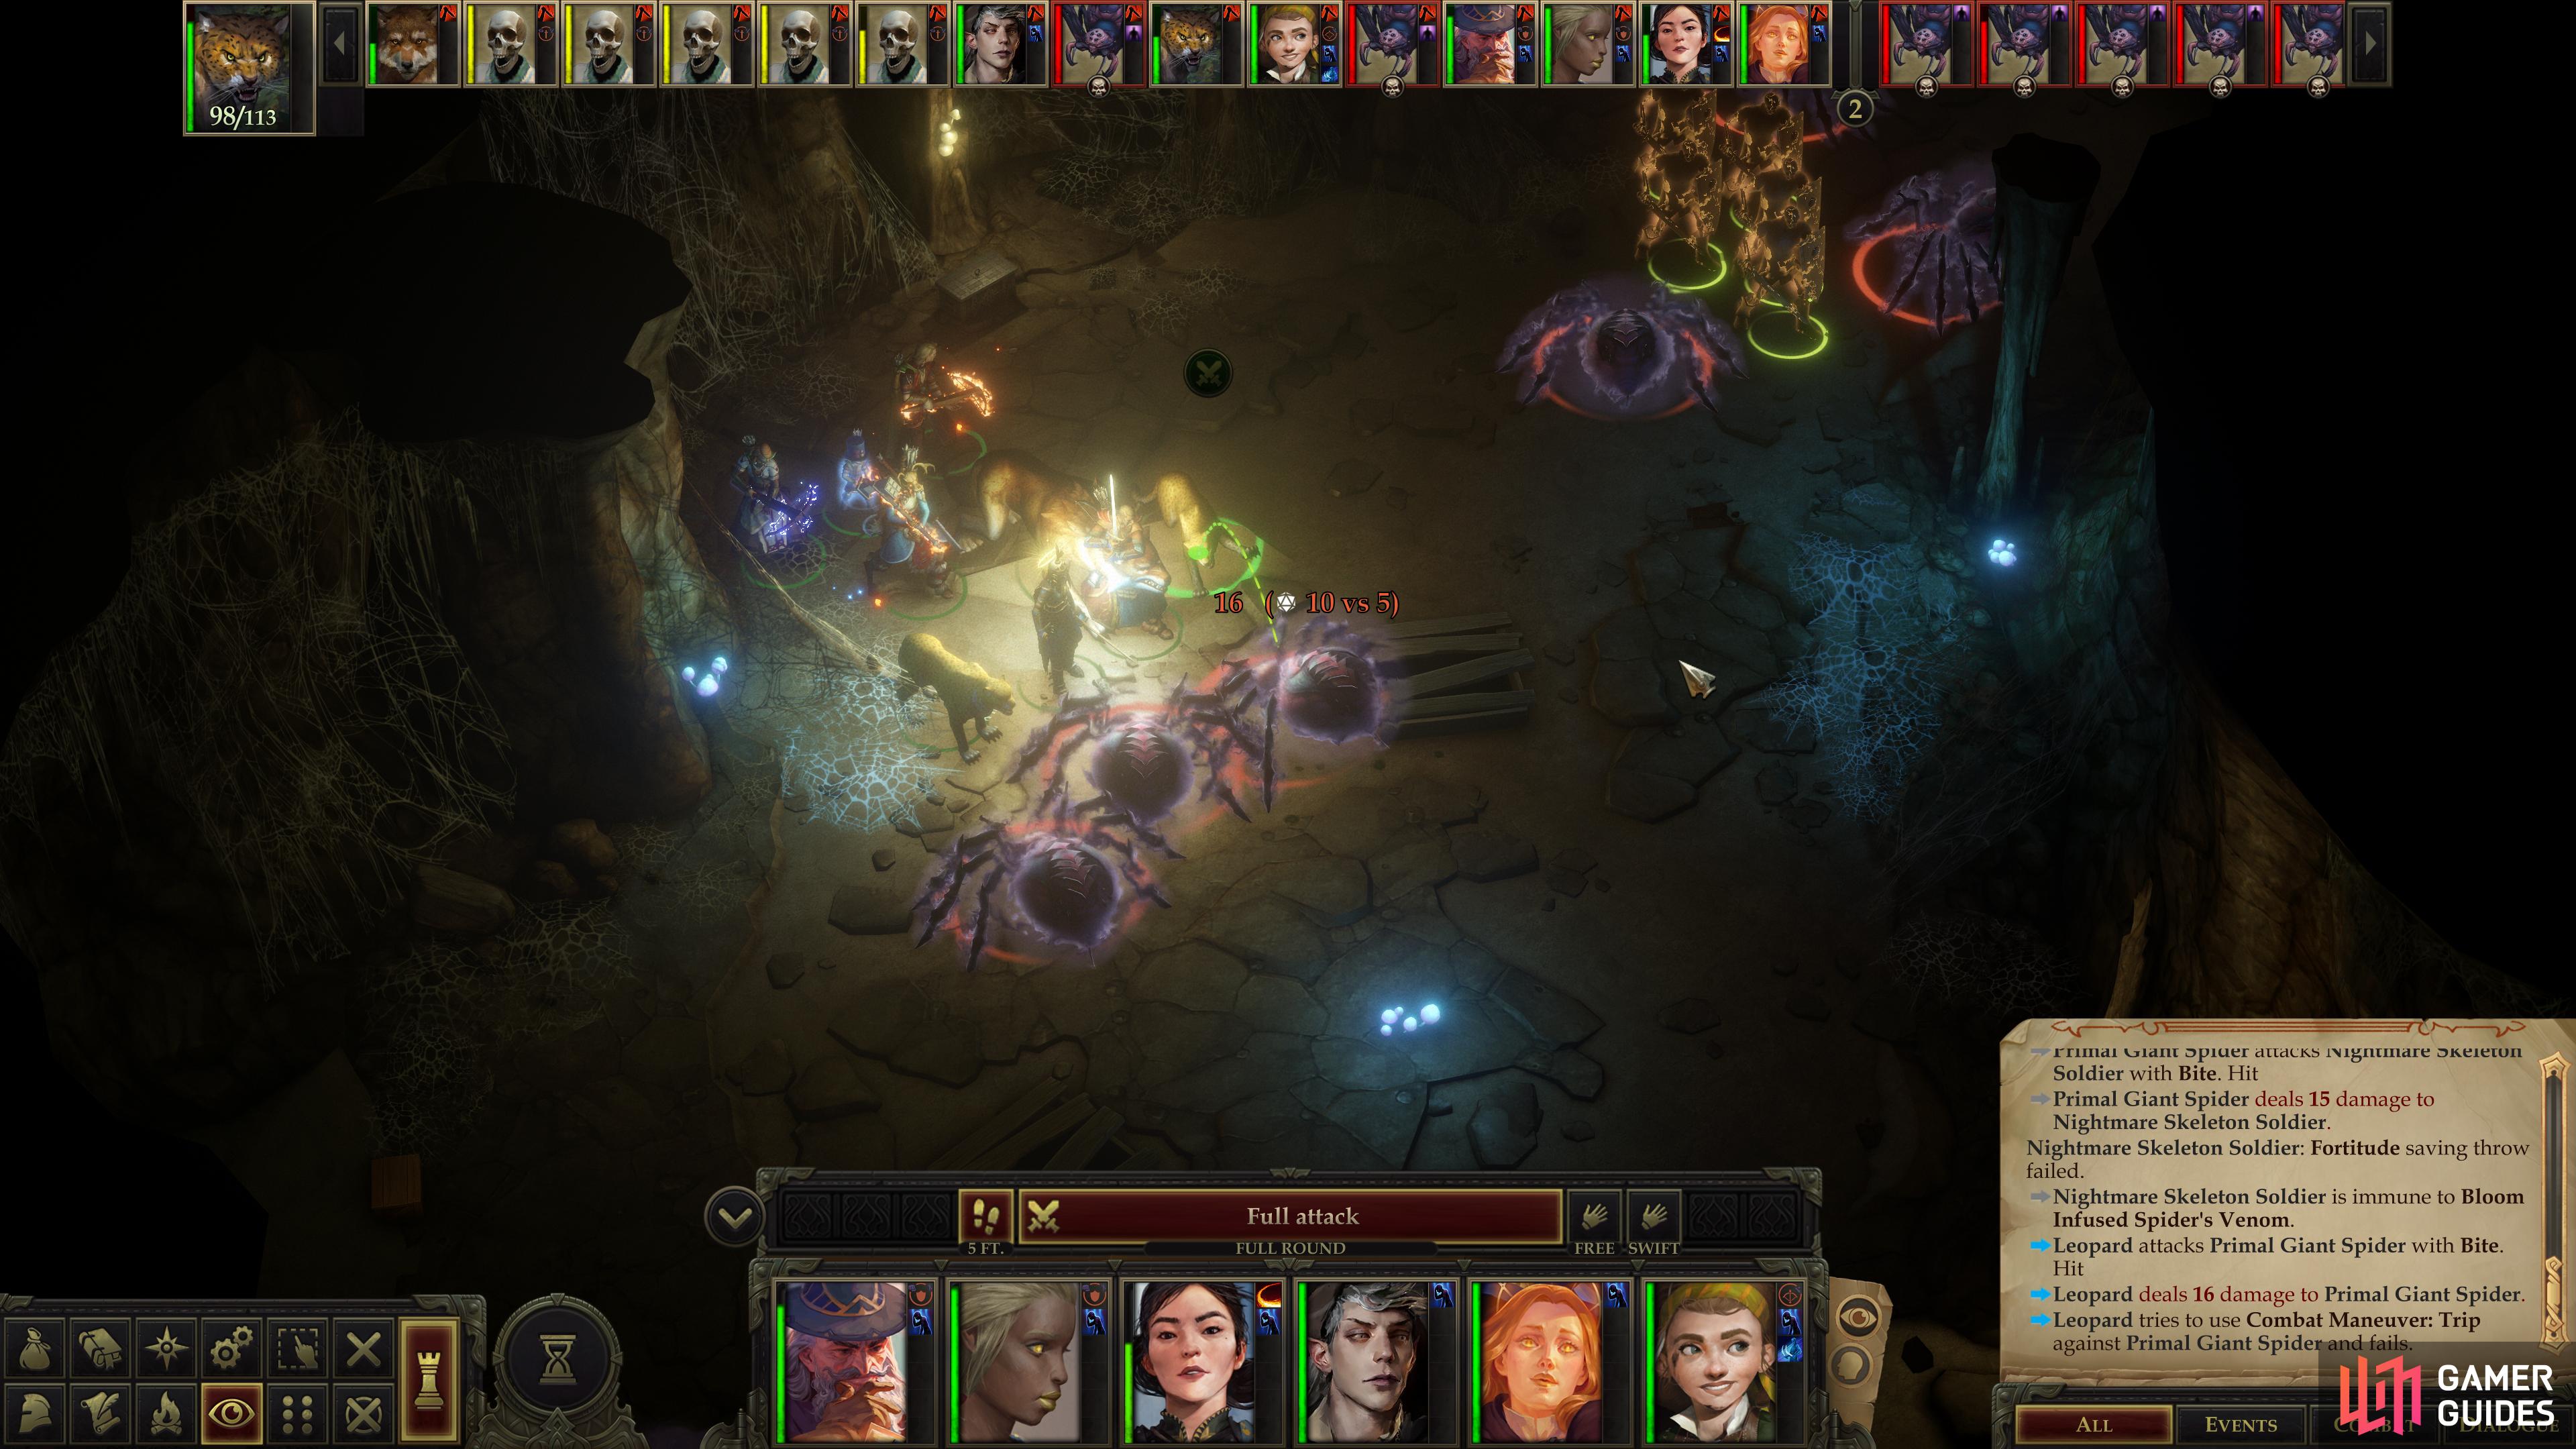
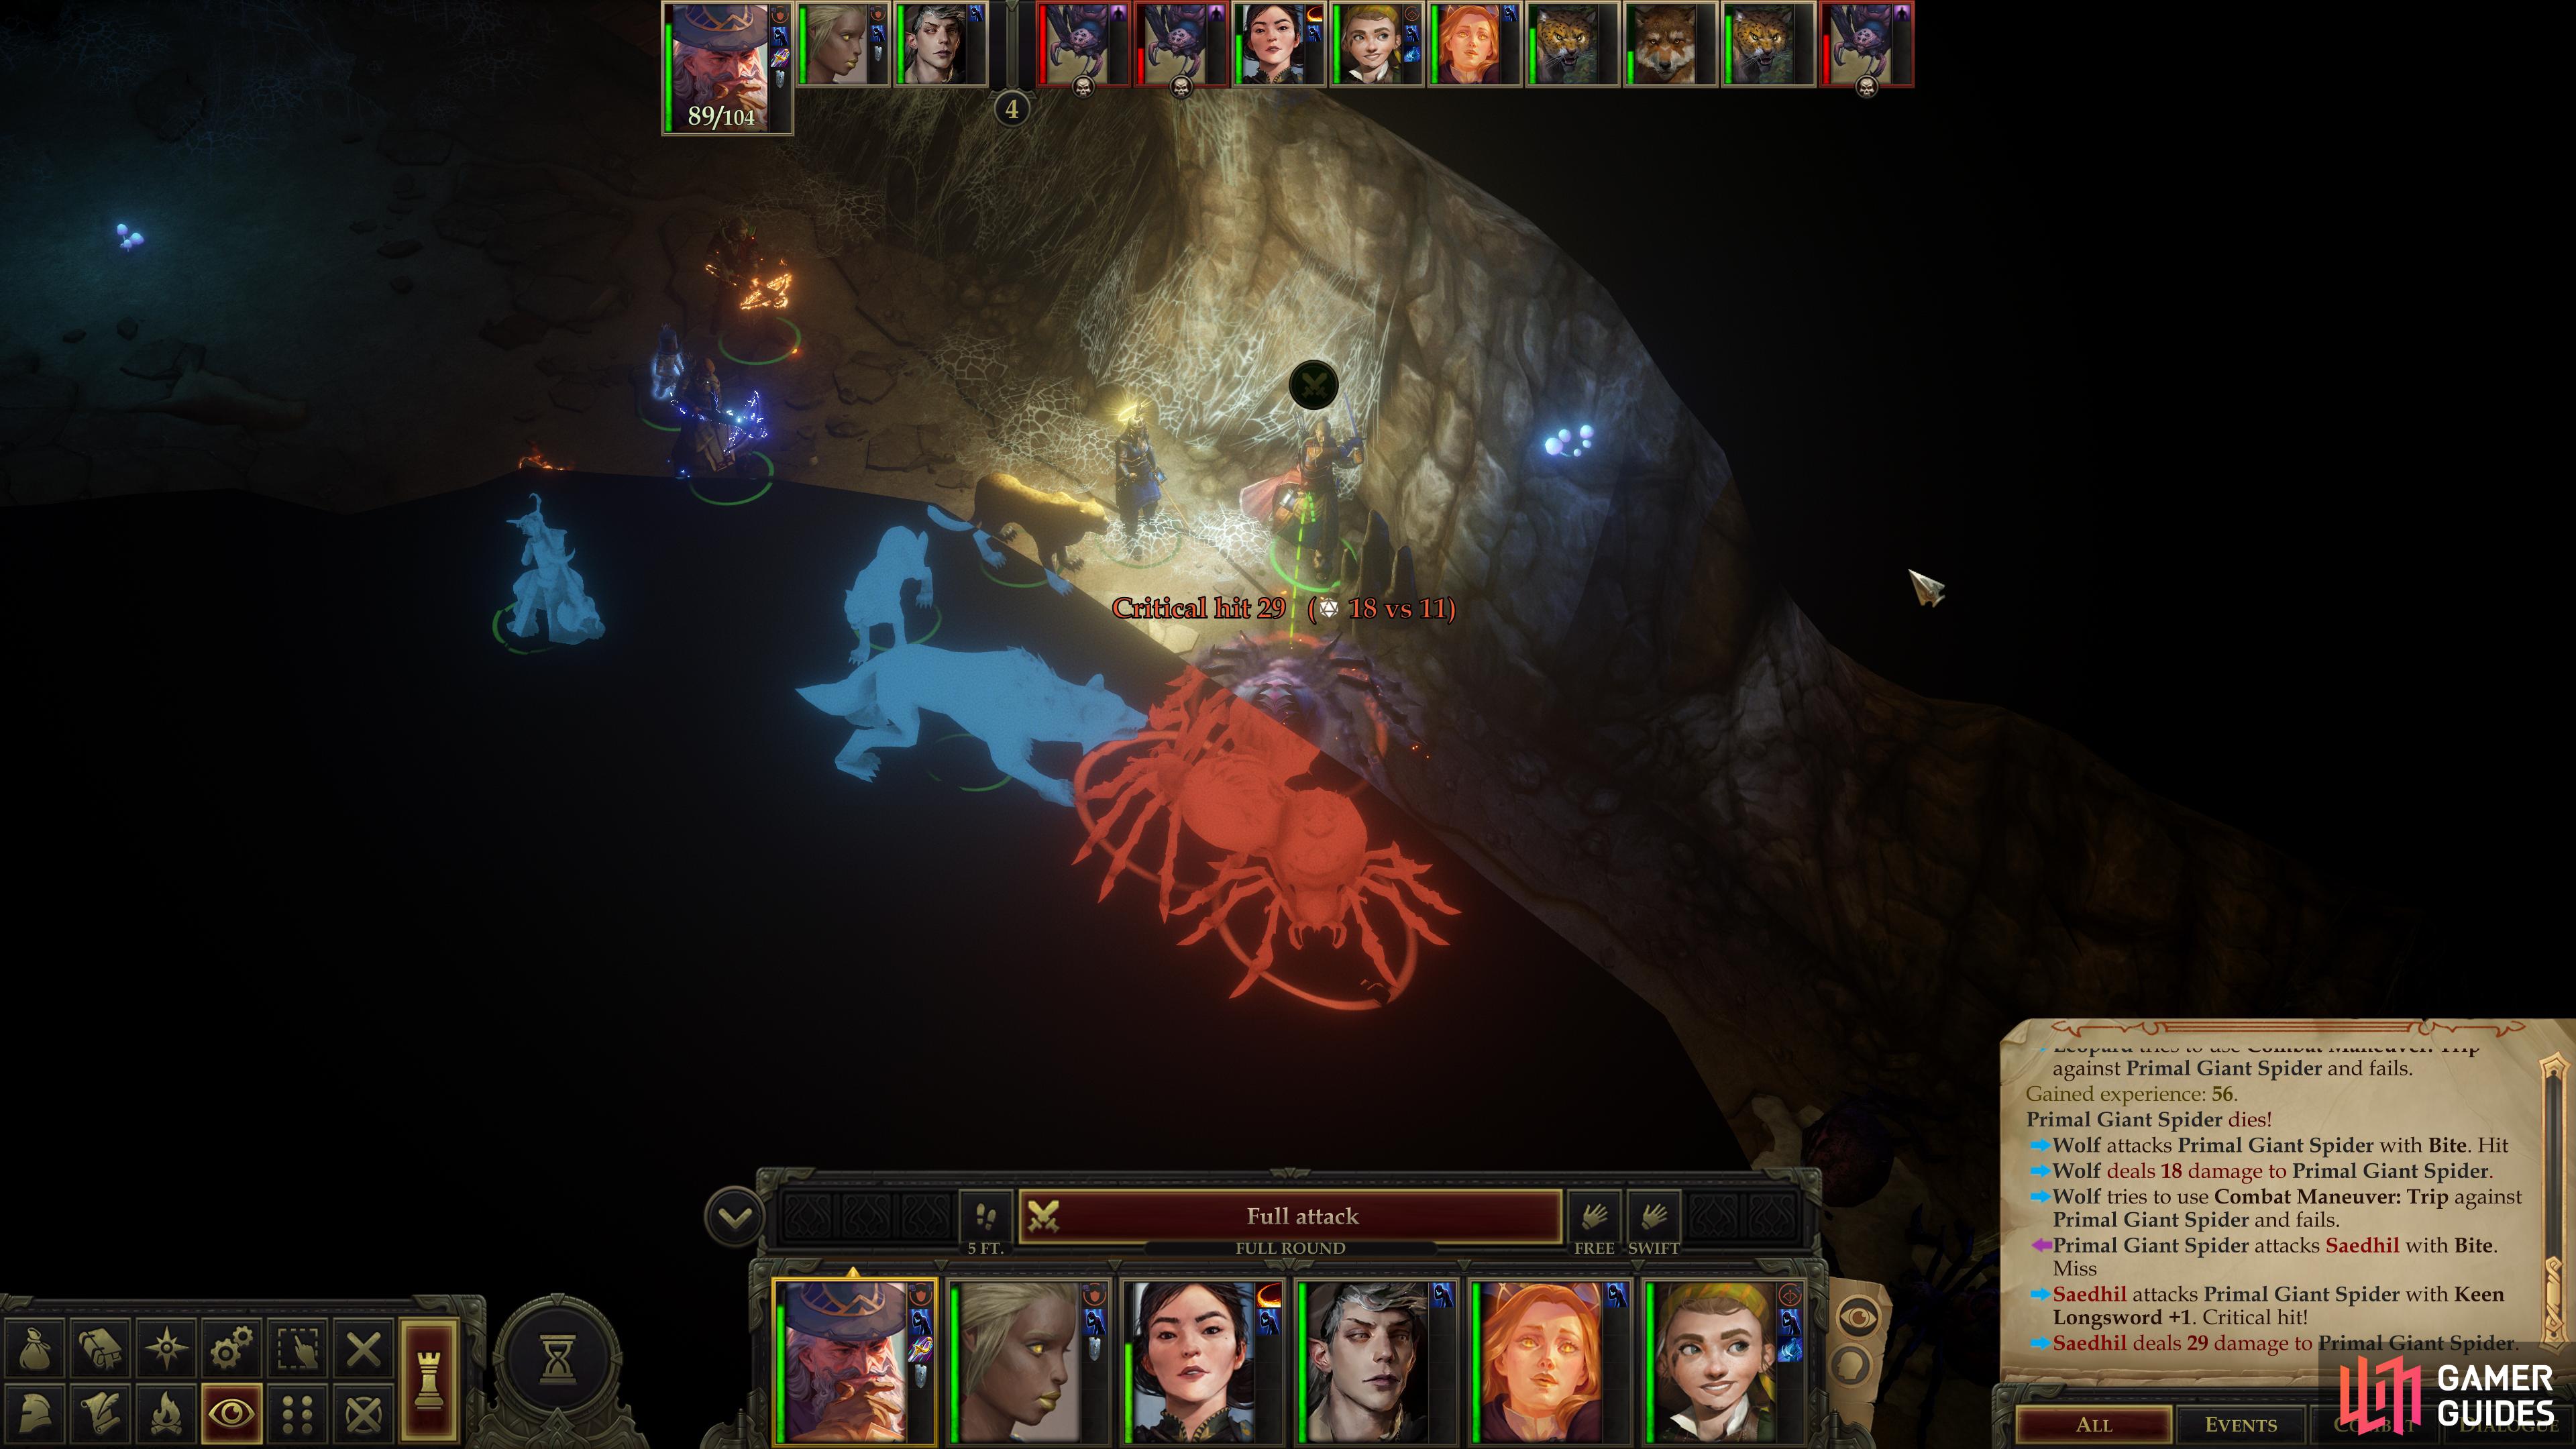
Return to the chamber where you met Kesten, then head down the eastern passage to reach another chamber, inside of which are several Primal Giant Spiders. While you’ll likely only spot three along the northernwester wall at first, there are other bugs to the northeast and southeast, including another Primal Giant Spider and a Doomspider. Their stats are pretty close - moderate Armor Class, Attack Bonus and Hit Points - a slight step up from the Primal Manticores and Primal Hydras you’ve been facing, but not enough to really pose a challenge. The worst thing about them - aside from their penchant for ambushes and ability to poison victims - is their permanent concealment. Primal Giant Spiders enjoy a flat 20% miss chance, while the Doomspider has 50% concealment. On top of that, the Primal Giant Spiders have Damage Reduction 5/cold iron. Together these will impede your offense somewhat, but it’s not enough to make these spiders a threat, just make a routine fight take longer.
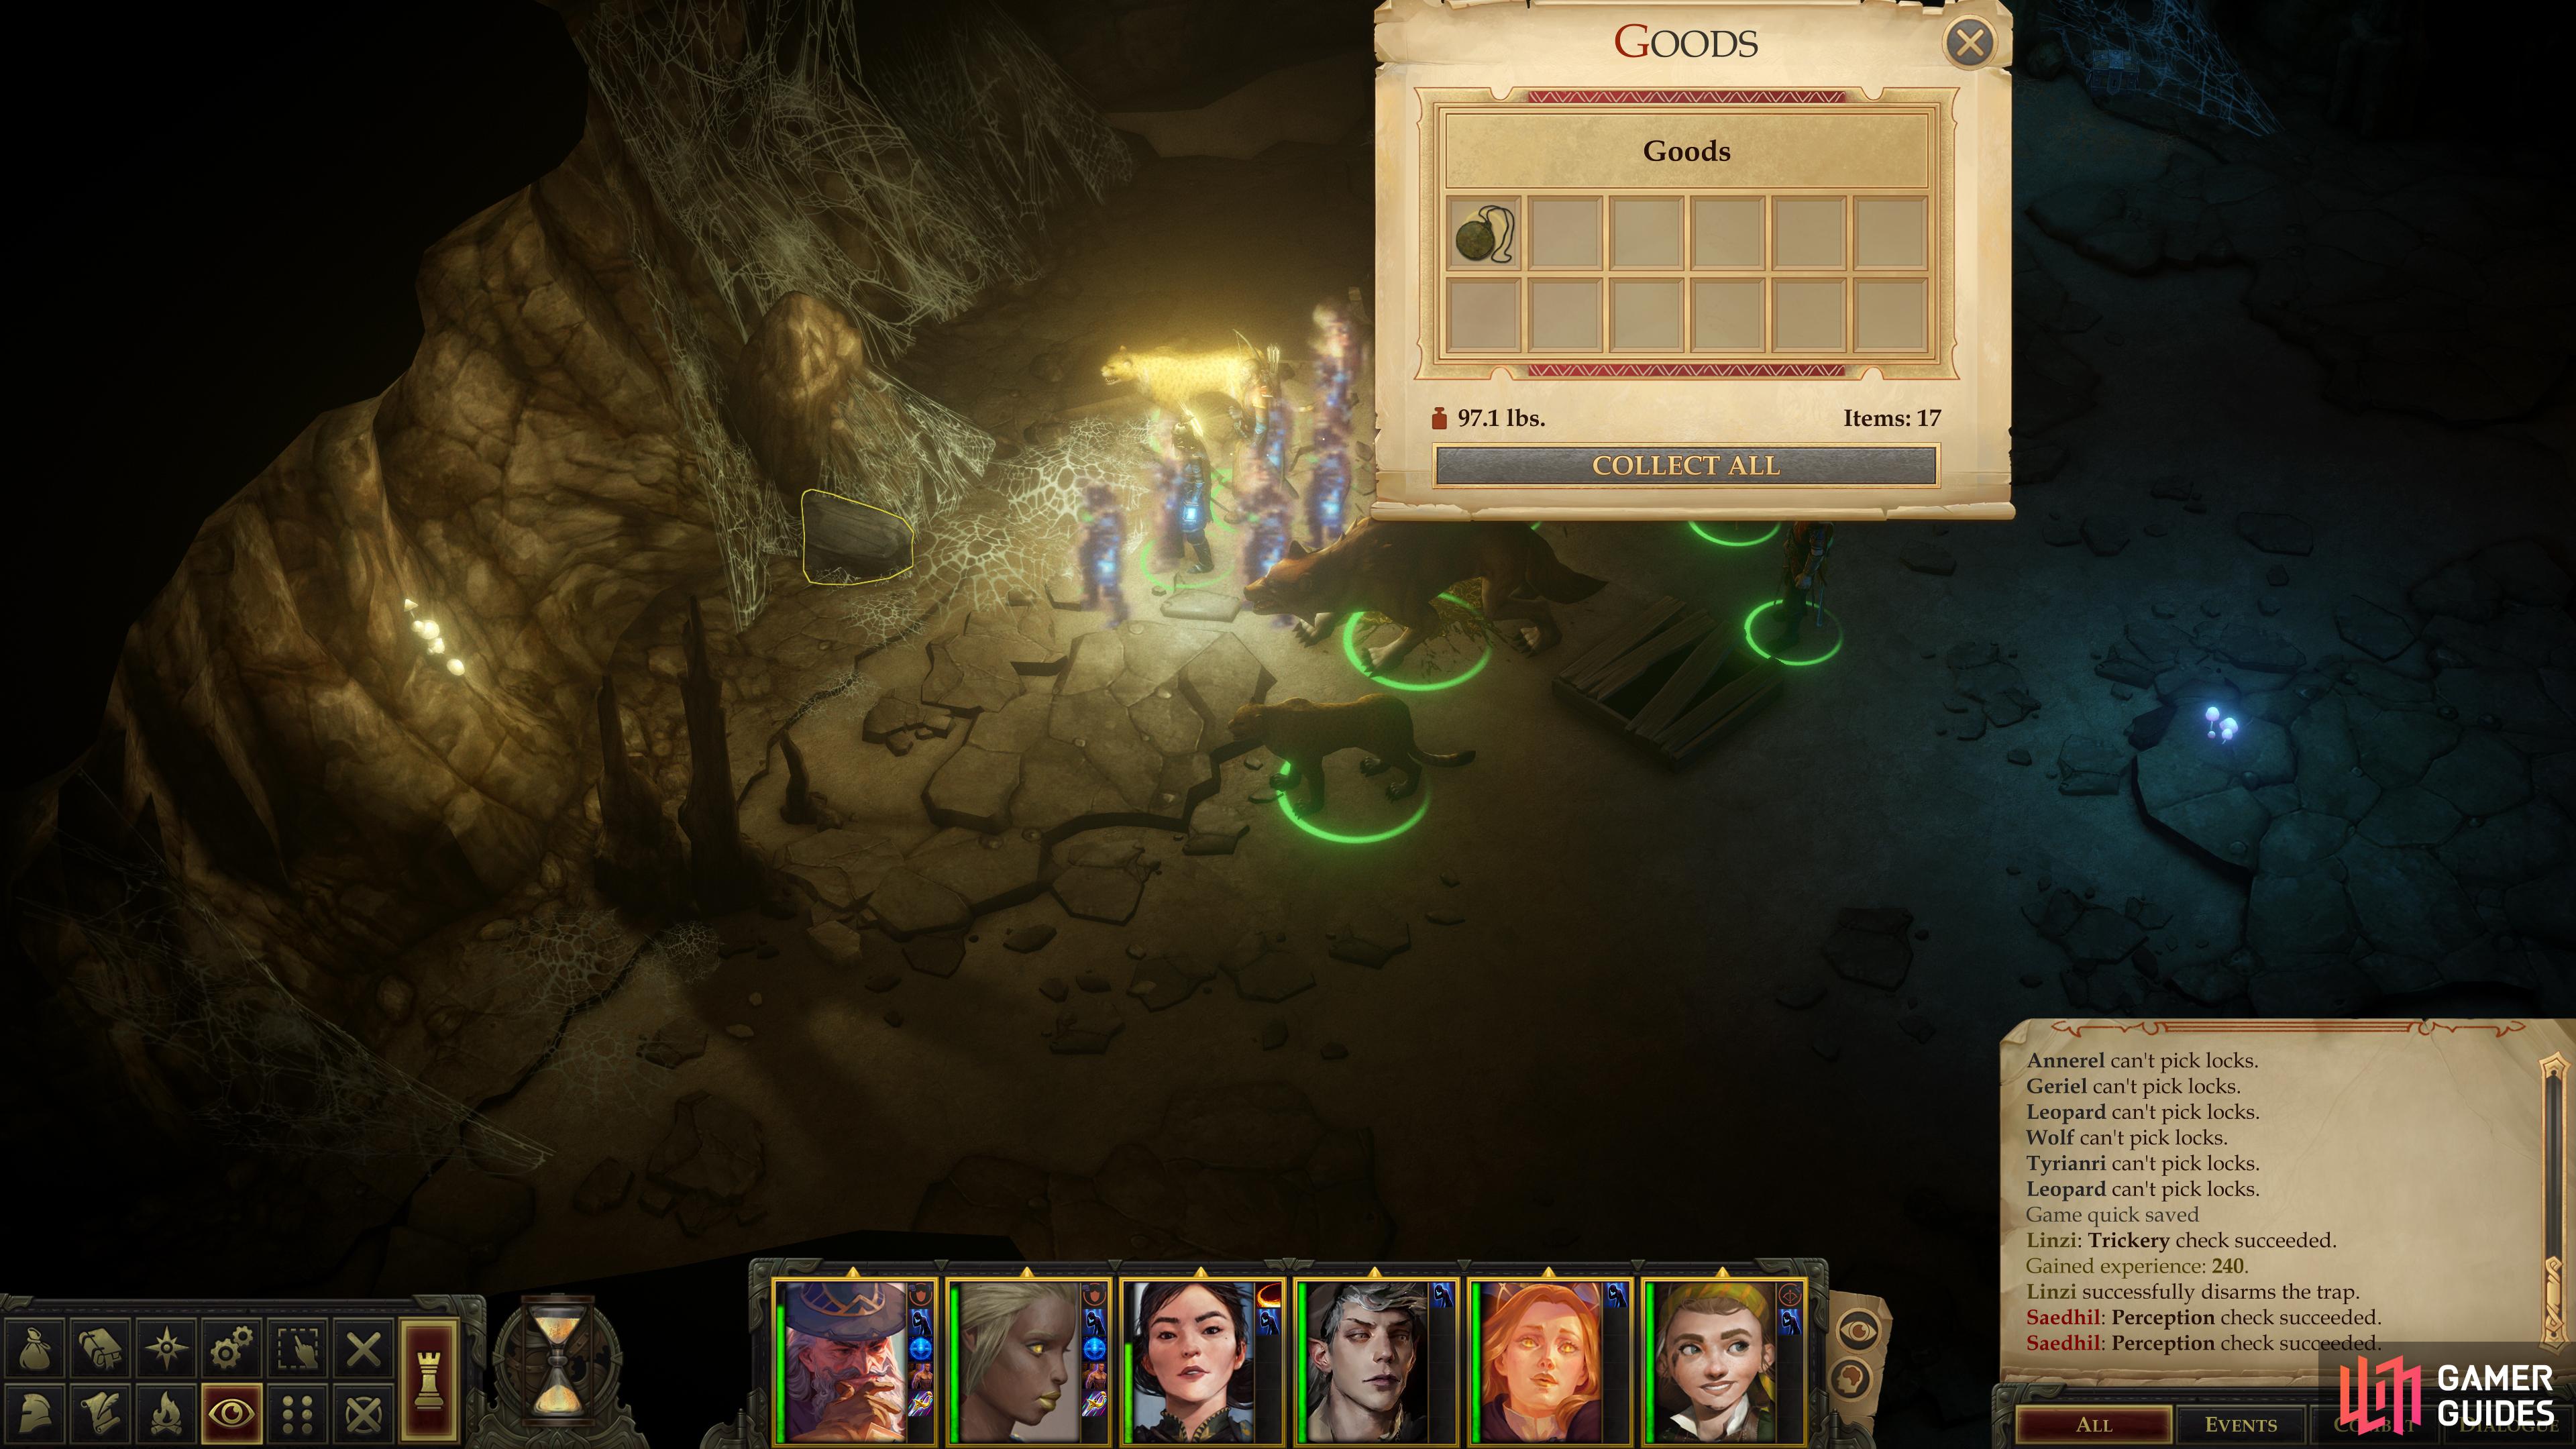
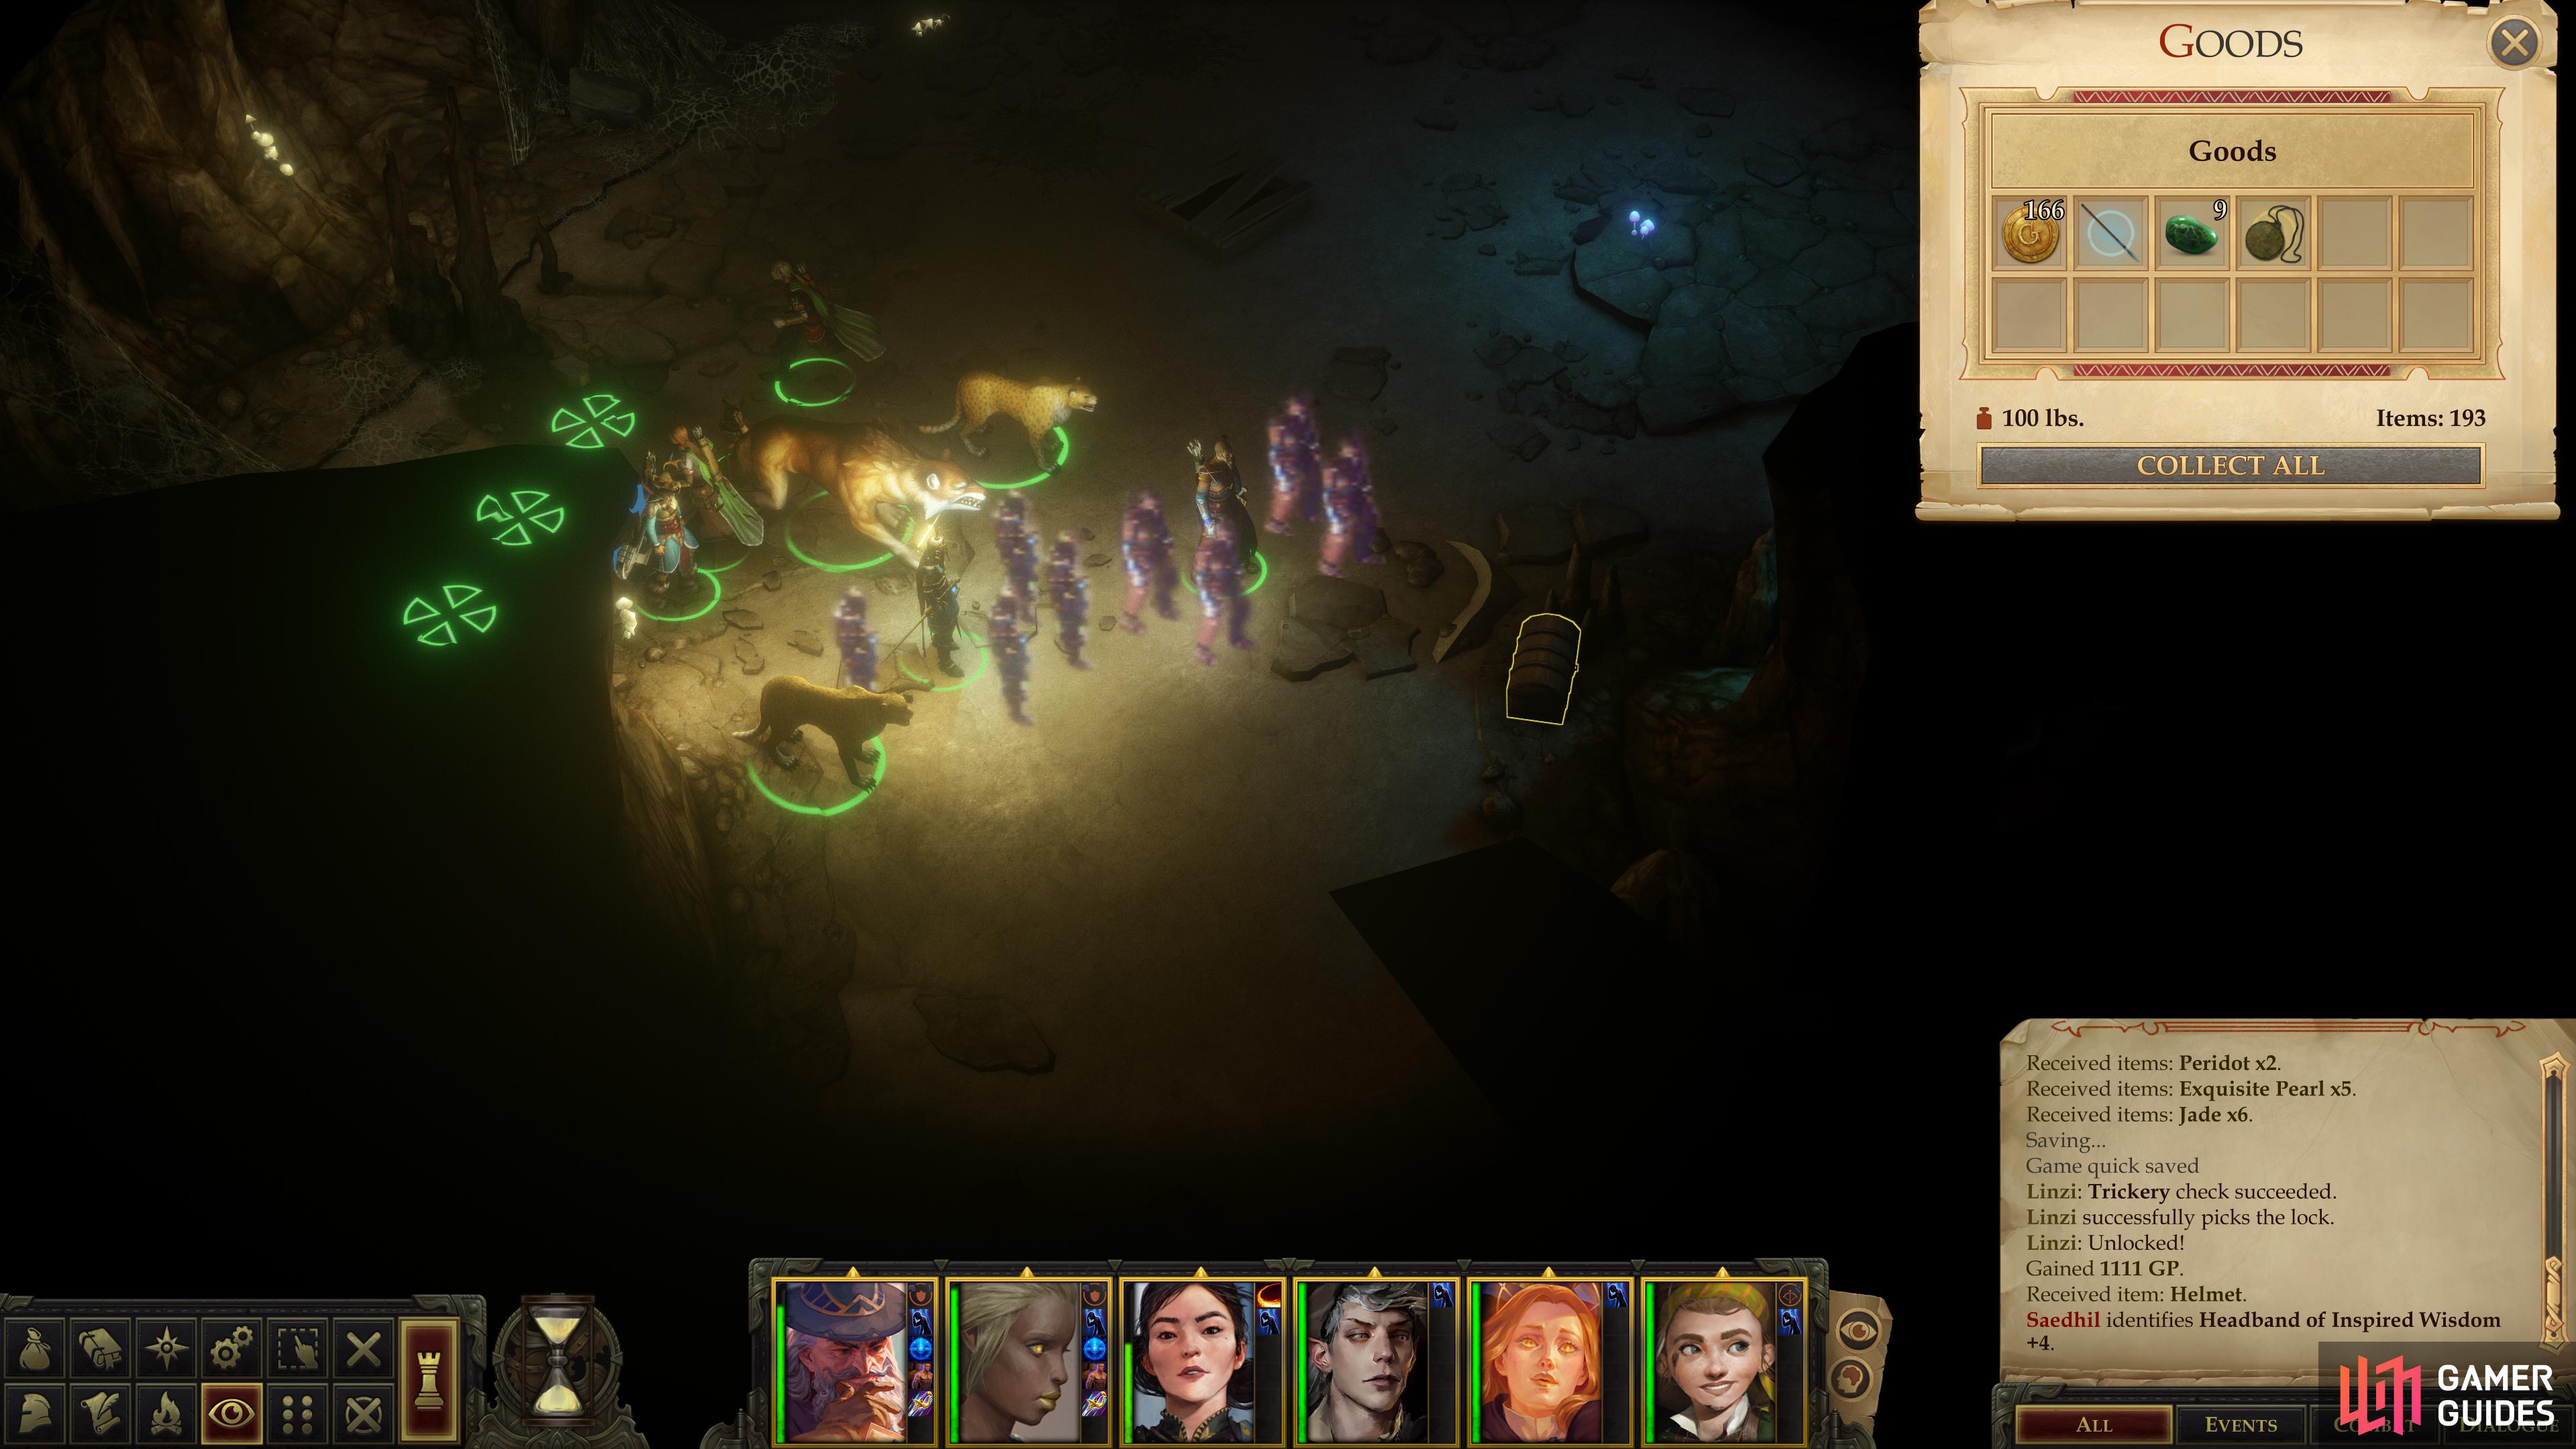
Lead with a tank and be wary of the trap [Perception 27] and when the spiders have wasted their time fruitlessly attacking you, start picking them off one at a time. Once they’re defeated you can begin scouring the chamber for loot, and there’s a good bit of it. On the northwestern wall of the cavern you can find [Perception 7] another slab of rock hiding another Taldan Warrior’s Dog Tag, while a nearby chest [Trickery 27] along the same wall will leave you richer to the tune of 197 gold and a variety of gems. Sweep clockwise along the edge of the cavern to find two more chests [Perception 30] and [Perception 28]. The smaller one contains 149 gold and more gems, while the larger one [Trickery 27] yields 1,111 gold and a Headband of Inspired Wisdom +4. Finally search the southern corner of the room to find another chest holding 166 gold, a Javelin +2 some Jade and a Taldan Warrior’s Dog Tag.
Before you leave, note the vine-covered ledge to the southeast - your destination. Well, a step on the way to your destination, at least. Shame you don’t have any flight or levitate spells…

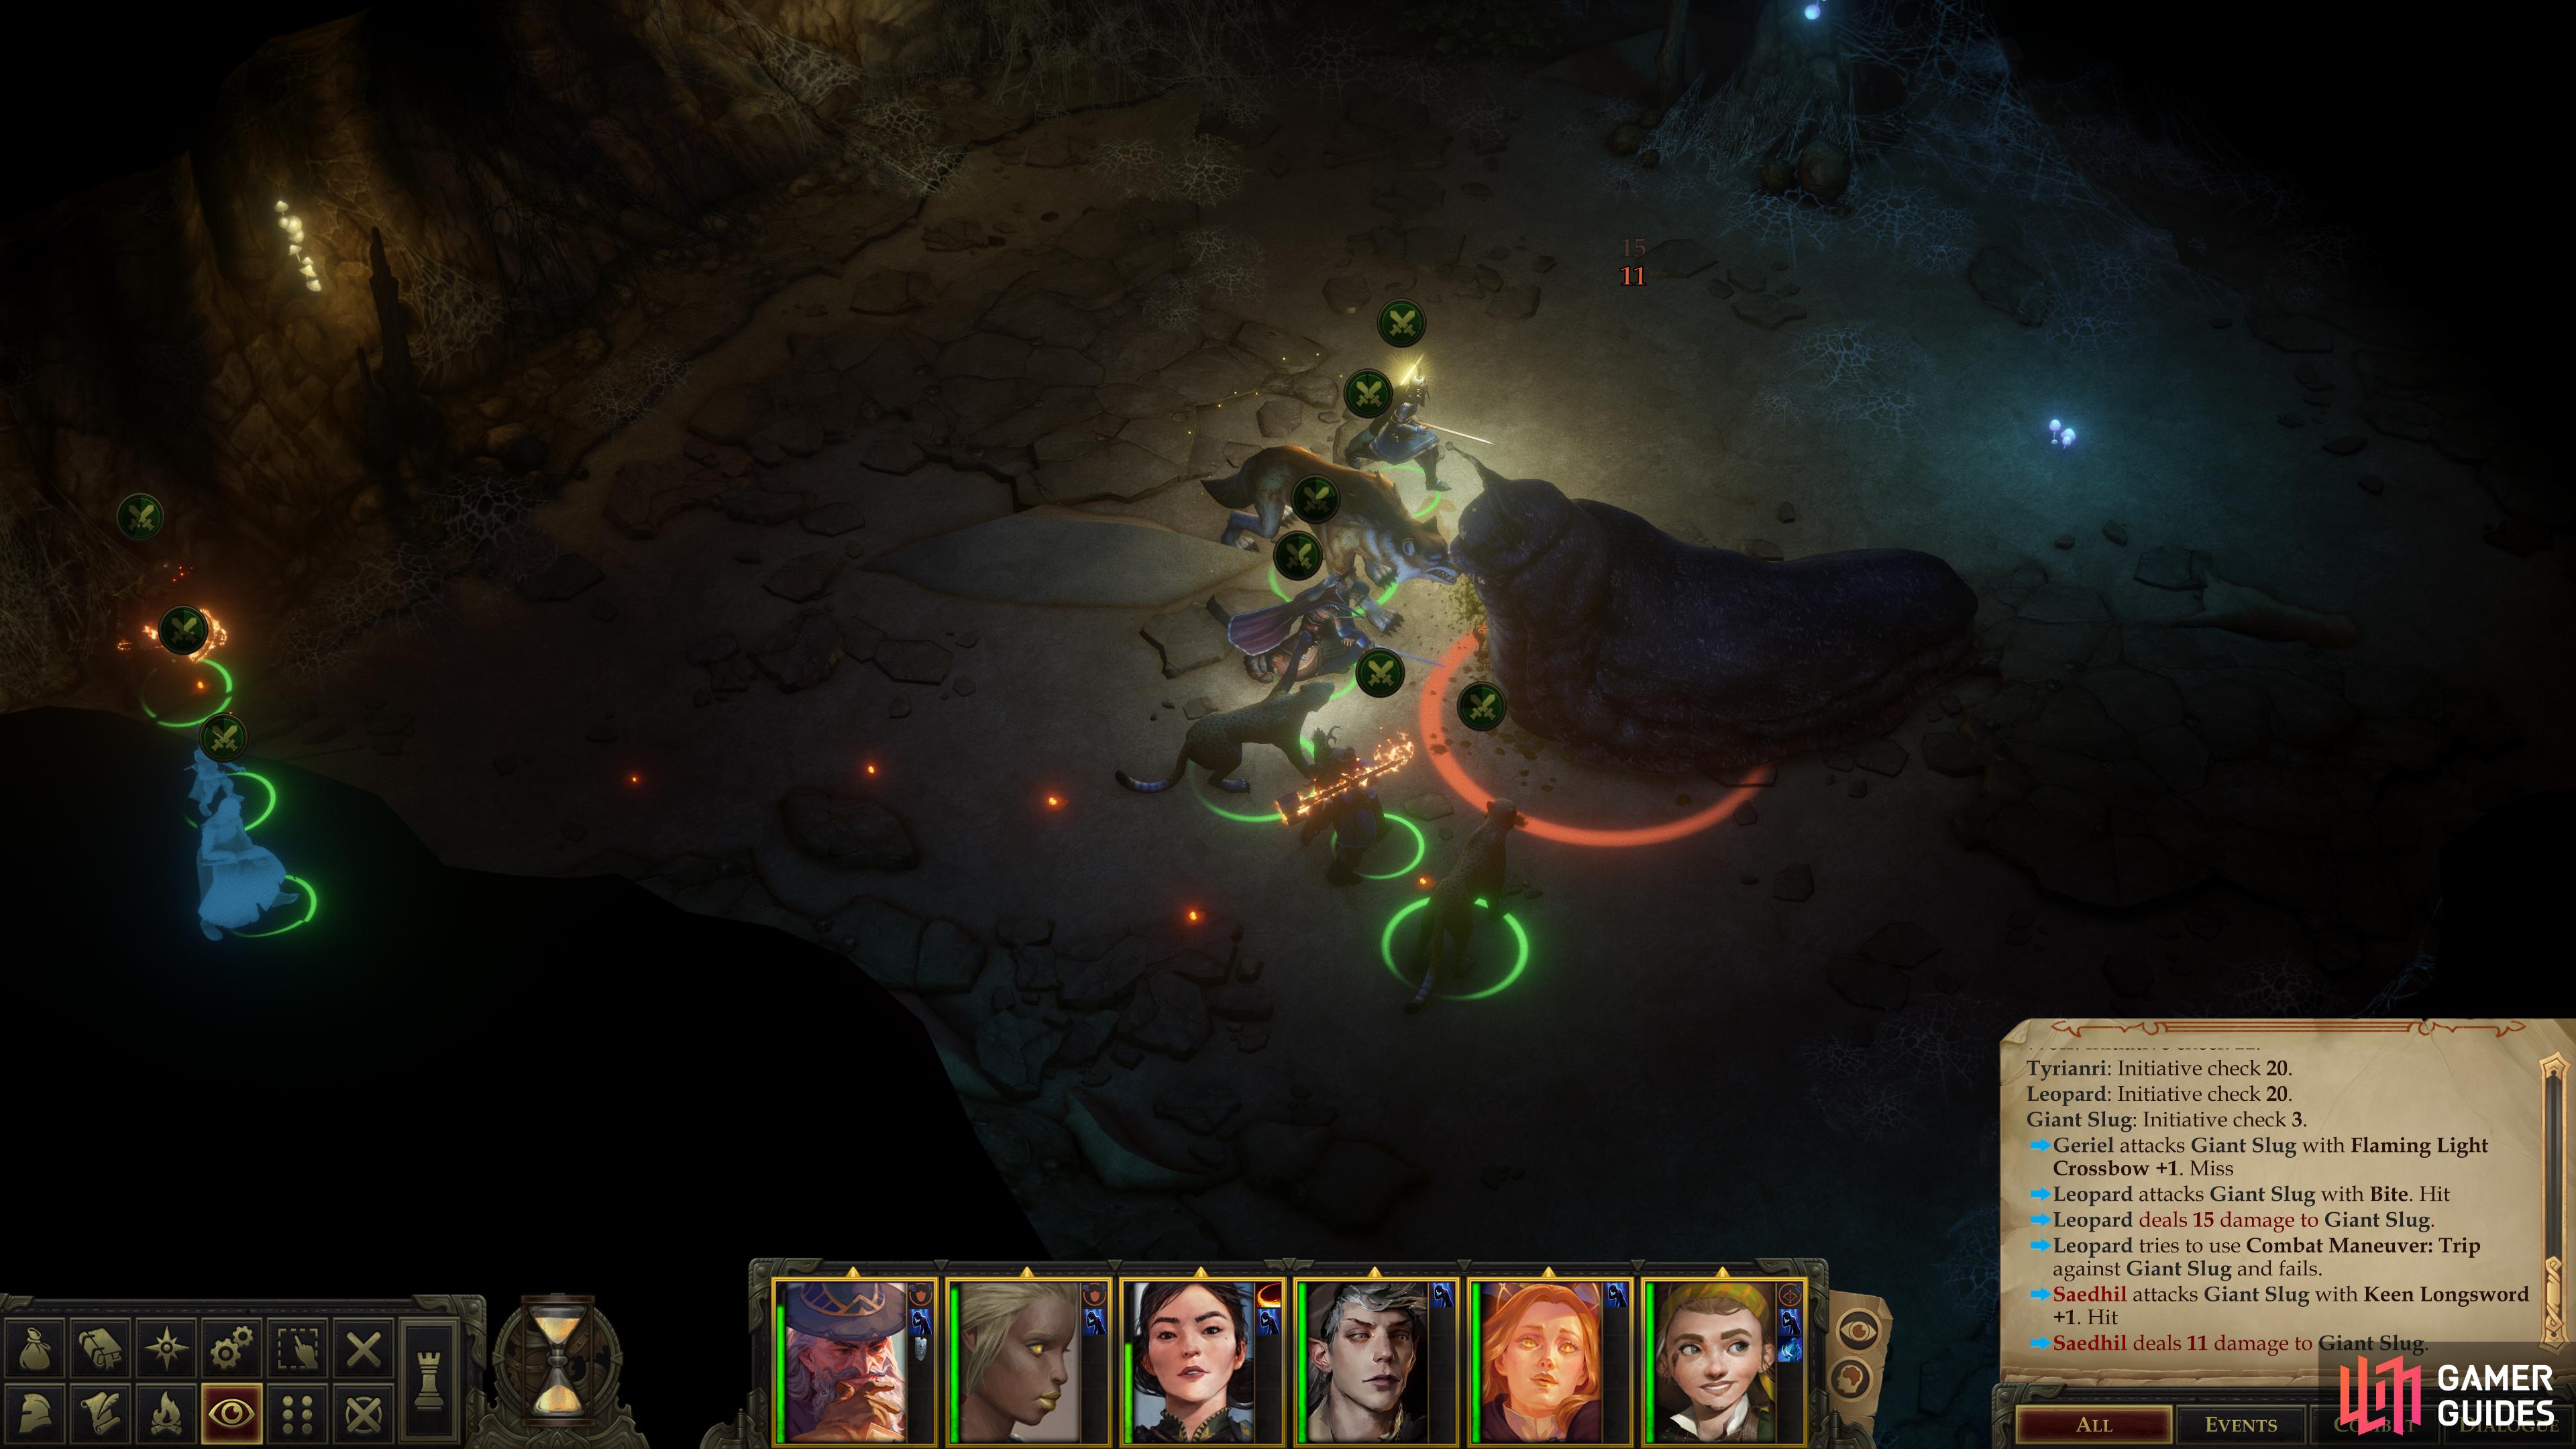
(1 of 2) Defeat a Giant Slug and the spiders behind it,
Defeat a Giant Slug and the spiders behind it, (left), then pry an “Agile Light Pick +3” from a rock formation. (right)
Womb of Lamashtu: The Northeastern Passage
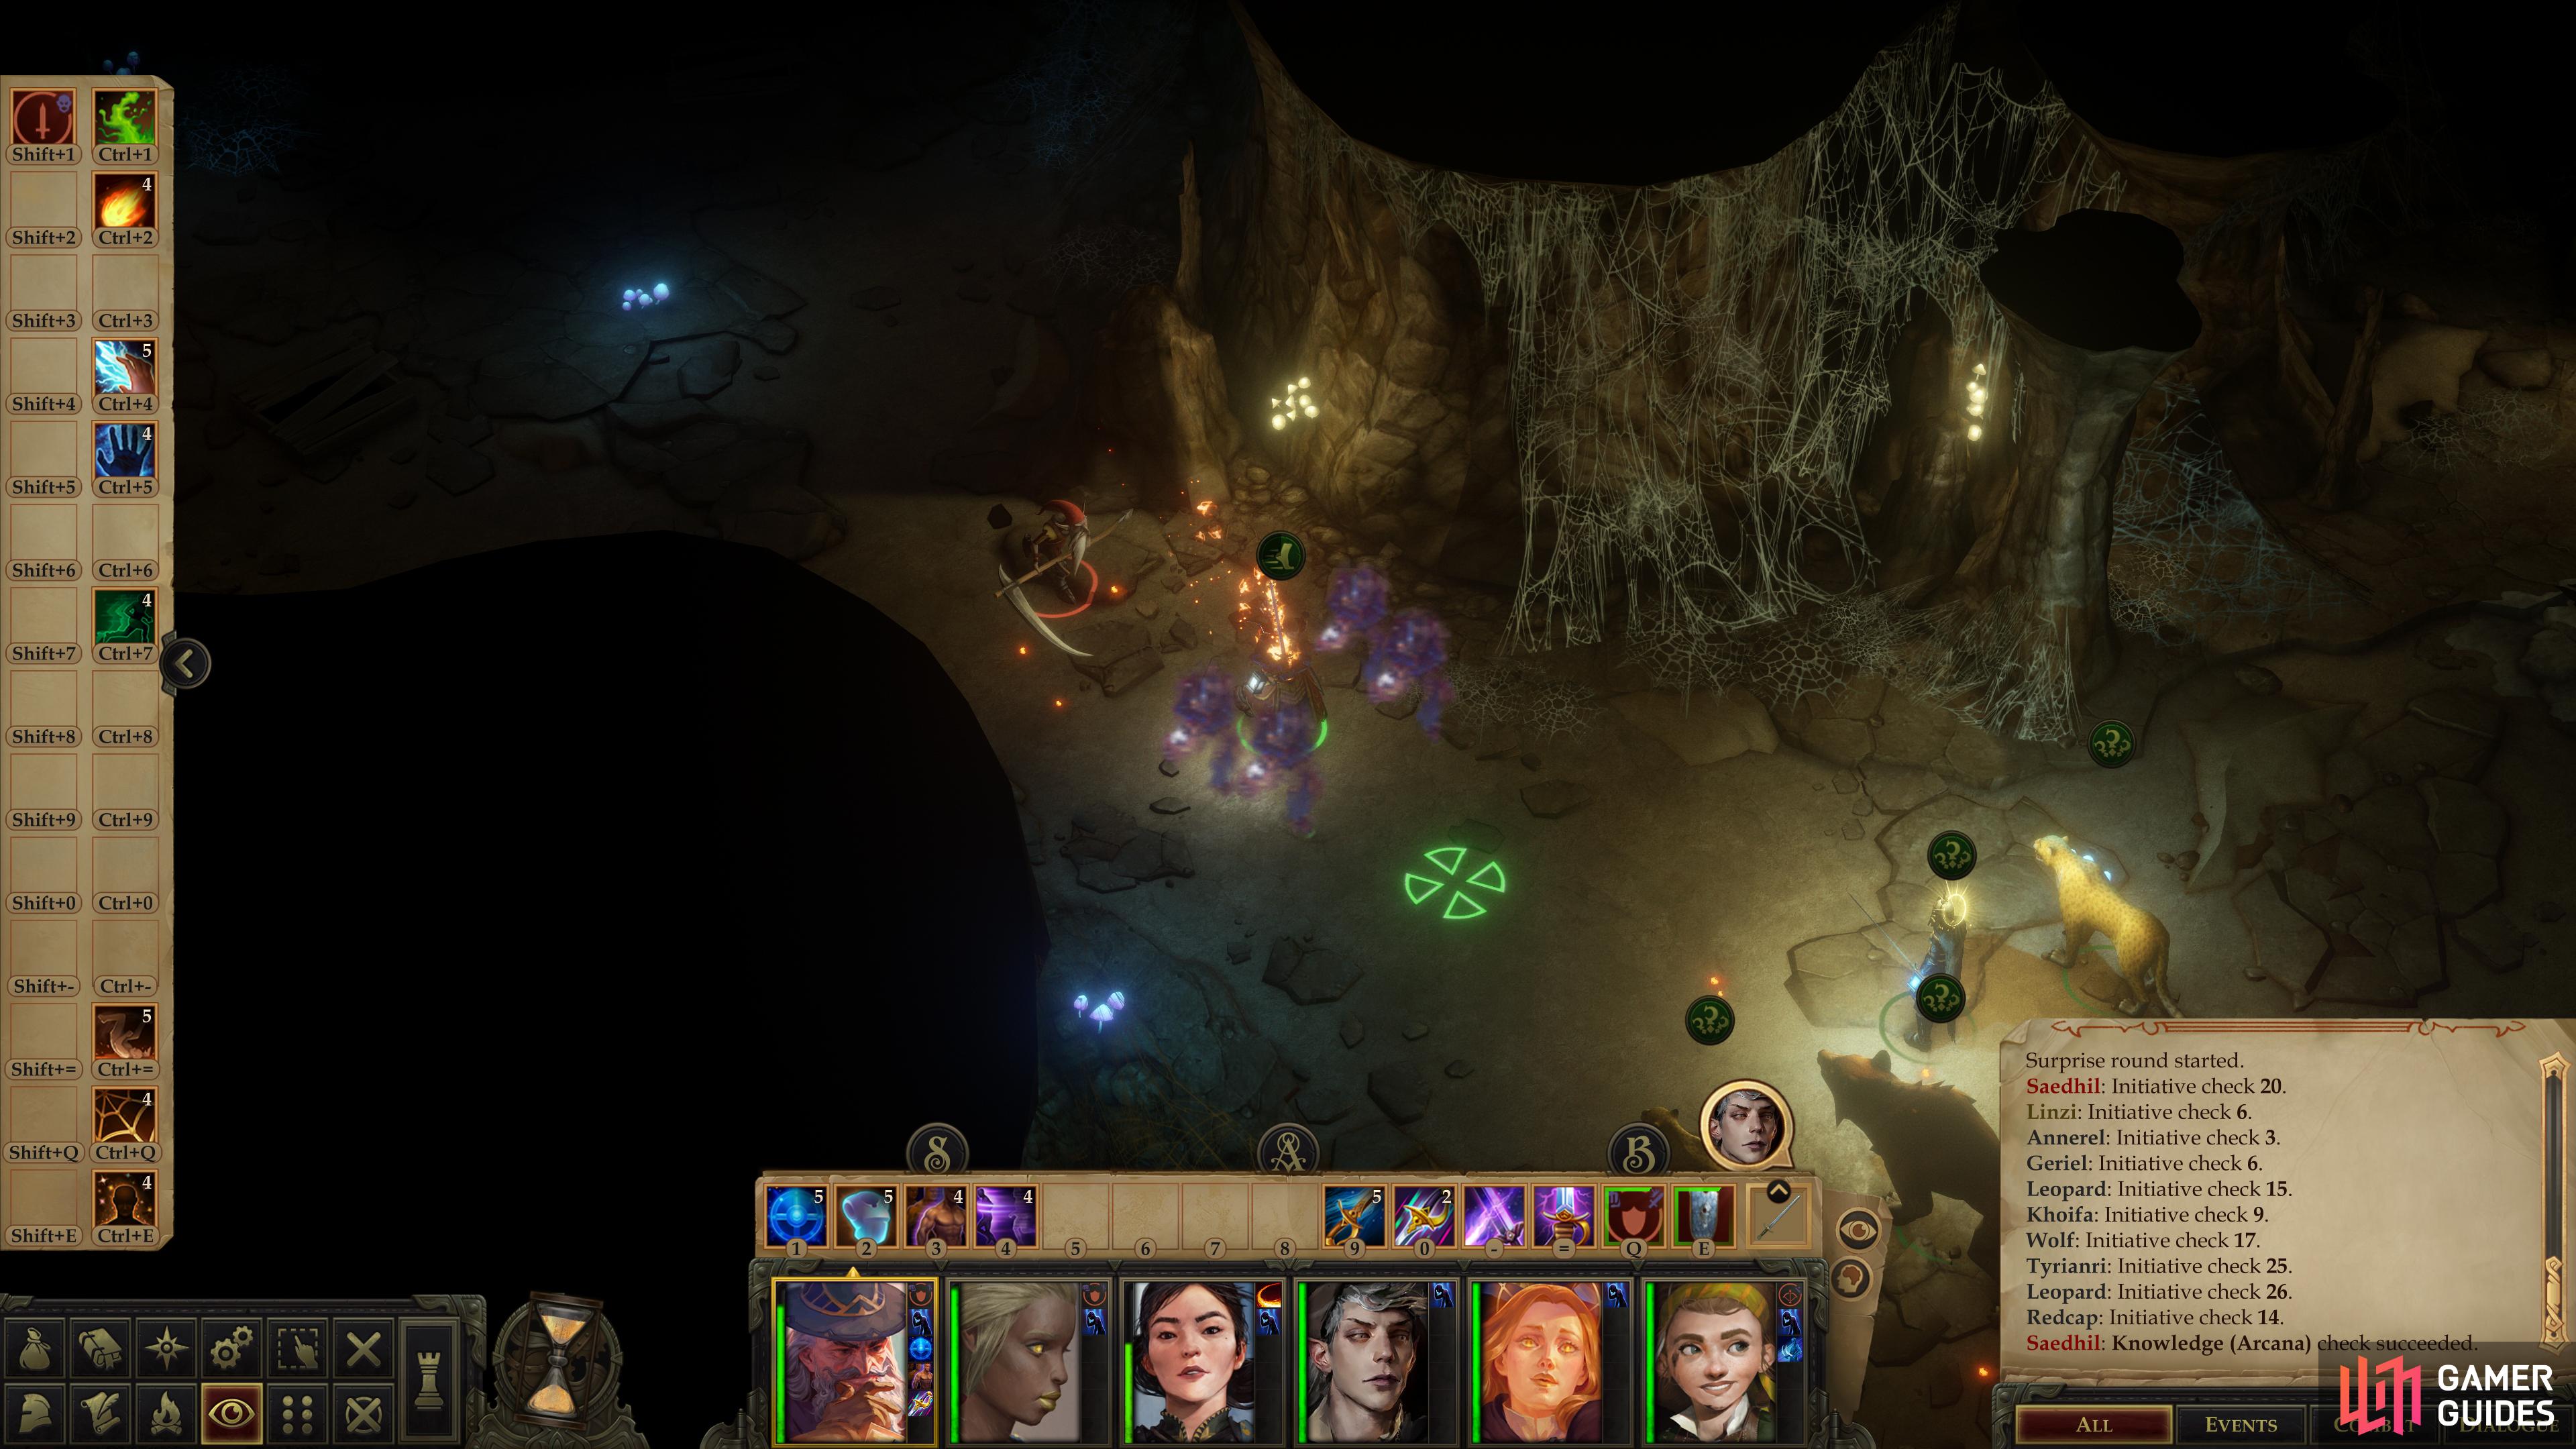
Return, once again, to the chamber where you found Kesten, then head northeast into a surprisingly large cavern. You’ll find a trap at the mouth of this cavern [Perception 27] beyond which wait more Primal Giant Spiders. Approach with your tank and you can provoke the bugs into attacking, at which point you can just withdraw away from the trap and engage the spiders where it’s safer - perhaps returning all the way back to the previous chamber to bottleneck them and give yourself an advantage.
Kill the spiders, disarm the trap [Trickery 27] then advance into the chamber the bugs guarded to meet another old friend - a Giant Slug. Lead with your tank and be wary, as the Giant Slug is joined by four more Primal Giant Spiders, who may not be obvious at first. Kill the slug, first, as its damage potential is greater, then dispatch the spiders. Afterwards, loot the obvious chest southeast of the Giant Slug to score 294 GP and two potions. A more interesting item can be found to the northwest, however, as you’ll find an Agile Light Pick +3 embedded in some rock.
(1 of 2) Lure a Redcap to its doom, thwarting its ambush and staging one of your own.
Lure a Redcap to its doom, thwarting its ambush and staging one of your own. (left), In the chamber beyond the Redcap, prepare for an unavoidable ambush by some spiders. (right)
Womb of Lamashtu: Redcap Ambush
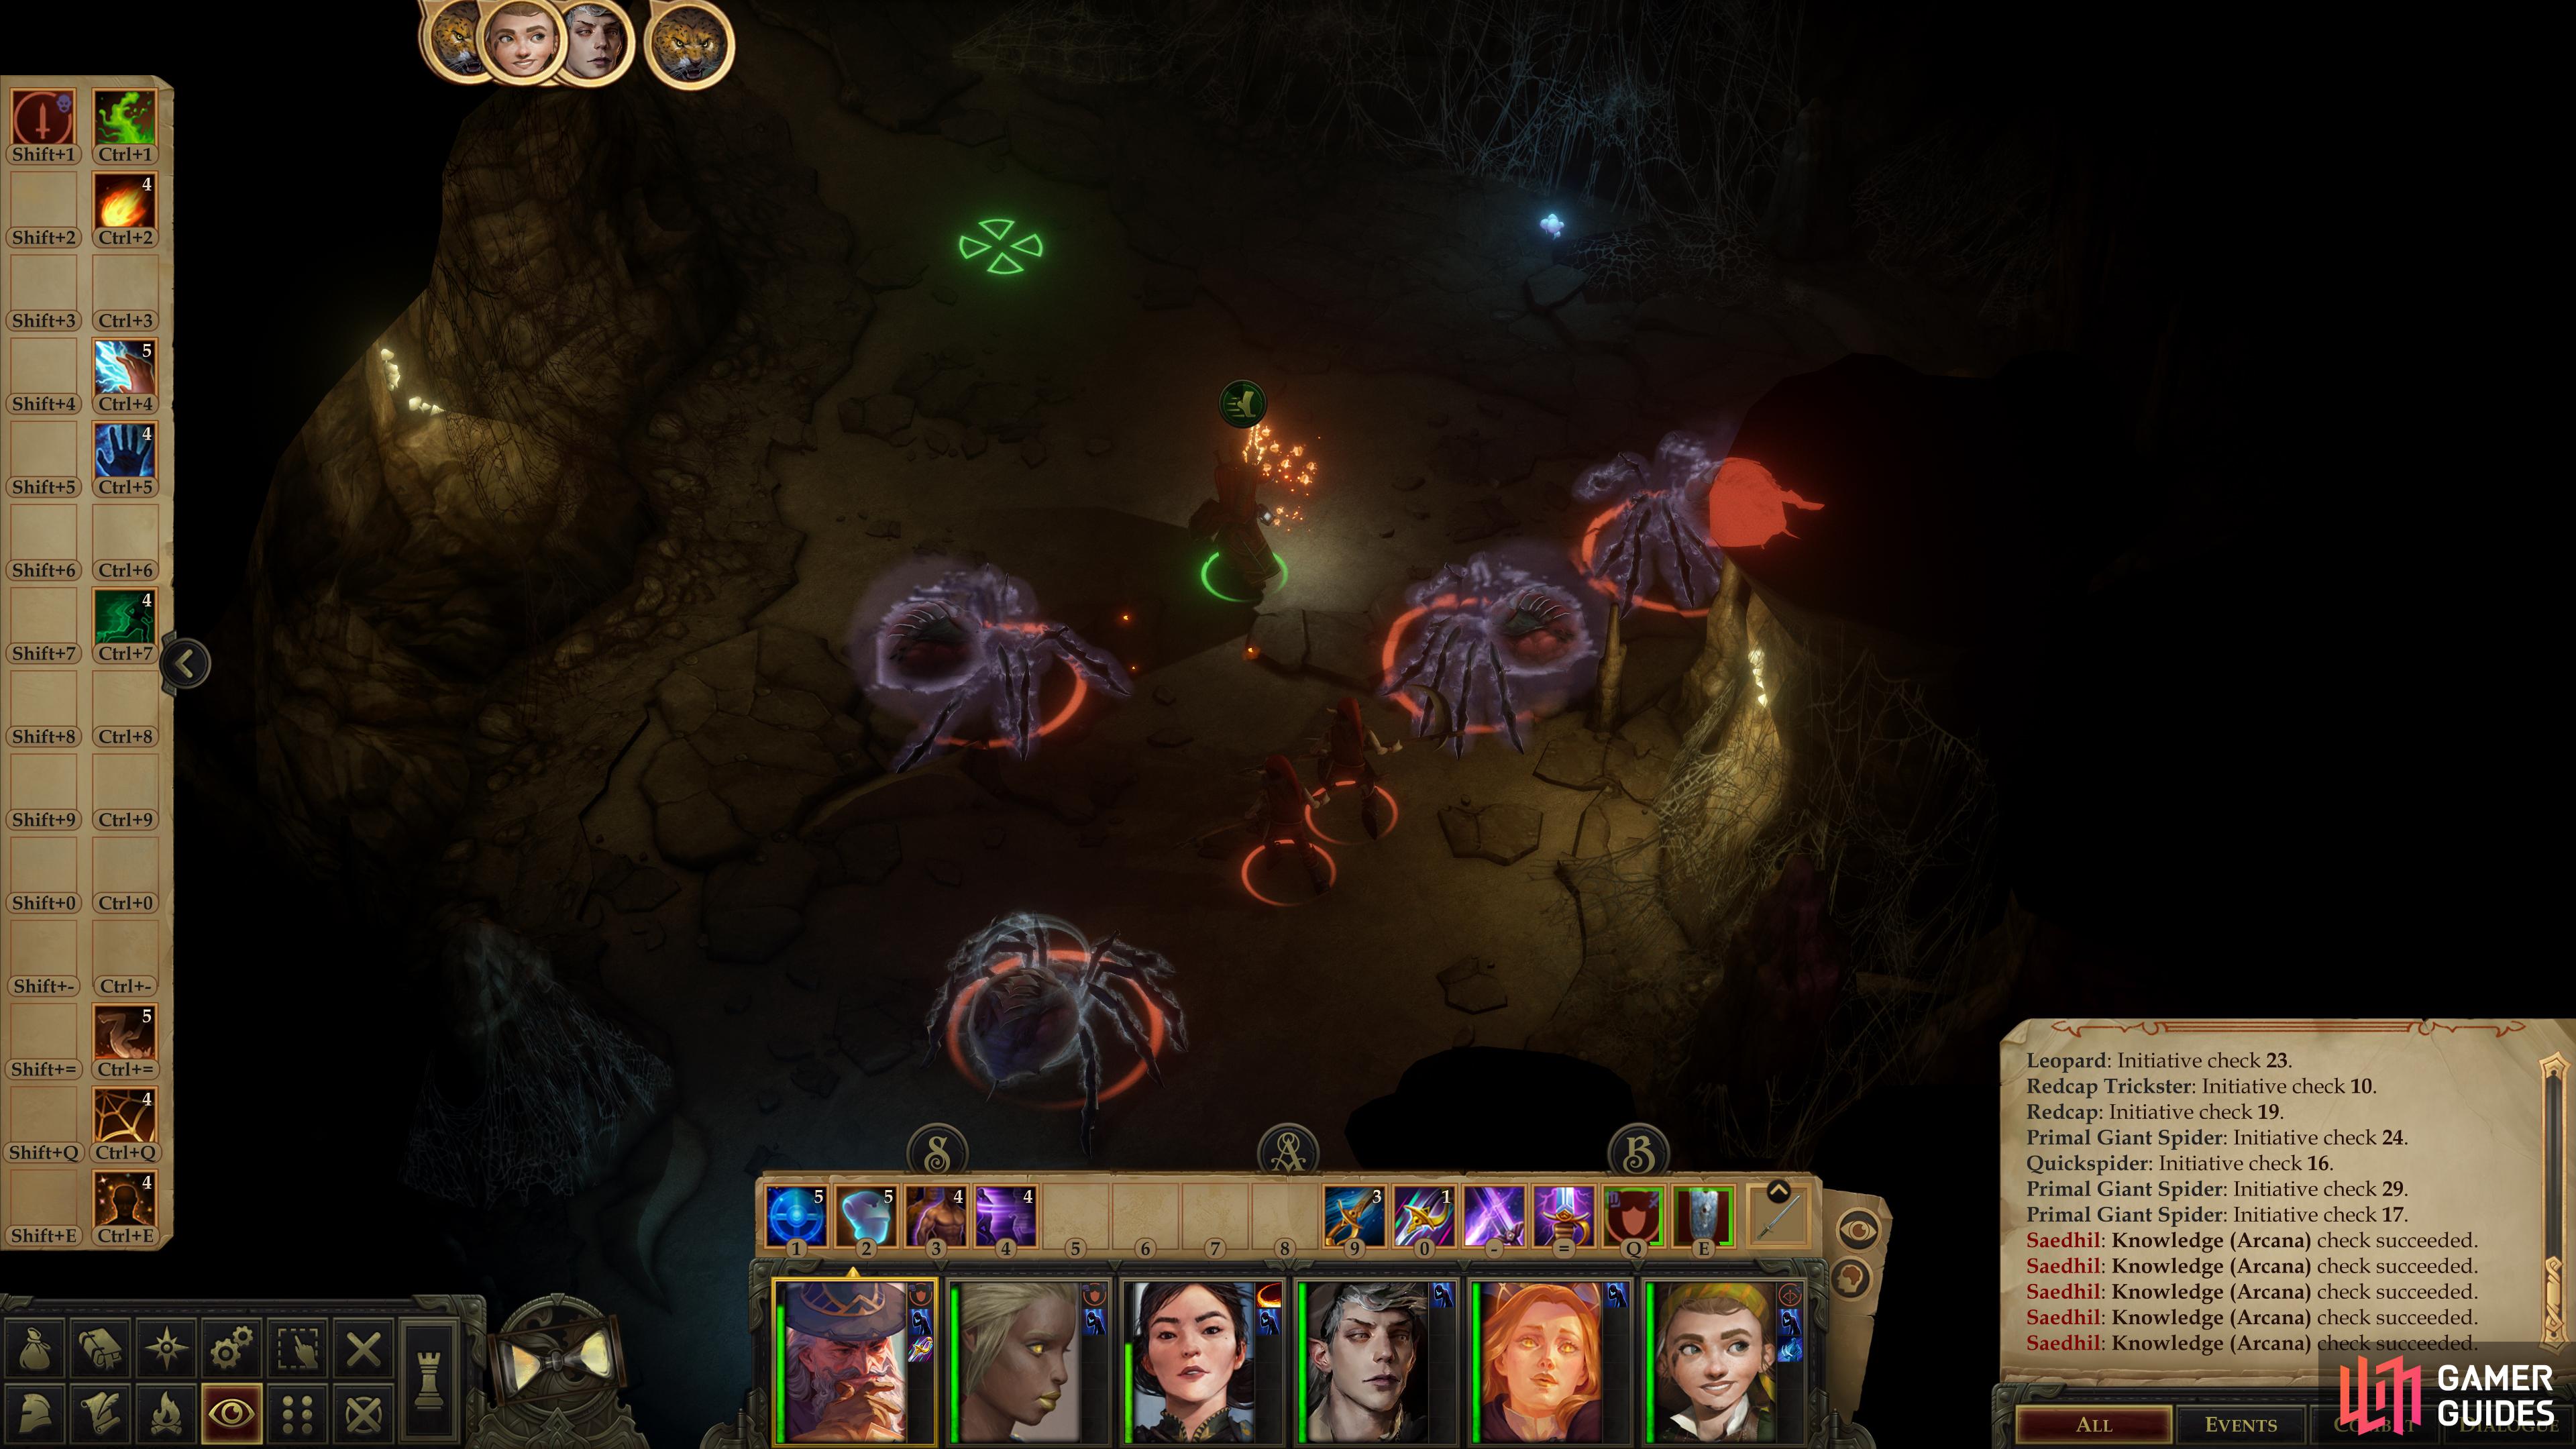
There are three passages branching off this second, spider-infested chamber: one to the north, one to the northwest and one to the south. Go northwest first and you’ll spot a Redcap, which will quickly run deeper into the chamber. Suspicious? You’re right, as, if you chase the Redcap, numerous spiders (five Primal Giant Spiders and a Quickspider) will appear and attack. Quickspiders aren’t that much more powerful than Primal Giant Spiders, stat-wise, but they can perform sneak attacks, making them more dangerous against flat-footed characters or when flanking.
You can turn the tables on your ambusher by chasing it with only your tank, and when the Redcap turns around and attacks, retreat southeast and dispatch it at the mouth of the tunnel. If you avoided provoking the spiders during this step, great, arrange your party at the entrance of the tunnel and provoke the bugs with your tank, retreat, and fight them with the benefit of a bottleneck. If the spiders joined the Redcap… well, the strategy is the same - retreat and meet them at the entrance of the tunnel. Bottlenecking your foes is quite advantageous here, as you don’t need to be facing six spiders and a Redcap at the same time.
Just be wary when you bottleneck them - this northwestern passage and the northern passage connect, and the spiders are fast enough to - over the course of a few turns - run northeast and come down the northern passage to attack you from that direction. If you see them approaching, break off a warrior to intercept them or summon some skeletons to occupy them.
Womb of Lamashtu: Spider Ambush
After the spiders are smote, enter the chamber they nested in and disarm the two traps [Perception 27] [Trickery 27] there, then make sure you’re buffed. Another ambush is imminent, and while it’s an inherently hectic fight, preparing will make it much easier. When you’re ready, move your party to the northern end of the chamber (near a chest) and swing around so your casters are near the wall and your warriors are facing southeast. Once your party has transgressed sufficiently, more Primal Giant Spiders will appear - three in the mouth of a passage to the northeast and five along the southeastern and southern end of the chamber. Withy any luck, however, they shouldn’t attack immediately, giving you time to initiate the fight.
An ideal way to do this is by summoning some skeletons (via Animate Dead to block the spiders to the northeast. Don’t expect your skeletons to contribute much in terms of damage, but the spiders aren’t exactly offensive power-houses, either. This should allow your party plenty of time to cut up the five spiders to the south, especially if they’re Hasted.
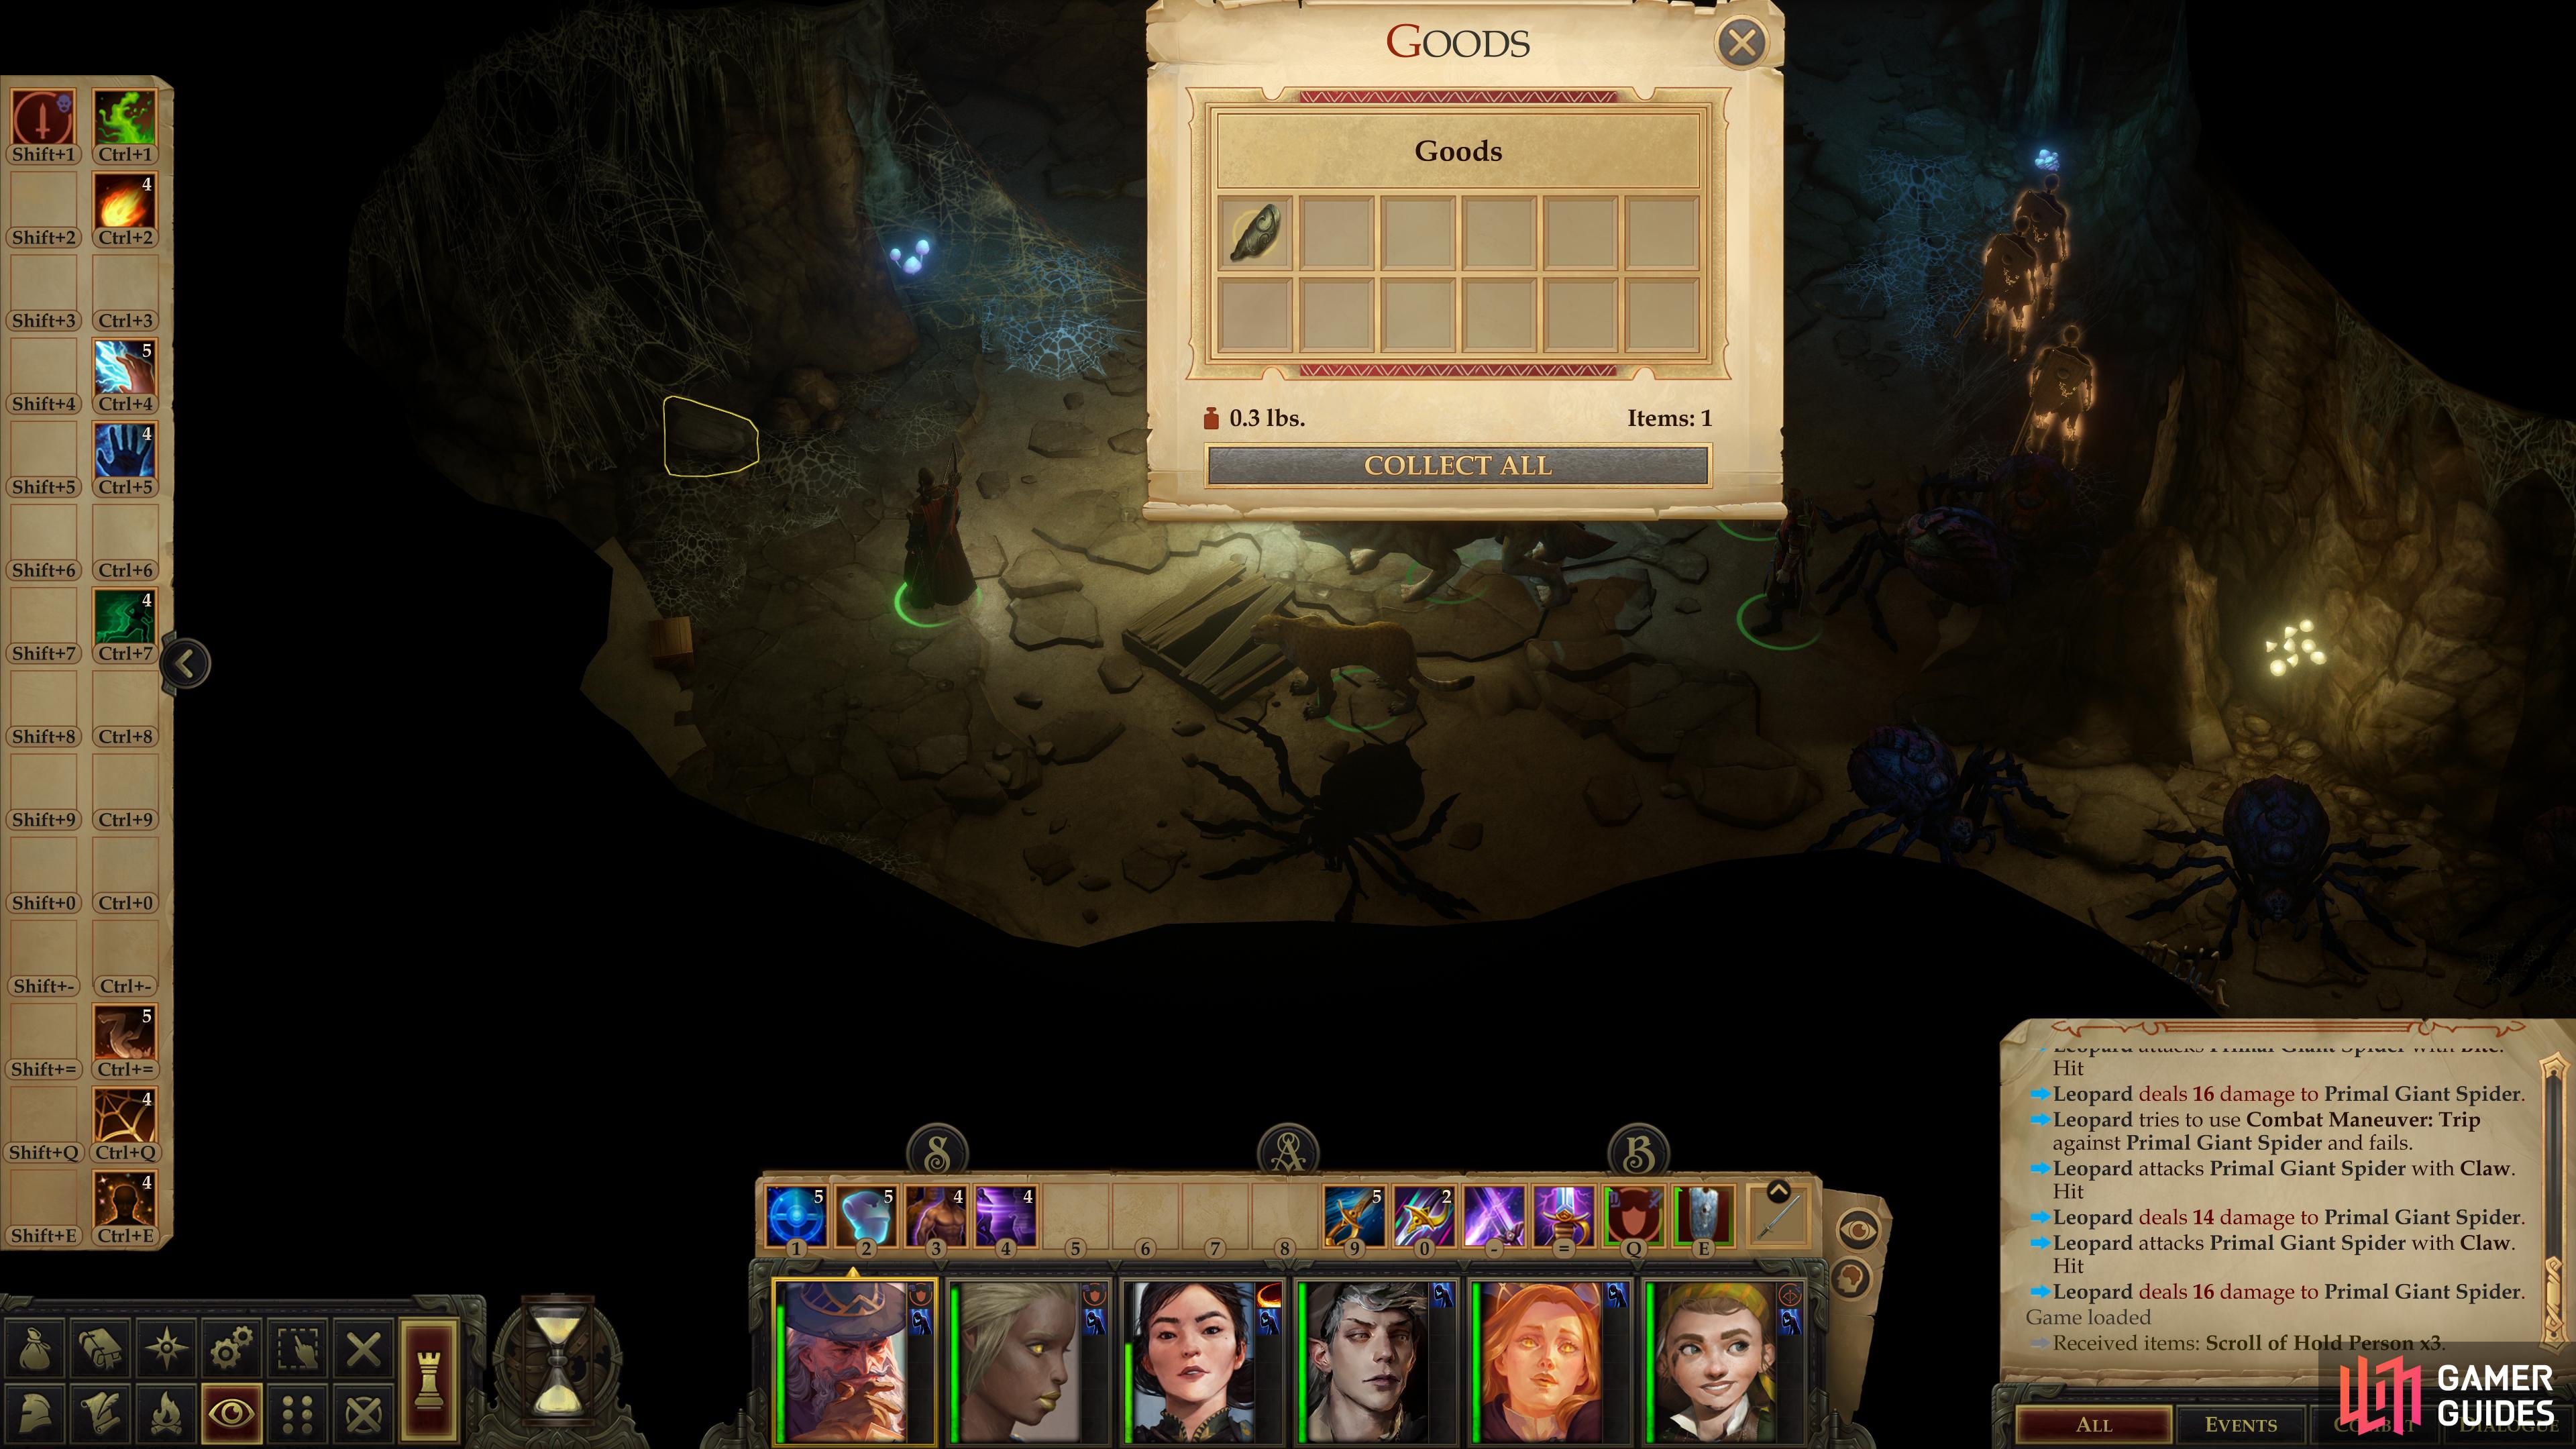
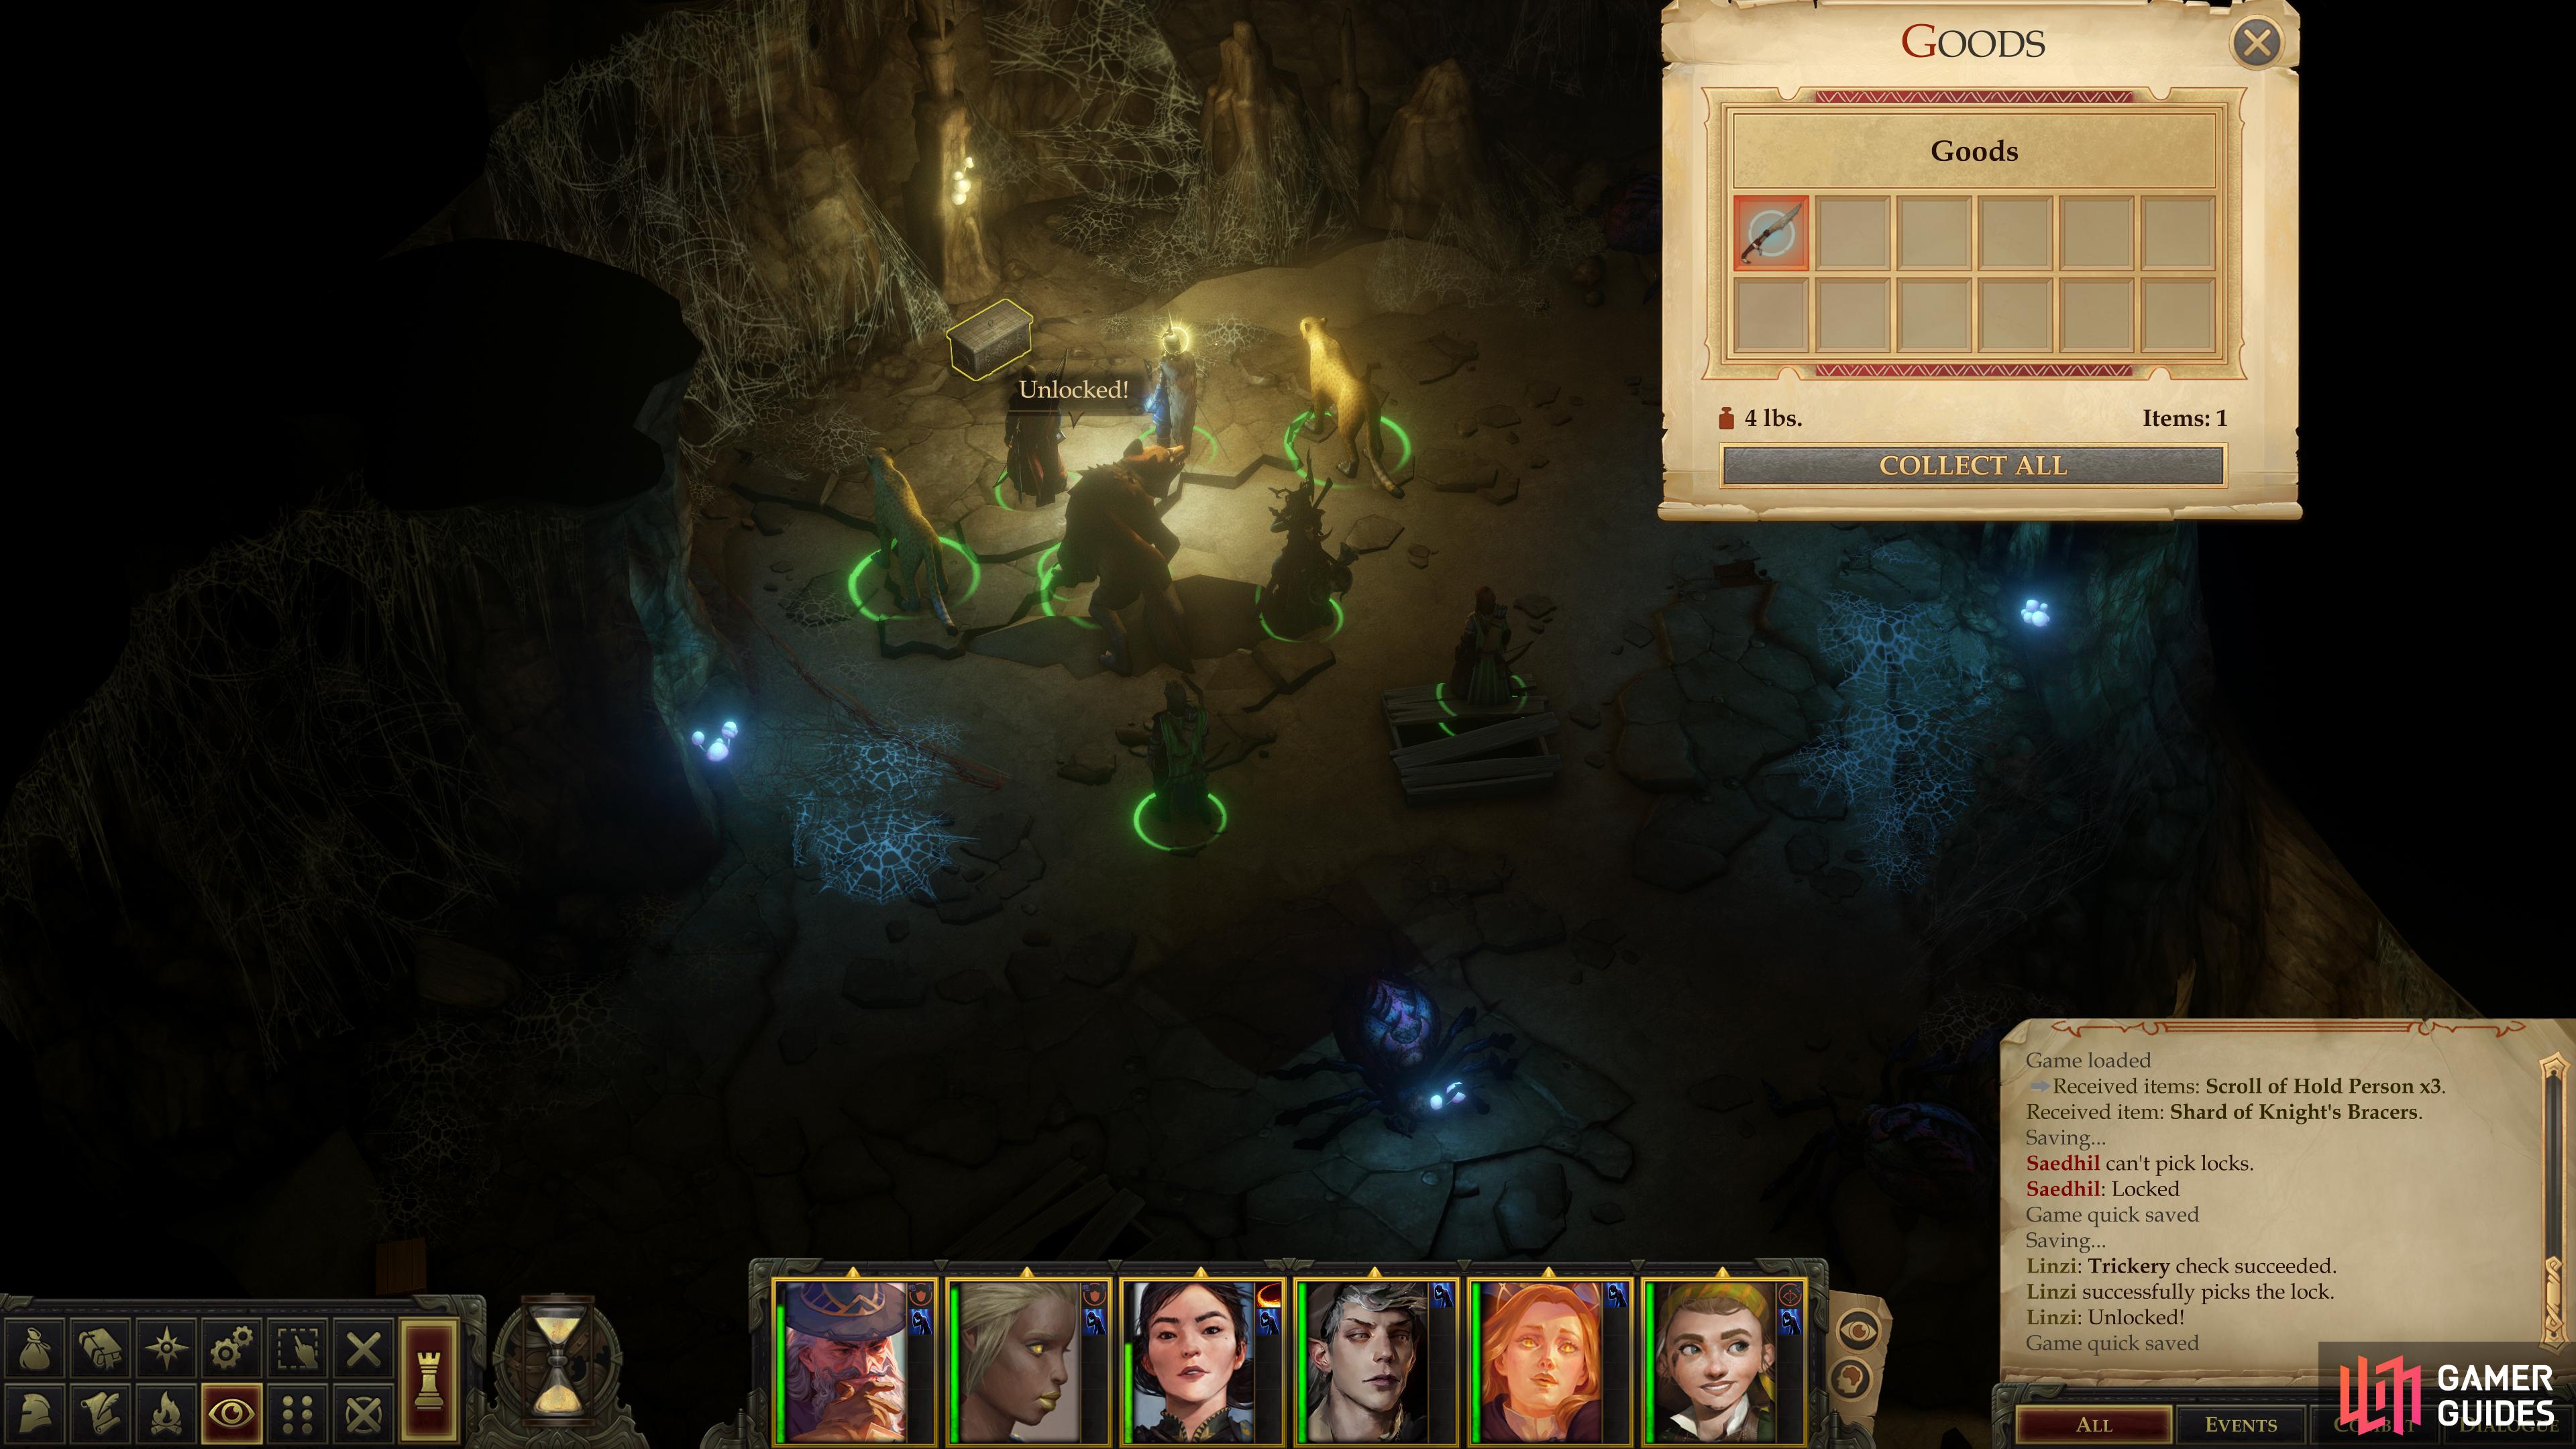

When they’ve been squashed, loot a chest to the southwest for some Scrolls of Hold Person, find [Perception 7] a slab of rock near this chest to loot a Shard of Knight’s Bracers, then loot the chest to the northwest to obtain Decapitator, a Falcata +2 with the keen and furious properties (acts as a +4 weapon if the user is raging or under the effects of a Rage spell, enhanced critical threat range).
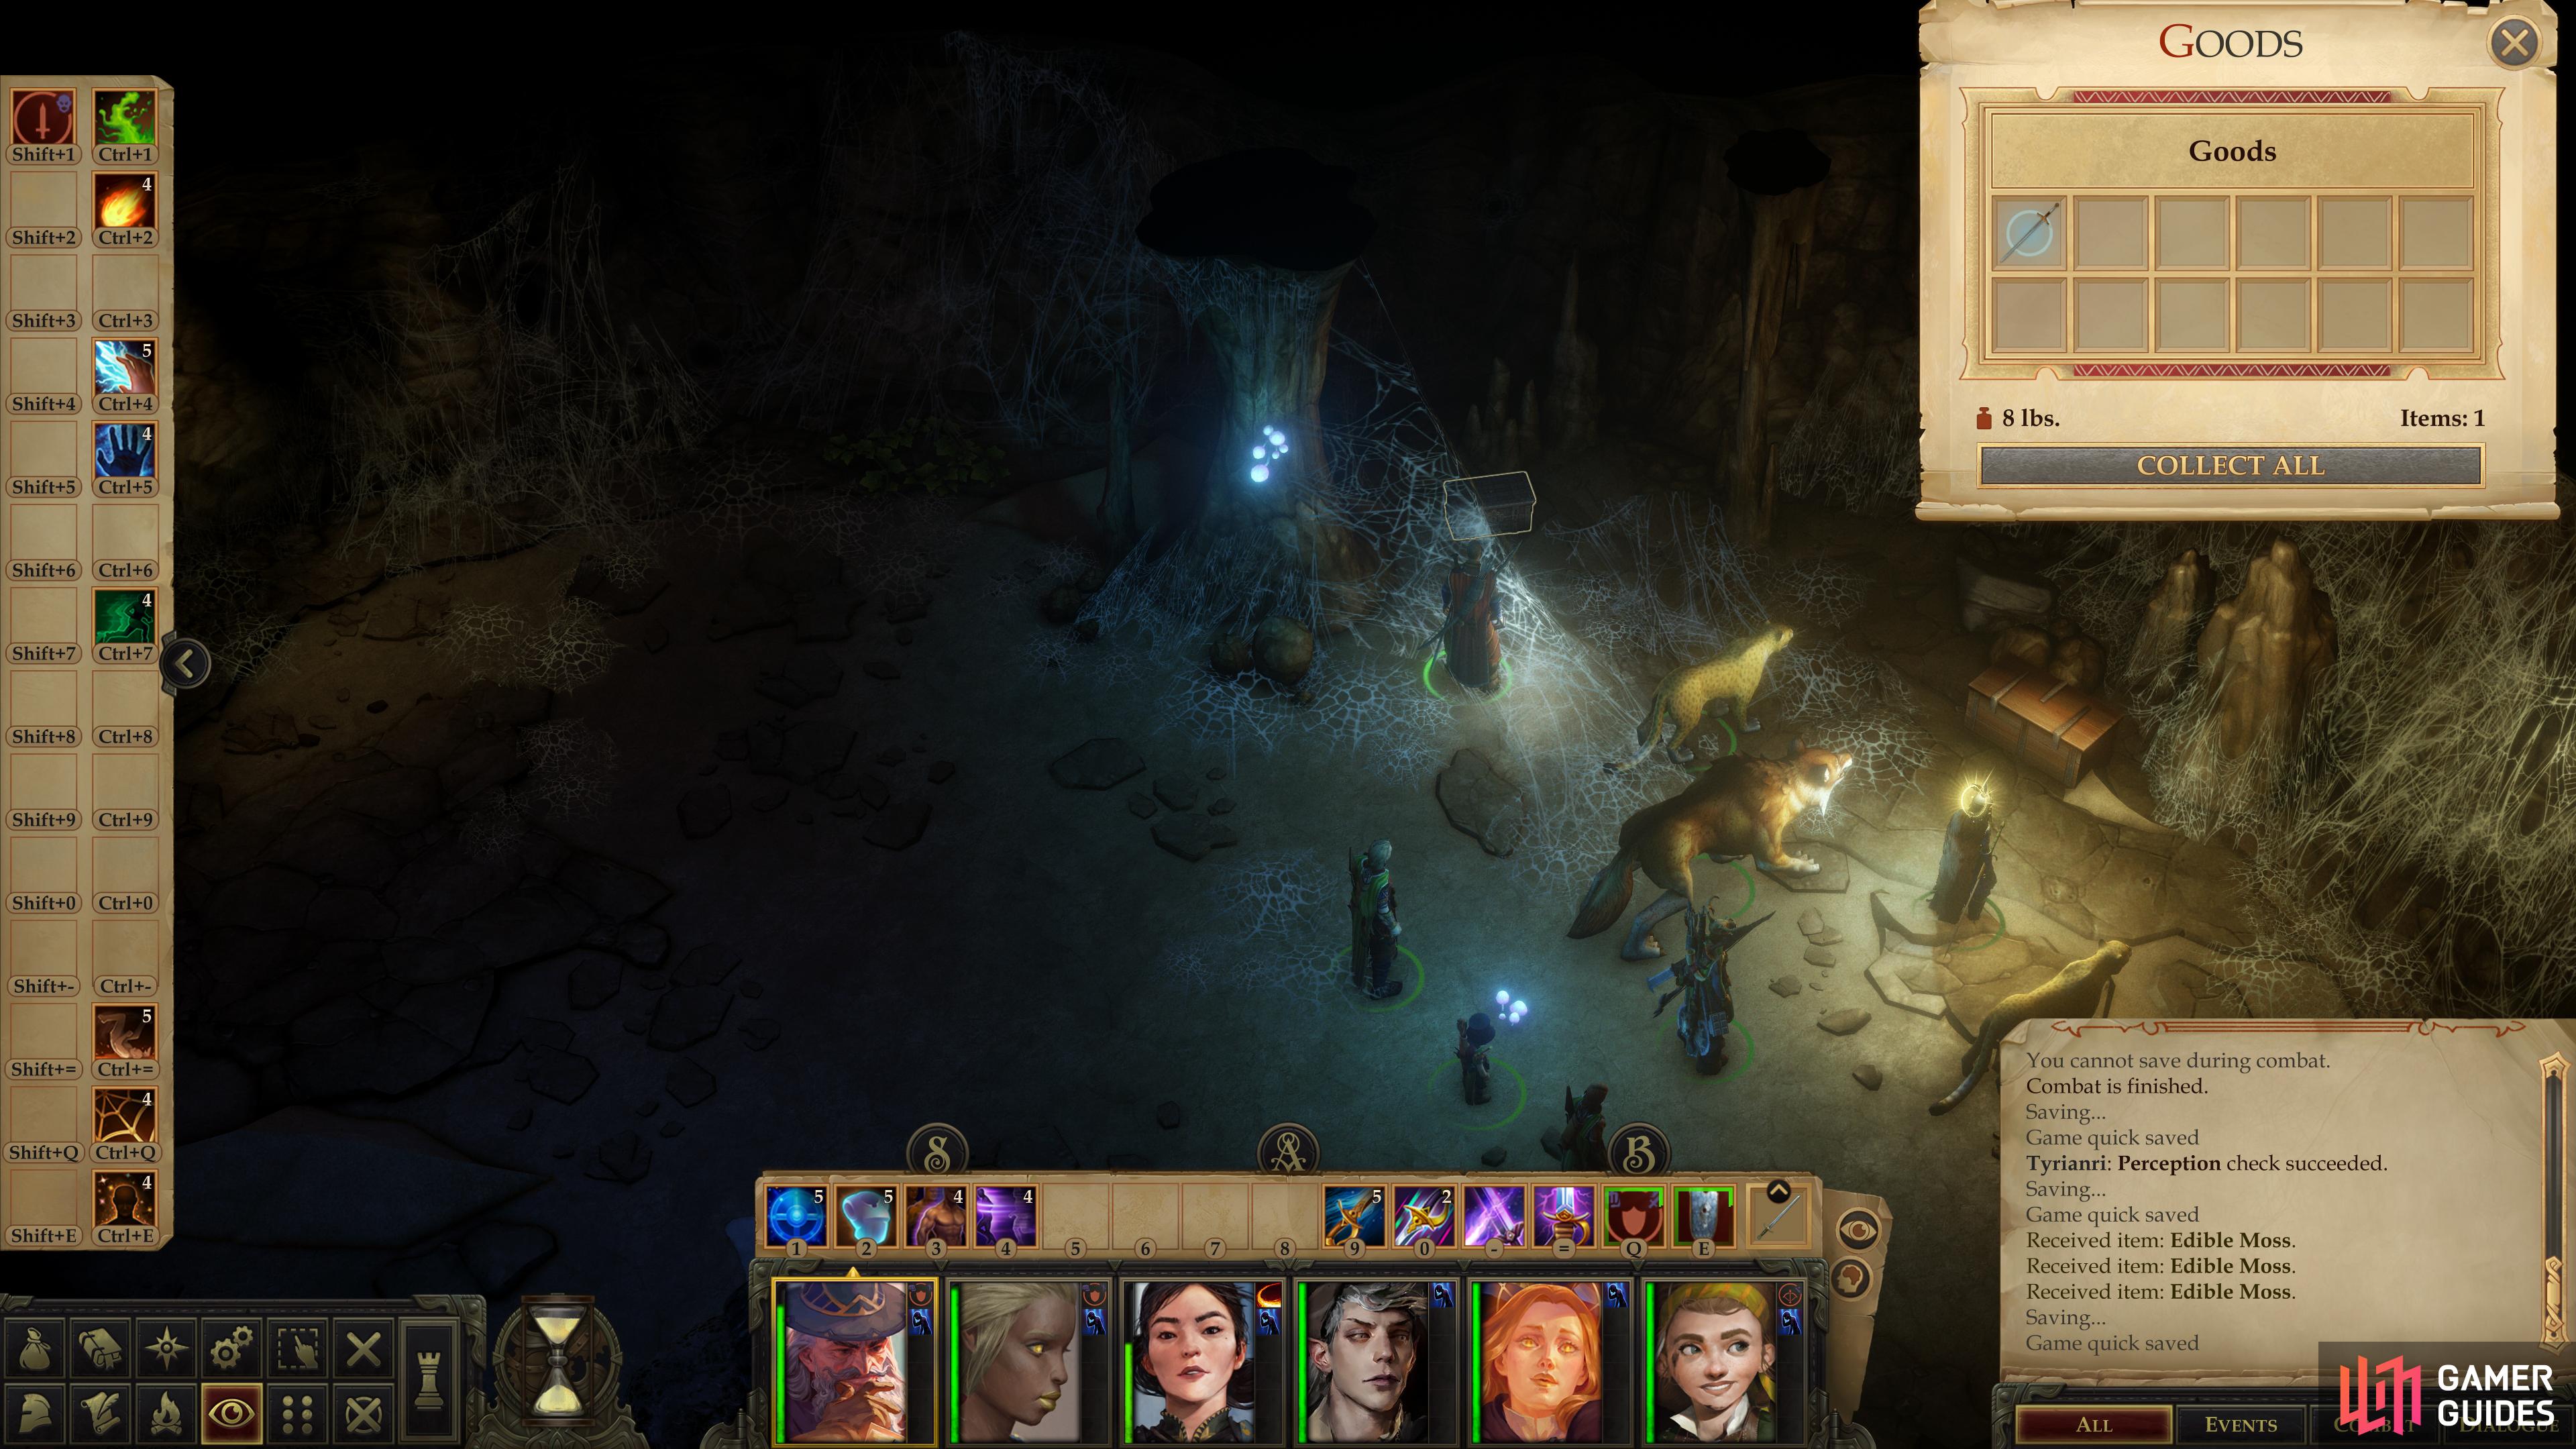
Grab the sword, then head up the northeastern passage. No surprises this time, although there is a Giant Slug lurking in the cavern beyond. Yes, just a Giant Slug. You’ve had enough ambushes for the moment. Loot the northern part of the chamber for three patches of Edible Moss, then continue east to find two chests - one contains a Shock Greatsword +1 and the other contains Dinosaur Bones x11, a Scroll of Disintegrate and a Scroll of Acid Fog. Behind them you’ll find [Perception 7] another rock hiding a Taldan Warrior’s Dog Tag.
This chamber also has three passages leading out, but since the western one leads back to the spider chamber, the southern one back to the, well, the first spider chamber (lots of spiders in this place) that leaves only the southeastern passage. Travel down this passage and you’ll reach another spider-occupied chamber, with another trap [Perception 27] [Trickery 27] near the entrance.
(1 of 2) Bait and bottleneck some spiders,
Bait and bottleneck some spiders, (left), then lure a pair of Redcaps and their pet spiders into the same bottleneck. (right)
Womb of Lamashtu: Baiting and Bottlenecking
Behind this trap are five more Primal Giant Spiders. Baiting and botltenecking these bugs worked in the past, and it’ll work here, too. Keep the majority of your party back in the Giant Slug chamber, send your tank forward, provoke the bugs, then retreat to your party and attack the spiders when they’re exiting the passage. Cut them all down and disarm the trap in the room they guarded, but don’t get too cozy, as there’s more fighting ahead. In this very room, in fact.
In the southern corner of the room you’ll find two Redcaps, one of which is a higher-tier Redcap Trickster, boasting five Rogue levels above the standard Redcap. They’re the obvious threat, but once provoked they’ll be joined by three Primal Giant Spiders and Quickspider. The old bait and bottleneck works well here, too, although you’ll want your tank to be Hasted if you plan to avoid provoking Attacks of Opportunity as you retreat. If you can avoid or otherwise mitigate the ambush, it’ll be a rather routine fight.
Kill these foes, then loot a chest to the east [Trickery 29] to score four Scrolls of Cure Serious Wounds. Might come in handy later, when resting isn’t quite so easy. More importantly, clearing this room will allow you to advance through an area transition along the southeastern end of the room and reach the Twisted Passages portion of this area.

 Sign up
No Comments