

Walkthrough for the Sepulchre of Forgotten Heroes area in Pathfinder: Kingmaker. Talk to the Defaced Sister in the Kellid Barbarian Camp to learn about this location. It’s part of the quests The Lost Relic and Along a Cold Trail, both of which are part of The Varnhold Vanishing main questline.
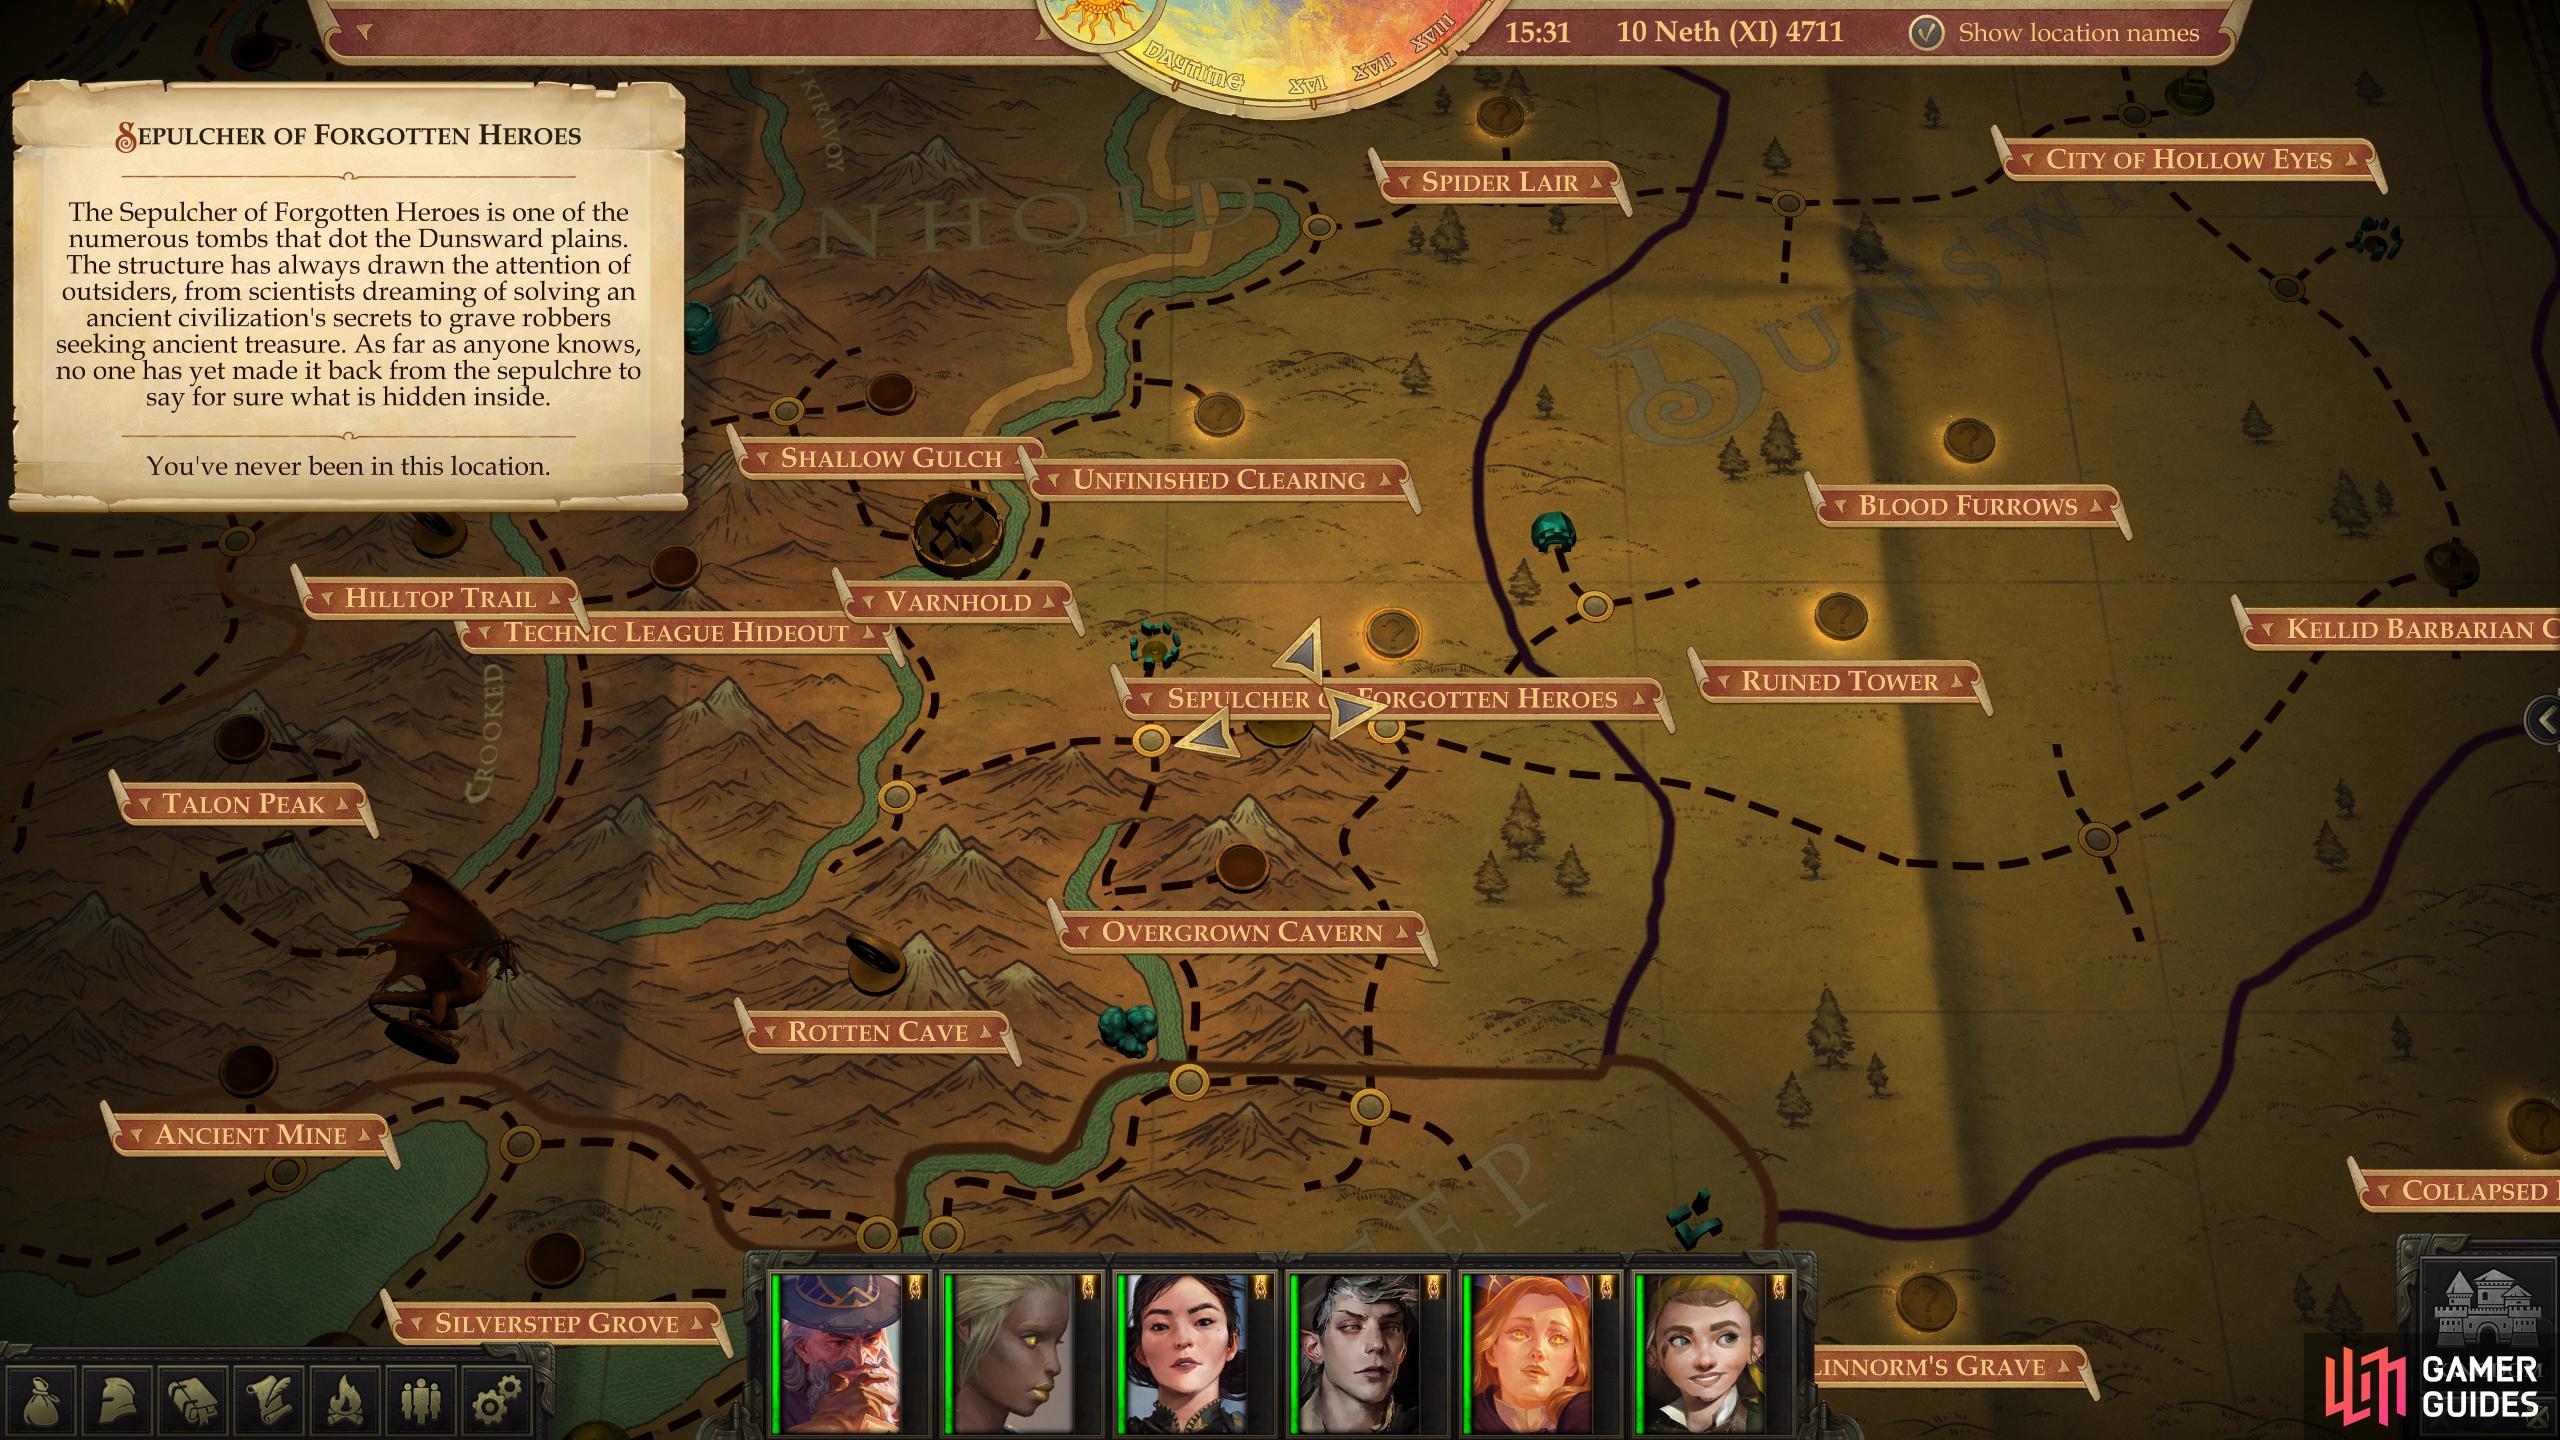
Location of the “Sepulcher of Forgotten Heroes” on the map.
Travel: Sepulchre of Forgotten Heroes
To reach this location from the Kellid Barbarian Camp, use the following directions:
- West
- West
- West
- Northeast
From where you arrive, head northwest to find a door. None of your physical contrivances will convince this barrier to yield, but merely uttering the word the Defaced Sister taught you - “kheb” - will force it into compliance.
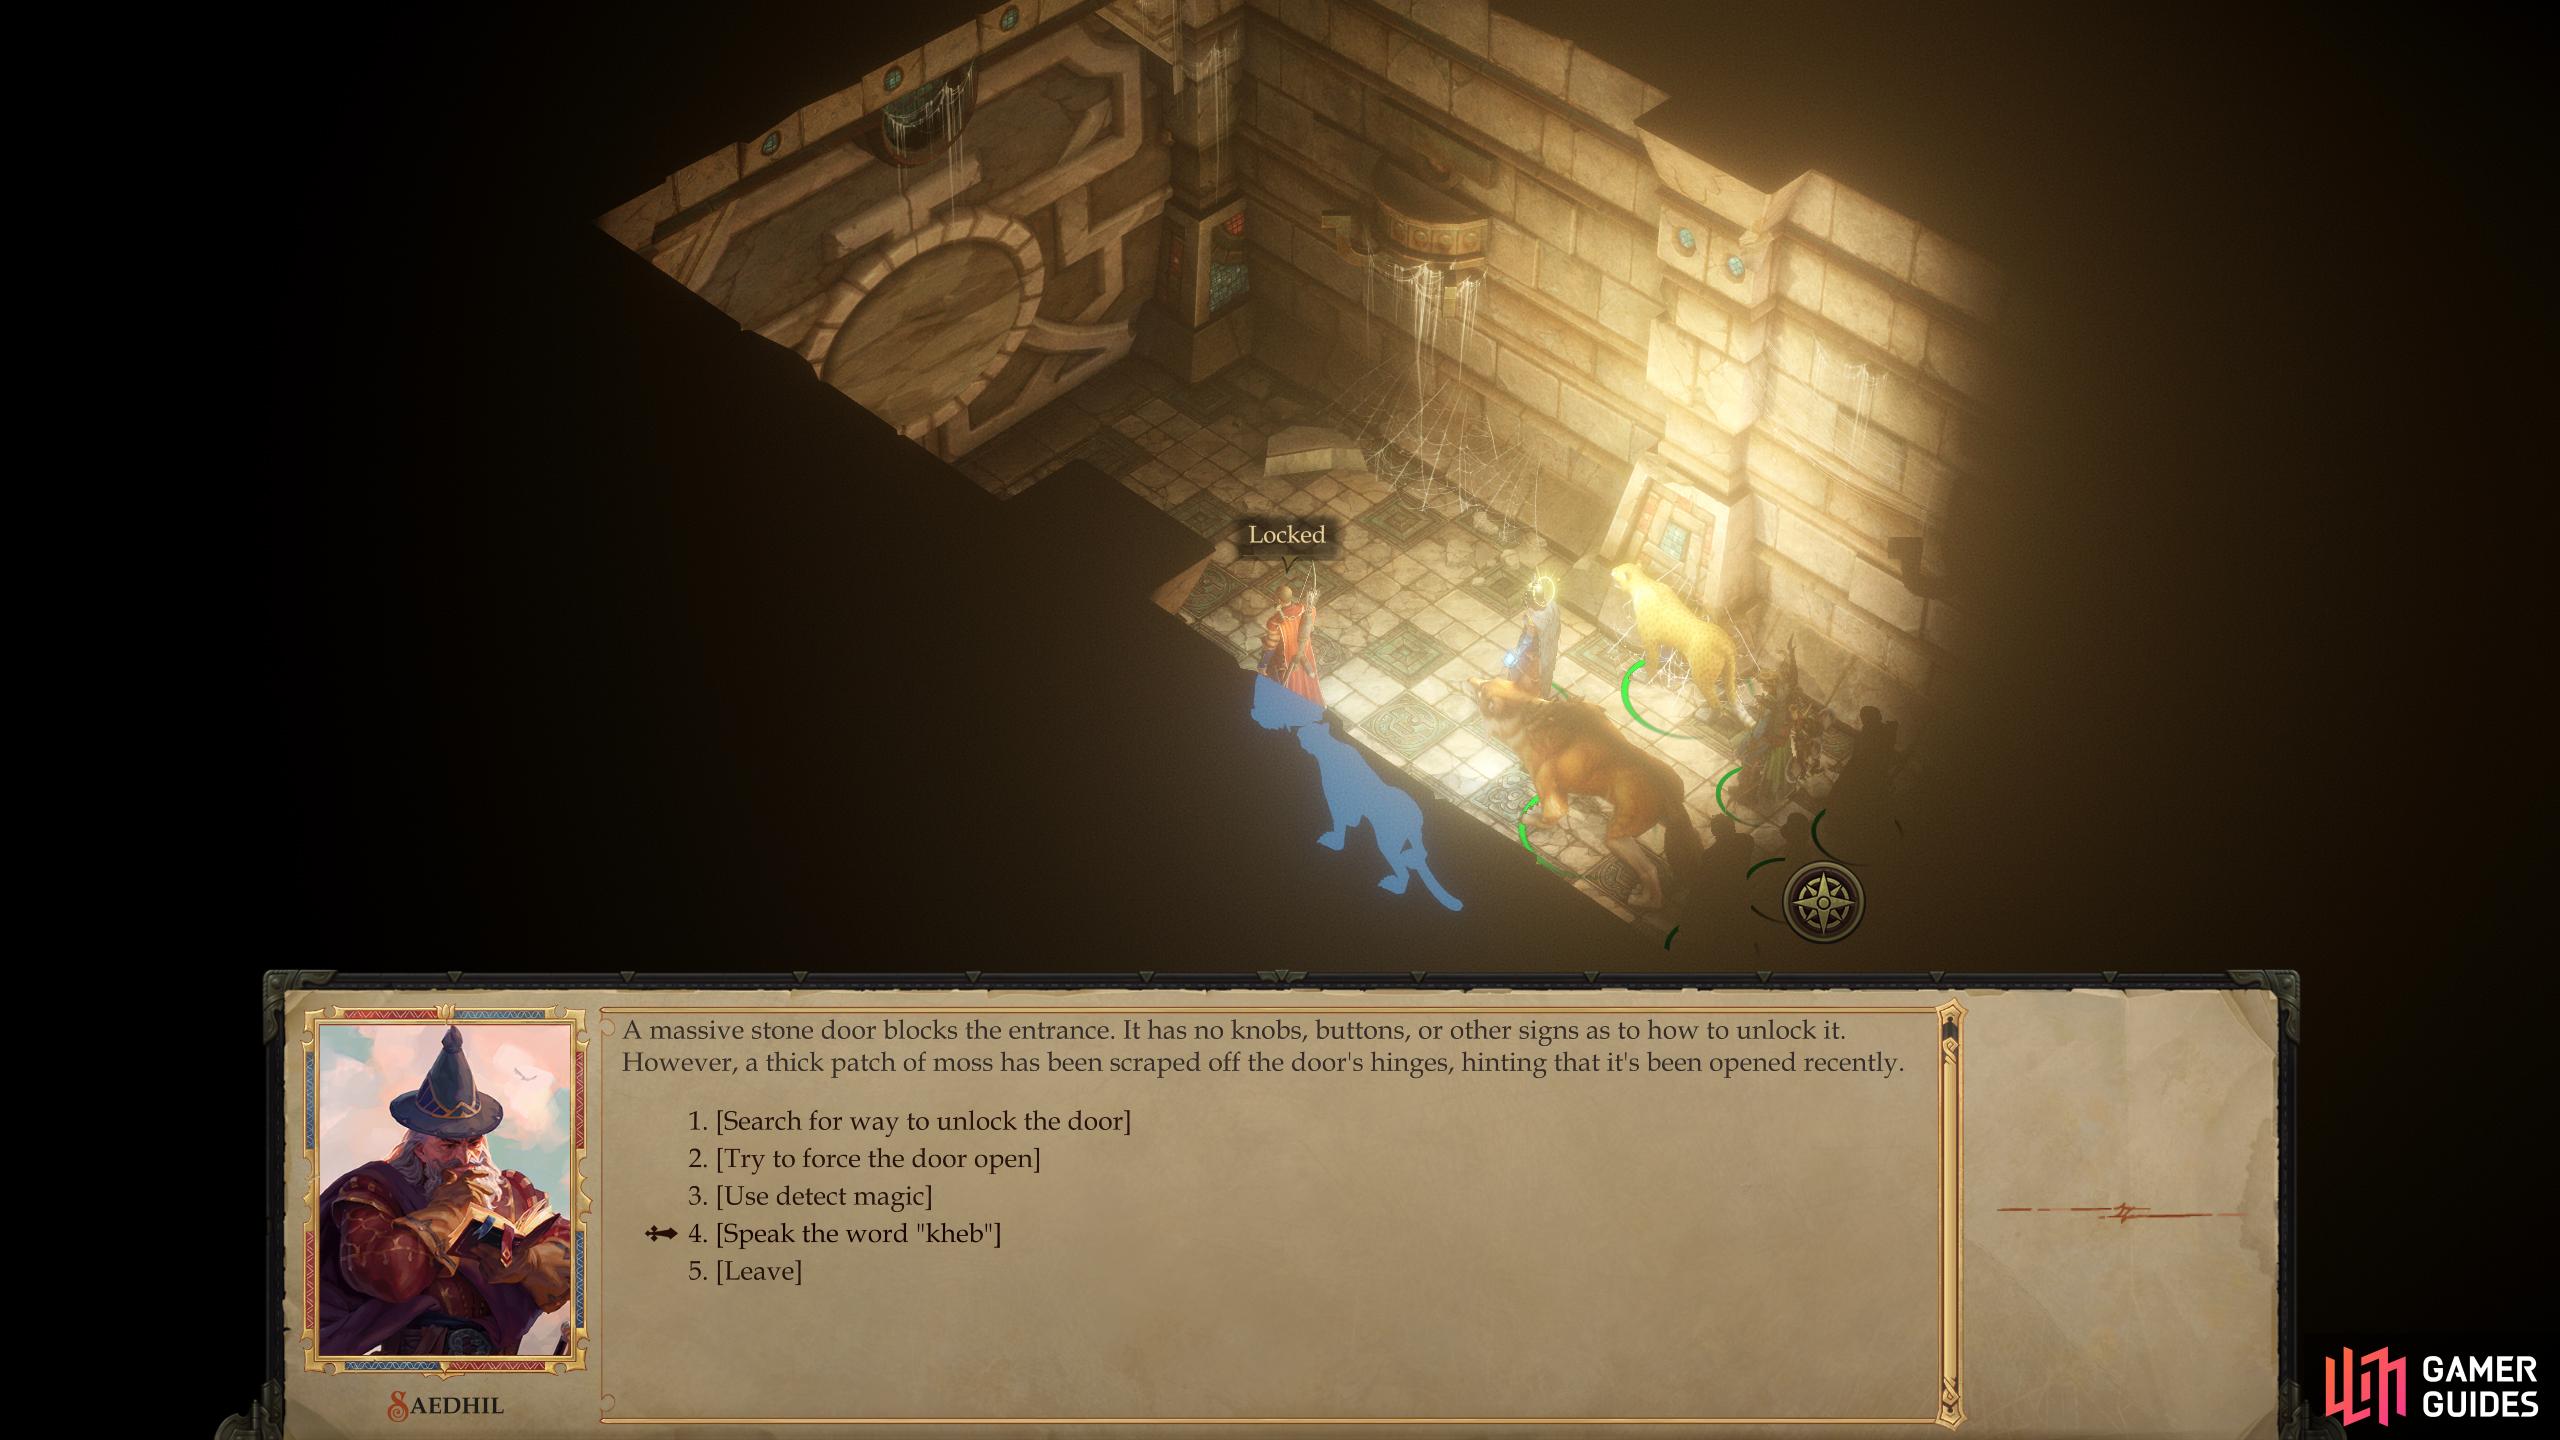
(1 of 2) Speak the word “kheb” to get the door open,
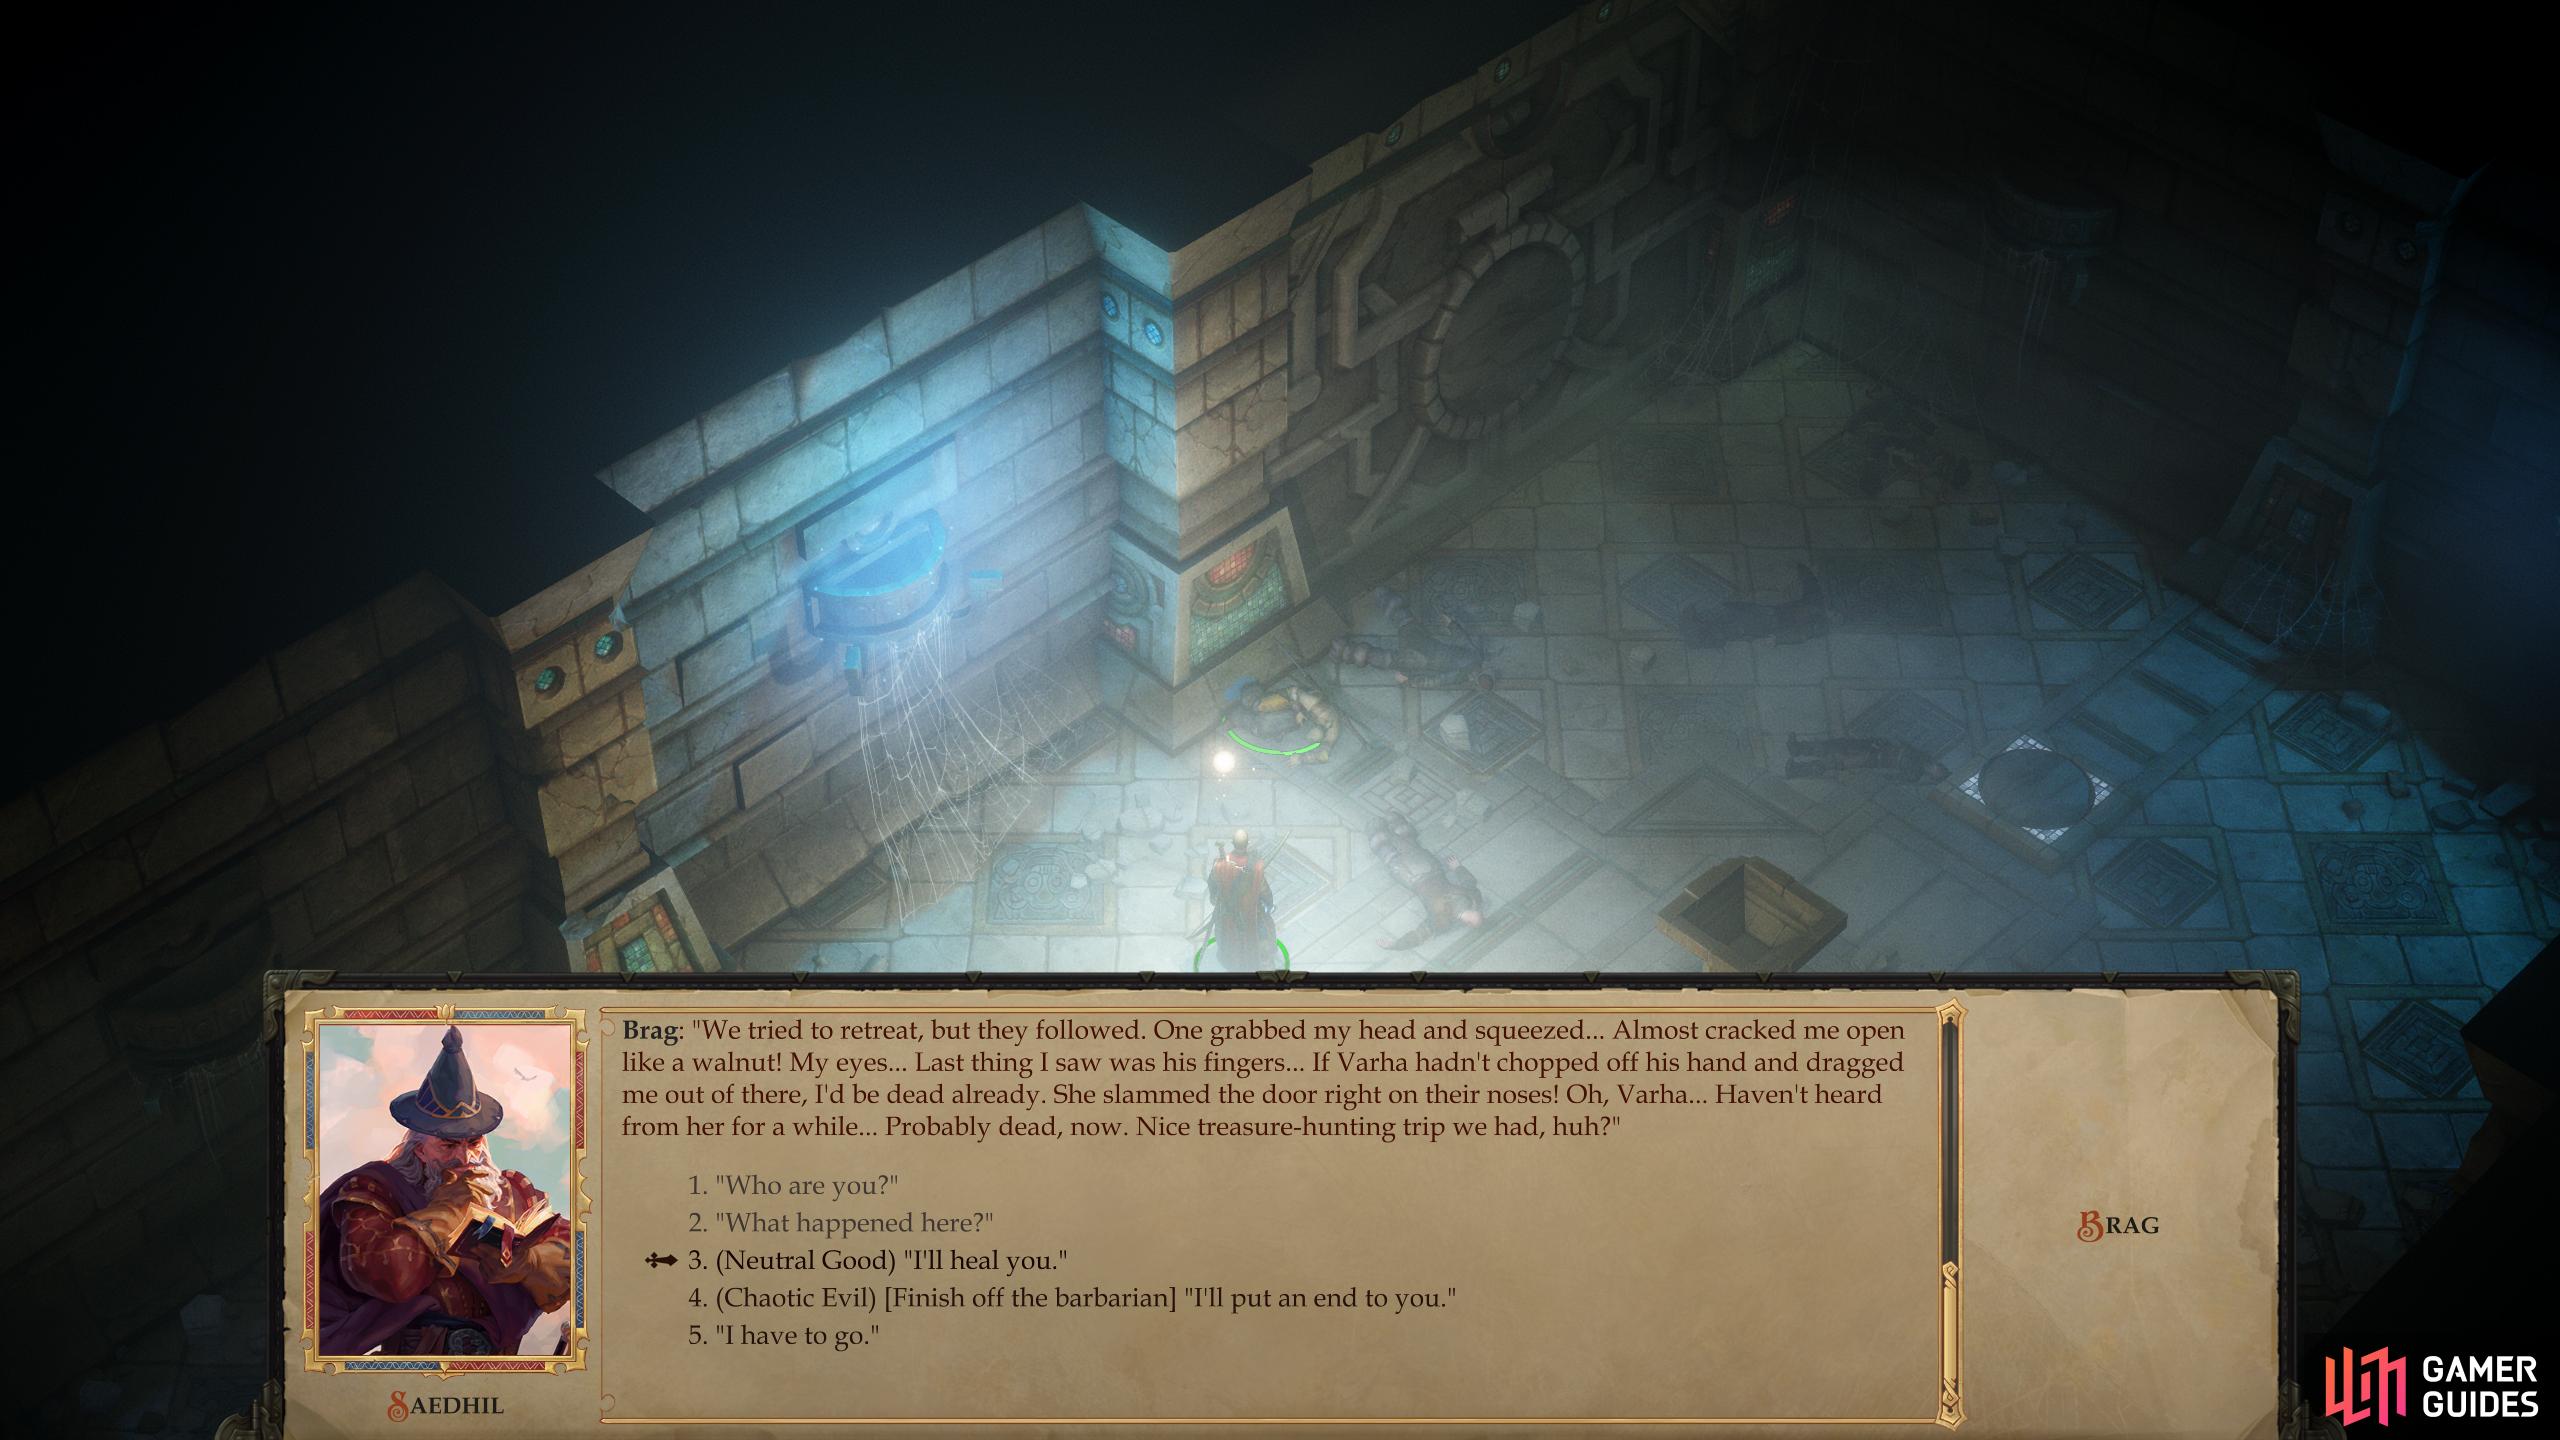
Speak the word “kheb” to get the door open, (left), then either heal or kill the moribund barbarian, Brag. (right)
Brag the Blind and Bloodied Barbarian
Proceed through the now-opened doorway to reach a small, dark room. Best crack out them lanterns and/or Light spells. Read some inscriptions on the wall by passing a [Knowledge (World) 20] check (which is worth a health bit of experience) then turn northeast, stopping to loot a container for 100 GP* and a masterwork weapon.
Further down the hallway you’ll find a moribund barbarian named Brag. Exhaust his dialogue options to learn about his ill-fated expedition to plunder cyclopean treasures. Given his words, you shouldn’t be surprised to see more zombie cyclops in this area. After you’ve learned all you can, you have three options for dealing with the blind and battered barbarian: you can either put him out of his misery ([Chaotic Evil] or [Neutral], if you offer to heal him first), leave him alone, or try to heal him ([Neutral Good] and [Chaotic Good]). Whatever happened to his eyes is beyond your ability to cure, but you, at least, save his life. He’s not initially happy with the prospects of life as a cripple, but he’ll come to his senses after he’s healed. More importantly, you gain experience for healing him.
| Reward: For healing Brag |
|---|
| 45 XP |
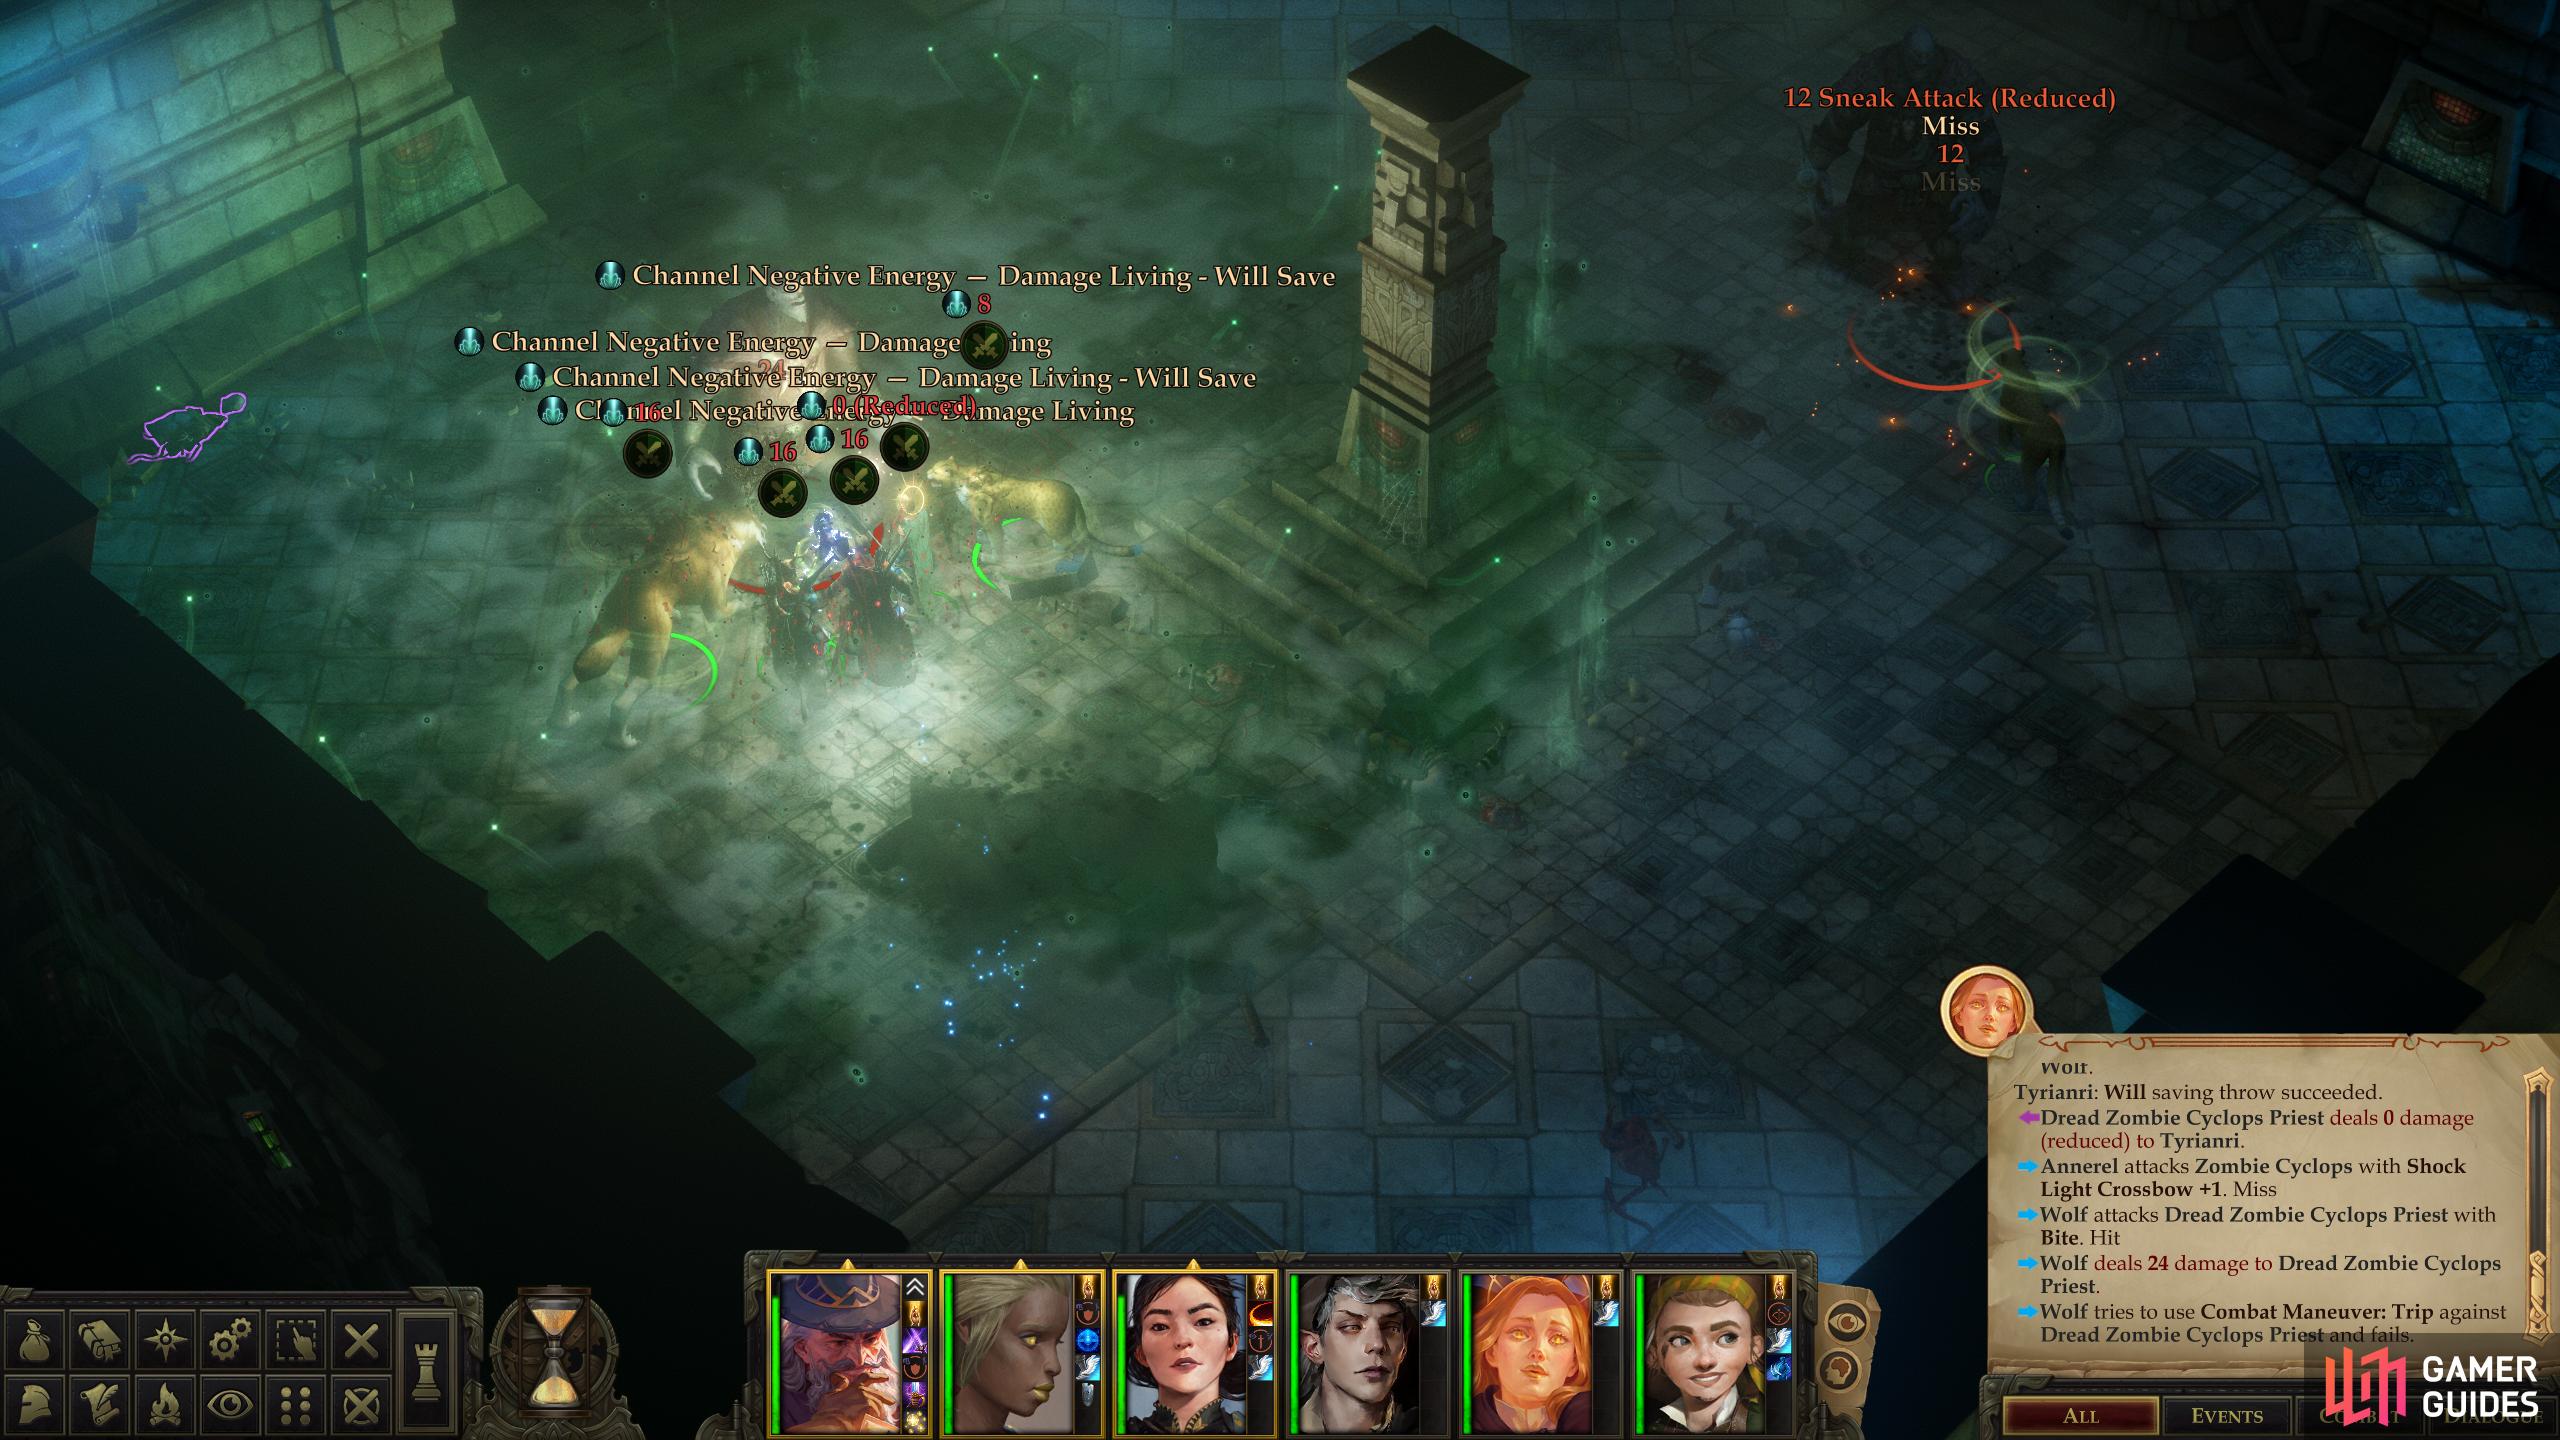
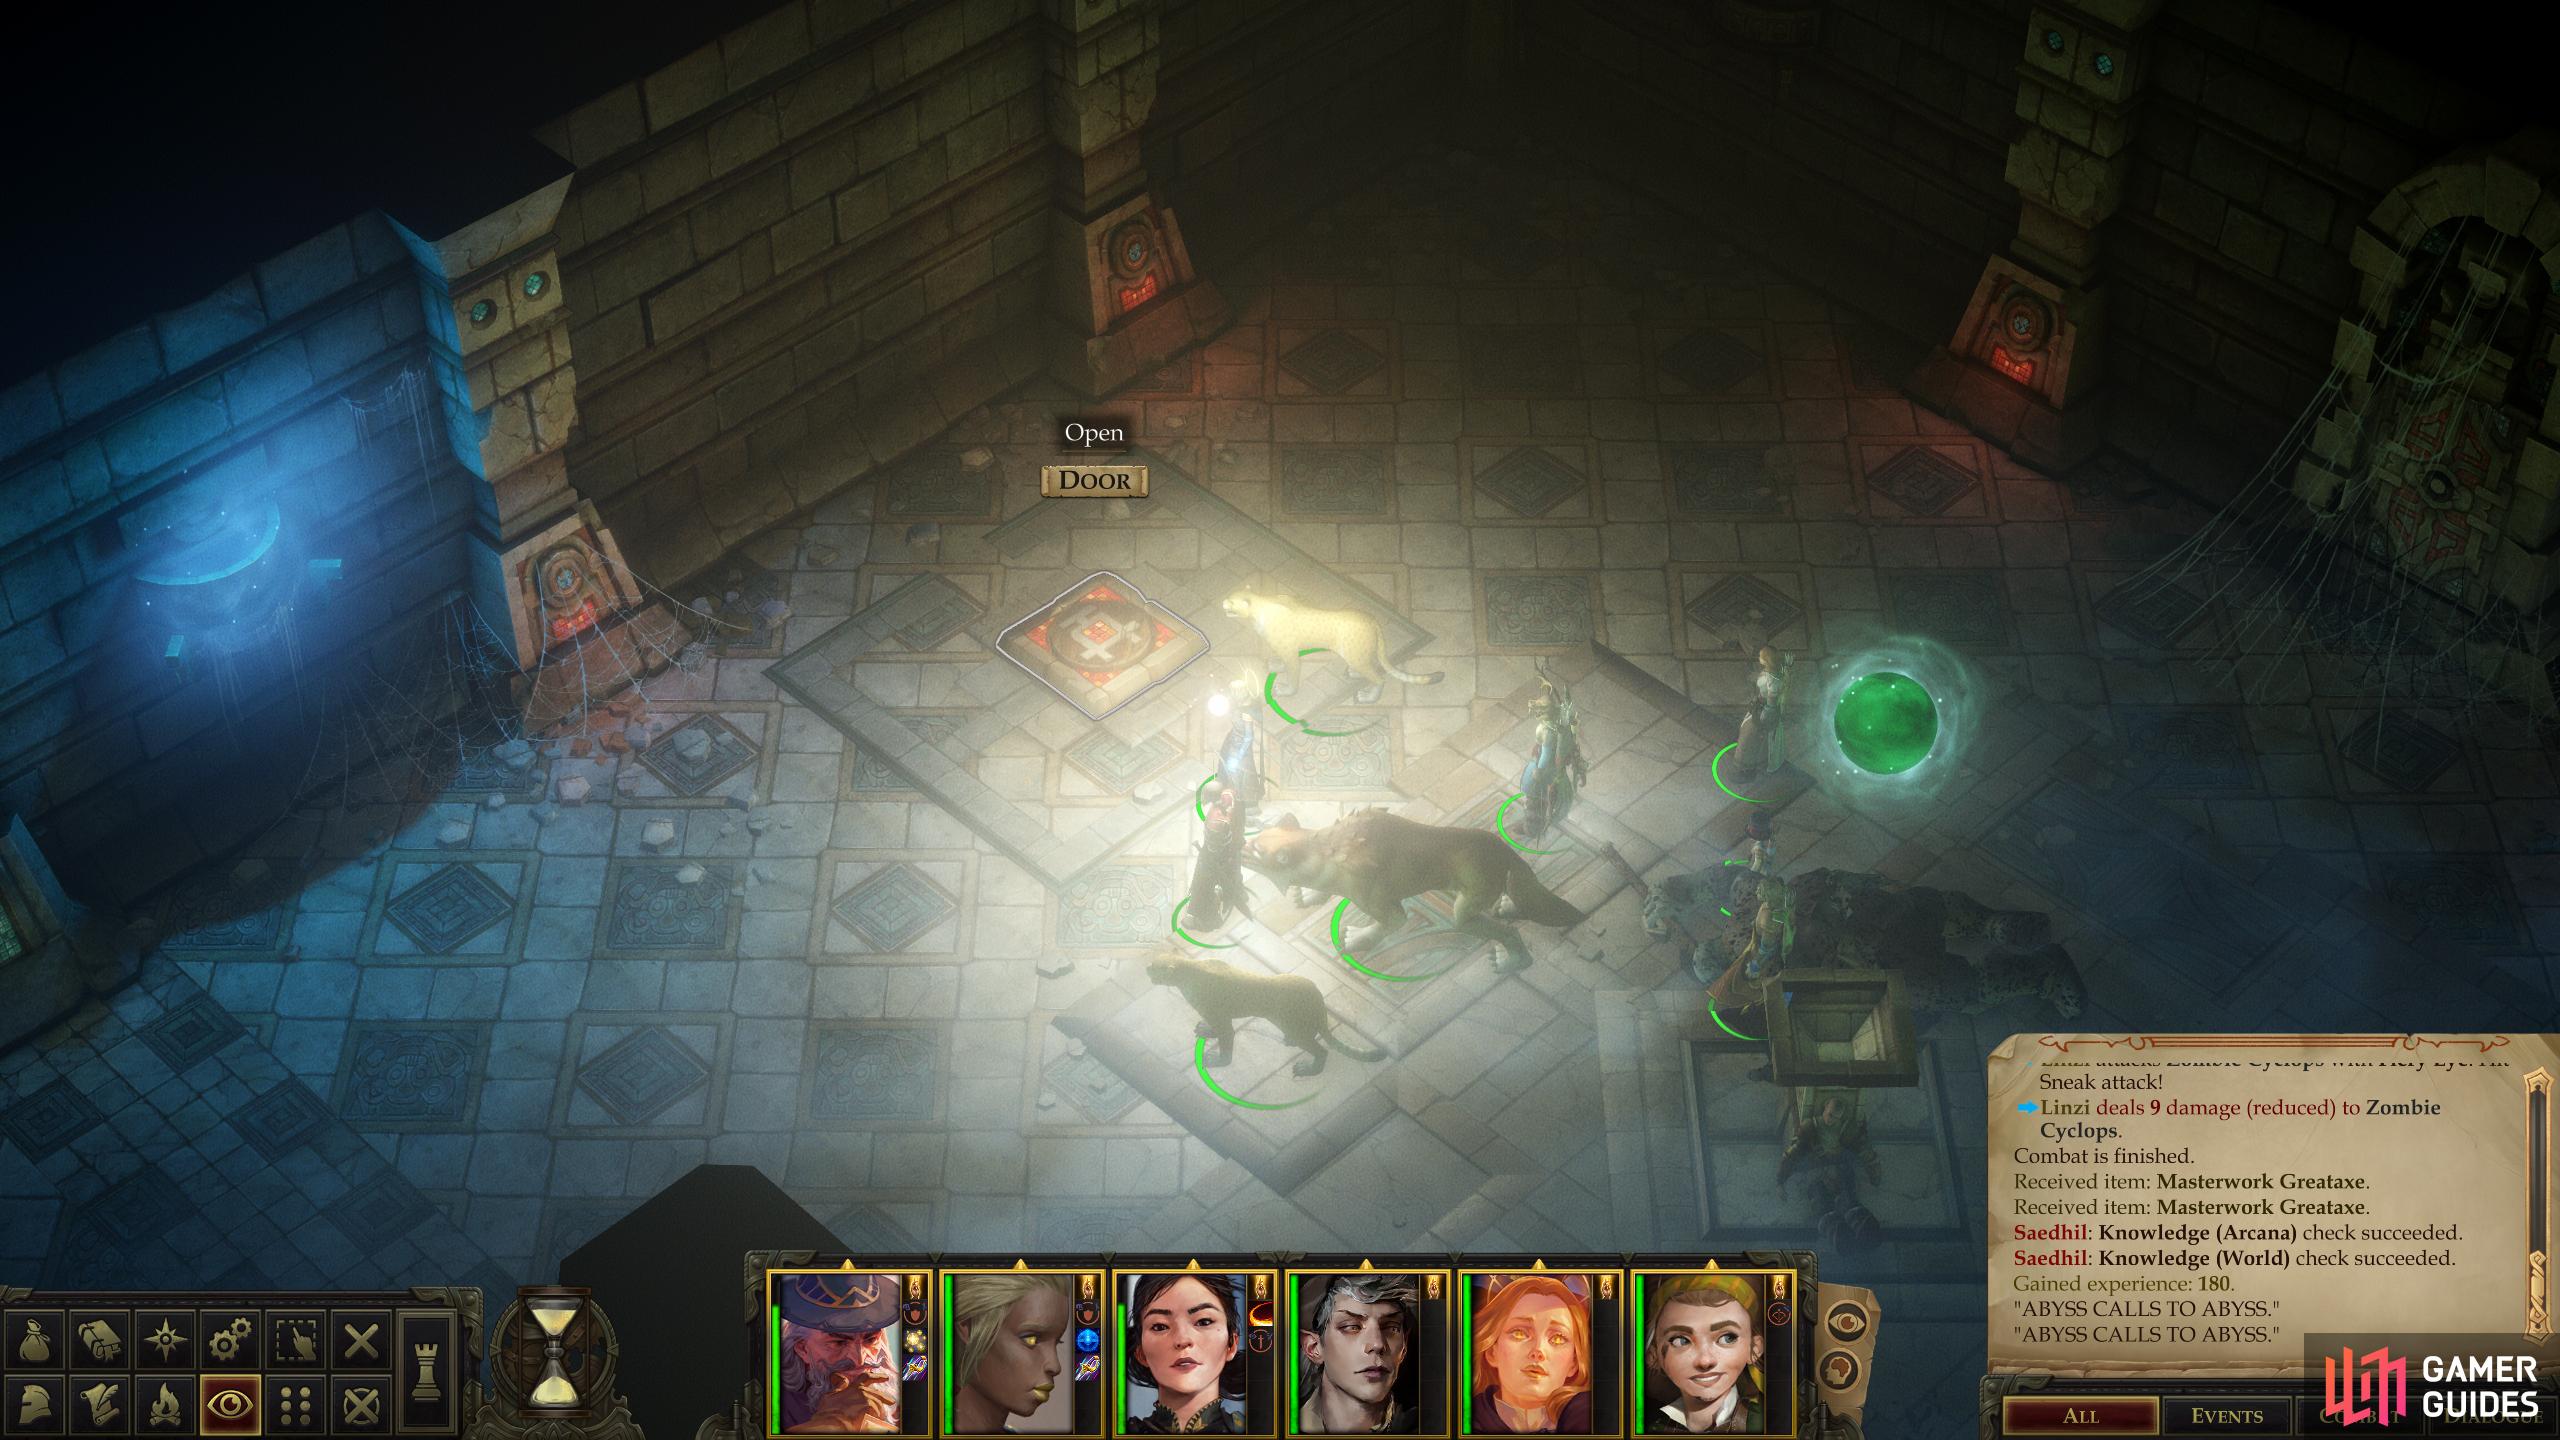
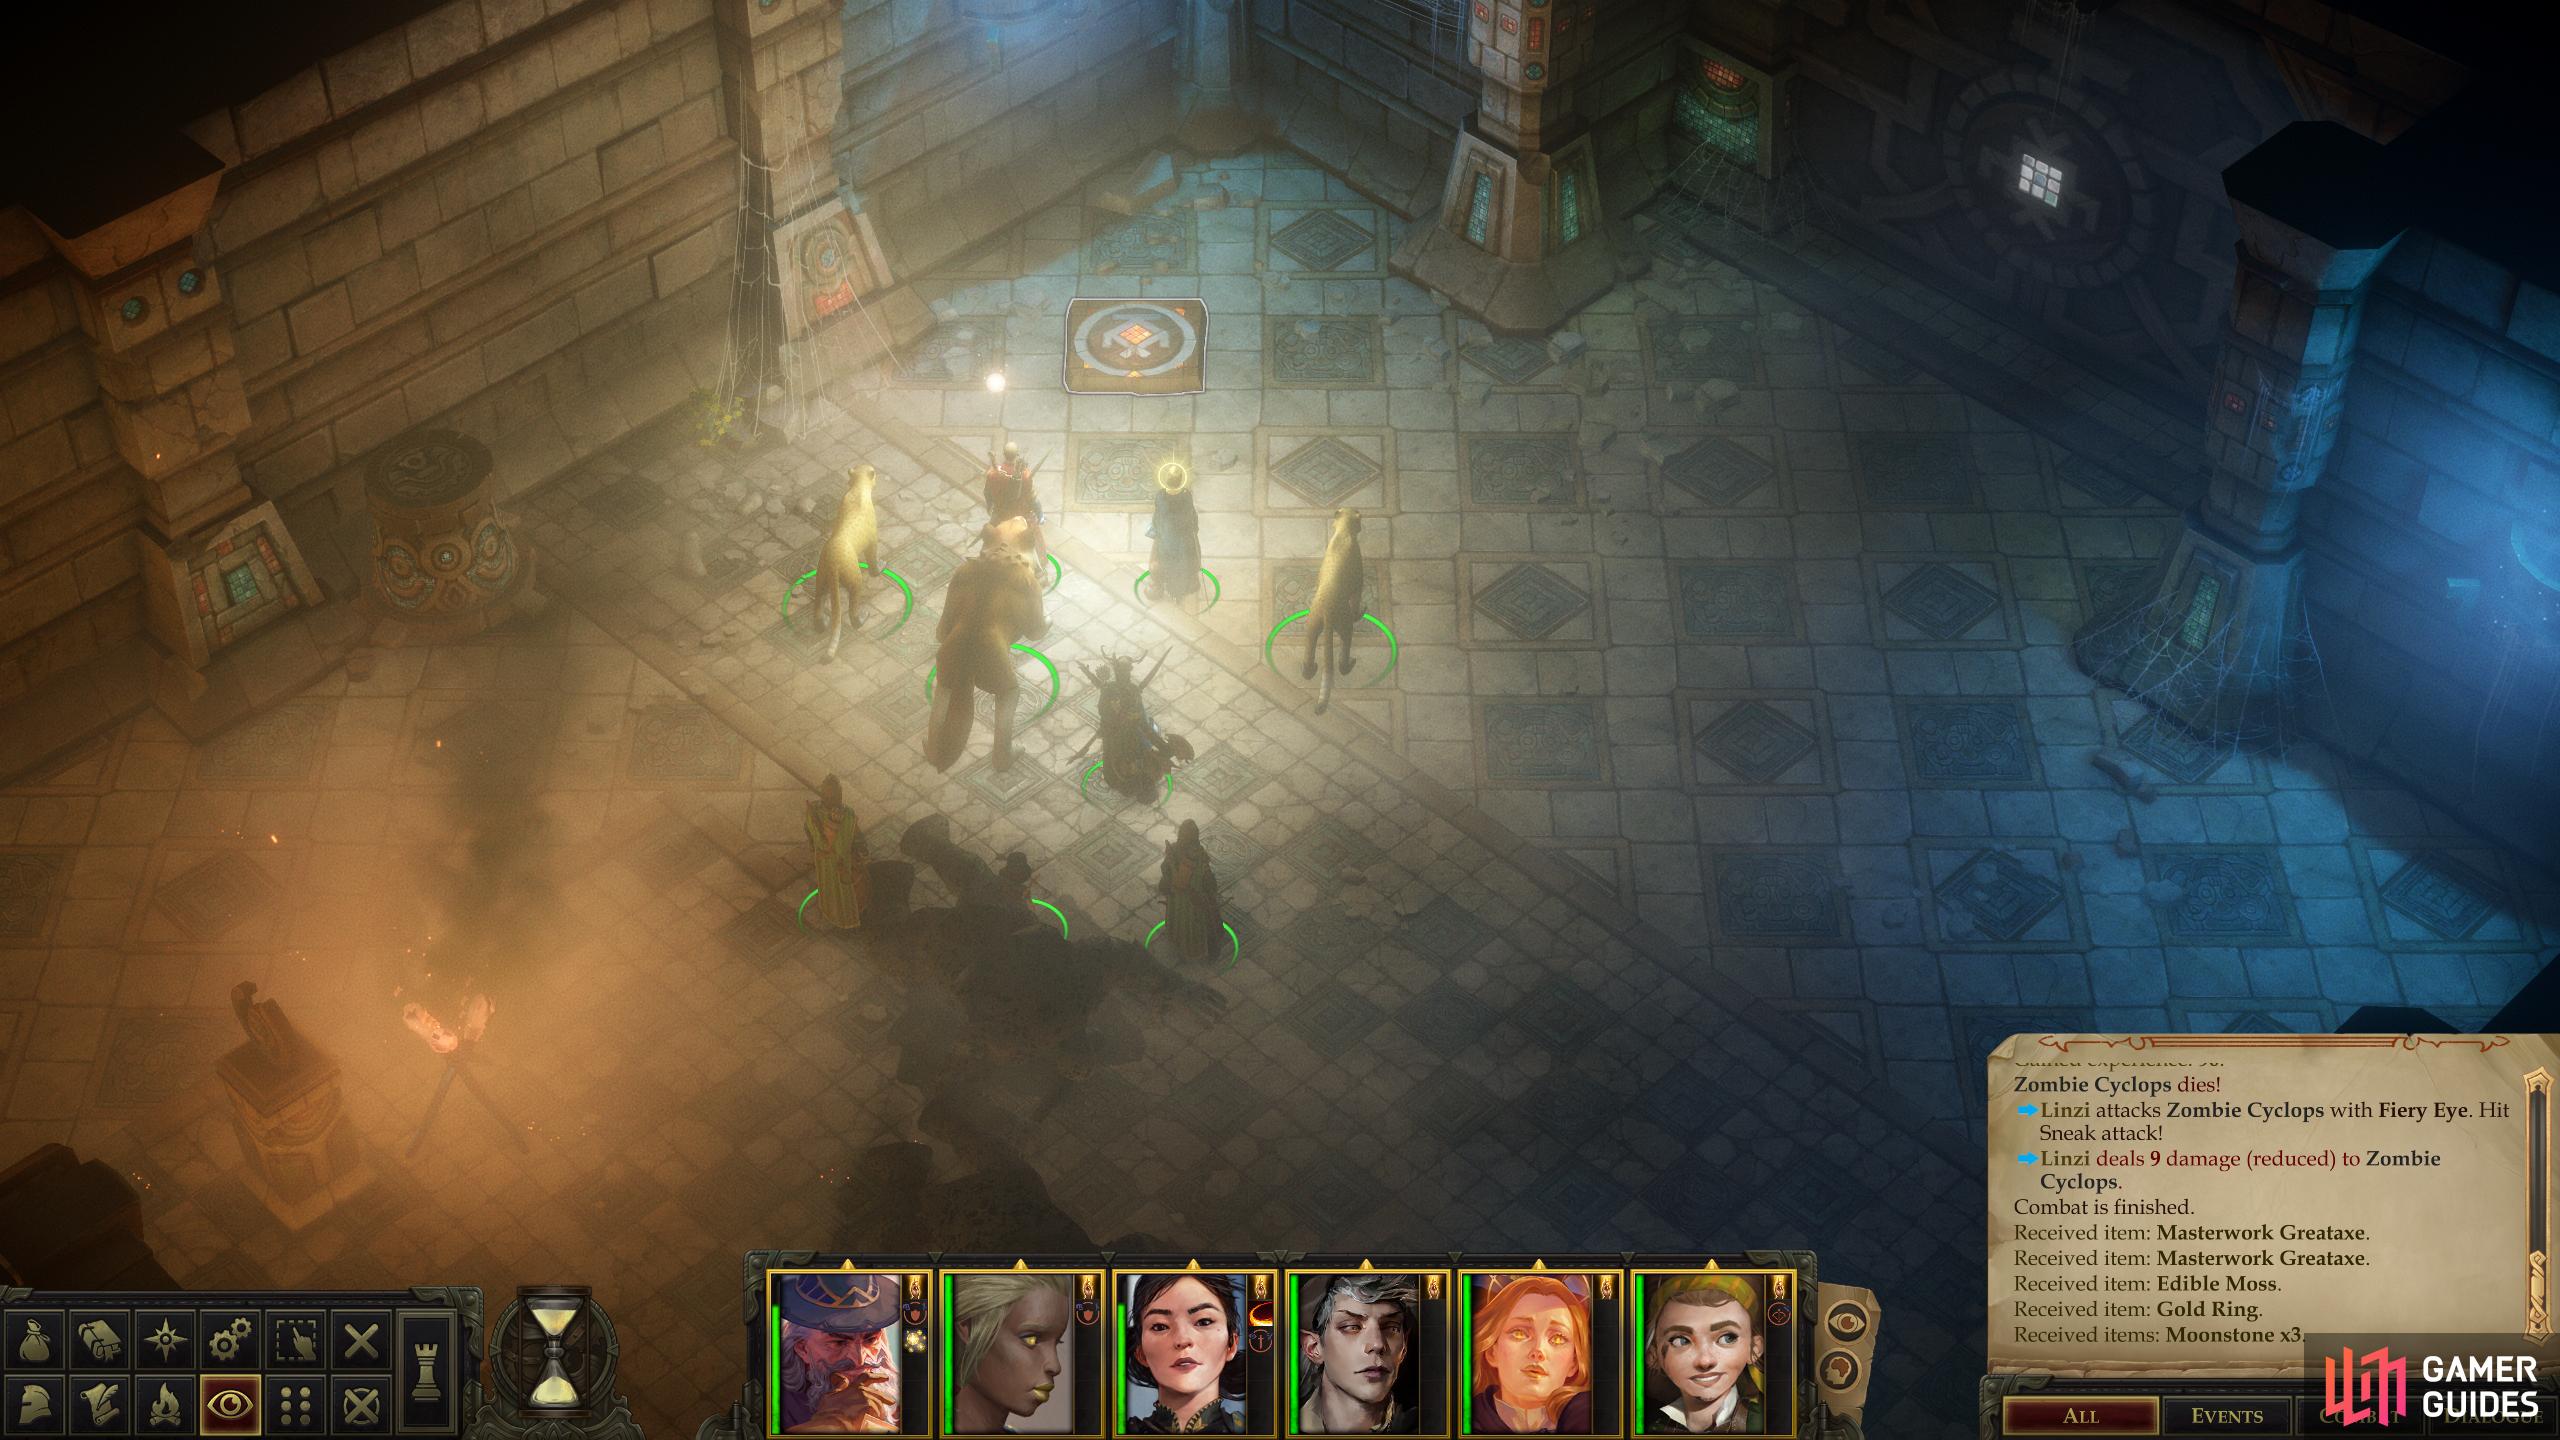
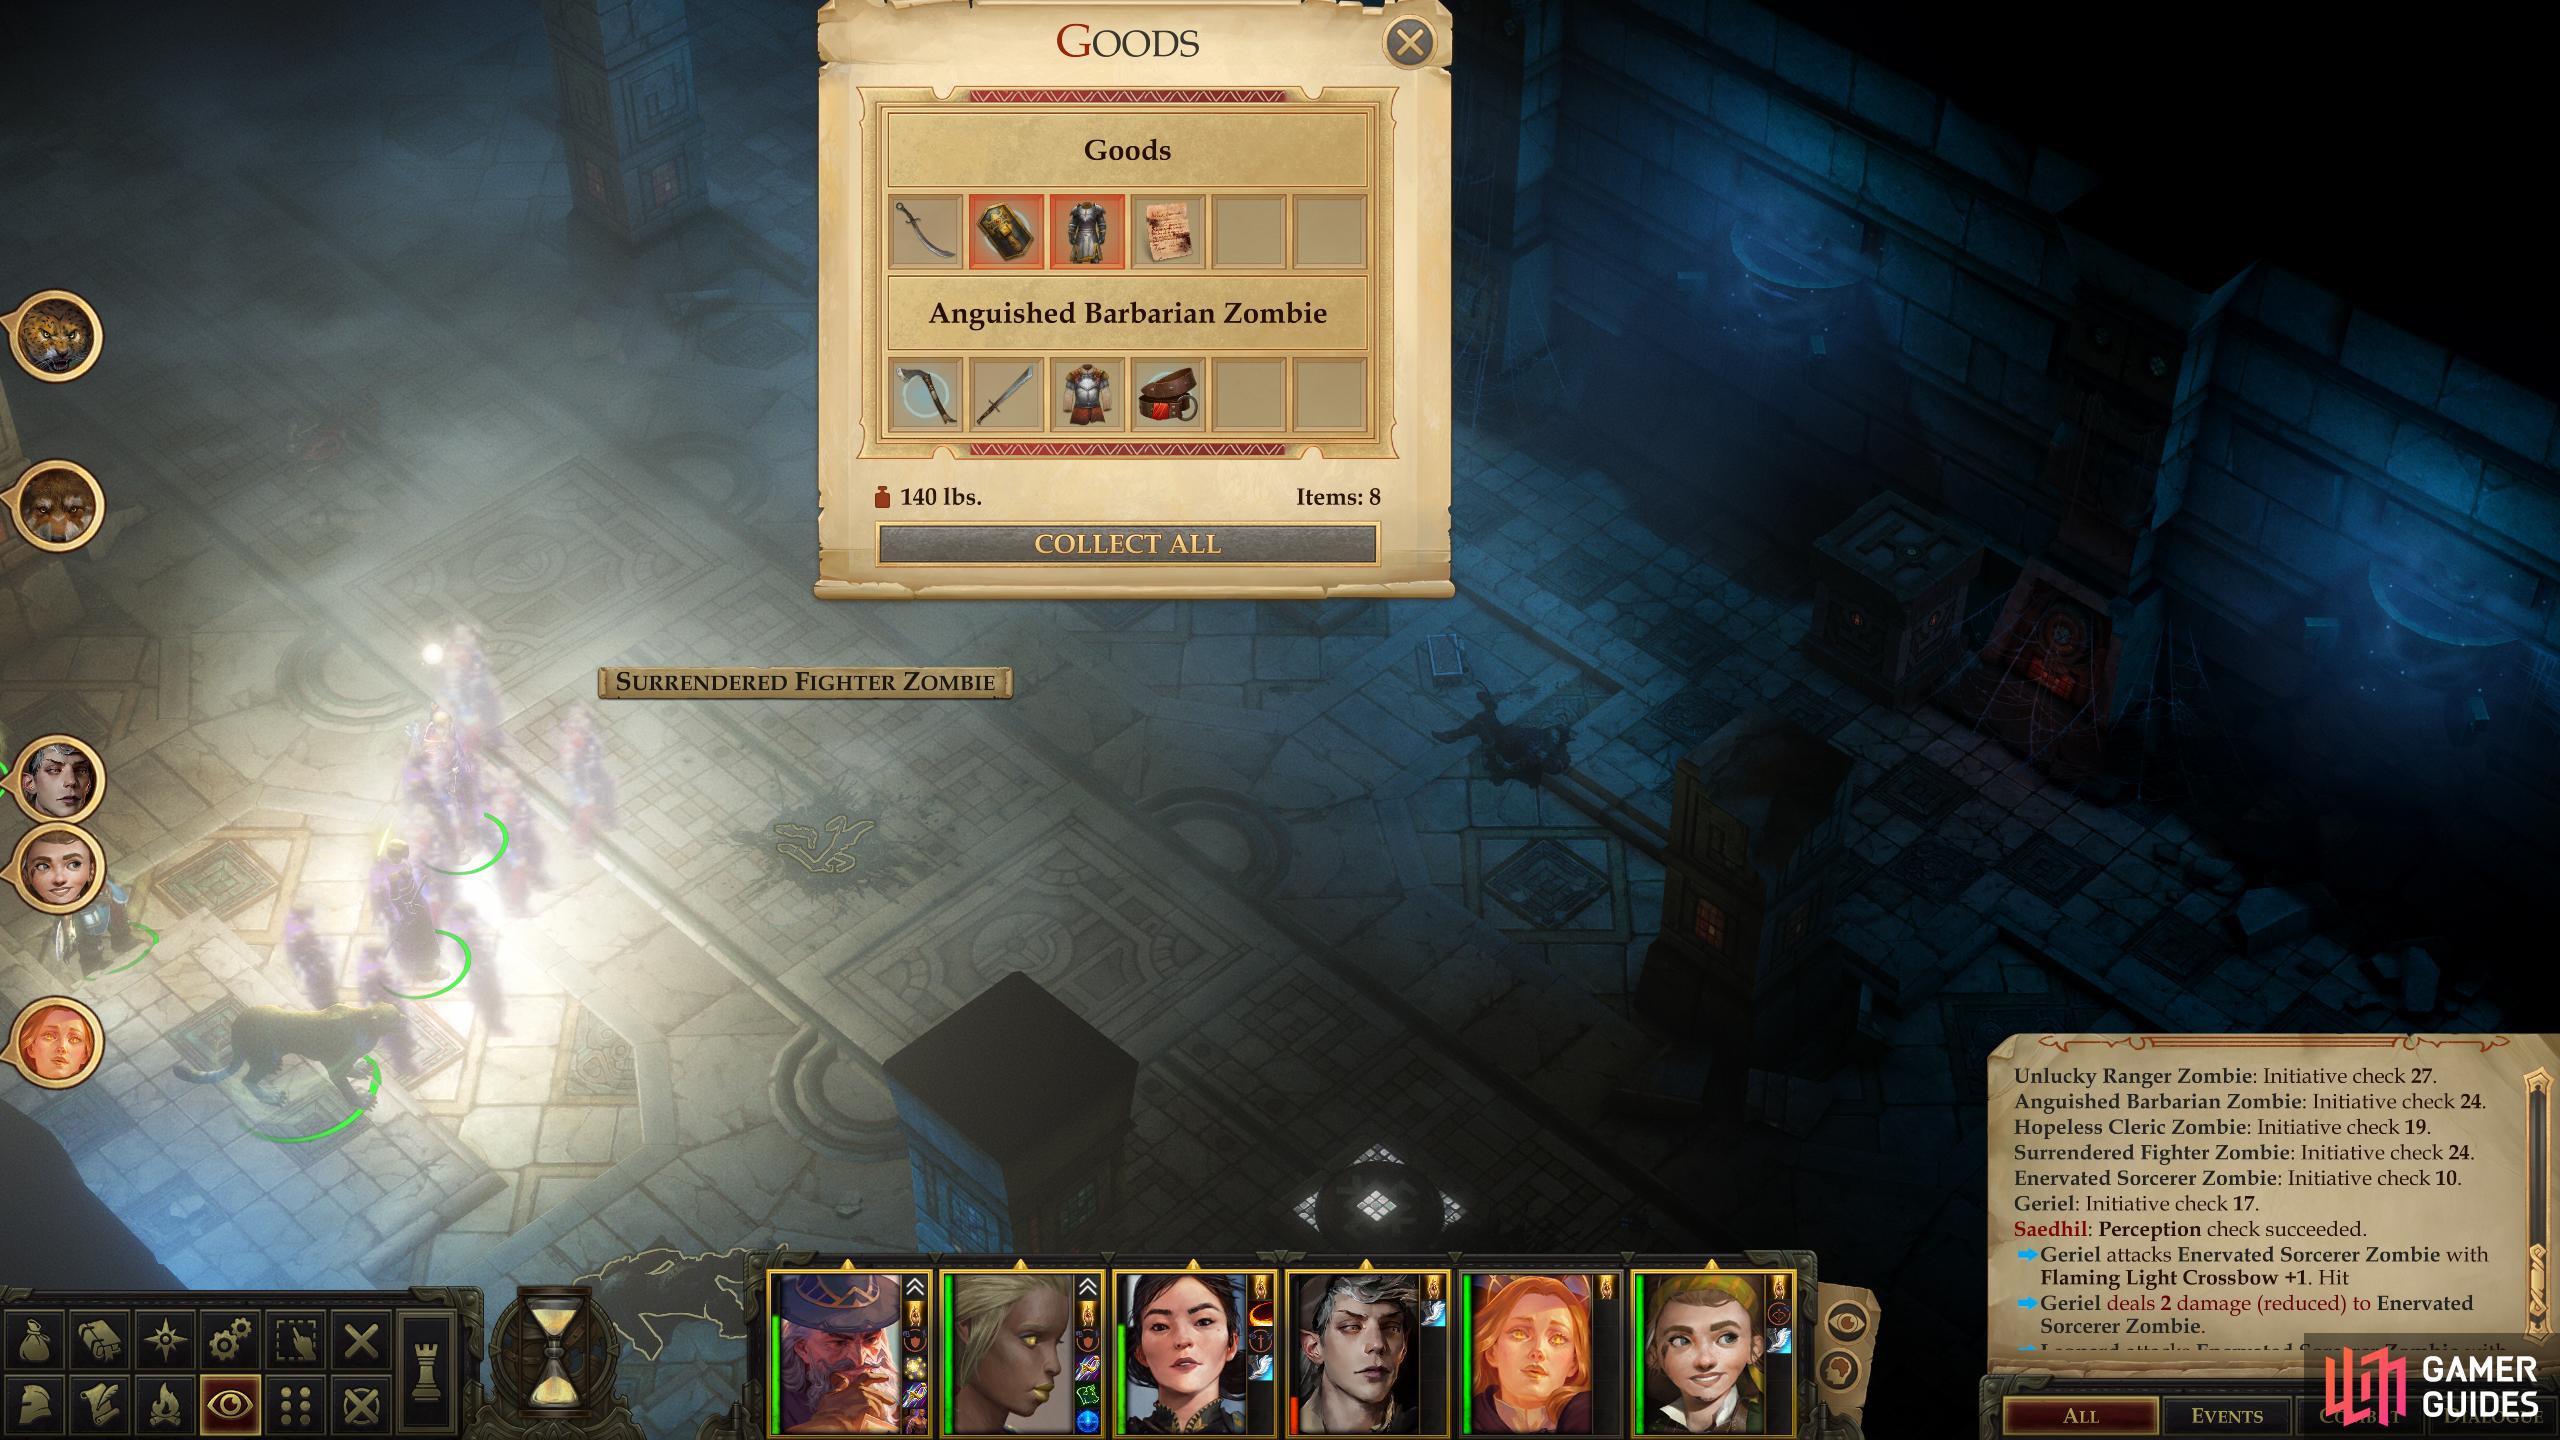
(1 of 2) Kill a pair of Zombie Cyclops and a Zombie Cyclops Priest - a common assortment of foes in this area,
Kill a pair of Zombie Cyclops and a Zombie Cyclops Priest - a common assortment of foes in this area, (left), then loot a corpse to obtain the “Fallen Warrior’s Buckle”. (right)
Green/Yellow Switch - Zombie Cyclops Room
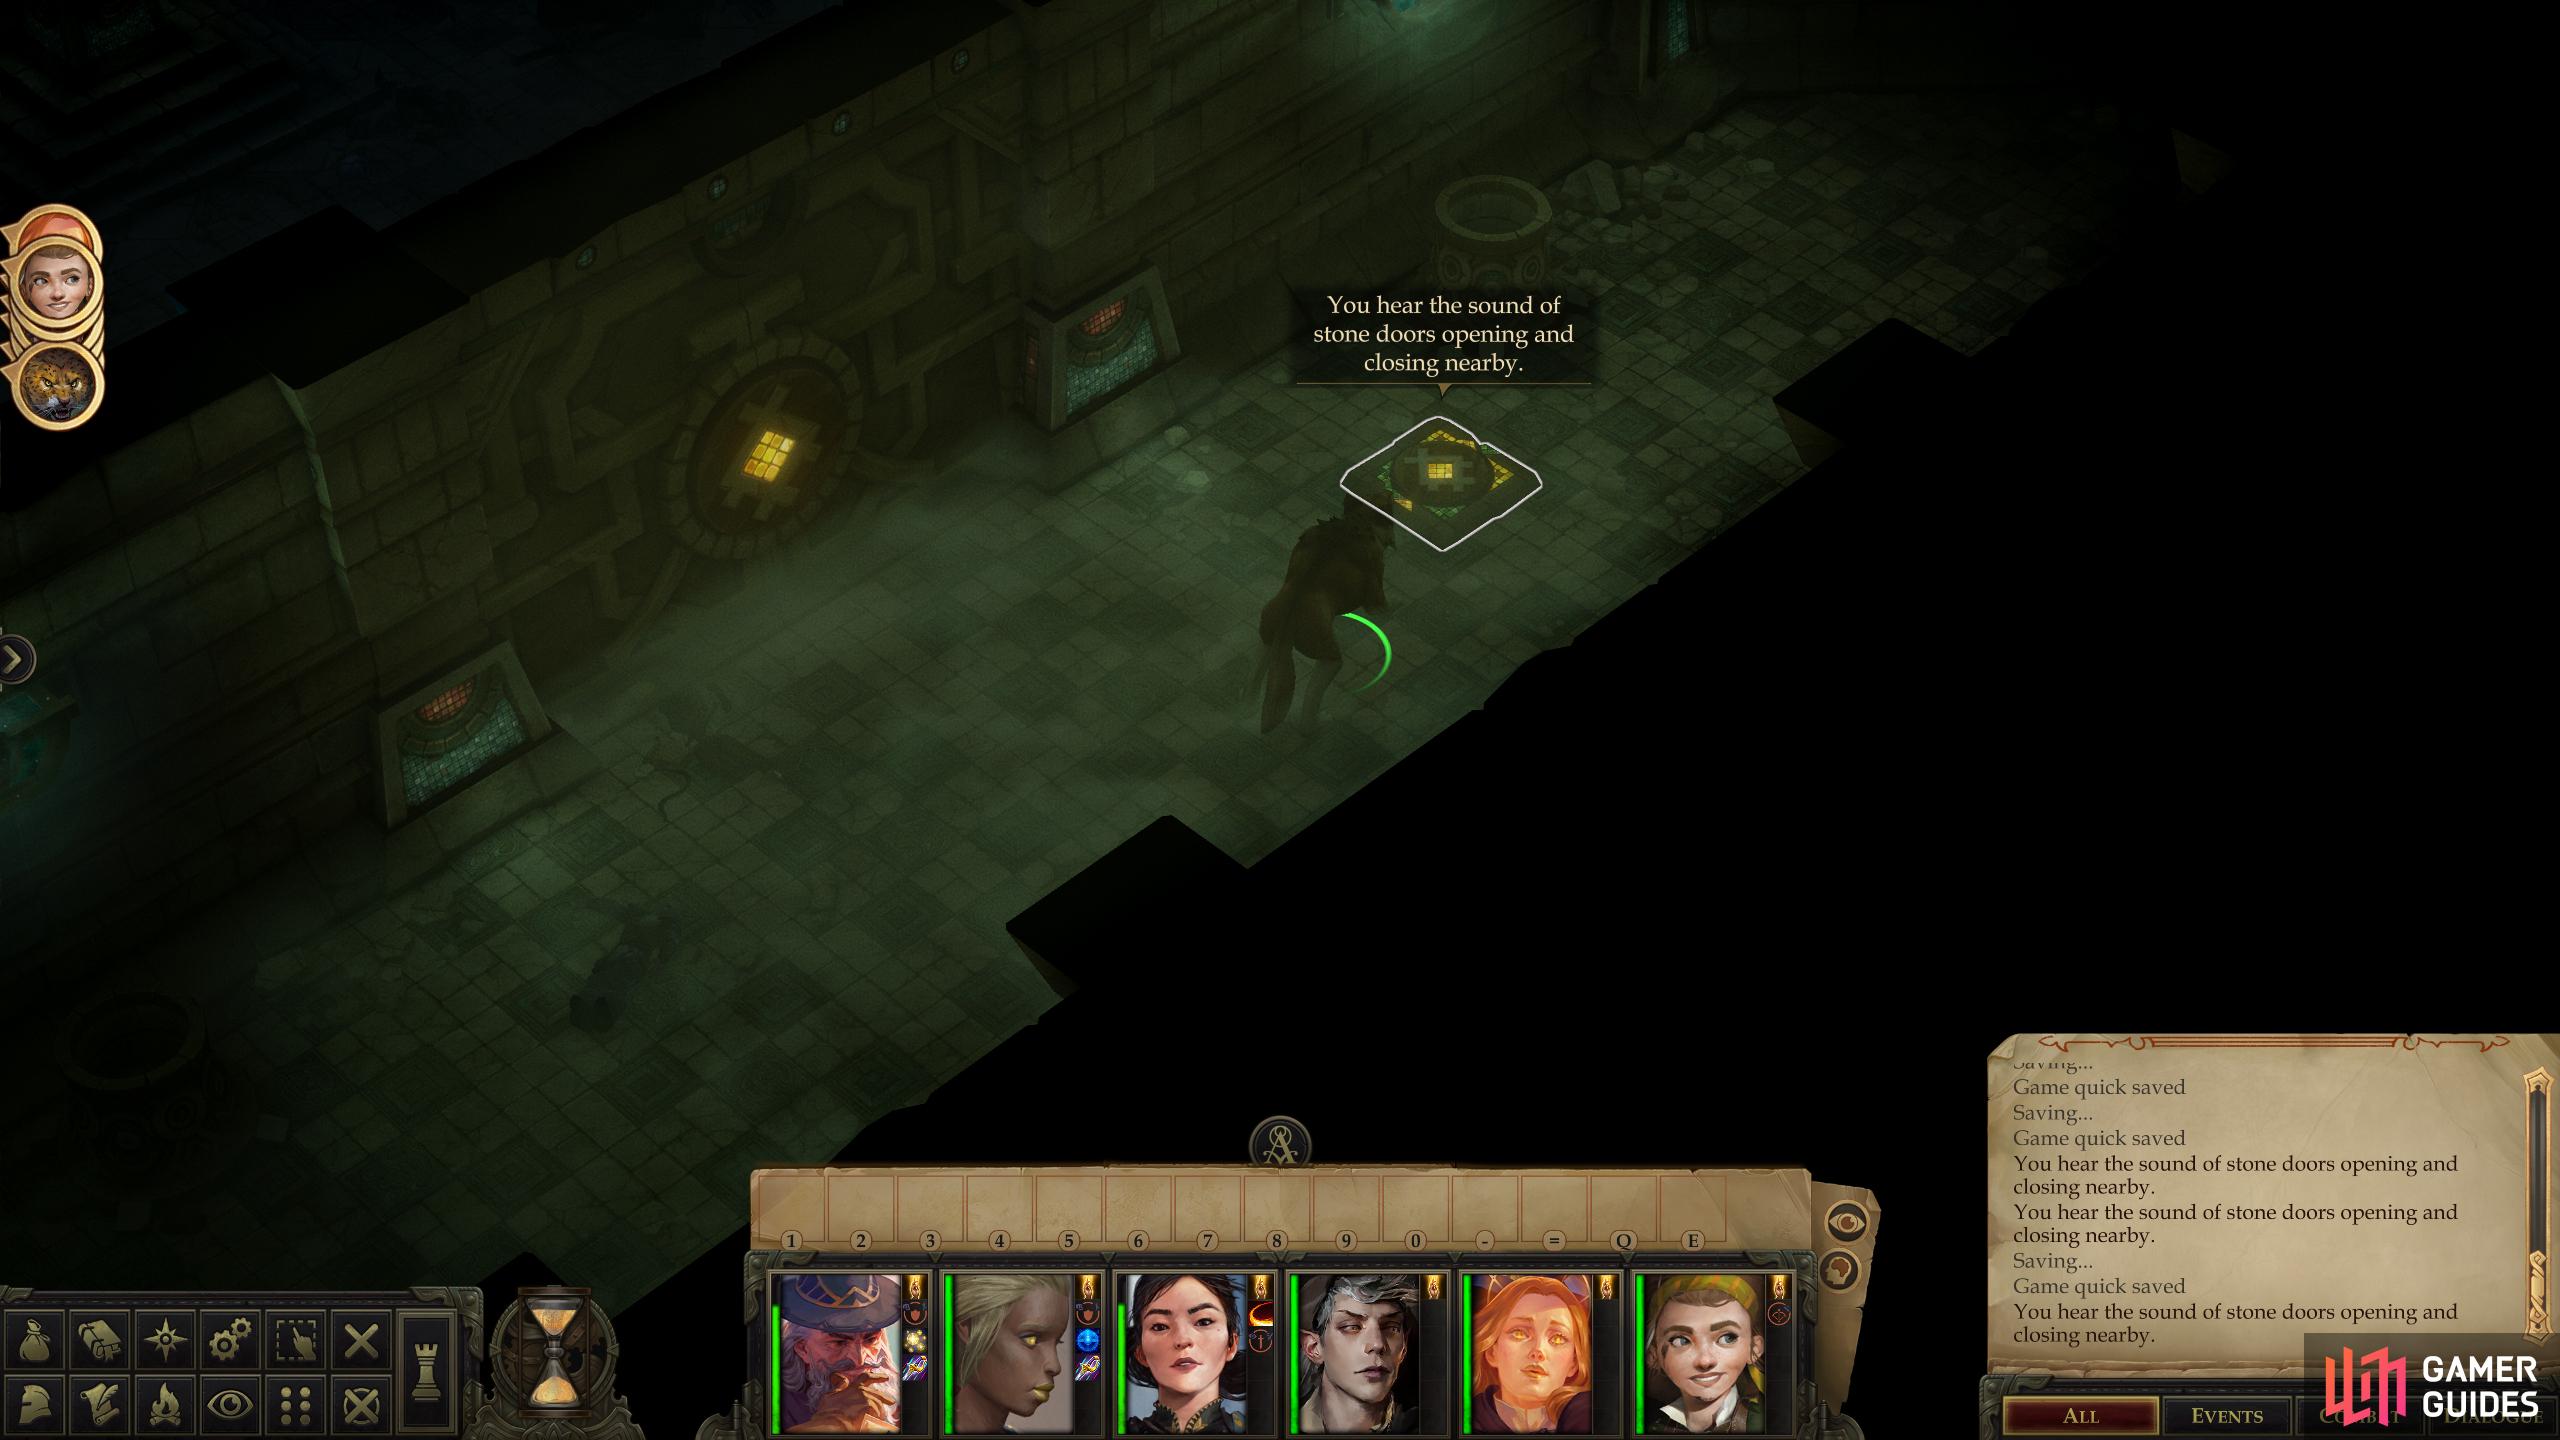
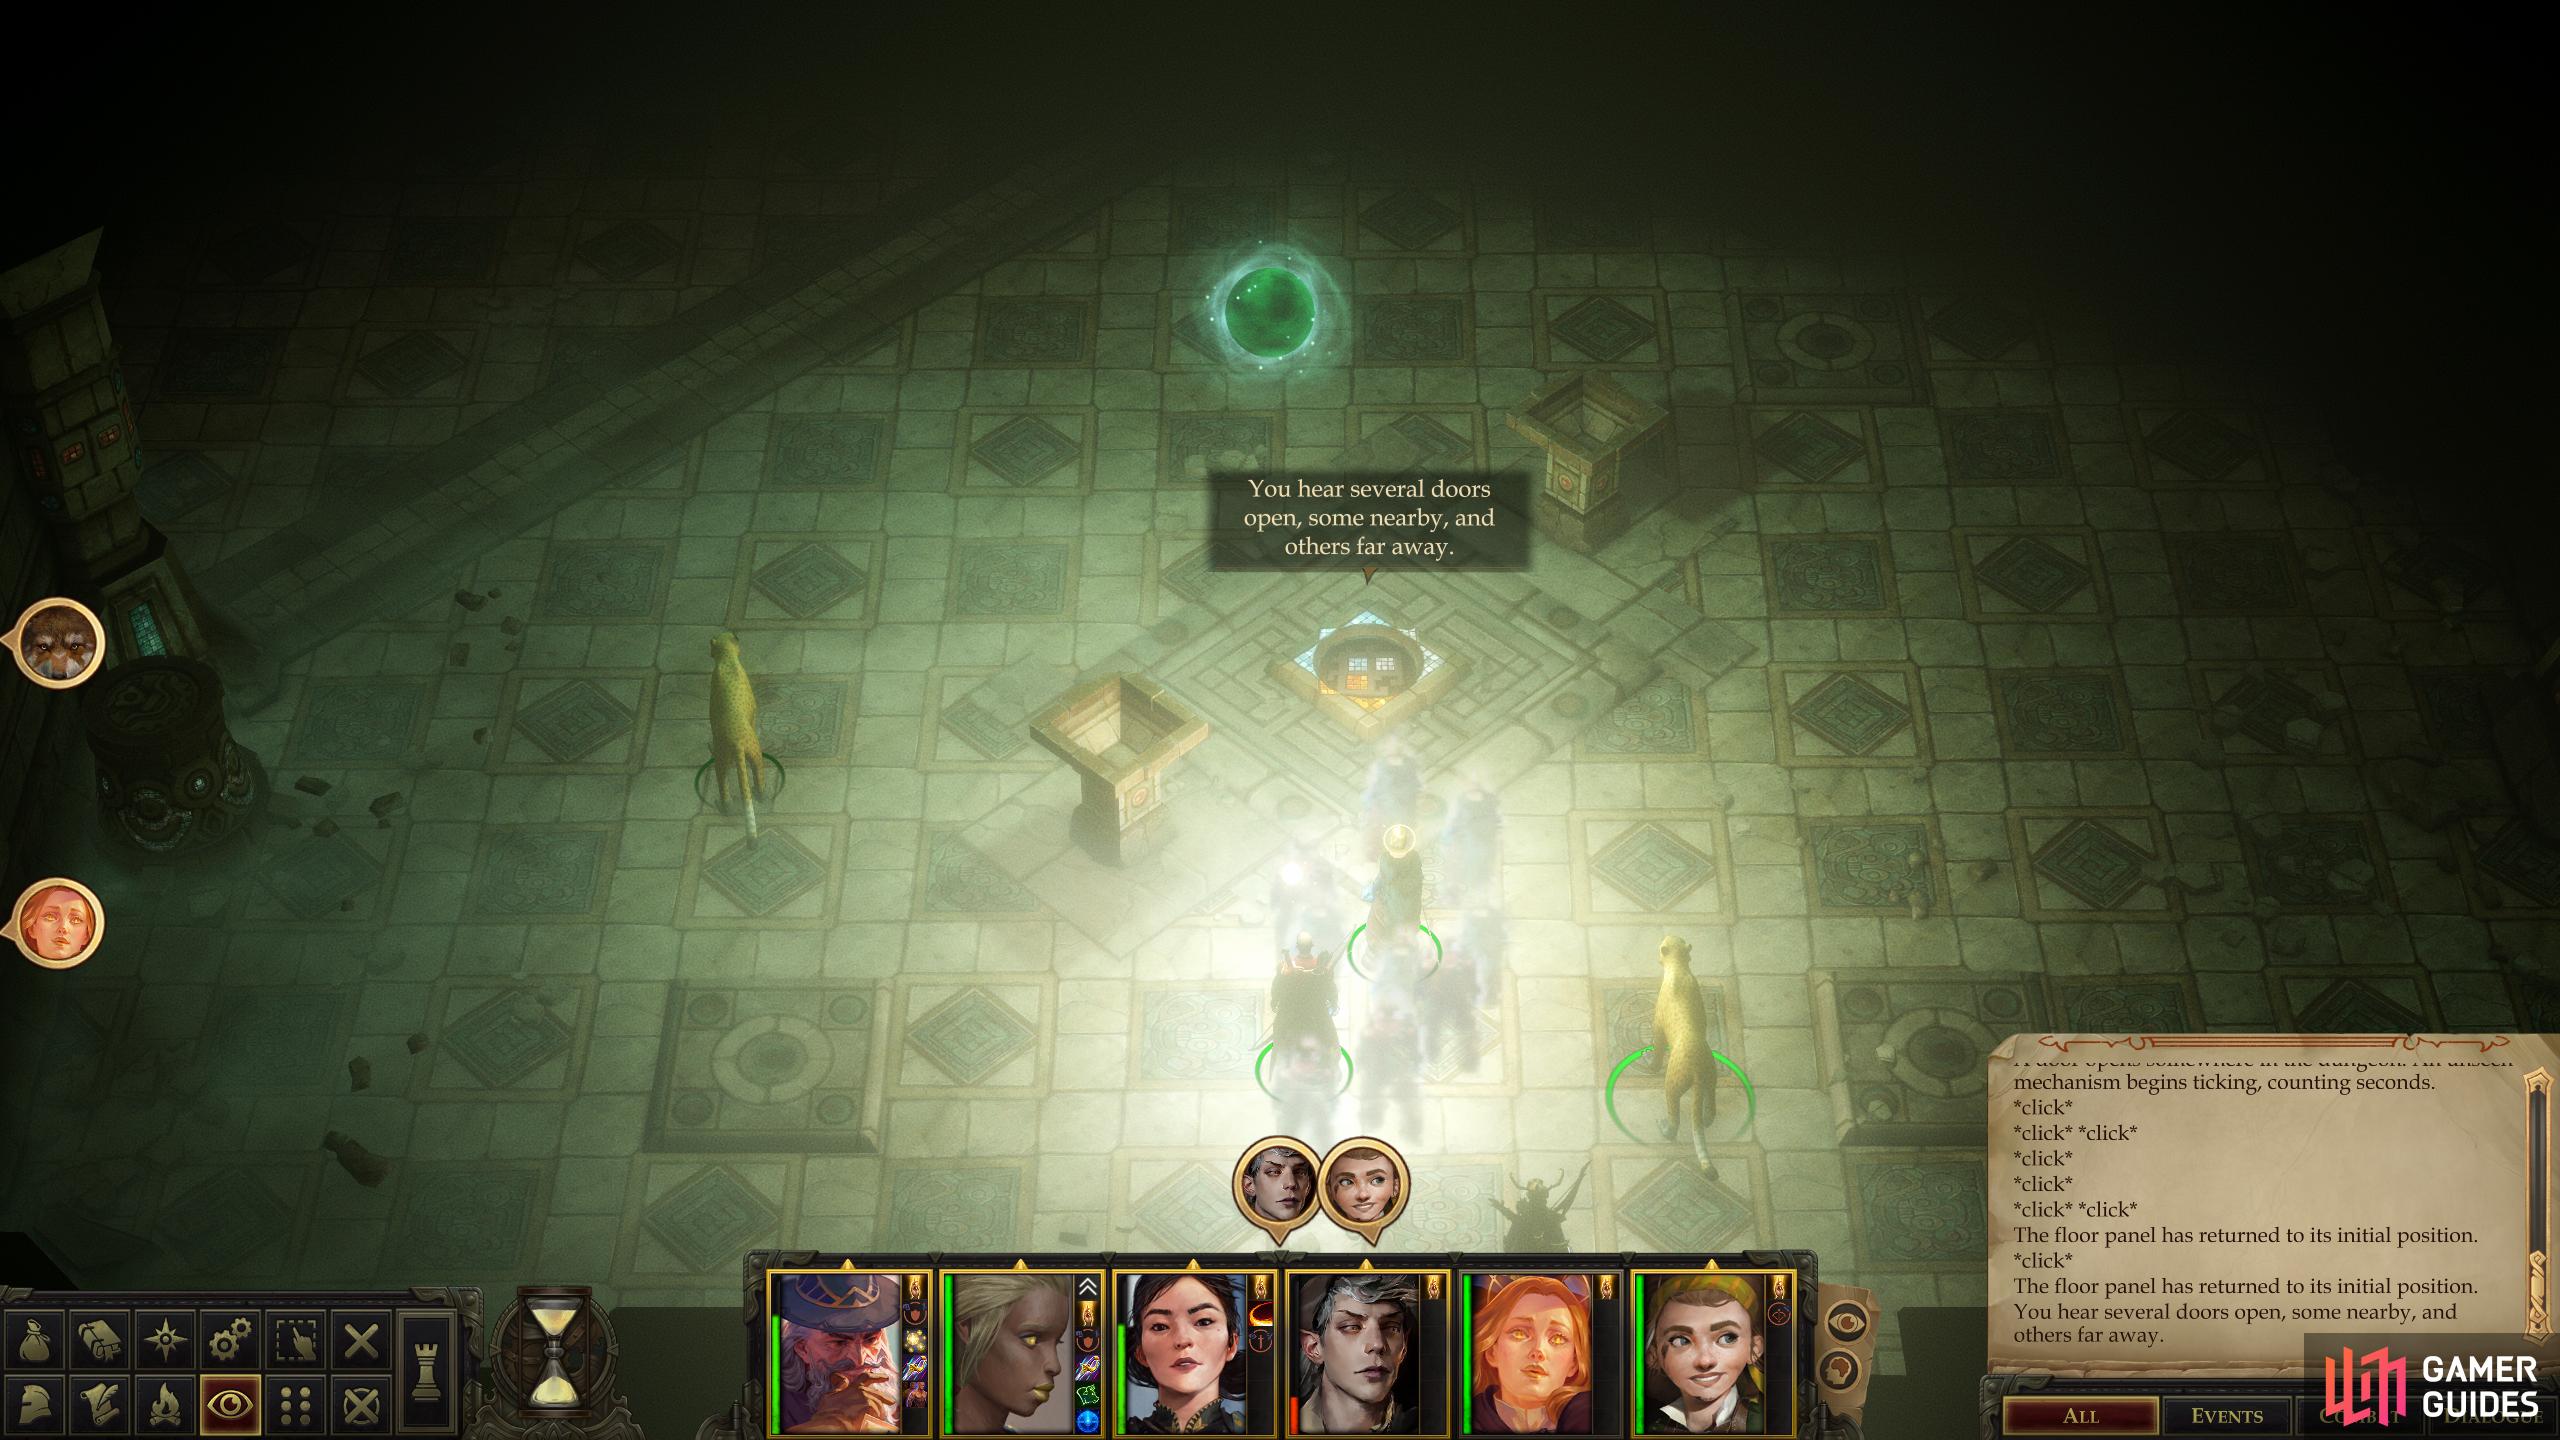
After you’re done with Brag, continue northeast to find another door and a floor panel which opens it. Stomp your foot down on it to get the door to obey, then head down the tunnel behind to find another door and another floor panel halfway down. A third door can be found at the northeastern end of this tunnel. Doors remotely activated by floor tiles… sounds like a puzzle!
Sure enough, clicking on the floor panel promises “doors opening and closing nearby”. Wonderful. This particular panel doesn’t seem very complicated at first glance, and pressing it is required to open the door nearby. If you’re perceptive, you’ll notice the floor switch is colored green and yellow, with the middle part toggling between the two as you interact with it. The doors, too, have colors on them, and the colors on the switch reference the doors they open.
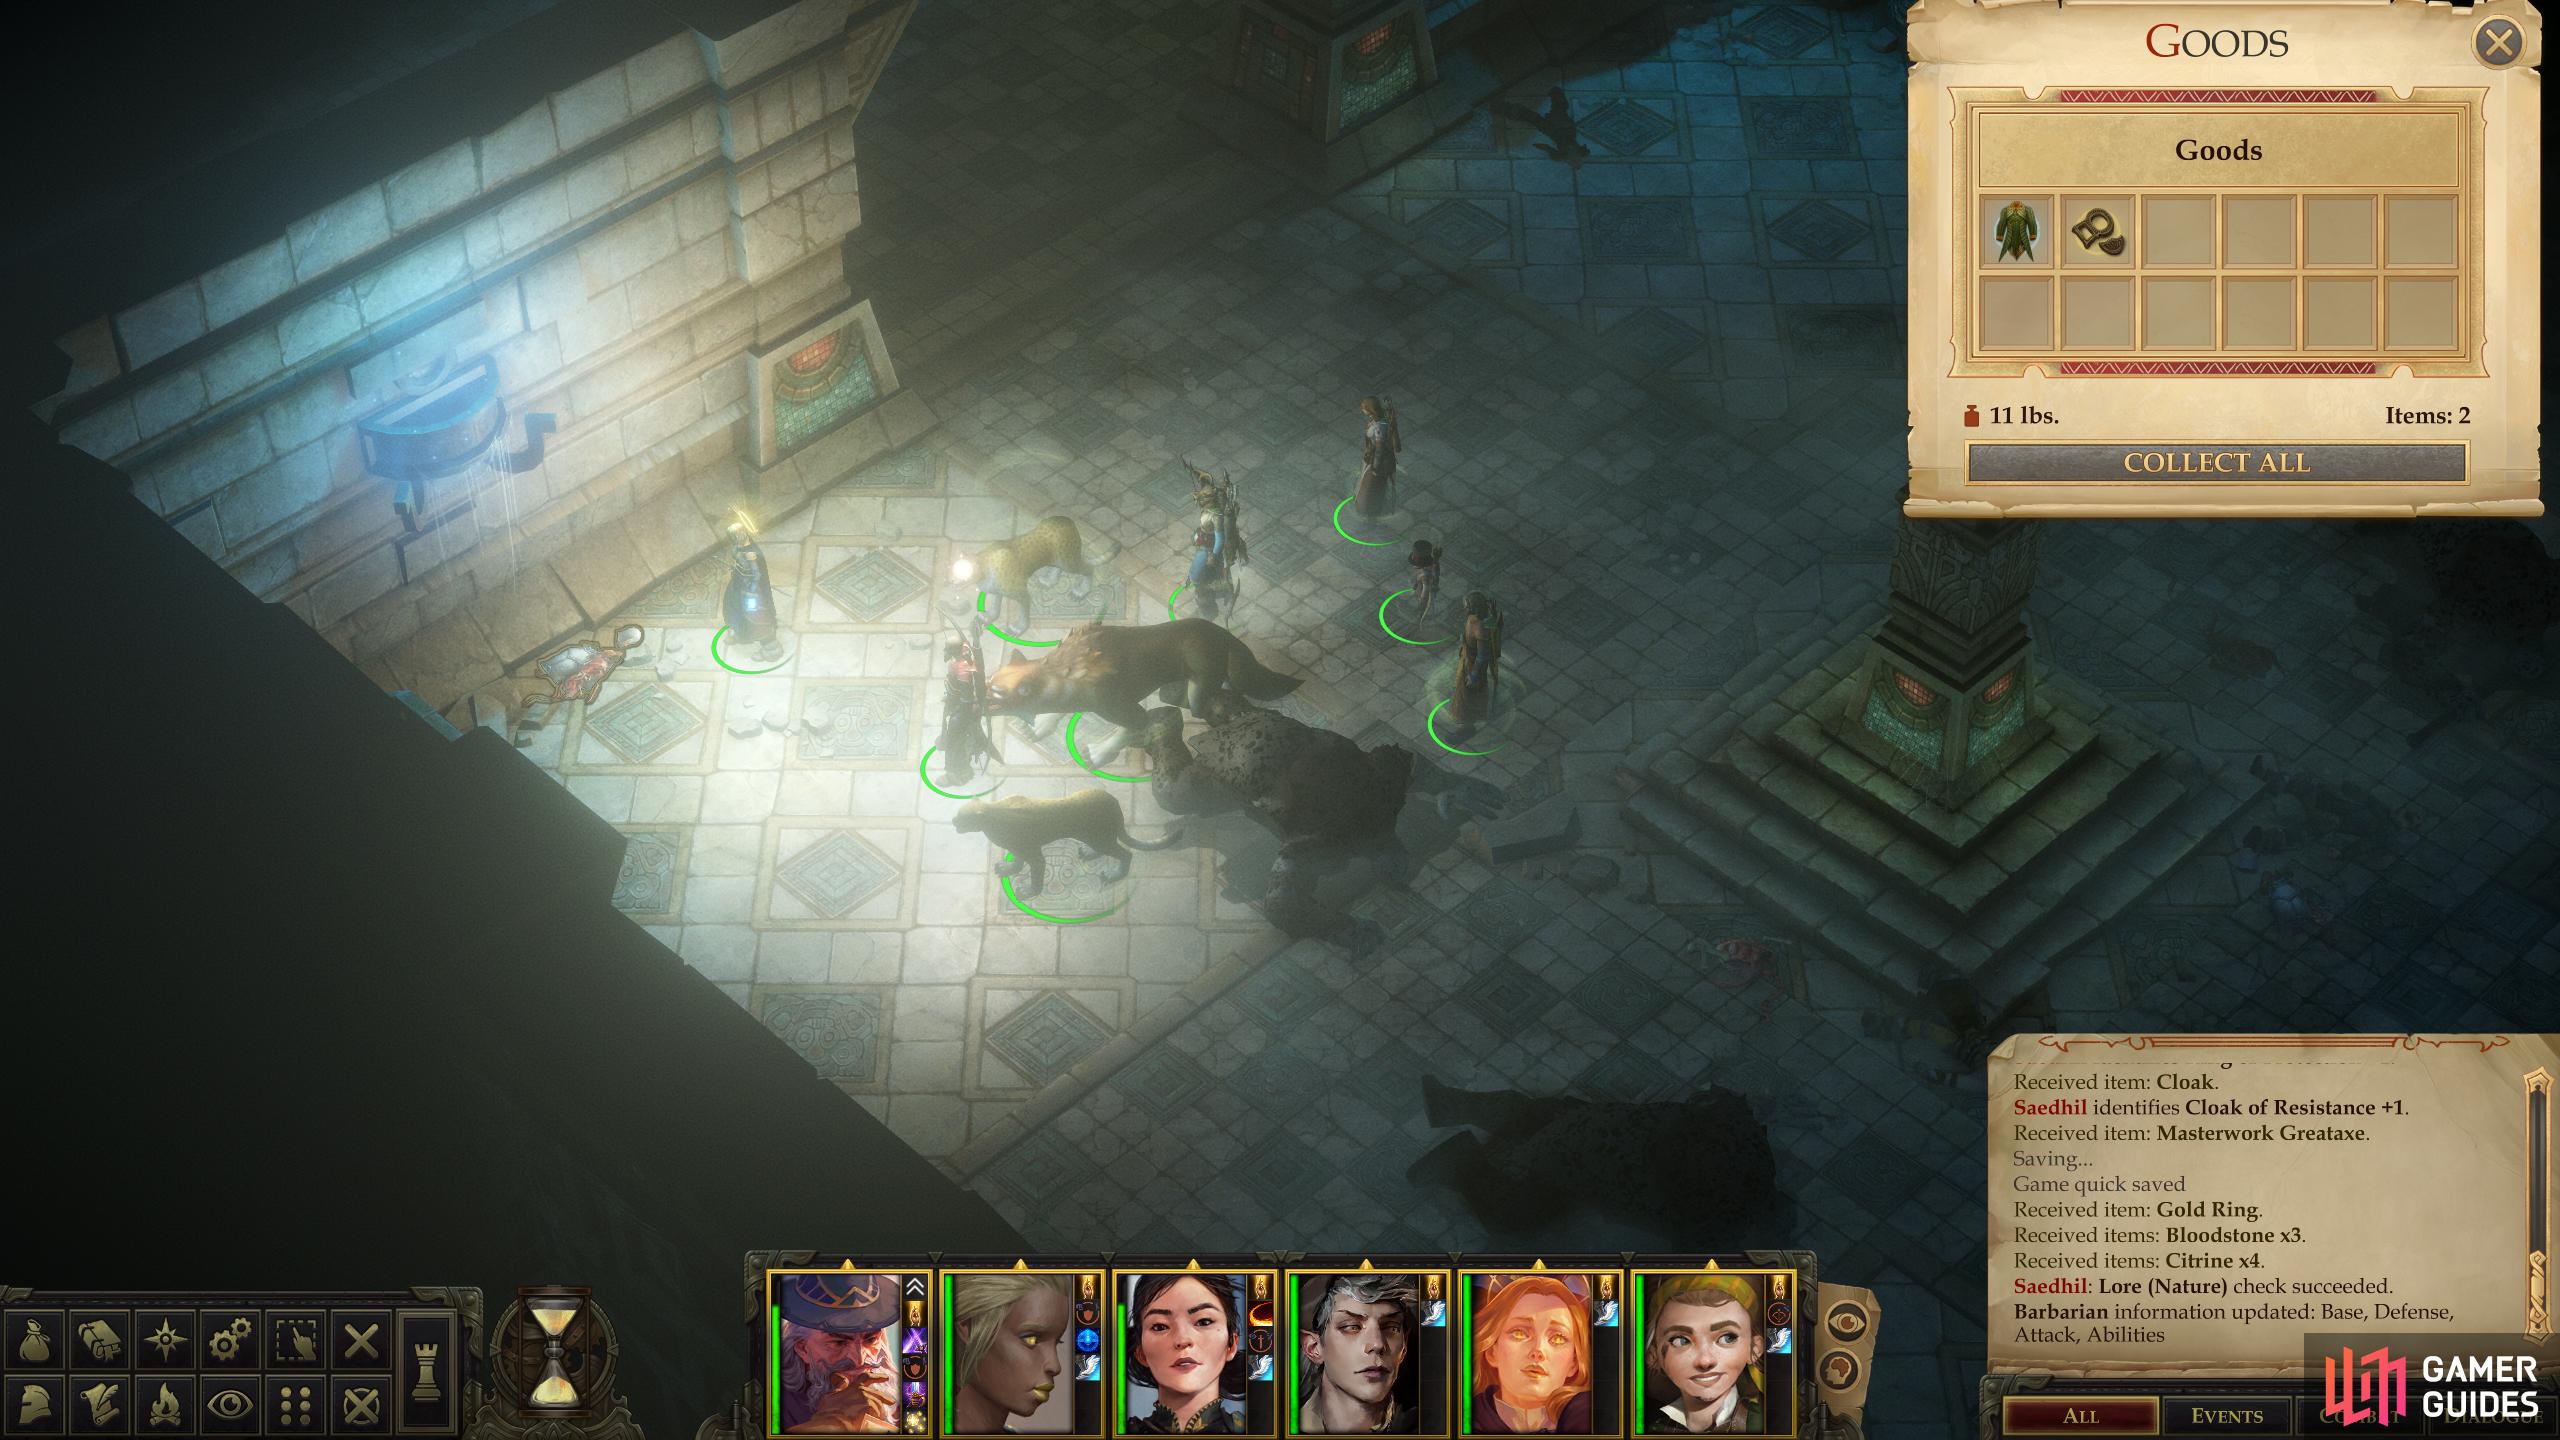
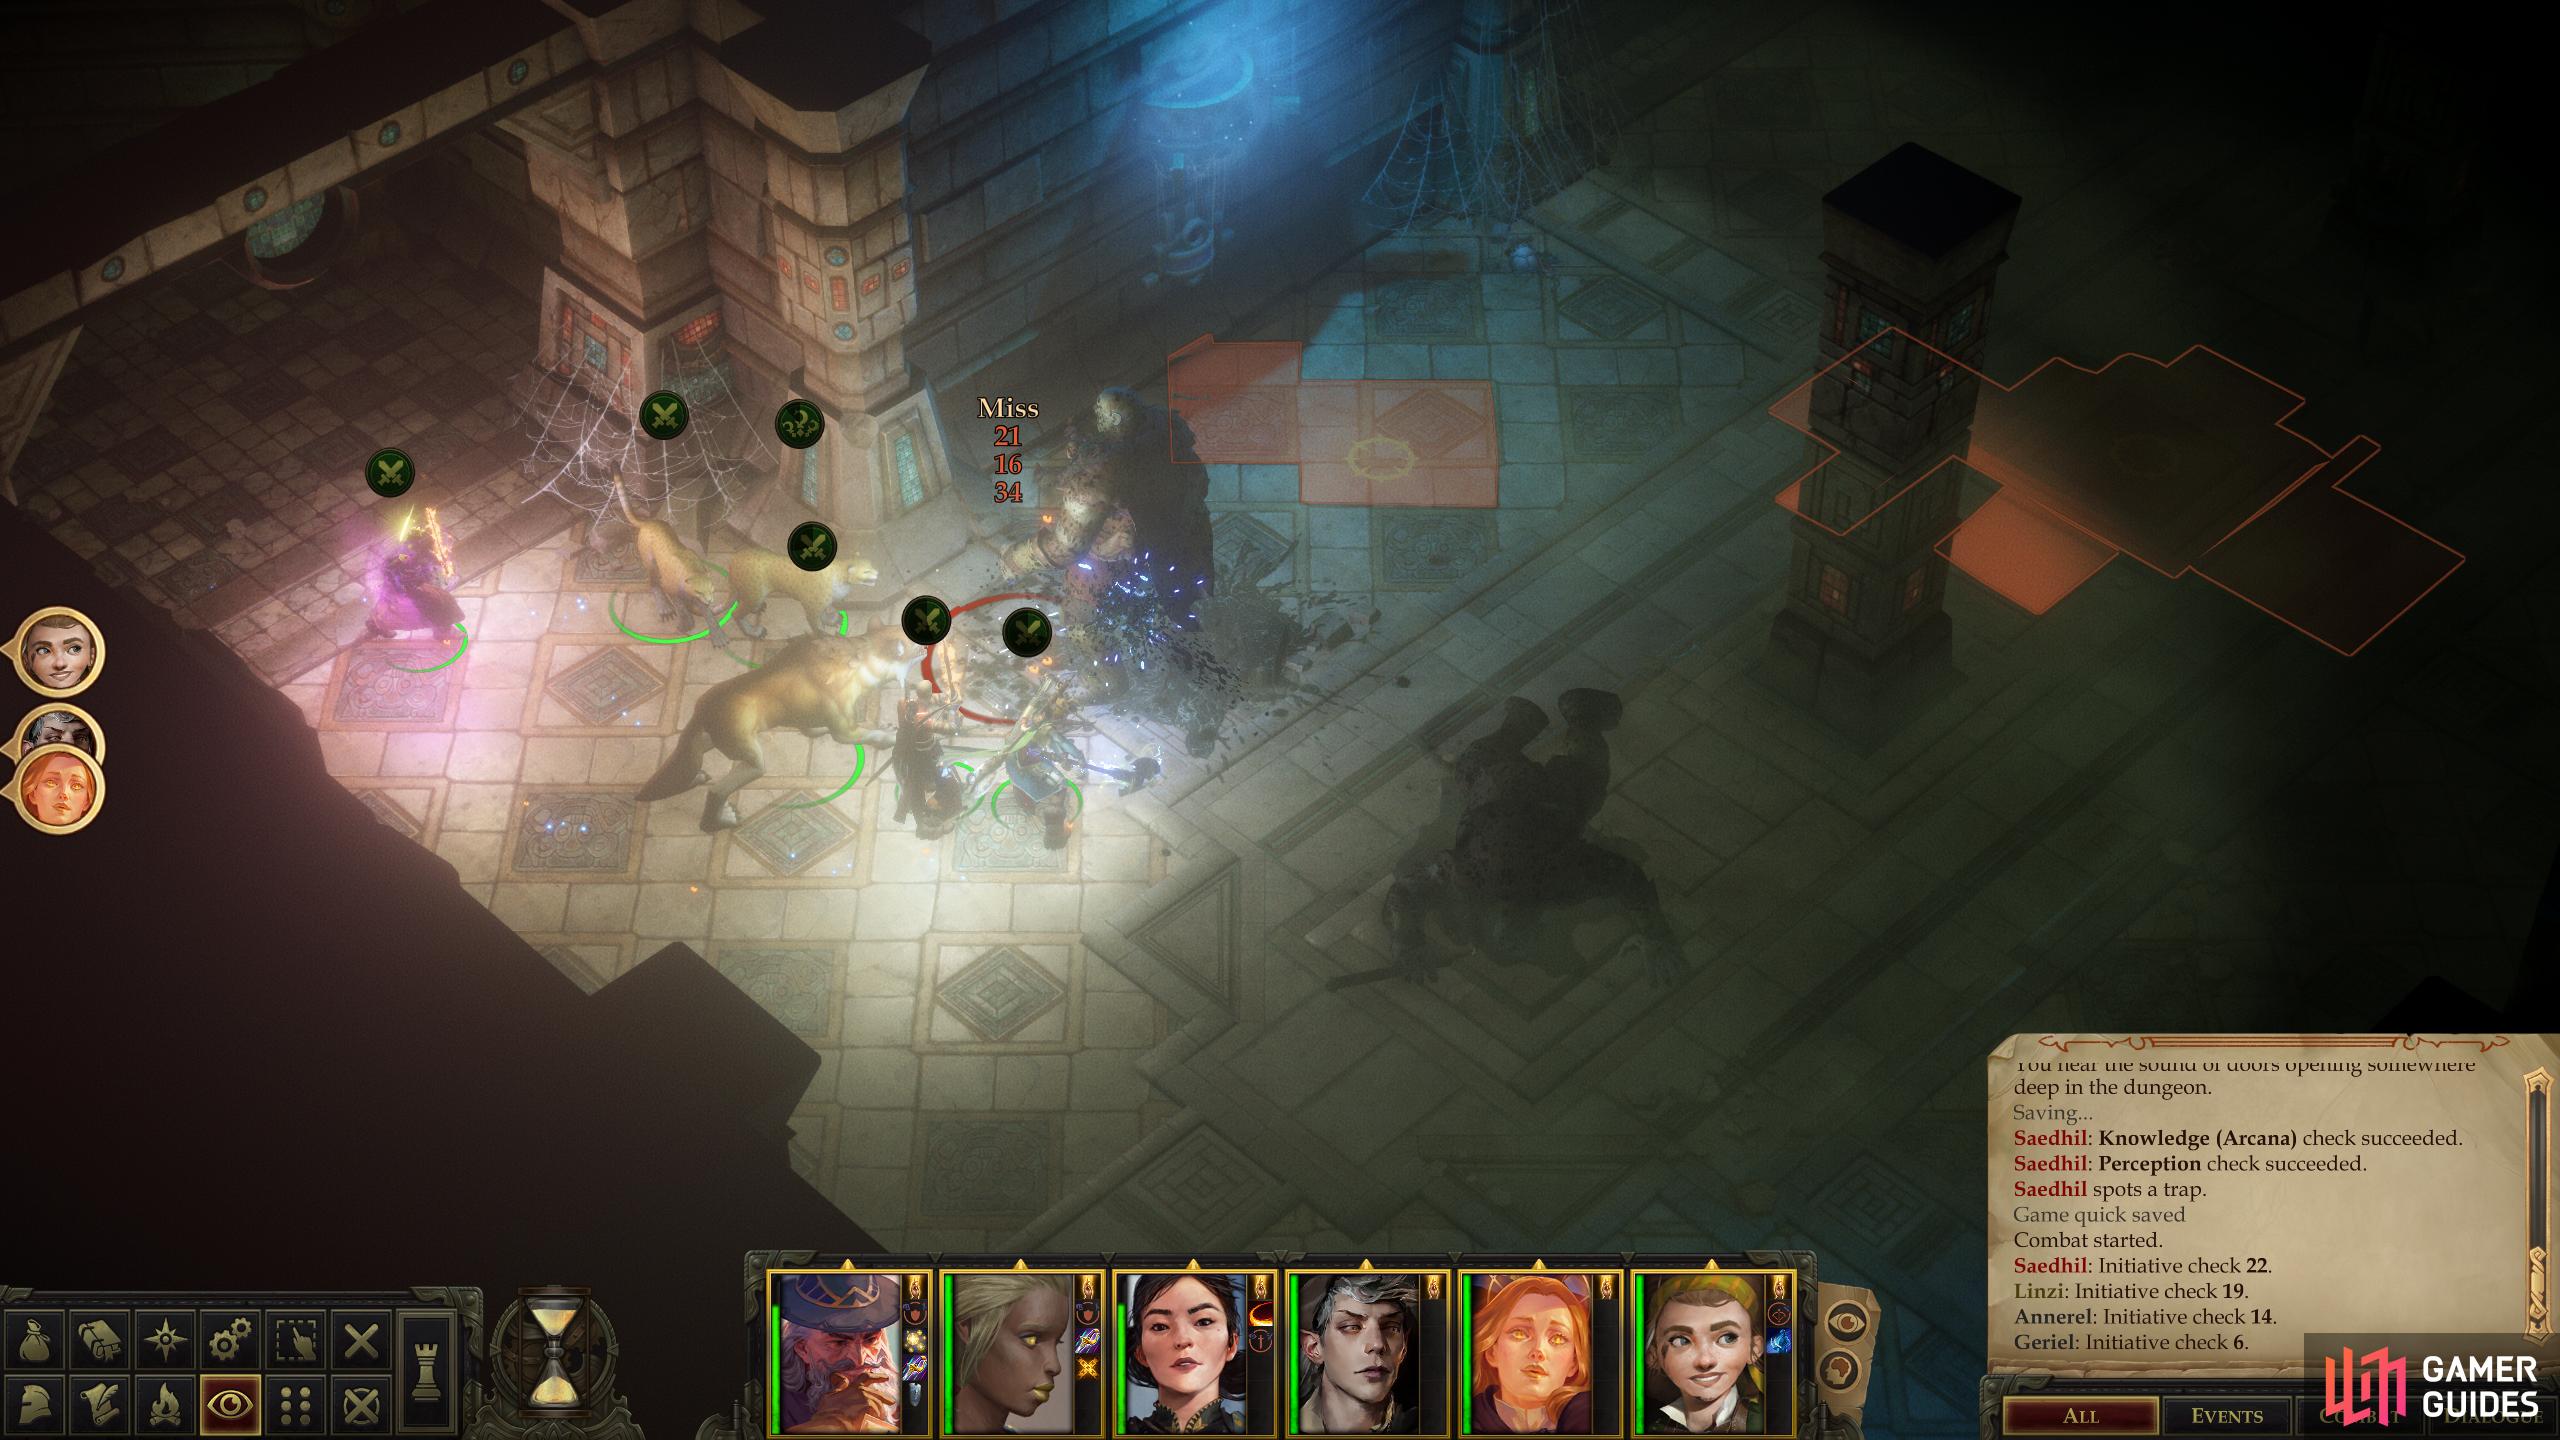
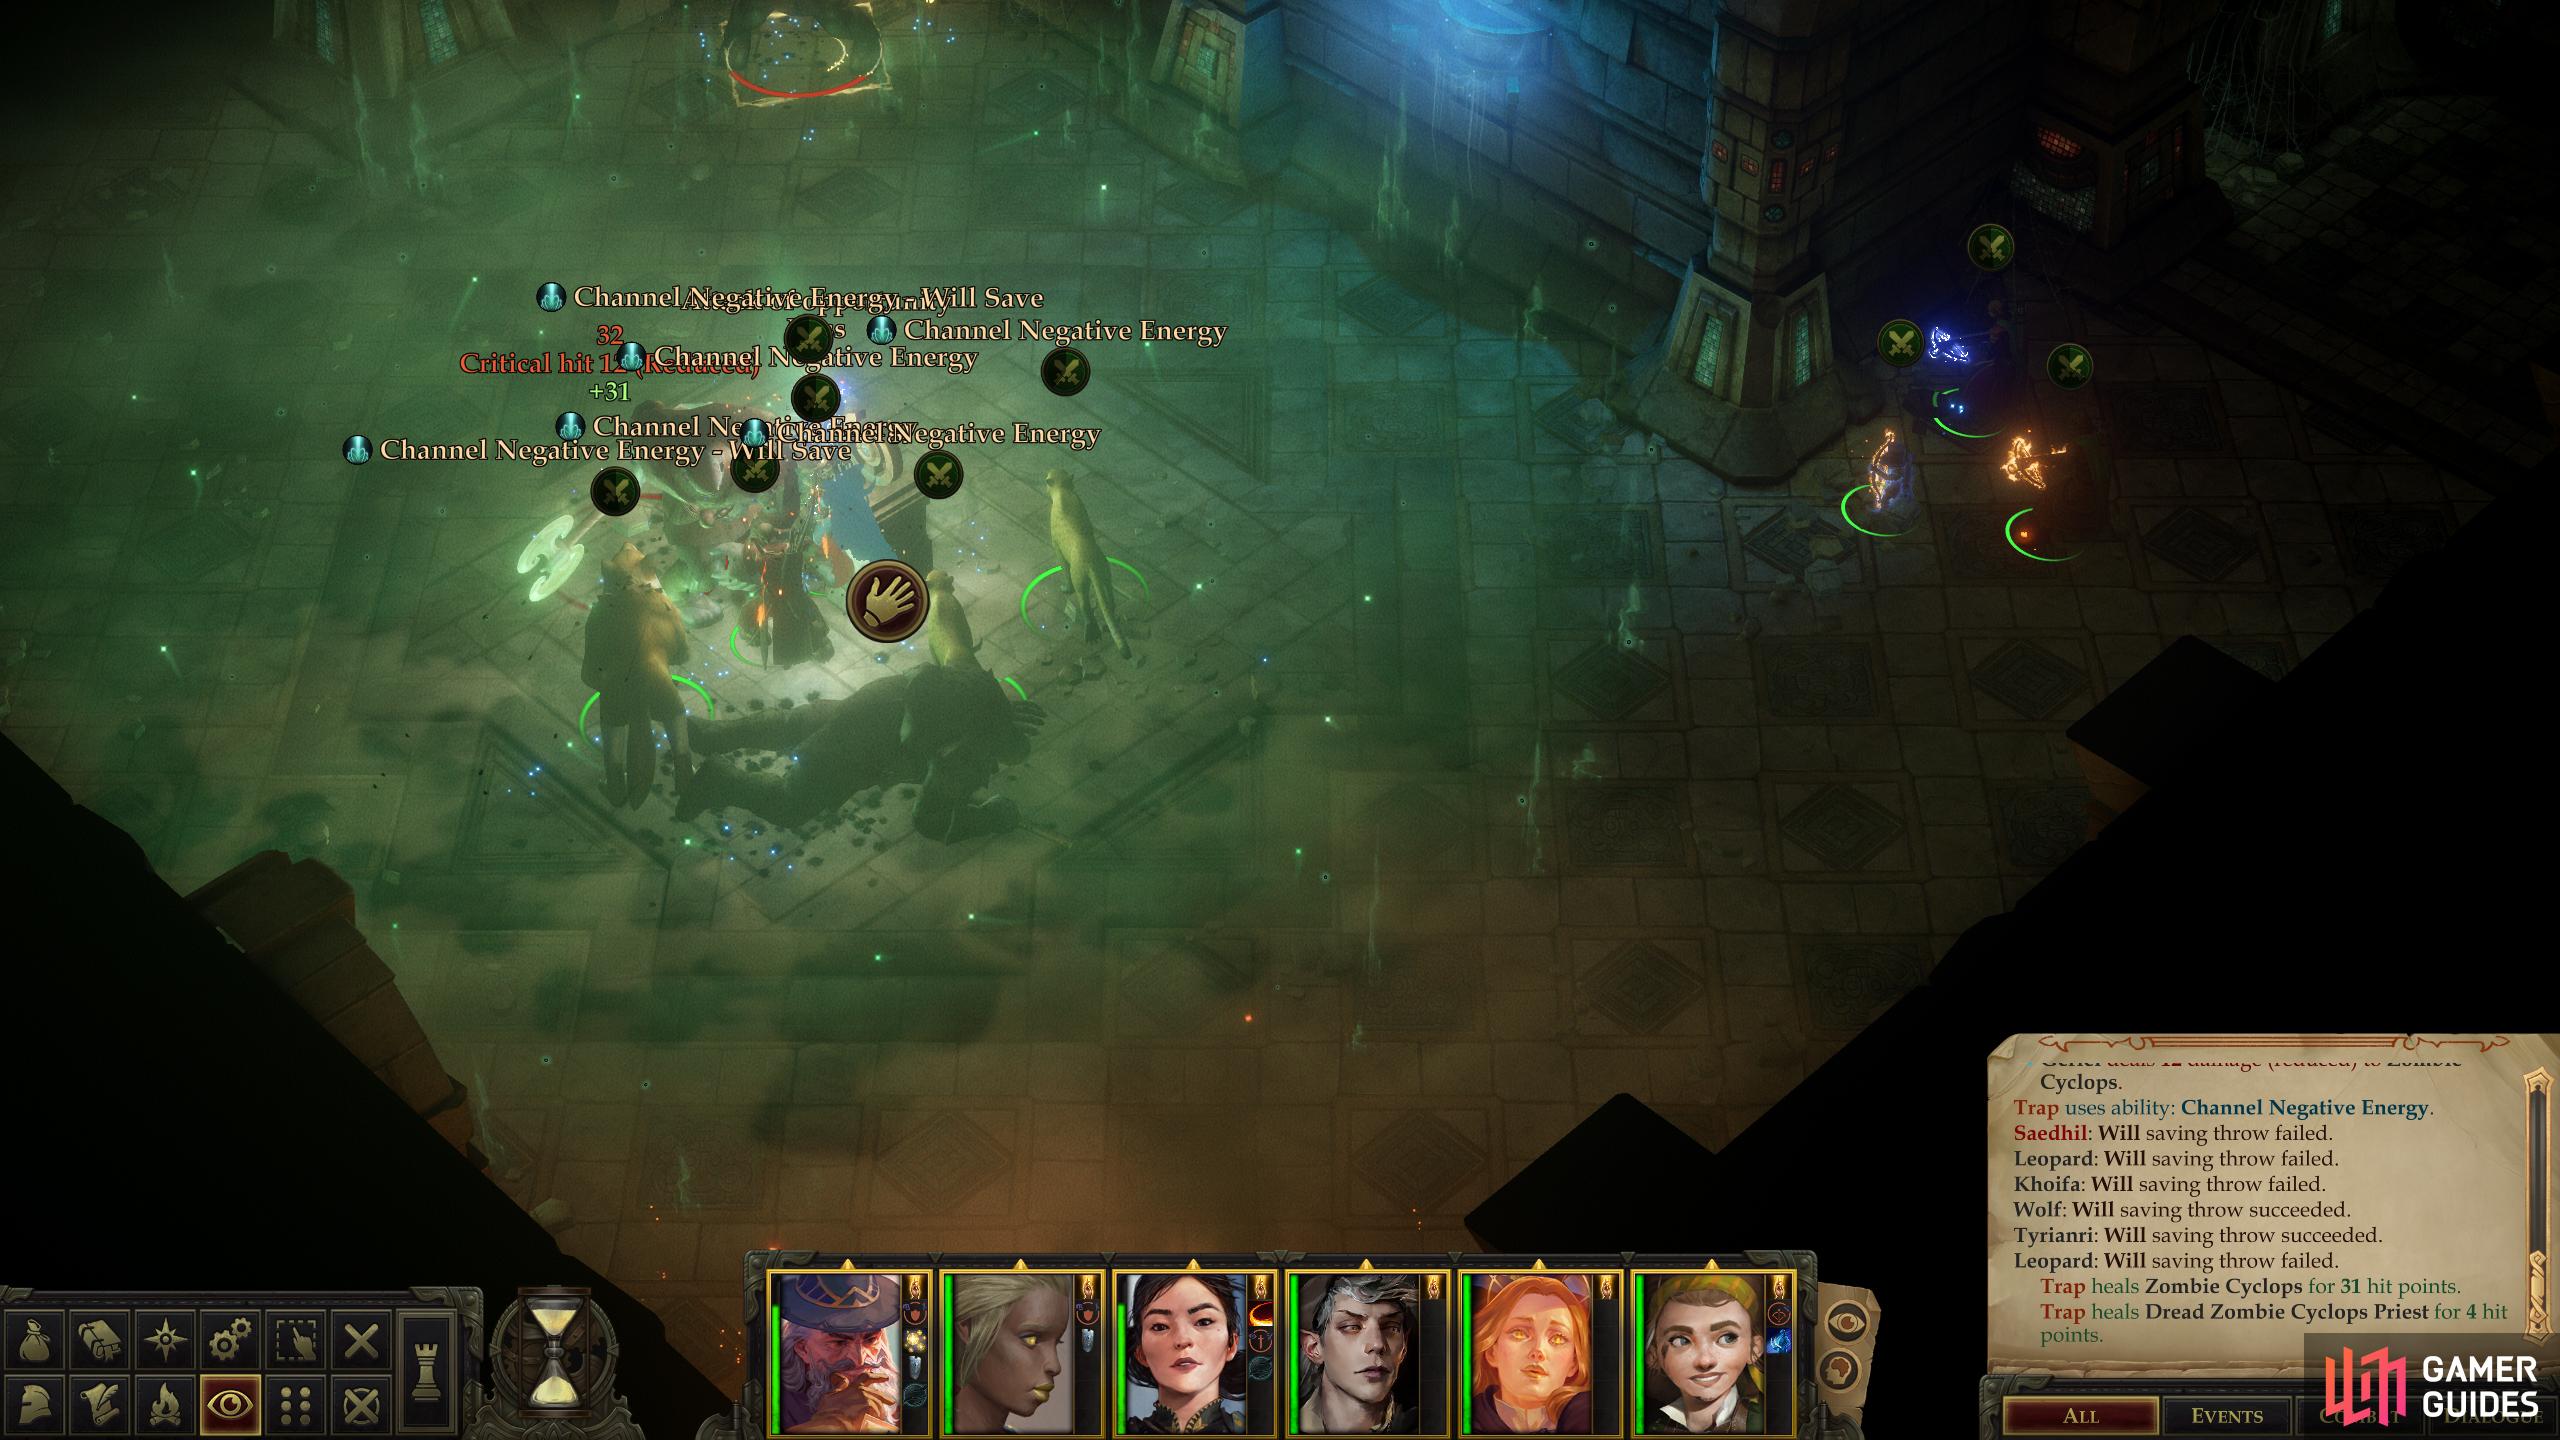
Interact with the switch and go through the nearby door (marked with a yellow diamond pattern) to find three Dread Zombie Cyclops, although only two will initially be within sight. The third - a spellcaster - lurks further back, and conspires to complicate matters with spells like Prayer, Hold Person, and finally repeated uses of Channel Negative Energy. Given what a nuisance this Cleric-zombie can be, you may just want to rush him when he shows up, perhaps distracting the easternmost zombie with one of your tanks.
Once they’re dead, loot them for a variety of masterwork weapons and the Cleric-zombie’s superior loot, including a Breastplate +1, a Ring of Protection +1 and a Cloak of Resistance +1. Also be sure to search for some loot in the western corner of the room [Perception 8], which includes a suit of Padded Armor +3 and a Fallen Warrior’s Buckle. Finish up the room by looting a container in the northern corner, then by examining an inscribed pillar [Knowledge (World) 30] in the center for some experience.
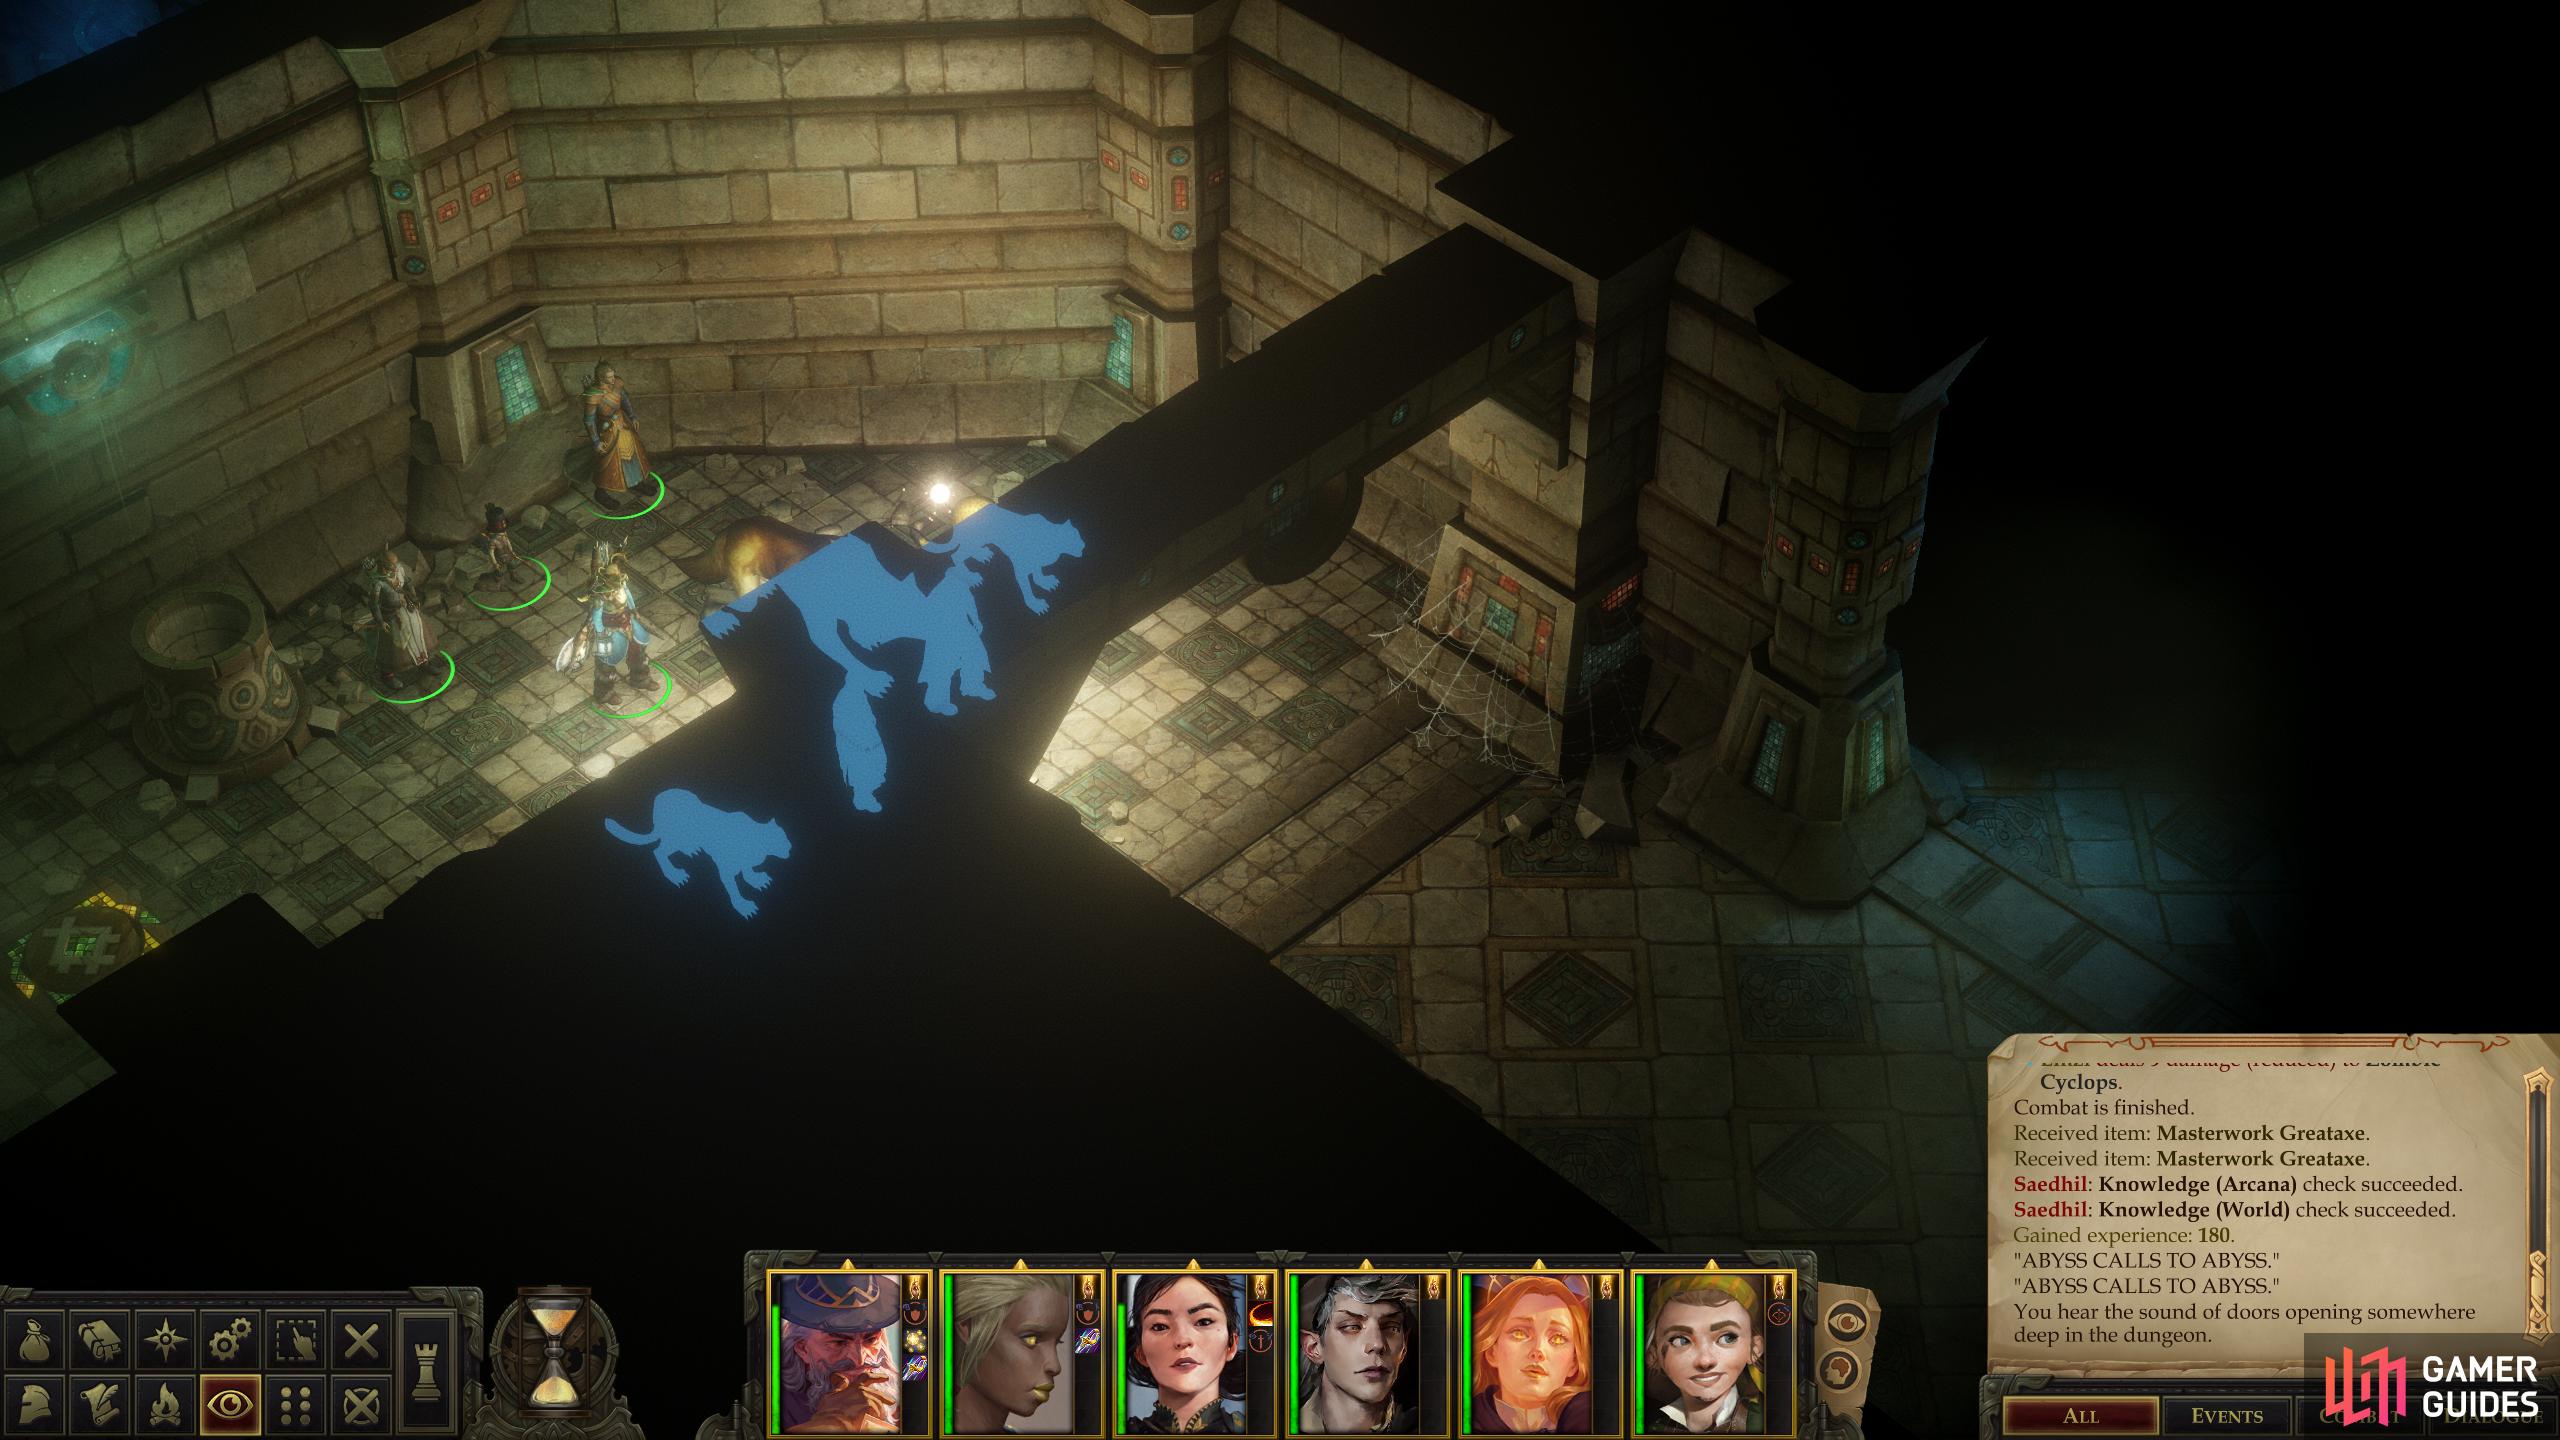
Three doors now beckon, one to the southwest (green), one to the northwest (yellow) and a final one to the northeast (green). The doors to the northeast and southwest are currently closed, but by toggling the switch you used to enter the room with the three zombie cyclopes you just smote (from now on, let’s refer to it as the Green/Yellow Switch) you can open these doors. Even so, there are two more doors beyond the first northeastern door (both blue), and you’ve no means of opening them yet. Likewise with the two doors (orange) beyond the southwestern door. That being the case, you don’t have much choice except to go northwest, and that means leaving a character behind at the Green/Yellow Switch to activate it for the rest of your party when the need arises.
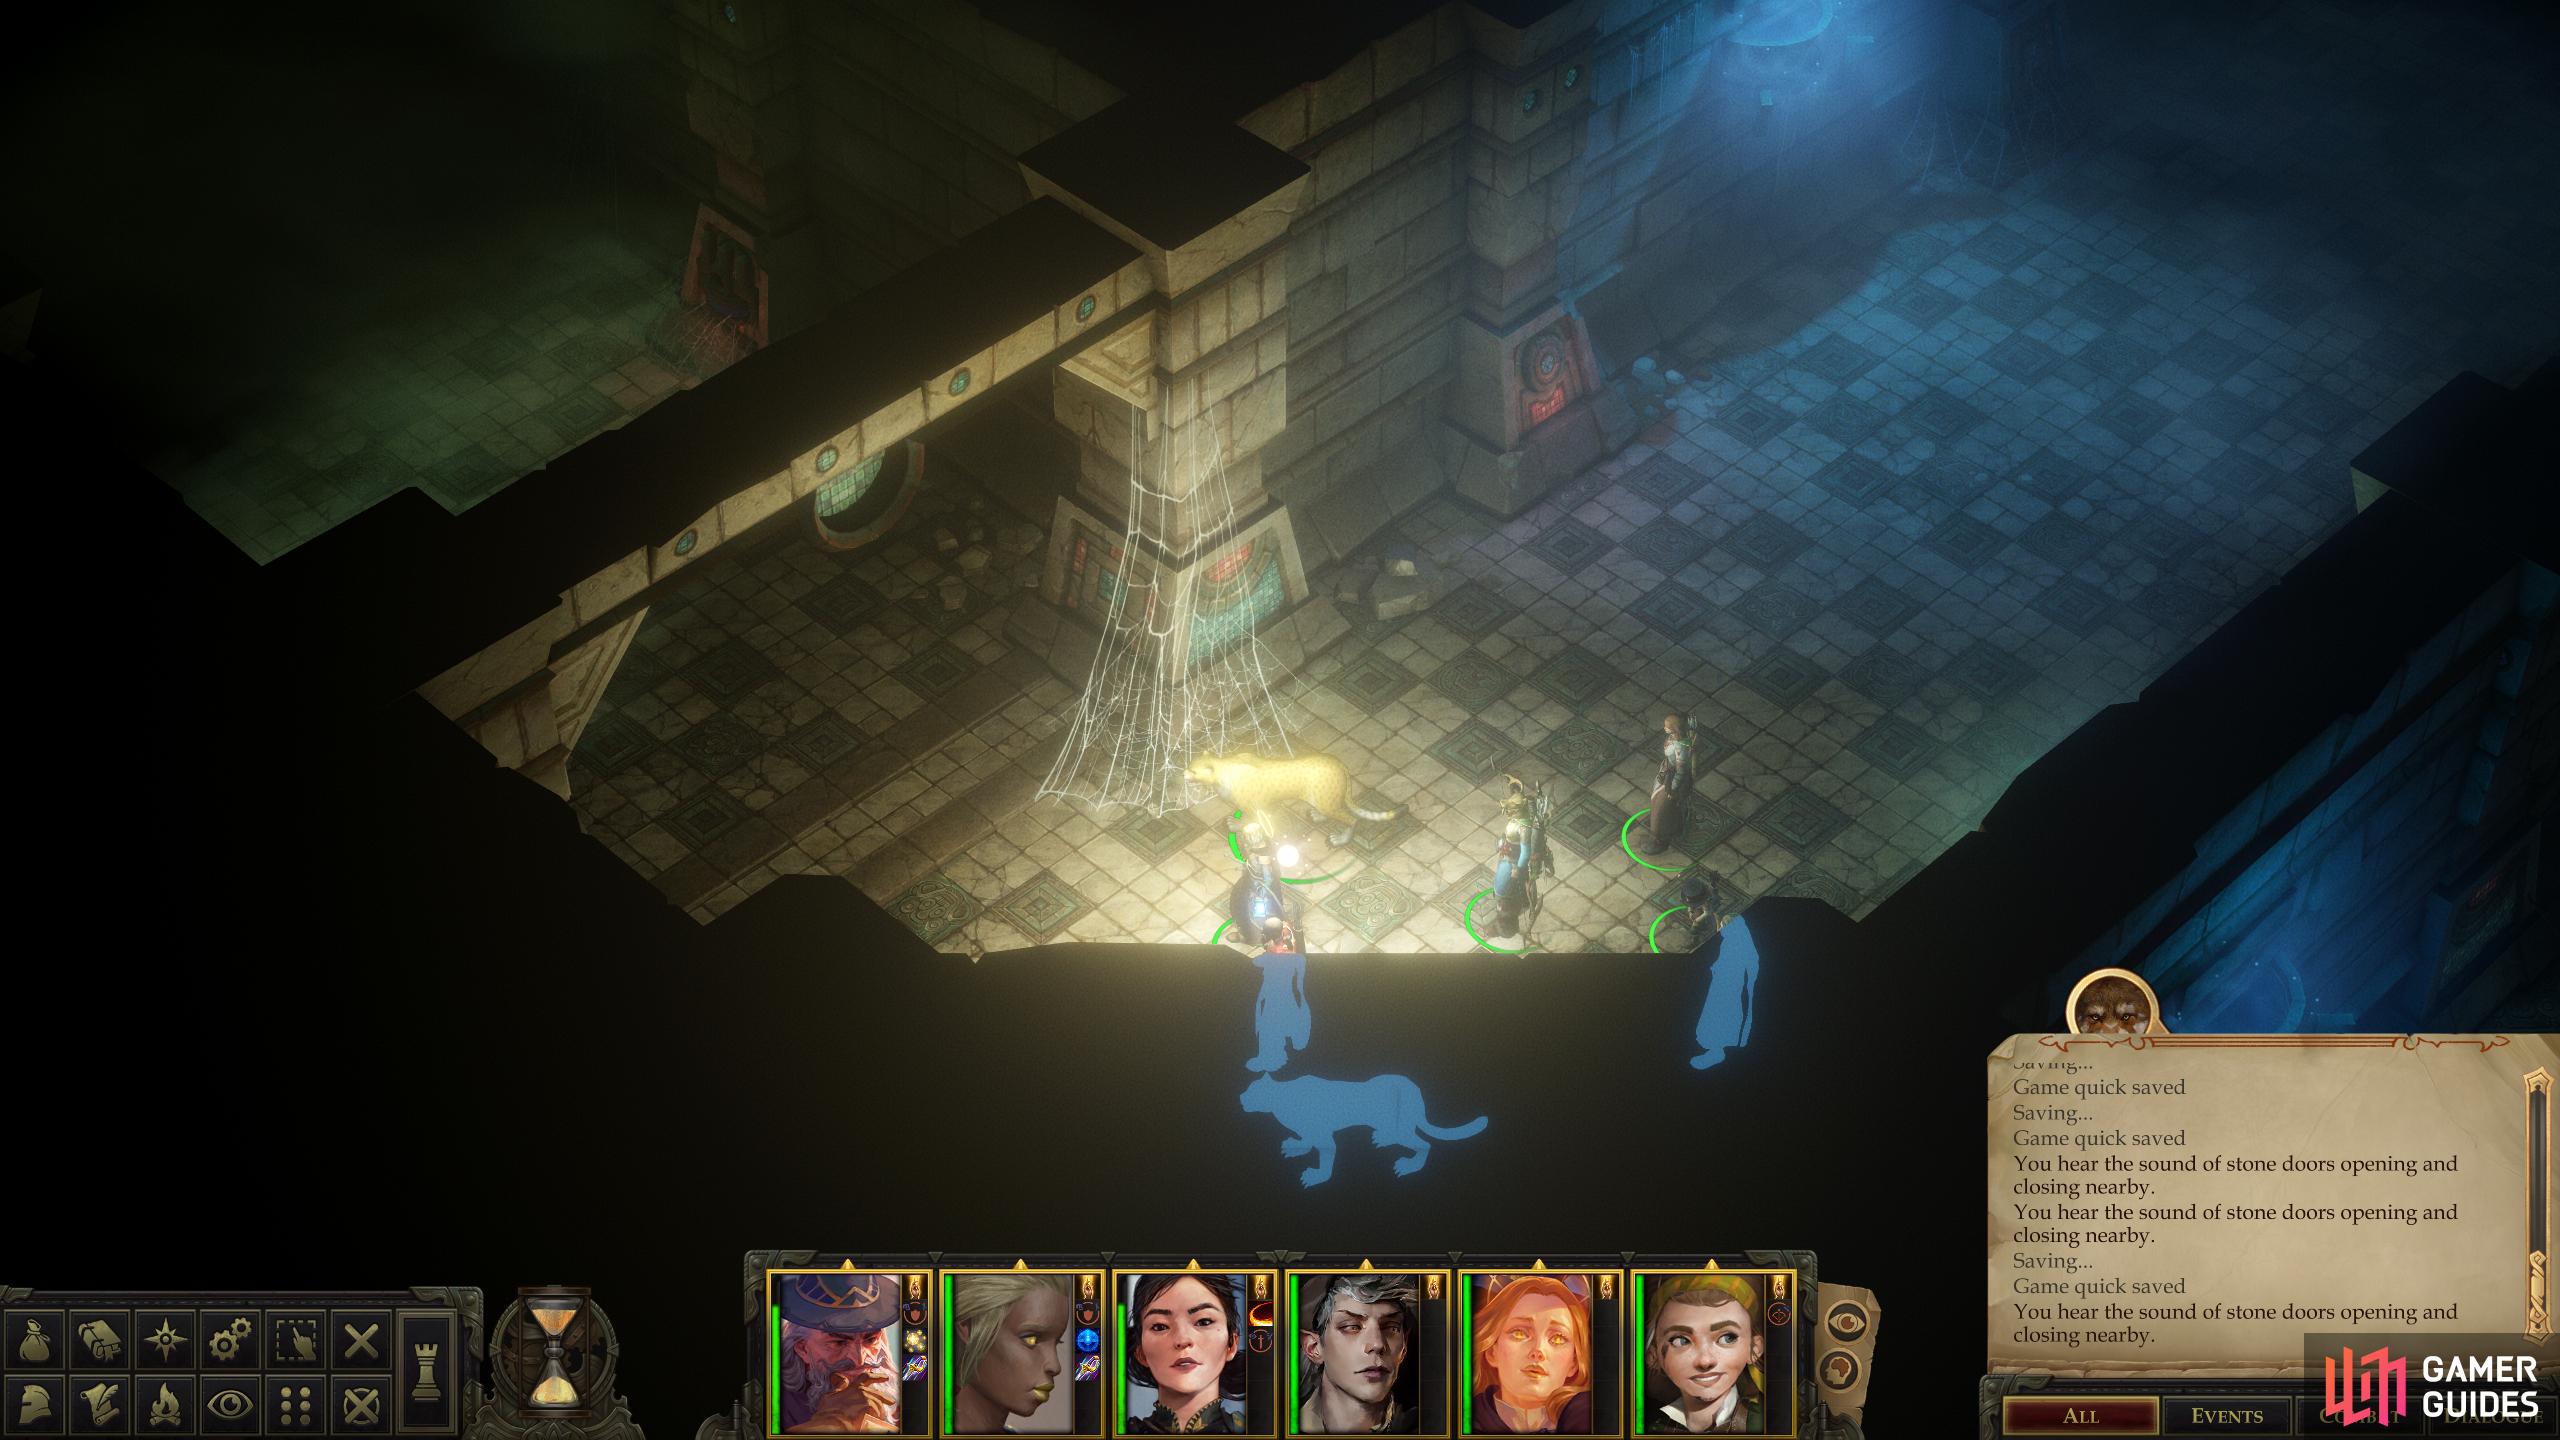
(1 of 3) Leave a character (or pet) behind to activate the switch,
Green/Yellow Switch - Trap Room
Choose the character it’ll be the least painful to lose in a fight (a healer/support character not actively needed at the moment is a good choice, but you can also use pets - pets are just wonderful in this game), then assemble the rest of your party in the room where you downed the three zombie cyclops. Send your tank alone through the northwestern door to find several barbarians lying in wait for you. Provoke them, then retreat back through the door and attack them when they chase you into the zombie cyclops room to avoid getting flanked. Their Attack Bonus is decent, and they’ve got plenty of Hit Points, but their Armor Class is rubbish, so you should have no trouble winning a slugfest with them.
Once they’re dead, continue through the doorway to reach a hallway running southwest/northeast, with a door at either end. At its default state (the door to the zombie cyclops room opened by Green/Yellow Switch is open), the southwestern door will be closed and the northeastern will be open.
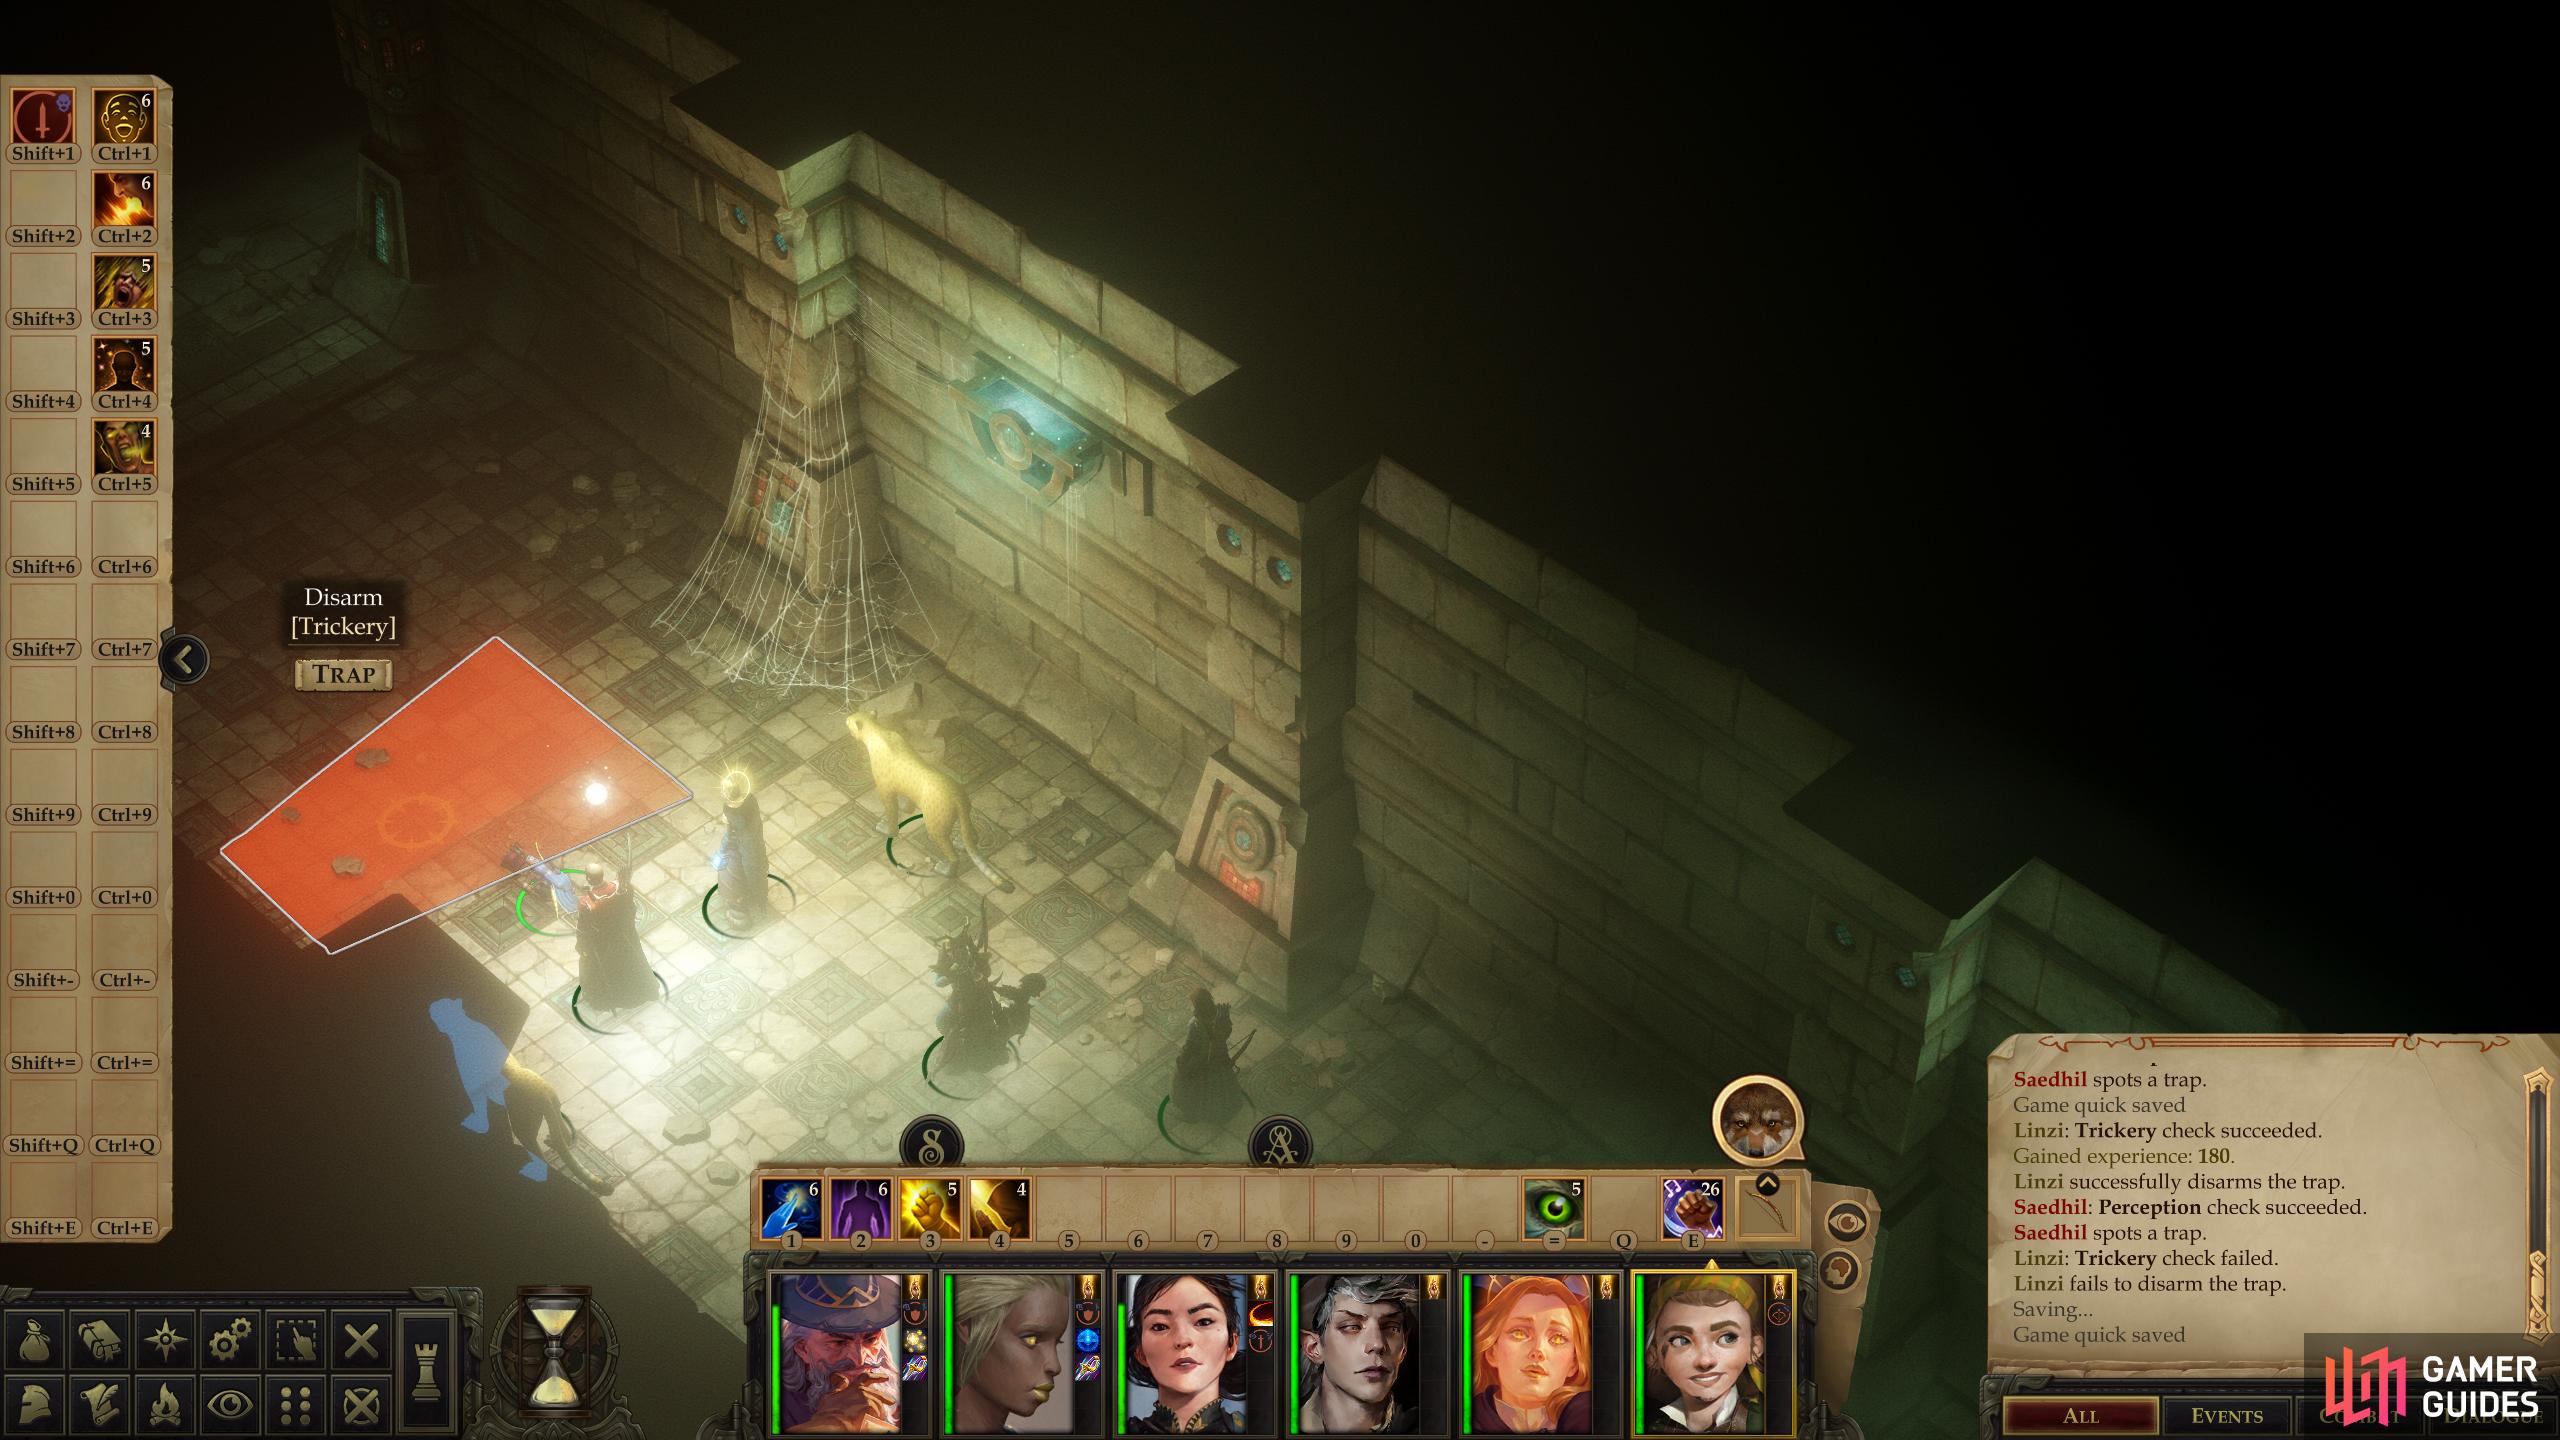
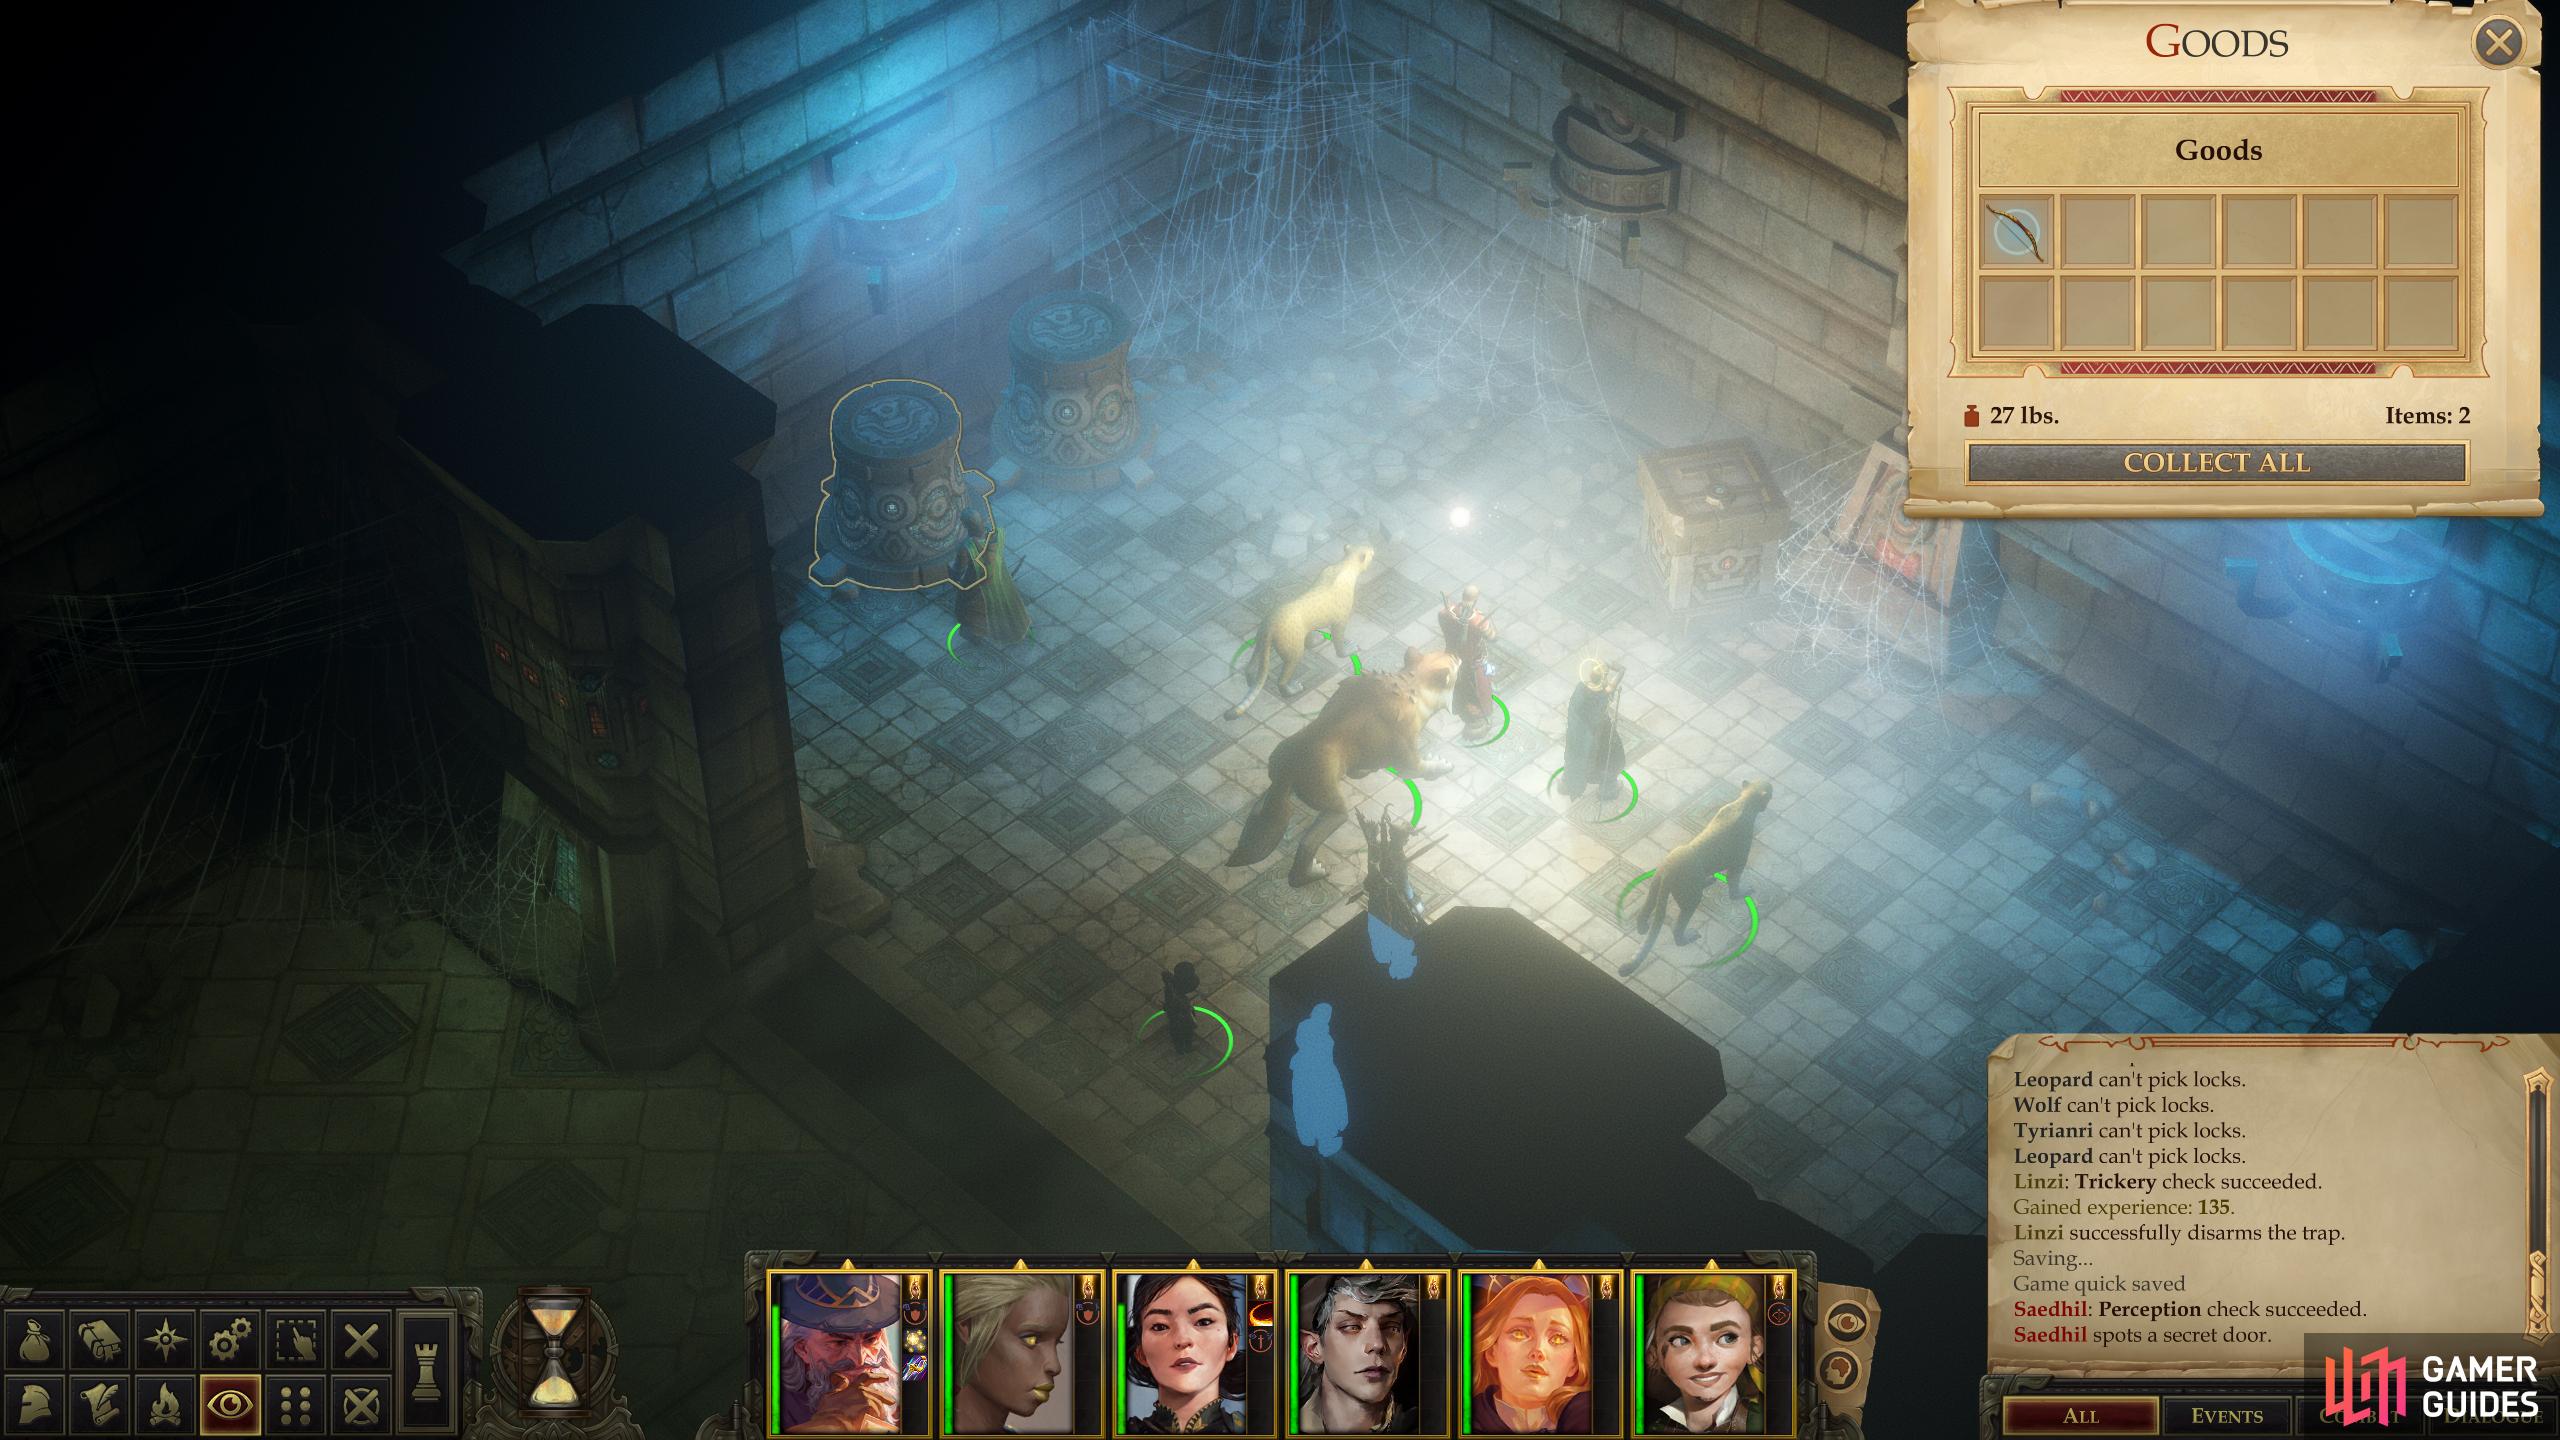
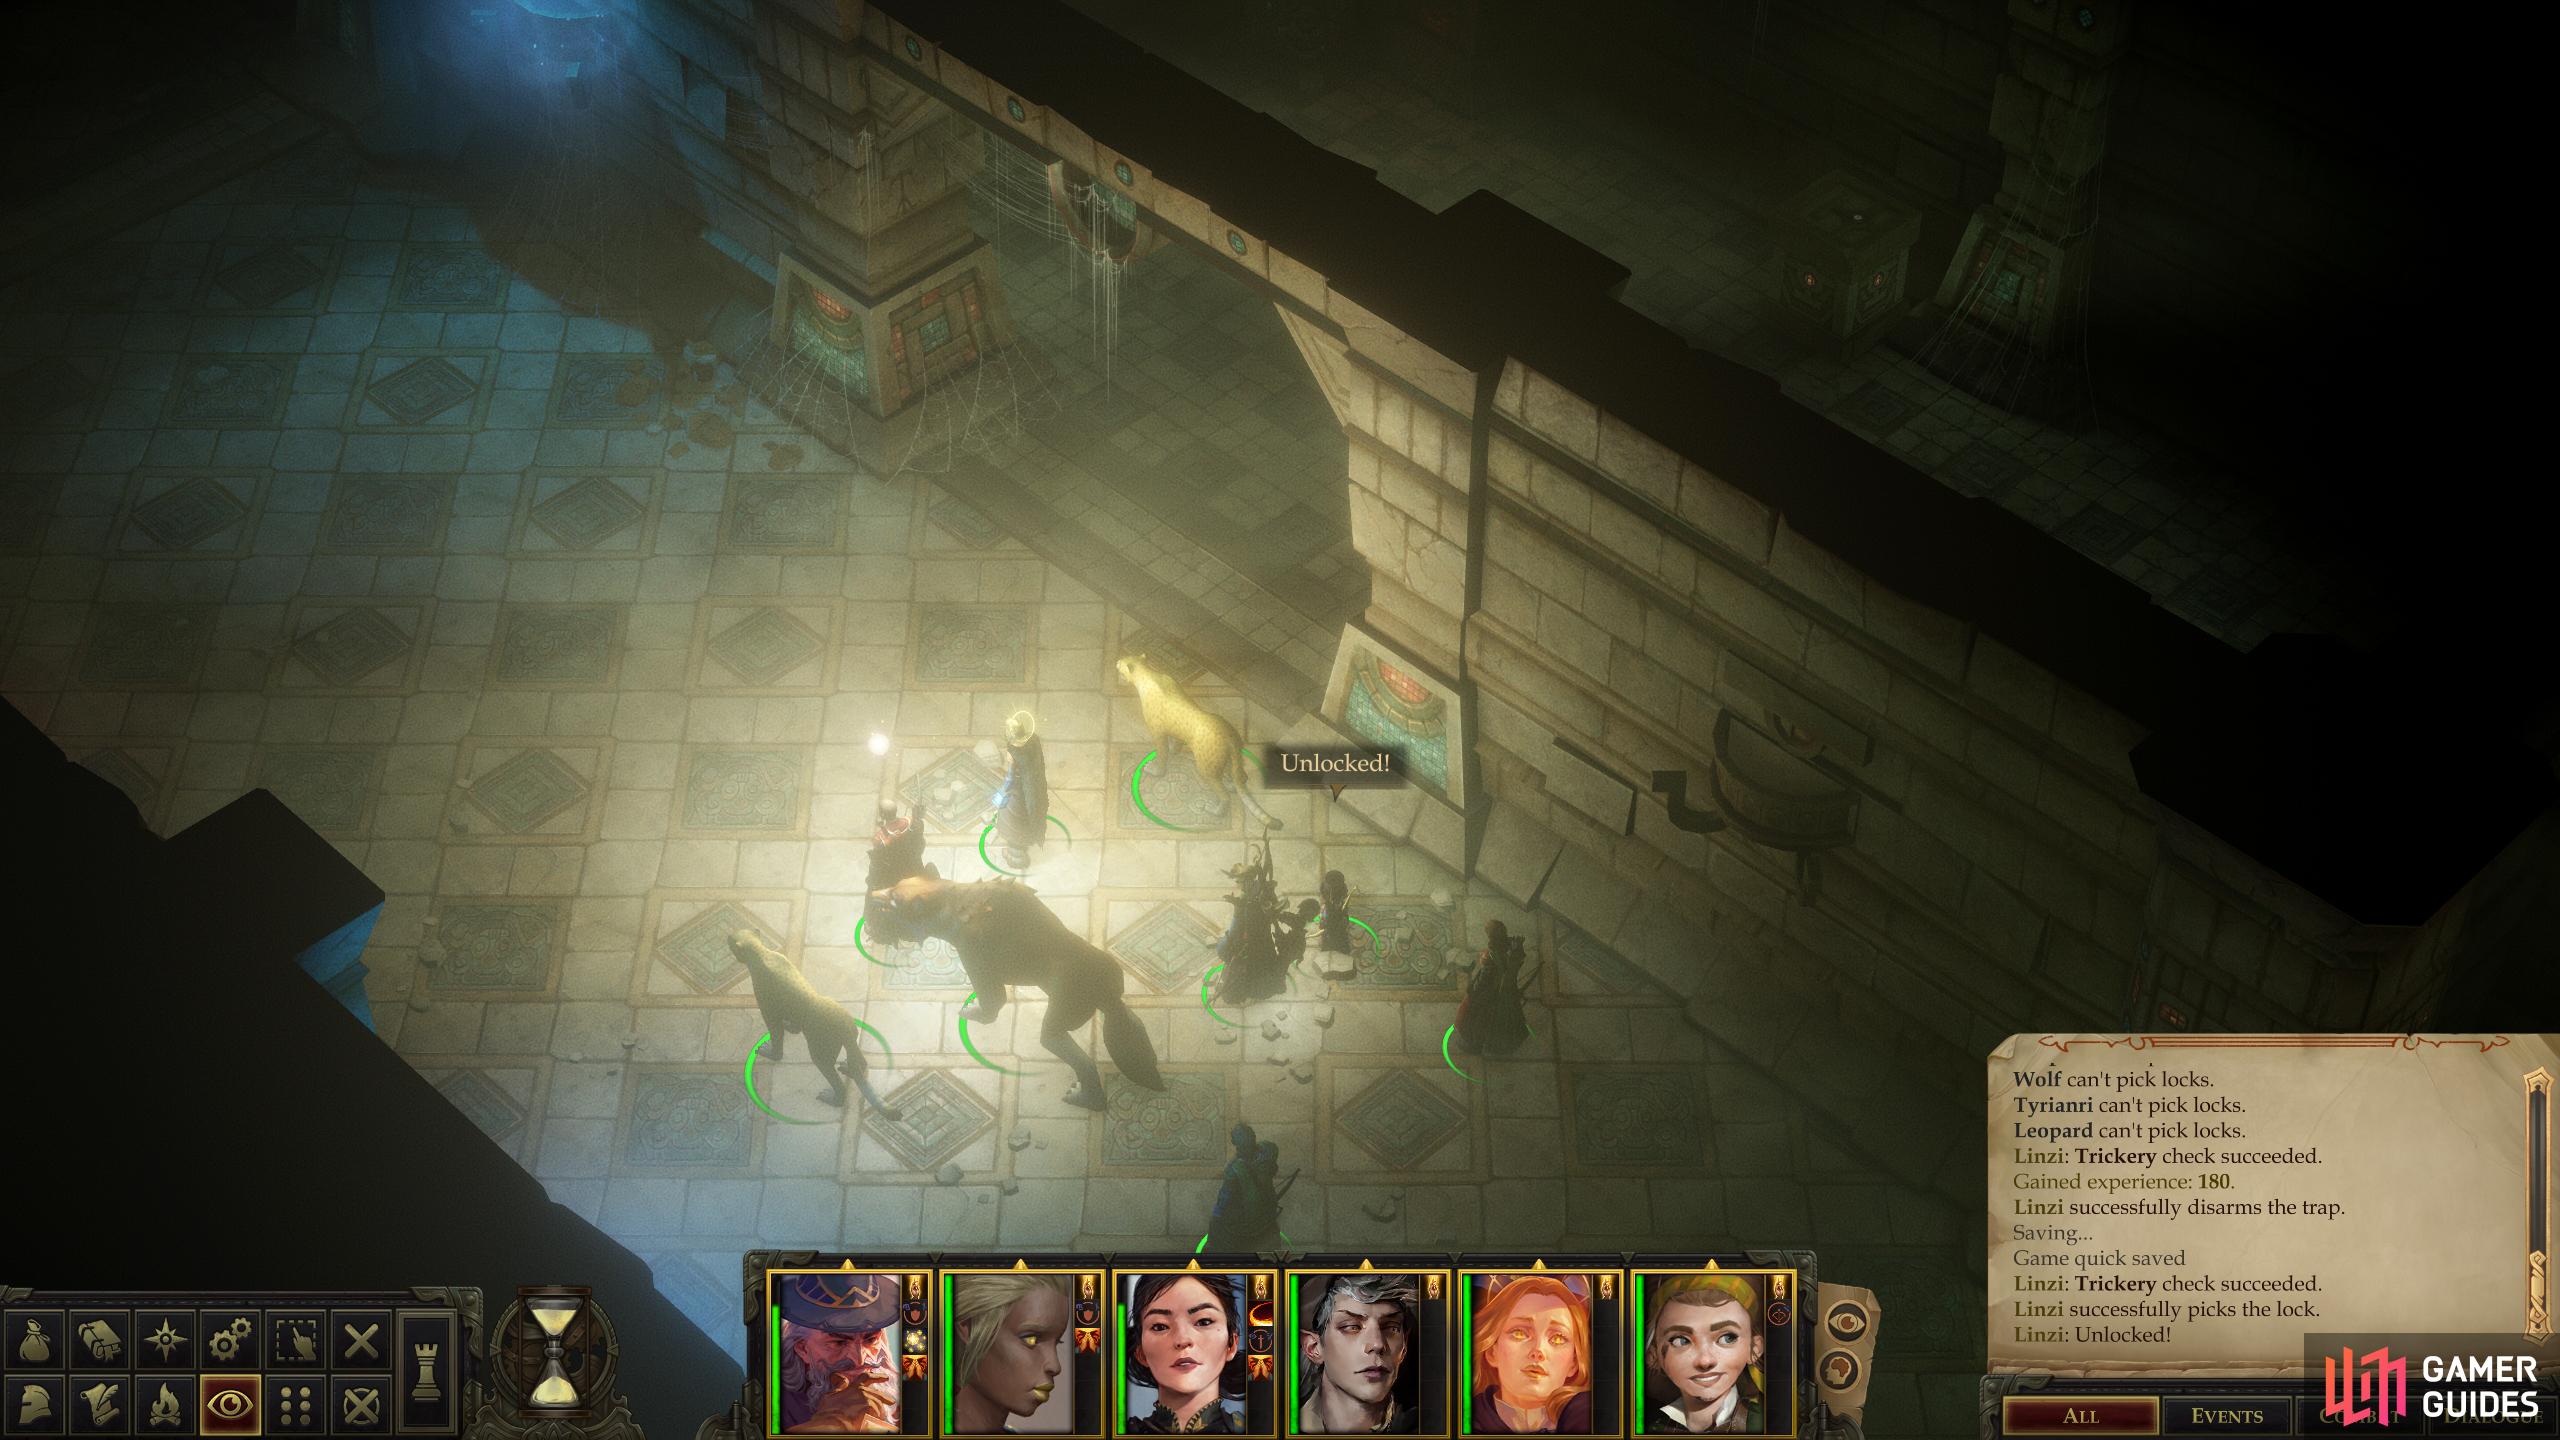
Which way you choose to advance first is somewhat arbitrary, but assuming you head through the door at the southwestern end of the tunnel first (leave a character behind to manipulate the Green/Yellow Switch as necessary) you’ll find a passage running to the northwest, which bears two traps on the floor [Perception 26] [Trickery 26] and [Perception 32] [Trickery 32].
Disarm them, then continue down the hallway to reach a larger room full of irregularly-shaped traps [Perception 25-26] [Trickery 25-26]. Disarm them, loot a container in the northern corner of the room [Trickery 24] for six Potions of Heroism, then note a closed door to the southwest. Alas, this door is not controlled by the Green/Yellow Switch, so remember it for later.
Green/Yellow Switch - Soul Eater Room
Once this room is cleared, continue to the northeast to reach another chamber, along the way stopping to disarm another trap [Perception 25] [Trickery 25] and check a wall panel [Knowledge (World) 19]. In the northeastern chamber you’ll find a trio of Soul Eaters, shadowy enemies that have modest combat stats, but can inflict Wisdom damage when they strike. Despite this one annoying trait, they’re not terribly dangerous foes. Defeat them, then loot a container along the northwestern wall to find some trinkets along with an Ancient Scrap of Script-Covered Leather.
Most importantly, however, you’ll find the Blue Switch in the middle of this chamber, which will grant you access to new areas. This is a good thing, as you’ve gone as far as the Green/Yellow Switch on its own can take you… in this direction, at least. Unlike the Green/Yellow Switch, the Blue Switch is on a timer, so you’ll need to move your party into position ahead of time to exploit what it opens, and keep a character behind to toggle this switch as necessary.
Green/Yellow Switch - Barbarian Room
Make a note of the Blue Switch, but don’t make any plan to play with it just yet. There’s one more area the Green/Yellow Switch can get you. Return to the first hallway where you fought barbarians (the one running northeast/southwest), toggling the Green/Yellow Switch as necessary to get back and, more importantly, to get the northeastern door open.
When you’ve manipulated the Green/Yellow Switch enough, go through the northeastern door, continue down a passage to the northwest, disarm a trap [Perception 34] [Trickery 34], then turn northeast again. Note a closed door to the northwest, which isn’t controlled by the Green/Yellow Switch, then continue into a room to the northeast, where you’ll find a pair of zombie cyclops.
Cut the deaders down, loot them, examine the northeastern wall [Knowledge (World) 21) for some XP, then note a third switch on the ground - the Orange Switch I. Makes sense, given the orange doors you passed by earlier. Now that you know how to reach both these switches, it’s time to start using them to proceed deeper into this dungeon.
(1 of 4) Press the first orange switch,
Orange Switch - Eastern Rooms
Press the Orange Switch I, then return to the first room where you fought the zombie cyclops and from there continue into the hallway where the Green/Yellow Switch is located. Continue northeast to find that the door at the end of the hallway has opened, and for the safety of whomever you plan to leave behind to activate the Green/Yellow Switch you’d best clear out the area beyond the orange door, first.
Go southeast through the open doorway to find your typical collection of three zombie cyclops, including another cleric. This time, you’ve little choice but to exercise caution, as the cleric stands behind a trap. If you can lure the warriors into the hallway and kill them, wonderful. If the cleric follows, even better. If not, kill the warriors, disarm the traps [Perception 25] [Trickery 25], endure whatever spells the cleric casts, then cut down the third and final zombie.
Continue northeast until you find a passage running northwest, but ignore it for a moment. Instead, examine the northeastern wall and hopefully you’ll discover a secret door [Perception 25]. If so, open it and loot three containers beyond to find a Composite Shortbow +2, a Want of Freedom of Movement and a Robe of Fire.
With these items in hand, make your way down the previously-neglected passage to the northwest, disarming trap [Perception 25] [Trickery 25] as you go. After the first trap, loot a container to score an Ancient Cyclops Coin and some gems, and after the second trap [Perception 27] [Trickery 27] you’ll reach a fork. If you turn southwest you’ll notice you’re behind one of the doors leading to the room just beyond (northwest of) the Green/Yellow Switch. Continuing down the hallway to the northeast will terminate in a small room with some Barbarians guarding closed blue and orange doors. You’ll get behind them soon enough, but for now there are easier targets to explore.
Return, once again, to the Green/Yellow Switch and position one character by the Green/Yellow Switch. Activate it to close the doors to the northwest and southeast (separating the character by the Green/Yellow Switch in the process) and opening the doors to the southwest/northeast. Head through the open door to the southwest and note that one of the two doors beyond - the southern one - is now open.
(1 of 3) Another confrontation between the standard cyclops trio is complicated by a pillar that pulses with negative energy - touch it to stop it.
Orange Switch - To the Second Orange Switch
Loot a wall decoration [Perception 8] [Trickery 6] to score some gems and an Ancient Cyclops Coin then go through the southern door. Kill several Barbarians, loot a container, decipher a wall mural [Knowledge (World) 20], then hit a button . Head back up the hallway to the northwest to find that the northern door is now open.
In the room beyond you’ll find the standard trio of zombie cyclops, with the priest being in the northern corner. There’s a minor complication, however - in the center of the room is a statue, which will hit you with pulses of negative energy, presumably instigated by the cyclops priest. All you need to do to stop it is interact with it, which you can do as you move to engage the zombies. Be sure to do this to limit the damage taken, then loot some scrolls and an Ancient Cyclops Coin in the northern corner, behind the priest.
Venture up the hallway to the northwest, disarming a trap [Perception 26] [Trickery 26] and when you spot a door to the northeast, don’t let it fool you - this is a conventional locked door. No switches required. Just let your lockpicker give it some attention [Trickery 22] to get it open, then loot a pair of containers in the room beyond. Both are locked [Trickery 22] [Trickery 27] and one will relinquish 2,337 gold while the other contains a variety of gems.
Leave the room, continue down the hallway to the northwest and eventually you’ll find a room containing two more Zombie Cyclops, which guard another orange switch… let’s call this one Orange Switch II. Unlike the previous Orange Switch, this one is timed. Alas, the switch doesn’t open the nearby door, so you’ll have to position a second character here and go searching for what it does unlock.
Orange Switch II - Northern Orange Door
Fortunately, when you activated the switch in the room to the south with the Barbarians you also opened several other doors, which you can now explore. Make your way back to the room just beyond (northwest of) the Yellow/Green Switch (where you killed your first trio of cyclops) and continue through the door to the northeast, which should already be open. You should notice the two doors beyond it to the northeast are open… which allows the character you left near the Green/Yellow Switch to rejoin your party. Huzzah!
In the hallway beyond are two doors, the southern of which loops around to the Green/Yellow Switch, so go through the northern one instead, beyond which you’ll find a large chamber occupied by several Spectres. These nasty undead can inflict negative levels when they strike a target, reducing the victim’s prowess for a full day when such a debilitation takes hold. These stack, and if a character is reduced to level 0, they’ll die. This makes up for the Spectre’s terrible Attack Bonus and damage (as does the fact that they only need to land a touch attack - be wary if you rely on big heavy armor), and makes this fight a matter of avoiding an annoying debuff more than a singular threat in its own right.
Banish the Spectres, then loot the room - in the southern corner you can find some jewelry and a Token of the Dryad while in the hallway back west you can find an Ancient Cyclops Coin in a container. Decipher a wall mural [Knowledge (World) 21] for some XP, then give the room a look to see how the next steps will play out.
To the northwest is an orange door which leads to the room with Orange Switch I which can be opened by Orange Switch II. You’ll get to this shortly, but first, note the multi-colored door to the northeast, along with the blue door near (south of) it. Still some work ahead of you, it seems.
Have the character you left behind - poor thing - hit Orange Switch II, then quickly move the rest of your party through the orange door to the northwest and continue past Orange Switch I to find another orange door to the northwest. Activate Orange Switch II again and proceed through the door to find yourself back in the room with the Blue Switch.
(1 of 3) Take down the spellcasting zombie adventurers quickly to limit the mischief they can cause,
Blue Switch - Zombie Adventurers
To proceed further you’ll need one character standing by Orange Switch II (which you should already have) and one by the Blue Switch, both of which are timed. Use the Orange Switch II to move the rest of your party south to the room with the sealed tri-color door, then use the Blue Switch to open the door south of the aforementioned tri-color door. Beyond this door you’ll find yourself in the room with the blue and orange doors, both of which are opened by their respective, timed switches.
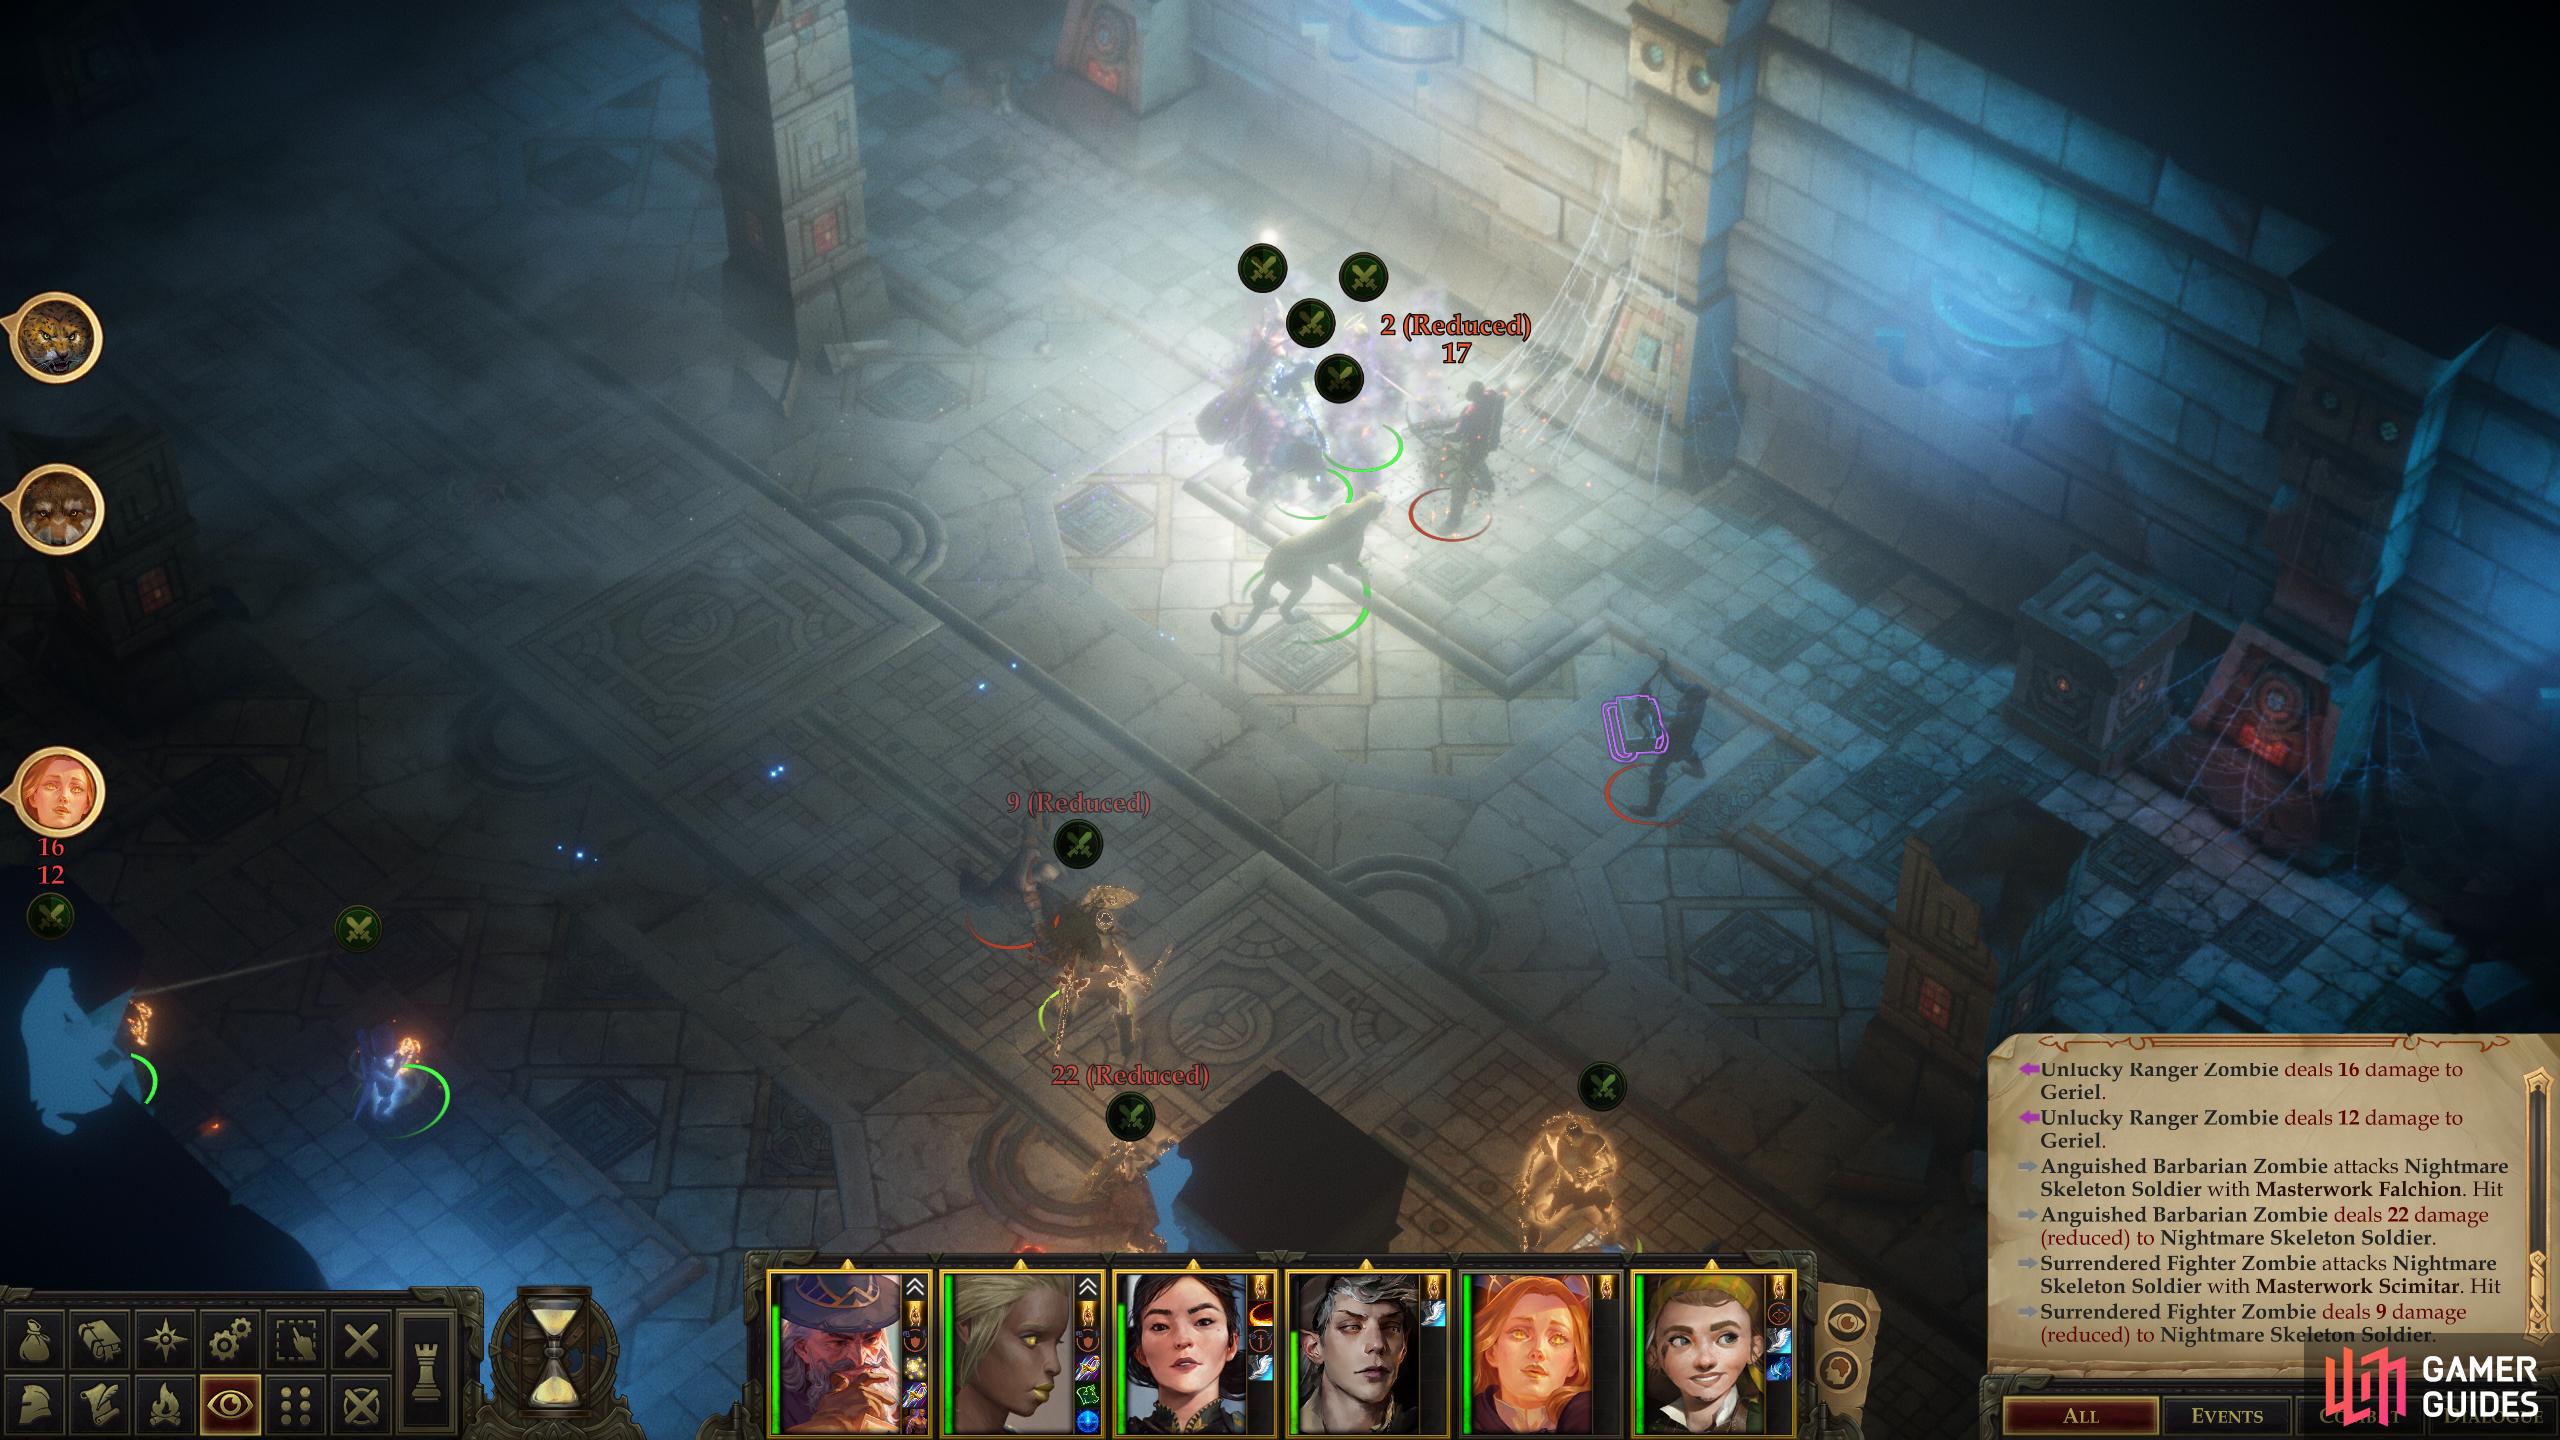
Hit Orange Switch II, then continue northeast through the now-opened orange door, beyond which you’ll find a party of zombies who conspired to be your equals. They’re a balanced bunch, including a Cleric and a Sorcerer, which will cause you some mischief if you allow them to. Spell-buff to the max before heading through the door (as much as you can, anyways, considering you’re down two party members) and rush the Sorcerer first, then the Cleric. The other zombies may include some melee-competent warriors and a nuisance ranger, but they’re lesser threats than their spell-casting comrades.
If this fight is proving troublesome, there’s an easy solution; the doors in this dungeon cut both ways. If you activate Orange Switch II and head inside with only your tank, you should be able to provoke the zombie adventurers. Flee back through the orange door before the timer runs out and bottleneck the zombies who follow you near the door, and when it closes it’ll separate the combatants… presumably their warriors from the spellcasters and the ranger. These two should be simple enough to cut down on their own, after which you can rest up, heal and buff up as necessary before opening the door again and cutting down the stragglers.
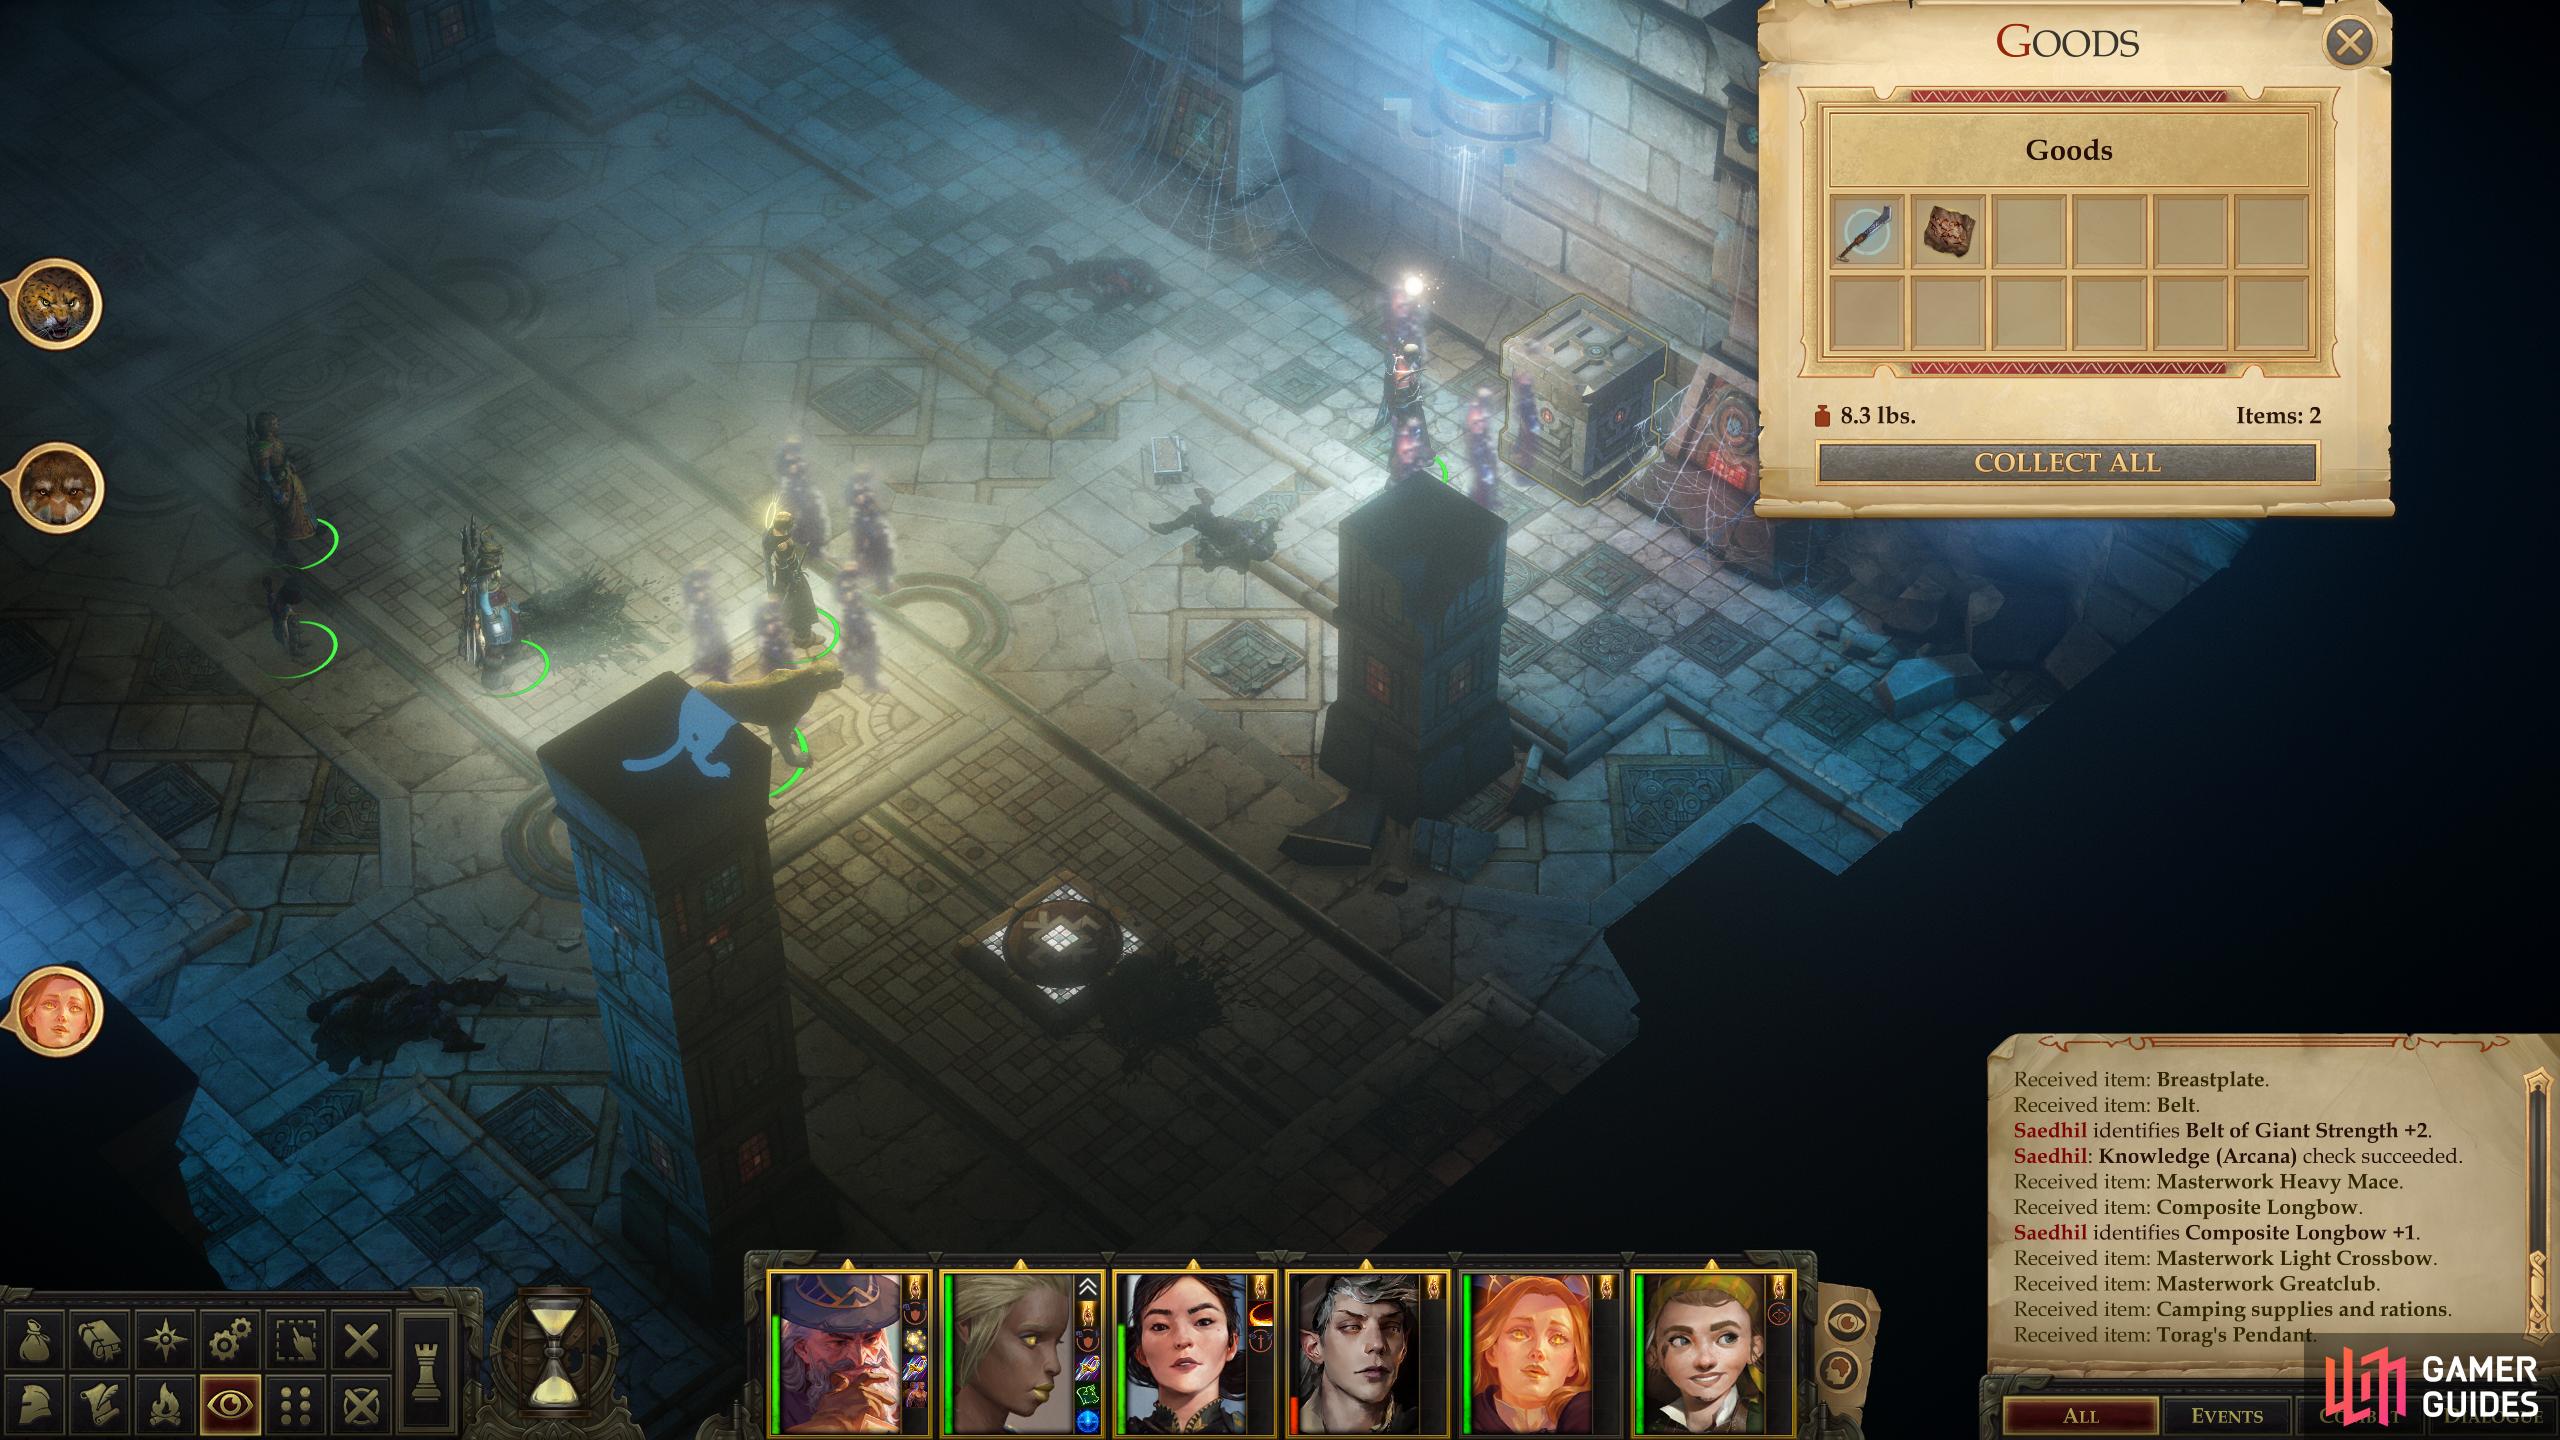
However you manage it, when you’re victorious, loot the twice-slain adventurers for some gear including a Tower Shield +2, Penrod Hanvaki’s Letter (this is required to complete the quest The Lost Brother, so hold onto it), a Belt of Giant Strength +2 and a Composite Longbow +1. In the rest of the room you can also find a hidden chest [Perception 21] holding a masterwork weapon, some camping supplies and a Torag’s Pendant and a container holding an Ancient Scrap of Script-Covered Leather and Fury’s Legacy, a Falchion +2 with the “Furious” property, causing it to act as a +4 weapon when in the hands of a raging character. Hello, Amiri.
Most importantly, however, is a white switch in the room, which unlocks white component of the tri-color door. To get this final door open, you need merely press this switch, navigate back to the tri-color door (aided by your characters near the Blue Switch and Orange Switch II) then press the two aforementioned timed switches one more time to open the tri-colored door. In the room beyond the tri-color door you’ll find a most welcome sight - a Tri-Color Switch. No points for guessing what this does.
(1 of 3) Hit the tri-colored switch to open all doors in the dungeon.
Rescuing the Defaced Sister
Activate it, reunite your party, then continue northwest to find some more ominously named Soul Eater enemies. Inform them your soul isn’t on the menu, then keep advancing to the northwest to find a large chamber dominated by a sarcophagus, beyond which waits another Defaced Sister. Spellbuff generously before you approach her.
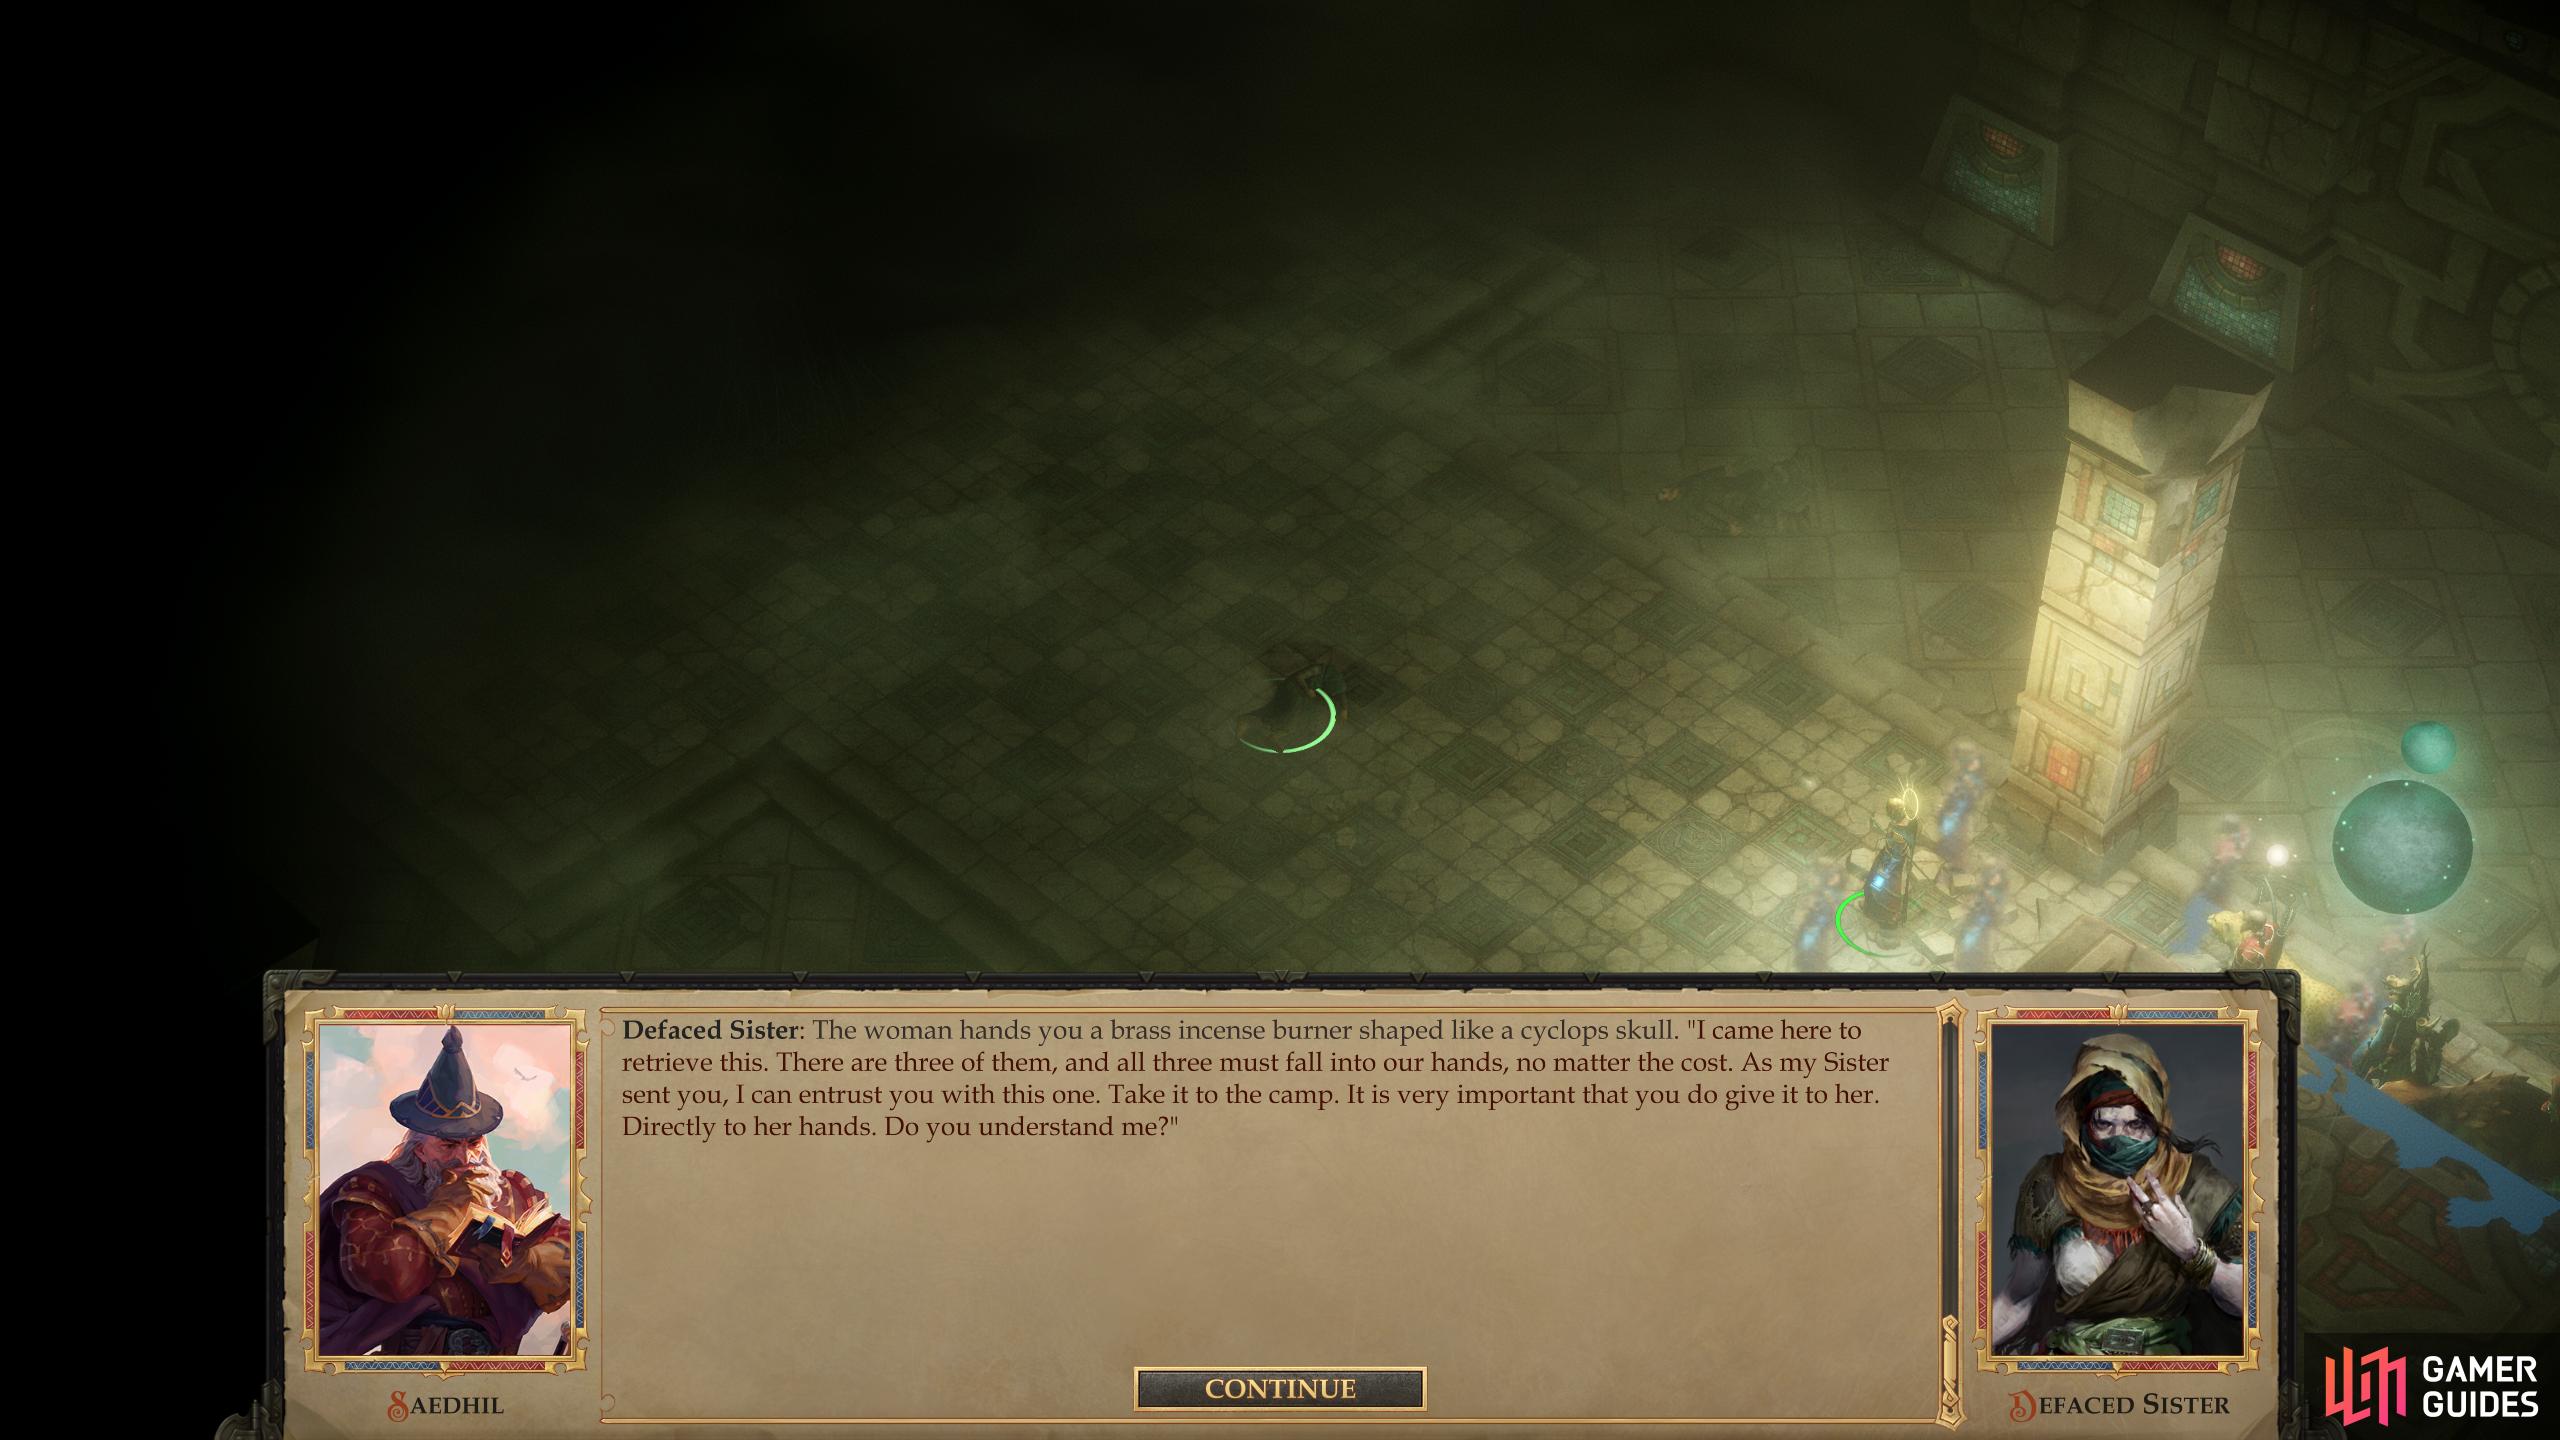
Talk to the Defaced Sister and, if Amiri is with you, you’ll have to restrain her - she’s a bit touchy about barbarians being sent to their deaths by witches and all - then chat with her. She has little useful to say unless your protagonist is [Good], in which case you can utter a condemnation of her actions that shake her into revealing some useful information. More importantly she’ll give you a Cyclops Incense Burner. If you just convince her to leave, you won’t get the aforementioned relic.
Either way, after you’re done with the Defaced Sister, the doors that line this chamber will predictably open, letting loose a horde of zombie cyclops, including clerics and warriors. This is why you spell-buffed earlier. Fighting them here is a rough prospect, although if you can cut down two warriors quickly enough and get your vulnerable characters into the room they occupied, you’ll at least have a tenable defensive line. If your spell preparations included Haste, casting that should let you simply flee to the southeast, where you might find better defensive prospects by bottlenecking them in the tri-colored door. Casting Animate Dead just behind enemy lines might split or distract your foes, and if the cyclops clerics target them, all the better - they’re immune to pretty much everything the zombie priests can do. Almost every workable scenario involves you enduring the spells of the clerics, however, so having something to counter Hold Person (such as Remove Paralysis) will prove quite useful.
Once you’re victorious, loot a wall container [Trickery 26] at the northwestern end of the hall for a Light Shield +3 and a Battleaxe +3, and search the southernmost cell (the cells from which the cyclopes emerged) to find a hidden [Perception 8] and locked [Trickery 10] hideaway in the wall that hides an Ancient Cyclops Coin and some baubles. container with more treasure. Finally, head into the easternmost cell to find a quick way out of this dungeon.
As you fumble about, the Raven should appear again and question your choices. Pick a [Chaotic Good] or [Lawful Neutral] response, as you prefer, and again, avoid any dialog options that reveal your name to the bird. When you’re done bantering with birds and looting, leave the tomb.

 Sign up
No Comments