

Trial of Kamala the Phoenix
From where you left Shyka (just north of the area’s southern entrance) head west until you find three Poisonous Giant Flytraps. More old foes, but these ones are more formidable. As usual, their Armor Class is decent, they have concealment, and a hefty store of Hit Points, but their Attack Bonus isn’t too fearsome anymore… something they partially make up for with a great number of attacks per round. Use some spellbuffs to make this fight easier, if necessary and continue west once they’ve been cut down to size. With any luck, you’ll only have to fight two at a time at most.
As you head west, keep an eye out for a stone you can loot [Perception 11] along the northern all to uncover an Ancient Elven Bead. When you run out of west, turn north to find some vines you can attempt to climb [Mobility 29] to reach the floor of a ruined tower. Disarm a trap [Perception 36] [Trickery 36] and loot a chest to score some valuable restorative scrolls as another Ancient Elven Bead.
Climb back down the tower and continue uphill to the south to find an odd gathering of fey consisting of a Satyr, a Nymph and Kamala the Phoenix. Loot some rocks to the west to score a Tree Crest Buckle, then interact with any one of the three fey. The chatty one - Kamala - knows who you are, and passing a [Lore (Religion) 25] will reveal them to be devoted to a goodly sect devoted to a non-violent future… which is not the same as presently being pacifists, it should be noted. True to her word, she’ll claim to be here to help you stand firm against an extraplanar threat that plots your destruction. Wonder who that could be?
(1 of 2) Pass a skill check
Pass a skill check (left), then a Will Save to thwart the fey’s attempts to mislead you. (right)
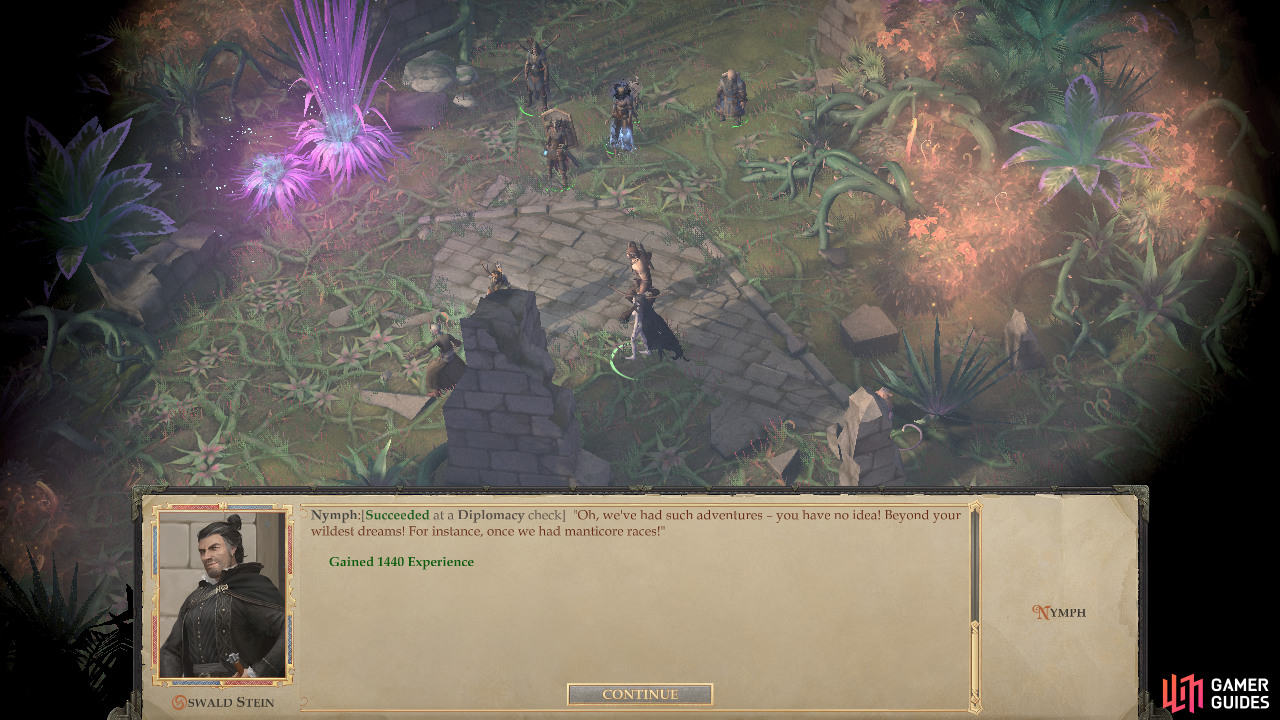
Of course, there’s a catch: you’ll have to past a test to prove yourself worthy of their aid. If you’re inclined to take this test, respond with “What does this trial consist of?” followed by “I agree to undergo your trial.” This will start the quest The Secrets of Suramgamin As she said, her trial is one of words, not swords… although they need not be particularly nice words. Pass a [Diplomacy 30], [Bluff 30] or [Intimidate 20] check (the latter of which is also [Neutral Evil].
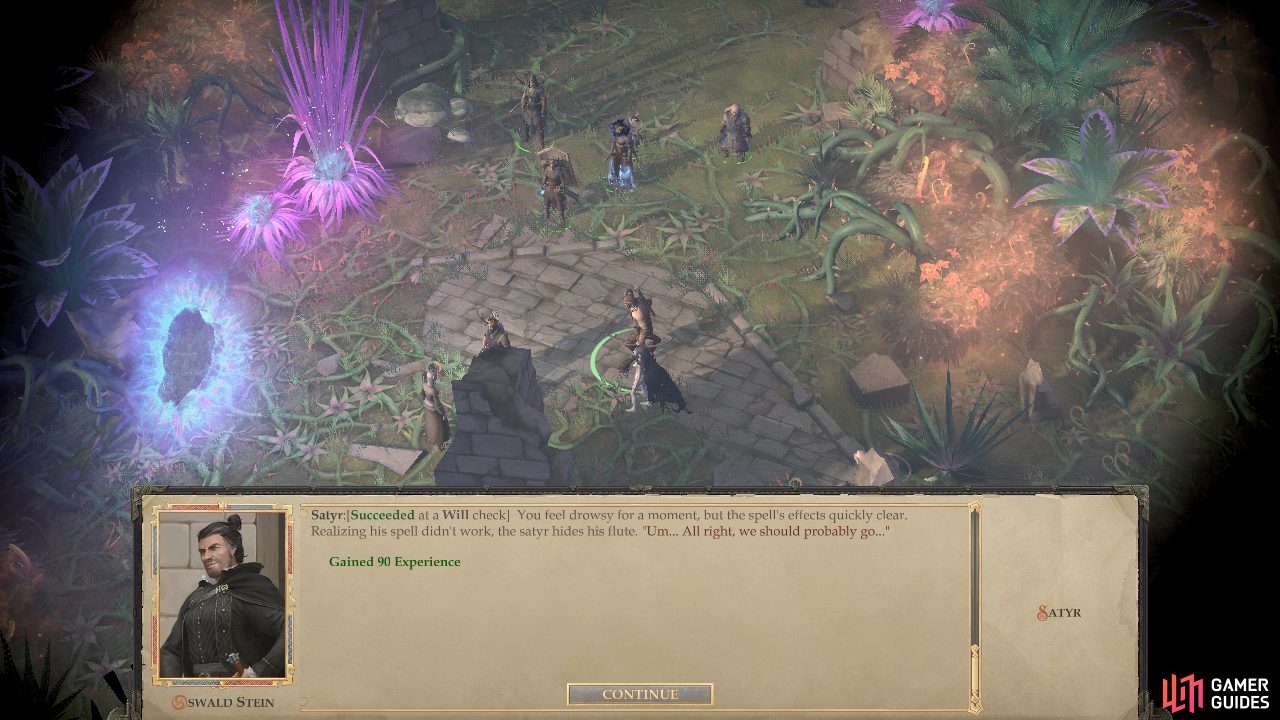
Succeeding at either the [Diplomacy] or [Bluff] checks will lead to another check as the mischievous fey try to tempt you with treasure, but the [Intimidate] check will, if successful, get to the end of this encounter more swiftly. If you need to deal with the temptation-peddling fey, pass a [Diplomacy 32], [Bluff 27] or the same [Intimidate 20] check to get Kamala to dismiss the fey. Should you fail, the fey will walk off - a clear sign that you failed in your attempt to talk you way out of this situation. If you succeed, the Satyr will try to lull you to sleep with his pipes, necessitating a [Will 30] check. Pass this final check and you’ll have thwarted the fey. Just be sure not to pointlessly attack them at the end to successfully complete the trial.
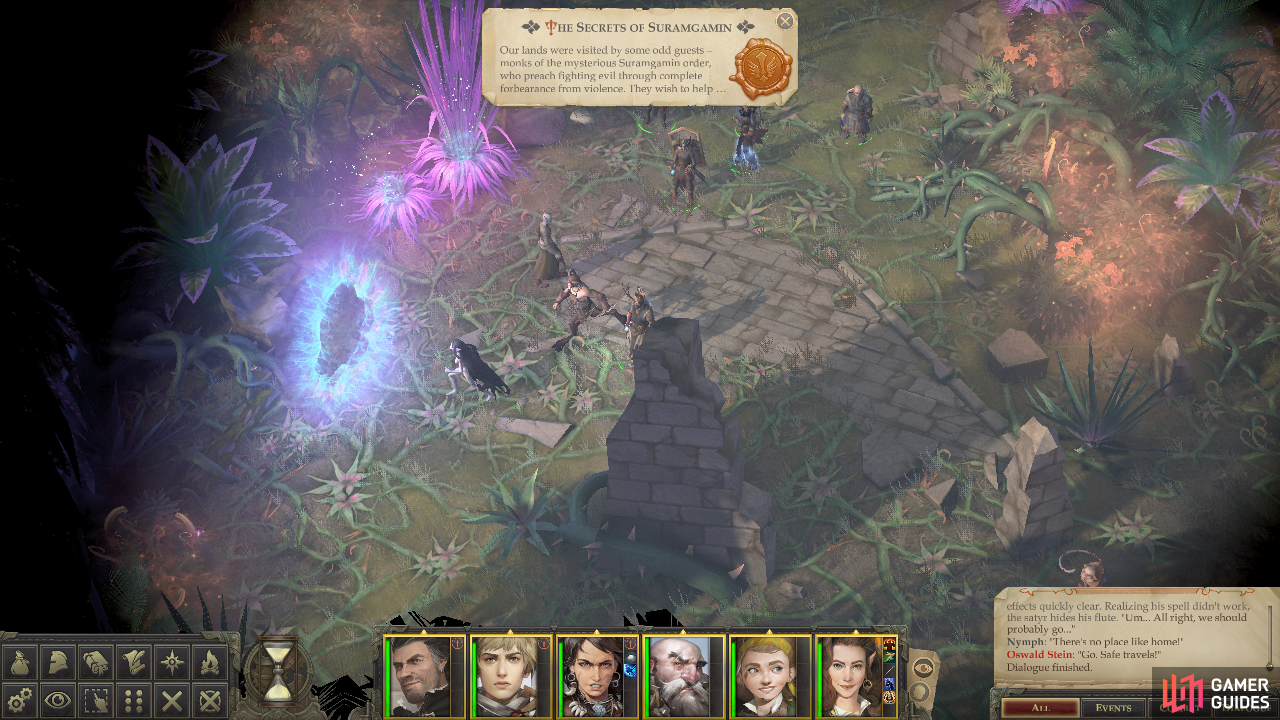
(1 of 2) After failing to trick you, the fey will depart
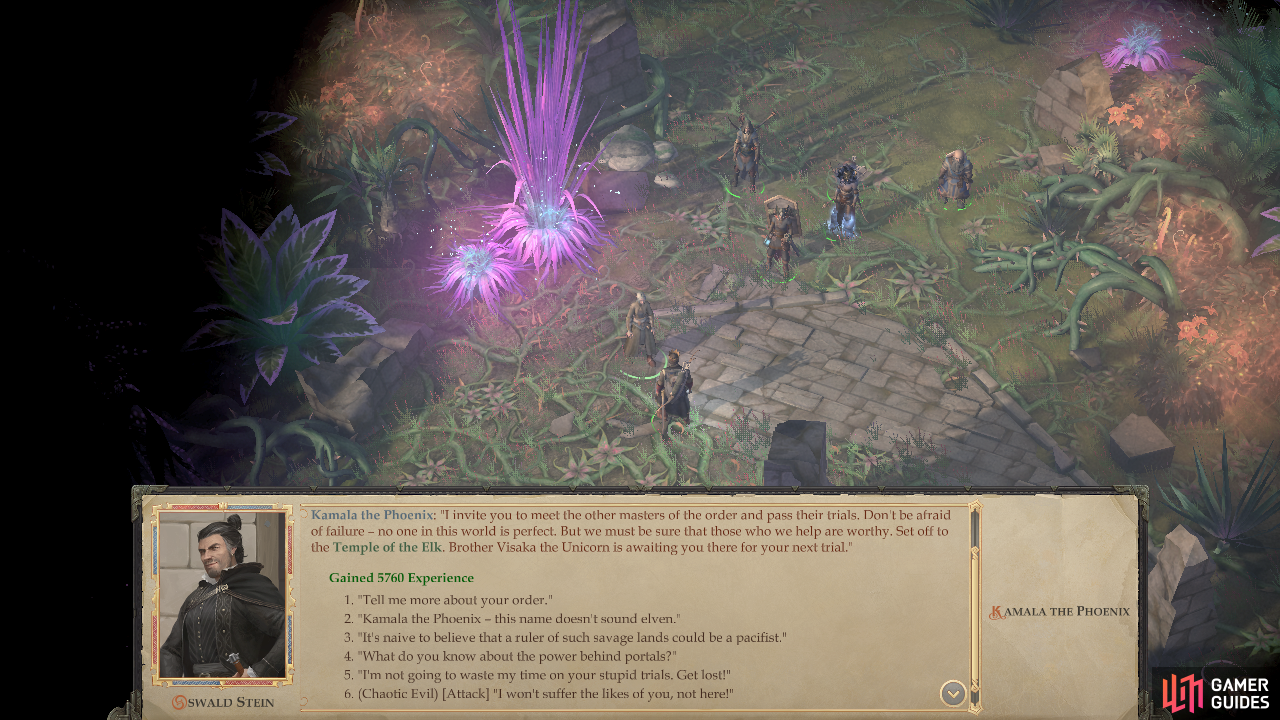
After failing to trick you, the fey will depart (left), and Kamala will tell you of your next test. (right)
Talk to Kamala she’ll congratulate your success, and invite you to… take another trial. This one involves meeting with another member of her cult - Visaka the Unicorn - at the Temple of the Elk. Exhaust her dialogue options to learn what little you can (mostly she just refers you to Visaka) after which she’ll leave.
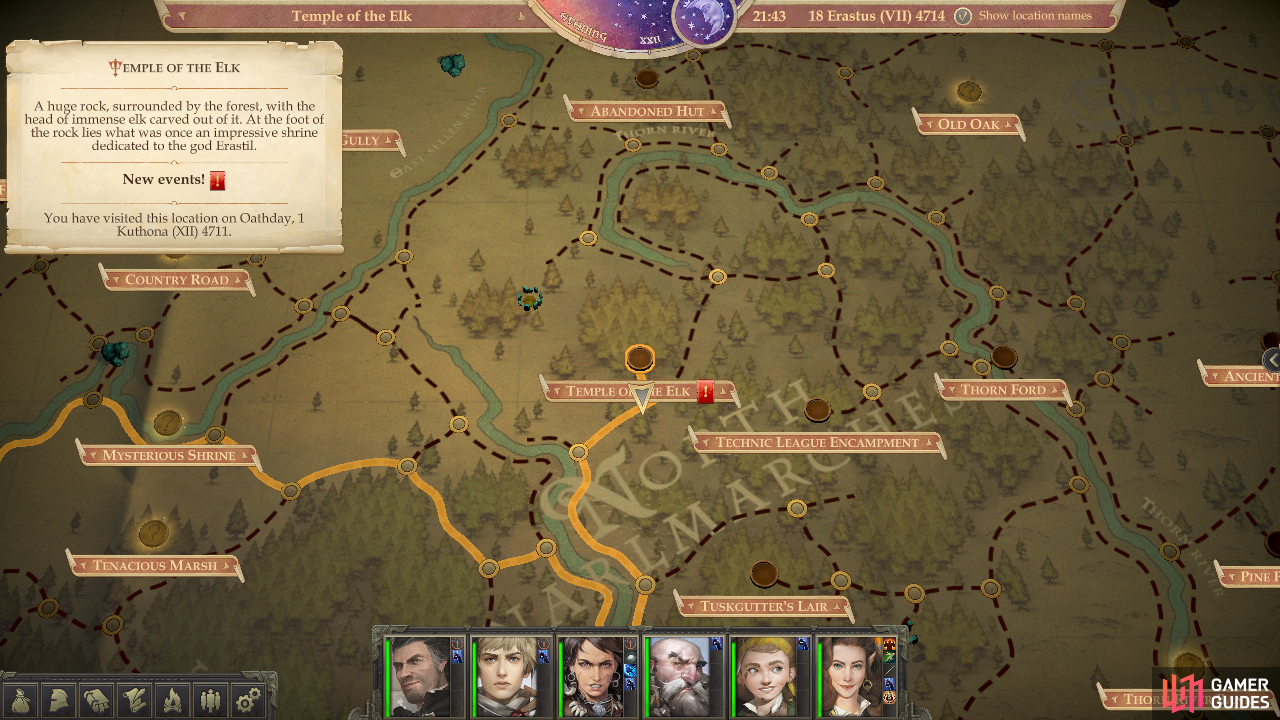
(1 of 2) Travel back to the Temple of the Elk
Travel back to the Temple of the Elk (left), To find Visaka the Unicorn and some… beasts. (right)
Trial of Visaka the Unicorn
The journey to the Temple of the Elk isn’t a short one, so you’ll need to decide if you care to bother to do this. On one hand, your kingdom stats probably aren’t going to be a huge concern going forward. On the other hand, if you’re anywhere near the verge of collapse, you’d better not waste time and just get on with confronting Nyrissa, in which case skip ahead to the page “Against All Odds“, below.
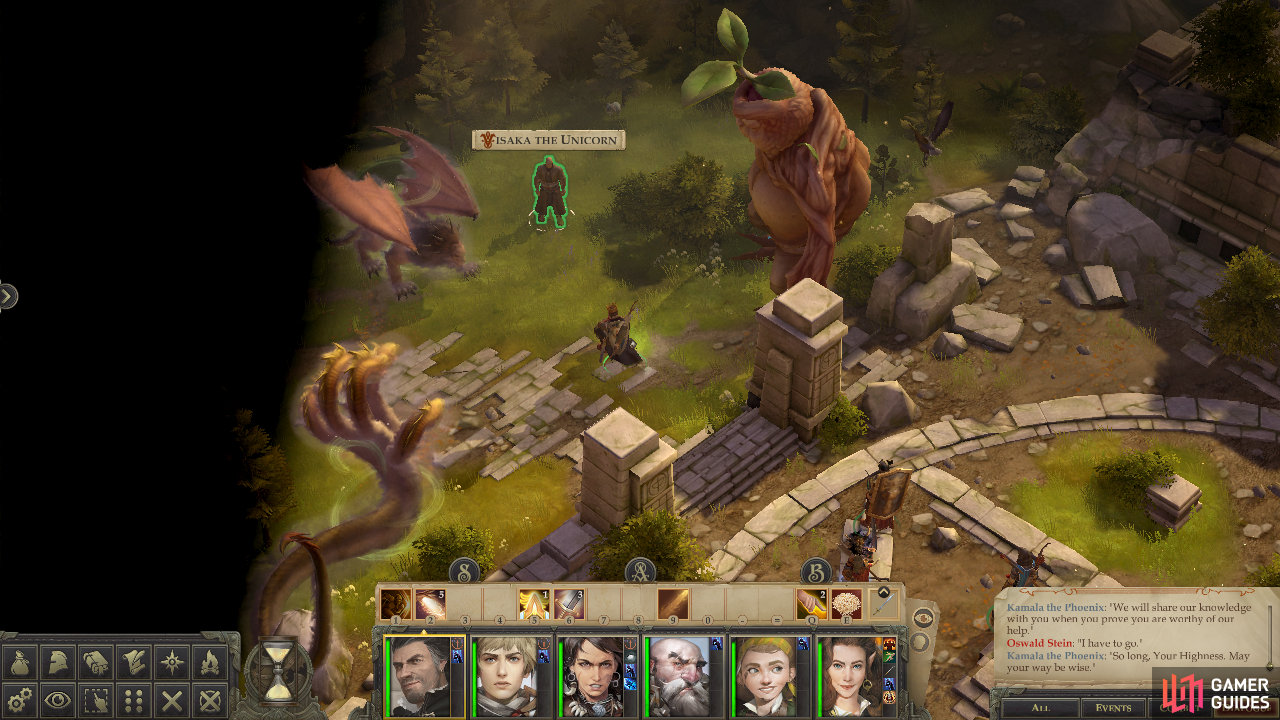
When you arrive at the Temple of the Elk, you’ll find that it may be quite a bit different now than when you left it last, now possibly being infested with pilgrims. Ignore them and continue northwest past the central fountain and beyond the ruined wall to the northwest, where you’ll find Visaka the Unicorn. He should be pretty unmistakable, as he’s surrounded by an Immense Mandragora, a Poisonous Primal Manticore and a Poisonous Primal Hydra.
Talk to Visaka and ask him about the trial and he’ll tell you that it, too, involves dealing with a couple of beasties - the ones assembled nearby - without killing them. He refuses to tell you how, exactly, to handle this trial, but that’s why you have a guide, eh? This isn’t a trial in defusing a situation before it becomes dangerous, but rather in practicing pacifism. Accept the challenge and all three beasts will attack, with the sole criteria for success being to stay alive despite their onslaught without harming them.

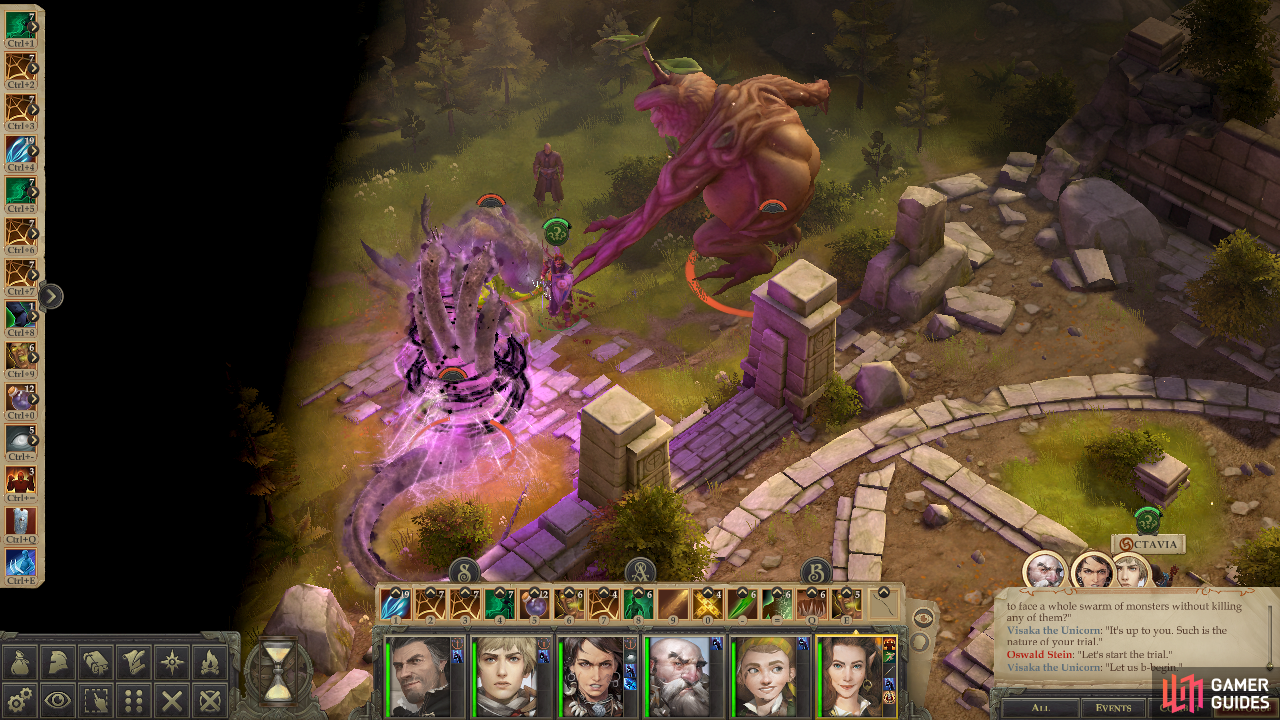
(1 of 3) While you can’t hurt the beasts, nothing says you can’t debilitate them with Phantasmal Web and Hold Monster
Since survival is key, preparation is necessary. First, note that the manticore and hydra both have terrible Will Saves, which makes them easy enough to subdue with Phantasmal Web or Hold Monster. Doing this removes two thirds of the offense coming at you, including the hydra’s annoying poison. This leaves only the Immense Mandragora, with its moderate Attack Bonus. It’s conceivable that a warrior can simply tank this beast long enough, but there’s no reason to not improve their odds of survival with spells like Stoneskin, Blur, Displacement, Greater Invisibility, etc. You should also move the rest of your party members a safe distance to the southeast so they won’t be targeted… and be sure to turn off party AI!
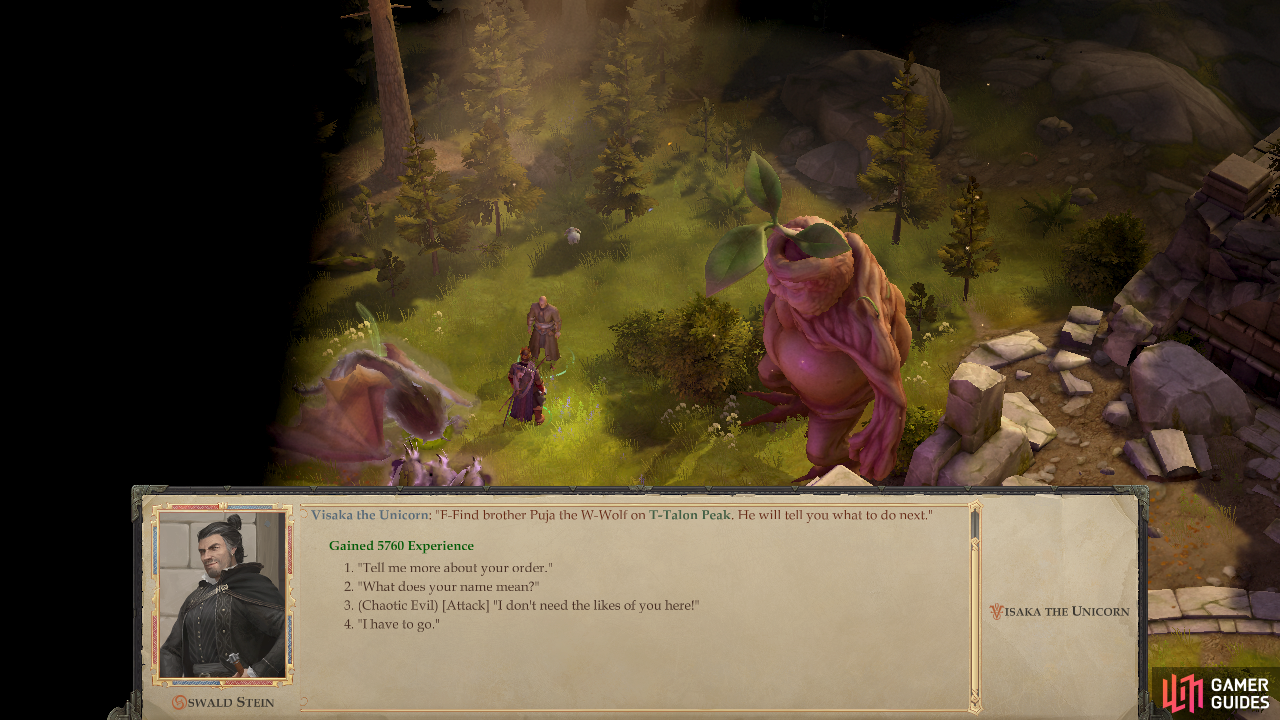
Endure until the monsters stop being hostile, then talk to Visaka and he’ll refer you to another cultist - Puja the Wolf, who resides on Talon Peak. Hooray…
Travel: Talon Peak
Talon Peak is a fair distance away, and unlike the Temple of the Elk, there’s no guarantee that you’ve been there yet. That being the case, some navigation is necessary. First travel back to Varnhold, of all places, and from there follow the directions given below:
- West
- West
- South
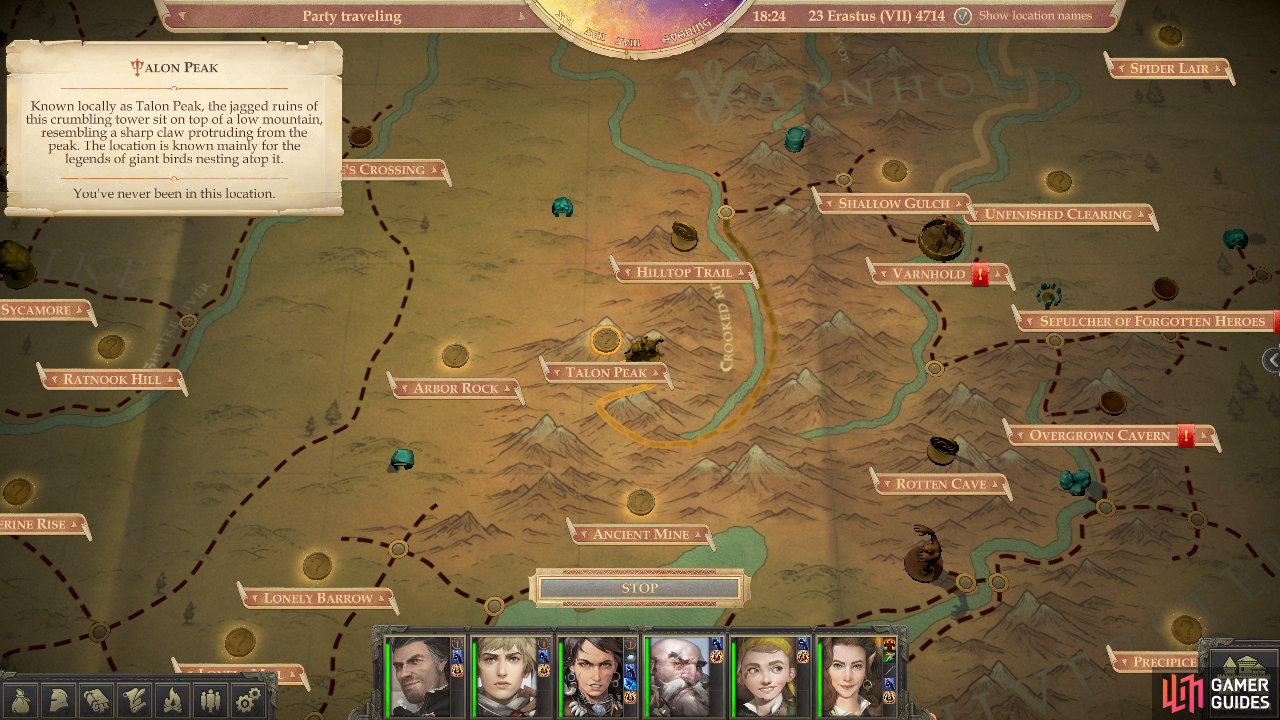

(1 of 2) Venture back to Varnhold, and from there head west and south to find Talon Peak
Venture back to Varnhold, and from there head west and south to find Talon Peak (left), Your ascent will be challenged by both Giant Spiders and Spider Swarms (right)
Scaling the Spider Slopes
Simple enough directions, but it’s a long journey through the mountains. When you arrive, head east along the bottom of the area, then turn northwest and continue uphill, disposing of some Giant Spiders and Primal Giant Spiders - foes no longer a match for you - as you go. When you reach a cave, loot a corpse nearby for some Diamond Dust, then head through the aforementioned cave.
Once through the cave, continue west along another trail, stopping to loot a corpse before you run into move nuisance enemies - a Giant Spider and a Spider Swarm. Brush them aside, then continue following the linear trail as it switches back down to the east and ultimately terminates in an area transition leading to the second area of Talon Peak.
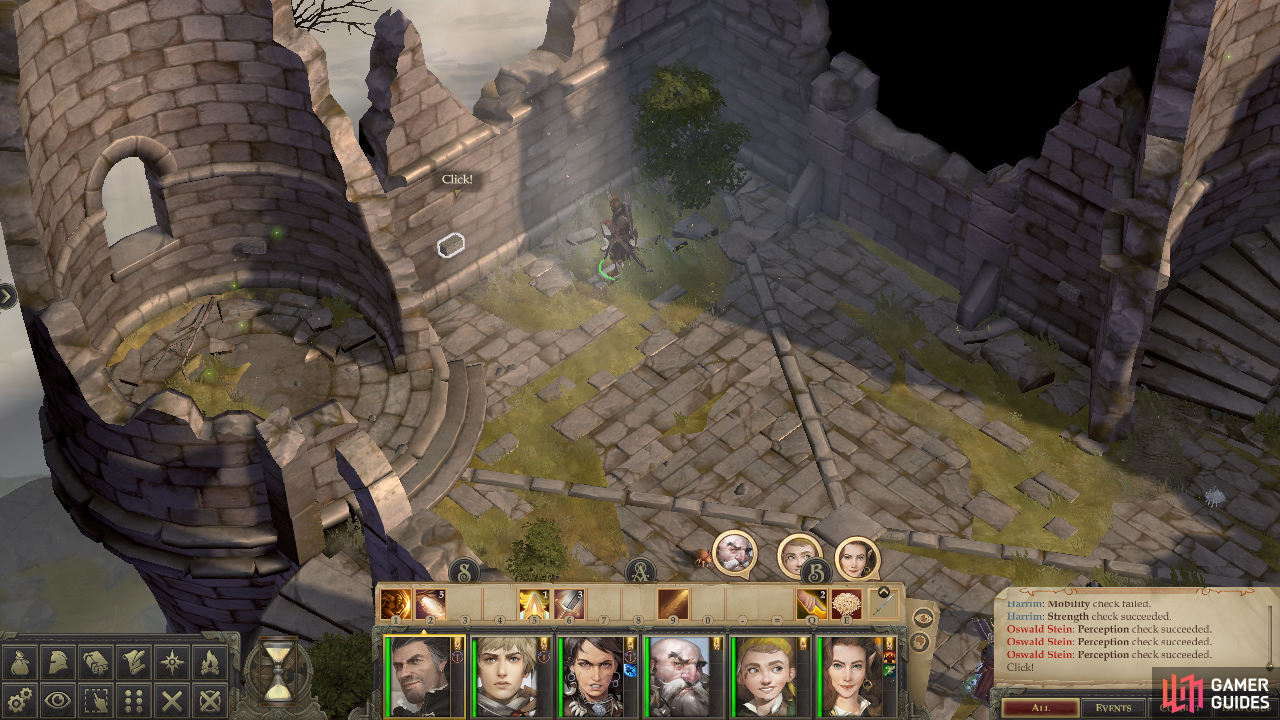
Skullcrusher Puzzle
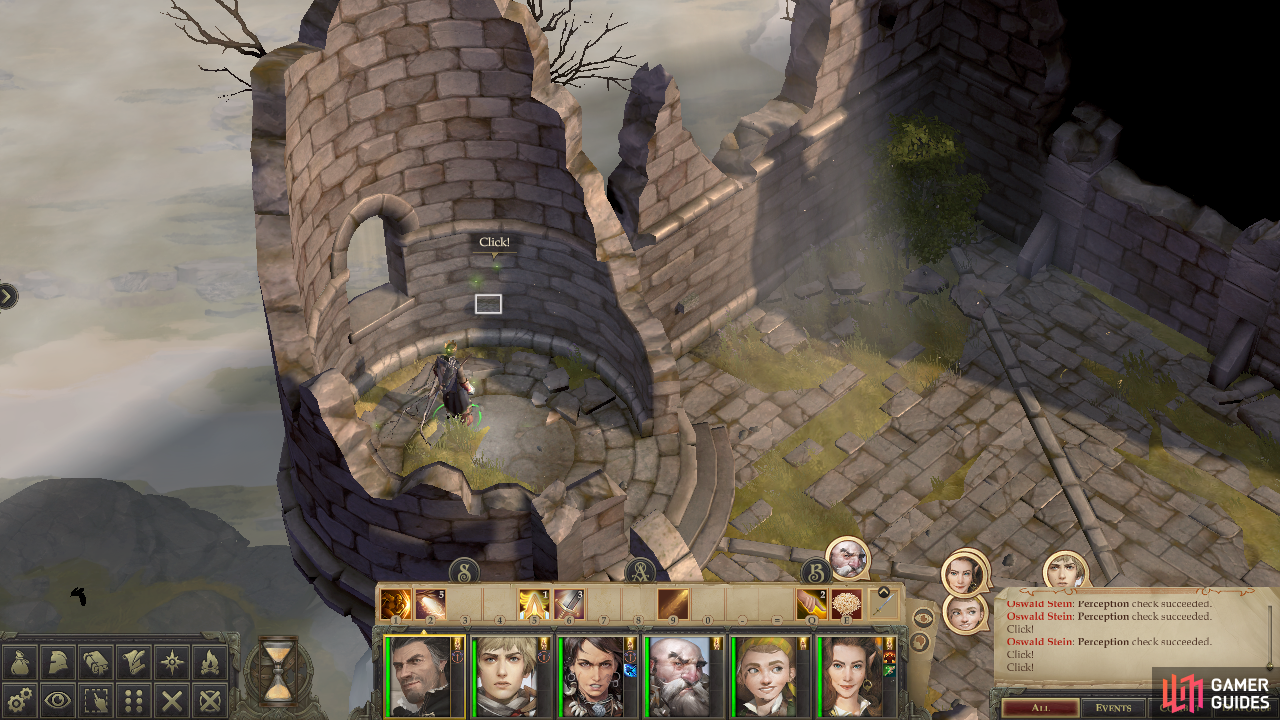
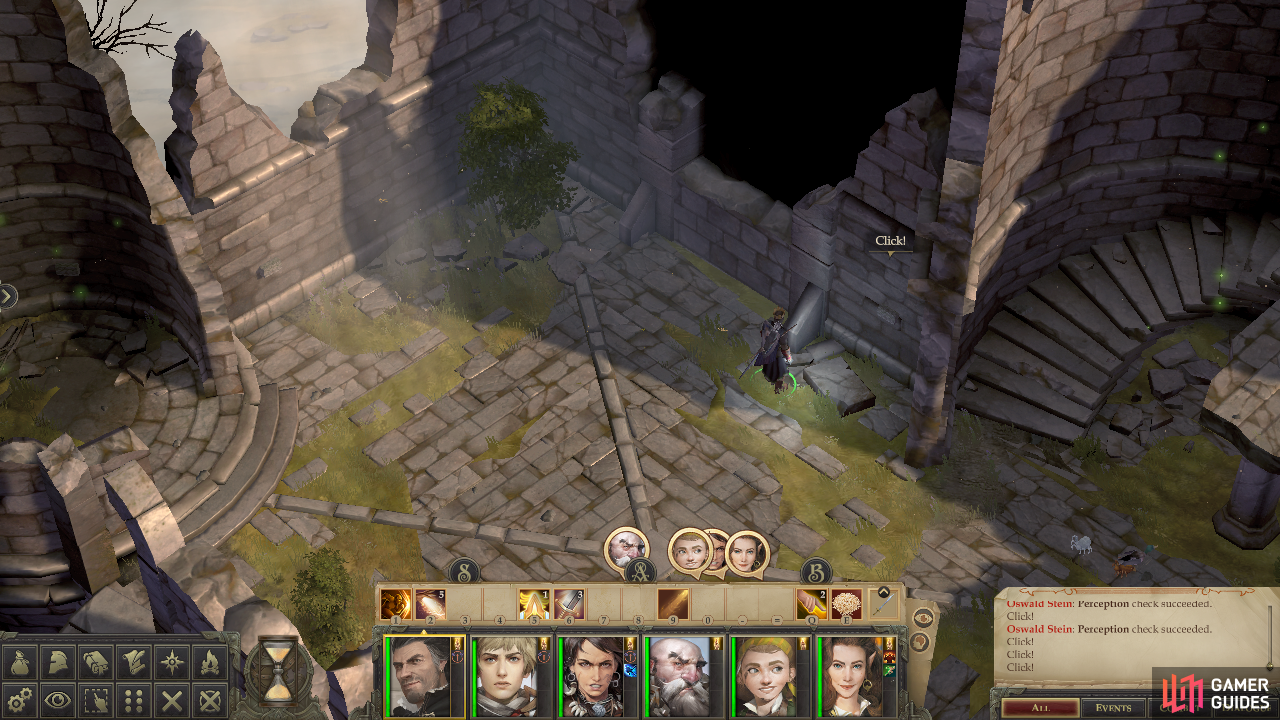
When you arrive at the ruins of Talon Peak, investigate the wall to the north to find [Perception 1] a stone you can manipulate. Unfortunately, as of right now its only feedback is a disappointing “thud!”, the universal sign indicating something isn’t working right. Oh well. Next search the wall to the west to find [Perception 1] another loose stone, while a third [Perception 1] can be found in the ruins of a circular structure to the west. The second stone gives a satisfying “click!” when pressed, so give it a go, but leave the third stone untouched.
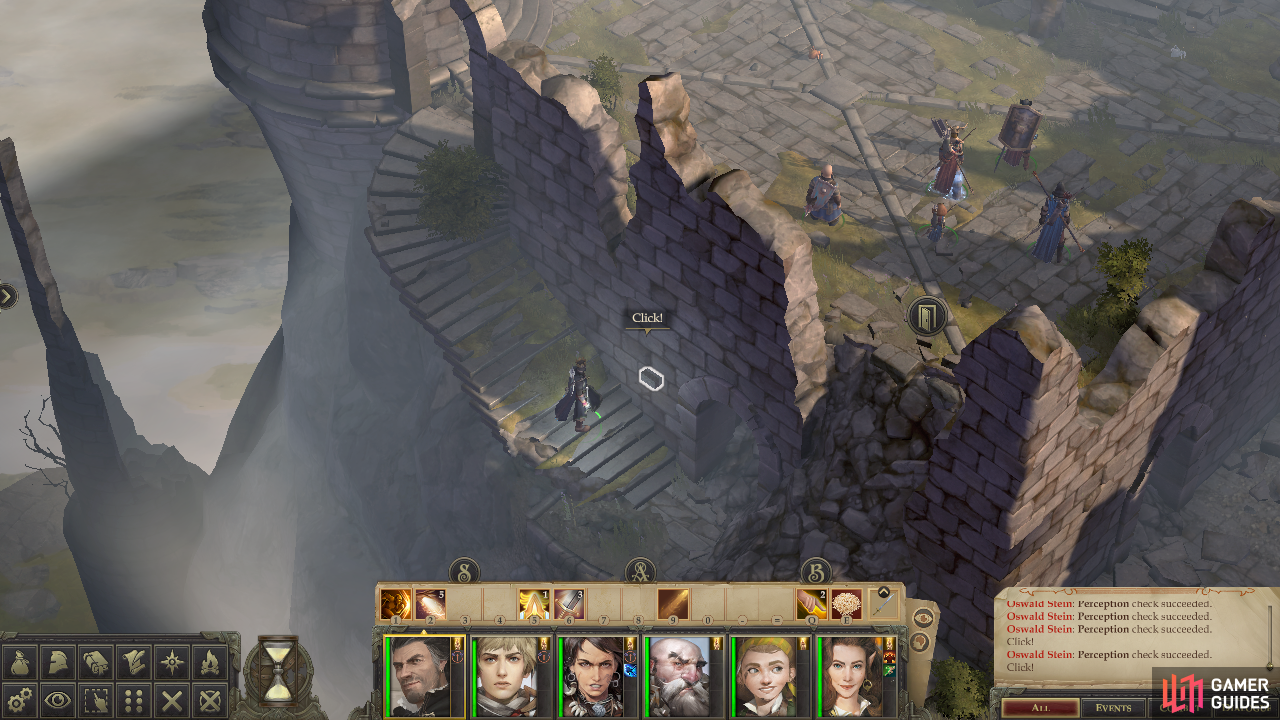
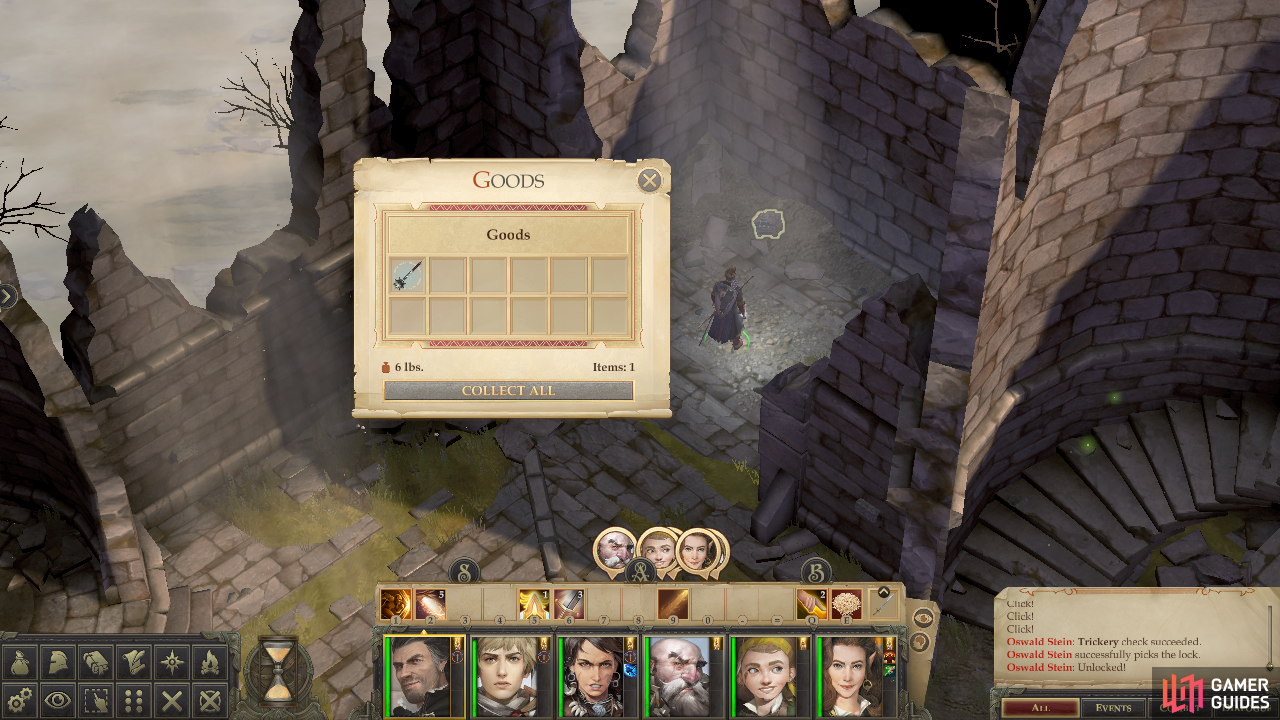
Leave the circular structure and immediately head through a doorway and down some stairs to find [Perception 1] another stone on the wall. This stone should also “click!” when pressed, provided you pressed the second one first. Go back upstairs and press the stone in the circular structure to get your third note of positive feedback, then “click” the final stone - ironically the first you found - on the northeastern wall to finish this little puzzle. A stone wall should slide down, revealing a chest containing Skullcrusher, a Heavy Mace +2 with the “Heavy Blow” property, which has the chance to stun foes for 1d4 rounds on a critical hit should they fail a Fortitude Save.
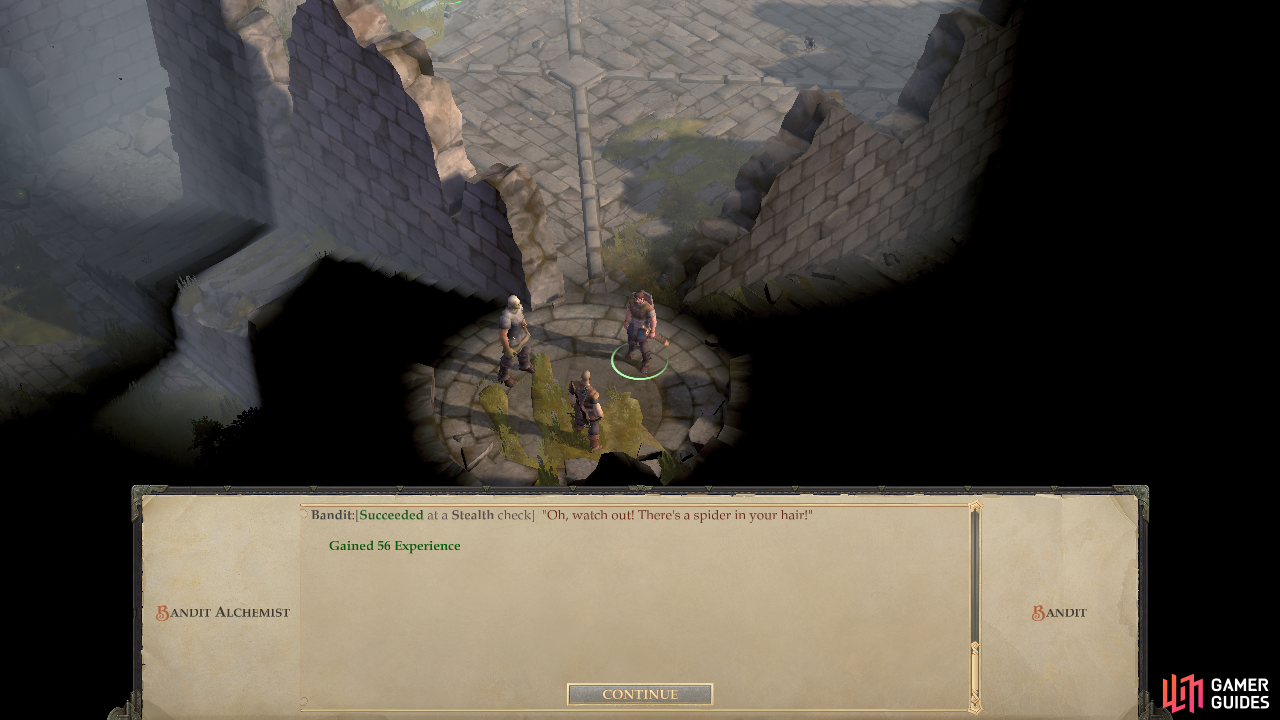
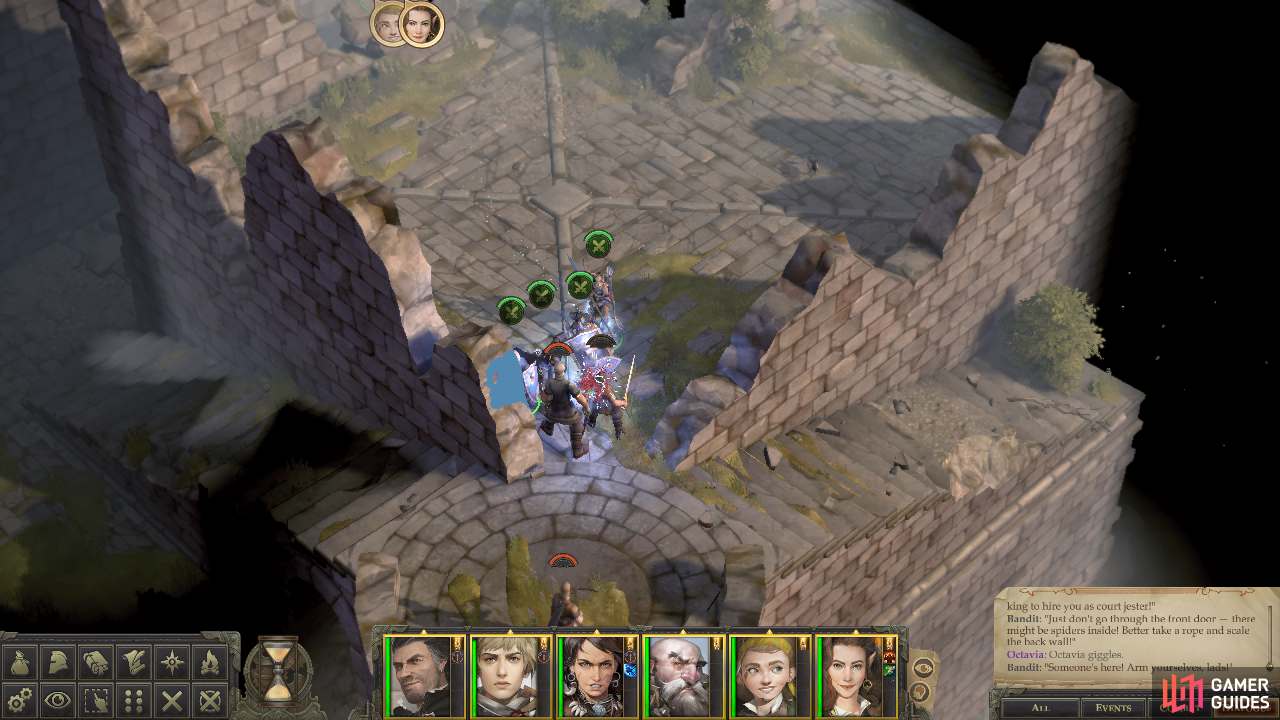
(1 of 2) Pass up to three Stealth checks to overhear some arachnaphobic bandits
Pass up to three Stealth checks to overhear some arachnaphobic bandits (left), and follow up this light-hearted moment with some casual brutality. (right)
Arachnophobic Bandits
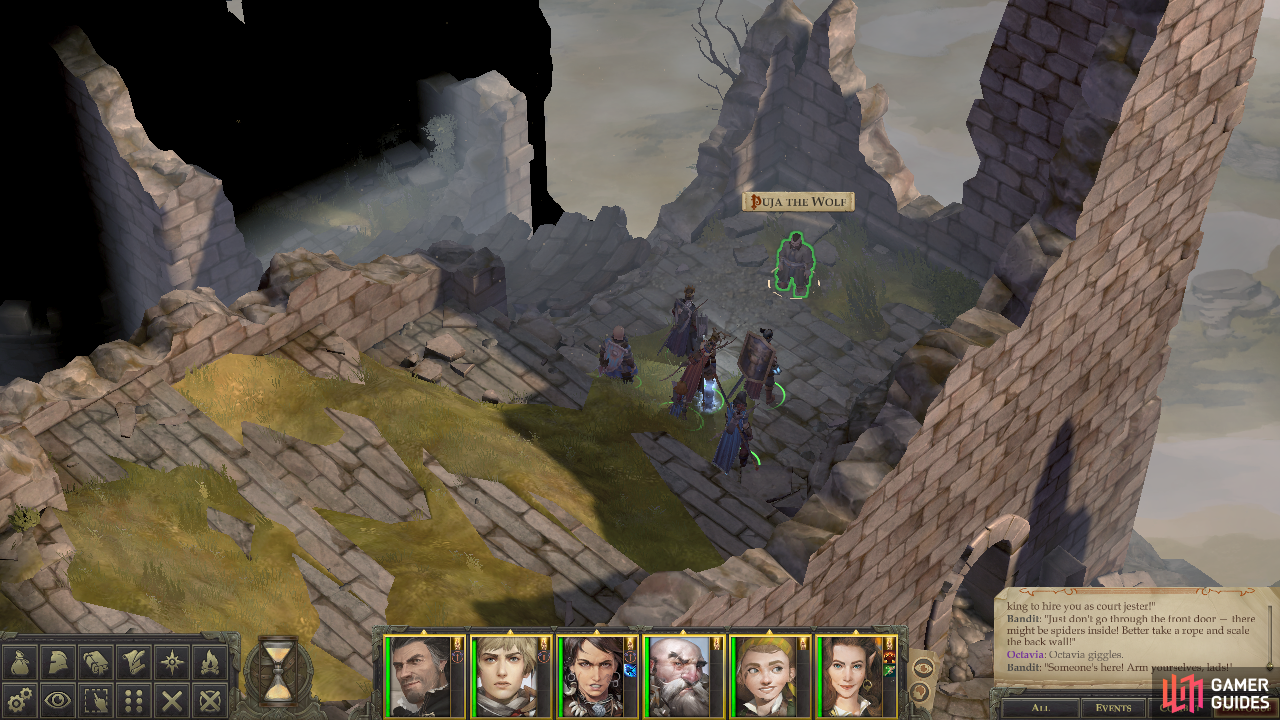
Now that you’re done with that little diversion, it’s time for another! Leave the room where you plundered Skullcrusher and head southeast to find some stairs. Ascend them, then head down a ramp to find some bandits discussing some mean old monarch that upset their trade by killing the Stag Lord. Ah, memories… You can pass a trio of Stealth checks [Stealth 17], [Stealth 19] and [Stealth 21] to listen in on them, or you can just attack. Either way, things end in violence, and these bandits shouldn’t be any trouble for you at this stage. After the bandits are smote loot one of them for a Monster Casserole recipe and other minor trinkets. That done, head down some stairs to the northwest, then turn southeast to find a corpse you can loot for some lackluster treasure.
The Pecking Order
Now that the rest of this area has been explored, it’s time to get to the business at hand. From where you fought the bandits head northeast to find Puja the Wolf waiting for you. When you get there… don’t talk to him yet, as there’s one more thing left to do in this area. What’s that about getting to the business at hand? Nevermind that. Head across a stone walkway to the northwest, stopping to loot a chest on the balcony to the southwest as you go.
When you arrive at a large tower, be wary, as a gigantic nest can be found upon it, and if you assume those eggs are unattended… well, they’re not. Get too close and an Ancient Roc will swoop down and attack. If you’re going to fight this beast, keep your casters on the walkway, or send them up front so as to avoid making them the direct targets of the roc’s fury. That said, this roc isn’t that terrible of a foe. It’s Armor Class is decent - but by no means difficult to hit anymore - and its Attack Bonus is surprisingly mediocre. It does have a fair supply of Hit Points, however. If you’re having any trouble, target its Will Save, as that’s its lowest saving throw. When it dies loot it for an Amulet of Natural Armor +1 then plunder its nest for a variety of baubles including a Roc Egg. Don’t feel too bad about stealing the egg, if the roc is like normal eagles, only one of the eggs would have likely survived anyways. There’s at least a 33% chance you’re saving this chick from simply being pecked to death by its siblings.
Ah, nature is hilariously cruel…
Trial of Puja the Wolf
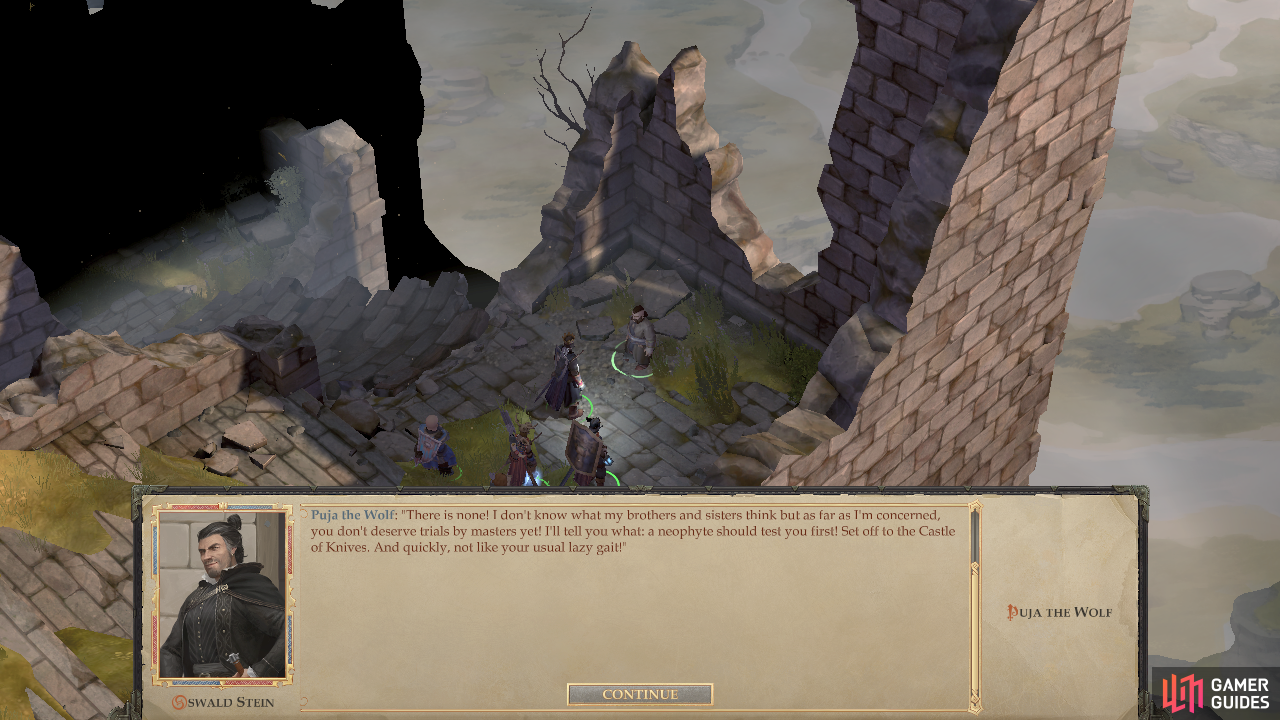
Anyways, now it’s time to get down to business. For real this time. Go talk to Puja the Wolf and… His trial must be a test of patience, because all the crude dwarf tells you is that you’re not worthy of a trial yet and will tell you to meet him at the Castle of Knives.
Well, that was a waste of time.

(1 of 3) Locate Puja the Wolf on Talon Peak
Leave Talon Peak and return to the Castle of Knives (a journey that’ll probably take at least a week. If you want to pass Puja’s test, attempt to make the entire trip without resting, as it seems he’s testing your ability to endure hardship without succumbing to the indulgence of rest more than he’s testing strict timeliness. When you reach the Castle of Knives, just head north a short distance from where you arrive to find him. If you make it back to Puja in a manner that appeases him, he’ll give you an experience reward and refer you to Vidya the Lion. If you fail his test, he’ll just refer you to Vidya.
Be sure to exhaust his dialogue options before you go, as you’ll need the knowledge he provides shortly. Once done, it’s time to set out in search of this Vidya, the keeper of the final test…
(1 of 3) Find Vidya the Lion in the Castle of Knives area
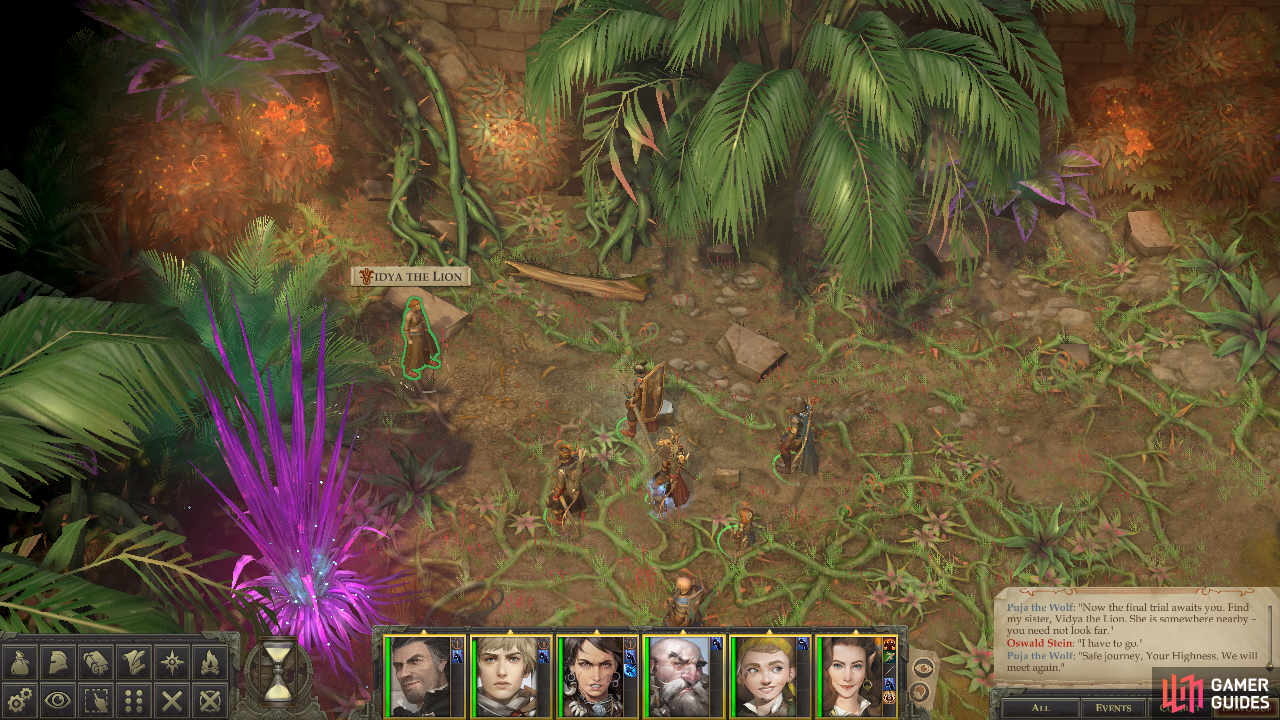
Trial of Vidya the Lion
From where Puja stood continue north, and when you can proceed north no further turn west, where you’ll find Vidya standing near the vines you can climb to reach the tower above. Talk to her and you can find out that her test is one of truth; she’ll ask you several questions about the cult and you’ll have to answer them correctly. While she suggests searching for books to find the information she seeks proof of, you could have learned everything she wanted by talking to her fellow cultists during and after the previous trials… if you remember what they said of course.
There’s no reason to wrack your brain or go searching for some obscure books on Suramgamin - you have a guide! Below you’ll find the questions Vidya will ask, and the answers you must respond with:
Q: “What did teacher Avalo do when he learned the truth?”
A: “Organized debates about faith.”
Q: “What does the name of our order mean?”
A: “The way of the hero.”
or “It is impossible to translate into Common.”
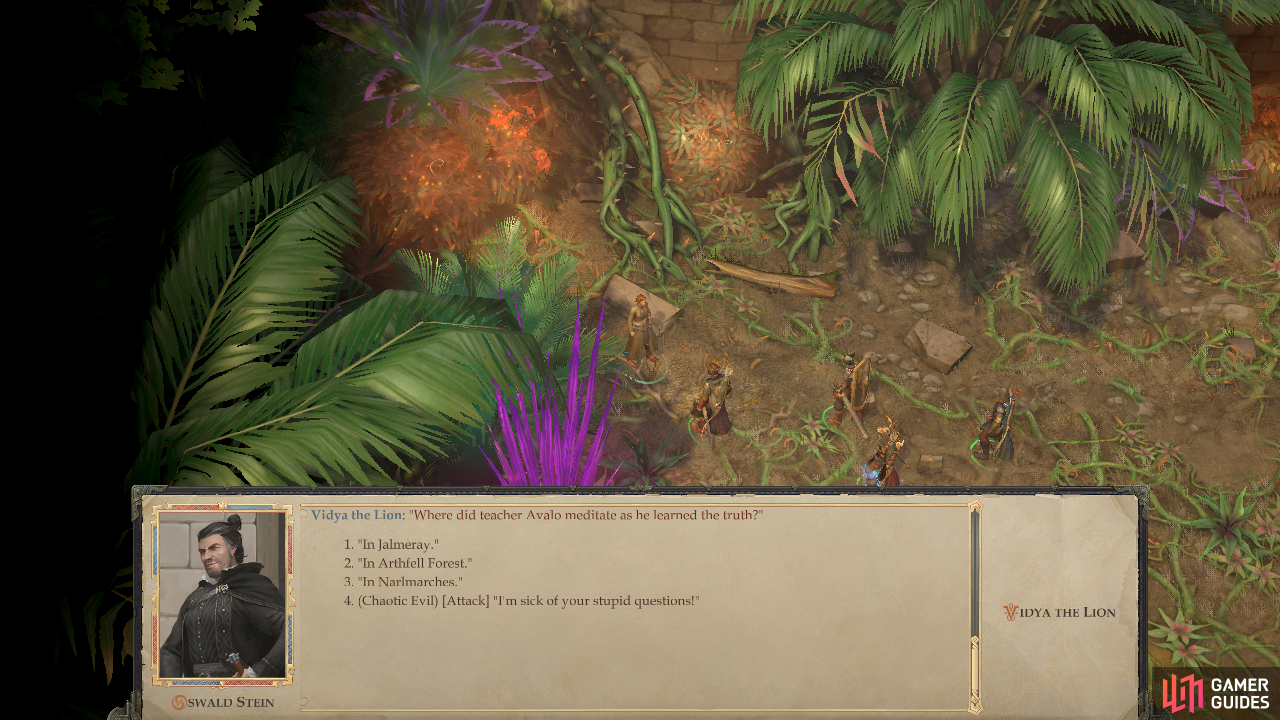
Q: “Where did teacher Avalo meditate as he learned the truth?”
A: “In Arthfell Forest.”
Q: “What is the name of a martial art that members of our order are taught.”
A: “There are none.”
Q: “Where is the main temple of our order?”
A: “Nowhere.”
Q: “Where did our teacher come from?”
A: “From Jalmeray.”
Q: “Which gods does our order venerate?”
A: “Shelyn, Irori, Iomedae, Sarenrae, Erastil, Abadar.”
Q: “What does it mean to go the Way of the Hero?”
A: “Make the world a better place.”
Q: “What paths to achieving a master’s title are there in our order?”
A: “The Ways of the Phoenix, Unicorn, Wolf and Lion.”
or “The Ways of the Phoenix, Unicorn, Wolf, Lion and Chameleon.”
Answer all three questions correctly and you’ll pass Vidya’s test, gaining a small experience reward in the process.
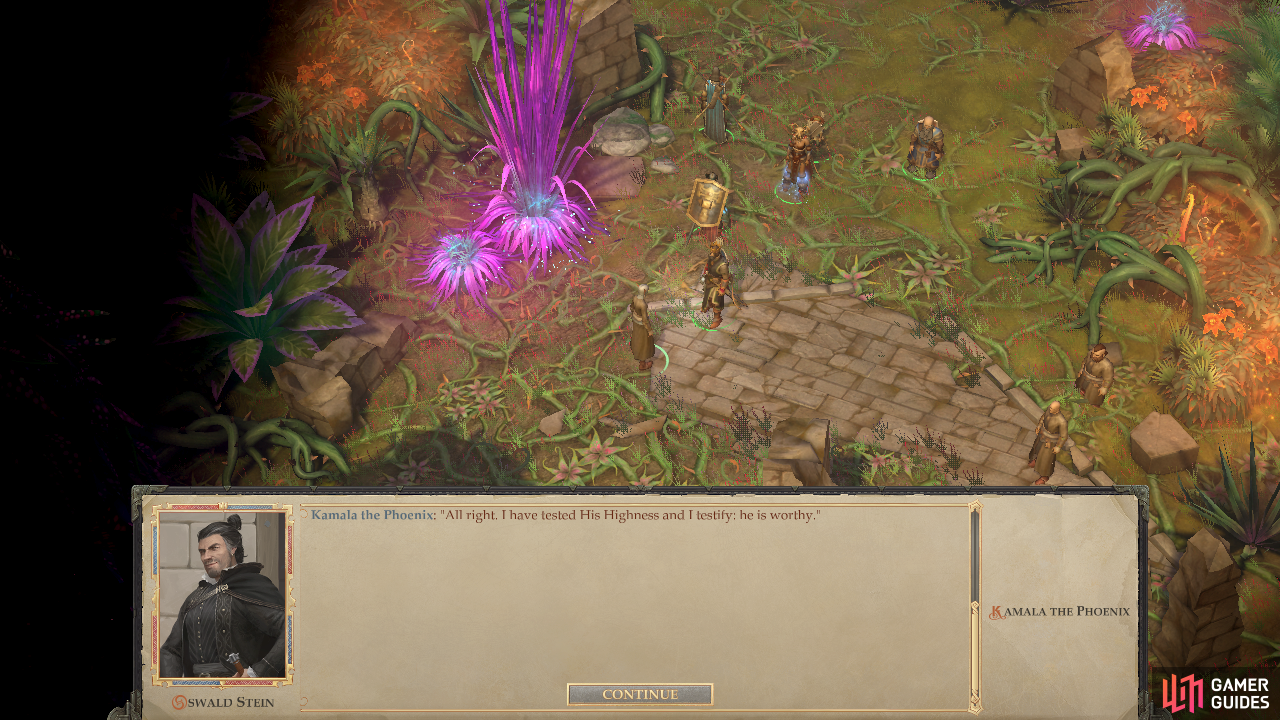


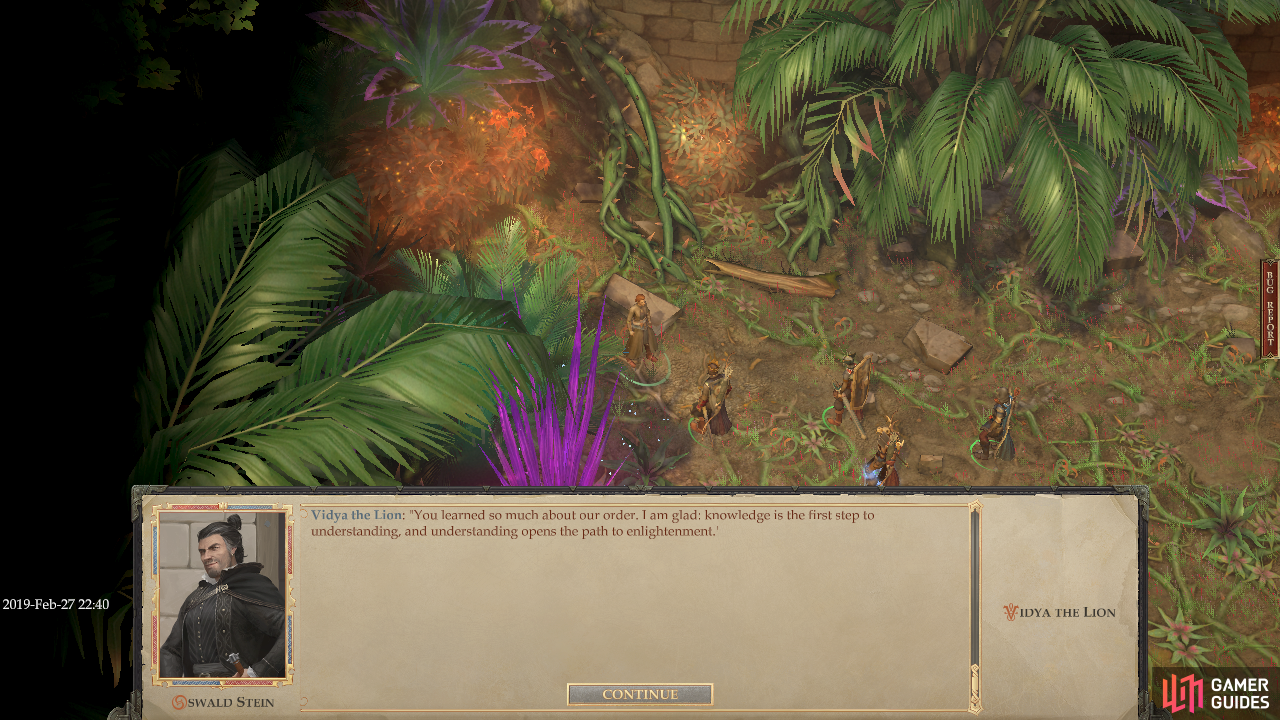
(1 of 3) Talk to the cultists to hear their verdicts
All that’s left now is to head south and meet with the gathered masters and hear their judgment. Fortunately, their decision need not be unanimous, so if you botched one trial, you’re not necessarily excluded from a reward. Make your way south, hear their verdicts, and if you passed at least three of their tests they’ll teach your divine spellcasters the “Secrets of Suramgamin” spell (8th-level). If you unanimously gained their approval they’ll also reward you with the Helmet of the Dusk, which gives a +6 bonus to Wisdom, immunity to stun and daze, and forces attackers to make a Will DC 23 save or become dazed for one round.
They’re also keen to offer you some information, suggesting that, should your goals be benevolent, you could free Nyrissa from her torment were you so inclined.
In any event, this finally puts an end to this quest. Nothing left to do now but go after Nyrissa, which will be covered in the following section, “Against All Odds”.

 Sign up
No Comments