

Ravaged Capital - Entrance: The First Fragment
When you’re ready to put an end to the Lantern King’s game, return to your camp (the gold portal to the capital) and be sure to sell off any loot you don’t need, prepare spells, and rest. Once you’re ready talk to the Storyteller and pick the option “I’m ready for the final battle. Let us march!”, after which you’ll get to watch the allies you’ve gathered throughout your adventures march through a portal to the southeast. When they’re done, follow them… perhaps stopping long enough to talk to your romantic interest, if you have one.
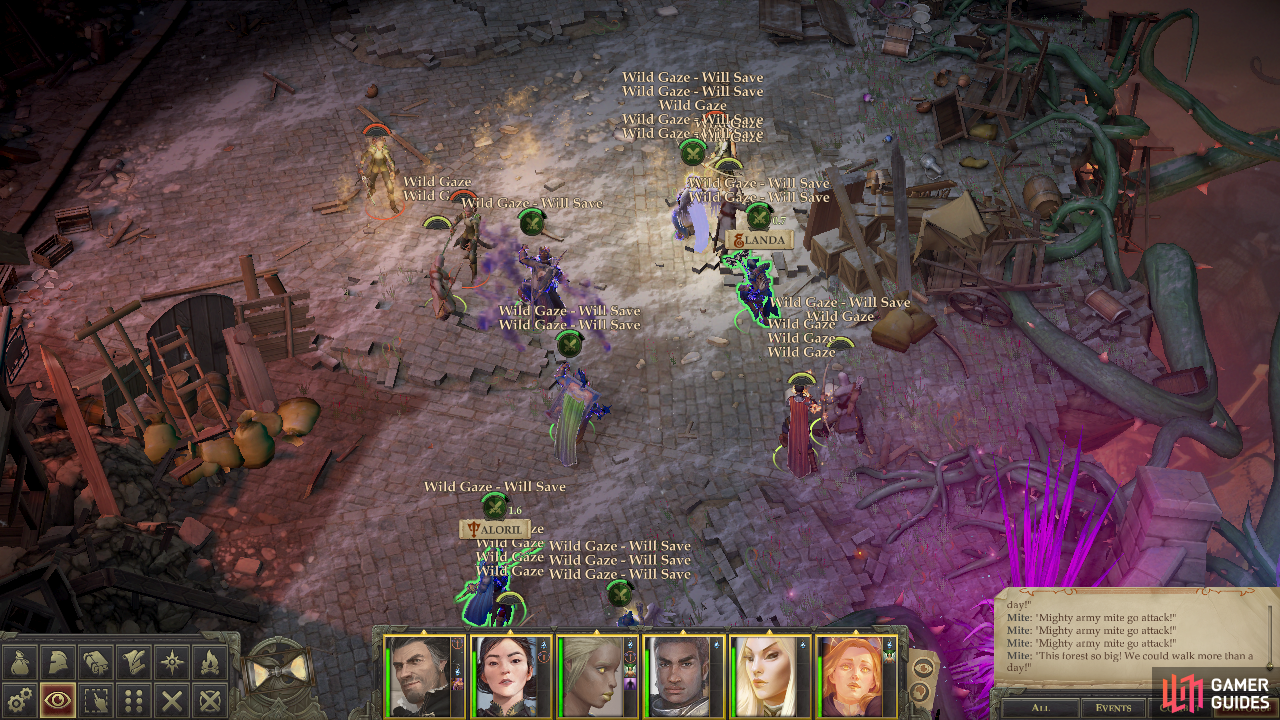
When you arrive head south and you’ll encounter your first foes - some Wild Hunt Scouts and Wild Hunt Archers. Definitely a league above what you have been facing, but you’ve killed them before, and you’re back at full strength. You’ll be fighting a lot of them, though, so be prepared for their Wild Gaze and try to keep your squishier characters out of trouble - a tricky proposition given how the enemy likes to teleport in around you.
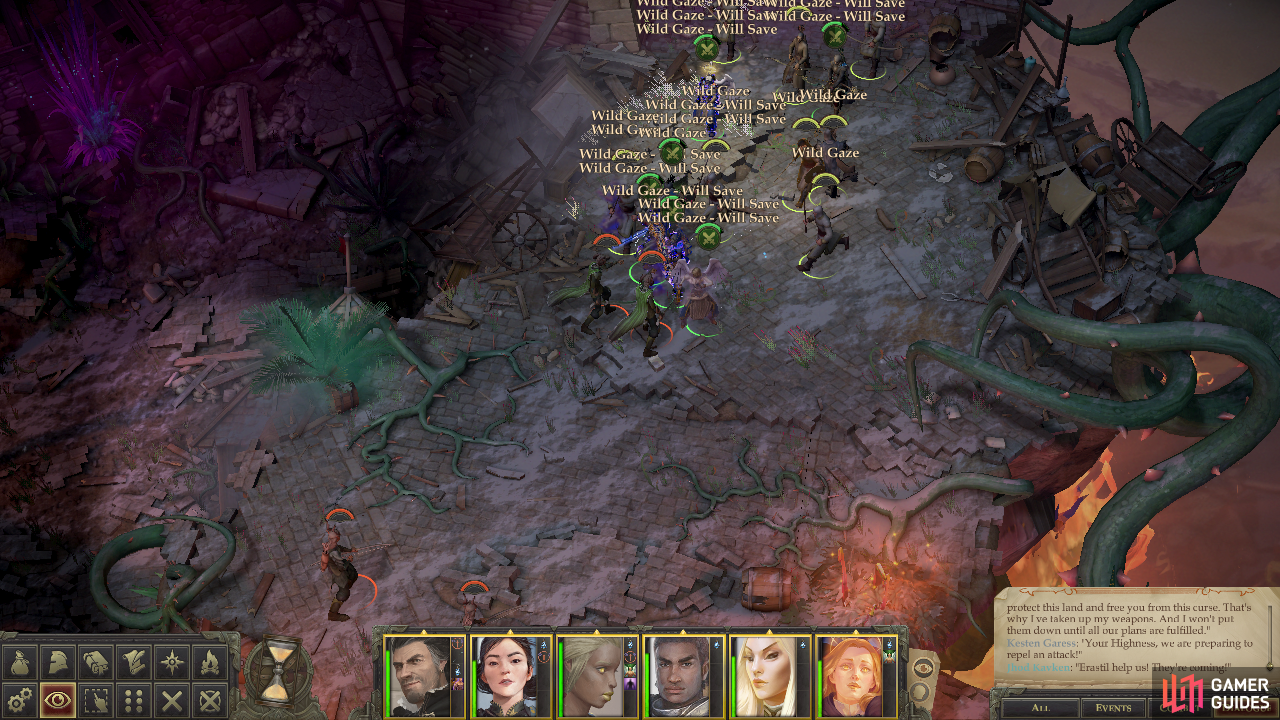
(1 of 2) Fight your way south through some Wild Hunt foes
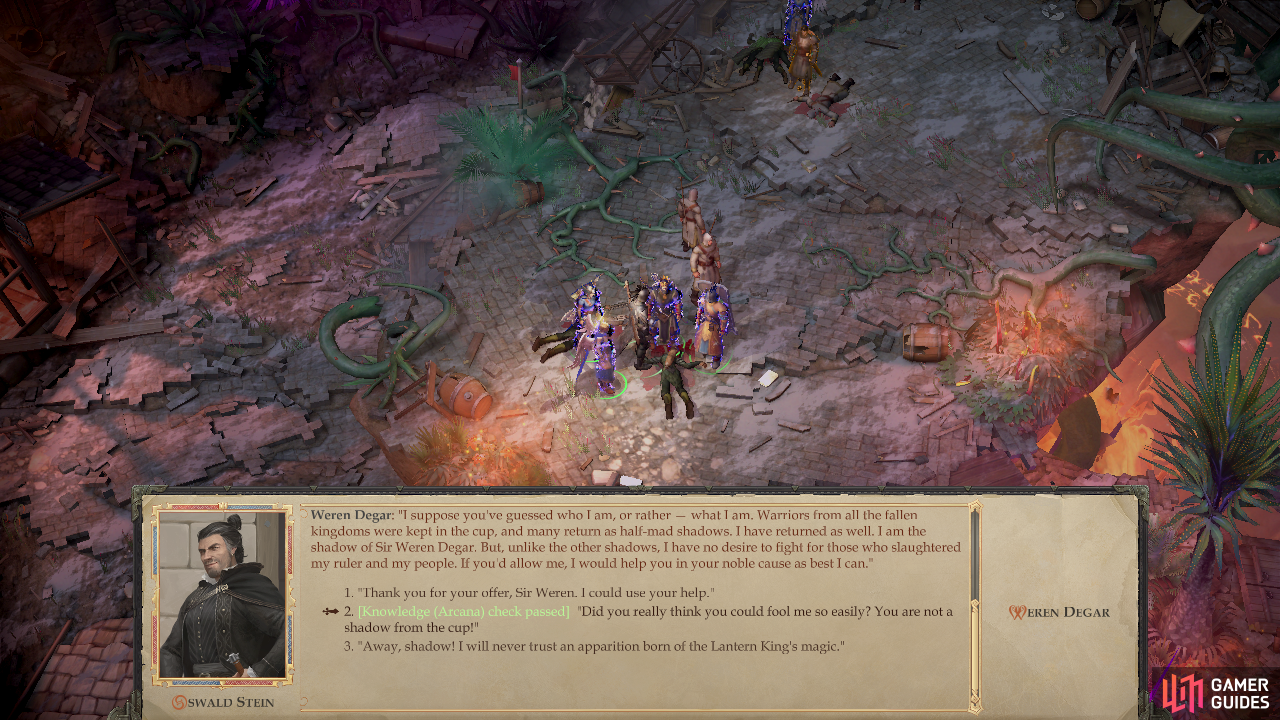
Fight your way south through some Wild Hunt foes (left), after which Weren Degar will offer to join your cause. (right)
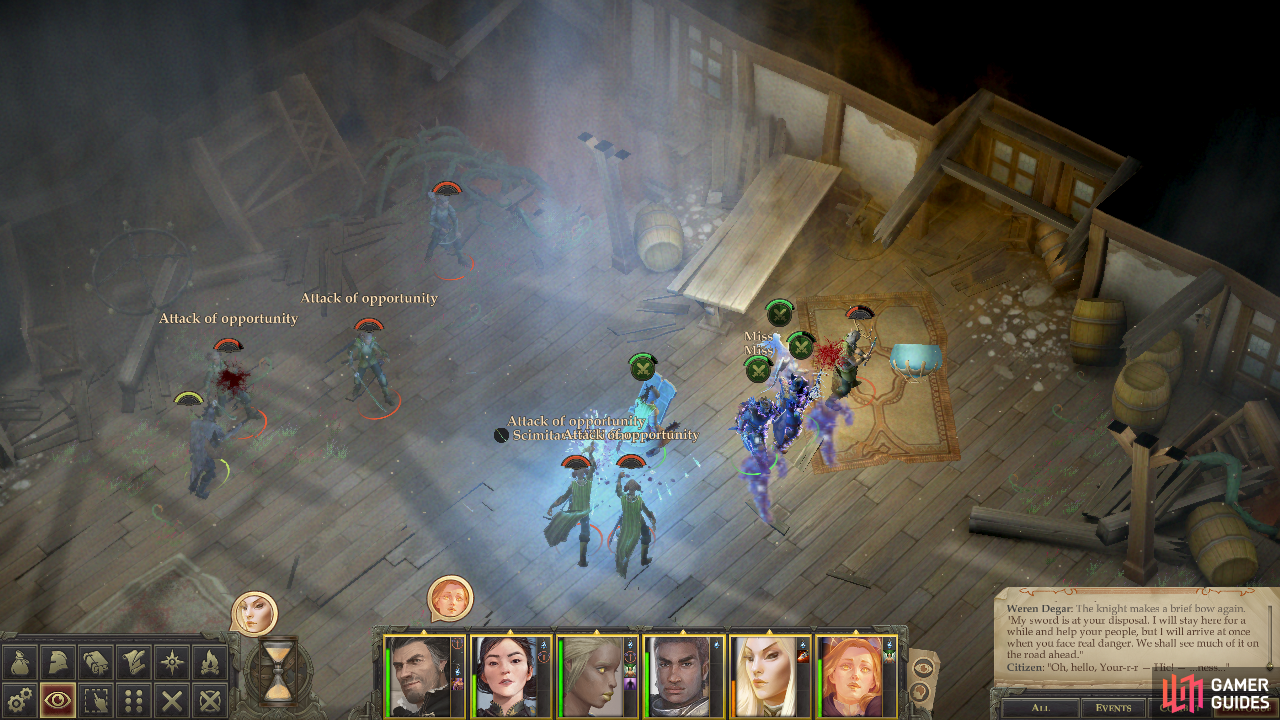
Kill this first group of Wild Hunt enemies, after which your allies will talk to you, including a new face, Weren Degar. The former will inform you that your forces have been scattered across the city, and since that city now consists of shattered landmasses floating around, you shouldn’t expect them to be reunited any time soon, while the latter claims to be one of the shadows freed from the Apology. If you can pass a [Knowledge (Arcana) 48] check you’ll be able to expose his ruse, otherwise you can simply send him away by replying with “Away, shadow! I will never trust an apparition born of the Lantern King’s magic!”. Failing either of those, agree to let him “help” and he’ll wait by your allies.
Whatever the case, it looks like you won’t be relying on much friendly support at the moment. Head south, then southwest down some rubble, continue down some stairs, then head east to find a chest lying near a ledge. Loot it to claim a Buckler +5, then backtrack west to find some vines you can cross to the south. Only send your warriors across, at the guards on the platform beyond the vines turn out to be Vilderavn in disguise - potent fey combatants that nonetheless have a somewhat mediocre Fortitude Save, if you recall.
(1 of 2) Climb down some vines to reach a ruined house
Climb down some vines to reach a ruined house (left), and loot a chest containing a Greatsword +5. (right)
Defeat them, then continue down a convenient roof-turned-ramp to the east, where you’ll find more Wild Hunt foes waiting for you. Kill them, but don’t move your casters too far away from the ramp, as some Wild Hunt Archers will gate in behind you. Once they’re dead, return to the roof-ramp and search for an icon that allows you to climb down some vines in to the building below. At the southeastern end of this doomed house you’ll find a chest, but be wary, as it’s not unguarded. Two Wild Hunt foes will appear in front of you, while one will appear behind you, forcing you to place your warriors creatively if you wish to intercept them. When they’re dead, loot the chest the guarded to score a Greatsword +5.
Climb out of the house and make your way to the southern end of the slab of land you’re on to find a path running to the east along the edge of the area. Follow it and cross to another, smaller platform to find another bit of treasure… and another Wild Hunt ambush. Send your warriors across first, as two Wild Hunt foes will appear behind you. Kill this latest group of fey, then loot a corpse on the island to score two Diamonds.
Backtrack to the larger landmass to the northwest, then cross some rubble to the east, after which the path will fork. Kill the enemies to the north to get them out of your way - they include a Vilderavn and some weaker Wild Hunt minion - then return to the southern edge of the landmass and venture east to find some vines leading down. Descend them, then send your casters south to provoke some Wild Hunt enemies to spawn behind you to the northwest. Defeat them, then loot a chest to the south to find a Dart +5 and enter a house to the east.
Inside the house head southeast, then northeast to reach some Wild Hunt foes lead by another Vilderavn. Defeat them, then continue northwest into a room and turn southwest into another room to find a citizen inexplicably unharmed. Dumb, drunk luck? Whatever the case, loot a chest nearby to claim a Ring of Protection +4.
Leave the house and return northwest to the vines, which you should climb to reach the higher, larger landmass and continue east, then northeast. Here you’ll find the body of a dead guard, from which you can pry a suit of Adamantine Full Plate +1 and 42 units of Diamond Dust. Well-to-do guard. As you go to leave, another square of Wild Hunt Scouts and Wild Hunt Archers will appear behind you, so be sure to do a proper turn-around before leaving. Don’t leave your casters unattended, however, as two of the injured guards near the corpse will reveal themselves to be Wild Hunt Scouts, too.
(1 of 2) Kill the Wild Hunt Monarch and his minions
Kill the Wild Hunt Monarch and his minions (left), and claim the first Fragment of the Apology. (right)
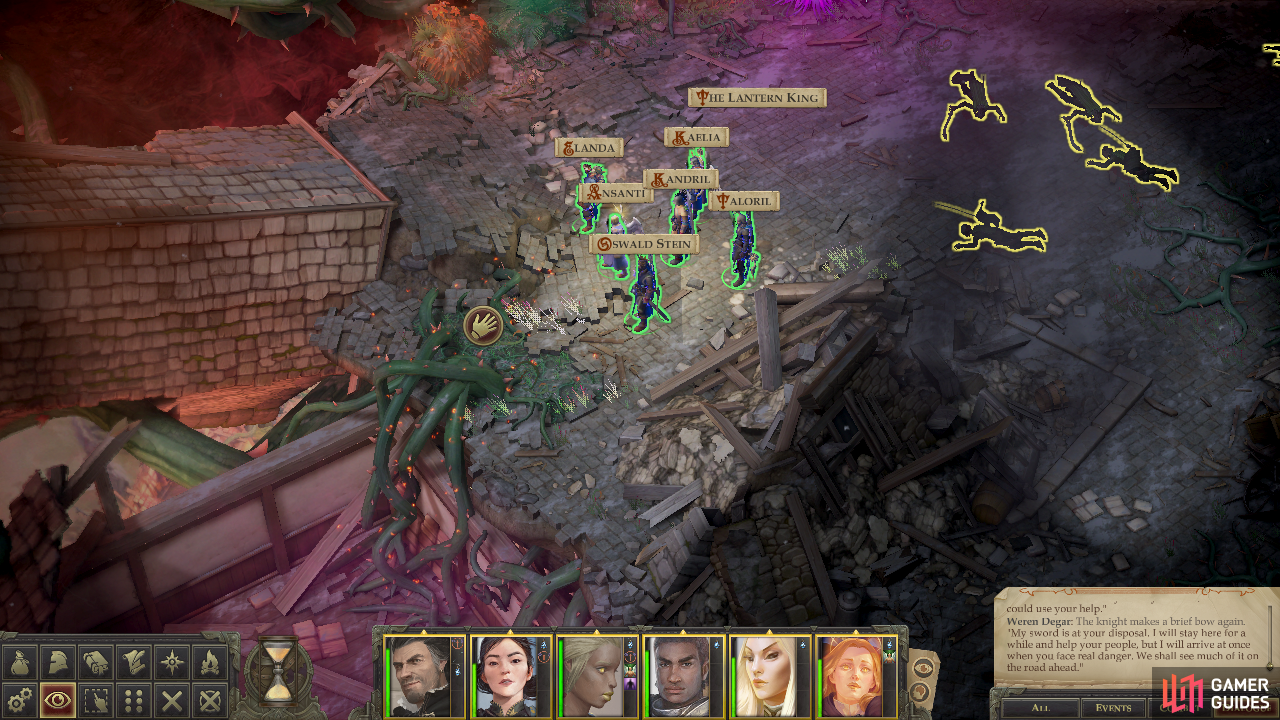
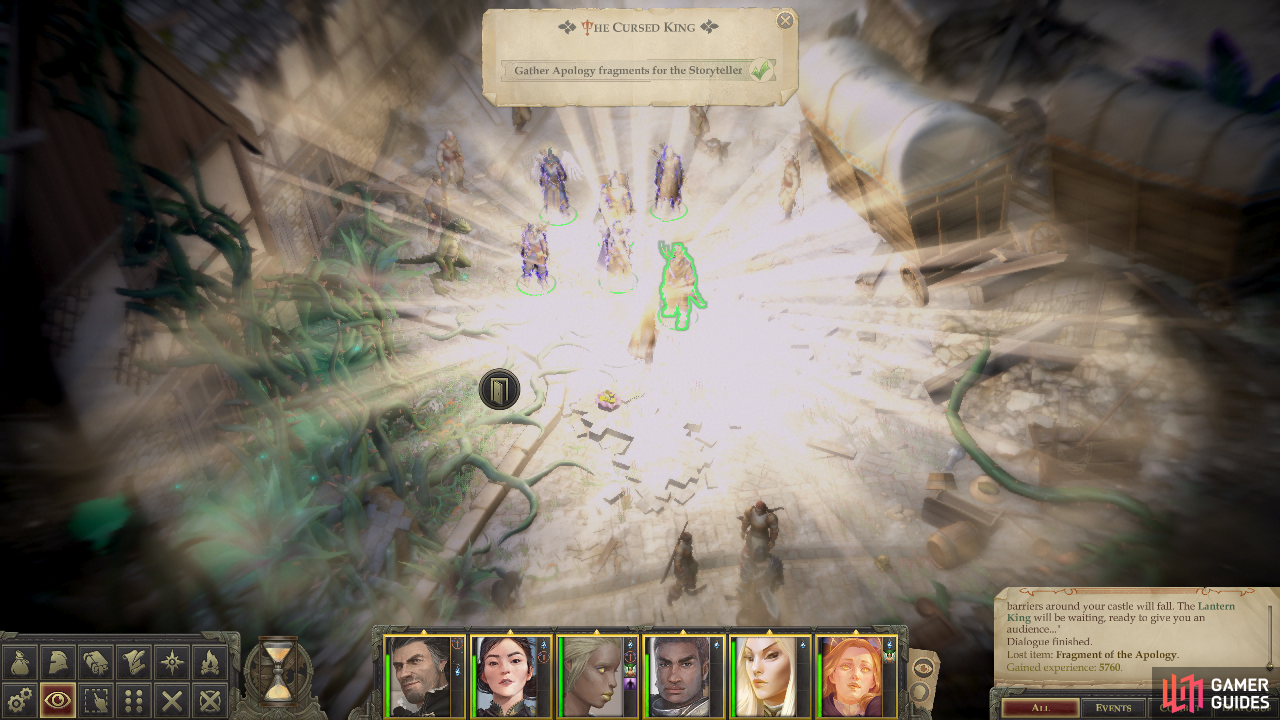
Fend off these foes and continue west then north to find another group of Wild Hunt Scouts and Archers guarding a house… it’s a bit of a stretch to call it an intact house, but at least it’s upright. Defeat the Wild Hunt enemies and head inside to find… more Wild Hunt enemies, led by a Wild Hunt Monarch. Nothing new, but troublesome foes nonetheless. Focus on taking the Monarch out first, as it’ll make it much easier to defeat the rest of his minions once he’s gone.
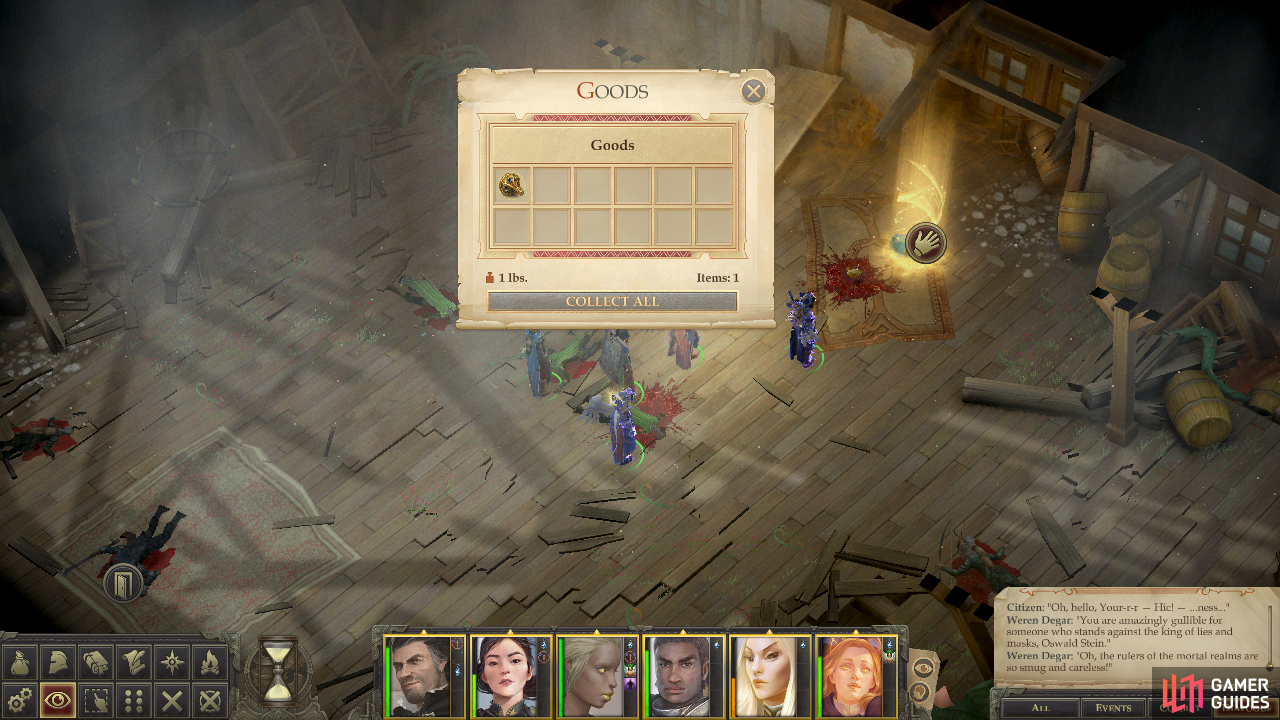
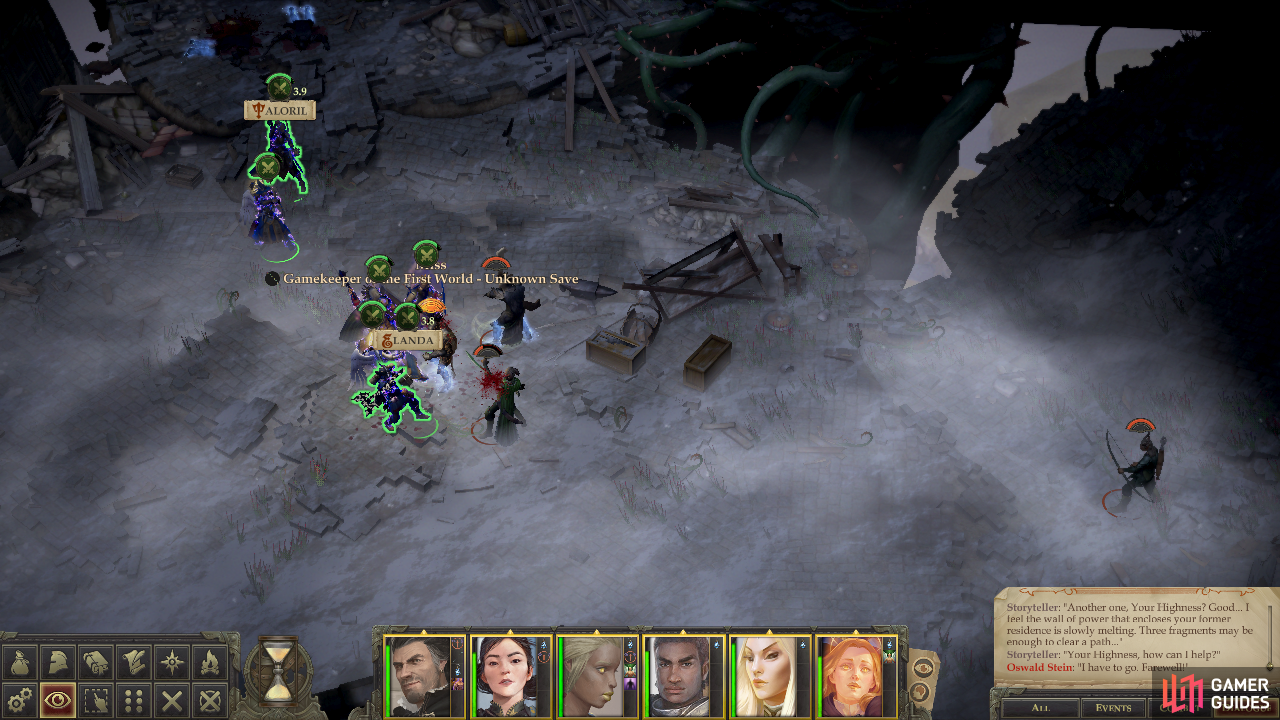
After the fight, pick up the glowing object on the floor to obtain a Fragment of the Apology, after which the Storyteller will stroll in, as he’s wont to do. Talk to him and he’ll tell you about how the Apology can be used to harm the Lantern King, provided you can find all the pieces scattered about. Not like you have anything better to do while making your way through the ruins, eh? Be sure to [Give the fragment of the cup to the Storyteller] so he can destroy it, after which an area transition will appear to the northwest.
If you need to rest, talk to the Storyteller and he’ll facilitate such a reprieve… provided you’ve got the time left for such a luxury, anyways. When you’re ready to move on, use the aforementioned area transition to move on to the Central Passage.

(1 of 2) Once you leave the building where you found the first fragment you’ll need to fight south through Wild Hunt foes
Once you leave the building where you found the first fragment you’ll need to fight south through Wild Hunt foes (left), Reunite with your barbarian ally and continue battling Wild Hunt enemies, now joined by Ancient Will-o-Wisps (right)
Ravaged Capital - Central Passage: The Second Fragment
From where you arrive, venture southeast to find Maegar Varn waiting for you. Assist his forces in slaying some Wild Hunt foes then head southeast to find some vines you can climb down to reach a lower platform. On this ledge you should find a sack which contains a Hat of Mental Perfection +8, an awesome trinket, even if rather late.
Climb back up the vines and head west, then northwest to find a ramp leading southwest. Descend it and you’ll be attacked by some Wild Hunt Scouts and an Archer, after which you can venture west to find some hidden coins and potions. For this greed you’ll be attacked by an Ancient Will-o-Wisp and a pair of Vilderavn, so question whether it’s worth the fight. Return back east to where you fought the last Wild Hunt group and continue south to find another, somewhat larger group, with Scouts to the south and Archers to the west. A third such group of Scouts can be found further west, and as you engage them you may be joined by some allies - either Armag or Dugath - and the enemy will be reinforced by more Archers and the odd Ancient Will-o-Wisp from the west. After these foes are defeated, your ally will stop advancing. Oh well, it was nice while it lasted.
(1 of 2) Claim the second Fragment of the Apology
Claim the second Fragment of the Apology (left), and be prepared to fend off a host of Wild Hunt foes who will teleport in. (right)
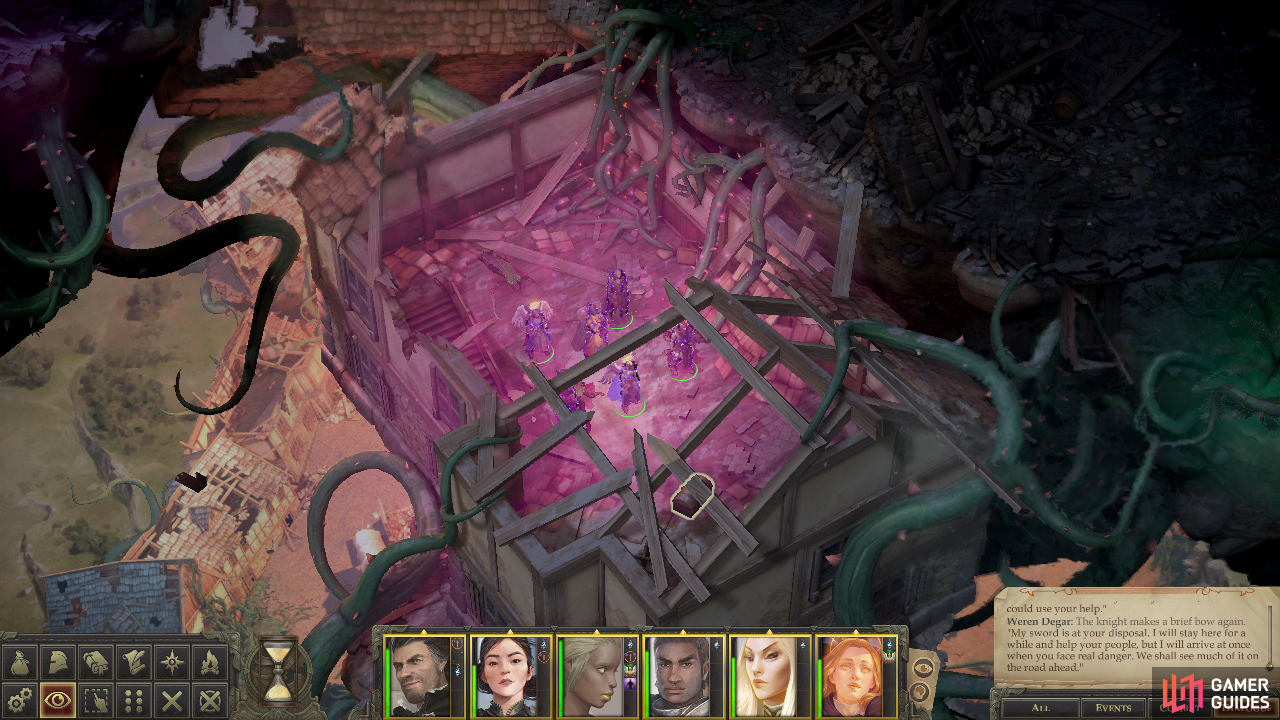
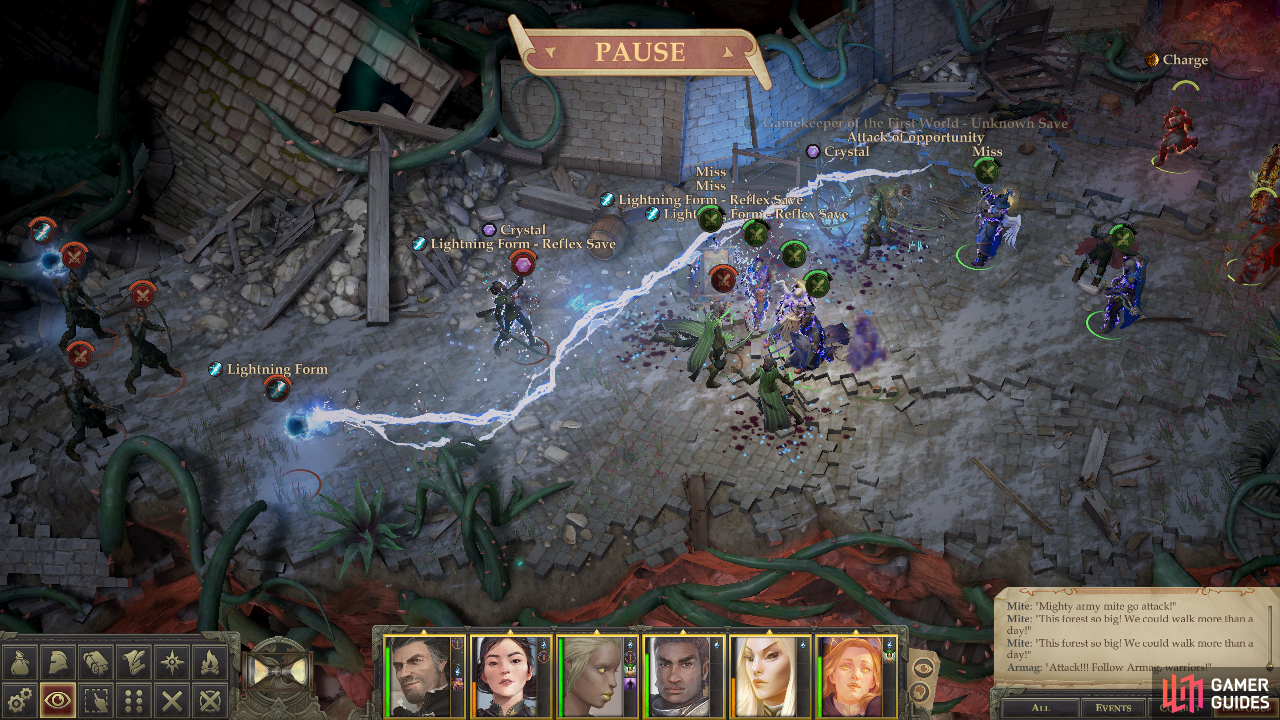
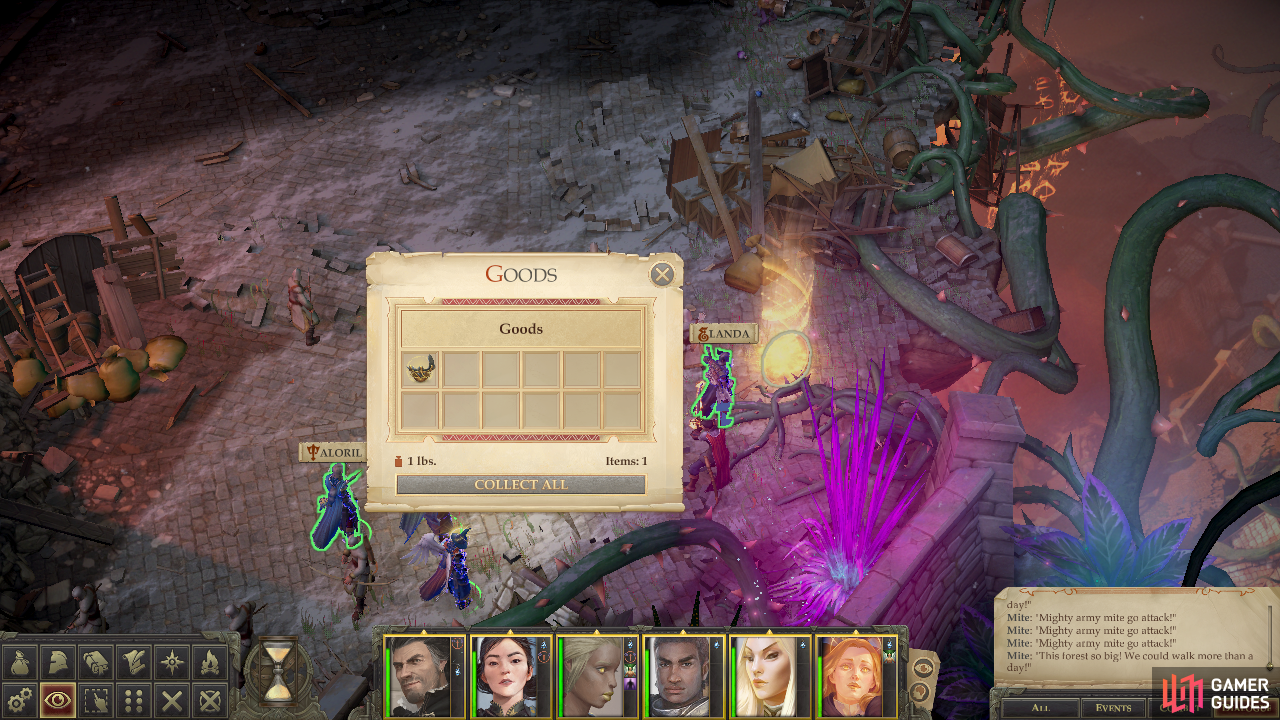
Continue down the ruined road to the west to reach a vine-wrapped wagon, at which turn north to find a pair of Greater Primal Owlbears. Kill them if you must, or avoid them by making your way west of the wagon and turning north to possibly find another ally - either Jamandi or Surtova. Better yet, east of his ally you’ll find another Fragment of the Apology. Be ready for a fight before you pick it up, however, as you’ll be attacked by waves of enemies when you do. The first two waves will be normal Wild Hunt foes, after which some Ancient Will-o-Wisps will spawn. All these waves appear to the north and south, and you shouldn’t expect much out of your allies. Once they’re dead, continue north an loot a chest to find a Scroll of Summon Elder Worm, then turn west to find the area transition to the west.
Inside the inn, you’ll find the place mercifully empty of Wild Hunt enemies… but in their place stands an Adamantine  Golem. You might be fearing this constructs staying power, but surprisingly it only boasts a moderate Armor Class and Damage Reduction 15/epic. That said, it boasts over 700 Hit Points and strikes with authority, having a high enough Attack Bonus to trivialize your Armor Class and dealing a whopping 6d10+15 damage per hit. The only plausible defenses are illusions, and of course the best offense you can muster. It can also use the Caustic Eruption and Stormbolts spells as spell-like abilities, so protecting yourself from acid and lightning might come in handy.
Defeat the Adamantine Golem and you can loot the chest it guarded to score a Belt of Physical Perfection +8, and more importantly access the stairs to the next area - the Castle Threshold.
Ravaged Capital - Castle Threshold: The Third Fragment
When you arrive you’ll spot the Storyteller waiting for you. How’d he manage that, much less… everybody else? Whatever. Give him the second Fragment of the Apology and he’ll destroy it, before giving you the hope that a third one will allow you to confront the Lantern King. Use the Storyteller to rest if you need to and have the time, and when you’re ready, venture north.
(1 of 2) Fight off a group of Wild Hunt foes
Fight off a group of Wild Hunt foes (left), and claim a Greater Extend Metamagic Rod. (right)
You’ll soon find the road forking to the north and east. If you continue north you’ll encounter three Vilderavn fey, beyond which lurk two Primal Greater Owlbears - a fight there’s no good reason to have. If you head east you’ll find two Vilderavn and some Wild Hunt minions. Cut them down and note that the path forks again, to the northeast and southeast. The ramp to the northeast is a dead end, so venture southeast and loot a chest to find a Greater Extend Metamagic Rod, then descend some vines to the south to reach a hunk of rock on which you’ll find another chest, this one housing a whopping 32,323 gold. Once again, your greed is expensive, as three Velderavn will spawn behind you when you grab it. Why you need gold at this stage, and if you don’t, why bother fighting over it are both questions worth considering.
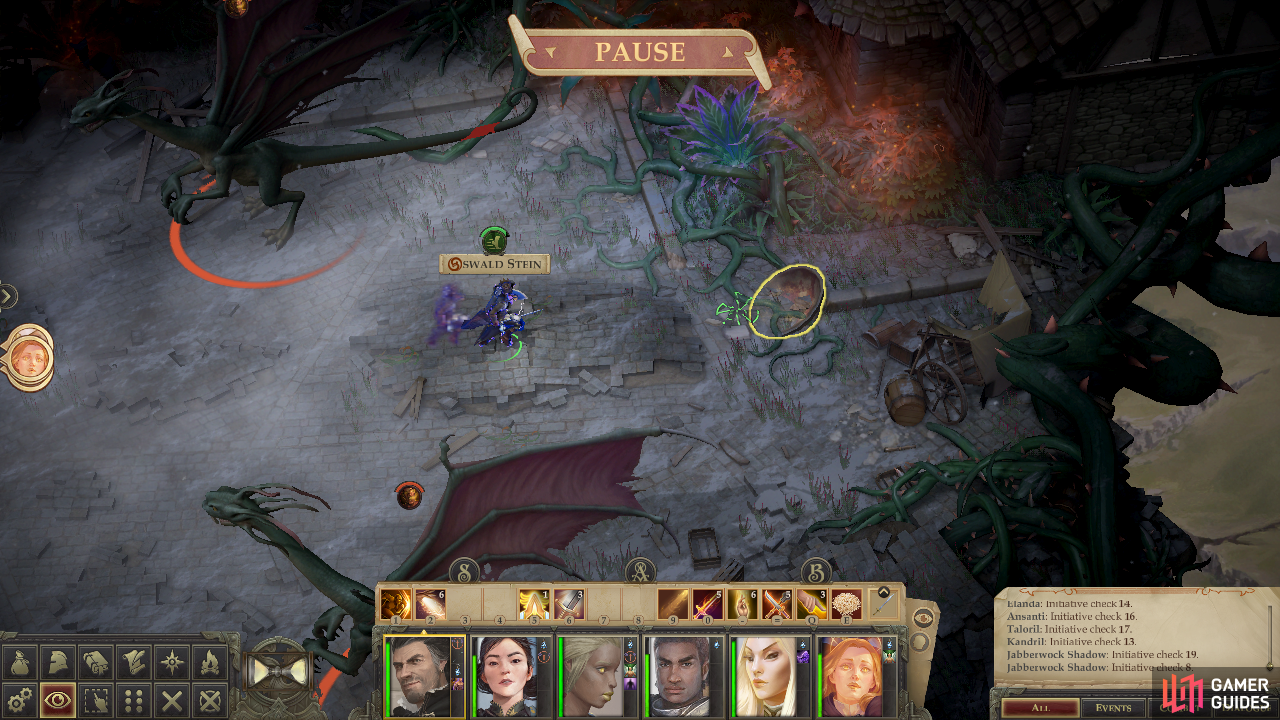
Greed or no, climb back up the vines and continue east across a rubble bridge and when you spot a bottleneck between a collapsed house and a ruined wall, stop and spellbuff, as a fairly rough fight lies ahead… a fight that technically doesn’t need to happen. If you’ve got a sufficiently brave and fast character (Haste will help), send them forward to spot two Jabberwocks.
These are wretched beasts to have to fight, similar to the lesser ones you fought earlier but… well, clearly not lesser. Their Burble ability demands protection from mind-affecting effects, so use Mind Blank if you’re set on a fight. As far as offensive spells go, their Spell Resistance score of 31 effectively gives all your spells around a 50% fail chance on the surface, and their Saving Throws, while not universally stupendous, are high enough to further complicate matters. A man named Darven will help you fight, possibly occupying the northern one, and if you can get RNG on your side and hit the southern one with Baleful Polymorph or Insanity you’ll make your life much easier. Failing that, try to spam Polar Ray, as they’re weak to ice damage and their Reflex Save, while still somewhat high, is the lowest of their Saving Throws. While it only has around a 50% chance of having any effect, and after that, probably close to a 50% chance of dealing full damage (their touch Armor Class is a joke - that should be a non-issue), even the possibility of hitting that 20d6 cold damage makes it worth a try… especially since they’re vulnerable to cold damage.
Your warriors have their work cut out for them, too, as the Jabberwocks have a high Armor Class and a flat DR 15/-. Hopefully some of them have the Greater Penetrating Strike feat, and you can also make use of The End, which bypasses Damage Reduction. Even with that, their 455 Hit Points give them some staying power. Their own attacks at high enough to hit your warriors regularly and they deal pretty savage damage each hit. Spell-buffing should help with this, especially staples like Stoneskin, Displacement and anything that offers fire resistance. You can also try to lure them to the west to bottleneck them, but the distant one will probably just resort to using its Eyes of Flame ability. Then again, even Baleful Polymorph won’t stop that, so… you’ll just have to endure it.
(1 of 2) Instead of fighting the Jabberwocks you can run past them and claim the fragment they guard
Instead of fighting the Jabberwocks you can run past them and claim the fragment they guard (left), Return the fragment to the Storyteller and he’ll destroy it so you can finally face the Lantern King (right)
Or… if you want to avoid this fight buff up a single character and send them east, alone. Invisibility and a high stealth score might help, but they’ve got a Perception score of 40 and had little trouble spotting an invisible Rogue when we attempted it. It’s an unnecessary complication, anyways, as a Hasted character can simply run past the Jabberwocks and claim the treasure they guard - the Fragment of the Apology - which lies to the east of them. The Jabberwocks tend to advance east no matter what you do, so keep your party back at the rubble bridge and hope your retriever can make it back without getting effected by Burble or any other attacks. Doing this will forfeit a chest they guard to the southeast containing a Composite Longbow +5, but… it might just be worth avoiding them. Again, the key to making this work is moving fast and getting out of there while Darven is still around to occupy them.
However you manage it, return to the Storyteller and give him the third and final shard of the Apology. With that done, prepare for the final fight. You’re going to want plenty of healing, the obligatory Mind Blank, Stoneskin, Displacement and Death Ward for defense, and if you can manage it, prepare at least one Weird spell for offense. Distribute potions and scrolls as necessary and leave no option off the table - you’re not going to need anything you don’t use after this. With any luck you’ll be able to rest and go into this final battle at full strength. When you’re ready, head to the castle in the north-central part of the map.
It’s time to finish this debacle once and for all.

 Sign up
No Comments