Todays Goals
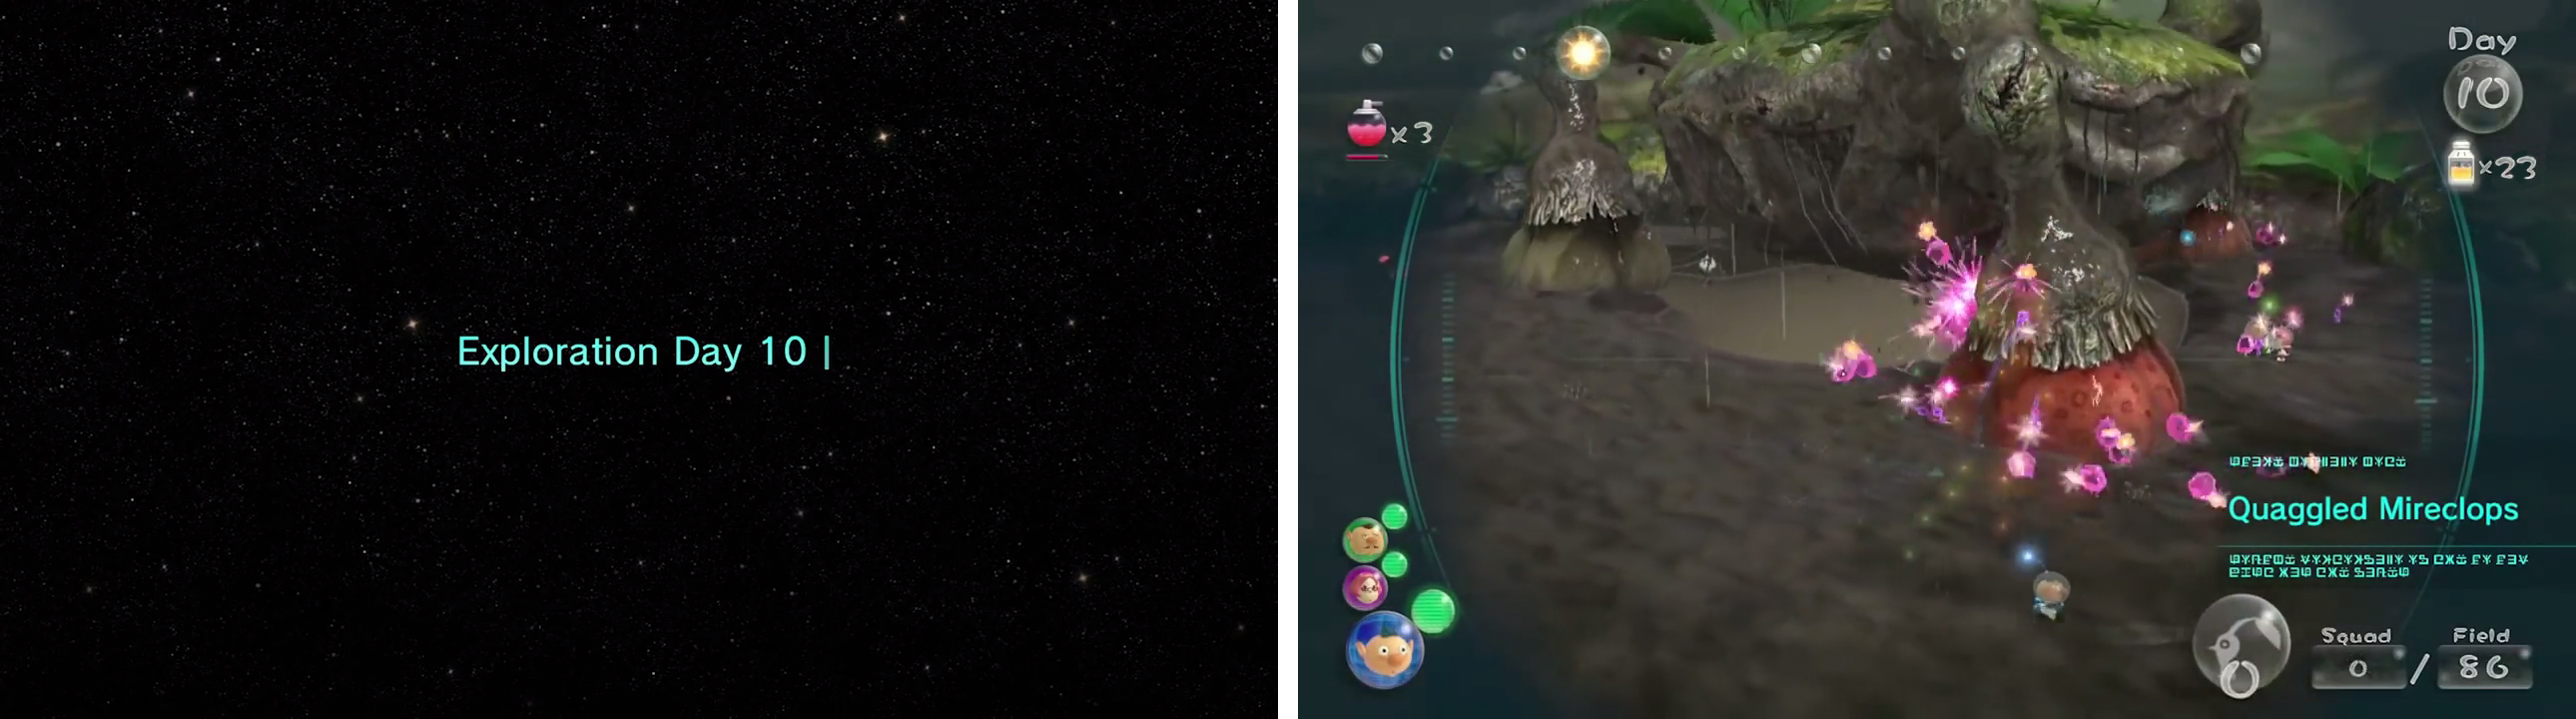
- Reach, and defeat, the Quaggled Mireclops
- Retrieve Louie
- Collect 6 Fruit
- Complete the Garden of Hope
Objective number one is the Mireclops. Objective number two is the fruit. It’s totally possible to finish the Garden of Hope today, as long as you managed everything on the previous day as instructed and managed to get a large number of Blues behind you.
First of all, get one Captain to grab a large army of blue ‘min – 30 is a good number – and a few Pinks (10). Head back to where you found them. Use a ‘Go Here’ command if you’re after speed.
Have your second captain summon a reasonable army of Red Pikmin (30), and send him to the cave in which you collected the grapes on the previous day.
As for Captain number 3? Grab a collection of Rock and other ’min and send him to the Ultra Spicy plant. We need to set our berry collectors for the day.
Control Captain 1 once again and move in the direction of some china pieces. There are some in the northern pools, so waddle up there and set your Blue Pikmin on the stack.
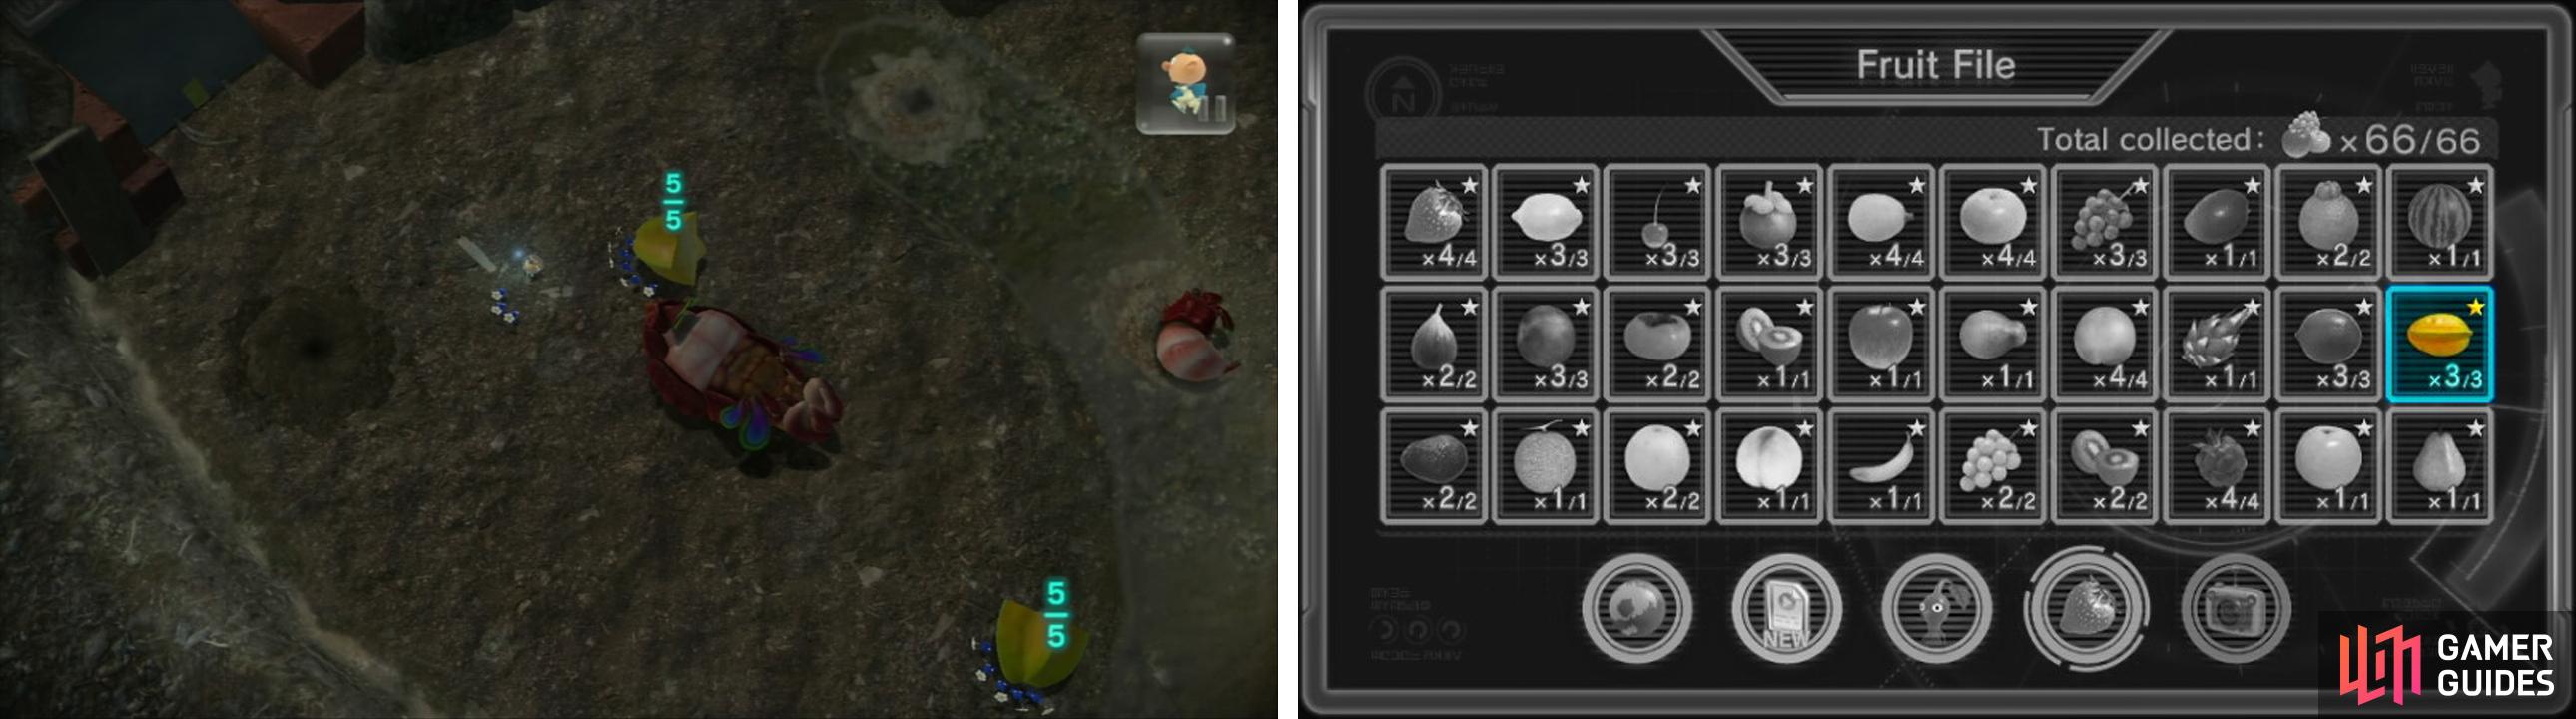
Swap to Captain 2, in the cave. Look right, you’ll see a paper bag, push it. In this cave is a Bugeyed Crawmad who is hiding some fruit.
To deal with this nasty creature you need to throw Pikmin onto its eyes, punching both its peepers will cause the Crawmad to flip out and expose its belly upon which you need to hurl your army.
If you use a Spicy Spray you should see the creature off in two flips. With it deceased, grab the two halves of fruit it dispenses and set this captain and his troupé to head back to the Onion.
Stellar Extrusion (1 of 3)
Back to Captain 2. Round up your Blue Pikmin and head west. You should see an area of dry ground , head here. Surprise! Another Bugeyed Crawmad!
Deal with this one in much the same way you just dealt with his brother and then chuck a few Blues onto the Searing Acidshock that it drops before getting the rest of your Blue’s working on the china.
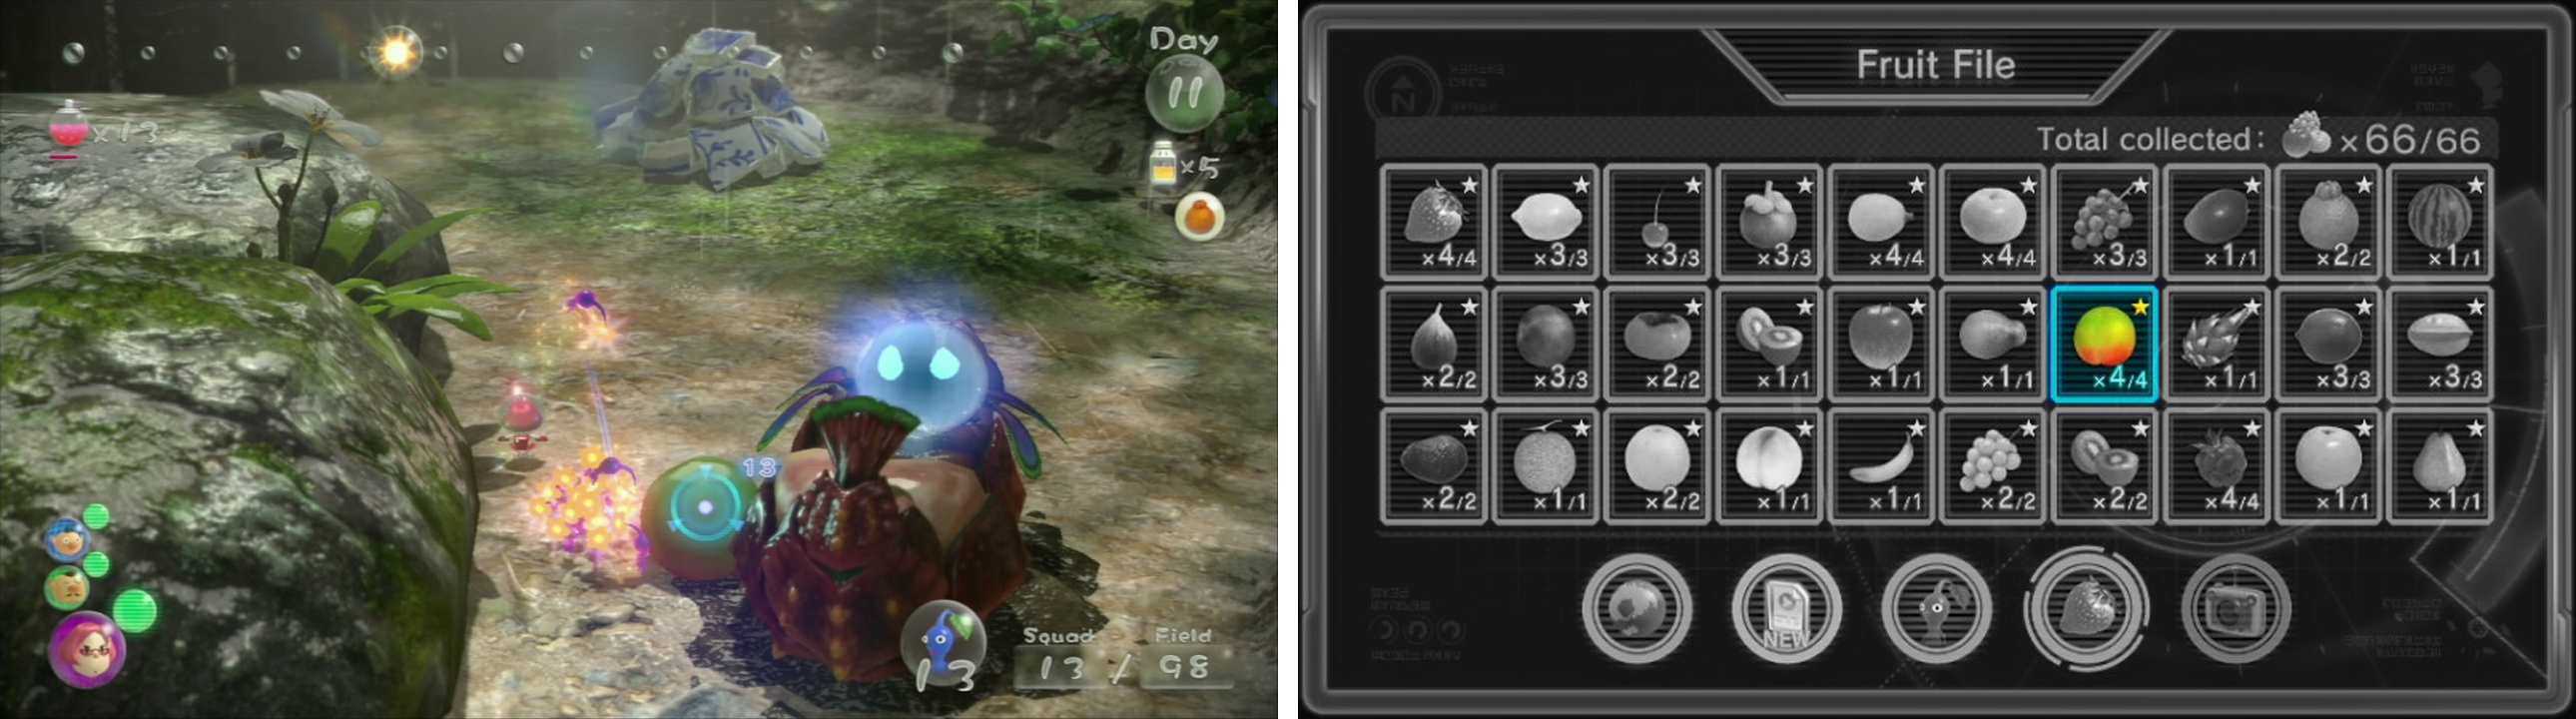
Searing Acidshock (3 of 4)
Quickly check your map. See where the Pikmin are creating that China pot?
Tell your other two captains and their Pikmin (use Captain 1 to round up the ‘min at the Onion) to head to the flower pot to the north east of this. We’re going to need to do a three captain throw here in a minute.
Back on captain 2 we now have a job for the Pink Pikmin. Continue around this path and you’ll find yourself near where the orange sat yesterday.
Look right (assuming the Bamboo Gate is to your left) and head up onto dry land. There’s a clipboard here, so ask your flying Pikmin to lift it. Once it’s up, send a few in to grasp the prize inside.
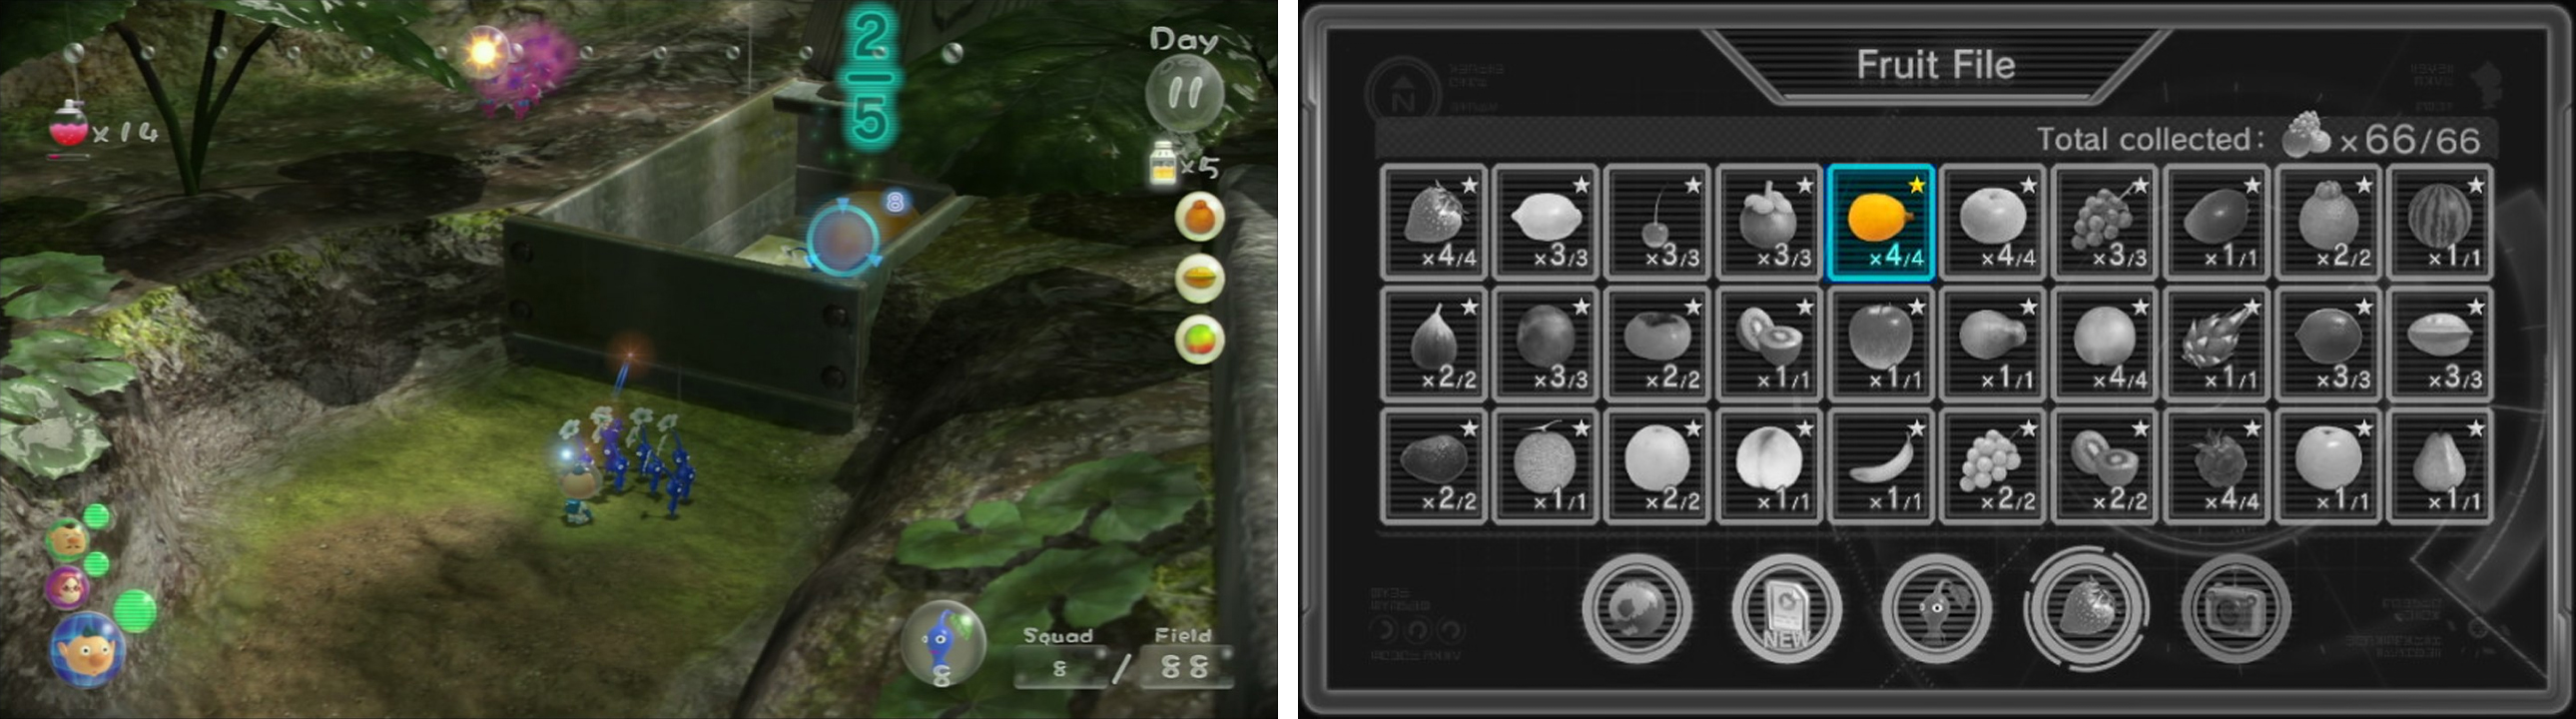
Velvety Dreamdrop (2 of 4)
No more waiting, time to do the triple captain throw so bring your final captain up to the flower pot. You should have a lot of Pikmin with you as well, so proceed to throw two captains and the majority of your army to the china pot.
Before we proceed to the objective, however, look right. There’s a Pink Weed here. Throw one Captain and three Pink Pikmin over. This weed is actually the final Searing Acidshock. Leave these Pikmin to grab it and run back up to the flower pot.
Searing Acidshock (4 of 4)
Back with two captains on the china pot, proceed to lob one captain and a whole variety of Pikmin over to the second pot to the left. You’ll now have to deal with a Peckish Aristocrab , so Spicy Spray your min and lay into it.
This crab’s claw can be broken with a bomb, or by Rock ’min, but a good technique is simply to avoid an attack, strafe around to its back, and then charge the poor chap. This should also help you avoid his bubbles, or at least if he turns then his bubbles are travelling inland.
Squashing the crab leads to him dropping an Avacado. We’ll note it here, now, but you’ll need to construct the bridge before you can even consider reclaiming it with anything but Flying Pikmin.
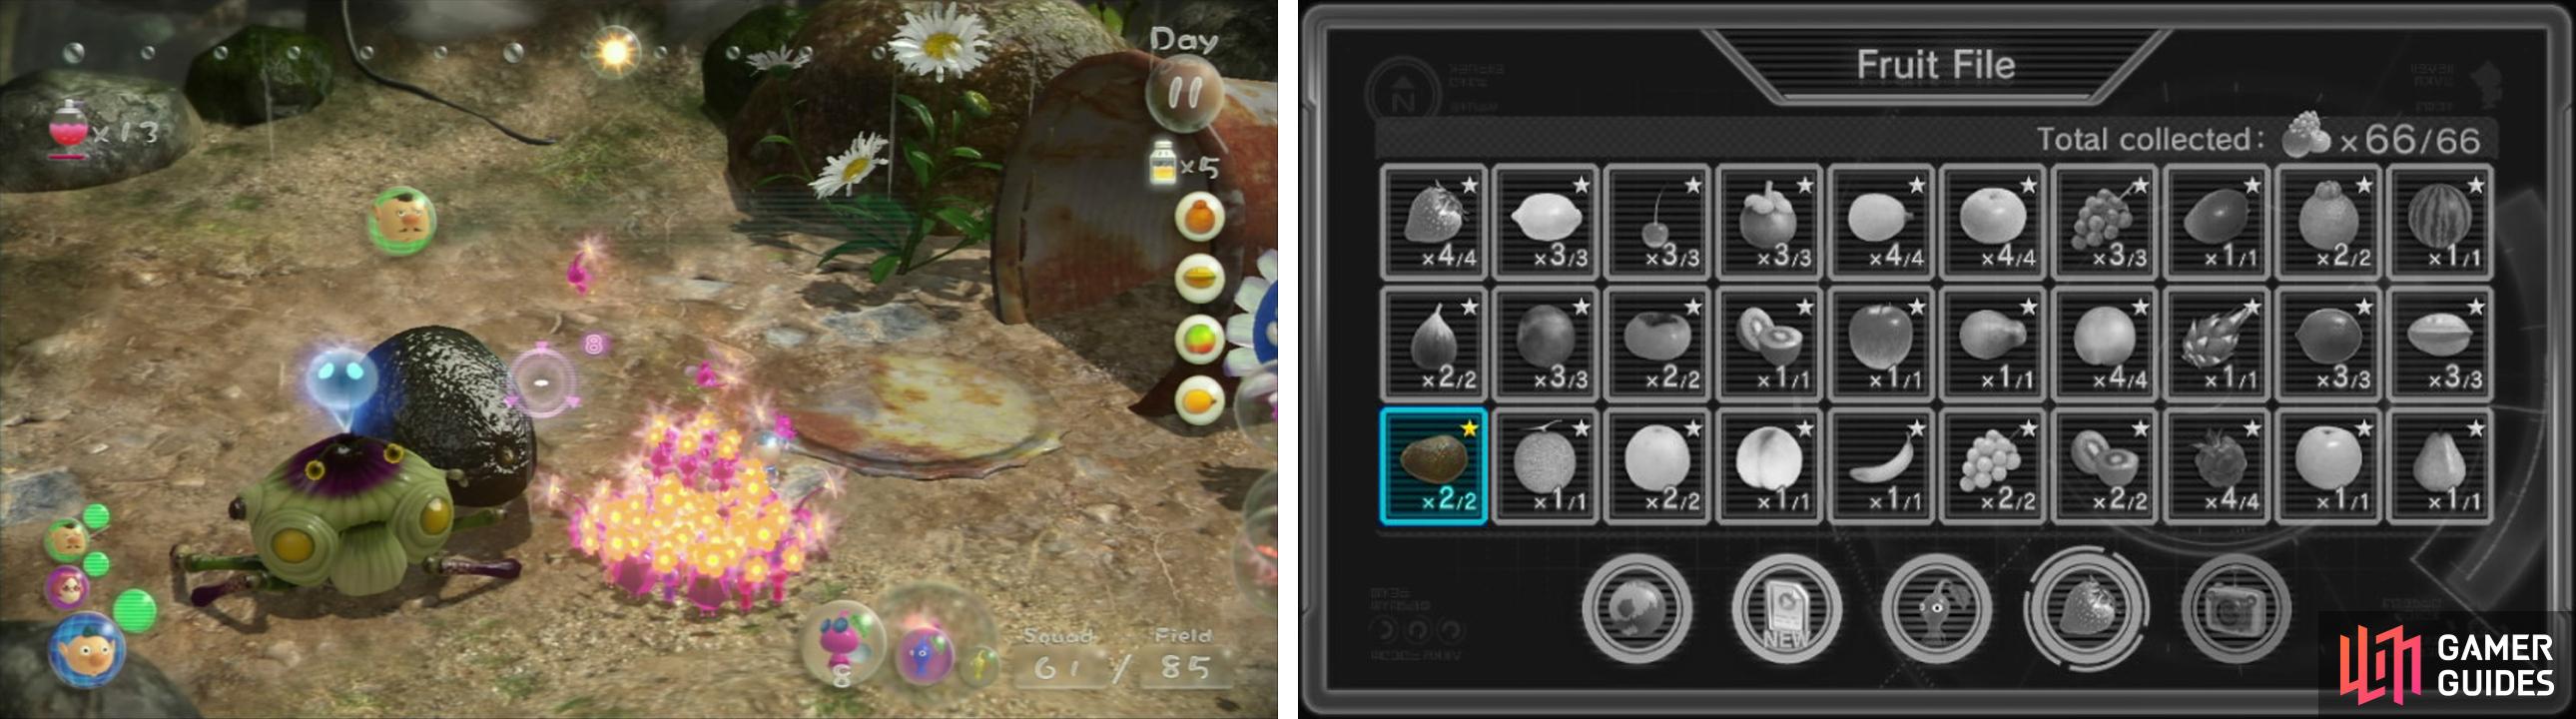
Scaly Custard (1 of 2)
Right, bridge pieces. Some are trapped in a crystal nearby then, if you head right, over the crumpled bucket, you’ll find another pile. However you need to set a handful of Pikmin on digging duty on the Dirt Mound next to this pile, as the final bits of the bridge are stuck in here.
With the bridge complete you’ll want to sort your army composition. The best army with which to tackle the Mireclops is 10 Rock and majority Red.
Walk in and lob your Rock Pikmin at the Crystal in front of you and say hello to the biggest boss in Pikmin 3…
Phase one of the Mireclops is fairly simple, he just stomps around. Set your army to charge one of his jelly-like feet. After a bit of clobbering the Mireclops will fall, so charge onto its back and launch Rock Pikmin at its Crystal until it shatters.
Phase two adds a few attacks to the Mireclops’ range. He’ll now charge forward, and also ‘sit’ on the ground. To be honest, with this many Red Pikmin, you shouldn’t have any problems. Charge a foot the moment you’re in control and the Mireclops will drop again.
Don’t attack en masse just yet. The Mireclops has an attack where its ‘lip’ rotates and its large tongue rotates around its circumference, pulling in any Pikmin in its path. This attack is telegraphed by the lid giving a little hop and a preliminary swivel, and this is when you attack.
See that pop/swivel? Charge! As long as you Spicy Spray your Pikmin beforehand, this boss will die incredible quickly. Just remember to whistle away when the tongue retracts, and then revert to throwing Pikmin onto the weak spot.
Quaggled Mireclops Video Guide
Even a Goliath of that size is no match for 100 little Davids. Collect your spoils, putting a focus on getting Louie and the fruit home. This can be a squeeze, but it is possible.
Wayward Moon
Squeezing the Mireclops kill and claim into this day is tight. Squeaky bum time of the highest order.
But it’s crucial, when on a speed run, that you do, because conquering the clops on this day will finish the Garden of Hope. If you fail, and have to return tomorrow, then you’ll only have that one thing left to do!
If you’re struggling to fit in our entire day 10, then return to day 9 and try to collect the china piles on that day to prepare better.
I put more emphasis on claiming corpses and producing Blue Pikmin, but you can easily do this with the Clops corpse here (return with Reds, whistle off at Onion, summon Blues, have them claim it).
If you did manage this, however, congratulations! I’d say this is one of the hardest days of the entire run, excluding the final day.
 Sign up
No Comments