
Todays Goals
- Defeat Scornet Maestro
- Recover Louie
- Collect 3 pieces of Fruit
Remember those lillipads we freed? Time to ride them. Take two captains and a large army of Pikmin (91). Hop on the Lillipads heading right. Now swap to the third captain and grab nine Yellow Pikmin.
The idea is to put five on the Spicy Spray Plant we used yesterday, and then have the other four grab the bombs from the can near where the Blowhog was floating. Make use of the ‘Go Here’ command to do this.
Once your initial captains enter the new area you will be alerted by a short cutscene. The first thing you want to do here is deal with the nearby Arachnode . If you leave the Arachnode then Pink Pikmin that go to transport something to the Onion will get snagged in this web and die.
The Arachnode is weakest to Rock Pikmin, but that’s only applicable when it is low on its web. To deal make the Arachnode shuffle, throw a few Pink Pikmin at it.
Next, pop five Pikmin on the Spicy Berry plant, and then move on to the Dirt Wall over the river.
While your Pikmin are working on the Dirt Wall, swap to your other Captain and perform his tasks. Once his ’min have their bombs, give him a ‘Go Here’ command to where the other captains are currently stood.
Once the wall comes down head through. Leave a number of your Pikmin here for the third captain to pick up, and then jump your two captains and their army onto a lillipad.
You want to ride it quite far down the river until you see a red Mushroom. Throw one of the two captains onto this mushroom and they will be on a higher ledge, necessary to collect the bridge parts for reaching the next boss.
Run this captain the same way as the lillipads are moving and you’ll find a brick where you can throw a gaggle of Pikmin up to him. Throw up some Rock and Pink Pikmin, then run back down the path and set your Yellow Pikmin on the electric gate on the main path.
Meanwhile swap to captain number 3, pick up the army you left him and use the lillipad to go over the river to the first lillipad you see. There is a Dirt Wall to you right, start bringing it down.
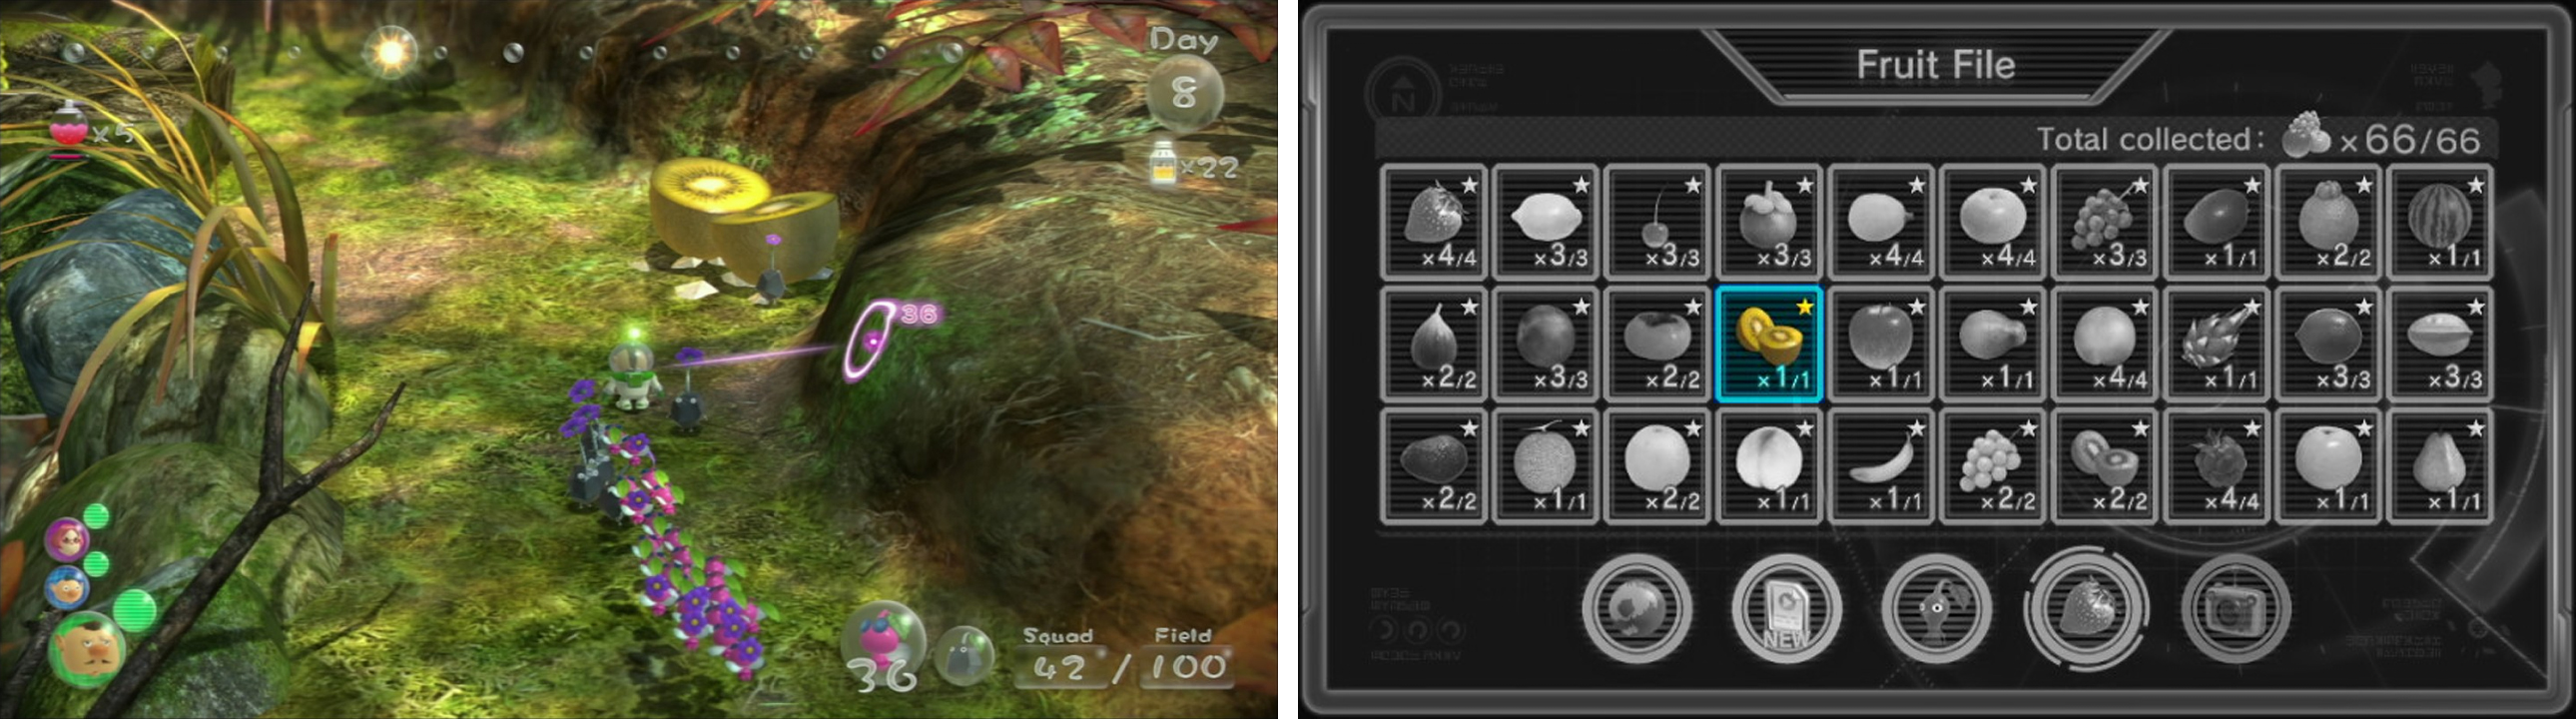
Back to the Red Mushroom captain. Head back to where you bounced up and smash the Crystal here. Then head up the path and deal with the Arachnode. Once that’s done, set your fliers on the bridge parts and return to the fruit that popped from the Crystal, set your Rock ’min on it.
Blonde Impostor
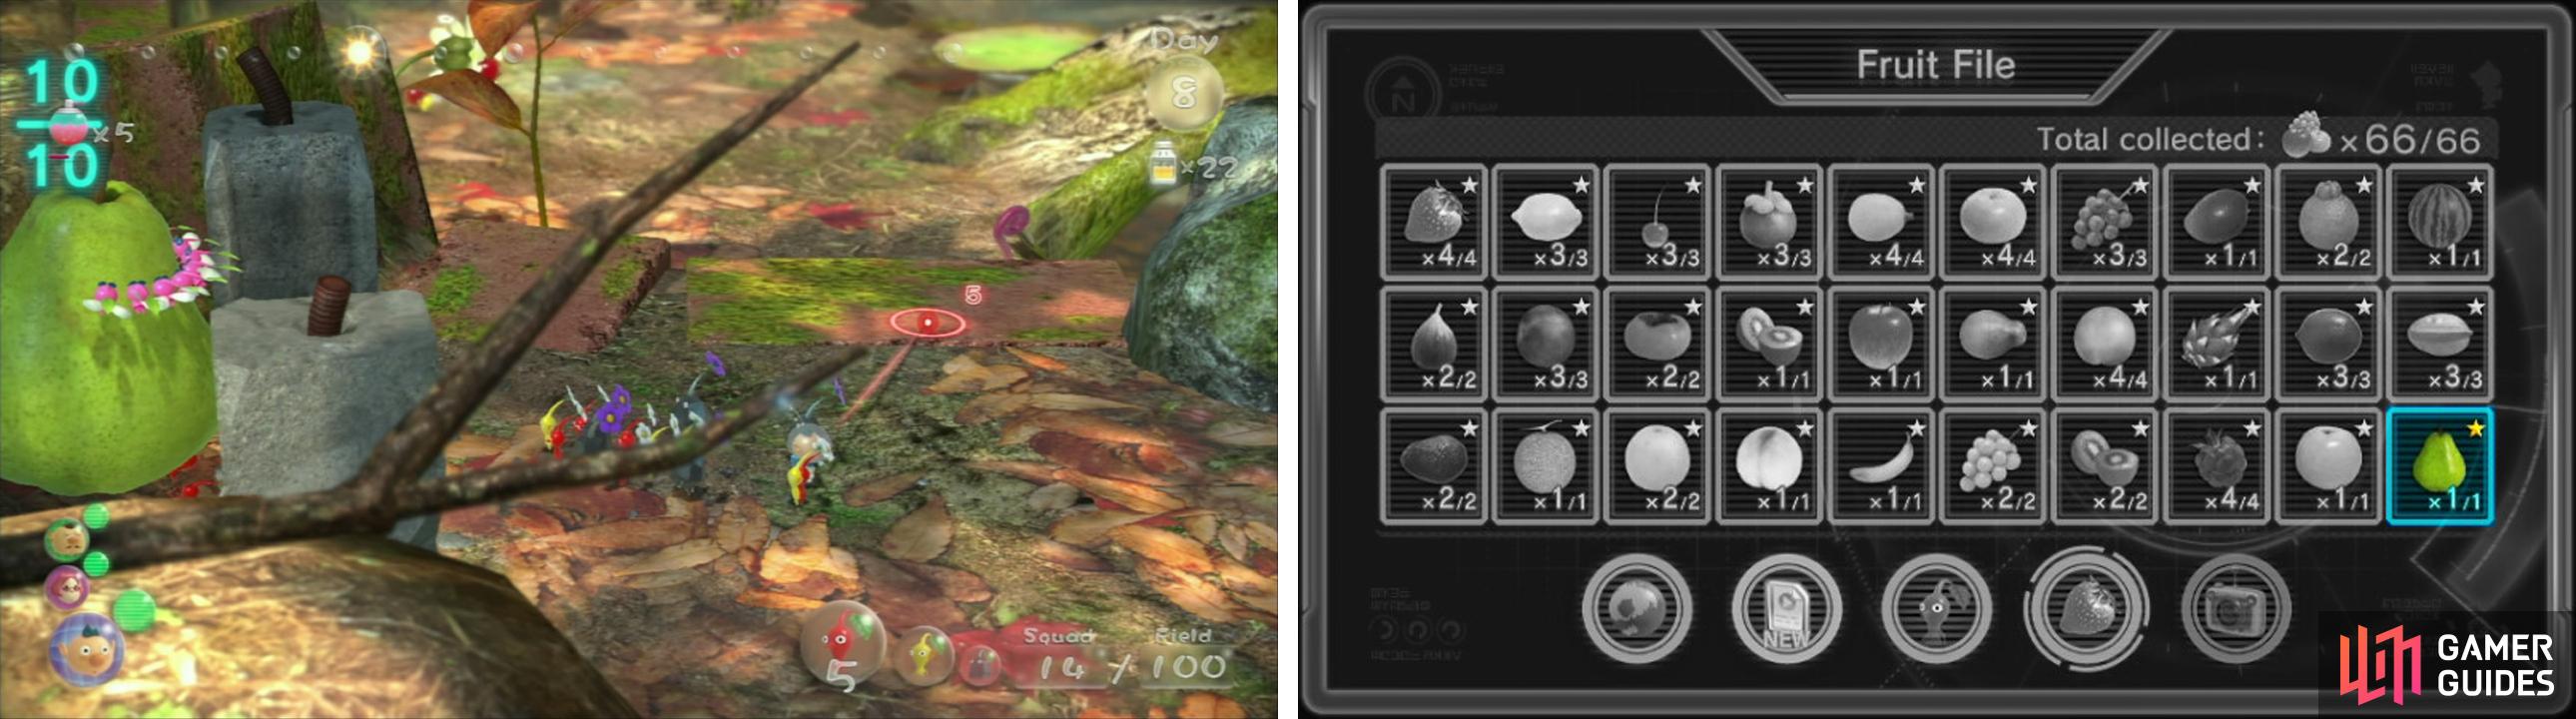
Back to Captain 3. Head through and you’ll see two clip boards. The left one contains enemies, the right contains bridge parts. Use Pink Pikmin to raise the right board.
There is an Arachnoid web nearby mind, and if you set Pinks on these bridge parts then they will fly into it, so try and use grounded Pikmin. With those Pikmin collecting the bridge, use your bomb rocks to demolish the nearby wall, revealing the Pear behind it.
Tremendous Sniffer
The final pile of bridge parts is actually nearby here. Back where captain three tore down the Dirt Wall there is a large number of flying foes. Move through the water here and the bridge pieces are sat quite happily. Use flying Pikmin to claim them.
It’s a good idea to have a captain returning to the Onion at this point. The bridge is complete so it’s time to take on the boss, but we need an army for that and a lot of Pikmin have been carrying fruit home for us.
There is actually a shortcut near where Captain two was using Yellow Pikmin to destroy the electric gate. You need to run past a rather hungry enemy, but it’s worth it.
With army in tow head up to tackle the Scornet Maestro . This boss is a pain because, as the below video explains, the amount of damage he can sustain in a phase is capped. He isn’t hard to beat, just time consuming.
Focus on avoiding his attacks. The Scornet arrow simply requires you to move when they ‘lock’. A good move is to run straight under the Maestro.
The second and third attacks allow you to kill the scornets before the attacks launch, but you can also glitch out the Scornet’s attack direction by taking control of a captain on their own.
You see, the Scornet will target your active captain, regardless of whether they’re actually leading any Pikmin.
Scornet Maestro Video Guide
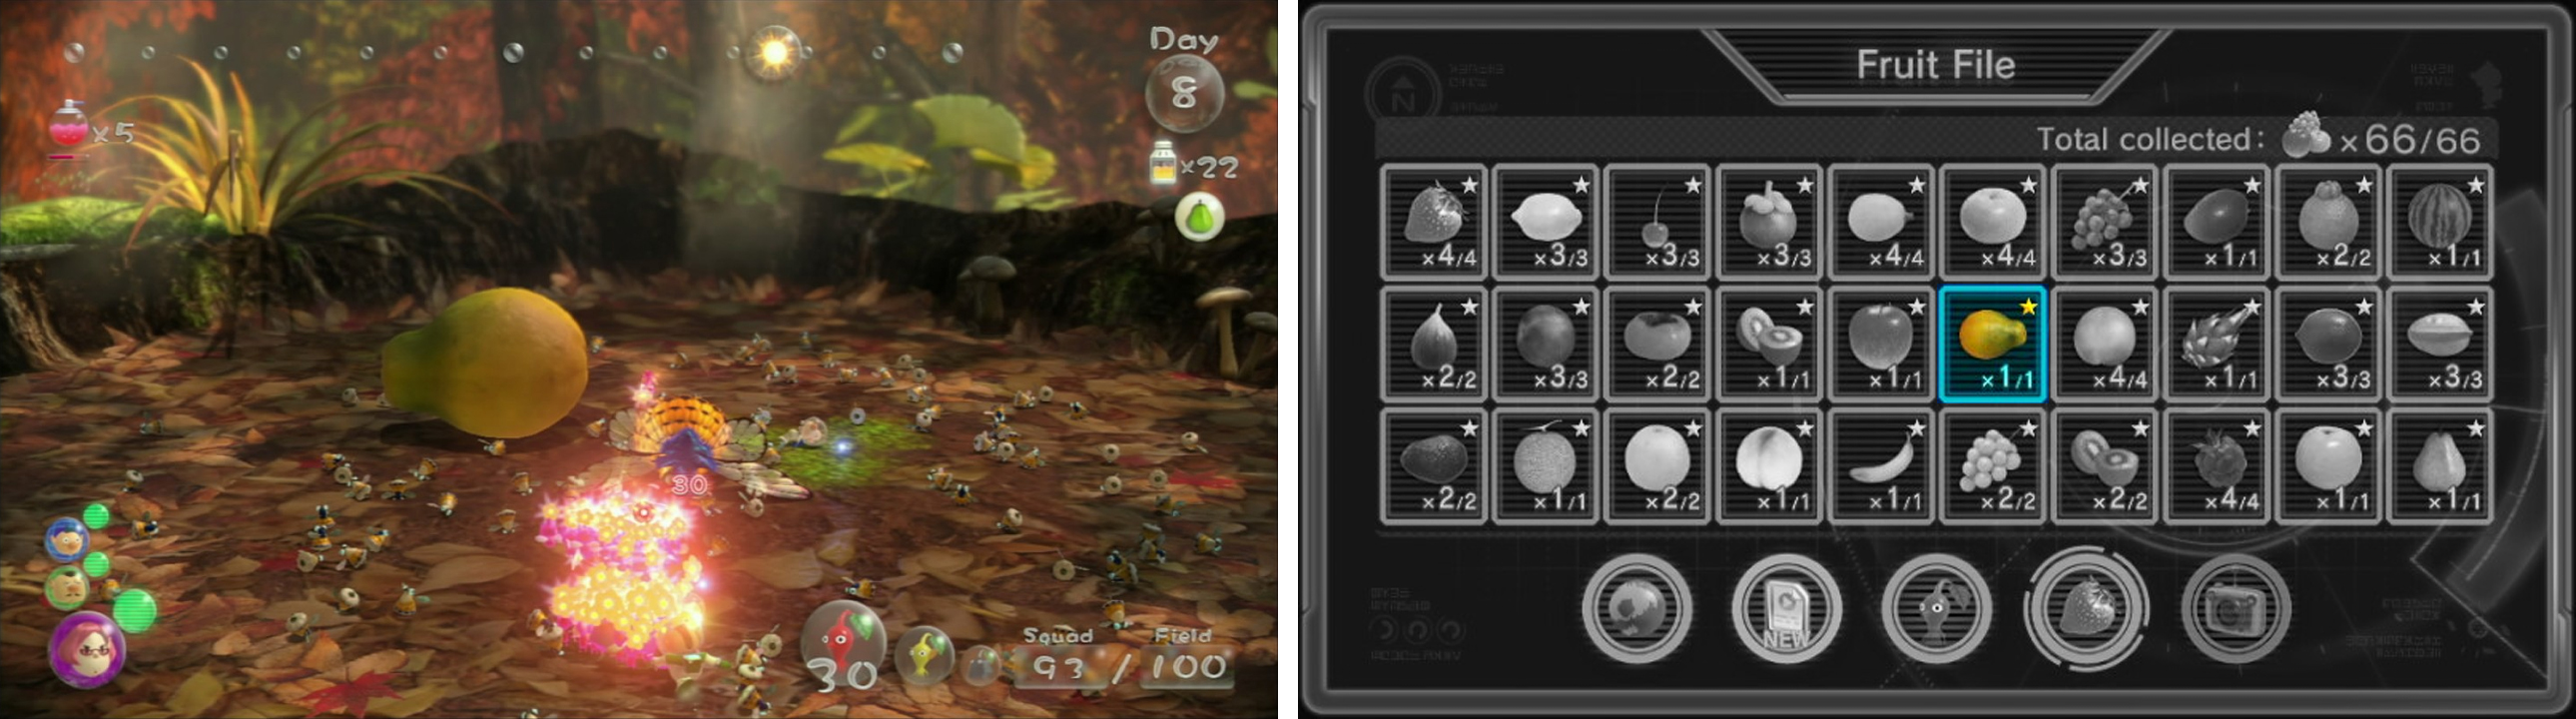
Once the Scornet is down set a group of Pikmin on Louie, he’s objective number one. Also set a good number of Pikmin on the celebratory boss kill fruit.
Seed Hive
Time may be getting a smidge tight now, so don’t worry about doing anything more with your day. As long as Louie gets home, then you’re doing fine. Good day.
 Sign up
No Comments