
(1 of 2) An umbrella might be handy. Or perhaps a swimsuit…
An umbrella might be handy. Or perhaps a swimsuit… (left), (right)
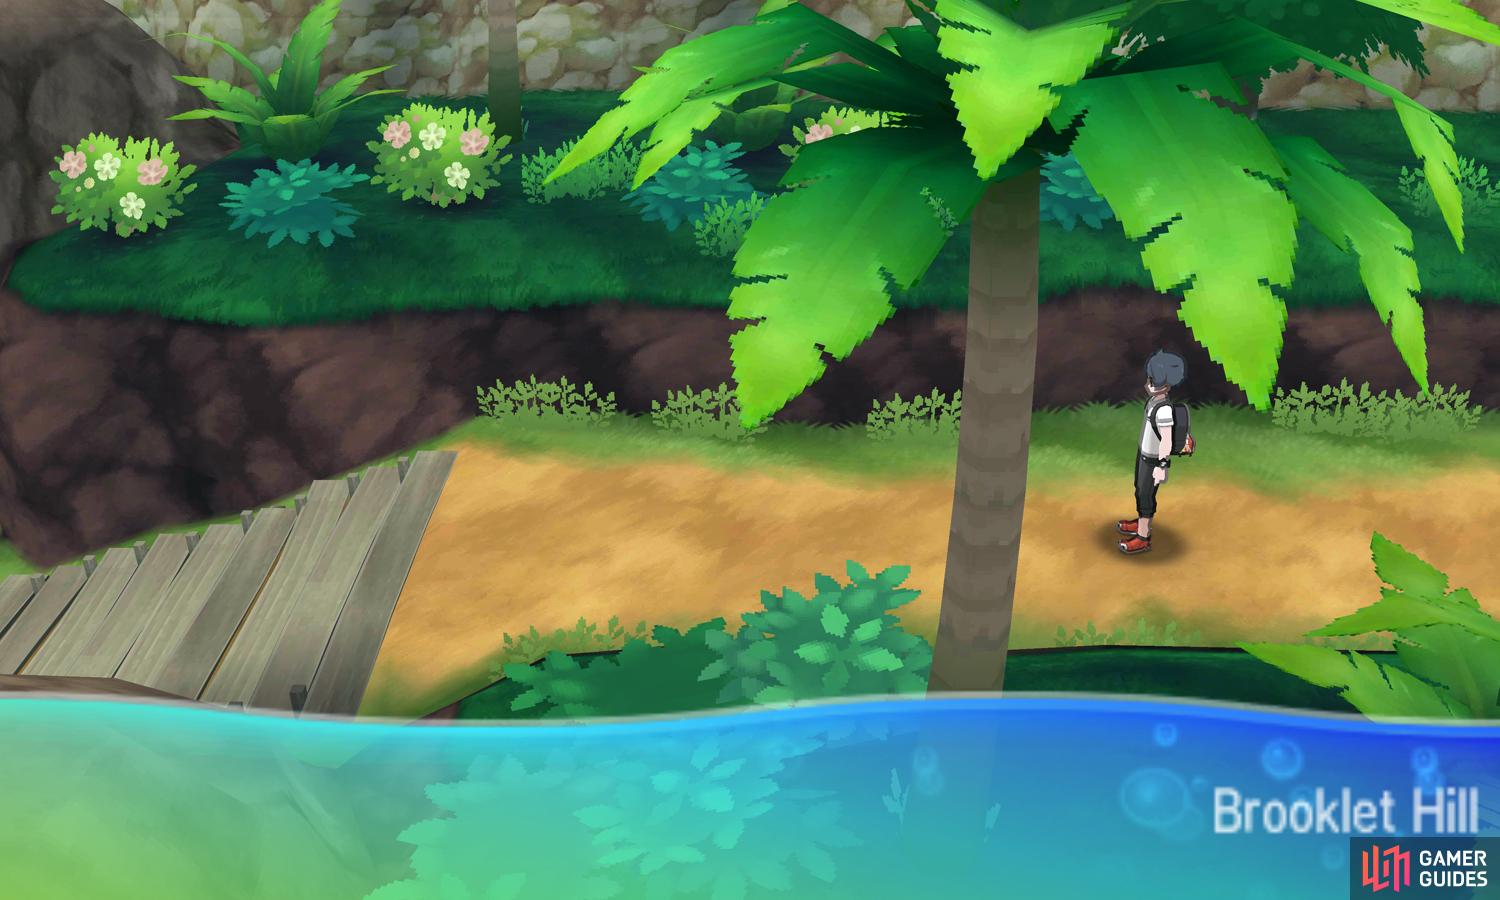
At long last, you’ve reached the tranquil Brooklet Hill, which serves as the site of the 2nd island trial. From the Route 5 entrance, go west down the steps, towards a wide plank bridge. Cross the bridge to the other side, where Captain Lana is waiting by the trial gates. Before speaking to Lana, head south-west along the sands.
Just below the trial gates is a Net Ball that nobody’s bothered to pick up. Around here, there’s also a fisherman who seems to be really engrossed in his hobby. If you want, interrupt him for a Pokémon battle. Who knows, it might help relieve some of your pre-trial jitters.
Fisherman Ernest
To nobody’s surprise, the fisherman has fish Pokémon.  Barboach, if you’ve never encountered one, is a trap for Electric-types. Because it’s part Ground, it takes no damage from Electric. On the other hand, Grass-types deal a whopping 4x damage.
  Goldeen is a standard Water-type so Electric-types work as intended.
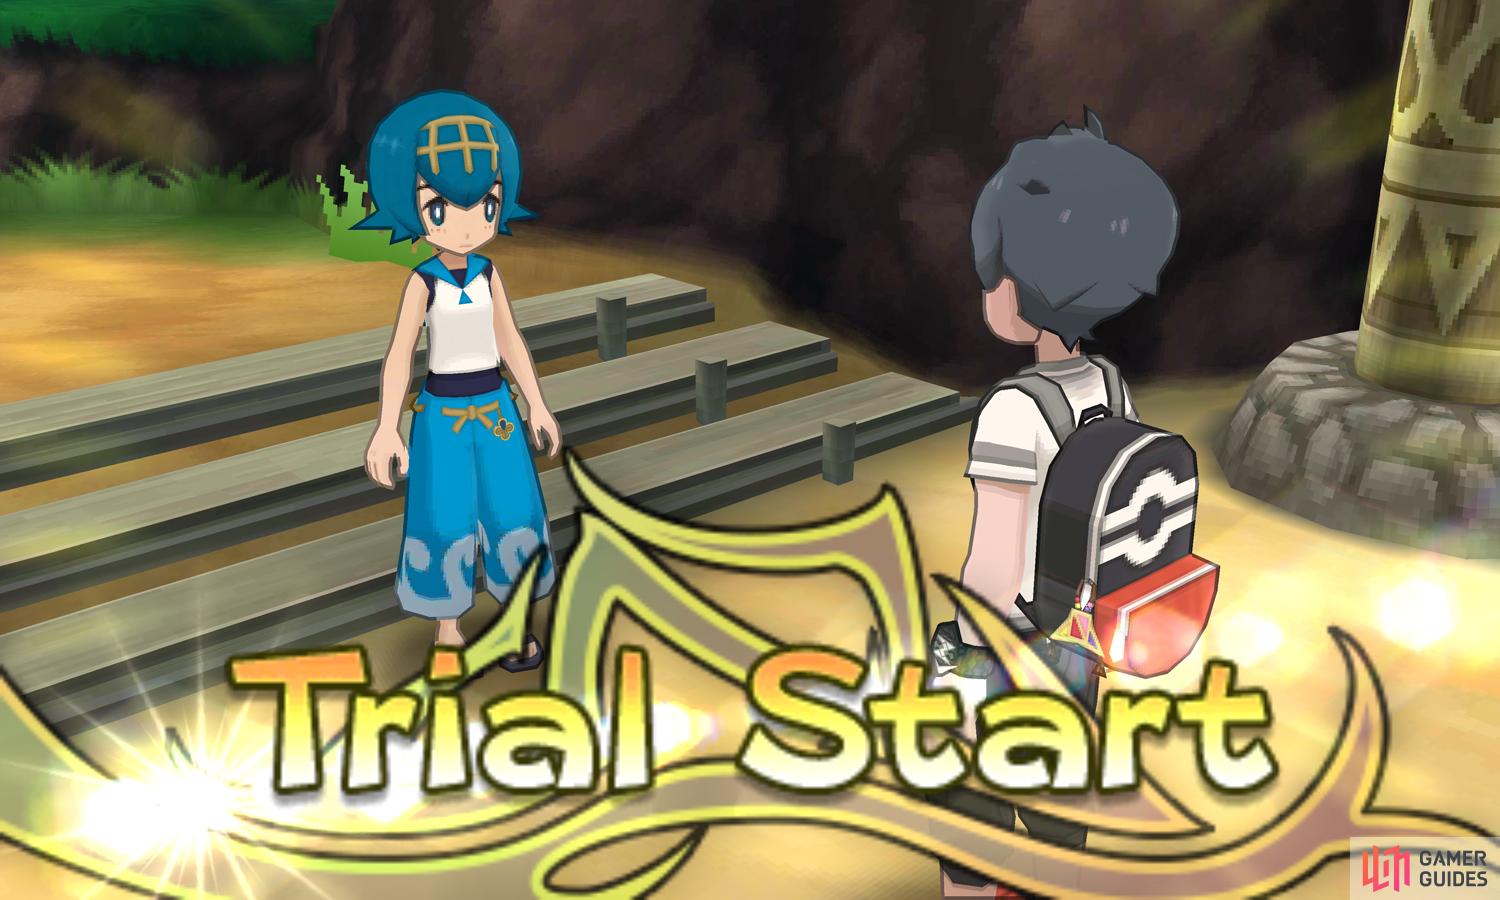
After that little warm up, it’s high time we begin the actual trial. Approach Lana and she’ll explain the rules. Your task is to round up the  Wishiwashi creating splashes in the water, with the aim to lure them downstream.
Start by following the winding path south, towards where Lana’s gone. You’ll find some tall grass along the way, but there are no random wild Pokémon encounters while the trial is going on. Perhaps Lana has herded them away somewhere? While in the tall grass, search its south-east corner for a hidden Elixir.
Beyond the tall grass, towards the south-west, Lana is standing in front of a large body of water. She’ll point out two splashes near the middle of the water. Before leaping into the water, follow the dry land north-west and around. Over in this corner, there’s a Pokémon trainer surveying the water and past her, a X Sp. Atk that you should pocket.
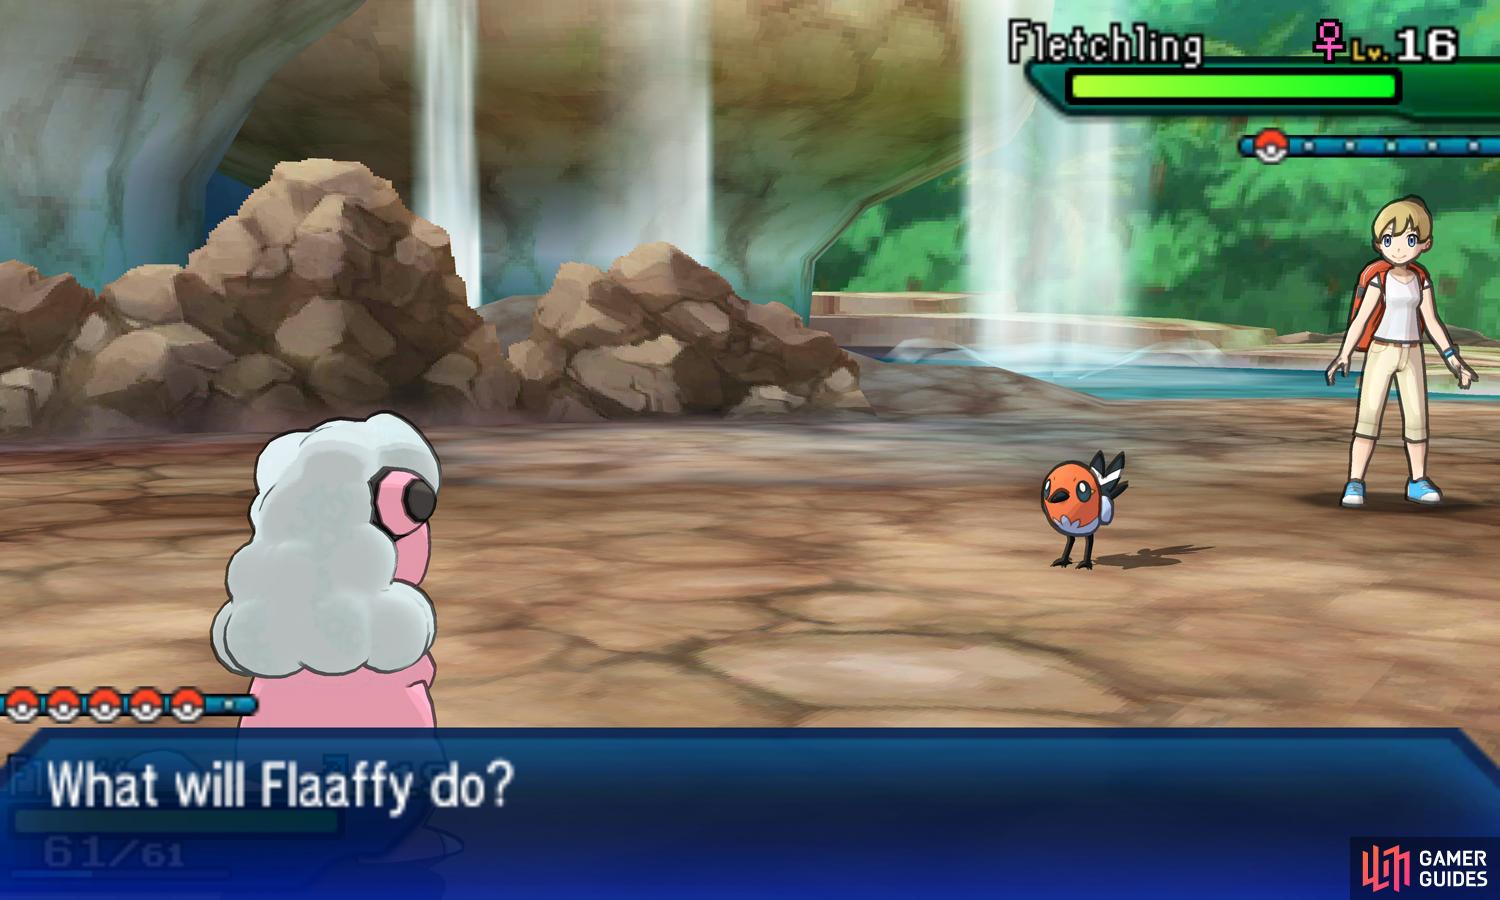
Backpacker Mikiko

(1 of 2)
| Pokémon | Level | Type |
|---|---|---|
 Fletchling Fletchling |
16 | Normal/Flying |
A fledgling (geddit?) bird Pokémon that you can encounter from the next trial site. Simply deal with it like any other of the unevolved Normal/Flying birds. Electric, Rock or Ice-types are preferred, but anything that doesn’t have a Type disadvantage will more than suffice.
Afterwards, run along the dry land clock-wise towards the opposite corner, past Lana. At the other end, there’s a bearded fellow who wants you to come back after completing the trial and when it’s raining. Ignore him and proceed west along the wooden pier. Here, there’s another fisherman to battle.
Fisherman Herbert
| Pokémon | Level | Type |
|---|---|---|
 Poliwag Poliwag |
16 | Water |
This hypnotic Water-type is weak, but can use Hypnosis to make your Pokémon fall asleep. It’s also reasonably fast, so expect it to move first if your Pokémon is on the slow side. Take it out with Grass-types ideally, but Electric or fast Pokémon are also recommended.
Alright, its time to resume the trial. Approach the water’s edge and summon Lapras; make sure to give the sea creature adequate space. Start by swimming straight into the splashing water directly west from the pier. Ta-da, it’s one of the Wishiwashi you need to scare off. It’s a pure Water-type, so try to use Grass or Electric-types.
Defeating the Wishiwashi will complete part one of the trial. Although, if you’re curious, you can check out the remaining splashing nearby to the north-west. Well, well, it’s a  Dewpider causing this other splashing. This creepy crawly is a Water and Bug-type, meaning it’s weak to Electric, Flying and Rock-types.
Moving on, paddle south-west from the pier to reach the other side of the water. After reaching dry land again, go west where a Revive is sitting by the corner. Also near this corner, there’s a Photo Spot should you wish to bring out the Poké Finder and take a short break. Next, follow the path east, down the gentle slope.
Beyond, there’s more tall grass that’s disturbingly empty of wild Pokémon. Where there’s a gap between two patches of tall grass, sniff around with  Stoutland to find a buried Max Repel. South from here, you’ll bump into Lana again. She’ll silently–or maybe telepathetically–point you towards the next two splashes to investigate.
Without a moment to waste, go to the water’s edge and call Lapras. First check the splashing water directly south-west from Lana. That’s your second Wishiwashi of the day. Once the battle is over, the weather will break out into rain. If you’re not in a rush, paddle east to check out the other splash, which of course is another Dewpider.
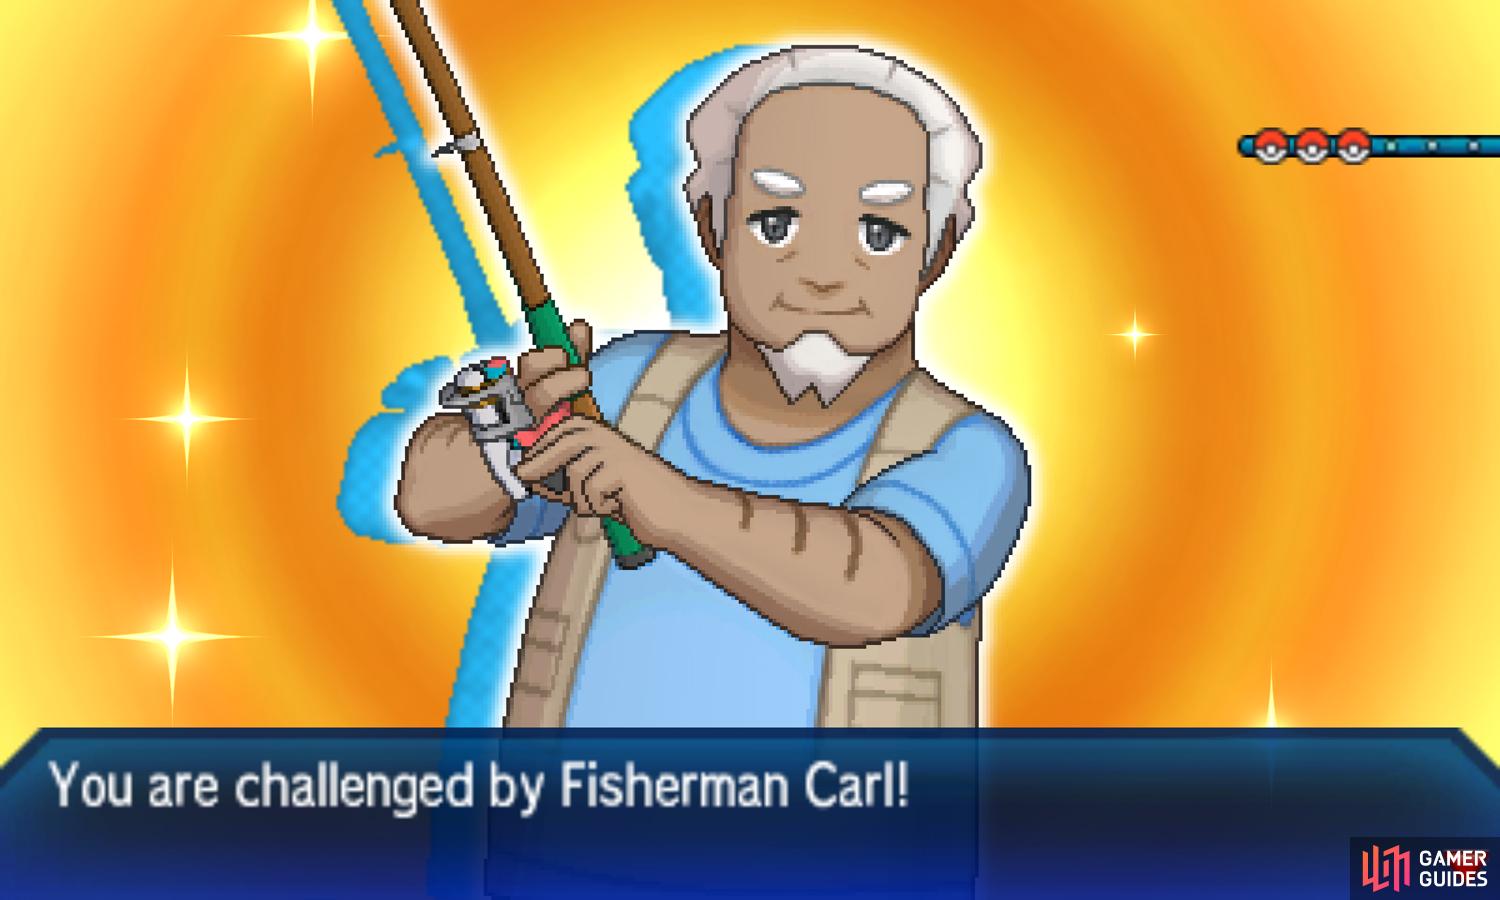
At this point, the trial is fast approaching its conclusion. From the splashing Dewpider, head south to reach a secluded area of dry land. Keep an eye out for the fisherman standing at the edge of hill. If you talk to him from below, you can grab his attention for a battle.
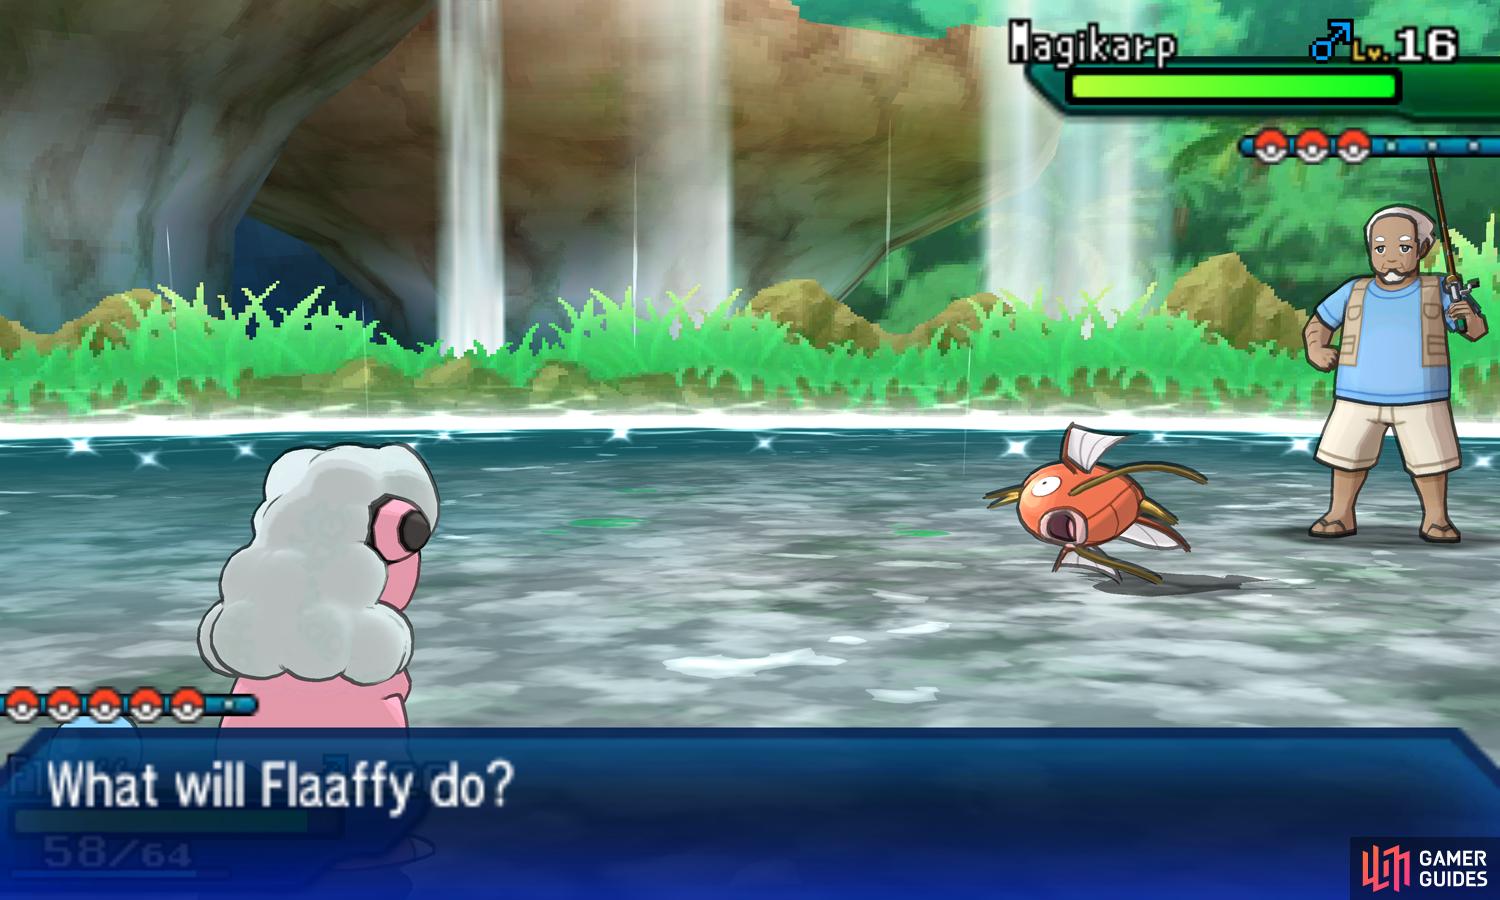
Fisherman Carl
(1 of 2)
The obligatory fisherman who uses nothing but weak  Magikarp. This battle is basically a free win for you, but don’t be alarmed if the Magikarp move first. They are surprisingly fast–and even faster when it’s raining due to their Swift Swim ability.
Next, head south-west along the narrow path. At the end of the tall grass, there’s TM57 Charge Beam that you can teach to an Electric-type. Return to the water and this time swim directly west. When you’re back on dry land, head south-west along the slope leading down, then west towards the exit.
Totem’s Den
Walk a few paces forward and Lana will catch up with you. She’ll direct your attention to the far north-west, where the Totem Pokémon appears to be splashing around. Well, here goes nothing! But before charging straight into battle, head south-west from Lana, while on the beach, and grab the Hyper Potion for good luck.
Finally, call upon Lapras and swim north-west towards the fated battle. Needless to say, if you need to make any final preparations, do them now. By the way, Sun and Moon players may be in for a rude surprise.
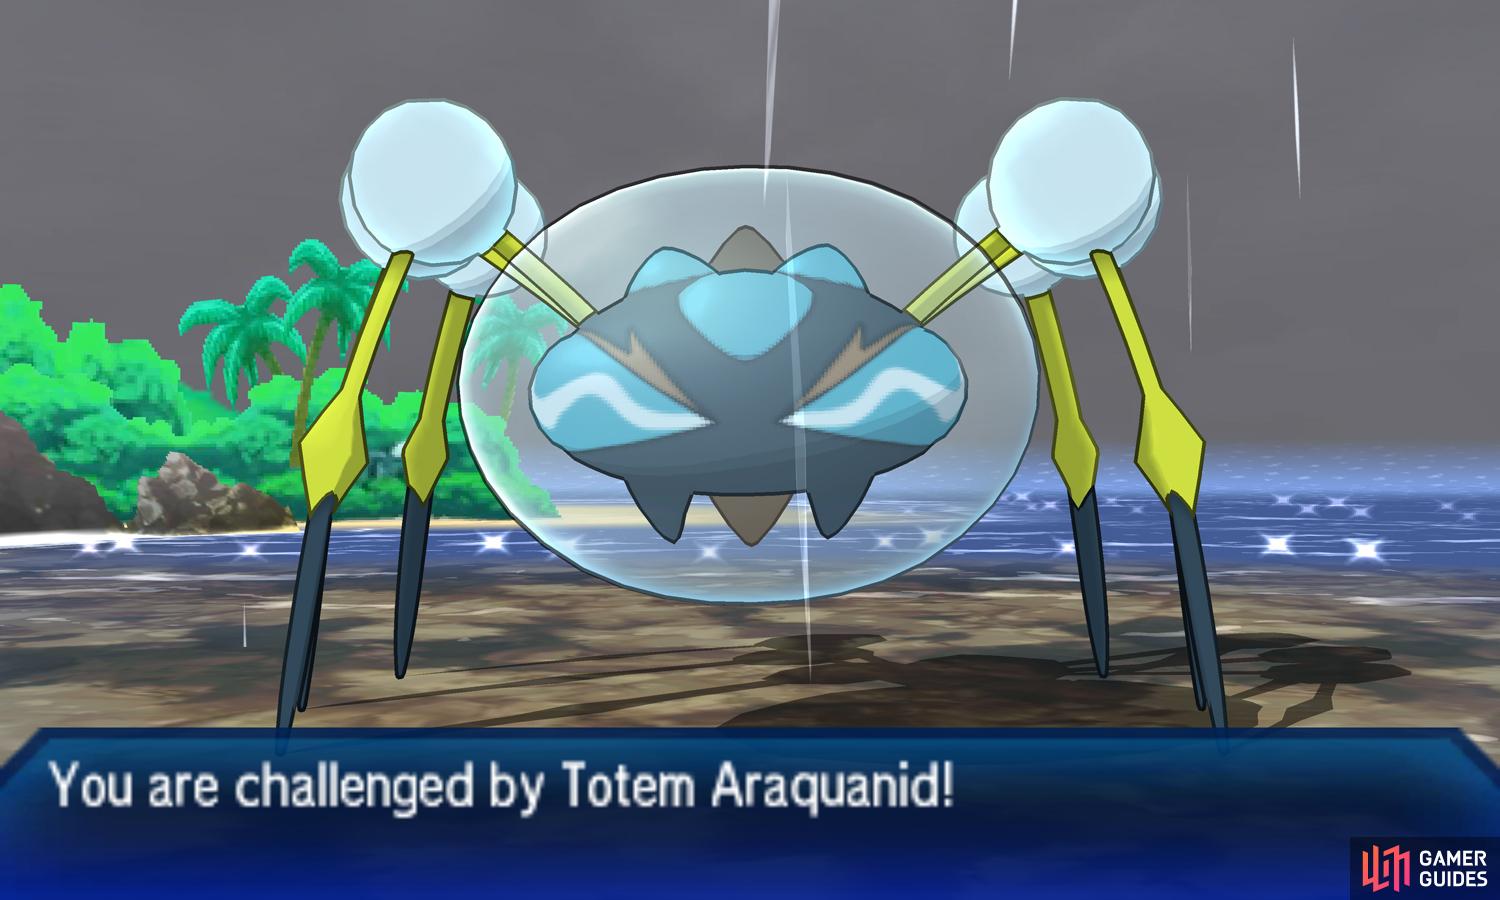
Totem Pokémon
(1 of 2)
| Pokémon | Level | Type |
|---|---|---|
 Araquanid Araquanid |
20 | Water/Bug |
It’s a bait and switch! Rather than the Totem Wishiwashi fought in Sun and Moon, you’ll be up against this terrifying water spider. That means, unlike previously, Grass-types are ill-advised unless they enjoy being bitten by very big bugs. Instead, Flying-types are strongly recommended.
However, Araquanid does know Aurora Beam, an Ice-type move, so Flying-types are at a slight disadvantage. In fact,  Rowlet (and its evolutions) and
  Noibat (from the Pokémon Center trade) should be avoided, if you can help it, since they take 4x damage. Rather, Pelliper (evolved from
  Wingull) is probably the safest candidate.
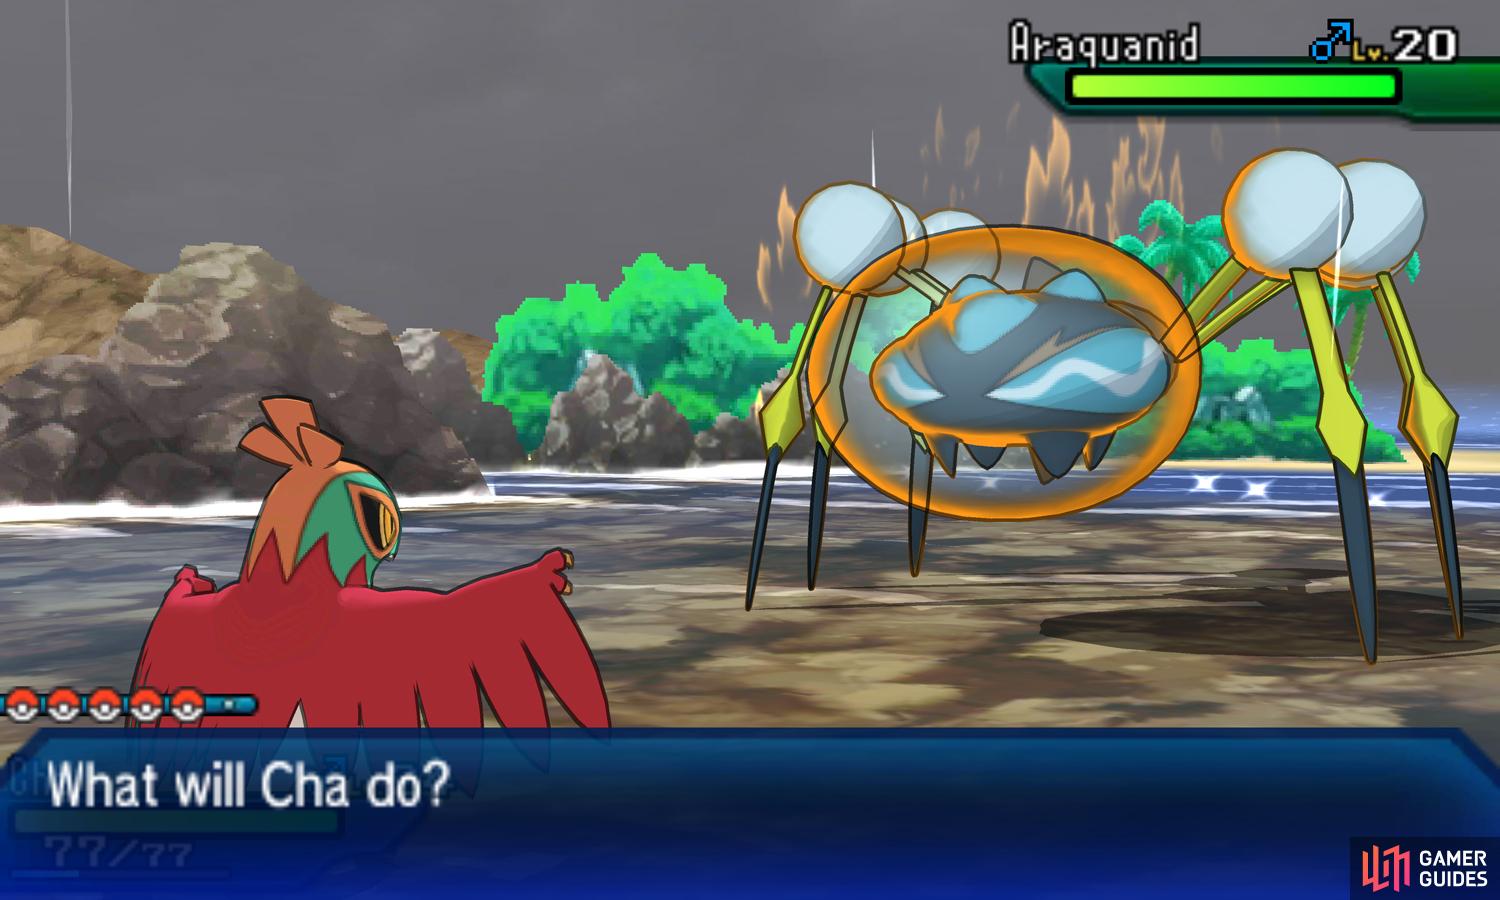
 Hawlucha, especially the traded one, is also a great choice if high level. If using a Flying-type, be sure to give them Flyinium Z, which you hopefully obtained from Ten Carat Hill. That way, you can potentially inflict a heap of damage with Supersonic Skystrike. Possibly even a one-hit KO if the conditions are right.
Electric-types will do fine, but note that Araquanid has a Wacan Berry, which weakens the damage from your first attack. Rock-types are equally super-effective but should be benched since they take super-effective damage from Water-type attacks, further boosted by the rain and Araquanid’s Water Bubble ability.
Although Araquanid is a potent threat, it has one other glaring weakness–its poor Speed. At the beginning of battle, it will receive a Speed boost from its aura, but unless your Pokémon are really slow and/or low level, they should still outrun Araquanid. Therefore, you ought to have plenty of chances to land a hit on the spider.
To make things trickier, Araquanid can summon Dewpider. These pesky buggers may use Spider Web to lower the Speed of non-Flying Pokémon that switch in. Araquanid can also summon Bug/Flying  Masquerain who are even more annoying, using a combination of Stun Spore, Tailwind and Scary Face to immobilize and lower your Pokémon’s relative Speed.
Afterwards, she’ll then offer to escort you back to the Pokémon Center on Route 5. Chances are you should accept her offer.
Fishing Basics
Unlike earlier Pokémon games, fishing can only be done from specific fishing spots: circular piles of rocks, found close to the water’s edge or in the middle of water. Press the A button next to a fishing spot to cast your line.
If there’s a bite, an exclamation mark will appear, at which point quickly press the A button to reel in. Do it too early or too late and you’ll have to try again. If you see rippling water above a fishing spot, this means an increase chance of rare Pokémon.

 Sign up
No Comments