
(1 of 2) You’re roughly halfway there! Hopefully your bag isn’t bursting just yet.
You’re roughly halfway there! Hopefully your bag isn’t bursting just yet. (left), (right)
Pokemon Encounters - Vast Poni Canyon
| Name | Type(s) | Location (Rate) |
|---|---|---|
 Golbat Golbat |
Poison/Flying | Surfing in the waterlogged room (80%) |
 Golduck Golduck |
Water | Surfing in the waterlogged room (20%) |
Pokemon Encounters - Fishing
| Name | Type(s) | Location (Rate) |
|---|---|---|
 Magikarp Magikarp |
Water | Standard fishing spots (45%), bubbling fishing spots (25%) |
 Gyarados Gyarados |
Water/Flying | SOS from Magikarp |
 Basculin Basculin |
Water | Standard fishing spots (25%), bubbling fishing spots (20%) |
 Barboach Barboach |
Water/Ground | Standard fishing spots (25%), bubbling fishing spots (20%) |
 Whiscash Whiscash |
Water/Ground | SOS from Barboach |
 Corphish Corphish |
Water | Standard fishing spots (5%), bubbling fishing spots (35%) |
 Crawdaunt Crawdaunt |
Water/Dark | SOS from Corphish |
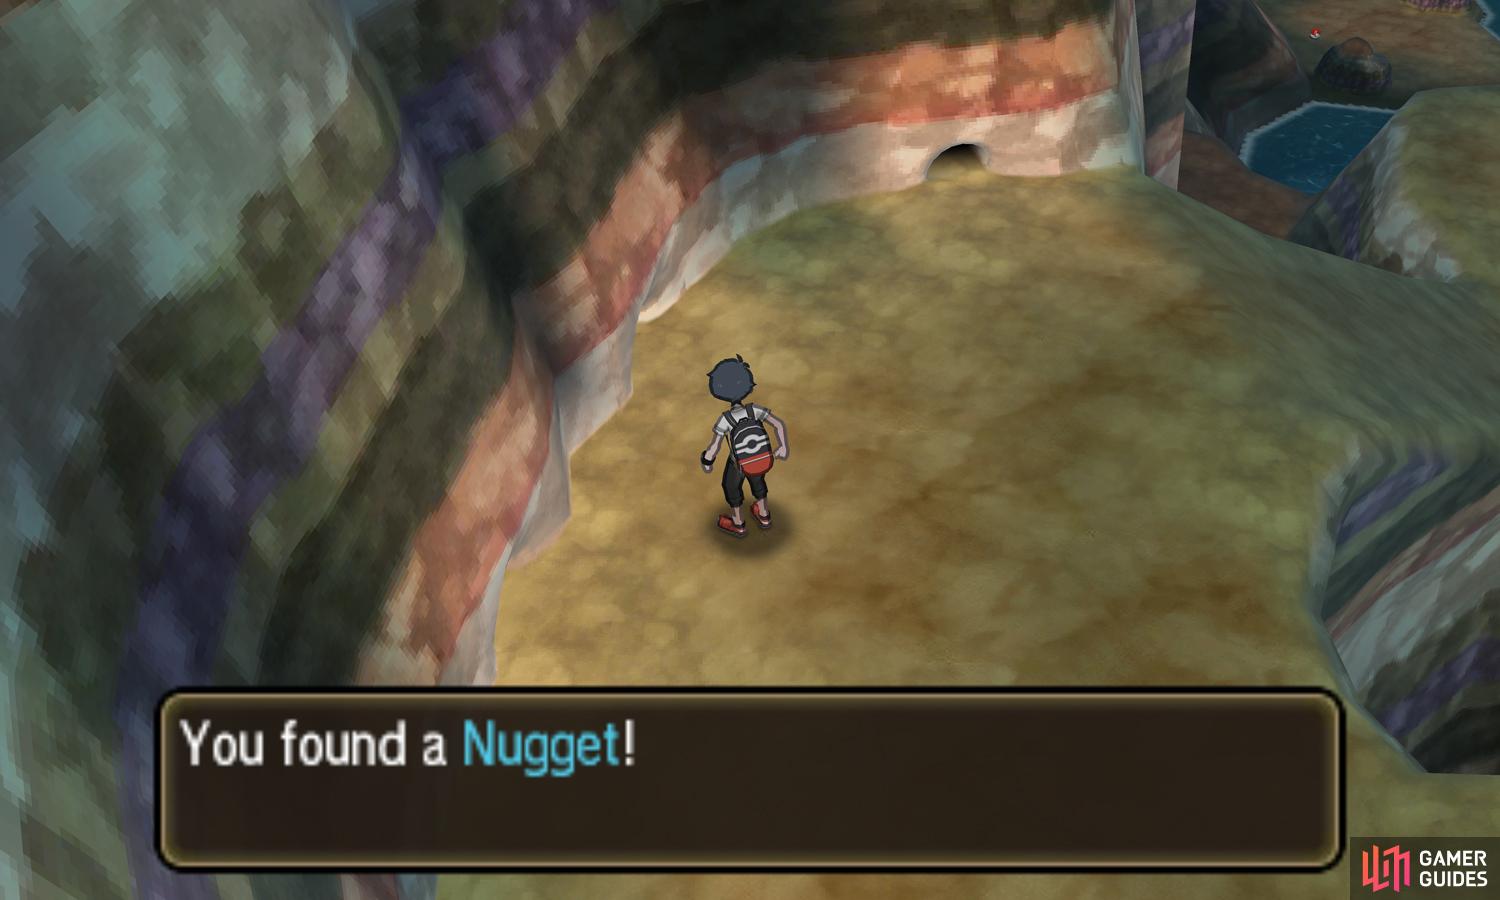
Inside the third cavern, begin by going down the slopes towards the west. As you traverse between the slopes, watch out for the burrowing Pokémon rushing in and out of the four small dens along the west side of the cavern wall. When it’s safe, try and grab the Nugget sitting between the two dens in the middle.
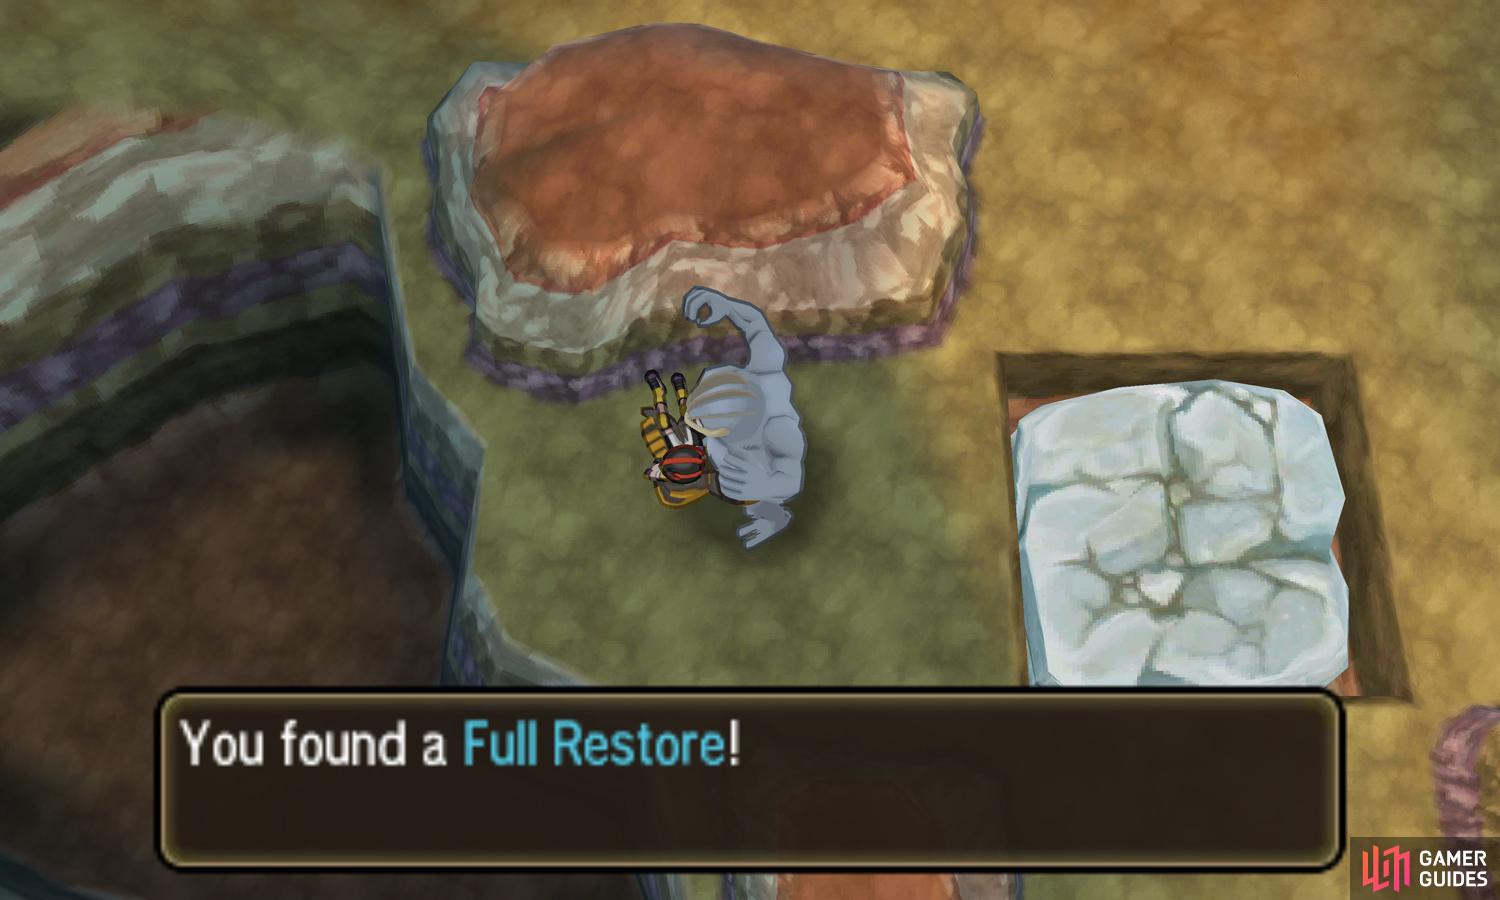
Past the slopes, you’ll need to navigate a simple block puzzle to proceed. Go around to the north side of the first block and, with  Machamp’s help, push it south into a gap in the floor. Step on top of the block and grab the Full Restore to the left. Next, head south and push the next block east, where it will immediately fall into a gap.
Cross over to the east, then momentarily exit the cavern to the south. Outside, you’ll be on a wide ledge sticking out of the canyon wall. Travel west through the tall grass, and pick up the Dusk Ball at the far end. Back inside the cavern, carry on north from the sunken block, then push the next block into the gap just above it.
Once the block has fallen in, step across it and climb up the ladder on the right. At the top, be mindful of a scientist pacing back and forth. Due to the tight space, it’s difficult to avoid running into his vision. If you must, stay near the north, then run past him on his right when he starts walking back to the ladder.
Scientist Ikaika
| Pokémon | Level | Type |
|---|---|---|
 Magnezone Magnezone |
46 | Electric/Steel |
Ikaika has a fully evolved  Magnemite and
  Magneton. This flying saucer has incredible Special Attack and decent bulk. To make things harder, Ikaika can use an X Sp. Atk to boosts its Special Attack further. Don’t waste any time–hit it hard and fast with super-effective Fire, Fighting or Ground-type moves.
Past Ikaika is the exit towards the south-east. On the other side, you’ll arrive next to a large mound of soil. Slowly walk east. Up ahead is another wooden suspension bridge that’s being guarded by a punk. To avoid her, stand south-west from her position, as far away from her as possible, then run east when she’s looking west.
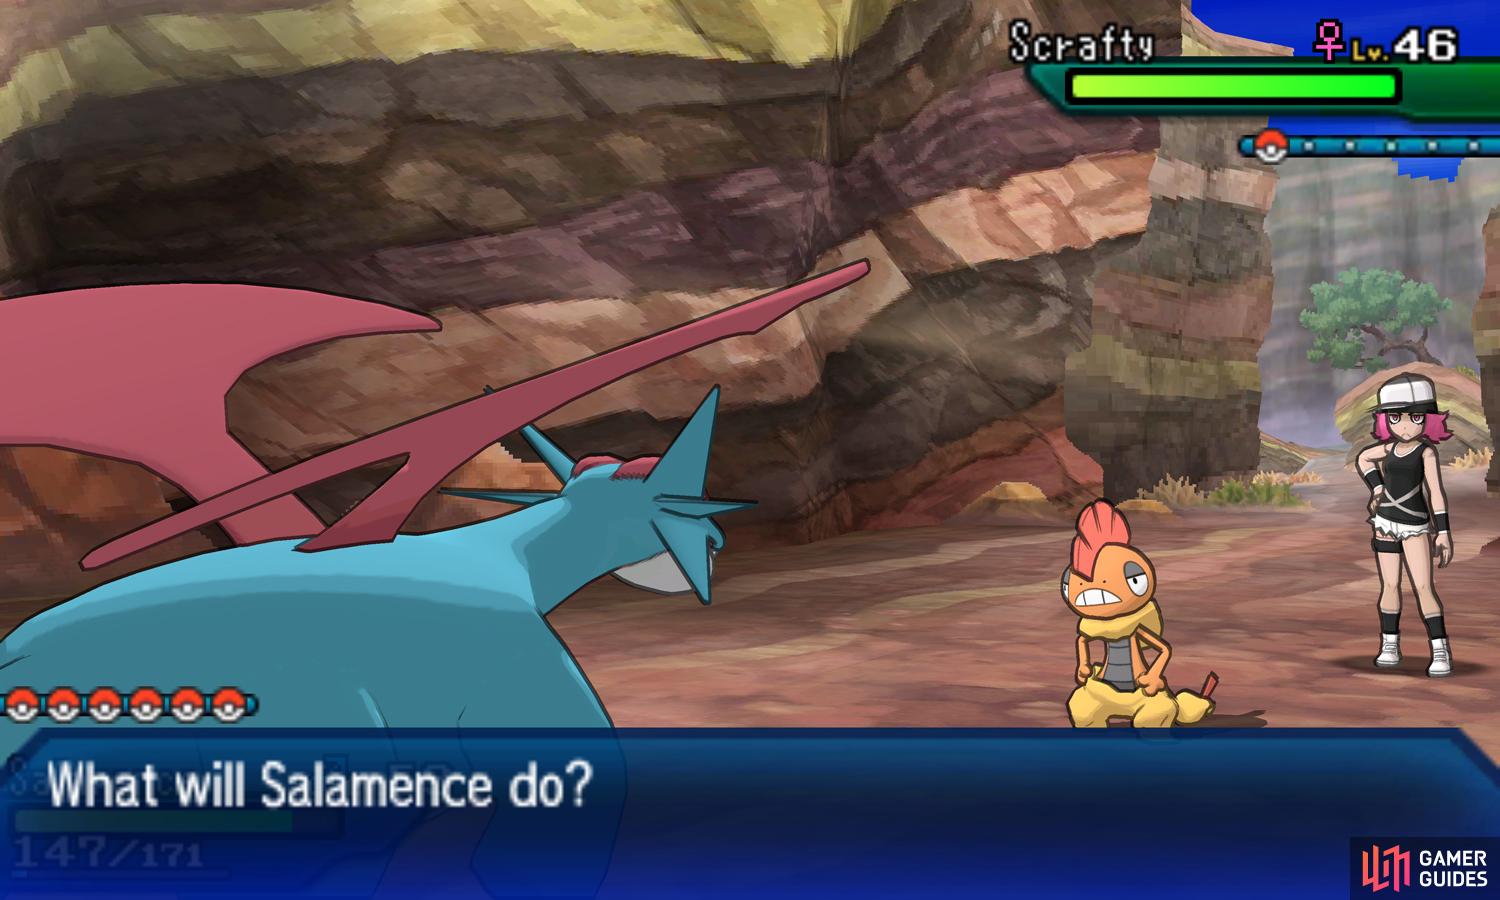
Punk Girl Anna

(1 of 2)
| Pokémon | Level | Type |
|---|---|---|
 Scrafty Scrafty |
46 | Dark/Fighting |
An evolved  Scraggy with impressive defensive stats and decent Attack. For attacks, it can use Crunch and High Jump Kick to deal STAB damage, and Scary Face to greatly lower Speed. Fairy-types are its bane, while Flying-types will do very well.
After crossing the bridge, there’s another punk who’s walking back and forth. Avoiding him is much easier. Wait until he’s walking away from the bridge, then follow him while hugging the hill to the south. Once he stops halfway to look around or he turns around after reaching the, run past him from below.
Punk Guy Adam
 Pangoro is an evolved
  Pancham with amazing Attack, but poor Speed. It can use Vital Throw and Crunch to inflict STAB damage, and Body Slam to potentially cause paralysis. Like Scrafty, Fairy-types will end it quick, and Flying-types have a strong chance too.
Crawdaunt, evolved from Corphish, is also immensely strong, but slow. The one you face can use Razor Shell and Crunch to deal STAB damage, and Swords Dance to boost its already high Attack. Finish it quick with Grass, Electric, Fighting, Bug or Fairy-types.
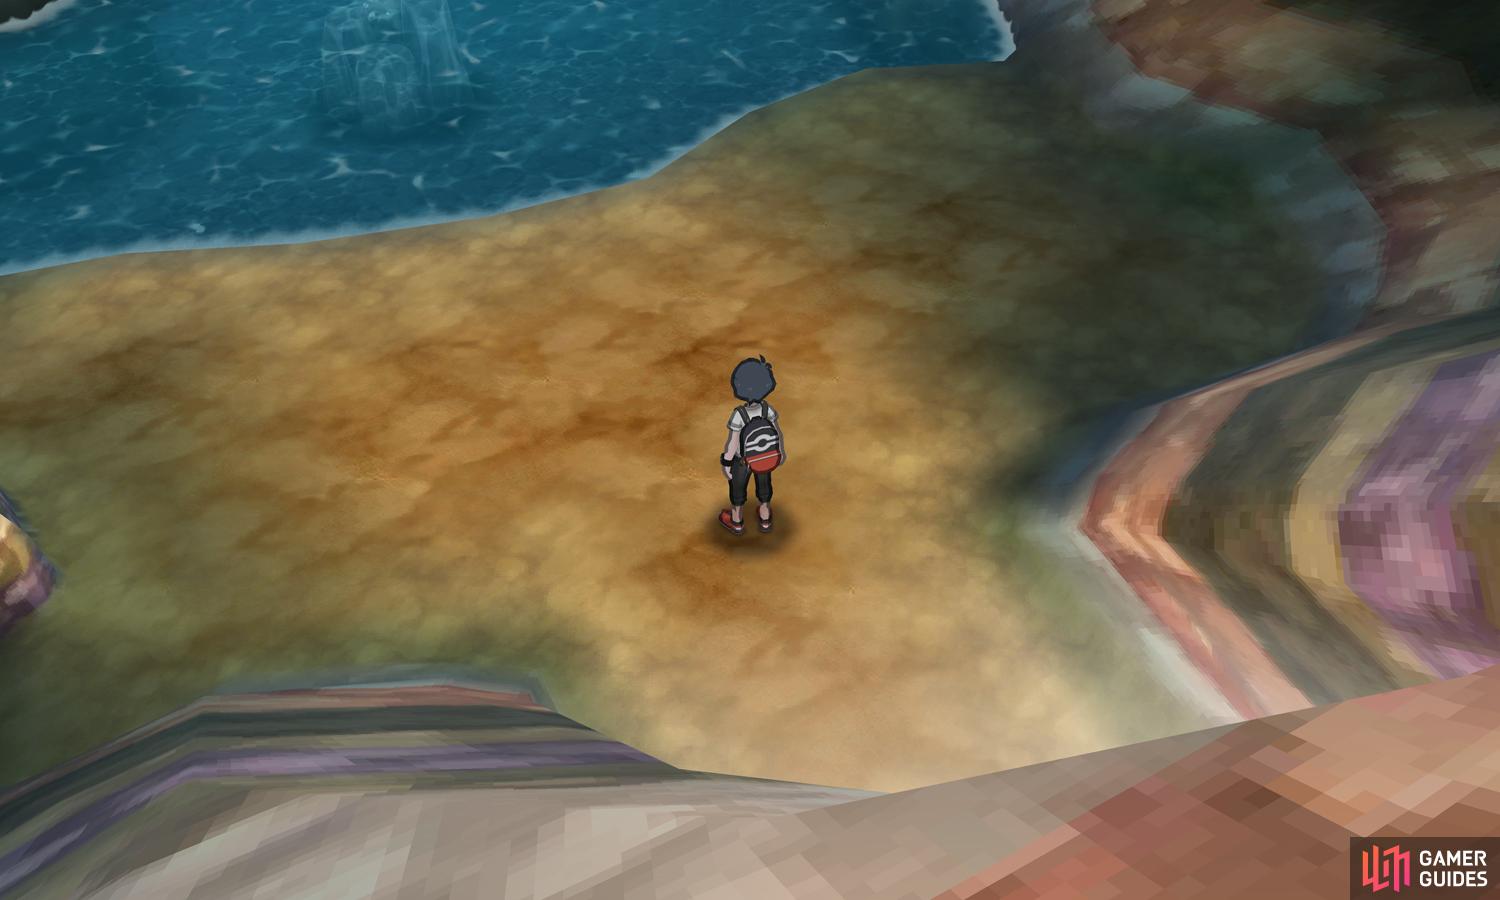
Further east is another suspension bridge, although no Pokémon trainers are guarding nearby. After crossing the bridge, search the rock in the corner for a hidden PP Max. Next, step onto the giant tree branch just above the east side of the bridge. Follow the tree branch north, then east towards the canyon floor.
Down here, there’s a long stretch of tall grass above. Head east until you’ve gone past the rocky outcrop and the large rock below. To the south is another patch of tall grass. Step into the grass and immediately head west, up the slope. Leap off the ledge to the south and grab the Full Heal in the nearby corner.
From here, make your way north-east, back towards the second patch of tall grass on the canyon floor. To the right, there’s a martial artist waiting for challengers to come from the north. If you want to avoid a fight, head north through the tall grass while keeping to his left.
Black Belt Curtis
| Pokémon | Level | Type |
|---|---|---|
 Poliwrath Poliwrath |
47 | Water/Fighting |
One of  Poliwhirl’s two possible evolutions. Poliwrath has gained the Fighting-type, and has decent Attack and bulk. It can use Hypnosis to induce sleep, Mind Reader to give its attack 100% accuracy, and Dynamic Punch, which causes confusion but is inaccurate. Confront it with Grass, Electric, Flying, Psychic or Fairy-types.
In any case, head north from Curtis, back to the point where you traveled east after coming down to the canyon floor. Now follow the canyon path north-west, past the first patch of tall grass. Towards the north is a tall stone structure, marking a point of interest. In this case, it’s a large slope to the west that leads further down the canyon.
After descending the slope, to the north is a passageway lined with trainers, which leads to the endpoint of the canyon. Instead of going that way, head south and through the exit at the end. You’ll arrive back in the first cavern, but on the opposite side of the gap near the very first entrance. Go over and push the block east into the gap.
This will create a shortcut that you can use to return to the canyon entrance. Likewise, if you’re coming from the canyon entrance, you can use this shortcut to quickly carry on from where you left off. So if you need to run back and restock on items etc., now’s your chance! Once you’re ready to set off, head north back to the line of trainers.
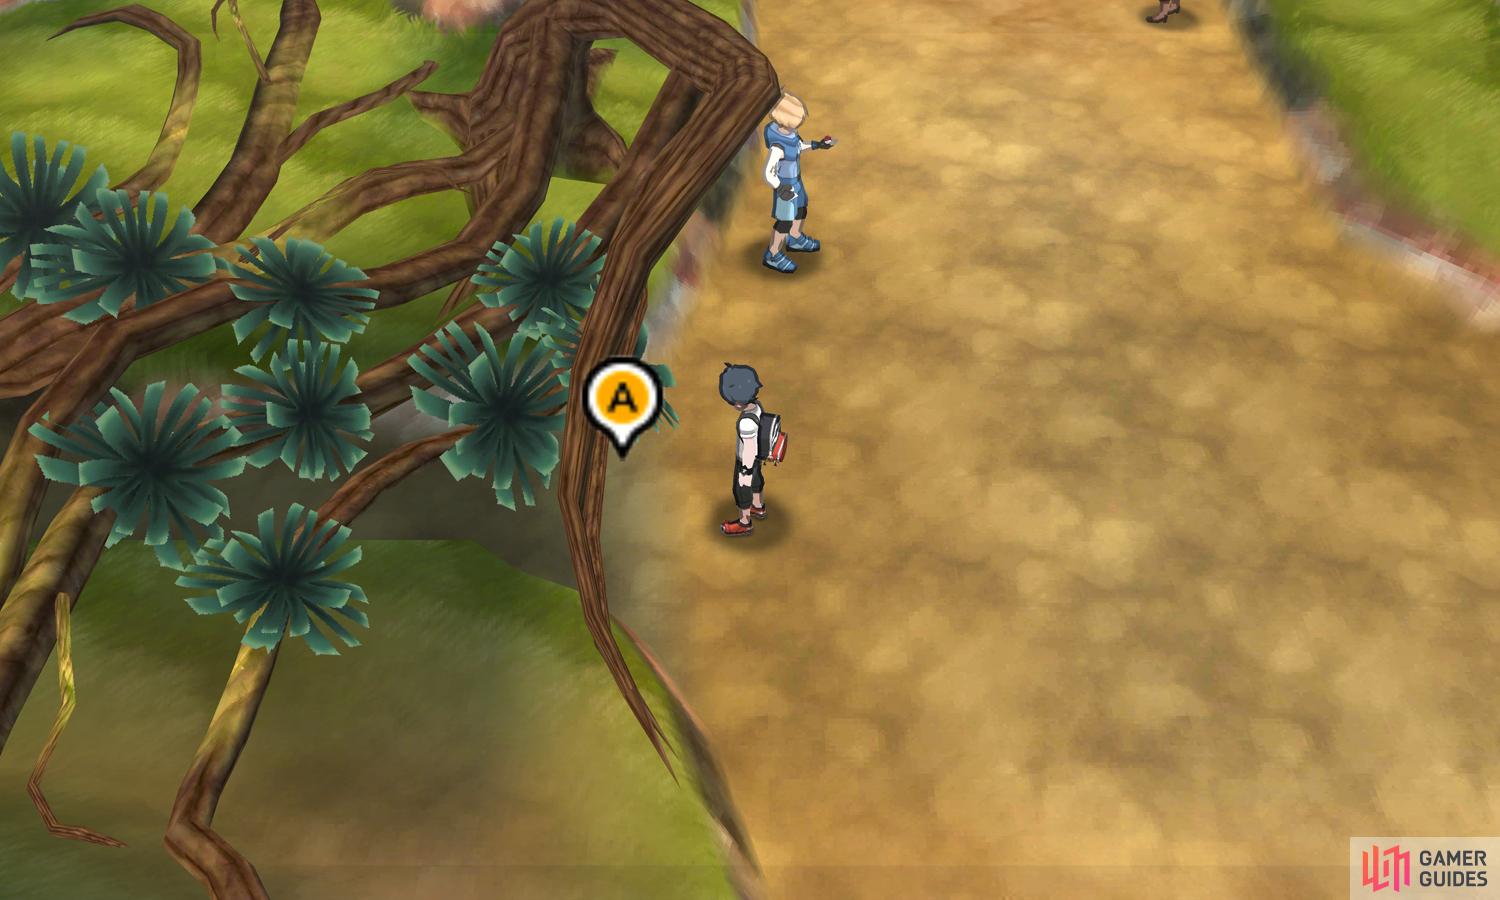
It can be somewhat hard to notice, but just below the first trainer on the left, there’s a space underneath the tree branches that you can crawl under. On the other side, there’s an enclosed area divided by rocks and tall grass, with a stray Team Skull Grunt smack bang in the middle. There are two ways to proceed unnoticed.
(1 of 2) During your excitement, it’s easy to miss this small gap.
During your excitement, it’s easy to miss this small gap. (left), (right)
Ideally, you should go through the narrow path to the north-west of the entrance. When you reach the corner just before the tall grass below the cave entrance, search around to find a hidden X Defense. Finally, wait for the Grunt to look south, then run past him on his right, through the tall grass and into the cave.
Alternatively, you can step into the tall grass to the west of the entrance, then run towards the west side when the Grunt is looking east. From there, you can safely proceed north into the cave. However, if you want the X Defense, you’ll need to step through the tall grass below and put yourself in the Grunt’s line of vision a second time.
Team Skull Grunt
| Pokémon | Level | Type |
|---|---|---|
 Pawniard Pawniard |
46 | Dark/Steel |
Somebody obviously didn’t get the memo that said Team Skull has retreated. Anyway, Pawniard–being an unevolved Pokémon–shouldn’t be a hassle for your Pokémon party. But for an easy win, try to face it with Fire, Ground or Fighting-types.
The hidden cavern you enter is actually the northern part of the previous cavern with the giant blocks. Anyway, approach the water up ahead and summon  Lapras or
  Sharpedo. Follow the water all the way north, avoiding or breaking the boulders. Soon, you’ll reach a small corner of land with a martial artist training near the very top.
Black Belt Terry
| Pokémon | Level | Type |
|---|---|---|
 Crabominable Crabominable |
47 | Fighting/Ice |
An evolved  Crabrawler that has gained the Ice-type. It has spectacular Attack, but mediocre defenses and awful Speed. For attacks, it can use Dynamic Punch, which has low accuracy but always confuses, and Ice Hammer, which is powerful but lowers Speed. Fire, Psychic or Fairy-types are recommended.
Head west from this corner of land, either by smashing through the boulders with Sharpedo or paddling from the gap along the west side. To the far west, there’s another corner of land. Here, pick up the Rare Candy near the cavern wall, then jump into the water below. Next, swim south, while keeping to the west.
After swimming past the fishing spot, you’ll reach the final corner of land towards the south-west. As you disembark, look out for a surfer towards the east who can see you if you get close.
Surfer Joshah
| Pokémon | Level | Type |
|---|---|---|
| Golduck |
47 | Water |
An evolved  Psyduck with generally well balanced stats and better than average Special Attack. It can use Hydro Pump to deal powerful if slightly unreliable STAB damage, and Amnesia to greatly boost its Special Attack. Obviously, it will struggle against Grass and Electric-types.
In this far corner, pick up your reward for coming all this way: TM35 Flamethrower. From here, patiently make your way back out of the cavern, and before the point where you crawled through the small gap. When you’re ready, step forward and challenge the first of the trainers standing between you and the exit.
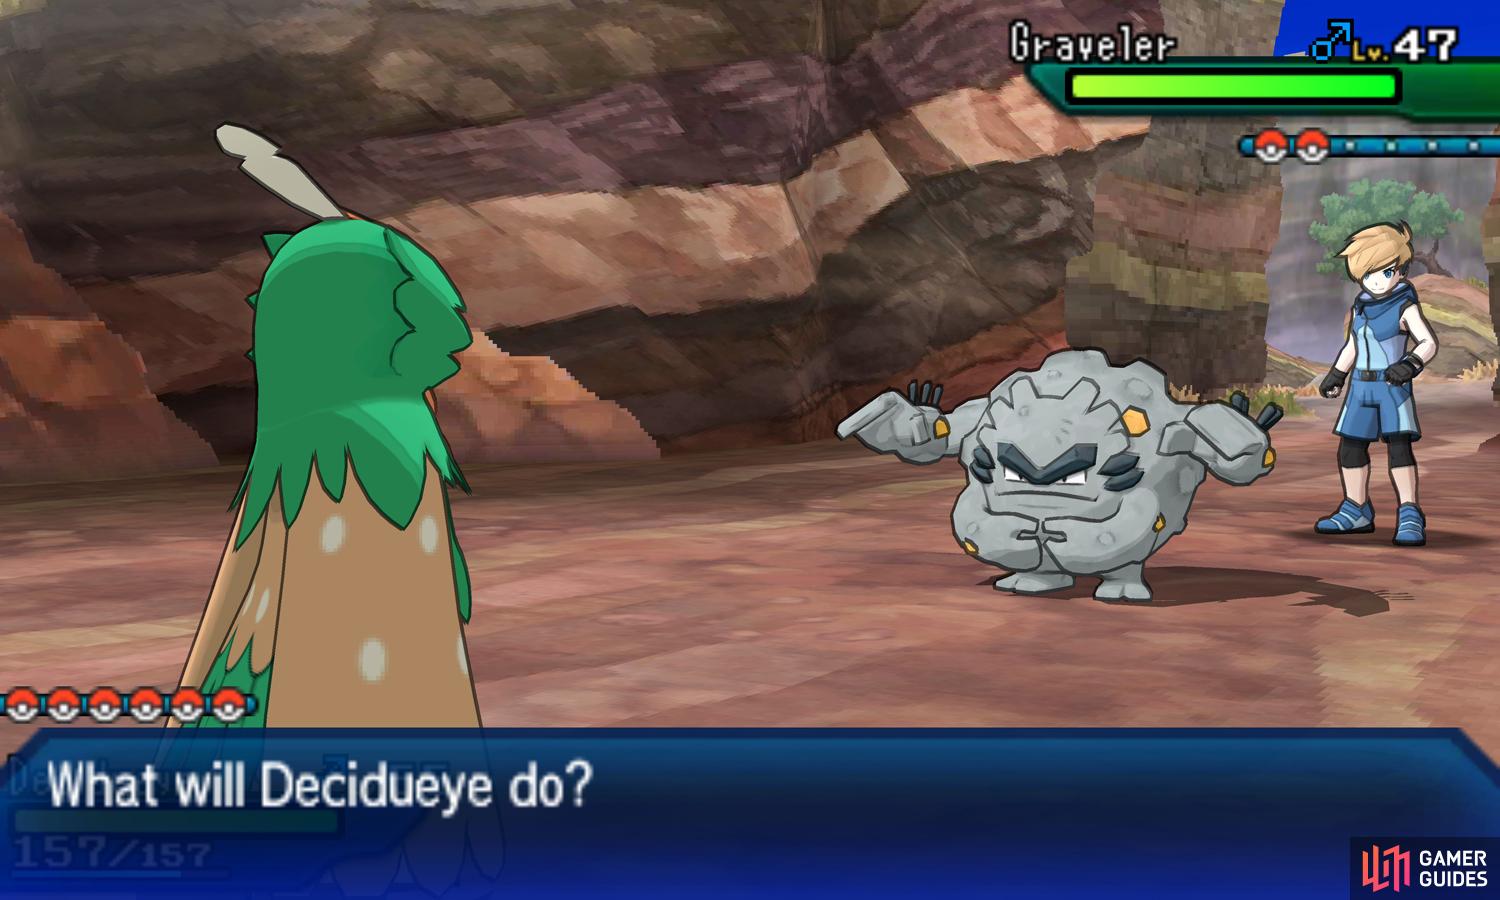
Ace Trainer Hiroshi
(1 of 2)
The Alolan  Graveler is part Electric, and just as slow and sturdy as its Kantonian counterpart. In addition to STAB Rock Blast and Discharge, Hiroshi’s Graveler can use the devastating Explosion as a last resort. Against this electrified boulder, Ground-types are ideal, while Fighting-types are also recommended.
Meanwhile, Lapras is the same as the Ride Pokémon. This gentle sea creature has formidable HP and defensive stats, which makes it very tough to take down. This one can use Hydro Pump and Ice Beam to dish out powerful STAB damage. If you have them, Electric and Fighting-types are your best bets.
After defeating the first trainer, you can challenge the next trainer in your own time. Heal your party if you need to and don’t hesitate to switch your first Pokémon for an advantageous one.
Veteran Heather
| Pokémon | Level | Type |
|---|---|---|
 Talonflame Talonflame |
48 | Fire/Flying |
 Wailord Wailord |
48 | Water |
 Glaceon Glaceon |
48 | Ice |
Talonflame is a fully evolved  Fletchling and
  Fletchinder. This fiery bird has blisteringly high Speed, but otherwise middling stats. It can use Flame Charge and Aerial Ace to deal STAB damage, Will-O-Wisp to cripple physical attackers, and Quick Attack to go first. Shoot it down with Water, Electric or Rock-types.
Wailord is an evolved  Wailmer with sky-high HP and decent offensive stats. Heather’s Wailord can use Liquidation for STAB damage, Bounce to combat Grass-types, and Heavy Slam to make use of its weight. Grass and Electric-types are ideal, although the former needs to anticipate Bounce.
Finally, Glaceon is the Ice-type evolution of  Eevee. This frosty creature has amazing Special Attack and solid defenses, but poor Speed. The one you fight can use Frost Breath for STAB damage, Mirror Coat to punish special attackers, and Ice Shard to attack first. Fire, Rock, Fighting and Steel-types are all good choices.
After the second trainer has fallen, only one more trainer remains.
Veteran Eric
| Pokémon | Level | Type |
|---|---|---|
 Noctowl Noctowl |
48 | Normal/Flying |
 Gengar Gengar |
48 | Ghost/Poison |
 Slowking Slowking |
48 | Water/Psychic |
 Flygon Flygon |
48 | Ground/Dragon |
Eric’s first Pokémon is Noctowl, an evolved  Hoothoot. This majestic owl has high HP and decent special-based stats. It can use Air Slash for STAB damage, Magic Coat to bounce back status effects, Reflect to boost its team’s Defense, and Tailwind to boost its team’s Speed. Hit it with Electric, Rock and Ice-types.
Gengar you’ll have encountered during the Ghost-type trial. This specter possesses exceptional Special Attack and Speed, but has lackluster bulk. Eric’s Gengar will focus on using Shadow Ball to inflict STAB damage, and Dark Pulse to potentially flinch your Pokémon. If possible, exorcise it with Ground or Dark-types.
Slowking is one of  Slowbro’s two possible evolutions. Slowking, the more regal of the two, has impressive special-based stats, but is… y’know, really slow. This one can use Psychic and Scald for STAB damage–the latter has a good chance of causing a burn. Confront it with Grass, Electric, Bug, Ghost or Dark-types.
Finally, Flygon is a fully evolved  Trapinch and
  Vibrava. It has above average Attack and Speed and generally well-balanced stats. Eric’s Flygon again focuses on offense, relying on Earthquake and Dragon Rush for STAB damage. Ice-types will end it fast, while Fairy-types are also very effective.
Having defeated all the trainers, approach the trial gates past them. Lillie will come running along and, as usual, fully restore your Pokémon. Despite there being no prior warning, there is indeed an island trial past these trial gates. When you think you’re ready to begin the trial, step through the gates and into the darkness beyond.

 Sign up
No Comments