Time to take up where we left in Episode 1. Right after the events with Claire and the small scene between Natalia and Barry, backtrack a little bit (until you’re on the other side of the radio tower), grab a brick and destroy the Insect Larvae 1/6 near the cliff and the radio tower (where the fence is).
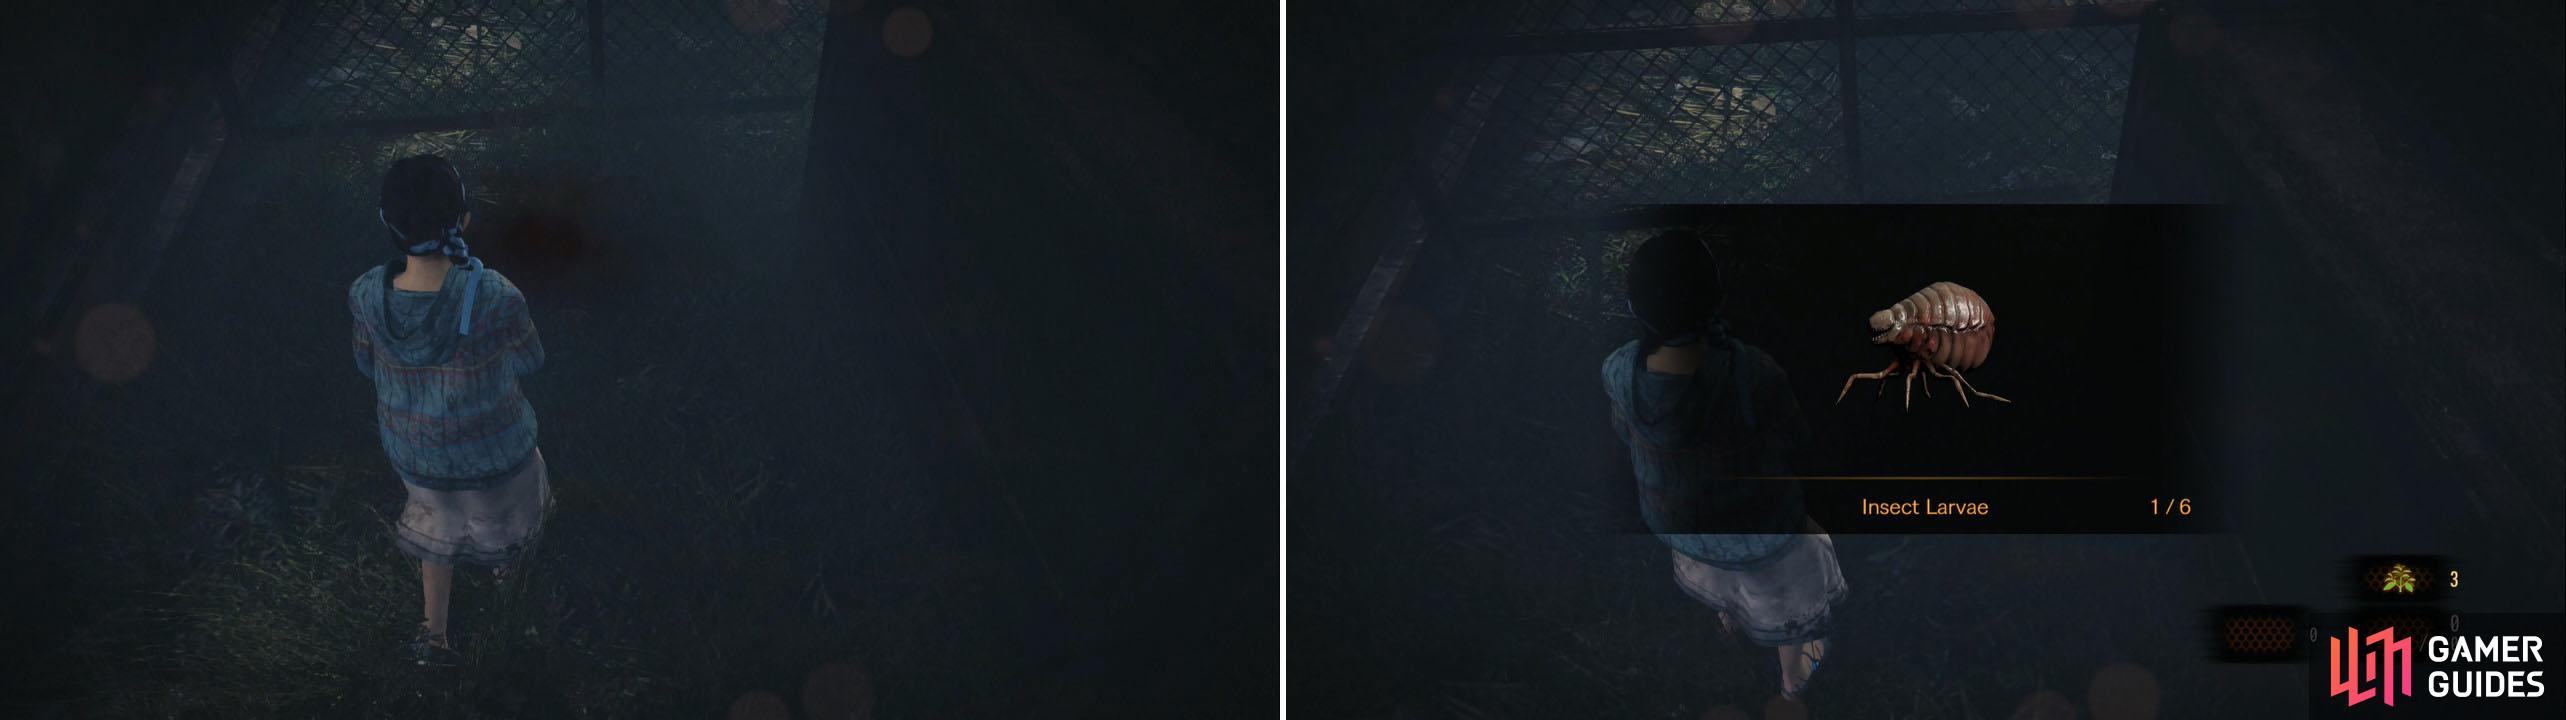
Backtrack to the front of the Radio Tower to get the Larvae.
Return and check behind the radio tower (where the fence is) to find Crate . Also check the corner left of the door (between the wall and the stone wall) to find Ruby . Start moving forward and go inside the tunnel. There’s a little shack on the other side of it that has Gabe’s Note . There’s a Barrel outside too. Continue along the path and Natalia spots a corpse. Examine it with Barry and continue, jumping down the sloppy path. Move forward a little bit and Natalia spots a Revenant. Crouch and approach it with Barry to kill it.
Now check behind the little house here to find a Barrel . Continue and grab the Sparkle Item right before reaching the wooden fence. Move alongside it, grab the brick and break the Barrel inside. Before jumping down look at the area. There’s a house that’s “complete” and two broken down ones. Jump down and check inside the one on the left to find Tower Emblem 6/9 .
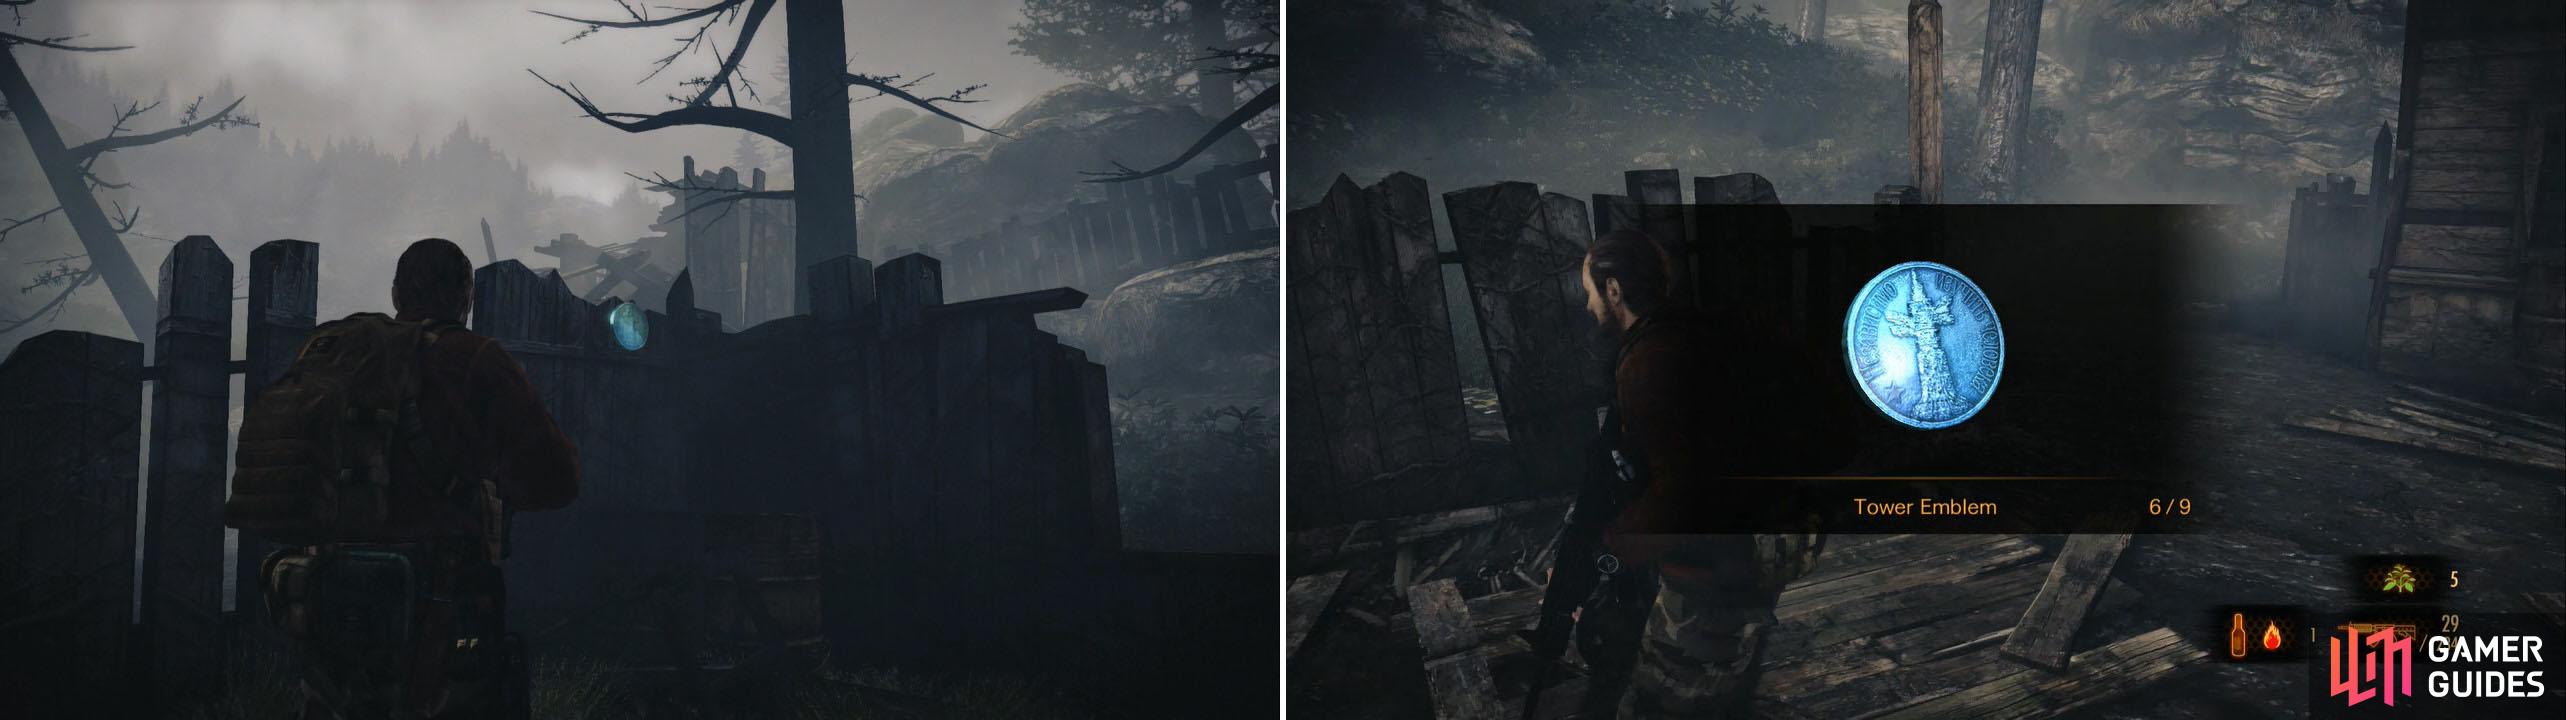
Make sure to kill both Revenants before attempting getting this Tower Emblem.
There are two Revenants here patrolling the full house. They go around it in a way where you can approach both of them from behind (use the lower right broken down house as cover). Now get the Tower Emblem.
Near the entrance of the area (from where you jumped down) there’s a Crate hidden in the bushes. There’s also a Barrel near the metal gate on the back, which is locked. Time to move left and up the path to the next area where you’ll find 3 Revenants and a new item near the entrance, the Smokescreen Bottle . You can also see the key we need right above you.
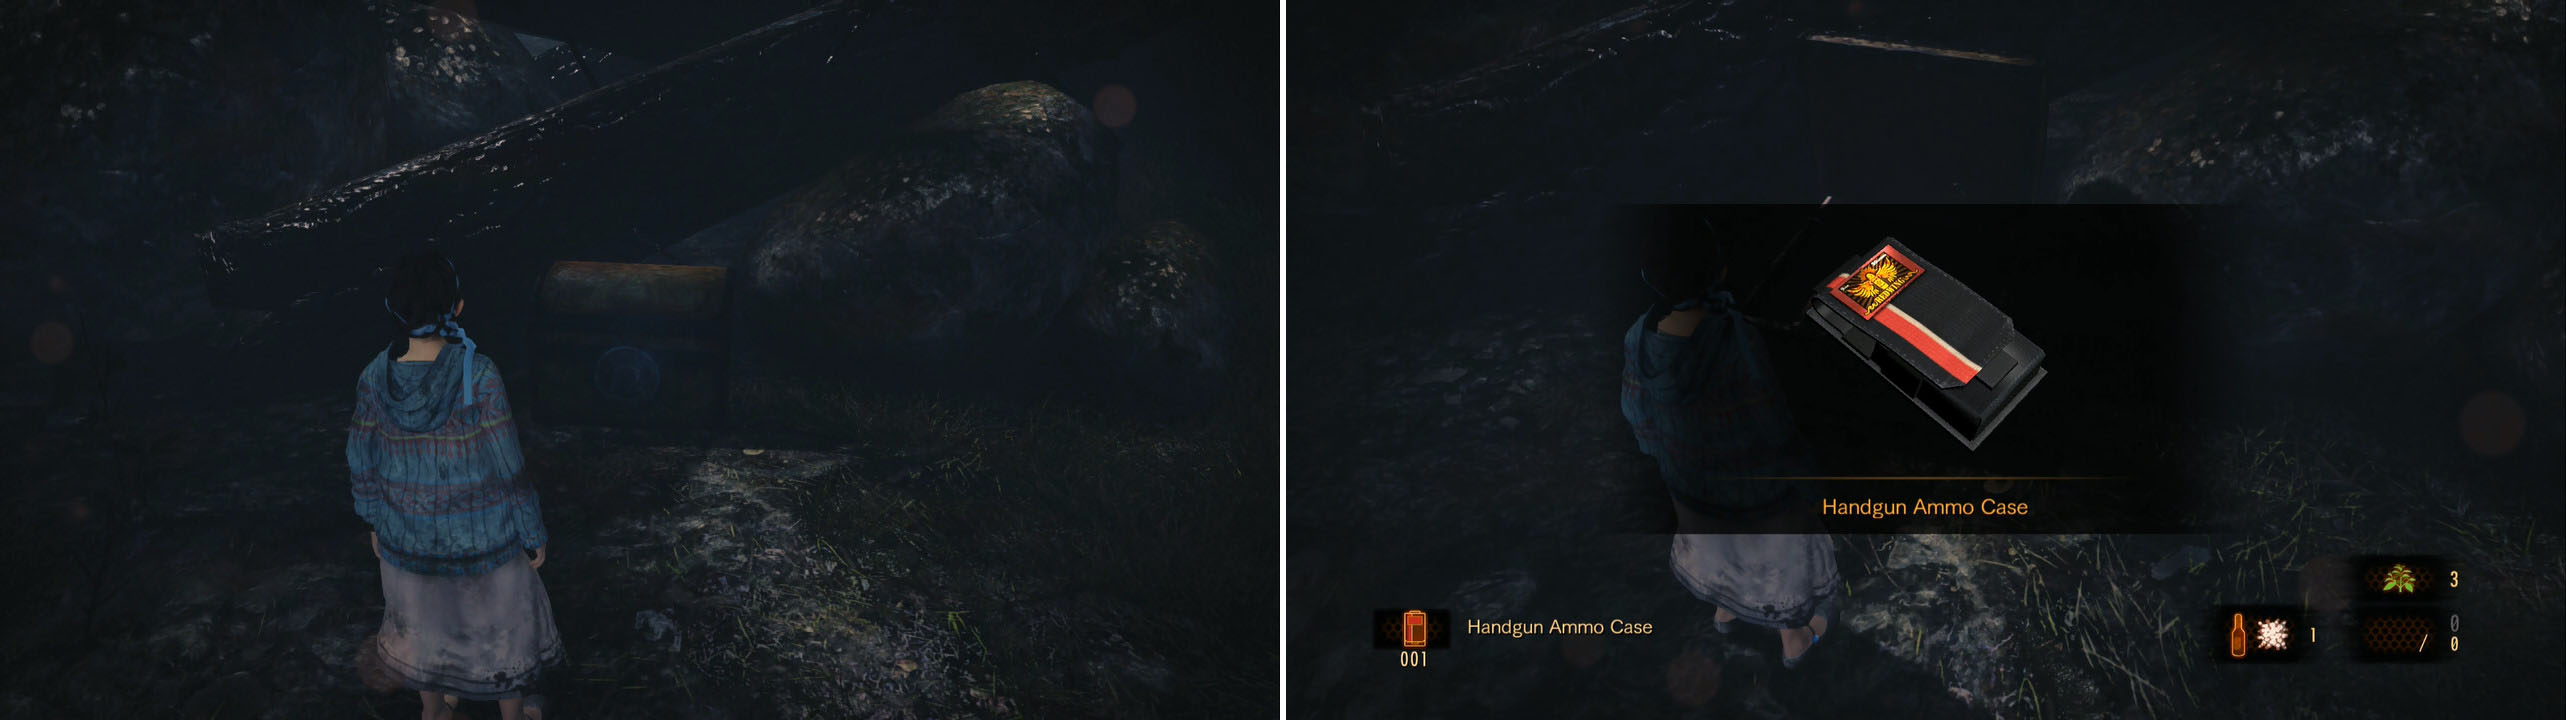
The right most Revenant won’t move and its looking towards the wall so there’s no way we’re going this way. The other two are patrolling the central area. There’s also a Gimmick Box to the left of the entrance with Handgun Ammo Case so nab it.
A really easy Gimmick Box to get and out of the Revenant’s sight.
The middle Revenant goes up and down while the one on the left moves in a circle esque movement. Wait for it to start going left and for the middle one to go up. Approach the middle one, stealth kill it and retreat. Wait until you have another opportunity at the one on the left.
Now take out the last Revenant (the immobile one) and from here look at the stone wall the Revenant was looking at. A little bit to the right and a little bit up is Tower Emblem 7/9 .
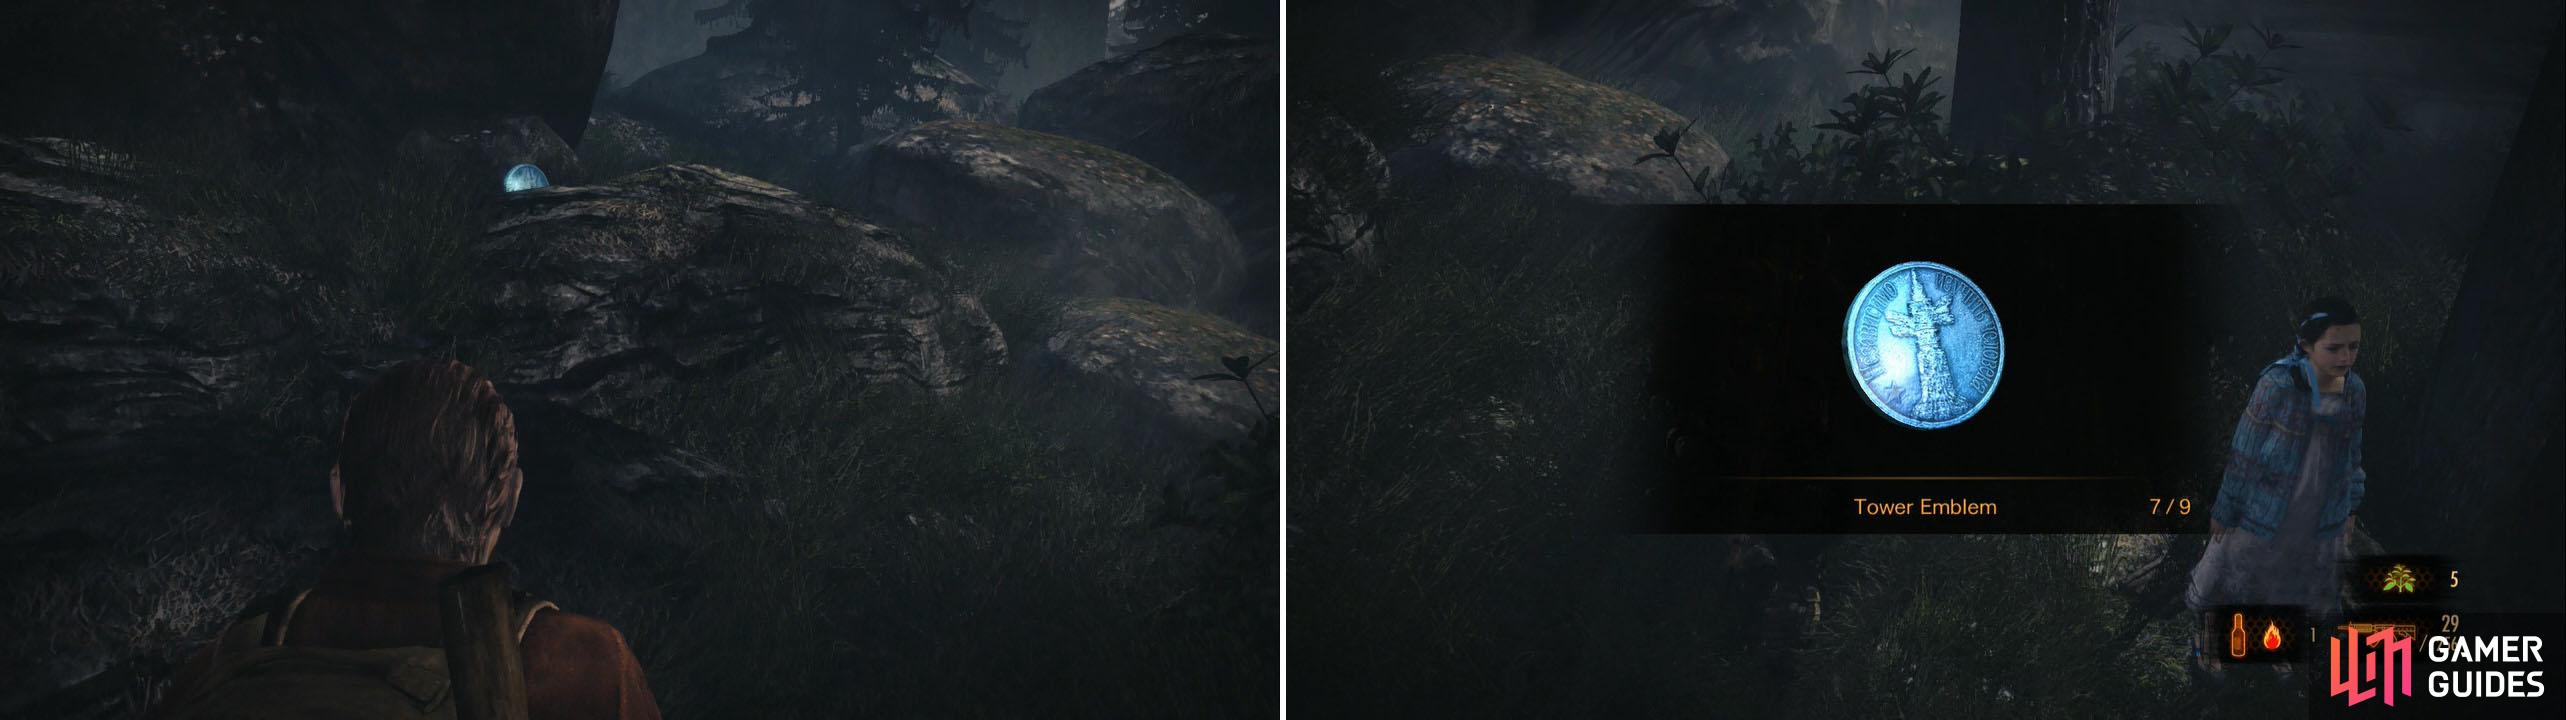
A little out of sight, but you can still see it. You can also get on top of the building and shoot it from there.
Now check the left side of the area for Barrel x2 . There’s a metal Crate on this side as well so grab it and take it near the last Revenant you killed. Put it underneath the red ladder and cross the rooftop to the second house.
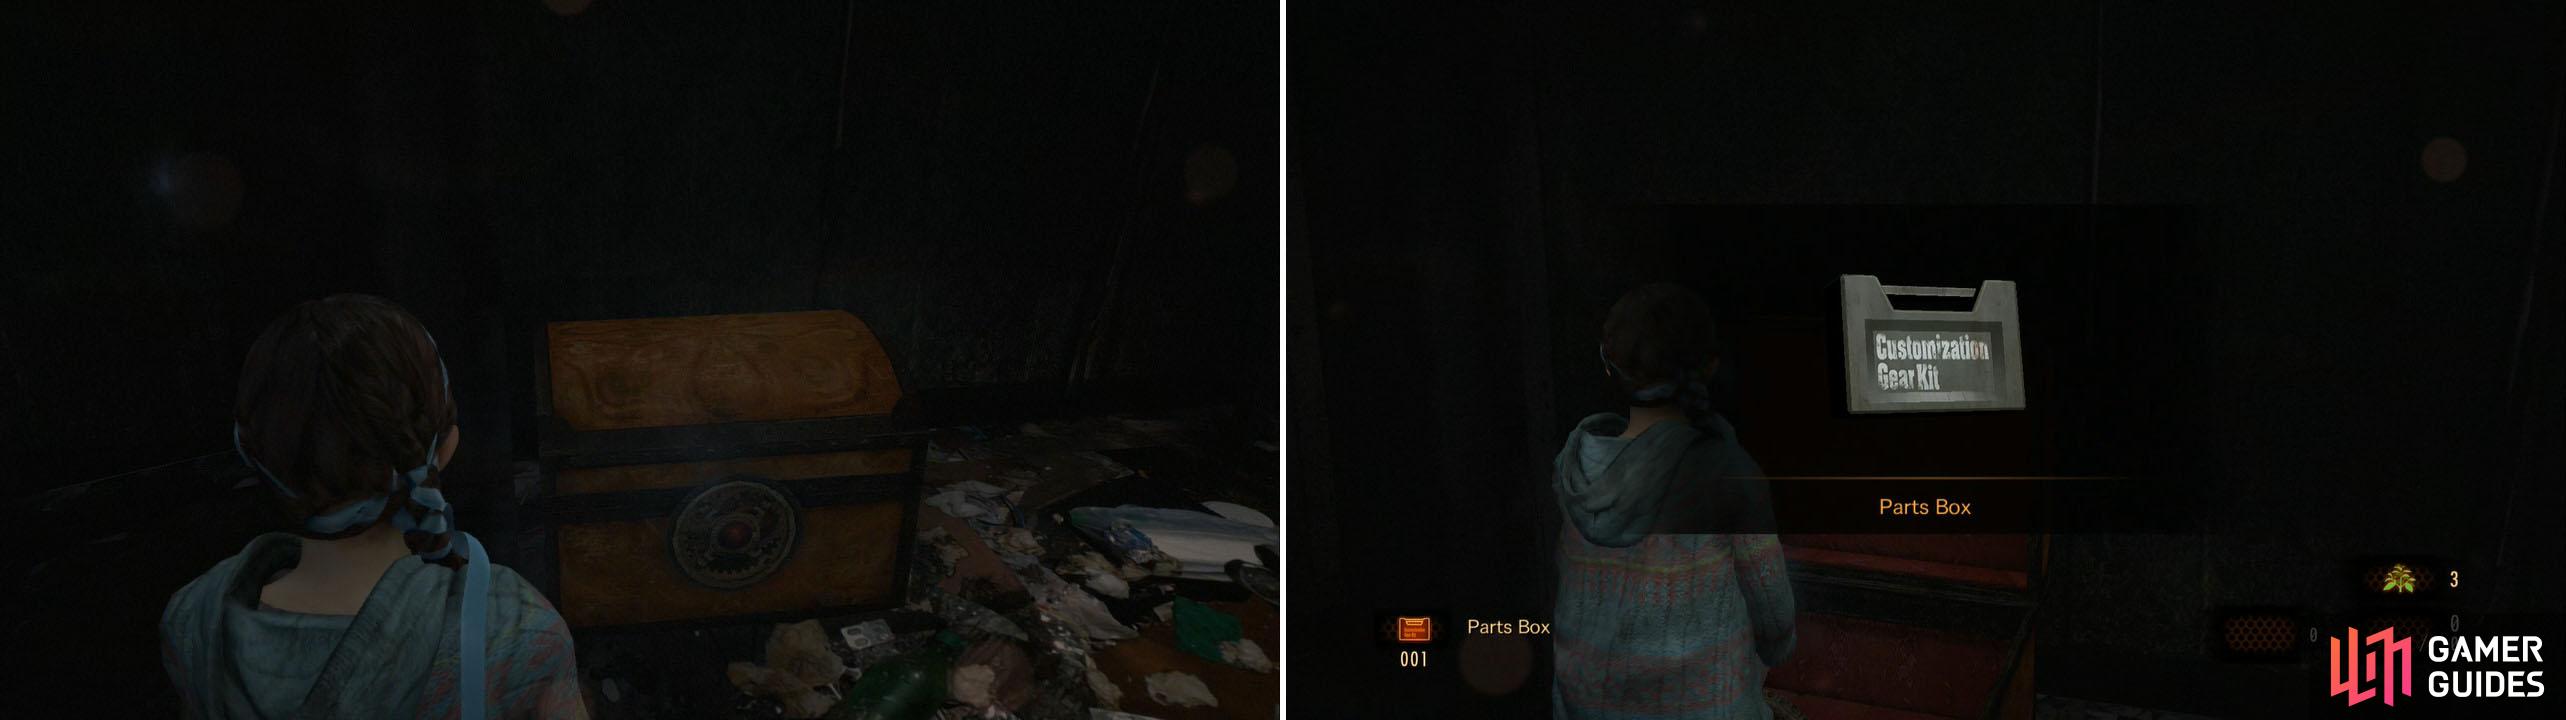
Once you drop down in here, grab the new weapon, the RIFLE M1891/30 which is a sniper. Now open up the Gimmick Box that has Parts Box in it.
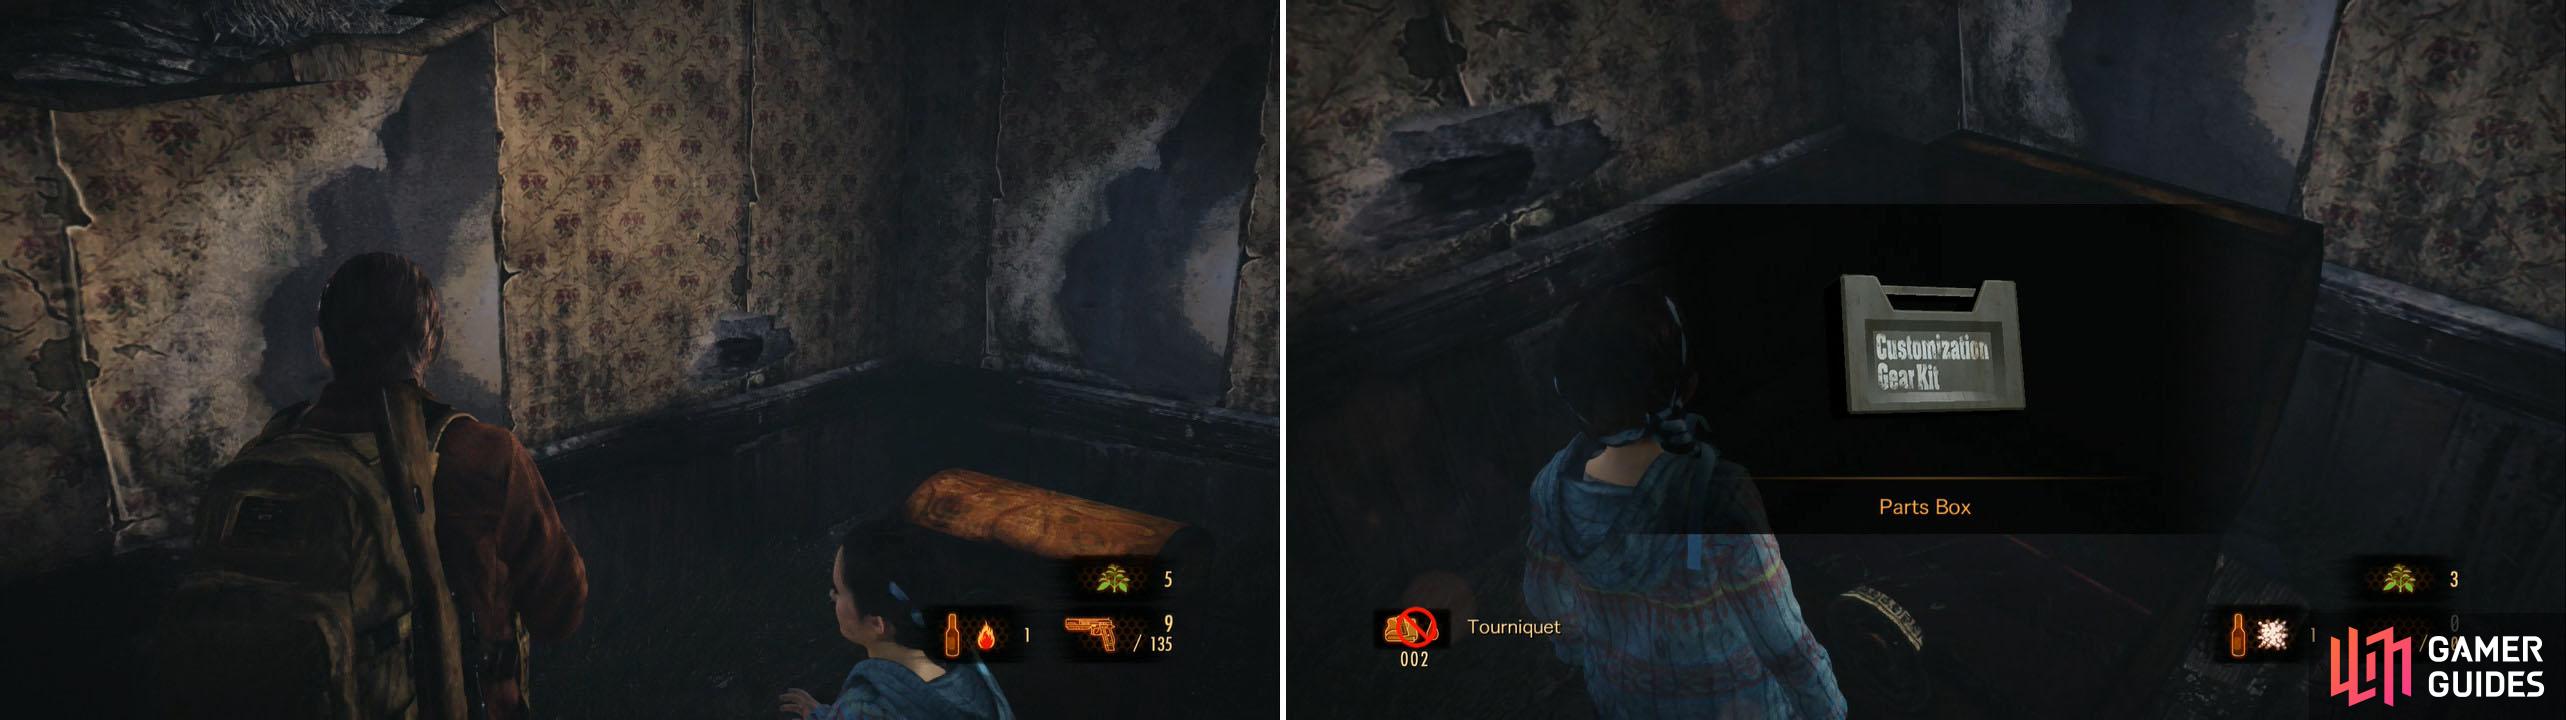
Yet another easy Gimmick Box. Impossible to miss.
Now grab the Back Gate Key . Return now and use the key to open the gate. Proceed and break the Barrel inside the little shack when you get to it. Continue and jump down the sloppy path to get to the fishing village from the start of Claire’s start.
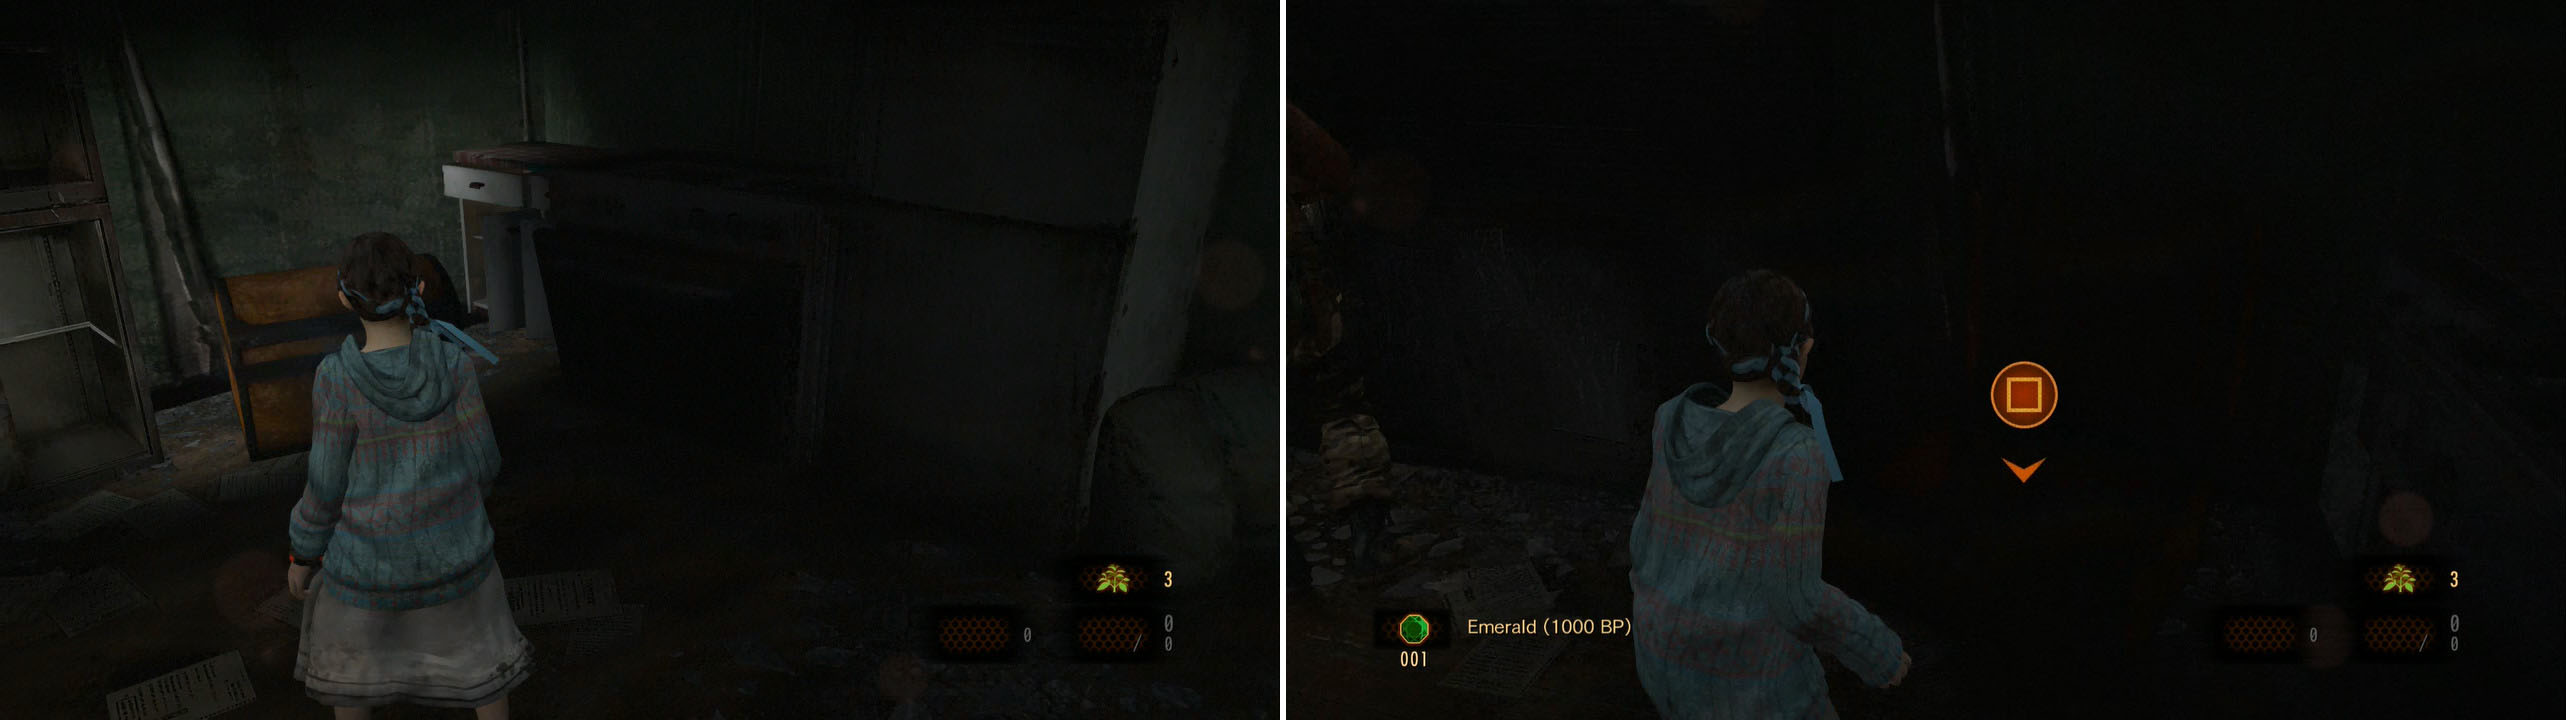
There will be an invisible enemy around here called Glasp, but you can only “see” it (or the “aura” at least) when you’re Natalia. Don’t pay attention to it just yet. As you go around the corner this same enemy knocks down a pole. Spot the large blue house here. It has a hole in which Natalia can go underneath it. In here grab the Empty Bottle , Alcohol , Smoke Powder and open up the Gimmick Box for an Emerald . You can also find here the Fishing Village Map . Make sure to read the Female Villager’s Letter as well.
Leave the house and go to the far south end of the beach to find a Crate . Continue and a scene triggers where we now have to fight this Glasp . Switch to Natalia to have a rough idea where it is, then switch back to Barry and start shooting at it. Shoot one bullet at a time and Natalia will give you pointers of where it is. You can follow these and shoot it until you kill it. It takes around 3 Handgun shots to kill it.
Go south from this fork and enter the house at the corner. There’s only a Crate in here so get it, head back to the fork and go left to find a Crate in the little dead end. Go south from here and as you move down the corner there will be a couple of those things that pop up from the ground and explode. Natalia can actually see them so approach them, turn around and quickly get away to make ’em explode.
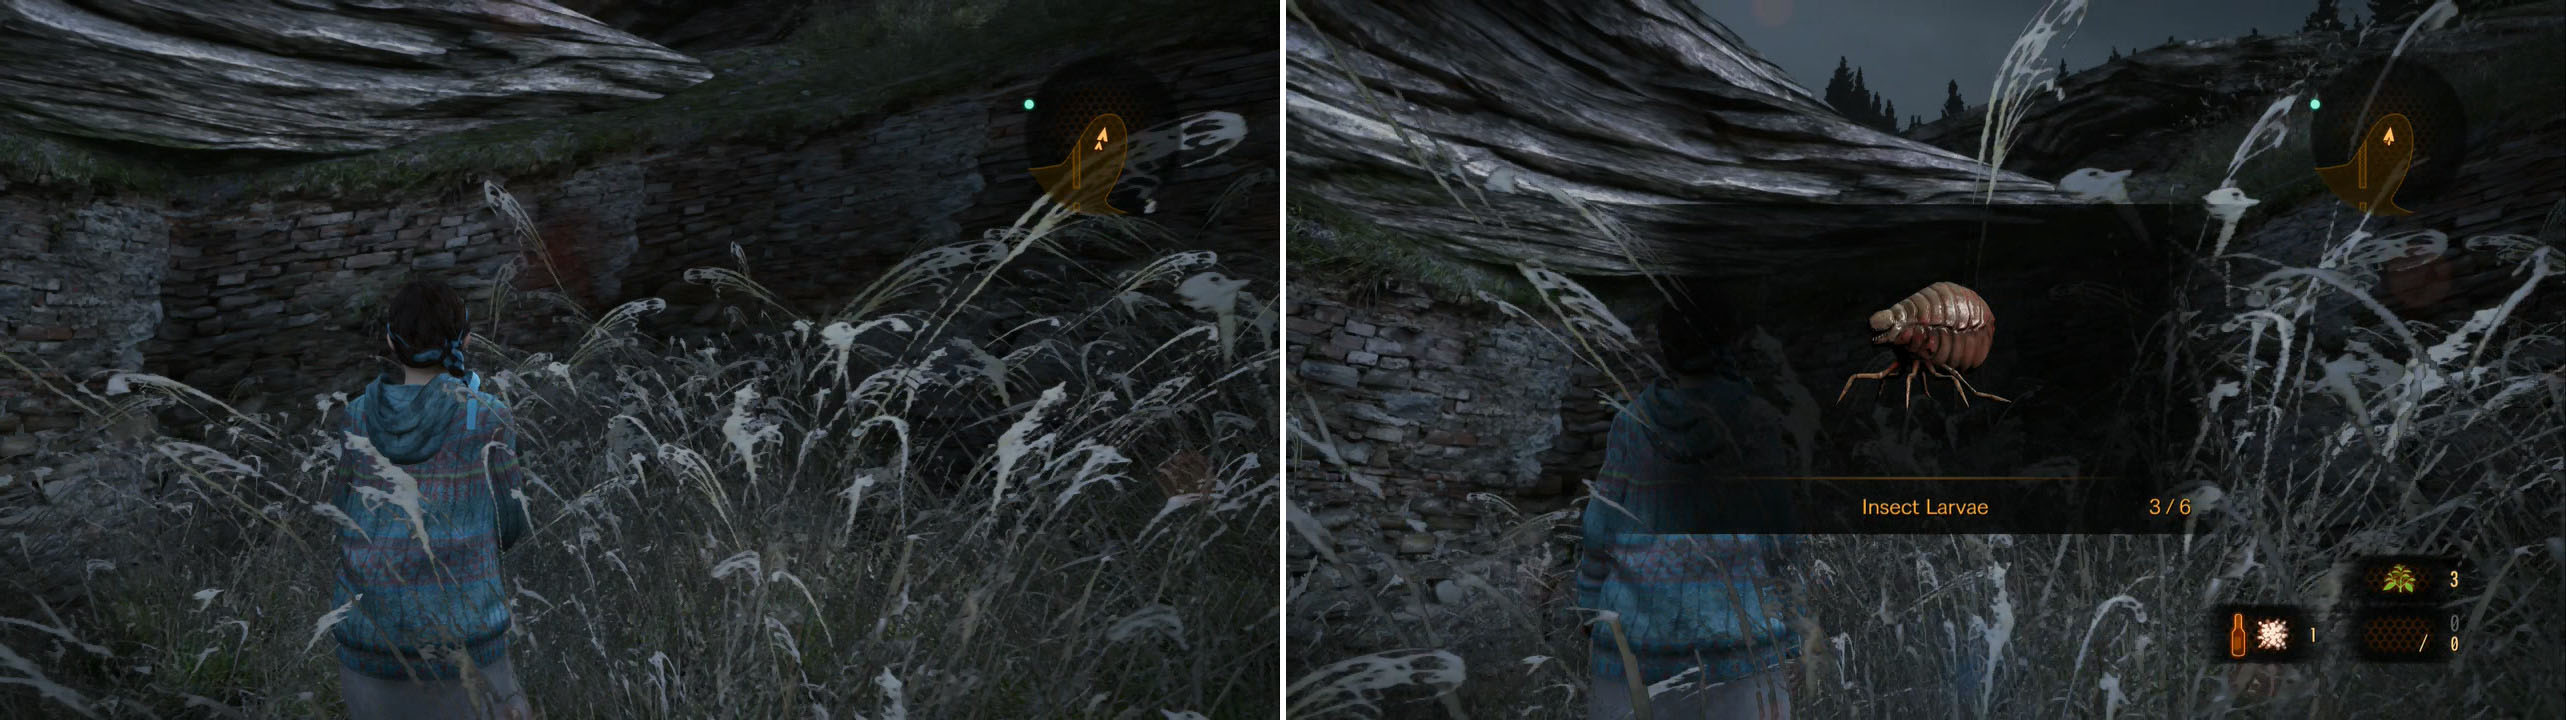
Go inside this house in the corner to find Insect Larvae 2/6 .
Right where you found the fuel in Claire’s chapter, you’ll find a Larvae with Natalia!
Exit and proceed north to the open area right next to the bar Vossek . As you can see there’s another Glasp here but its not looking your way. You can easily pop out your Sniper and shoot it down in one shot. Go inside Vossek and Barry will notice how trashed it is. In here there’s Sparkle Item x2 , an Empty Bottle on the bar and a Document … Pedro’s Note on the Bracelet .
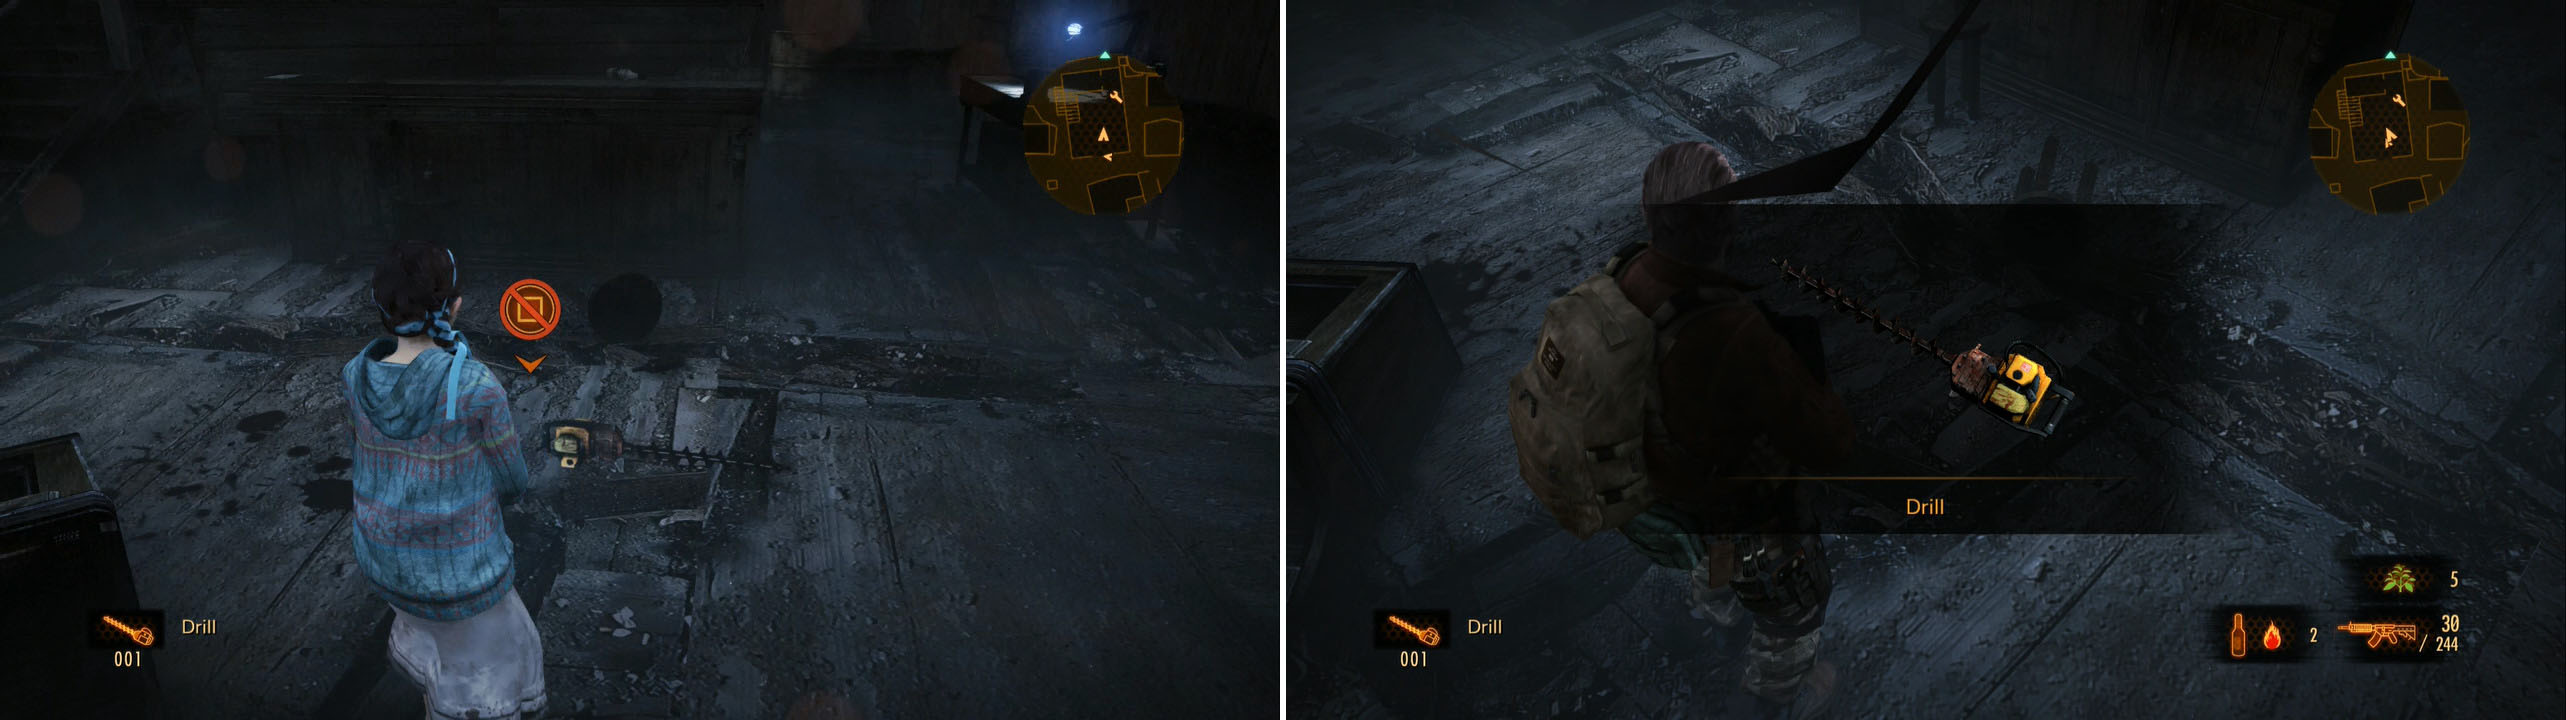
The Drill will lay here waiting for Barry to pick it up. Won’t use an inverntory slot, which is awesome!
There’s a Crate in the little room behind the bar and one on the second floor so grab them both. Go behind the building (from the left side) and up the stairs to find a Gimmick Box with Rare Parts Box .
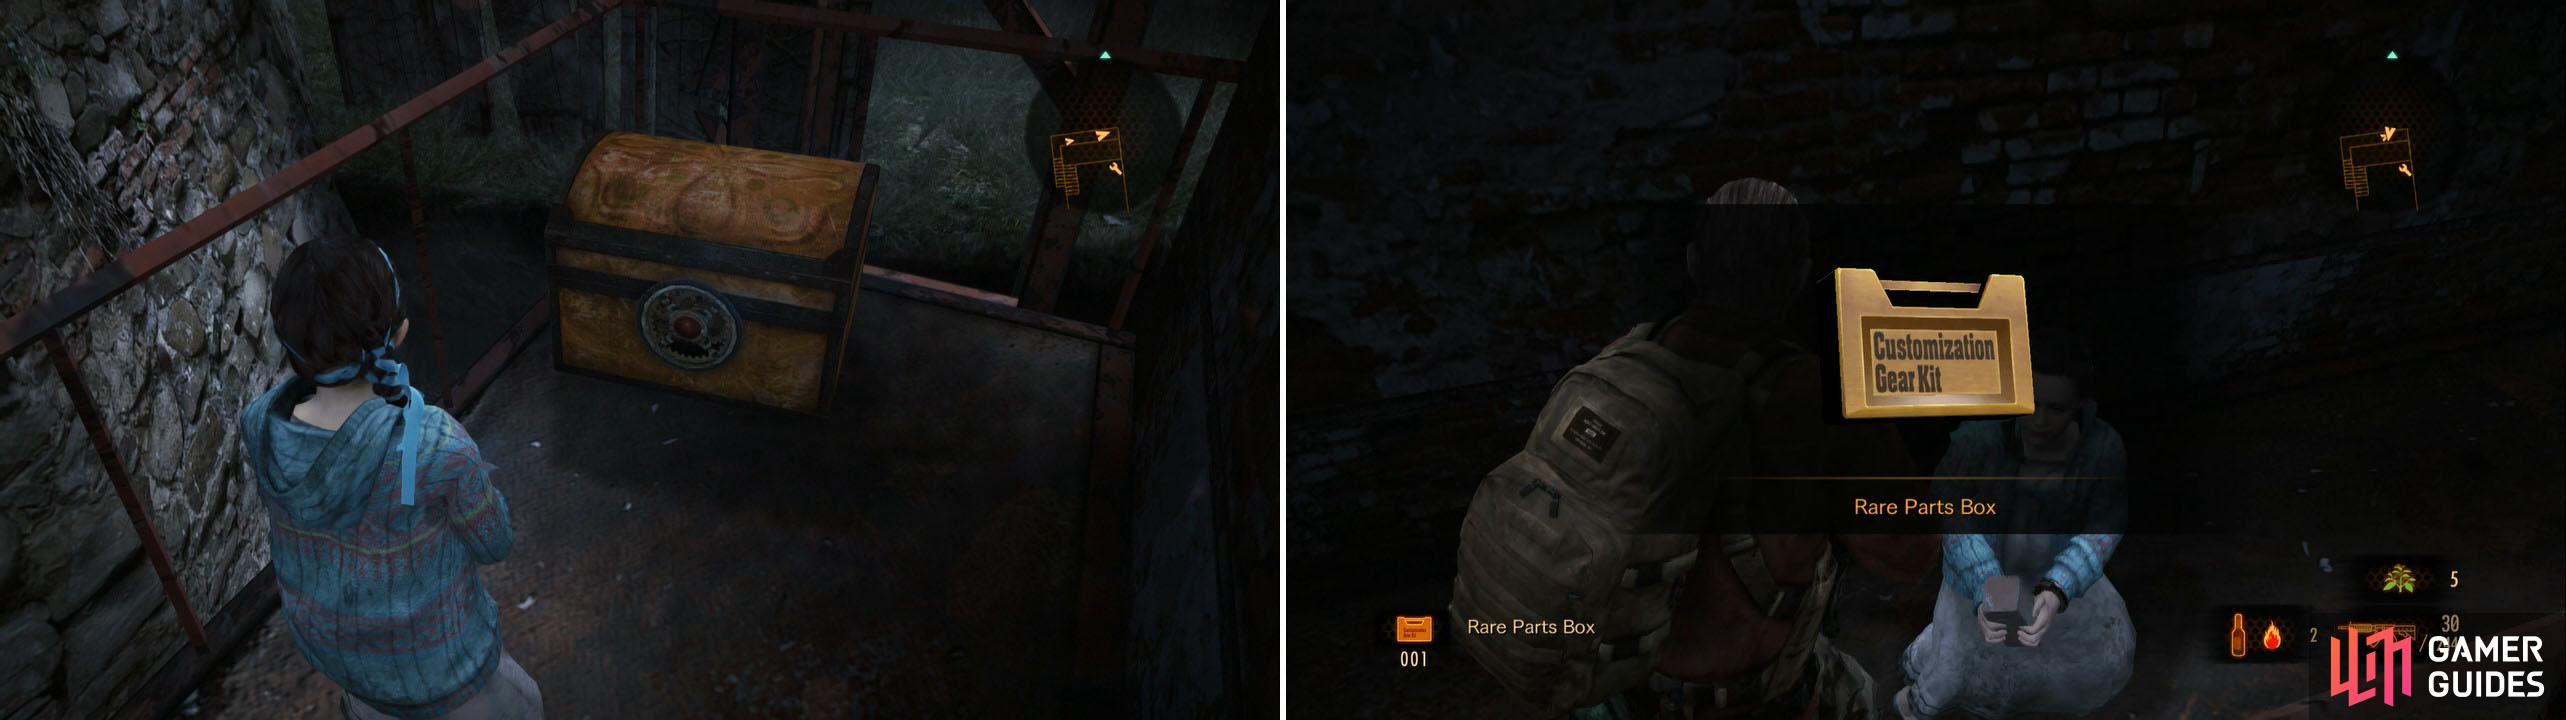
Right above the first Tower Emblem of the Episode.
Go northwest towards the helicoper (or rather where it was) and check the shack on the left to find a Crate and a Sparkle Item behind it. Now go northeast and you’ll find another Glasp. Kill it and enter the last house here. There’s a Sparkle Item as soon as you enter. Continue up the hill and cross the gate.
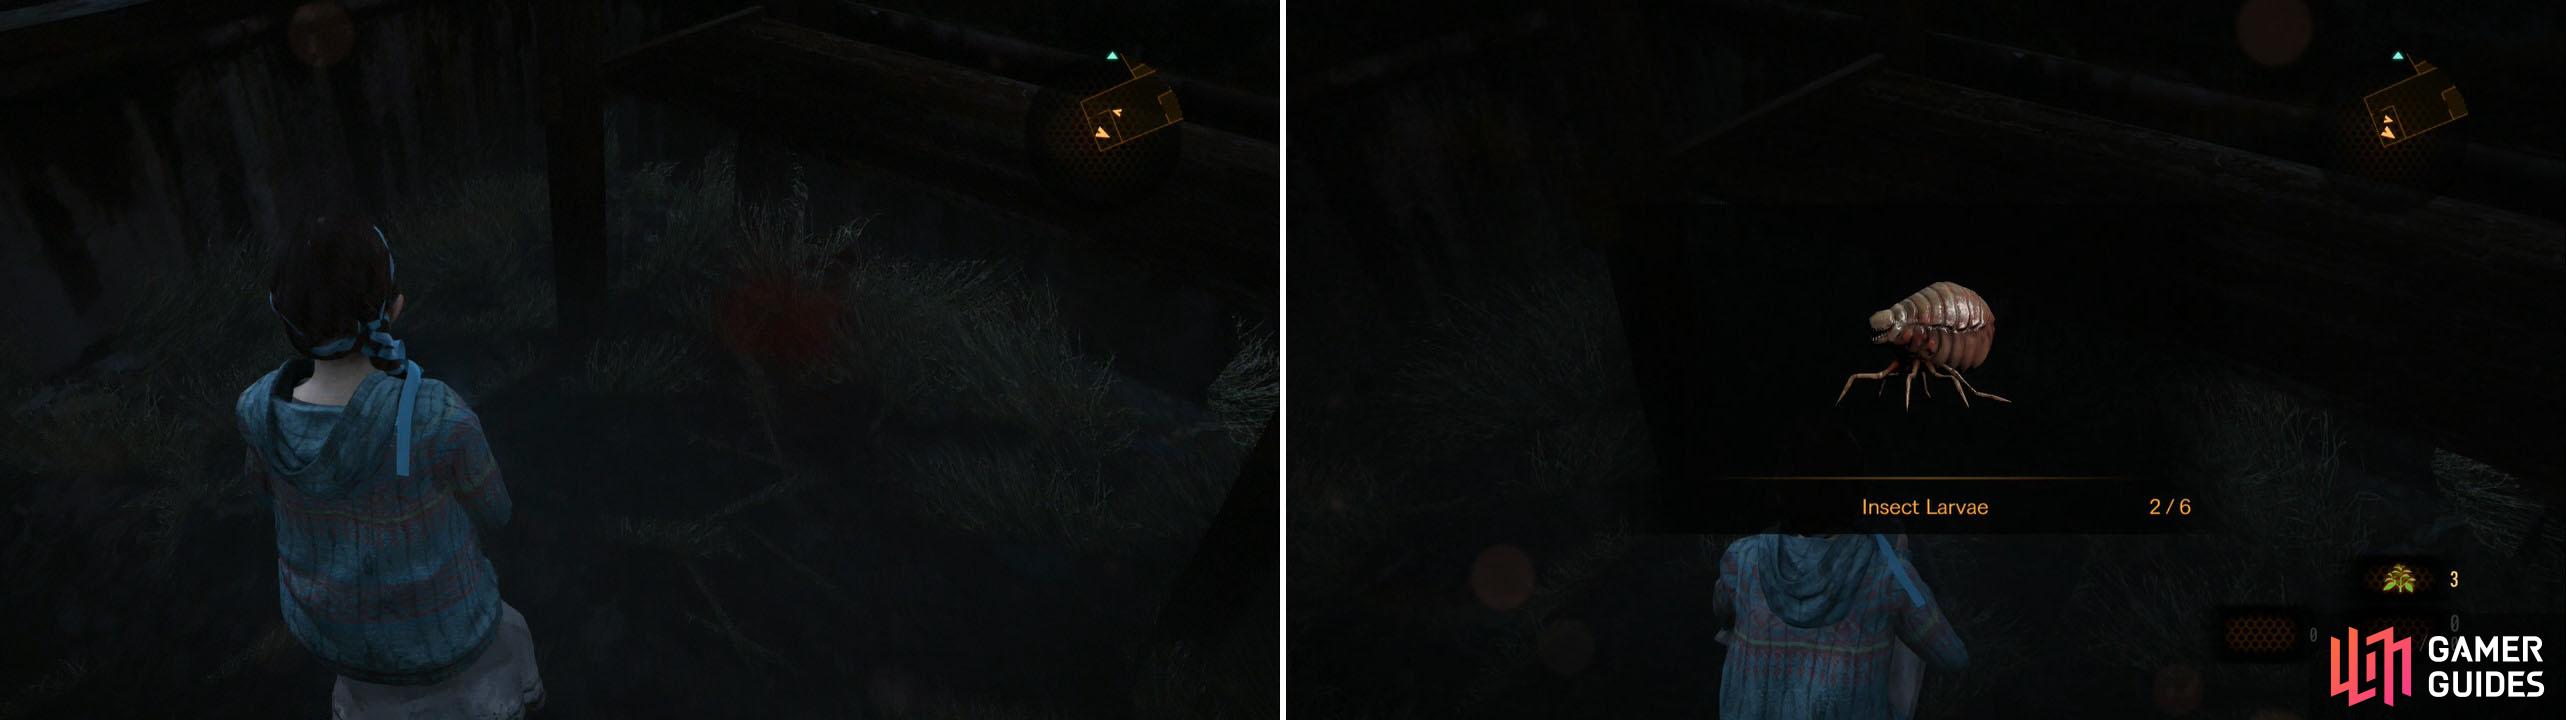
Go north here to find a Insect Larvae 3/6 .
Make sure to kill this Larvae before proceeding to the next area.
Now go inside the cave and jump down. Move forward and you’ll find a dog laying down in a corner. Shoot it from afar with your handgun and as you move up the path, two more dogs come down towards you. Use some precise handgun shots or use your Assault Rifle if needed. In this open area, there’s a Sparkle Item in the corner. Now go up the stairs and back outside.
Listen to their conversation and move to the dead end to the right to find a Crate . Move forward and past the second car is an Empty Bottle . Move towards the door and hug the right wall to find Smoke Powder . Now go through the door and watch the little scene. Just who is watching us? There are two Revenants in the small alley. One immobile and the other one moving left and right.
Listen to their conversation and move to the dead end to the right to find a Crate . Move forward and past the second car is an Empty Bottle . Move towards the door and hug the right wall to find Smoke Powder . Now go through the door and watch the little scene. Just who is watching us? There are two Revenants in the small alley. One immobile and the other one moving left and right.
Don’t approach the alley. Wait for the Revenant to go left to go in and stealth kill it. Now kill the second one, break the Crate near the door and go through them. There are many Revenants in here. Ugh. Go to the top and break the weak wall (if you got the Drill in the Fishing Village by killing Pedro in Claire’s campaign) to find Insect Larvae 4/6 .
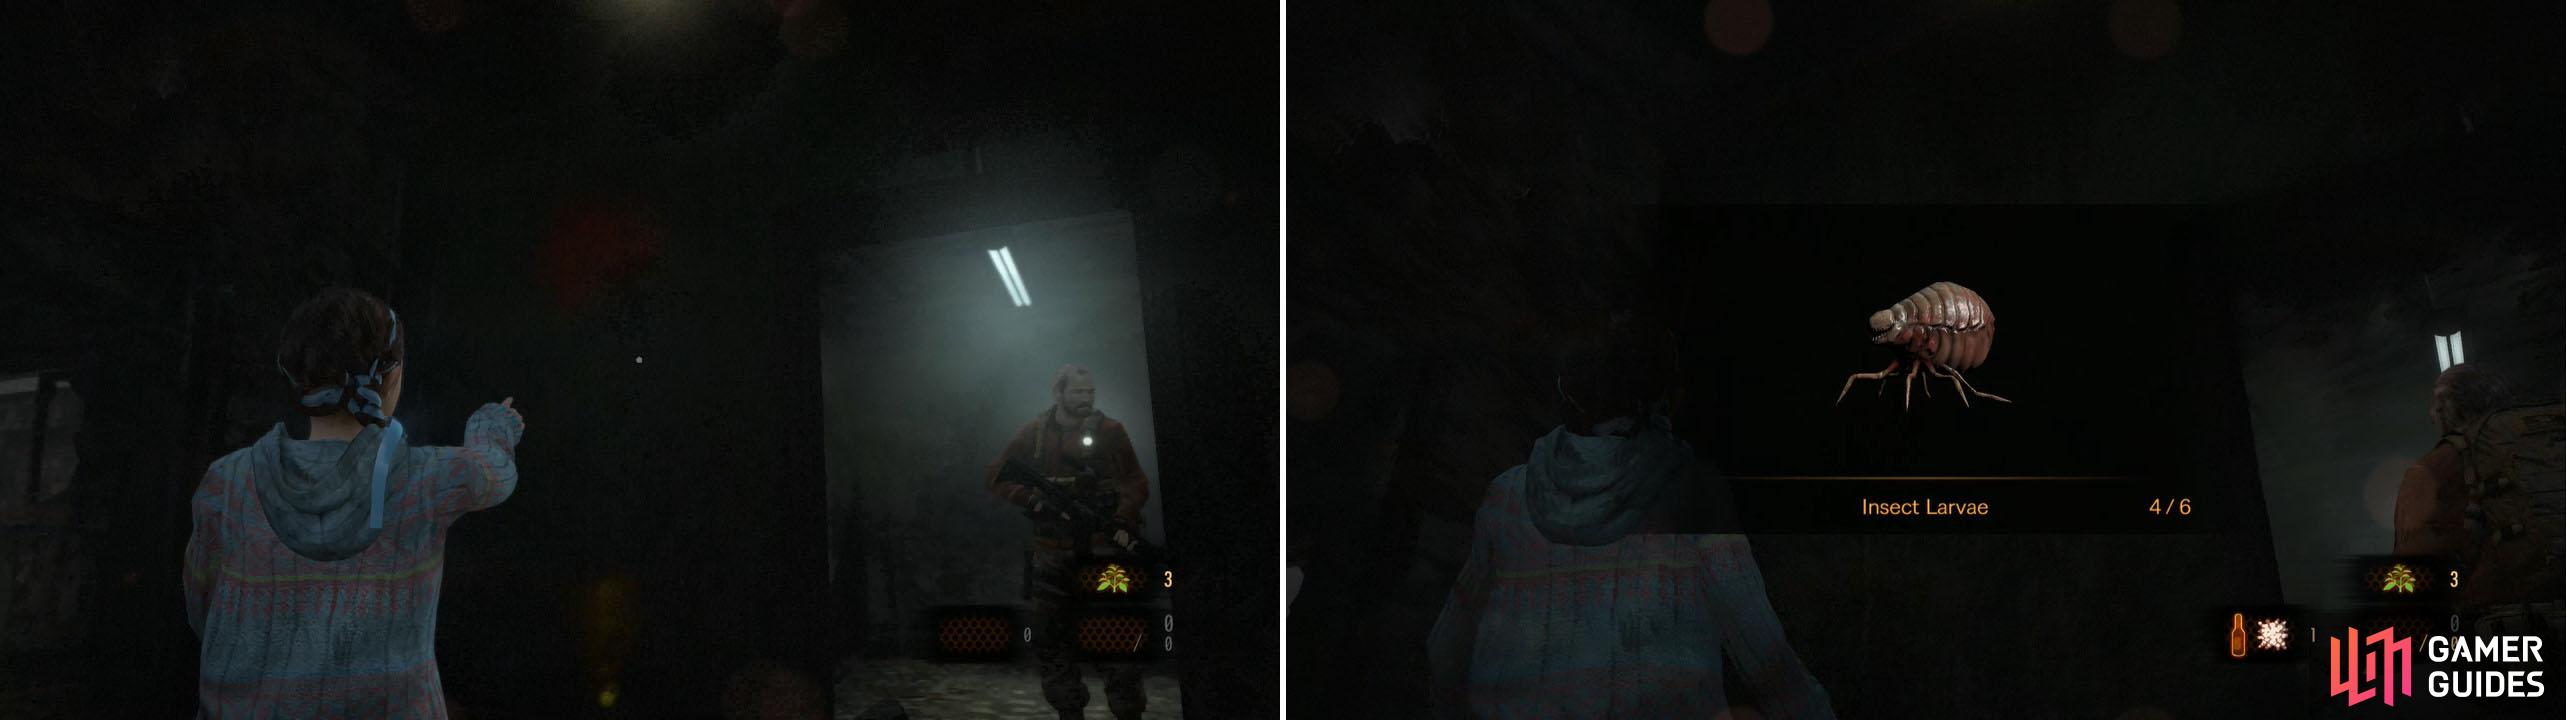
You can see this Larvae from outside the room. Hopefully you killed Pedro as Claire!
You can jump across the gap in the buildings to find a Revenant (easy kill) and another Gimmick Box with Emerald inside.
They made sure you didn’t miss any Parts Box, just in case you didn’t kill Pedro with Claire!
Go to the bottom of the stairs and, as Natalia, check out the Revenant’s moving pattern. You can see it moves in a circular way. Wait for it to go left to open the door and move behind it, stealth killing it. There’s another Revenant on top but let’s loot this little room first. At the entrance there’s a Town Map . Really helpful. There’s a Cloth on the right side and a Sparkle Item in the corner near the stairs.
Now go up the stairs and wait for the Revenant to start moving away from you and stealth kill it. There’s another Revenant near this one but it moves just a little bit. Barely enough for you to approach him from behind and kill it. Note that you have to be behind the metal Crates and not near the wall. Now open up the door and go inside to have a new enemy appear. It doesn’t move but it throws some nasty stuff at you.
Return behind the door and shoot at the red bulb on its side with the sniper to bring it down. As you do that a couple Revenants appear. Make a right inside and grab the brick, but also make sure to hide behind the metal Crate . One of the Revenants approaches it but turns around. Use this opportunity to stealth kill it. Now go around the trailers on the left and stealth kill the second one. In this room you can find a Crate in the lower left corner (on top of the trailer) and a Gimmick Box in the upper left corner that has Expansion Bag for Natalia. She can finally carry 10 items as well.

If you move on to the next area without getting this Box you’ll miss it forever… or at least until you replay the episode.
Prepare and go behind the iron curtain. There are 3 blobs here. Approach one and as it raises back up and have them explode on their own. Break up the Crate near them and grab an Empty Bottle on a bench in the park. Check out the slide in the center of the park to find an Insect Larvae 5/6 . There’s also a Sparkle Item in the northeast corner so make sure to grab it as well. There’s another Sparkle Item near the first car (near the other Sparkle).
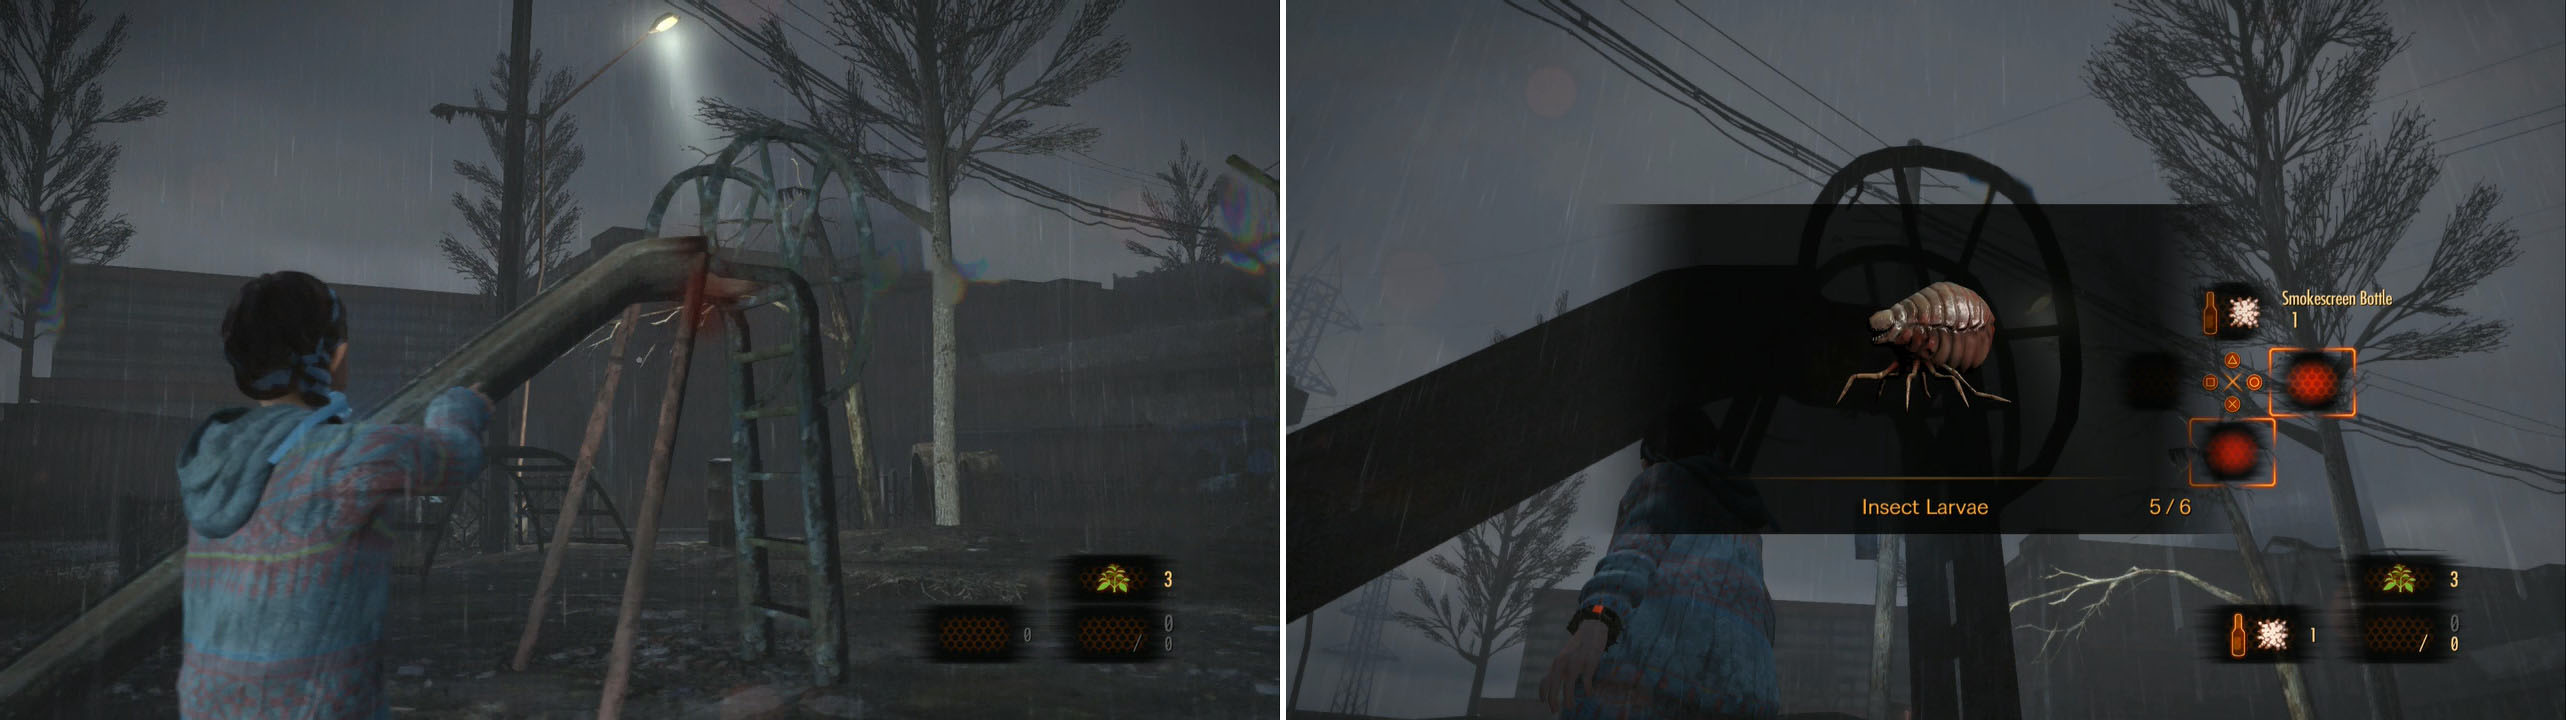
A really easy to miss Larvae. Just who would look under the slide?
Go inside the bus now and grab the Green Herb . There’s a Revenant which you can easily approach from behind but as you do you’ll “wake up” another Revenant and another one of those large immobile enemies. Run back past the bus and wait for the Revenant. Take it out and then take out the other enemy. Go up the stairs and enter the building.
Remember this place? Go right at the start and down the stairs. There’s a Glasp in this large room and as you fight it another one appears behind us out of nowhere so be extremely careful. I recommend heading inside this large room and using the bricks to stun the enemies. Once you’ve dealt with them, check under the sink on the south to find a Sparkle Item .
Go north and at these stairs is another Glasp. Kill it and go up the stairs to find a room with a Gimmick Box , which contains Parts Box .

Make sure to kill the Glasps before getting here so you can avoid getting killed in one hit.
Check the desk to find Gunpowder . Return to the entrance of the building, go up across the Crate keeping the gate open and exit through the upper door. Out here, simple go down the stairs and enter the next building to trigger a little scene.
Inside use the workbench if you want/need to and enter the hallway. Go south and enter the door to your left to find another Gimmick Box to find Parts Box .
Moira couldn’t open this Box so we had to wait until Natalia came by and helped us out!
Return and use it at the workbench to free the space in your inventory. Now move to where the elevator is to find an Odorous Chemical . In the hallway enter the room on the left and go through the hole to open up the door that was locked as Claire.
On top of the Crate you can find Assault Rifle Ammo. At the third floor of the stairs you’ll find a Glasp so I recommend taking it out before doing anything else. Return to the second floor and enter the first room on your right to find Alcohol . Now enter the first left room and left into the bathroom to find a Crate . Go inside the room on the left, pick up the Sparkle Item near the couch and read Town Resident’s Note in the corner.
Move on to the upper left corner of the floor, break the Crate and go through the hole in the elevator. There’s a Glasp in here but I recommend opening up the door and have Barry take care of it. Time to loot everyone! You can find in this room Smoke Powder , Crate , Red Herb and a collectible, Tower Emblem 8/9 .
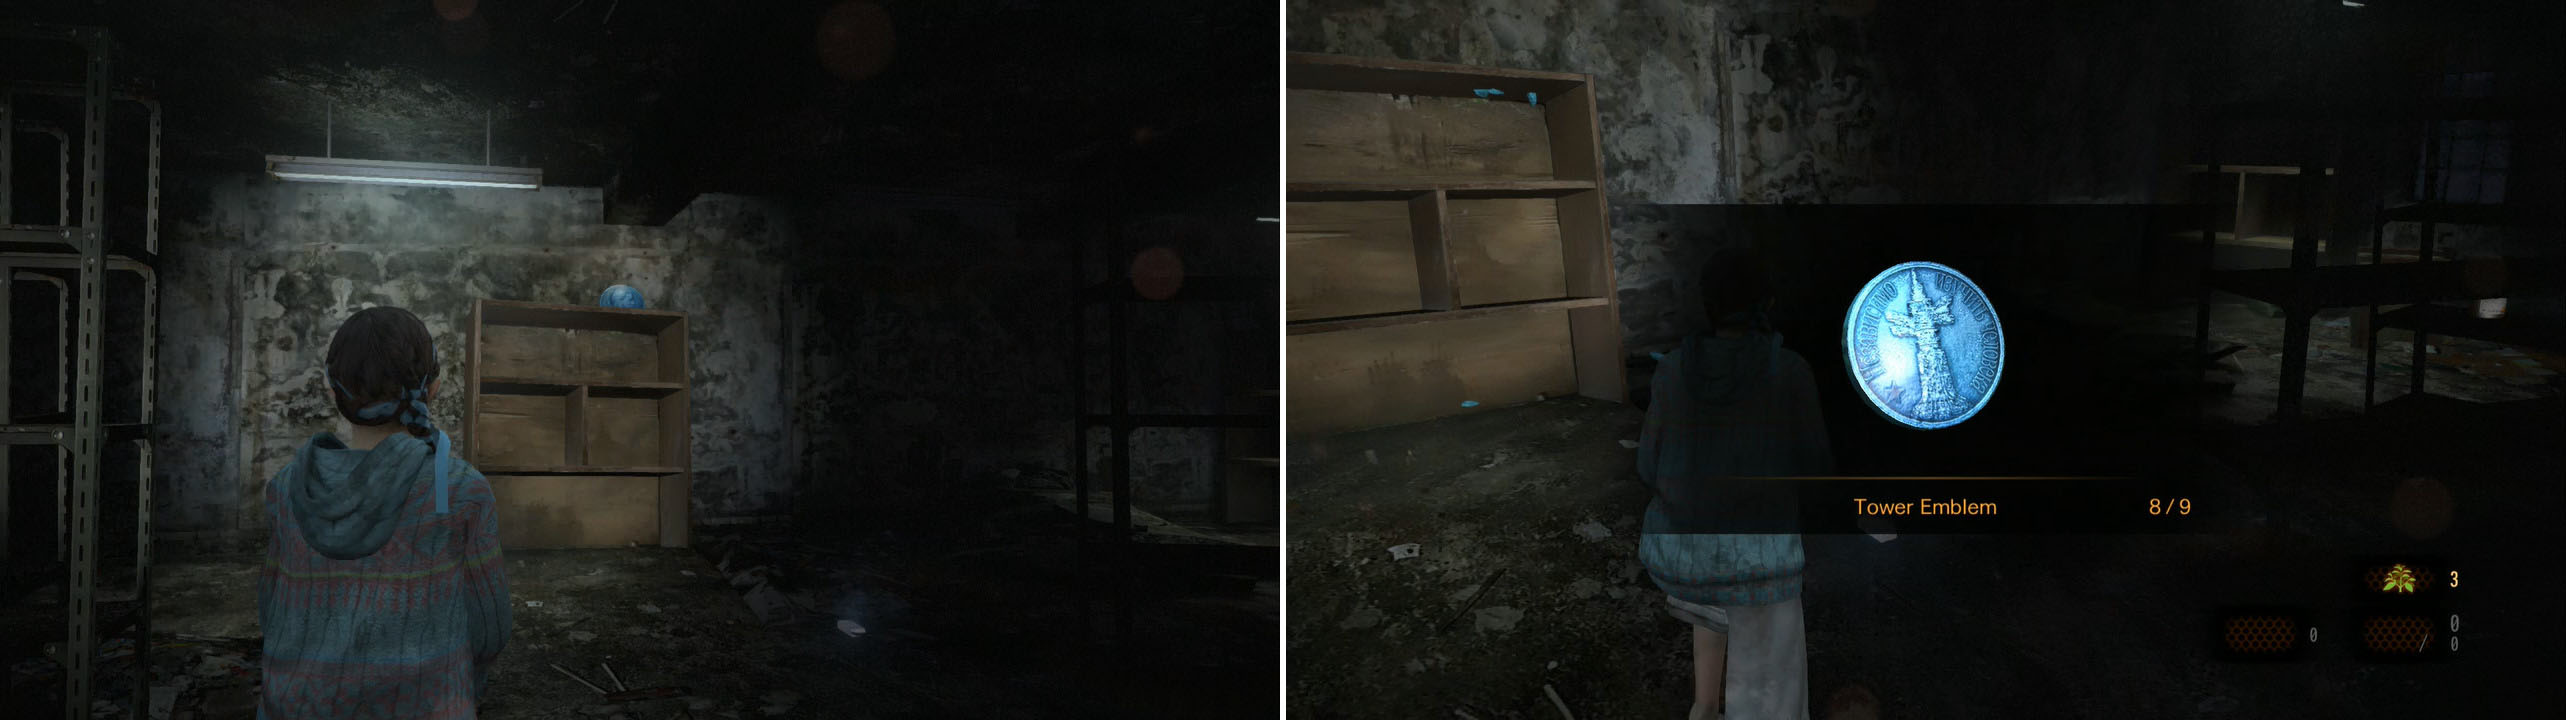
Don’t engage with the Glasp alone. Have Barry help out… he has to hit the Tower Emblem anyway.
Return to the stairs and go to the top, the fourth floor. Enter the room on the left to find Handgun Ammo before entering the left room (where the crashed helicopter is) and you can find a Sparkle Item in the corner. Have Barry push down the helicopter and pick up the Empty Bottle on the other side.
Prepare yourself (load your guns and create some bottles), have Natalia wait near the entrance of the floor and enter the room on the right. Approach the lower wall and PEDRO comes bursting out the wall. Yes, the same exact Pedro from Claire’s episode. He is somewhat easy as he charges at you with his Drill. He sometimes gets stuck on the wall as well. He likes to target Natalia so having her stay near the entrance is the best thing you can do.
Lure him out to where the helicopter was so you can have more space to fight him. When he gets stuck he tells you to shoot his balls. He has little eyeballs/blobs around his body and these are, of course, the weak point. Make sure to shoot him at these only, specially when he gets stuck. You don’t need to destroy them all. I recommend just using the Handgun as the Assault Rifle has a lot of recoil and what he need here is precise aim.
Bottles don’t do much either so don’t even bother with them, besides the Exploding Bottles. Time them correctly to deal a ton of damage to each blob. When he goes down you’ll get the DRILL. There’s also Crates x2 in this room where Pedro was so get them and return to the first floor. Go to where the elevator is and break down the wall, then go outside.
There’s a Sparkle Item next to the corpse right in front of you and a Crate next to it. Start moving towards the tower and hug the left side to find a Sparkle Item . Now head to the tower (there’s nothing at the end of the road) and inside move forward and from the wall with the painting, look to your right and to the back to find the last Tower Emblem 9/9 sitting on top of the rubble.
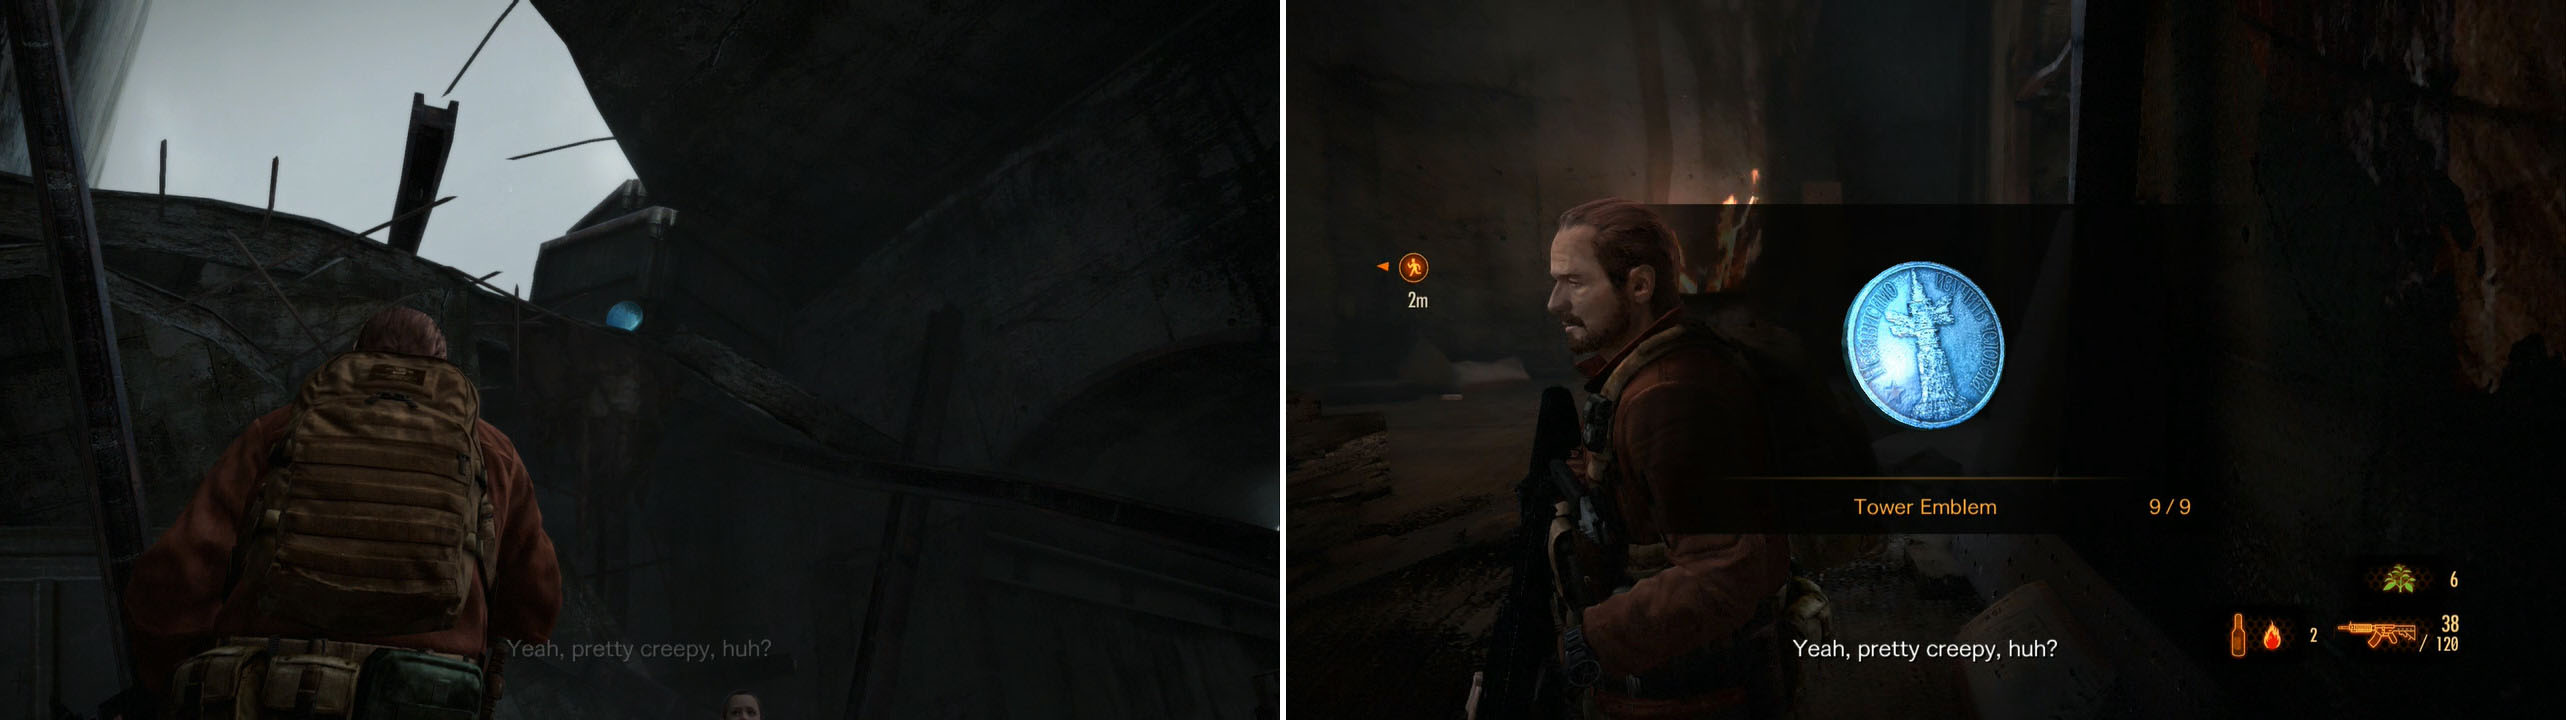
The last Tower Emblem of the Episode. Happy times!
Enter the next room and read the document Clinical Experiment Notes . Don’t go up the stairs yet. Go inside the room on the right, break the Crate and open up the Gimmick Box for an Emerald .
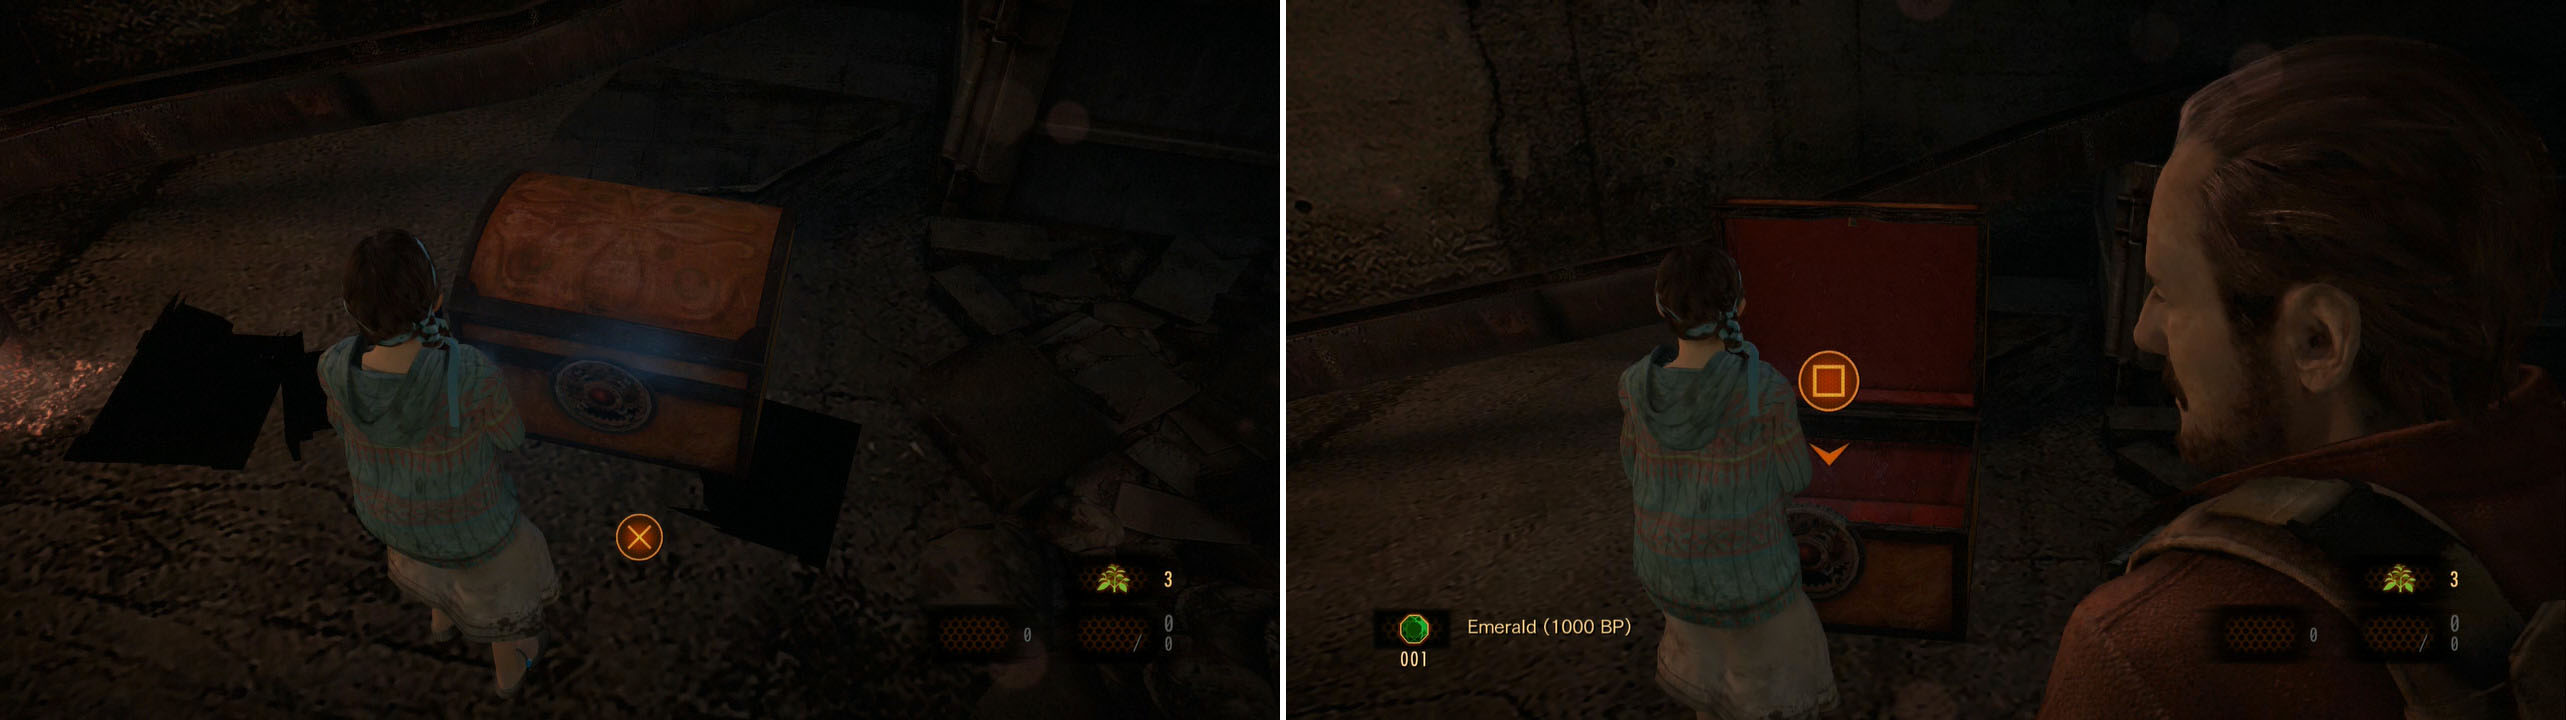
This Gimmick Box is just laying there for you to open it.
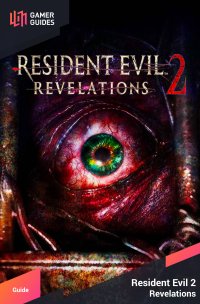
Now go up the stairs on the left to find another document, Parting Words to my Dear Father . Go up the stairs and you’ll see Insect Larvae 6/6 behind the pillar to the right.
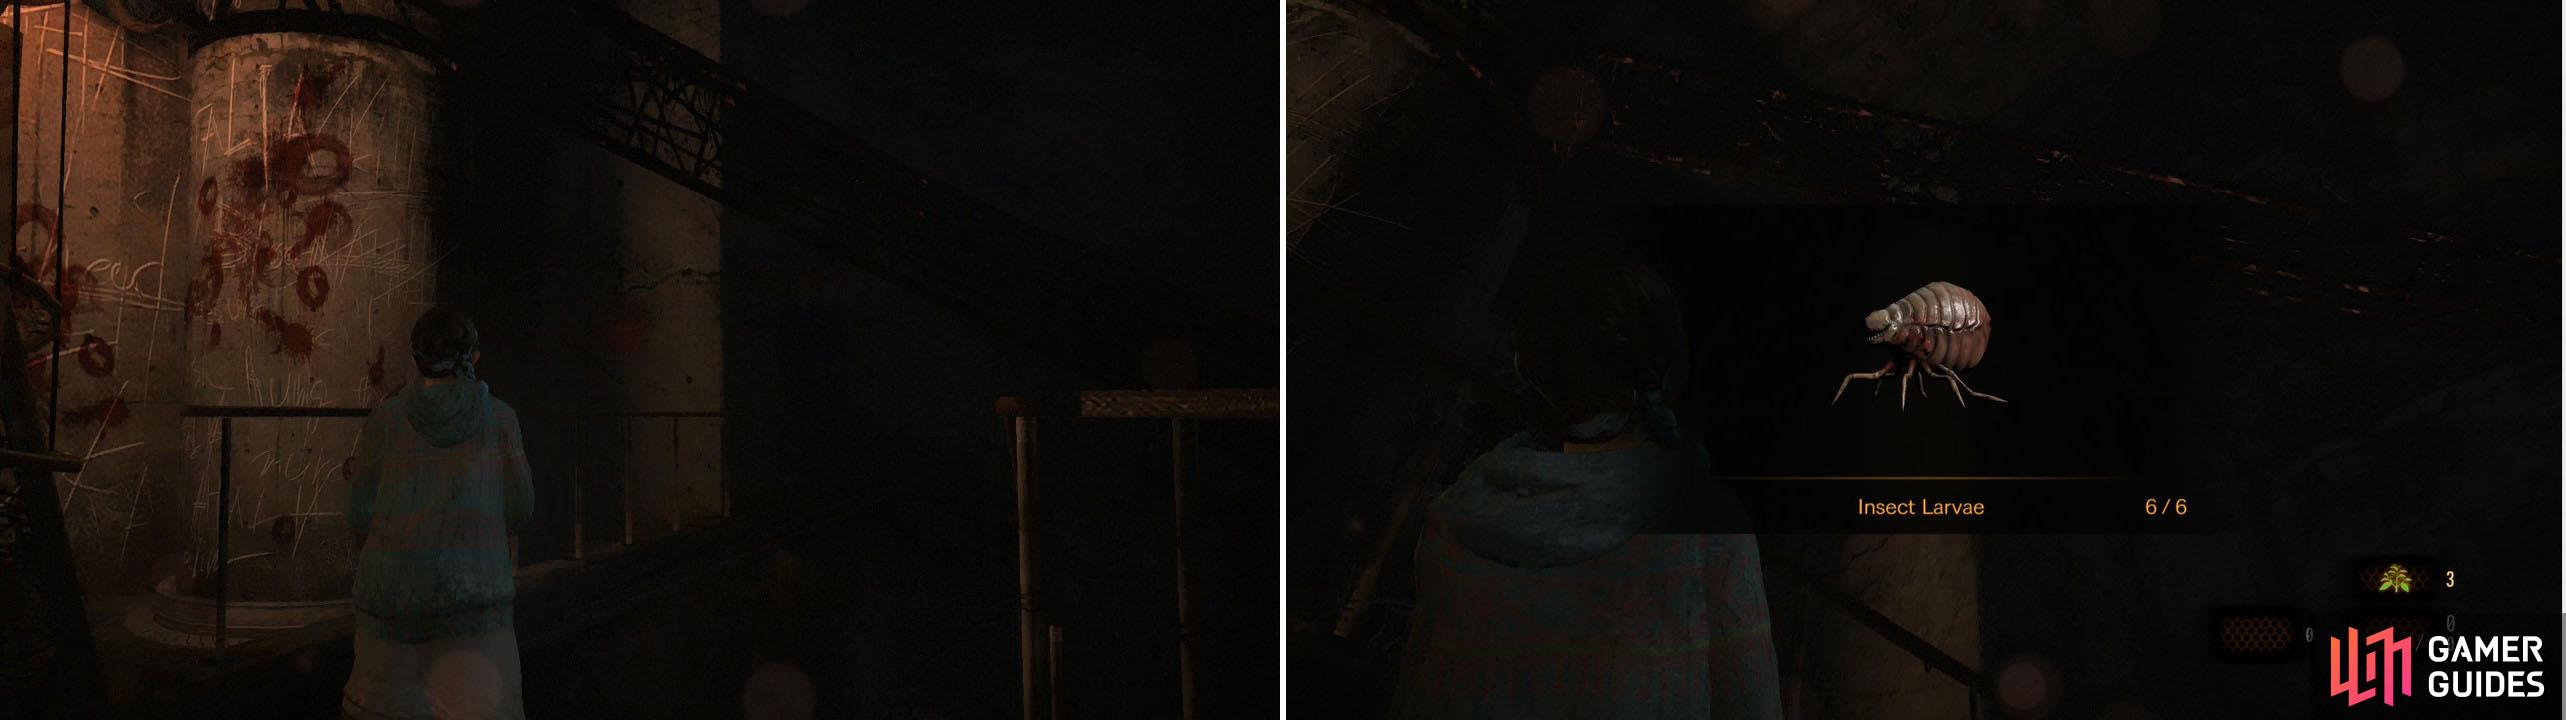
A tricky Larvae with limited Bricks to toss. Make each brick count!
You have to aim at it from the stairs. There are many bricks around so make sure to get it. There’s also a Crate down the stairs. Now follow the path up the stairs to trigger a scene at the end of it, ending Barry’s chapter for episode 2.
 Sign up
No Comments