Objective: Explore the valley
When you are ready to continue on with the story, head for the large, main bridge leading east from the valley to the far side of the river. On the valley side just before crossing, there is a Hanging Rabbit [Hung out to Dry 06/06] on the left.
On the far side of the river a speech is going down. You can stay and listen if you like. To the left of this area is a Challenge Tomb by the waterfall which we’ll be back for later (Requires Gear: Wire Spool ). For now, though, head right. Loot the crate of Salvage, box of Ammo and the bucket of Arrows before continuing up the short flight of stairs. At the top, grab the crate of reagents to the left.
A little further down the path you’ll come across a crate of Salvage and a new Base Camp ‘Ruins Encampment’. You can use the Base Camp here to apply any upgrades you require and spend any skill points you have. Exit the Base Camp menu when you are ready to continue.
Objective: Light the signal fire on the spire
At this point Jacob will get in contact on the radio and update your objectives. Before proceeding, grab a bottle from the crate here and move to the south side of the area. Below you’ll see the small zone with all the Boars we ventured into earlier. Create a Molotov from the bottle and hit a boar with this to earn the achievement/trophy ‘ Bacon ’.


Return to the ‘Ruins Encampment’ Base Camp and continue to the east. There are two sets of curved stairs leading to a pair of large ruins at the top, between the curved stairs there is a smaller ruin in the center. To the left of this you’ll find a Survival Cache [10/20] .
Climb the left set of curved stairs to the top. At the ruin here you’ll find a climbable wall and some handholds we can scale to reach a small room at the top (if this doesn’t work for you - there seemed to be issues on the Xbox360 version, you can approach the tower form the north to find a set of stairs and an open door). There is a chest containing Relic [05/13 - Iron Coin Tool] on the bundle of wood.
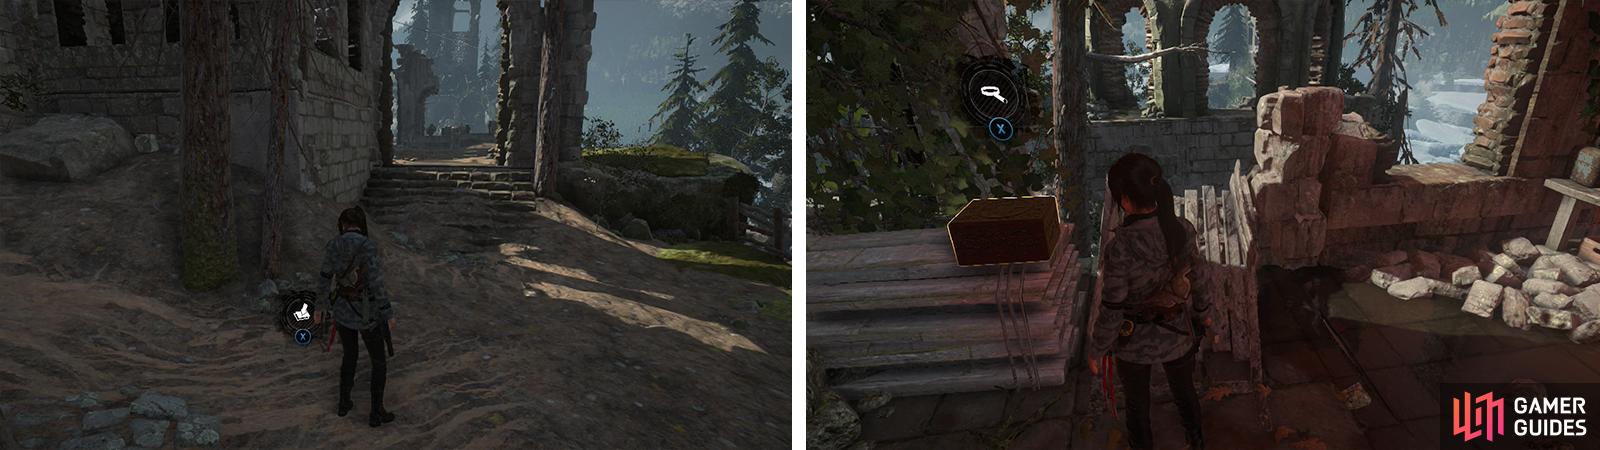
Between the sets of curved stairs you’ll find Survival Cache 10 (left). At the top of the large ruin is Relic 05 (right).
From the area with Relic 05, look for another ruin to the south. Use the tree branch between the ruins here to swing over to the upper ledge of the southern ruin. Have Lara hang from the ledge inside of the structure and shimmy to the right. You’ll find a chair here. Climb up to the ledge and interact with the chair to unlock an achievement/trophy.

Drop down inside of this building to find a Mural [02/04 - Greek] and a Remnant ally who will give you a new side-mission ‘Ancient Secrets’ . This is a cumulative side-mission that requires us to find and complete all nine of the Challenge Tombs in the game and you’ll earn 10 Byzantine Coins and 50XP for completing each of them. We’ve already done five of these, so there’s only another four to go!
Exit the ruin and look to the west of the larger ruin to the north to spot a Monolith (Requires Level 7 Greek), we probably won’t be able to decipher it yet, but marking it on the map is handy for later. Now, head to the southwest to find another smaller ruin with a Strongbox [04/08 - Weapon Part: Heavy Pistol Part 02 ].
Just to the east of the ruin with the Strongbox, you’ll find a cave that we can explore. This is the first crypt in the Geothermal Valley.
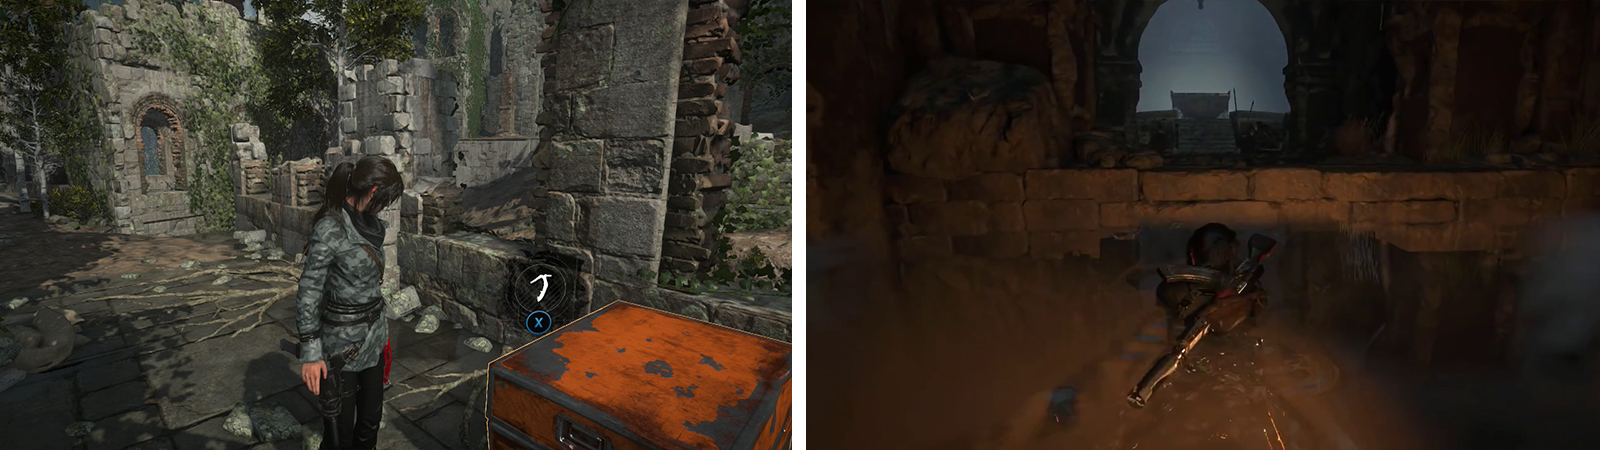
Find Strongbox 04 north of the ruins (left) and continue into the first Crypt at the end of which you’ll find Crypt Treasure 01 (right).
n the initial passage and chamber there is a Mushroom , a pile of Byzantine Coins and two veins of Magnesite Ore . At the back of the cave, you’ll find a weak wall that can be bashed down with the pickaxe.
Squeeze through the crack and follow the path until you drop down. There is a zip line here and in the small room behind it there is a vein of Magnesite Ore . Take the zip line down to the floor below and loot the vein of Magnesite Ore on the right wall as you land. A short distance through the tunnel ahead, there is a Mural [03/04 - Greek] on the left wall.
Proceed through the tunnel and keep an eye out for a pair of small recesses on the left. There is a Document [12/33 - Greek] in the first recess and a vein of Magnesite Ore in the second. You’ll find another a vein of Magnesite Ore to the left just before dropping to the room below. There is a Mushroom to loot below.
There are two passages in this lower area, the right leads to a dead end with a vein of Magnesite Ore and the left passage leads through a flooded passage to a treasure chamber. Loot the chest in here for a Crypt Treasure [01/02 – Weapon Part: Ancient Bow Part 03/04] .
Now we can backtrack all the way through the crypt until we are back outside.
From the ruins here, if you look from the top of the cliff across to the south you should see a small island with another signal fire tower located on it. Along the top of the cliff here there is a rope pillar that we can find on a stone platform. From this, we can shoot the Rope Arrow attachment point below on the island with the spire.
Scramble up the white wall when you land. This island has nothing particularly special on it in terms of collectibles. As such, we pretty much just need to use the set, linear route that the game gives to you across the rickety platforms, swinging poles, handholds and scalable walls until you reach the room near the top of the tower.
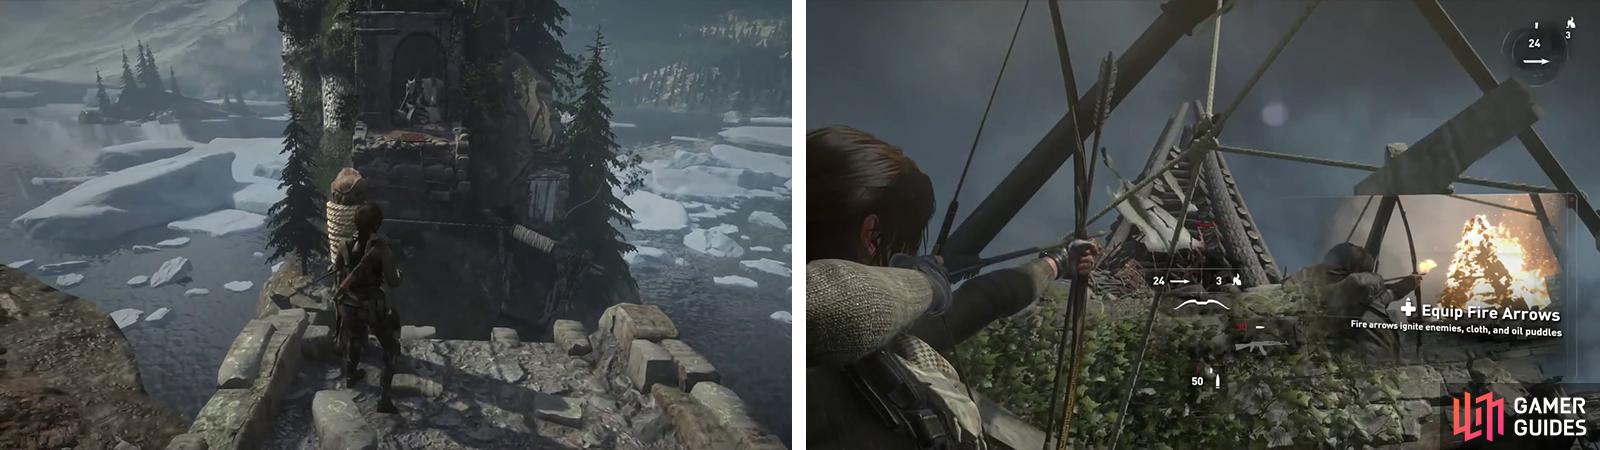
Use a Rope Arrow to reach the island (left). Climb to the top and hit the pyre with a Fire Arrow (right).
In the room near the top of the tower, approach the table for a short scene. Afterwards Lara will have access to some new gear- the Oil Flask . This will enable Lara to craft Fire Arrows which can be used in the same way that Poison Arrows can (you can toggle the type of special arrow Lara has equipped by hitting up on the D-Pad).
Continue to climb the outside of the spire until you jump to a hanging platform. Be prepared to press the button prompt when it appears! Climb up onto the platform and from here, shoot the signal fire pyre atop the tower with a Fire Arrow.

Following the short scene, Lara will hop down into another room. Loot the Oil from the can here (we’ll be able to loot these from here on in), smash the barrel of reagents in the corner and then stand by the rope pillar and shoot the attachment point in the ruins below to the north with a Rope Arrow. Zip line back across the water.
Objective: Rejoin Jacob in the upper village
Find the path leading out of the ruins to the north, climb the stairs and continue along the set route through the waist deep water and swim through the large, sunken house ahead. Continue through the set path until you reach land. A scene will play during which Lara will acquire a new weapon: Pump-Action Shotgun .
As soon as you regain control, you’ll find yourself in slow time. Quickly shoot the pair of soldiers ahead with the Shotgun. There is a third inside of the building.
Objective: Help defend the village against attack
Climb the stairs and grab the basket of Herbs to the left of the door (if required) before entering. As you enter, another soldier will also emerge from the door on the far side of the room. Shoot him as well. Loot the room for Oil , a box or two of Ammo and a crate of Salvage . Move up to the far doorway and look through it – shoot yet another enemy soldier as he bursts through the door of the opposite building.
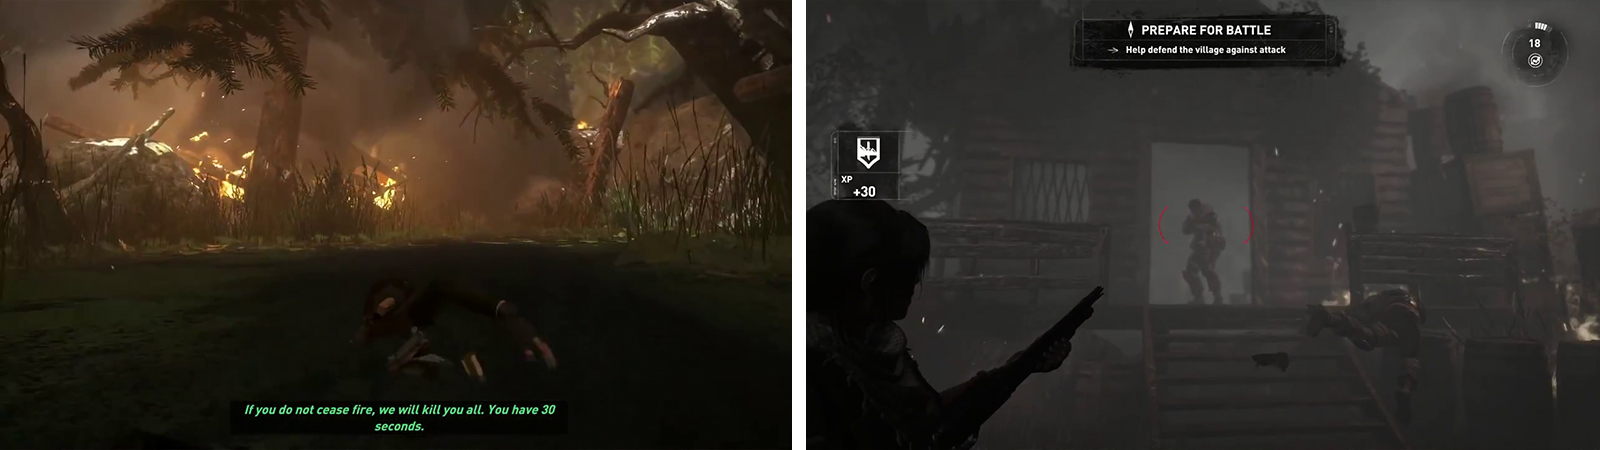
Work your way through the burning ruins (left) before fighting the enemies that appear as you enter the village (right).
Enter the next building, loot the barrel of reagents on the floor to the left quickly and look towards the far end of the room for a door. Get into cover behind the table and wait for the door to be destroyed. There are six soldiers right outside. Shoot the first with the Shotgun to alert them to your presence and then shoot each of them in turn as they approach the door. You should be able to kill the lot of them before any of them are able to enter.
When the bad guys stop coming, loot the bundle of Hardwood , the box of Ammo and the crate of Salvage by the far door. Enter the door for a scene.
Following the scene, you’ll need to fight off against a flamethrower soldier. These fellows are heavily armored so the usual headshots and body tactics will not work so well against them. In addition to dishing out some serious damage if it hits you directly, the flamethrower’s stream can destroy the pieces of wooden cover in the area and leave small fires on the ground that will linger for a few moments and cause damage if you walk through them.
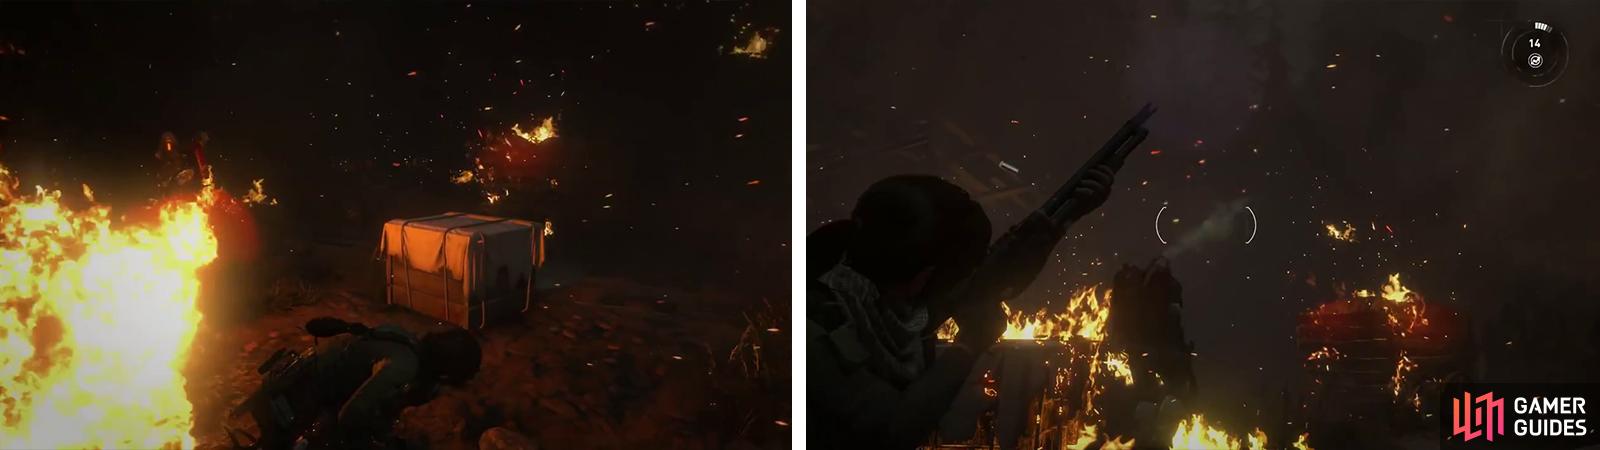
When fighting the Flamethrower avoid the fire (left) and get behind him (right) so you can shoot him in the back.
To defeat him, you’ll need to shoot his weak spots – the gas tanks located on his back. When he shoots his flamethrower, he’ll stay put for a second or two, allowing you to dodge around behind him for a quick shotgun blast or two in the back. As such, lure him into shooting the weapon and exploit his brief stationary phase continuously until a scene plays to end the fight.

 Sign up
No Comments