Objective: Explore the forest for signs of the lost city
From here on out, we’ll be able to scavenge materials from the environment – mainly by cutting down small trees and hunt various animals. You should get in the habit of performing these actions as soon and as often as possible as the resources and the upgrades they unlock are invaluable.
Once we are good to go, we’ll need to make our way over to the objective marker to the east. There are several ways to get there, but let’s get a few collectibles first.
From the camp, head southeast until your each the dead deer we scavenged previously. Look for a small ledge around the side of the rocky structure to the left of the deer for a Document [01/06 - Mongolian] . Return to the deer and continue along the path to the southeast – keep your eyes to the left as you go and look for a ledge above with a ruined wall atop it. At the base of the wall you’ll find another Document [02/06 - Mongolian] .
Drop back down and continue to the southeast until you reach the bottom of the hill. To the right you’ll see a cave (which we can’t access yet) and just to the right of the entrance is a small platform with an Explorer’s Satchel . Grabbing this will update your map with the locations of Survival Caches, Cave Entrances and Strongboxes.
Return to the Base Camp. This time follow the path leading to the northeast. As you go, monitor the left hand side for a small ledge we can climb up to with a Survival Cache [01/03] and a steep wooden wall we can scramble up. At the top, directly ahead you should see a raised ledge. Scramble up the tree in front of this to reach one of its branches and then jump from here to the platform. You’ll find a Document [03/06 - Mongolian] and a cylinder of reagents.
Return to where you climbed up the steep wooden wall. From the top of said wall, you can climb across a rope to a small hunting platform in the trees for an Archivist’s Map , revealing locations of the Documents and Relics on the map.
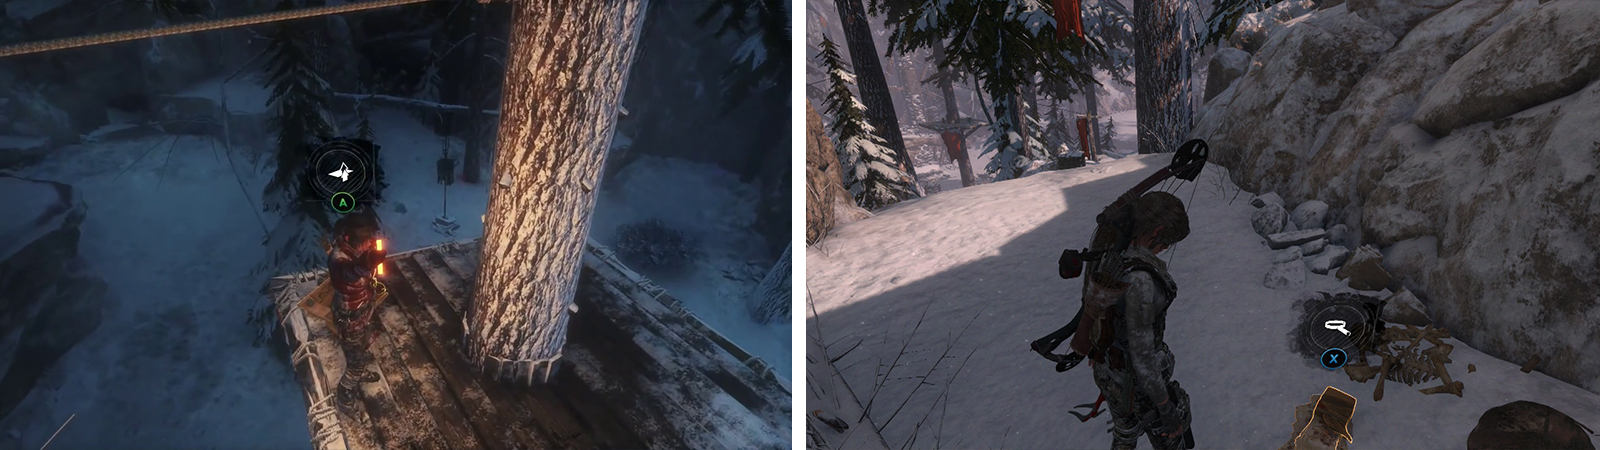
There is an Archivist Map on one of the hunting platforms (left). Document 03 can be found atop a ledge near the rope leading to the Archivist Map (right).
Return back across the rope and follow the northern wall of the map to the east until you find a cave. Inside you’ll find three veins of Magnesite Ore and Document [04/06 - Russian]. Upon exiting, face the entrance and note the ledge to the right. In the snow just below the ledge you’ll find a Survival Cache [02/03].
Climb up onto the ledge by the cave entrance for a chest containing Relic [01/03 – Crown of a Prince] . Be sure to examine the missing point of the crown to boost your Mongolian language proficiency!
Now that we have all the collectibles out of the way (for the moment) go to the objective marker. Use the tree at the base of the wall and scramble up to the branch above. From here jump to the ledge above.
At this point we’ll encounter deep snow – this is bad as it will slow Lara’s movements down significantly. Wherever possible, you’ll want to stick to clear ground or use platforms/branches or other objects that will help you avoid wading through it. Especially for the next section.
As you approach the clearing, a short scene will play and a bear will show up. Sprint in the opposite direction, sticking to the path (avoid the deep snow or you’ll be toast!) and using the wood to run over the top of the snow. Jump from the end of this to reach the next section of path. Keep moving until a scene plays. Melee the bear as prompted until Lara makes another getaway.
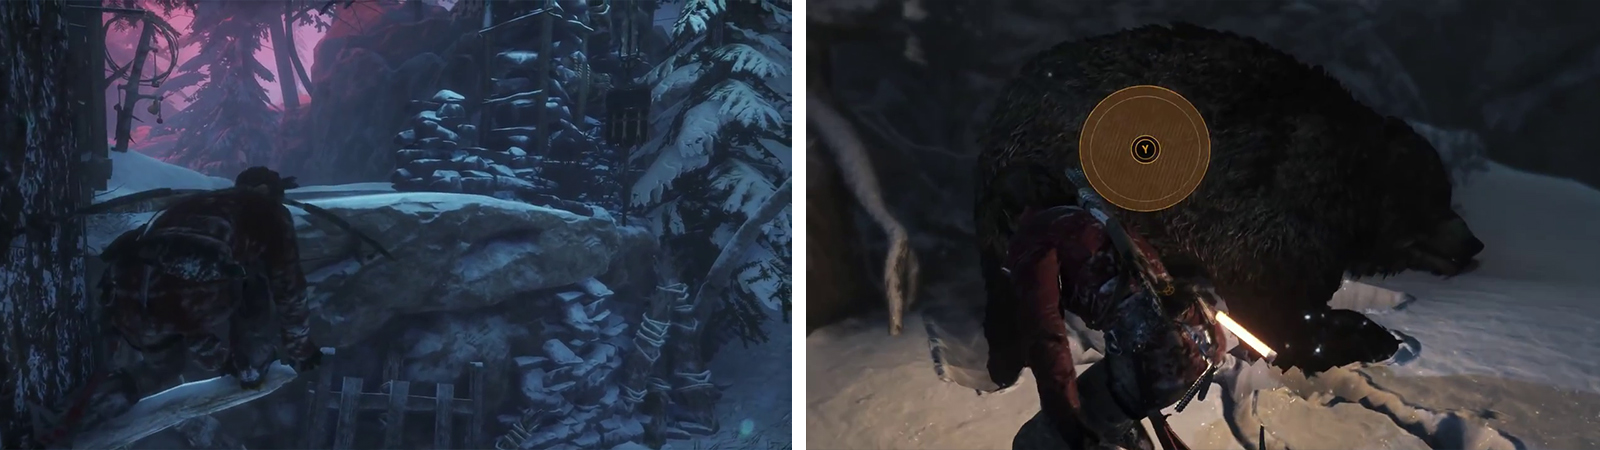
Climb up to the upper ledge by the camp (left). After encountering the bear run away until you fight it - press the button prompt to end the fight (right).
Here you’ll need to use the dodge button B/circle to avoid the bear’s melee attack and then hit the button prompt as it appears to trigger another scene.

 Sign up
No Comments