Objective: Find a way to destroy the gate
Once that super-long, tricky and frustrating fight is over, be sure to loot all of the enemies – you are bound to have expended a lot of ammo. There is also a piece of Magnesite Ore to the left of the destroyed entrance and three Herb shrubs around this area which you’ll probably need to re-stock your healing ability!
Enter the newly opened door nearby that is indicated by the objective marker. Use the wheel mechanism on the wall to raise the nearby door. Continue through the door and up the stairs.
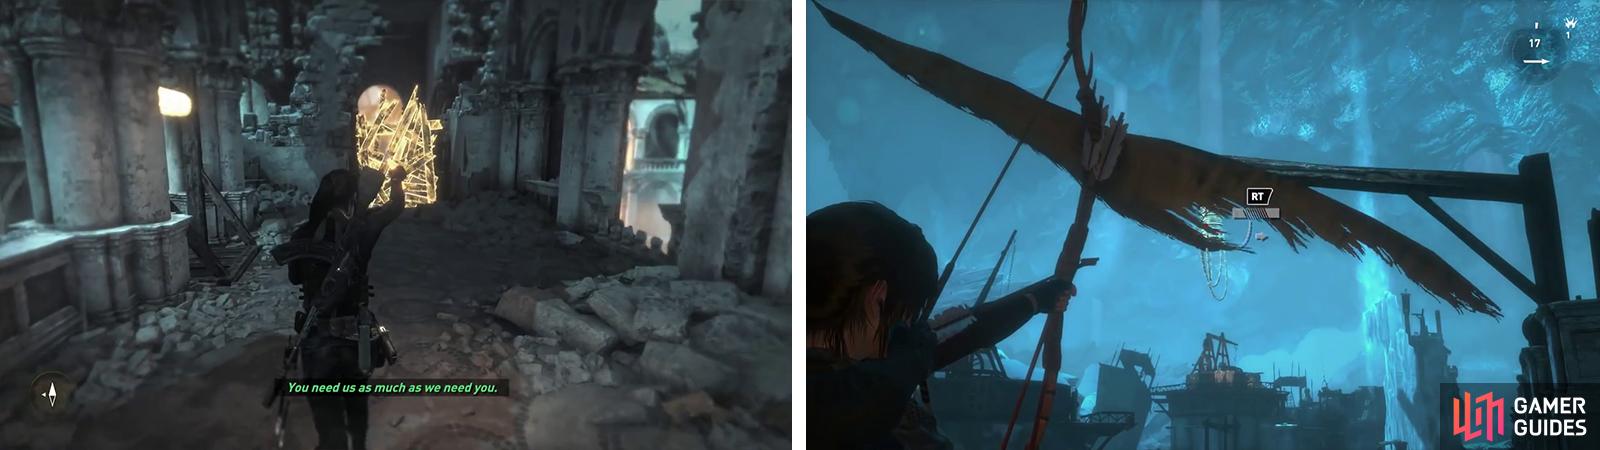
At the top of the stairs, turn to your right to spot a barricaded passage. Use your firearms to destroy the barricade. Run and jump across to the ledge on the far side of the gap. In the room here, work your way down the balcony to the right to find a Relic [09/10 – Wooden Icon] .
Return to the stairs and look behind them for a piece of Magnesite Ore if you are interested. Approach the objective marker when you are ready and use your Rope Arrows with the hanging log to swing across to the next area.
Destroy the barricade (left) to find Relic 09 on the walkway behind it. Use the Rope Arrows to swing down to the platform below (right).
As you land, use your Rope Arrows to remove the barrier to the right to create a shortcut back to the previous Base Camp. From the doorway we just opened up, look on top of the wall above and to the left of this to spot the final target Statue [Vandal 08/08] on a stone handrail.
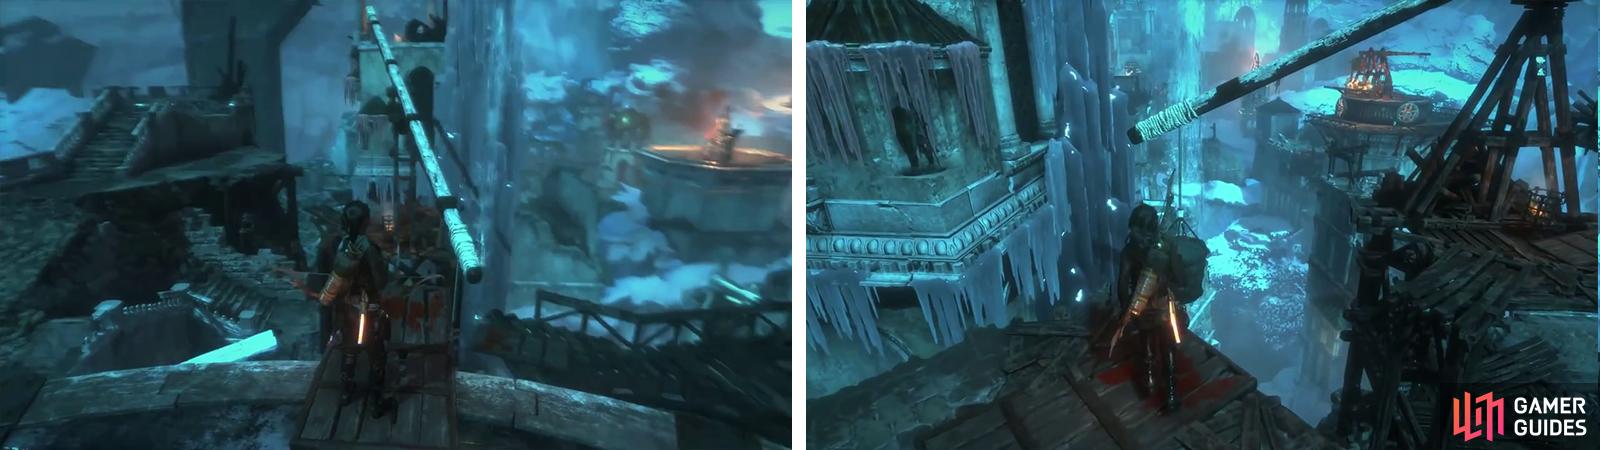
From the far end of this platform, use the zip line to reach another in the distance. As you arrive, hit the pickaxe button to grab the ice wall and climb to the top.
Ahead there is a large chunk of ice behind a crane with a hanging basket. Before approaching this, climb up onto the upper ledge on the left to find an Archivist’s Map . Shoot the rope covered section of the crane arm to have it rotate and position the hanging basket by the ice wall. Now simply sprint up the ramp here and jump to the basket to have it destroy the ice wall.
With the ice out of the way, you’ll see a weak wooden wall behind it. Use your Broadhead Arrows to create a path all the way to the top before using them to climb up.
Objective: Use the trebuchet to destroy the gate
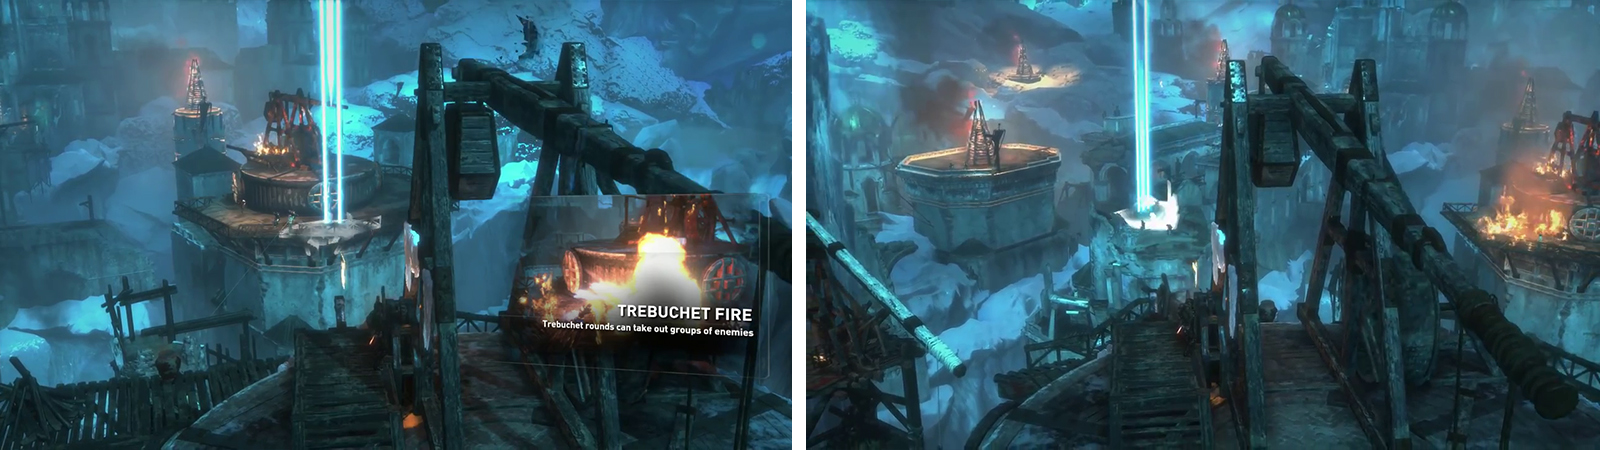
Scale the central platform here to reach a second trebuchet. Unfortunately, this one’s arm is blocked, preventing us from firing it. From the wheel mechanism on the side of the trebuchet rotate the trebuchet so that the beam in front is facing the nearby tower. Use the beam in front to jump towards the nearby tower with the rope spool. Use the Grapple axes to latch onto the ledge of the tower and pull yourself up.

Attach the trebuchet to the tower (left) to help remove the ice. Afterwards, shoot the signal pyre (right) and then the gate to continue.
Loot the box of reagents here and stand beside the spool of rope. Shoot the Rope Arrow attachment point on the blockage at the front of the trebuchet. With the rope linking the two in place, jump back to the trebuchet and use the wheel mechanism to free the arm. We’ll now be able to use the trebuchet.
Rotate the trebuchet to the left. Around halfway between our current location and the target gate in the distance, on top of a tower you’ll find the final Signal pyre. Hit this with trebuchet fire [Burn Baby, Burn 05/05] .


Hit the gate with the trebuchet for a scene.
Objective: Go to the other trebuchet
Following the scene, you’ll be facing the next trebuchet in the distance and there will be a couple of Archers here shooting at you. Ignore the baddies for now (unless you are a really good shot and want to take them out of course) and drop to the platform below. Approach the rope pillar and use a Rope Arrow whilst standing next to this to shoot the attachment point below. Use the resulting zip line to reach the next tower top.
Scramble up the wall to the right to the platform above and use the half-walls her to take cover. Eliminate any Archers you can see on the trebuchet platform ahead. Stand on the ramp facing the trebuchet and shoot one of the rope covered arms of the rotating beam ahead to rotate it 90 degrees, creating a bridge.
Cross the beam to the far side and jump to the ice wall. Follow the set platforming path until you reach the platform above. Upon arriving at the platform, even if you had previously cleared out all of the Archers, there will be another two waiting for you along with a halberd wielding melee soldier here. Use the Greek Fire vessels for some assistance in killing them if necessary.
Objective: Break the ice off the gear and fire the trebuchet
Around the far side of the trebuchet platform from where you climbed up there is a crate of Salvage . Below you’ll see a balance beam with a hanging basket on one end, tilting it diagonally. Shoot the end with the hanging basket with a Rope Arrow to have the lower end of the beam face the trebuchet.
Jump onto the balance beam and use it as a ramp to reach the top of the tower at the far end. There is an Explorer’s Satchel behind the pile of debris here. Locate the bucket atop the tower here, stand next to it and shoot the high end of the balance beam with a Rope Arrow to attach it.
Use the zip line to reach the platform to the east and grab the cylinder of resources by your landing point. Move down the first flight of stairs here and shoot the higher end of the balance beam with a Rope Arrow to pull the bucket from the tower. Once the bucket is loose, shoot the hanging lever below the bucket with a Rope Arrow as well to have it close the bottom of the bucket.
Position to the beam so that you can access the top of the tower (left). Attach the bucket to the beam and rotate it so that it fills with water (right).
Now use your Rope Arrows to rotate the balance beam so that the now closed bucket passes beneath the waterfall below the tower we pulled the bucket down from. Once the bucket is filled with water, the balance beam should tilt the other way so that the initial hanging basket is now on the high end of the beam. The metal basket should also be facing the trebuchet.
Back at the base of the first flight of stairs, look for a small ledge to the right. There is a piece of Magnesite Ore here. Look towards the wooden bucket filled with water and shoot the level to release some water and then shoot the lever once again to close it – we’ll want to release enough water so that the balance beam to be roughly level.
Once the beam has levelled out, use the nearby ramp to jump to the wooden scaffolding with the balance beam atop it. From here, run and jump to the metal basket with the handhold this should break the ice here.
Return to the trebuchet for a scene.
Objective: Destroy the gate and repel the attack
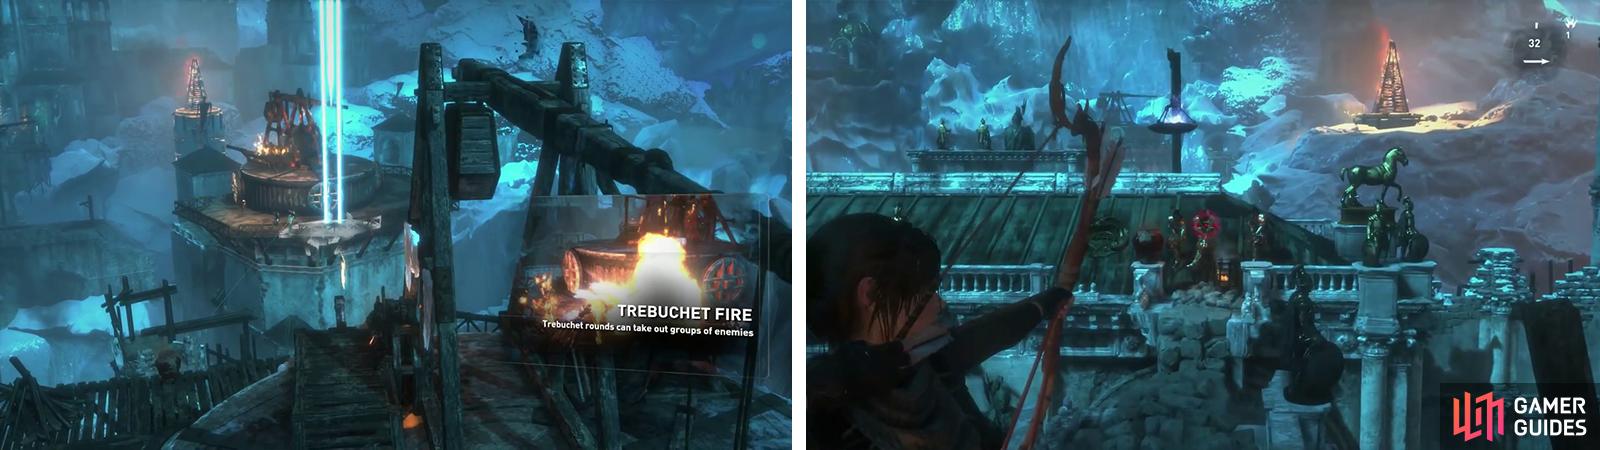
Following the scene, your position will be under attack by three large groups of Deathless Archers. Fortunately, our trebuchet can dish out large-scale area of effect damage and one or two accurately placed shots can eliminate a whole group. The Archers can be found:
- On the platform surrounding the first, destroyed trebuchet below
- Below on top of the ruined tower, just to the left of the trebuchet’s staring orientation.
- On the tower with a signal pyre on the far, left.
Use the trebuchet to eliminate the groups of enemies below before hitting the gate once again.
Once you have cleared all three groups of enemies, aim for the gate in the distance and unleash the trebuchet fire on it. If successful, a short scene will play showing the gate coming down.
Objective: Cross the bridge
When we are back in control, drop back down to the platform below. To the right of the balance beam structure there is a rope pillar. Stand by this and use the Rope Arrows on an attachment point present on the tower below.
Grab the crate of Salvage here and again use the Rope Arrows by the rope pillar to create a zip line to the building in the distance. Ride the zip line down, drop and grab the ice wall before using it and the nearby handholds to reach the top.
Kill the archer by the far end of the platform and another on the roof opposite before using the grapple axe on the overhanging beam to swing across to the second Archer’s location.
At this point, a trebuchet somewhere beyond the gate will start firing on your position periodically. For the most part it’s a pretty lousy shot, but still it’s a good idea to keep your eyes on the sky in the direction it is firing from in case you need to make a quick adjustment.
Fight your way across the rooftops until your get back to the now destroyed gate.
On the parallel building to the left, a group of four Archers will appear at the far end. Use the vessel of Greek Fire and the hanging metal Greek Fire container to thin out the numbers before using your weaponry to pick of any survivors. Move to the far end of your current platform and take out the Archer the roof opposite before using the grapple axe on the overhanging beam to swing across the gap.
At the end of this rooftop, there is a wooden platform with a rope pillar. Use this to create a zip line to the attachment point in the window of the main building below. Slide down to the building and re-enter the courtyard with the second gate where we fought that tricky battle earlier.
Run up the stairs and jump across the gap to the destroyed gate. Continue on through to the other side.

 Sign up
No Comments