Objective: Fight your way to the Chamber of Souls
As soon as you regain control of Lara we’ll be in combat against some Trinity forces. During this next little section, you’ll be in full on third-person shooter mode and as such you’ll want to stay in cover as much as possible. Watch out for grenade indicators that flash up on the screen and if necessary use your scramble moves to reach another piece of cover before it explodes. Keep an eye out for vessels of Greek Fire to help take out bad guys and loot fallen enemies to restore your ammo.
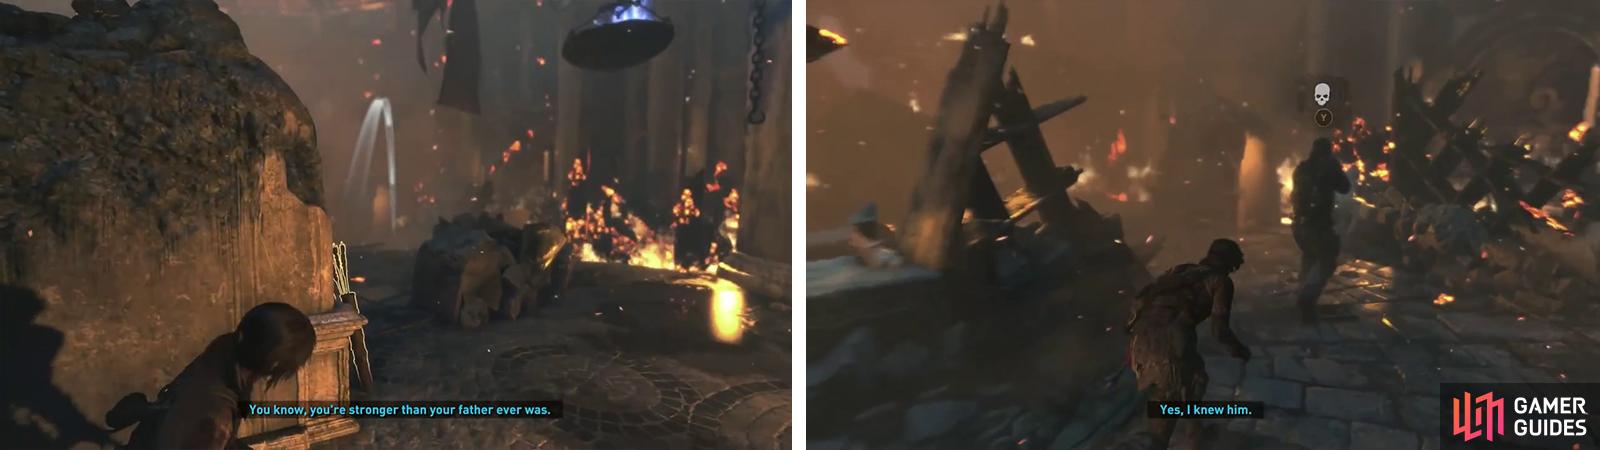
There are three in the initial location and they’ll be well aware of your presence so enter cover and shoot back. As you proceed along the pathway here, additional enemies (and a lot of them will) approach from the other direction. Continue to use cover and move up slowly using your weapons to deal headshot damage and special bow ammo when things get a little hairy. Be sure to prioritize the enemies that charge at you before focusing on the others that maintain a distance.
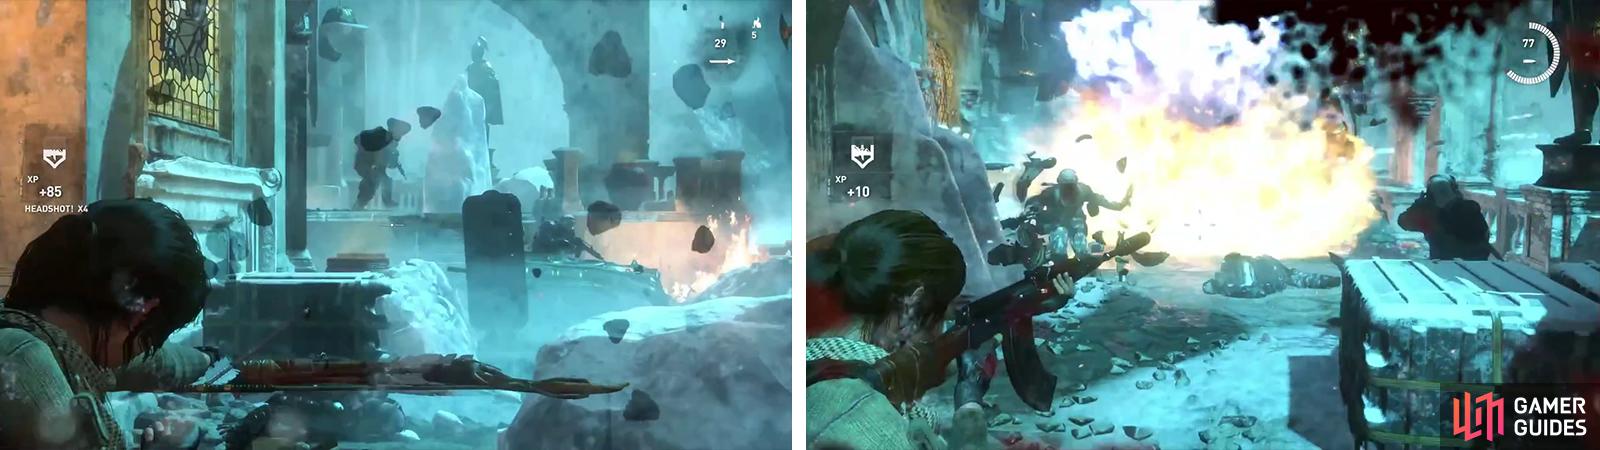
Fight along the set path (left) At several points trebuchet fire will assist (right).
Continue through the icy path until trebuchet fire hits. Afterwards you’ll you reach the next fire fight. Enter cover behind the fallen statue here. Repeat the tactics from earlier – moving between the pieces of cover and shooting back at enemies when able. This fight is a little easier than the previous one however as there is a conveniently placed vessel of Greek Fire which can be detonated to thin out the numbers. Clean up any remaining hostiles before continuing onwards.
A short distance along the path another fight will break out. This time there are 5-6 regular enemies and a fellow with a shield as well. After defeating these enemies, continue to the end of the path and jump across to the next platform.
There is a camp fire ahead. Approach this to unlock a new Base Camp ‘Final Precipice’. You can use the Base Camp here to apply any upgrades you require and spend any skill points you have. Exit the Base Camp menu when you are ready to continue.
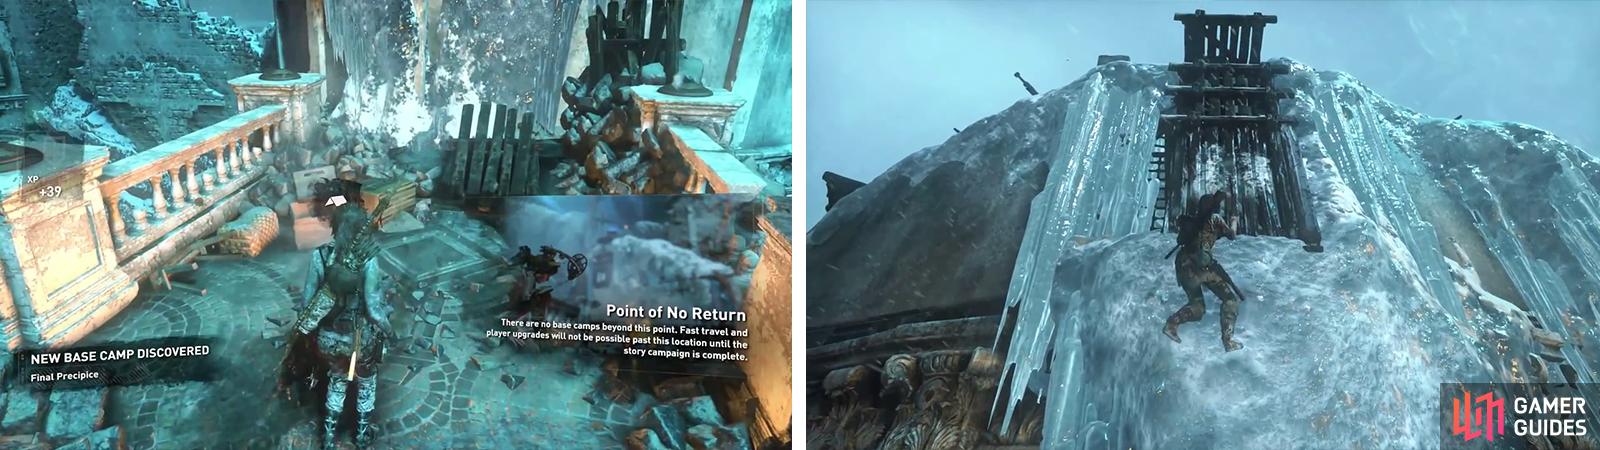
When you reach the Base Camp this is the point of no return (left). Climb the ice wall ahead to the top (right) to start the final section of the game.
When you are ready to continue onwards to the final section of the game, run over and use the hanging overhead beam to axe grapple across to the ice wall in the distance. Climb to the left and then to the top to find a handhold with which to climb up to the platform above.
As you reach the top a scene will play.
Boss: Helicopter
When we are back in control, we’ll be behind a piece of cover with an attack helicopter looking in our direction. We won’t be able to take it down the traditional way but with the help of our Remnant allies it turns out that helicopters are not all that tough!
We’ll need to stay in cover throughout this fight, but we’ll be given the ability to signal trebuchet fire and whilst our buddies won’t be able to hit the helicopter directly, we can use it all the same. When one of the trebuchet’s projectiles is close to the helicopter we’ll need to shoot it to cause damage to the vehicle. We will need to do this a total of three times to bring down the helicopter.
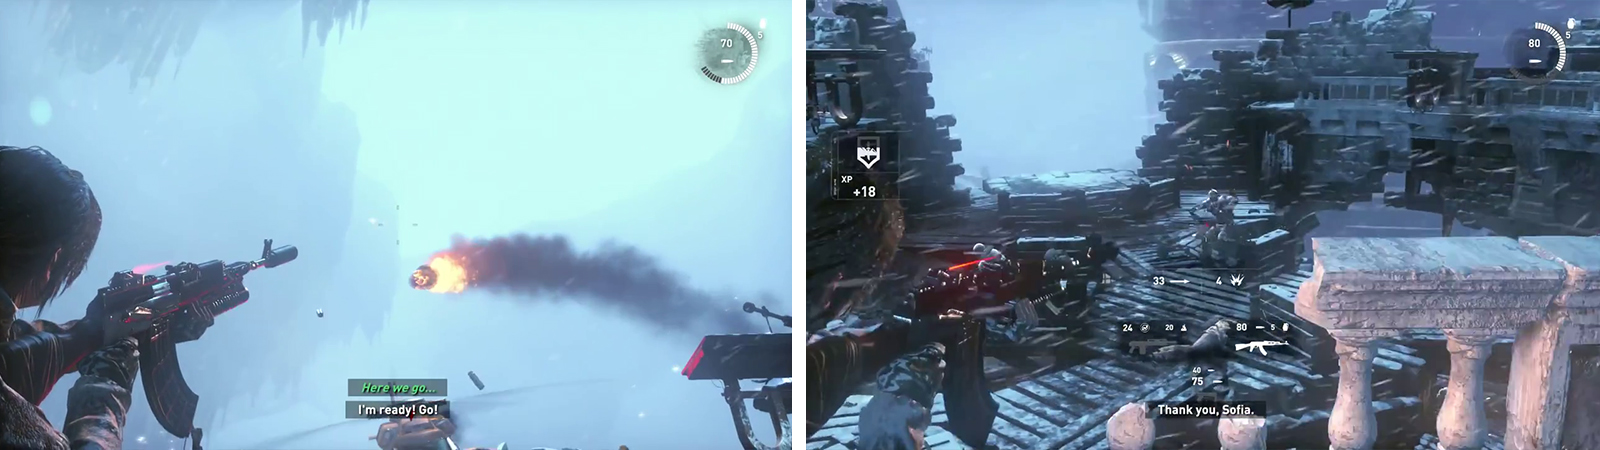
Signal trebuchet fire and shoot the projectile (left) to damage the helicopter. Use the raised areas on the sides of the area to get a vantage point over enemies (right).
Unfortunately, it’s not that simple. Between each successful trebuchet shot, the helicopter will retreat and waves of enemies will appear. Fortunatley the first wave consists of a mix of Trinity soldiers and Deathless. The good news is that when they appear together, they aren’t too fond of one another and will fight amongst themselves if you leave them to it. The second wave consists of Trinity fellows only, so you’ll be in for a bit more of a fight in that circumstance!
We’ll want to stay in cover during these phases – the absolute best place to do this is on the upper ledges on the wooden platforms extending out from the main stonework and above the stairs below. On one of these wooden platforms, if you stay glued to the wall on your left and sit by the edge of the wall with a view one way across the raised platform, you can pretty much kill the enemies one at a time as they appear. Occasionally, they will be able to get a lucky shot from the top of the stairs behind you. If this happens, transition to the wall on the other side of the wooden platform and look back down the central platform in the other direction.
Alternatively, you can retreat to the lower section, there are quite a few barrels of Greek fire and some decent pieces of cover down here to help you with the bad guys.

The third time around, the helicopter will destroy most of the rooftop (left). Ensure that you transition between sections of cover at this point to avoid its fire (right).
Once a wave has successfully been defeated a scene will play showing the helicopter coming back again. When the helicopter is present, you’ll want to stay in cover for the duration and avoid its fire until the trebuchet is ready to fire once again. To do this, we want to transition to a new piece of cover or scramble out of the way when you see missiles coming directly at Lara and move slowly around obstacles when the machine guns are going so that we can maintain cover as the helicopter strafes across the area.
After hitting the helicopter for the third time, a scene will play to end the fight.
When we regain control of Lara, we’ll be in a small, circular room atop a pillar. On the floor below us there are four Deathless soldiers wandering about. Fortunately, they are unaware of our presence so we’ll be able to deal with them quietly and quickly.
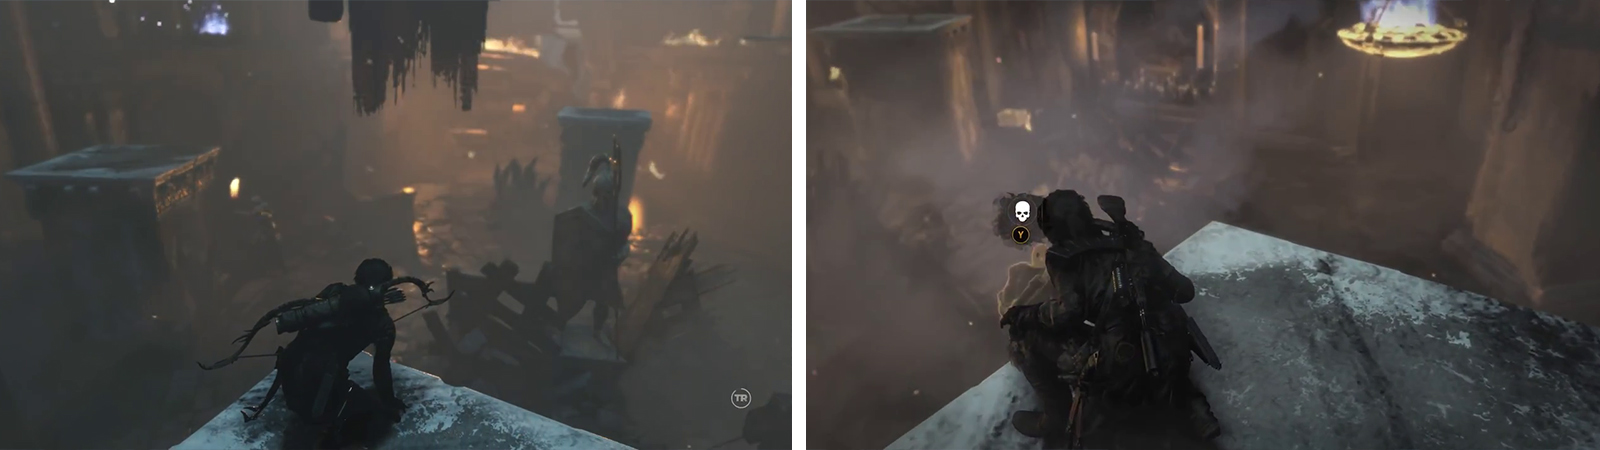
To do things quietly you can stay on the pillars and track enemy movement (left) before performing death from above attacks on them (right).
To do this we’ll use the four pillars and the swing bars linking them to good effect. From the pillars, if you have the ‘Death From Above’ skill unlocked you can instantly kill enemies as they pass below, quickly climb back up a pillar and repeat when enemies come to investigate (and are isolated of course!). Alternatively, we can also use the pillars to drop down behind them and sneak up and perform silent takedowns before climbing back up.
If things go awry, there are several quivers of Arrows around as well as jars to craft Grenades to help you dish out some extra damage, but simply using your assortment of end-game weaponry and specialty Arrows (Poison/Grenade are incredibly effective) that you have brought with you to this point should be sufficient!
After killing the first four Deathless soldiers, a second group of three will drop into the area. The same tactic can be applied to the second group as well.
Once the area is clear, proceed towards the objective marker nearby.
Objective: Find an exit
As you arrive at the objective marker a short scene will play.
Boss: Trinity Leader
We’ll now just have a single enemy standing between us and the end of the game. To begin with, it seems a little tricky as you’ll be disarmed at the start of the fight. He’ll shoot at you with an assortment of grenades and an assault rifle, so staying in the open is a no-no. Fortunately, the tactic to taking him down is actually fairly simple.
We need to sneak up on him and attack him from behind. To make things easier, we’ll want to grab one of the cans sitting around the room and transition between pieces of cover until we are sure that the bad guy doesn’t quite know where we are. At that point, toss a can to have him head over to investigate the noise. At this point, sneak up behind him and perform a silent takedown attack on him.
Use projectiles to distract the boss (left) before sneaking up on him and using takedowns (right) to damage him.
After the first blow is dealt to the bad guy, more of the cover in the environment will be removed, making things a little more difficult. The tactic however remains the same for the second attack. Find a can, maneuver out of sight and use the can to distract him. During the second silent takedown attack you perform on him, he’ll actually counter attack you, so press the dodge button when you see it coming and then hit the button prompt that appears in the middle of the screen within the time limit to wound him again.
Once the bad guy has been wounded twice, he’ll be down for the count. At this point you have a choice – you can walk over and perform a finisher on him or leave him be.
Objective: Reach the Chamber of Souls
Either way you decide to deal with the last boss, to continue, you’ll want to proceed up the nearby staircase. At the very top squeeze between the crack in the open door for a scene to end the game.


 Sign up
No Comments