
Way of the Shinobi
A land ravaged by the scars of war, an orphaned boy and a Master Shinobi. Wolf awakes, beaten and on the limits of life, in a dank cave following a woman tossing a letter into the well. Once you gain control of Wolf, take the time to explore the controls and then head over to the letter on the ground and pick it up using the [SQUARE]/[X] button. You’ll obtain the Ornamental Letter, detailing directions on where Wolf’s master, Kuro, may be.
Follow the linear path to be guided on how the game’s basic controls work such as how to perform both a regular Jump and a Wall Jump. Once out of the well, you’ll have to stick to the shadows if you’re to reach The Divine Heir, with only a small portion of health and no weapon, any contact is sure to spell death. Head forward to the cliff’s edge and look at the corner to see markings on the wall. This indicates that you can shimmy by clinging to the wall with the [SQUARE]/[X] button and then pressing the direction you wish to traverse. Once you reach the edge of a wall, you can peek around the corner, this is useful for catching foes unaware or to listen in on conversations.
Once across the ridge, you’ll learn about Stealth in general. In particular, by pressing the [LEFT STICK], you can crouch and enter a Stealth state. During this state, you are harder to detect, especially in long grass, and can creep up behind enemies to perform a Deathblow. This should serve as your main focus during Sekiro, being able to even the odds against the hordes of enemies you’ll encounter is a godsend.
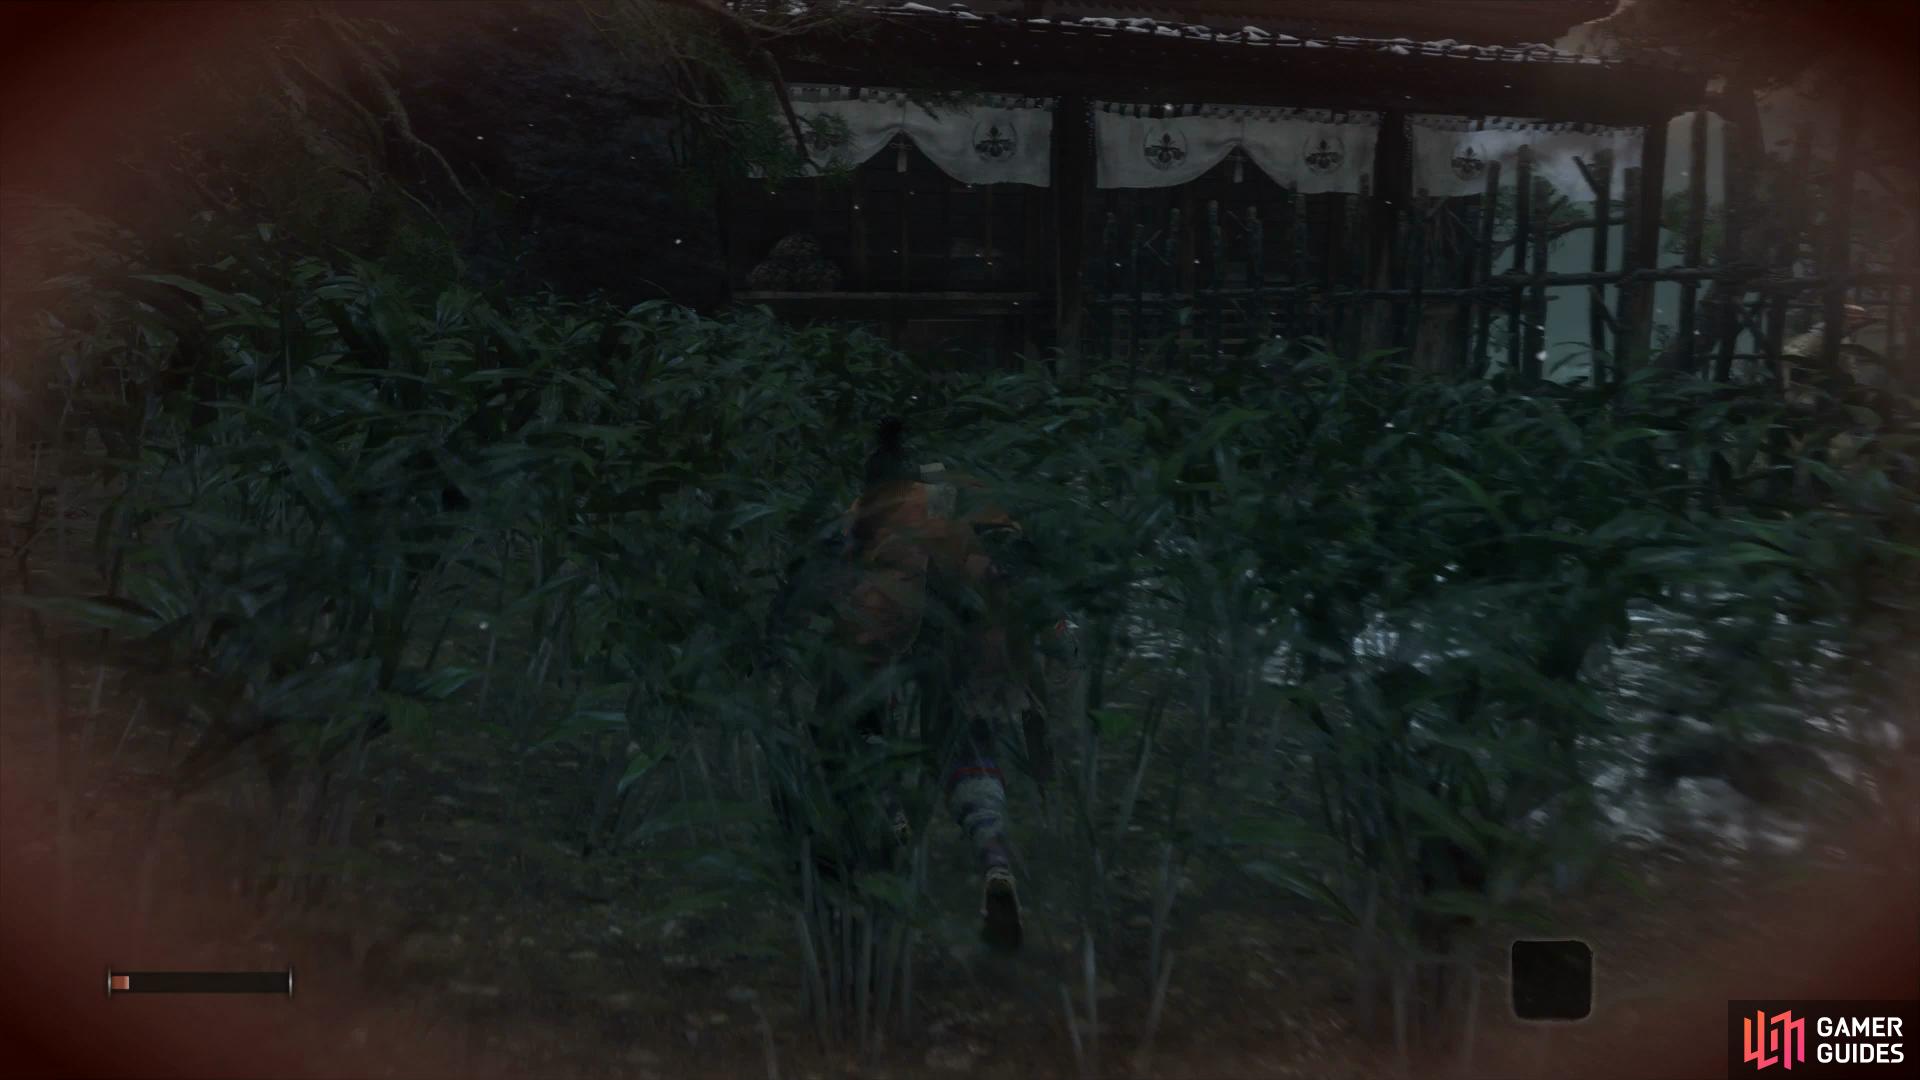
(1 of 2) You’ll be virtually invisible when crouched in long grass
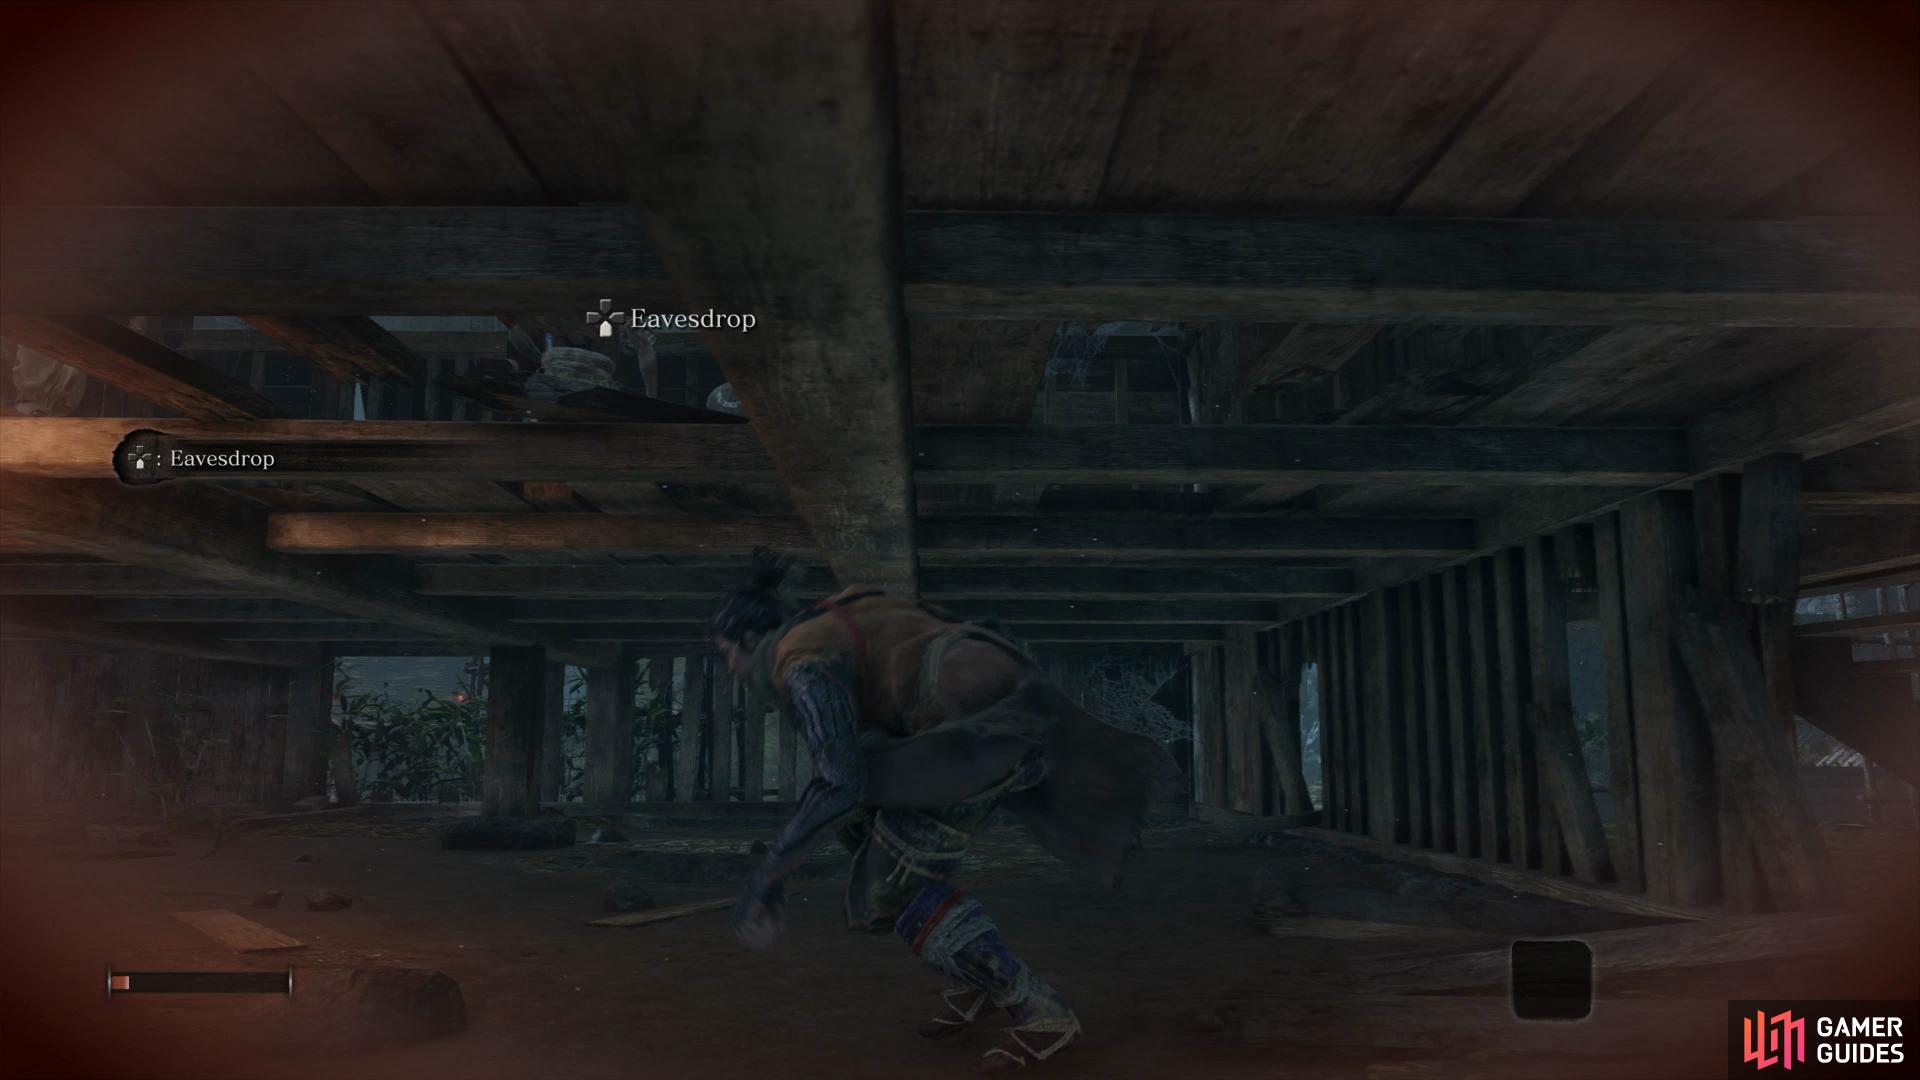
You’ll be virtually invisible when crouched in long grass (left), using Eavesdrop, you can learn vital information such as hidden treasure. (right)
For now, enter Stealth by crouching and listen in on the nearby conversation. Head through the grass in front of you and enter the crawlspace under the house. As you pass through, look up and into the house to gain the opportunity to Eavesdrop, a valuable technique that will help you discover weak points or hidden treasure later in your journey.
Pass through the other side of the house and follow the grass down to the edge and drop down to a ledge. Approach the cliff edge here and press the [SQUARE]/[X] button to drop and hang on to it, allowing you to shimmy over to the other side. Follow the path and jump over another gap to find another wall with markings in front of you. Jump up and grab the ledge and climb around to the side where you can jump up another ledge to finally reach the hole in the wall.
Seeking the secret passage
Upon meeting up with the Divine Heir, Kuro, you’ll learn of a secret passage and obtain your sword, the Kusabimaru. Speak to Kuro again to obtain the Healing Gourd, a gourd that will be refilled every time Wolf rests (think the Estus Flask from Dark Souls) and can be upgraded to provide more uses. For now, you’ll have to make do with the one use it provides to restore your health.


Before you leave The Divine Heir, head up the stairs to find a Pellet, useful consumables that will offer health regneration. You’ll only be able to hold on to three of these at a time but they offer a way to recover your health without using your Healing Gourd. Return down the stairs and unbar the door to head back outside and encounter your first real battle.
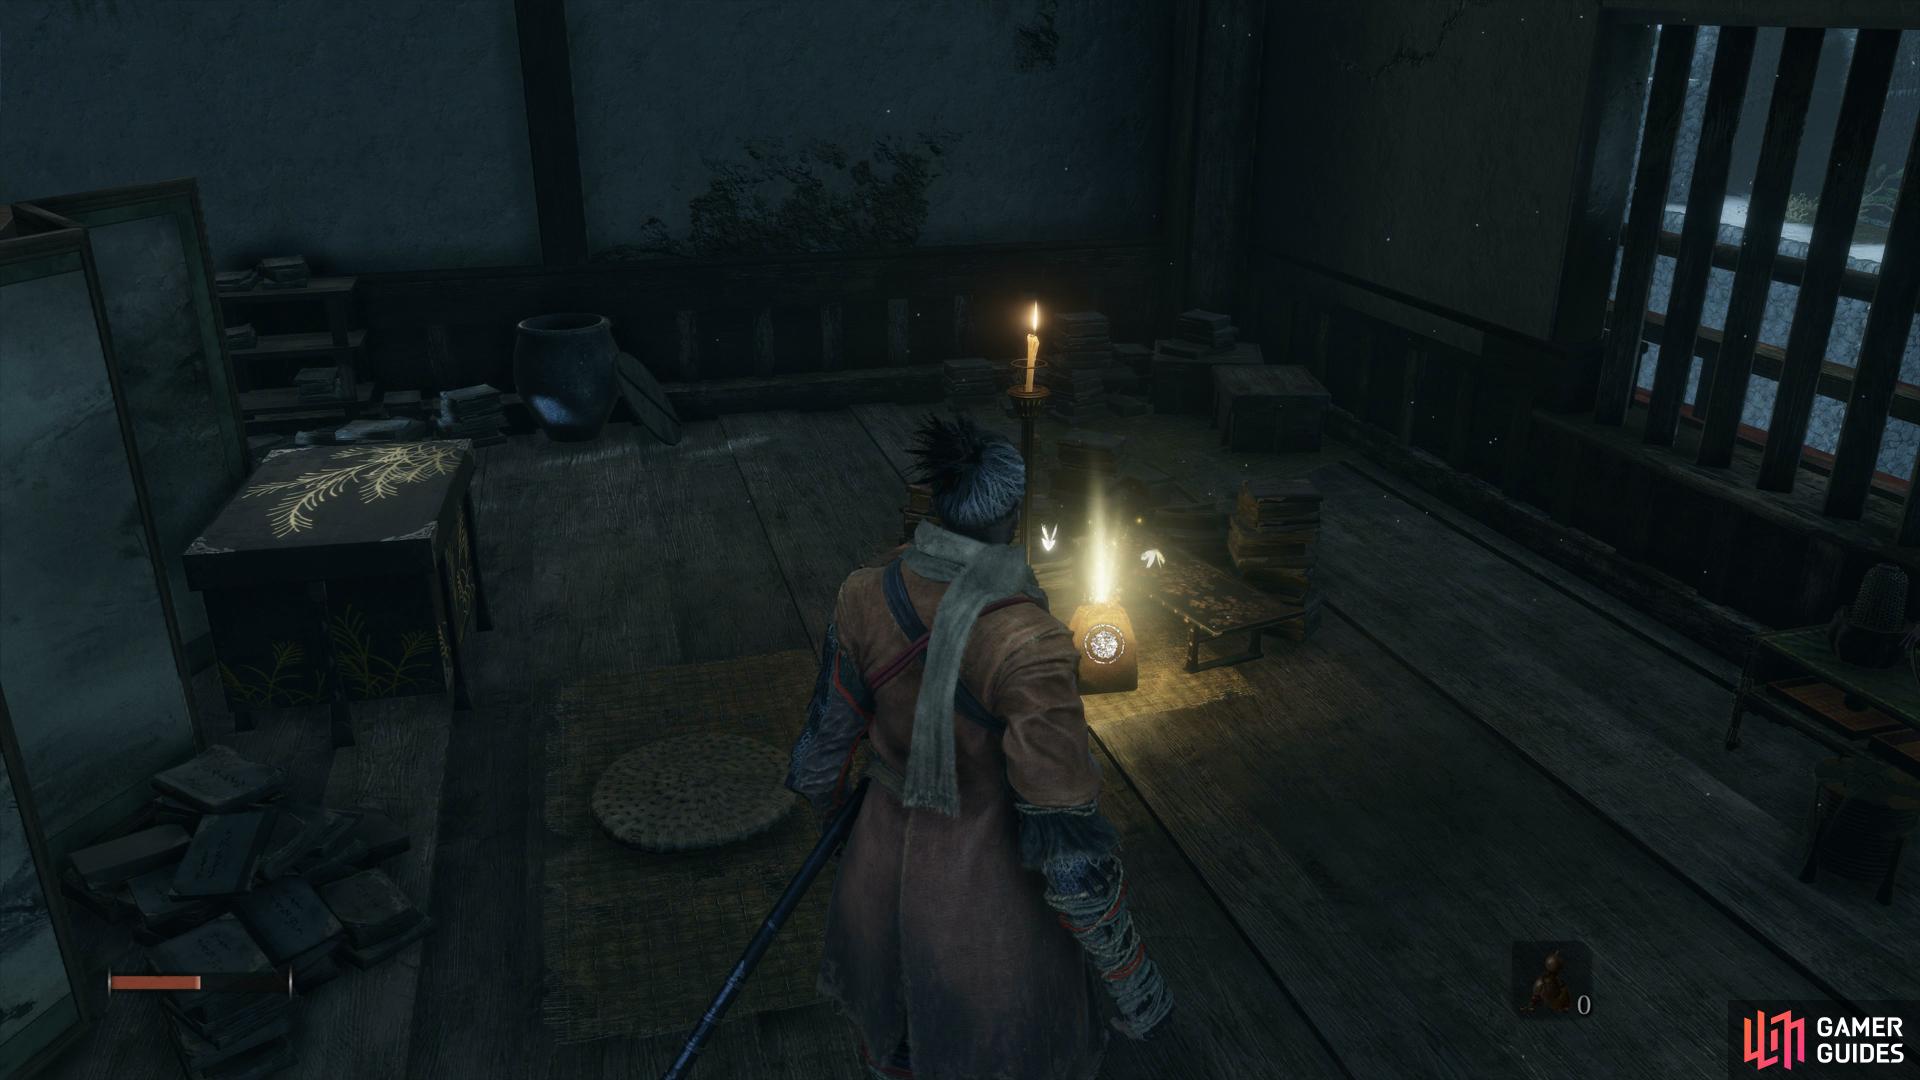
Loot a Pellet upstairs where Kuro is.
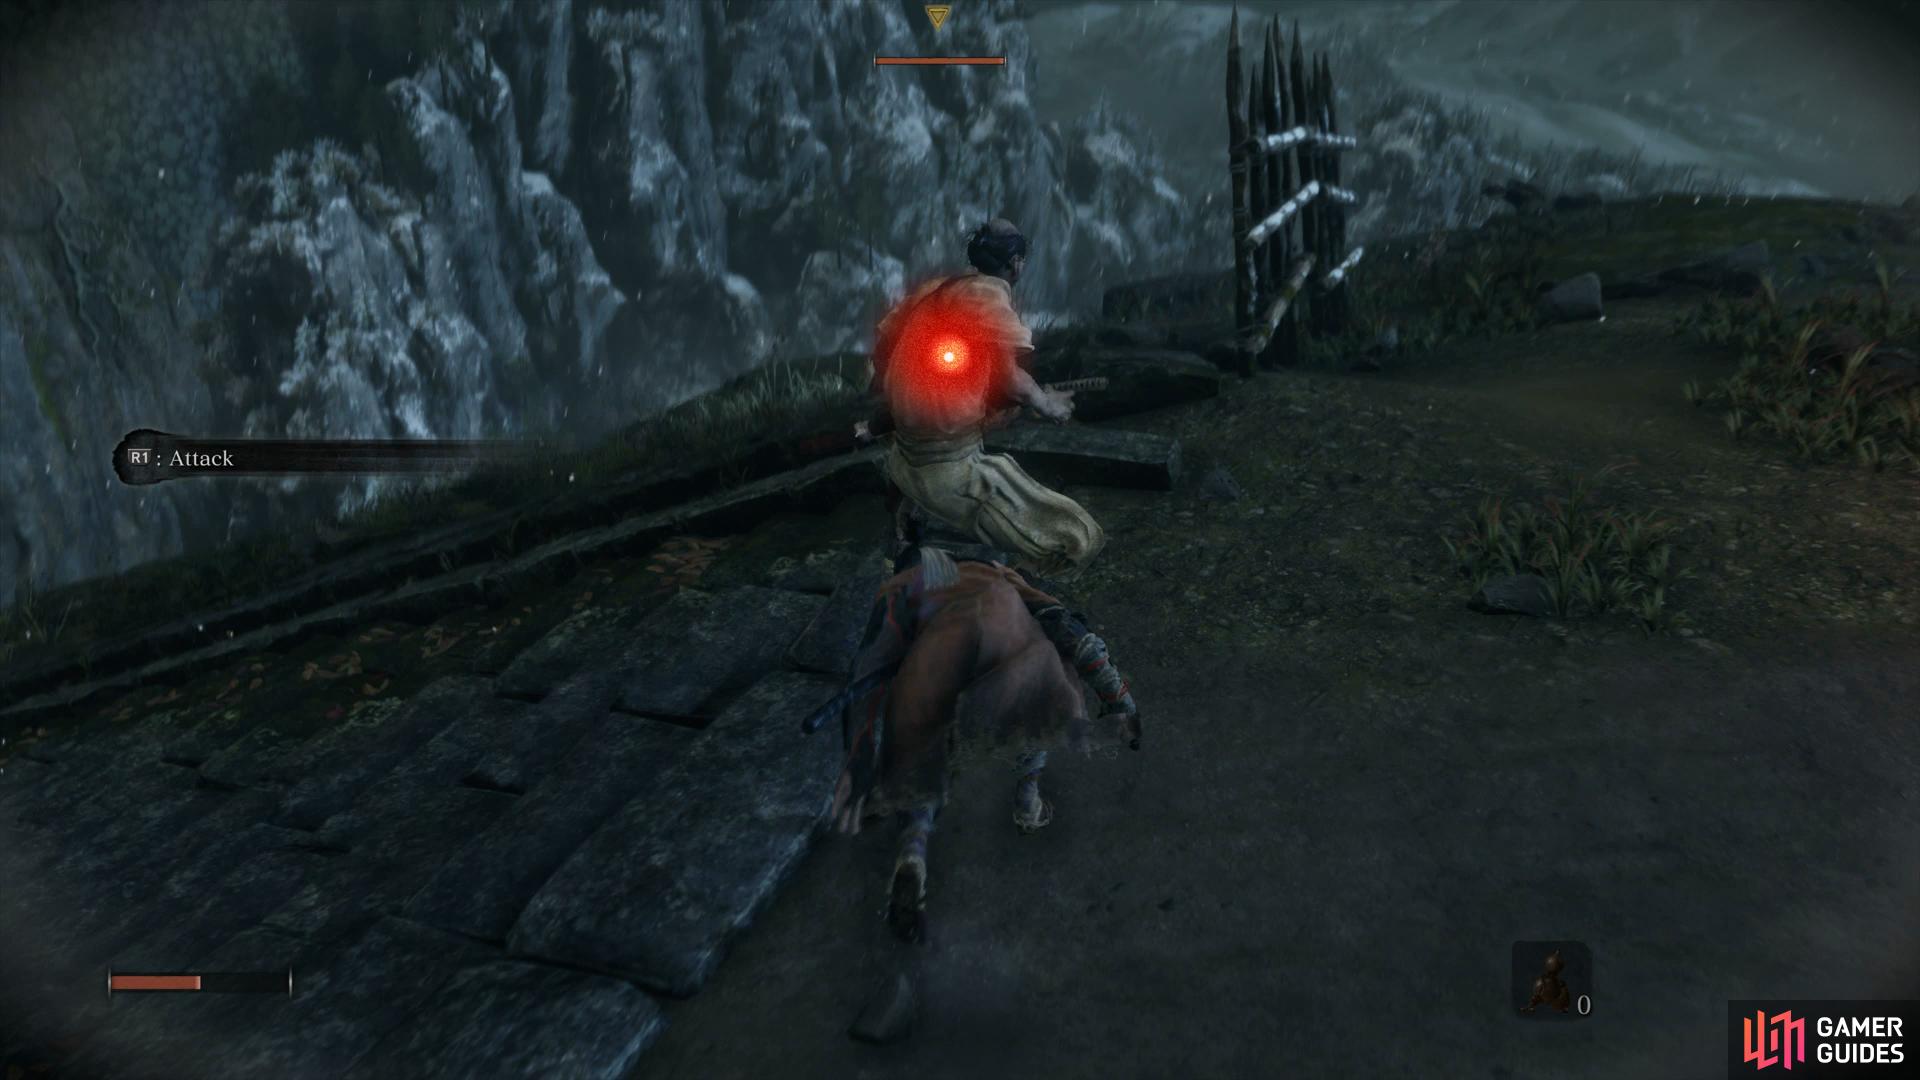
As the tutorial suggests, posture and Deathblows are your main focus in combat. Rather than focusing on the health an enemy may possess, look to the top of the screen to see their posture. The guage builds up through an enemy (or of course Wolf himself) blocking attacks. Once the posture is broken, a red circle will appear allowing you to perform a Deathblow and finish an enemy off, regardless of it’s health.
For this reason, you’ll want to favor aggression in Sekiro, some enemy’s will take a long time to deplete their health but block clashing weapons, you can defeat them quicker via a Deathblow. Alternatively, every enemy in the game can be approached from behind for a Deathblow and instant kill.
For now, lock on the nearby Samurai and crouch behind him to perform a Deathblow by using the Attack button. This will kill this Samurai but alert another so you’ll have no choice but to engage in regular combat. Take this opportunity to learn how the posture system works, a few strikes of your sword will break his posture and allow you to perform the Deathblow.
(1 of 2) Always aim to backstab an enemy before battle begins
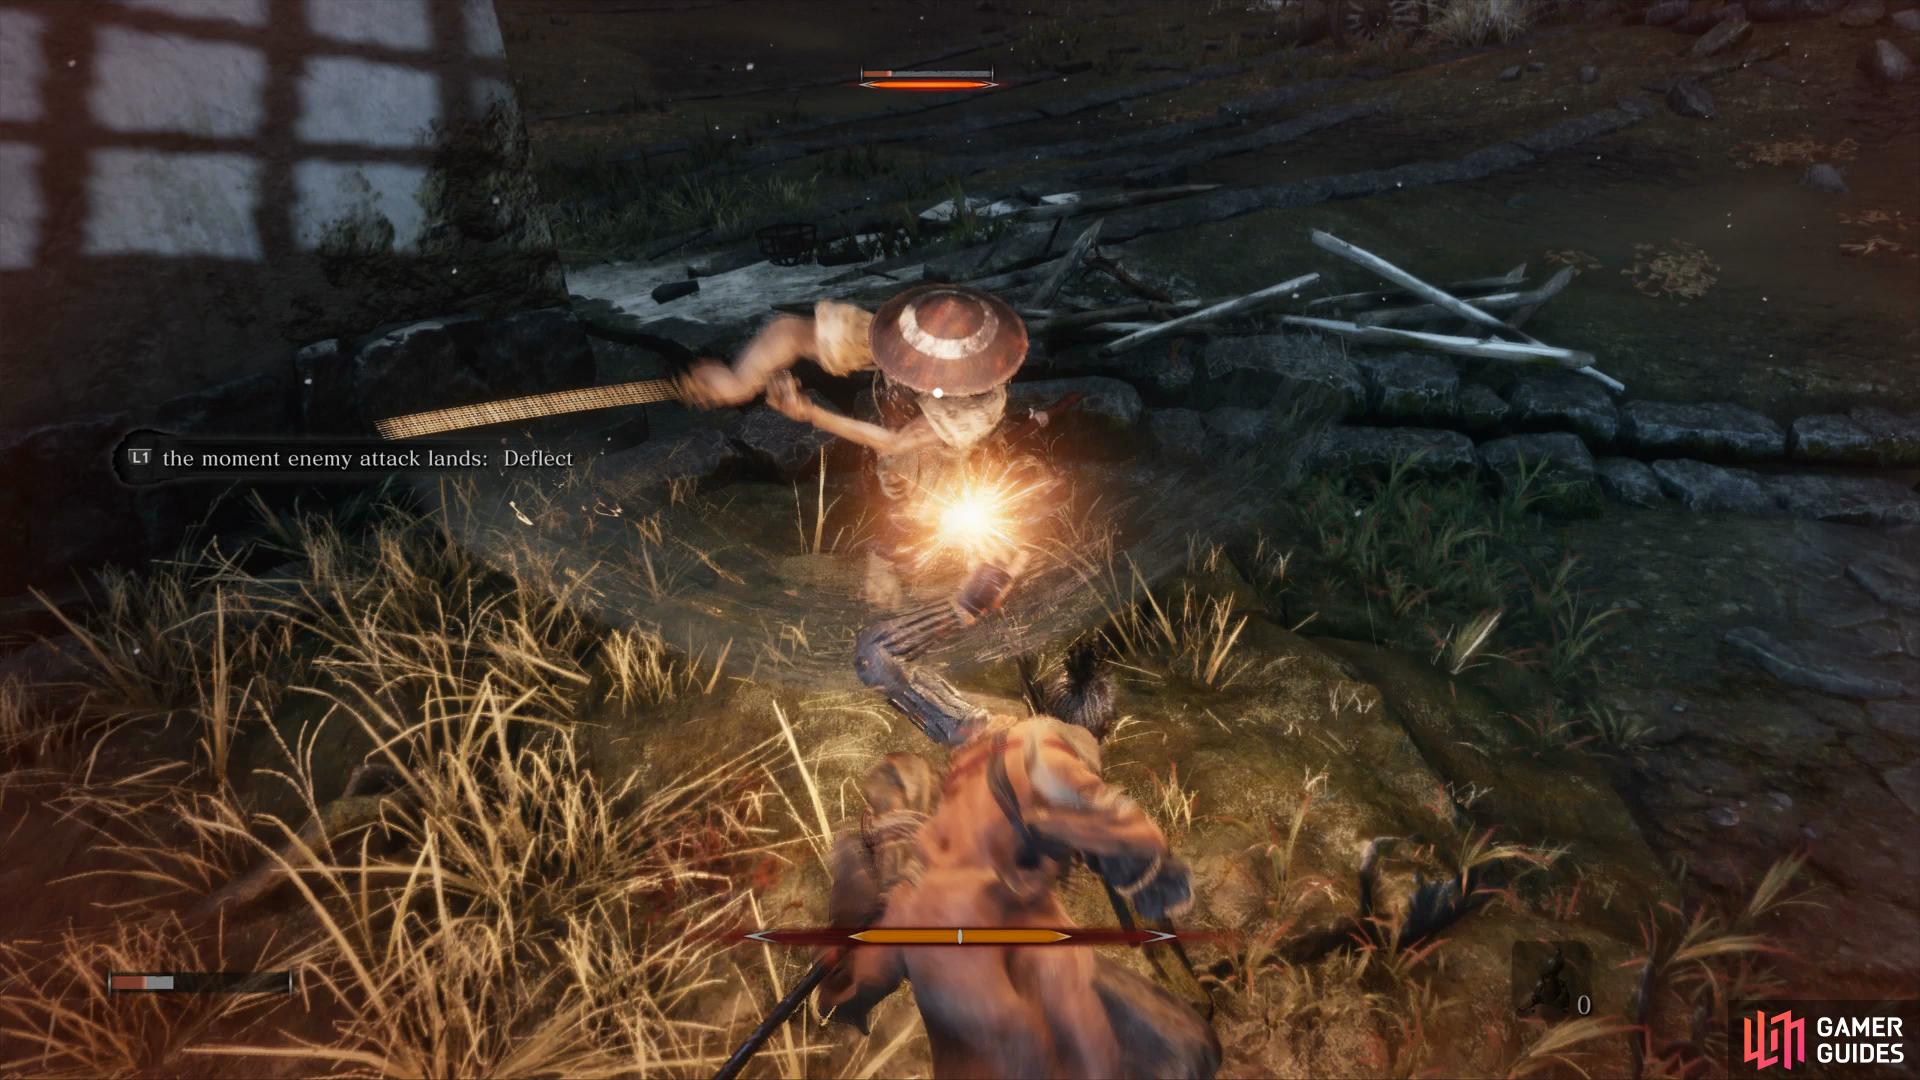
Always aim to backstab an enemy before battle begins (left), this orange spark indicates a successful deflection. (right)
A little further down the path is another Samurai and you’ll receive another tutorial on how the Deflect system works. When you’re being attack, you can press the block button (L1/LB) just before the attack connects to Deflect it, dealing heavy damage to a target’s posture. For regular enemies, this is usually enough to trigger a Deathblow opportunity. You can discern a Deflect from a regular attack by looking at the bright spark from the block. Practice this technique often, it’s an integral part of Sekiro’s combat system and one you’ll need to master if you’re to progress through your journey.
Stay crouched and return through the grass you crept through earlier and under the house. When you come out the other side, a Samurai should have his back to you, perform a Backstab and then head to the left and climb on top of the broken wall. From a heightened position, you can climb around to where the two Samurais are stationed and then, while locked on, jump towards them and perform an Air Deathblow.
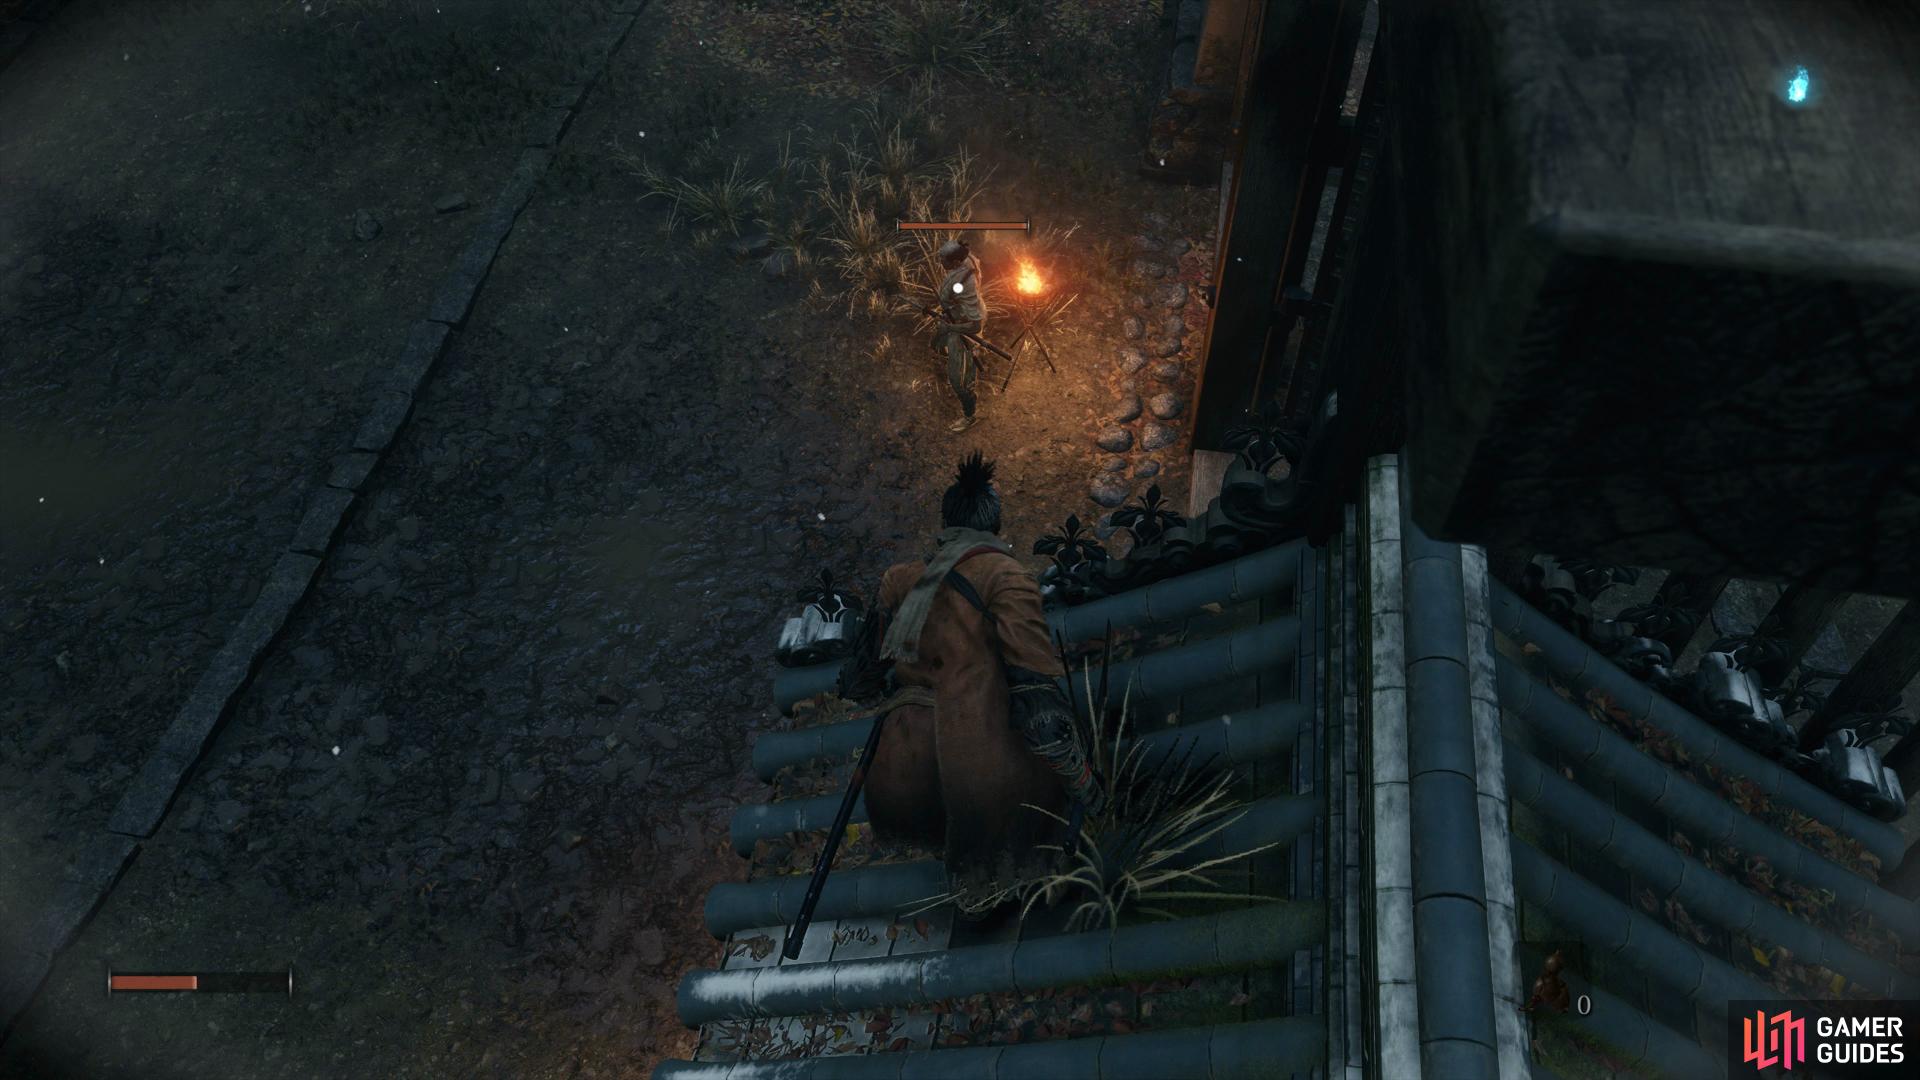
(1 of 2) Target an enemy from a rooftop or wall
Target an enemy from a rooftop or wall (left), and jump down to perform an Air Deathblow. (right)
This will, trigger the two Samurais behind the gateway so lock on to the nearest and create some distance, choosing to take them on one at a time. The Samurai with no hats are simple enough, you can attack them relentlessly and posture break them but the one’s with a hat require a little more attention. They will deflect your third strike so get ready to counter with a deflect of your own to posture break them and seal the Deathblow. Your first real test lies just ahead, use the Pellet if your health is low and then proceed up the stairs to meet your first Mini-boss.
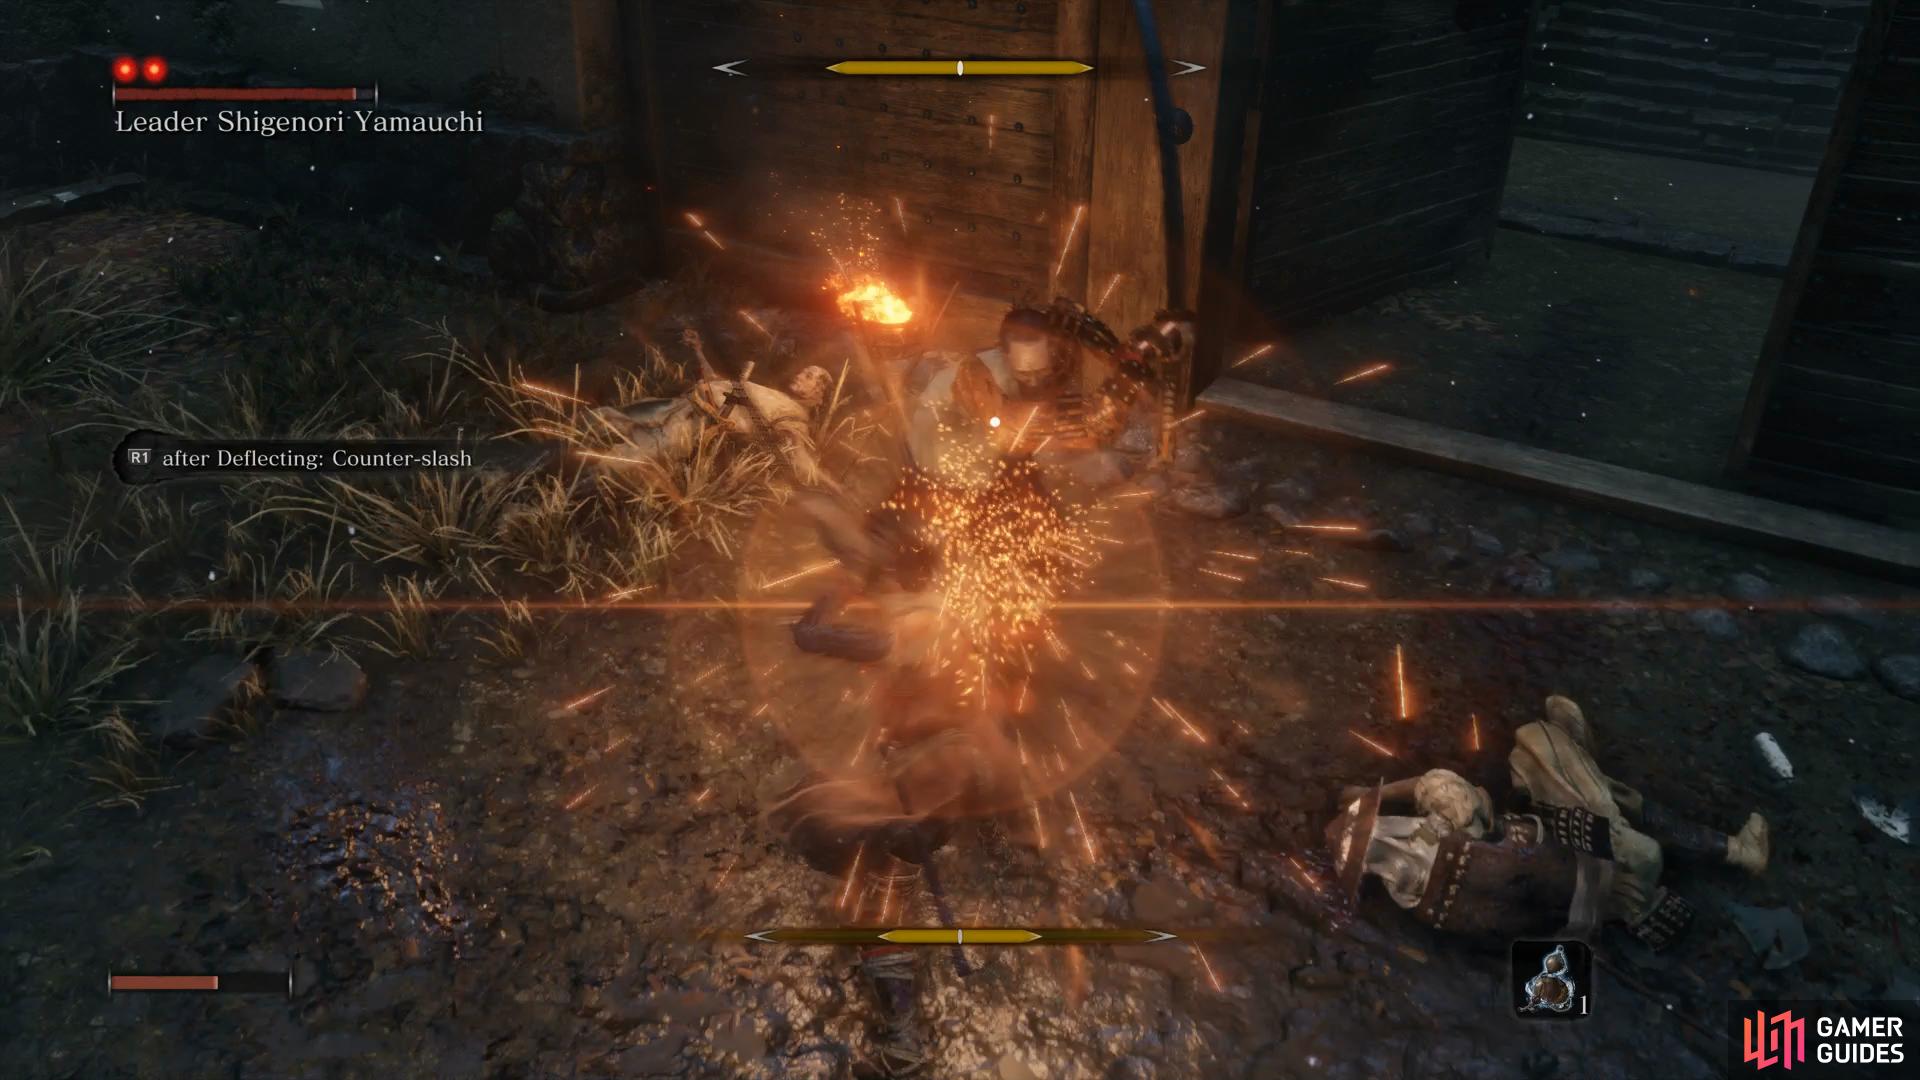
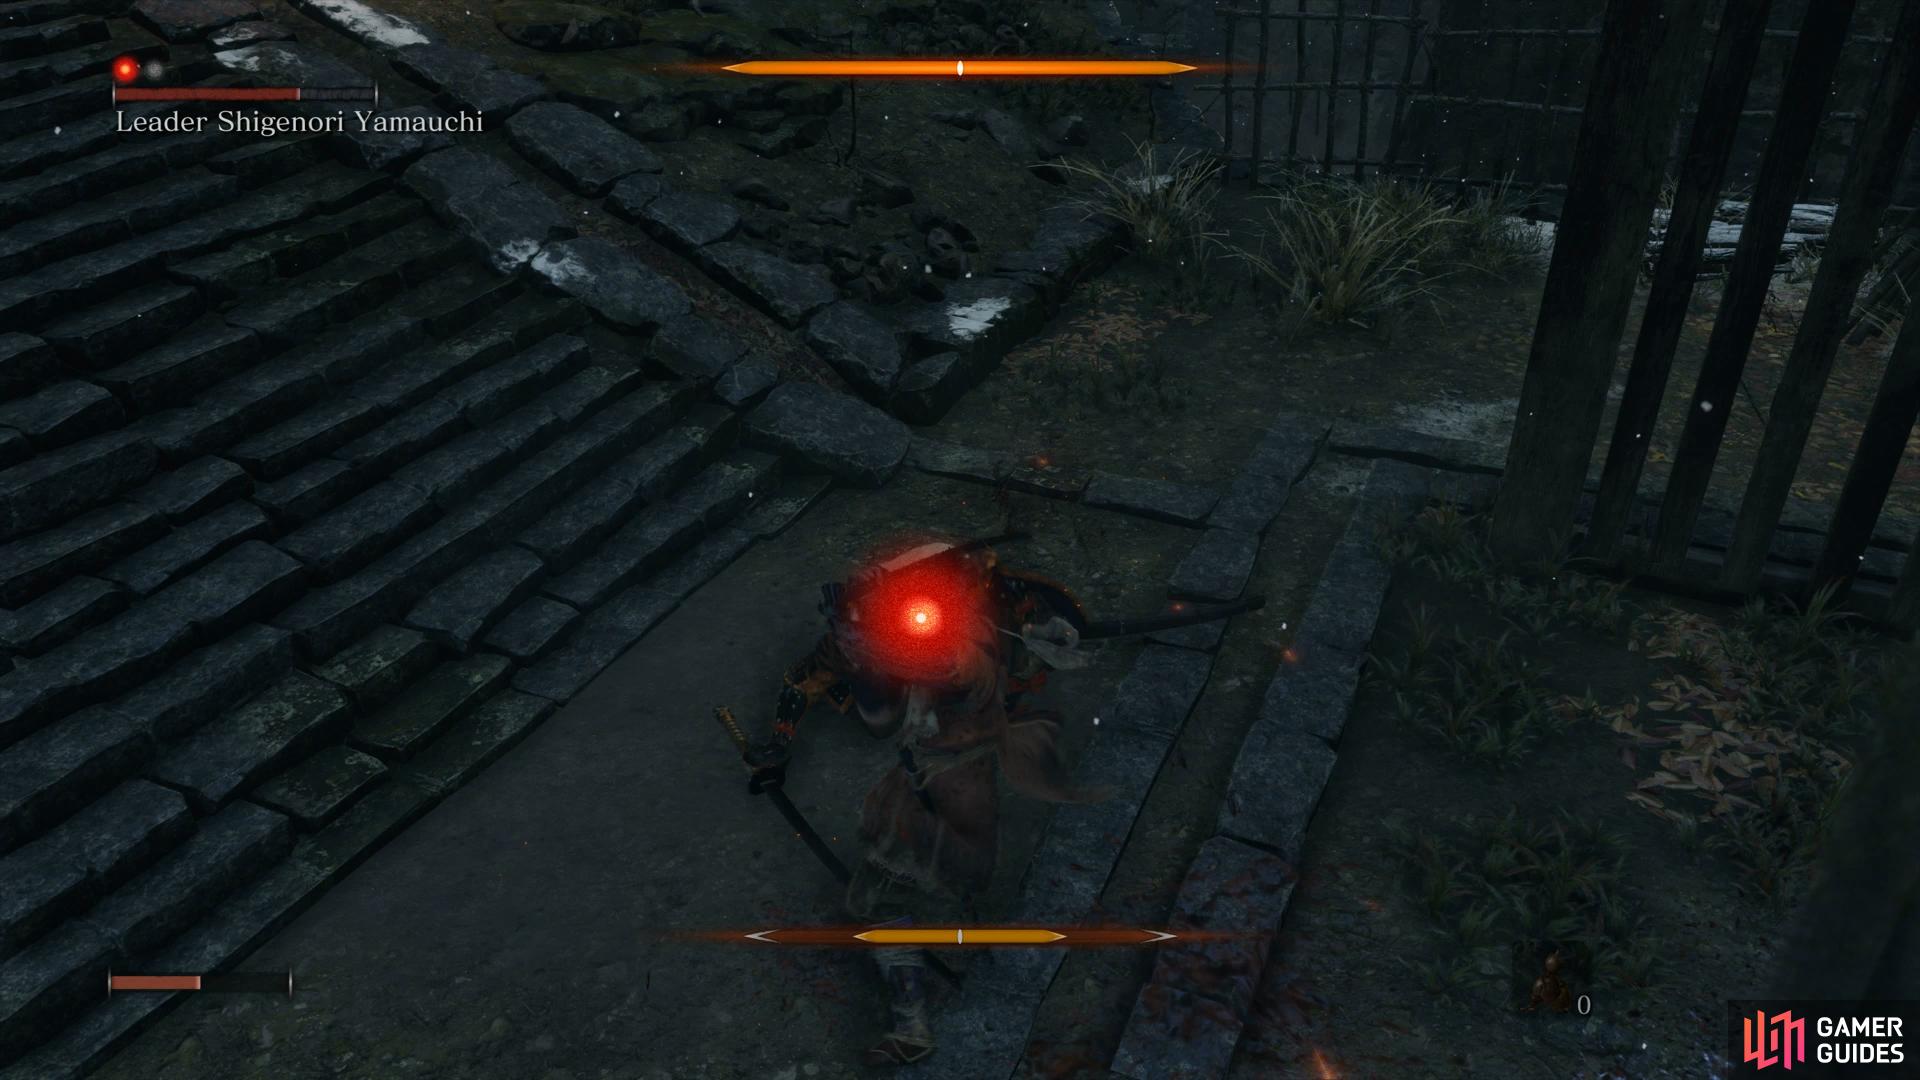
Mini-boss: Leader Shigenori Yamauchi
You’ll encounter many mini-bosses in Sekiro and they’re deadly foes not to be taken lightly. As you may have already noticed, they possess two circles above their health bar, this indicates you’ll need to perform two Deathblows on them to take them out. The good news here is you can usually sneak up on them and perform one Deathblow before most battles begin.
You won’t have the luxury of this with Yamauchi however so you’ll be forced to learn a lot of the mechanics in a trial by fire. You’ll be taught about the Counter Slash here, this is essentially attacking following a deflect of your own to deal large posture damage, your primary form of attack in these battles.
(1 of 2) Be aggressive and aim to deflect Yamuchi’s attacks
Be aggressive and aim to deflect Yamuchi’s attacks (left), to open up opportunities for Deathblows. (right)
To begin with, bring Yamauchi back to the previous courtyard to allow yourself more room to move around. Yamauchi only attacks with simple strikes and you can get into a easy to recognize pattern by striking him twice and then deflecting his attack back at him, this should be enough to posture break him and allow you to Deathblow. Following this, Yamauchi becomes harder to read and he’ll add a sweep attack. You can avoid this by jumping in the air and towards Yamauchi and then jumping again while in midair to kick and deal huge posture damage.
For defeating Yamauchi, you’ll obtain another Pellet and will be able to access the area behind him. Head up to where he was standing and head around the locked door to the right to find a Fistful of Ash. These items, when used as Quick Items, will allow you to throw ash into the eyes of the enemy and momentarily stun them.
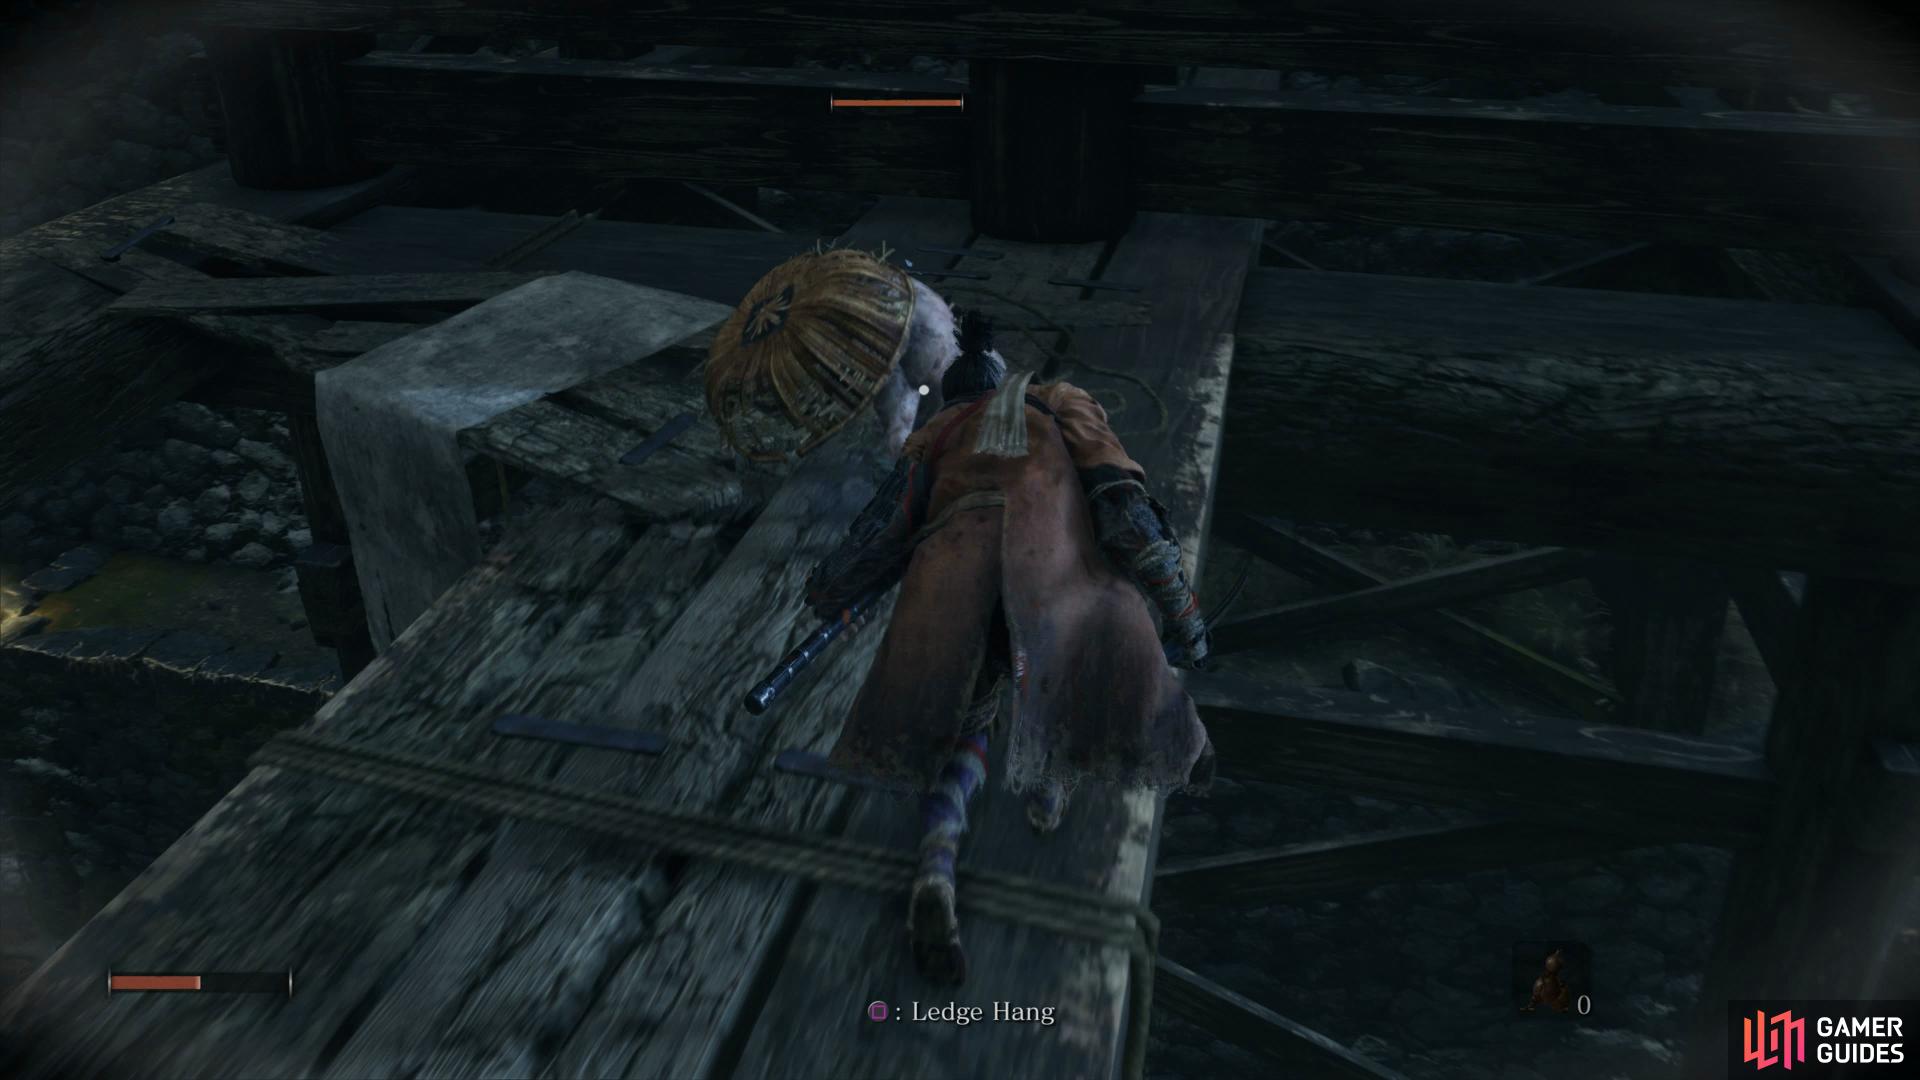
Continue along the path here and Shimmy along the wall to reach the other side where you’ll be presented with two choices. You can either drop down to the ledge below and shimmy across, following the path eventually to the other side without any resistance. Alternatively, use a wall jump on the nearby part of the bridge to hang. You’ll face an enemy this way but there’s an item to loot on this path.
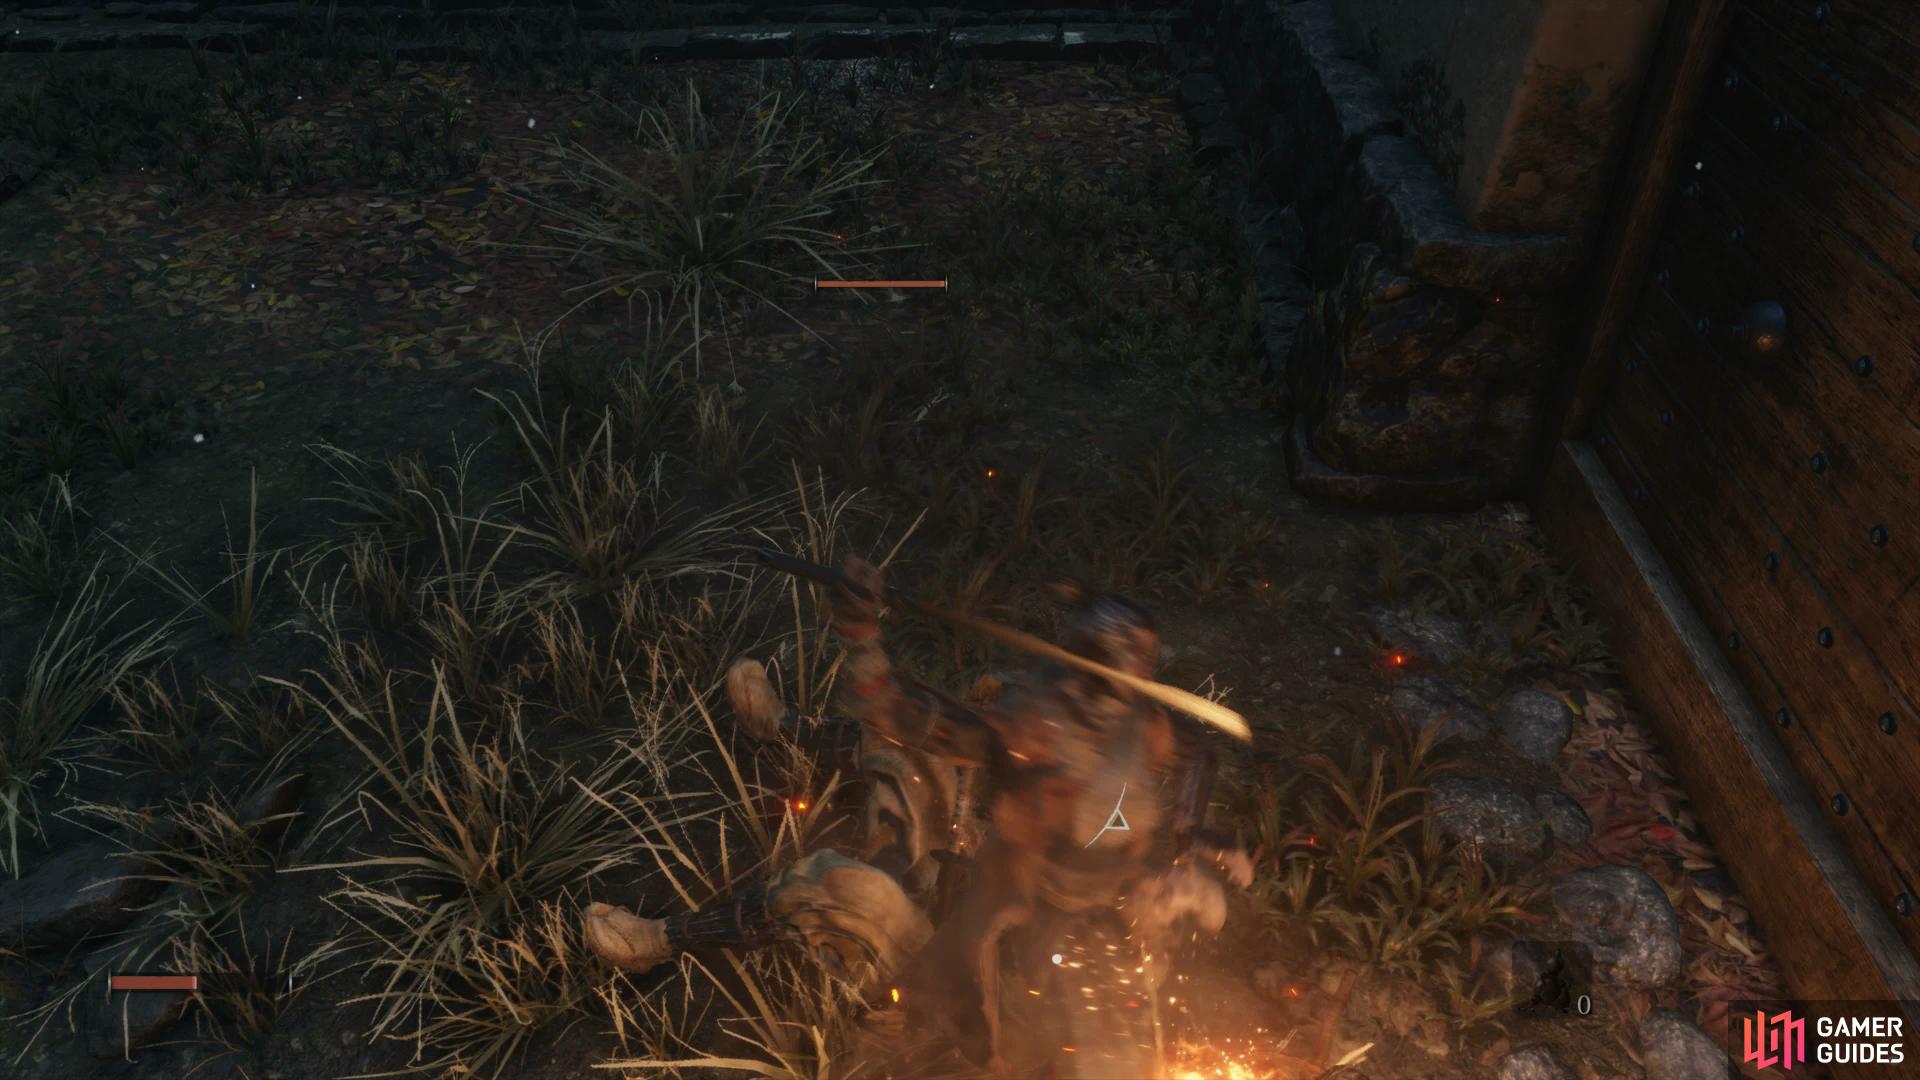
As you shimmy across, Eavesdrop for some more information regarding the secret passage and then climb up under the bridge. There’s a single enemy (Rat) here waiting to ambush you, crouch up to him and strike him a few times to put him down. Head around the corner and ledge hang to shimmy over to the path along the wall. There’s an item here to be had, loot it to obtain another Pellet and then drop down the following ledges to reach a door. Investigate the door and call the Divine Heir to begin your escape.
(1 of 2) You’ll find an enemy under the bridge
You’ll find an enemy under the bridge (left), try as you might, this is a battle that you cannot win. (right)
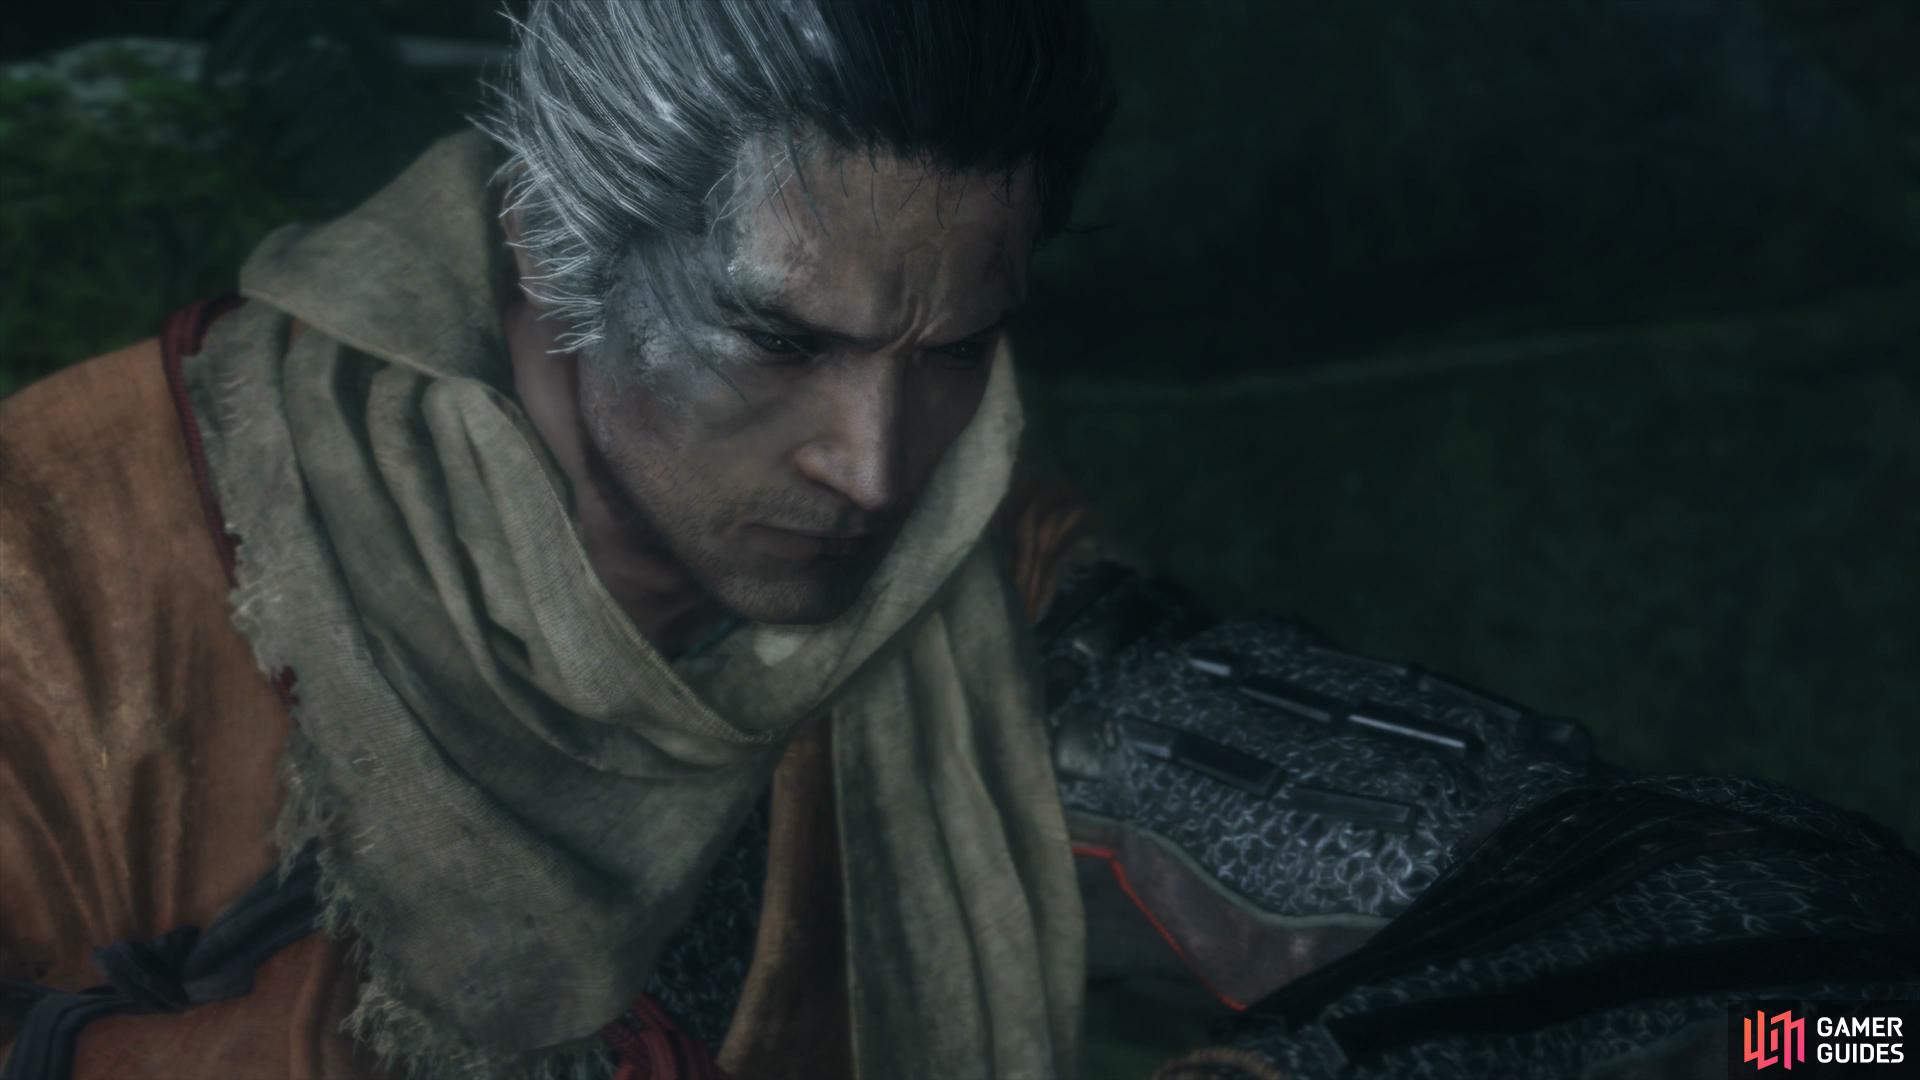
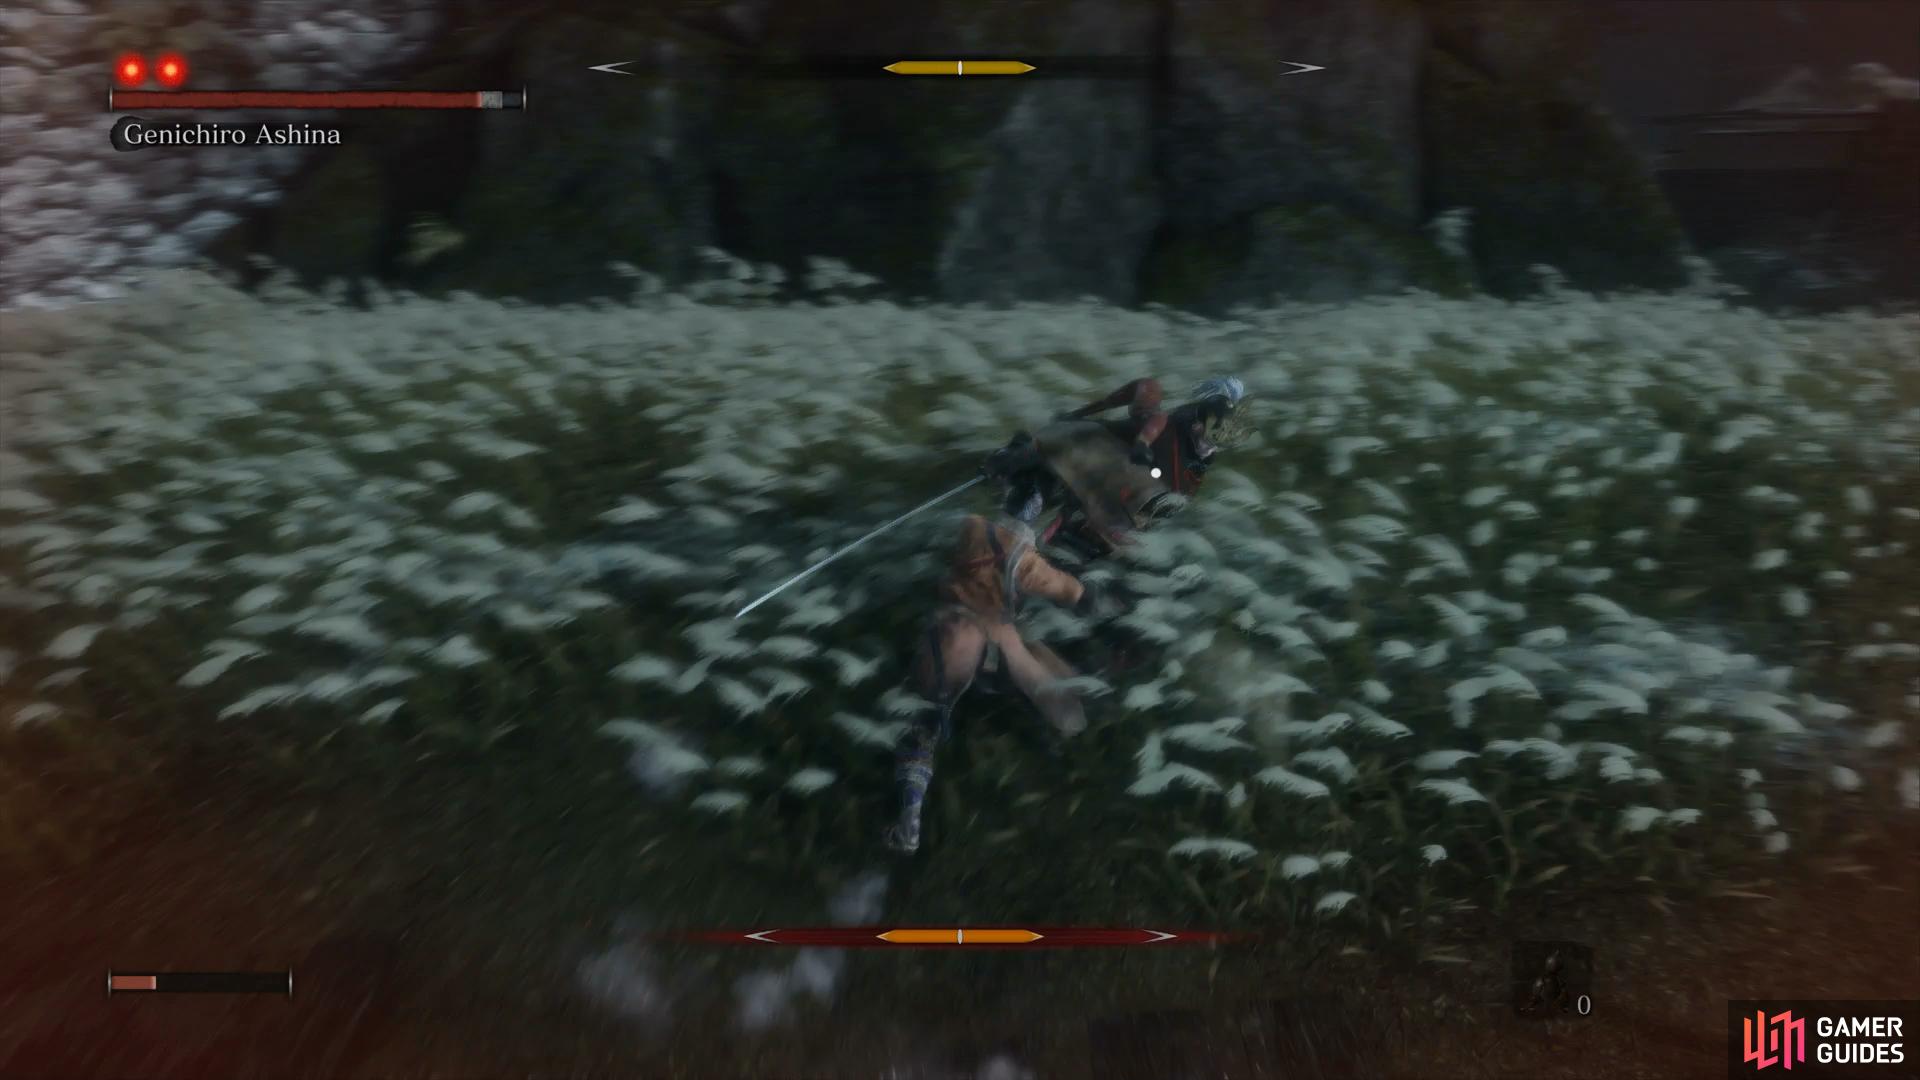
There’s only one way to go so proceed through the tunnel and you’ll come out upon a beautiful field a man stationed at the back. In no time at all, you’ll be thrust into a battle with Genichiro Ashina, a battle that you cannot win no matter how high your skills are. There’s no secret Trophy/Achievement to be had here so you can either see how long you can survive or get on with things and allow Genichiro his victory. The cost for this is the left arm of Wolf as he falls to the ground and Geinichiro leaves with The Divine Heir. Wolf awakes in a strange place with the Shinobi Prosthetic attached to where his arm was severed a moment ago.


 Sign up
No Comments