
Main Hall
You should have this Idol from your previous visit to the Hirata Estate where you’ll find yourself in the burning remains of what once stood of the estate. Follow the path around to the left of the Idol and take out the Archer at the corner before grappling up to the nearby rooftop.
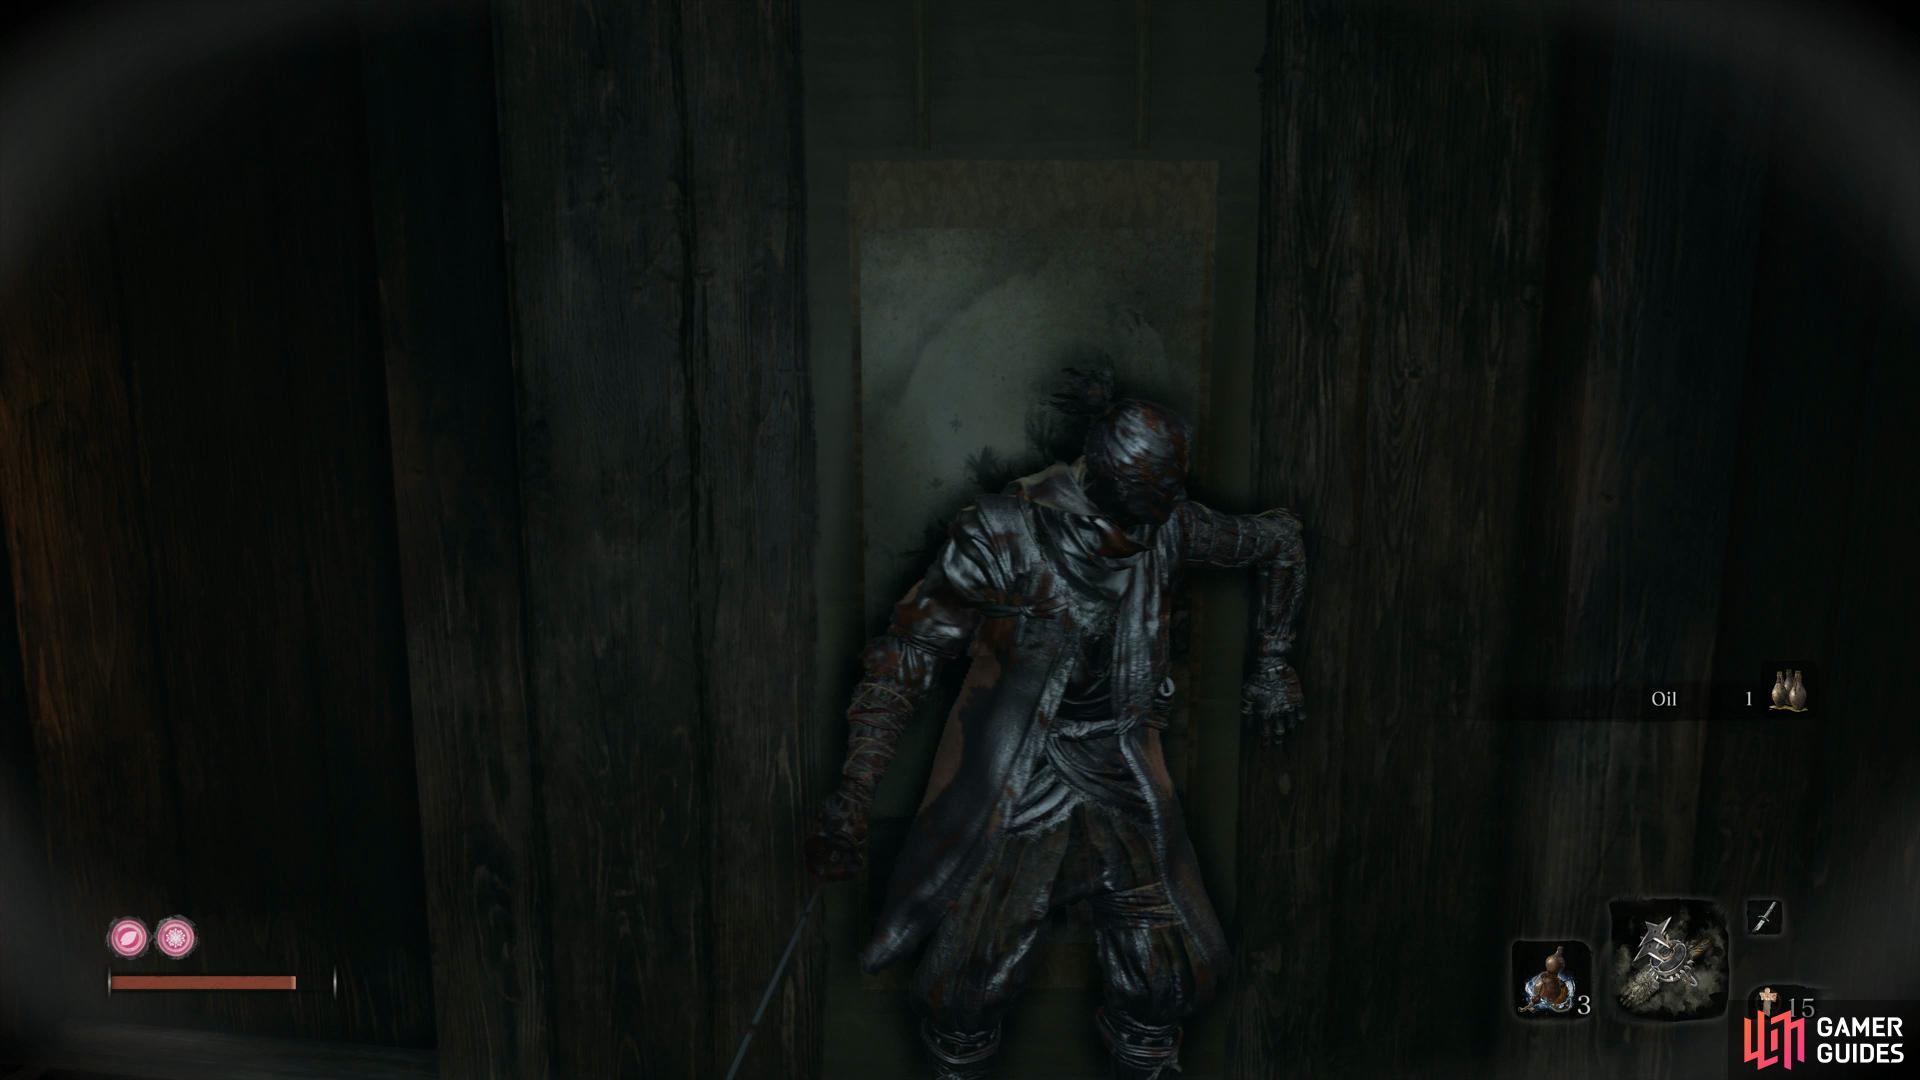
This next area has many enemies and you’ll want to be methodical in your attempts to take them all out. Wait for two guards to pass by under the roof and drop down to dispath them, using the roof nearby to escape the alert status as and if needed. Drop down and make your way down the left side of the area as you take out the other guards one by one as the opportunity presents itself. With that group of guards taken care of, head into the houses to your right and search in front of the entrance to find some Dousing Powder. You’ll find some more Divine Confetti to the left of this while another guard may still be lurking around here if he wasn’t alerted during the previous encounter.
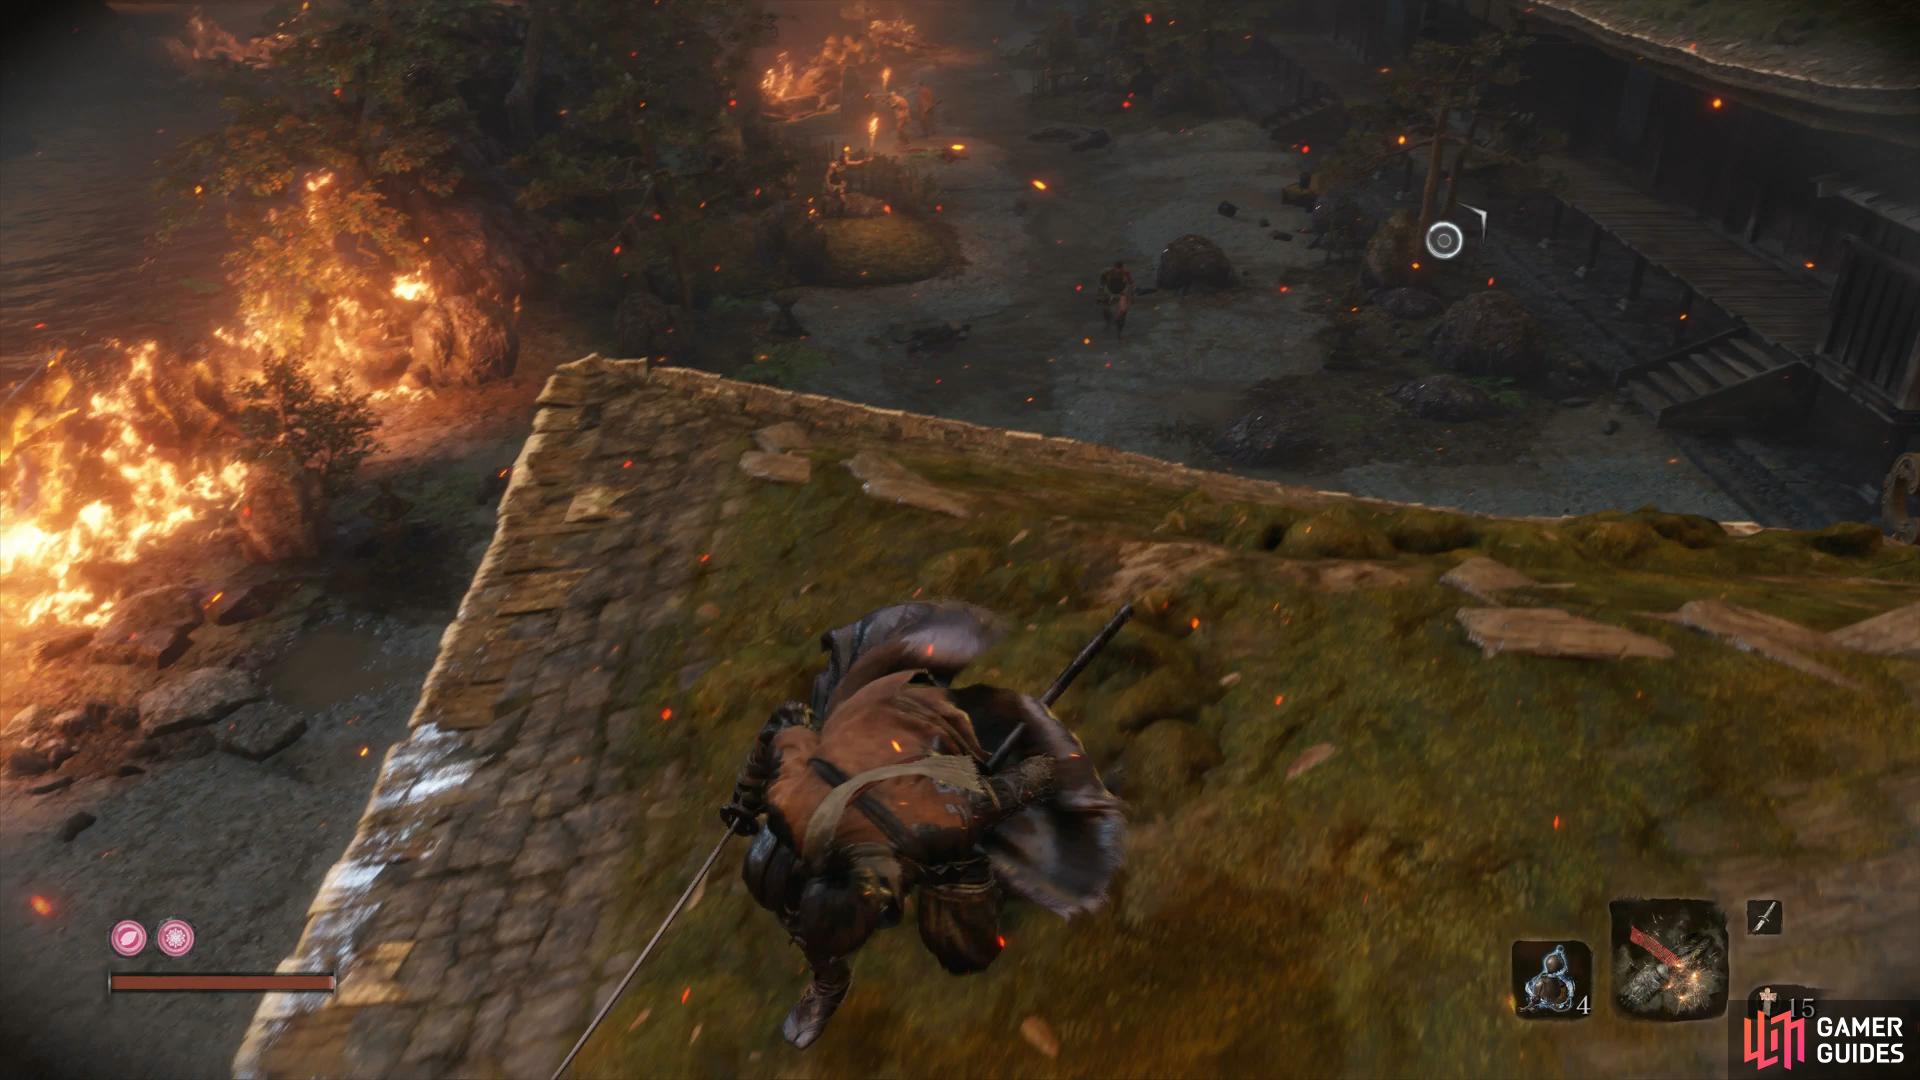
This rooftop is the ideal place to plan your attack.
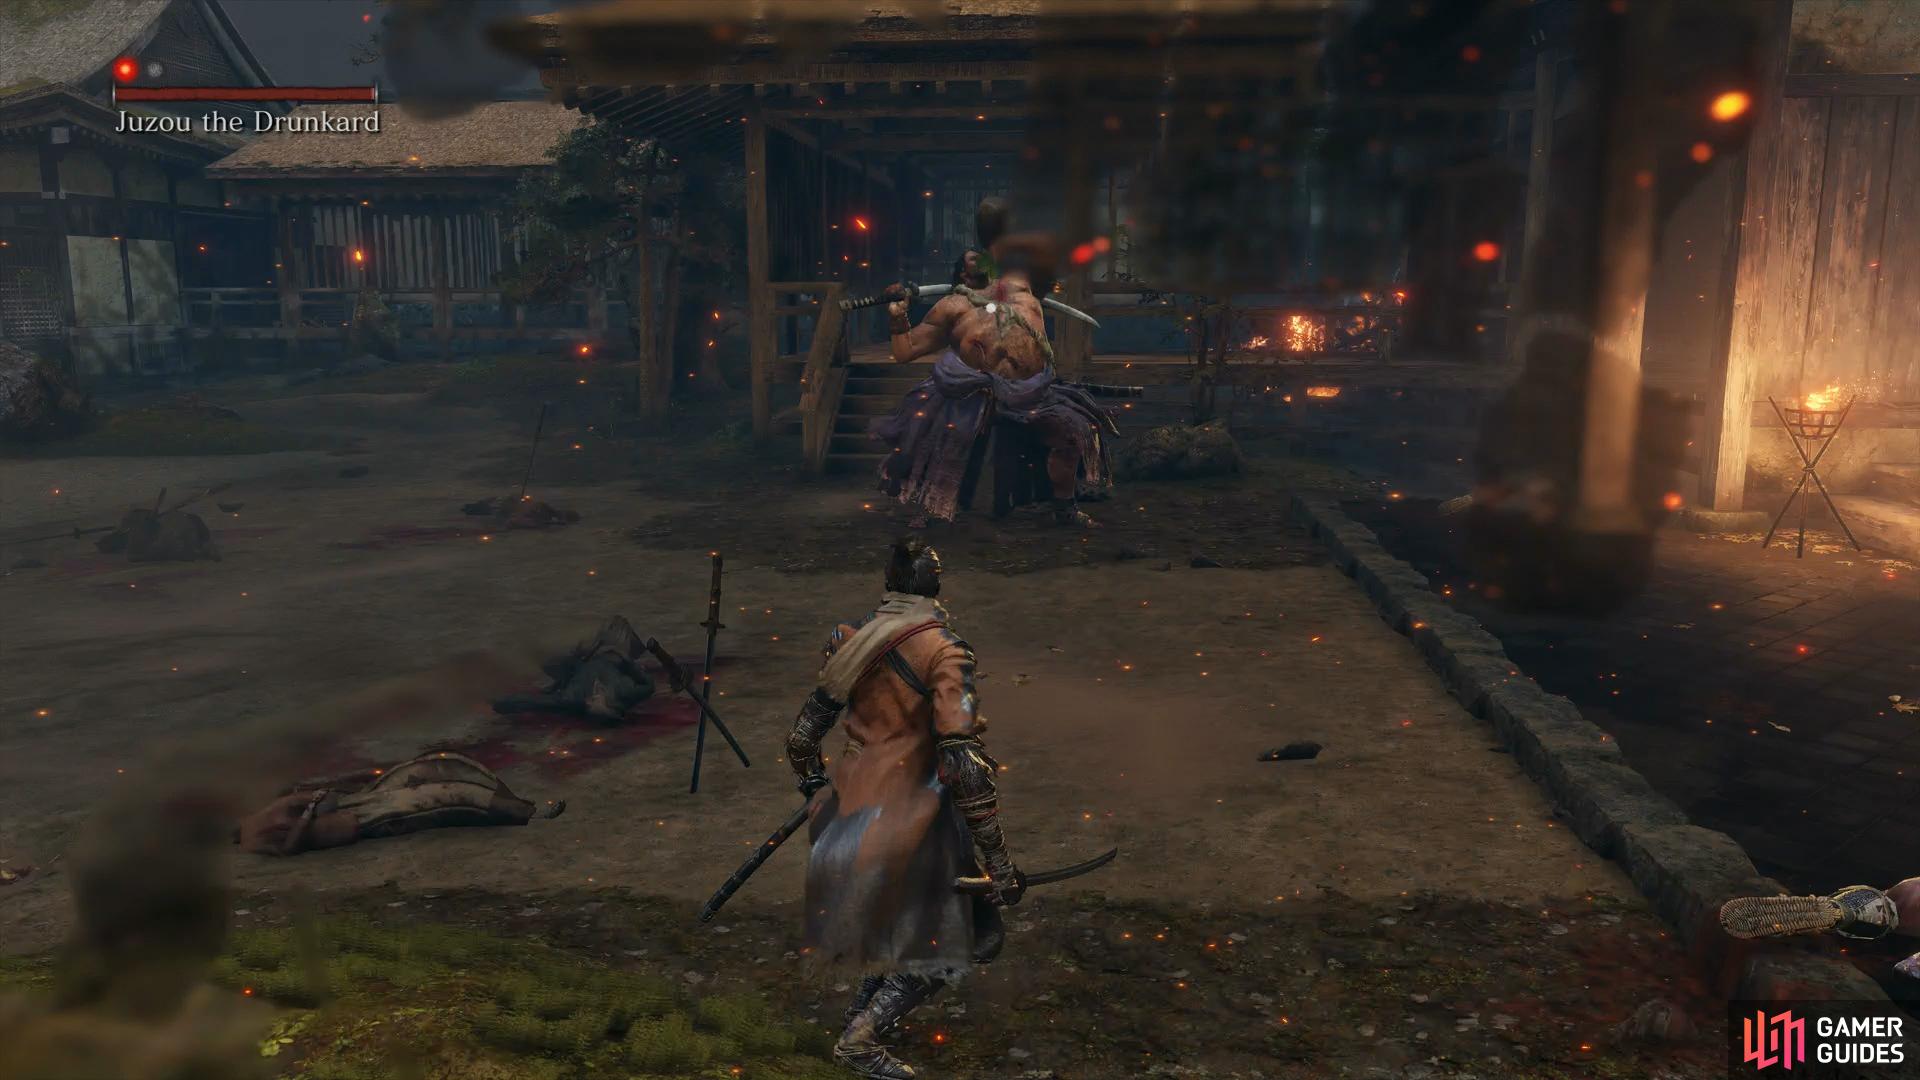
Make your way into the water now and search on the small island for some Ceramic Shards and then take note of the area ahead. In front of you is a person you can speak to in blue who will aid you in the battle to come, however avoid this for now because you’ll only get him killed quickly. You’ll also notice a large group of enemies guard the entrance to the temple followed by more houses you can explore to the left. This is a difficult Mini-boss encounter and should you go head to head with the enemies, will almost certainly spell your doom.
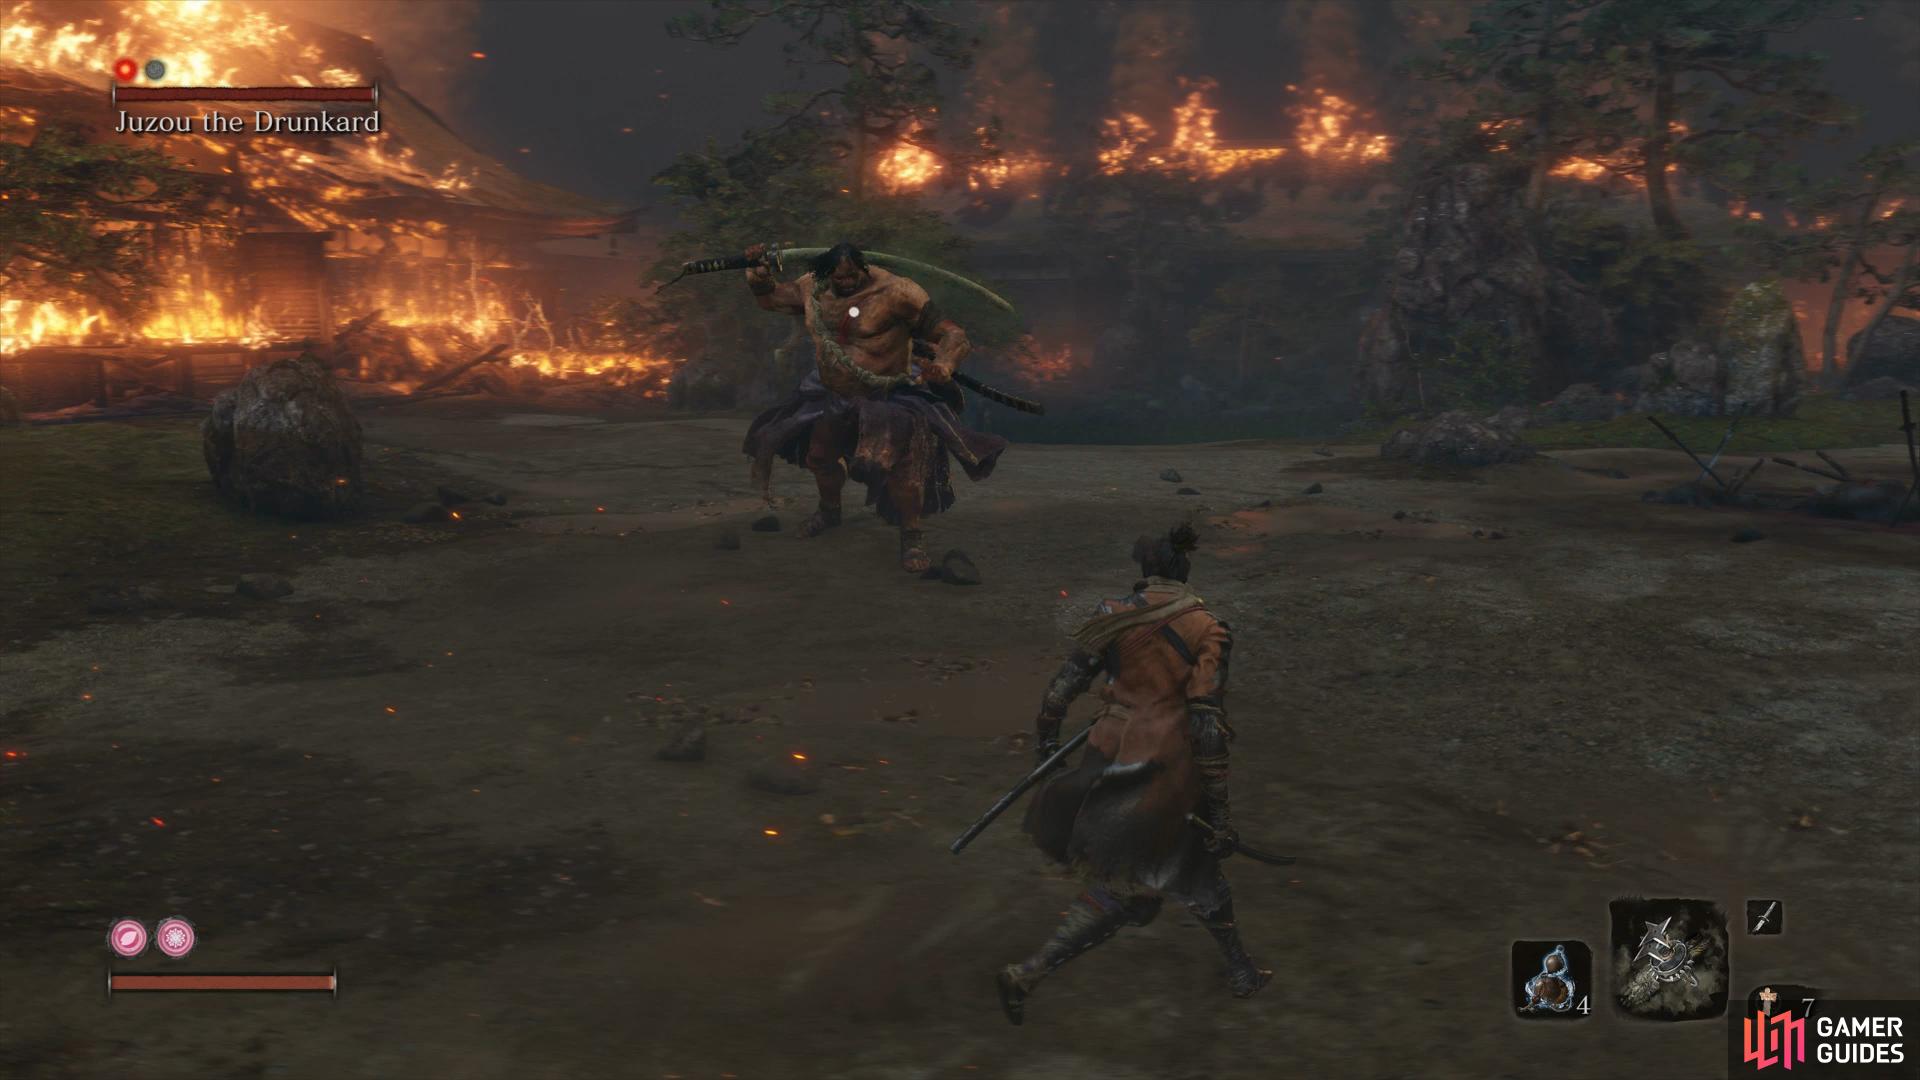
Mini-boss: Juzou the Drunkard
Indeed, it’s best to treat this encounter like a puzzle once again, thining out the ranks of all his guards so that you’re left with just the challenging Juzou alone. Begin by heading to the house to the left and sneaking up to the nearby guard and taking him out followed by the guard in the next room.
You’ll find a Light Coin Purse in the first room and then you can follow the walkway all the way around to find yourself positioned directly behind the group of enemies. From here you want to backstab the Shield guard and then quickly back away from the area, in the direction of the house to your left, to get away from Juzuou and hopefully lure some of his guard over to you. At this point you can take them on one on one or you can wait for the alert status to end and repeat the previous step. Regardless of how you dispatch the rest of the enemies, use the left house once more to get behind Juzou and perform a backstab to get the battle underway.
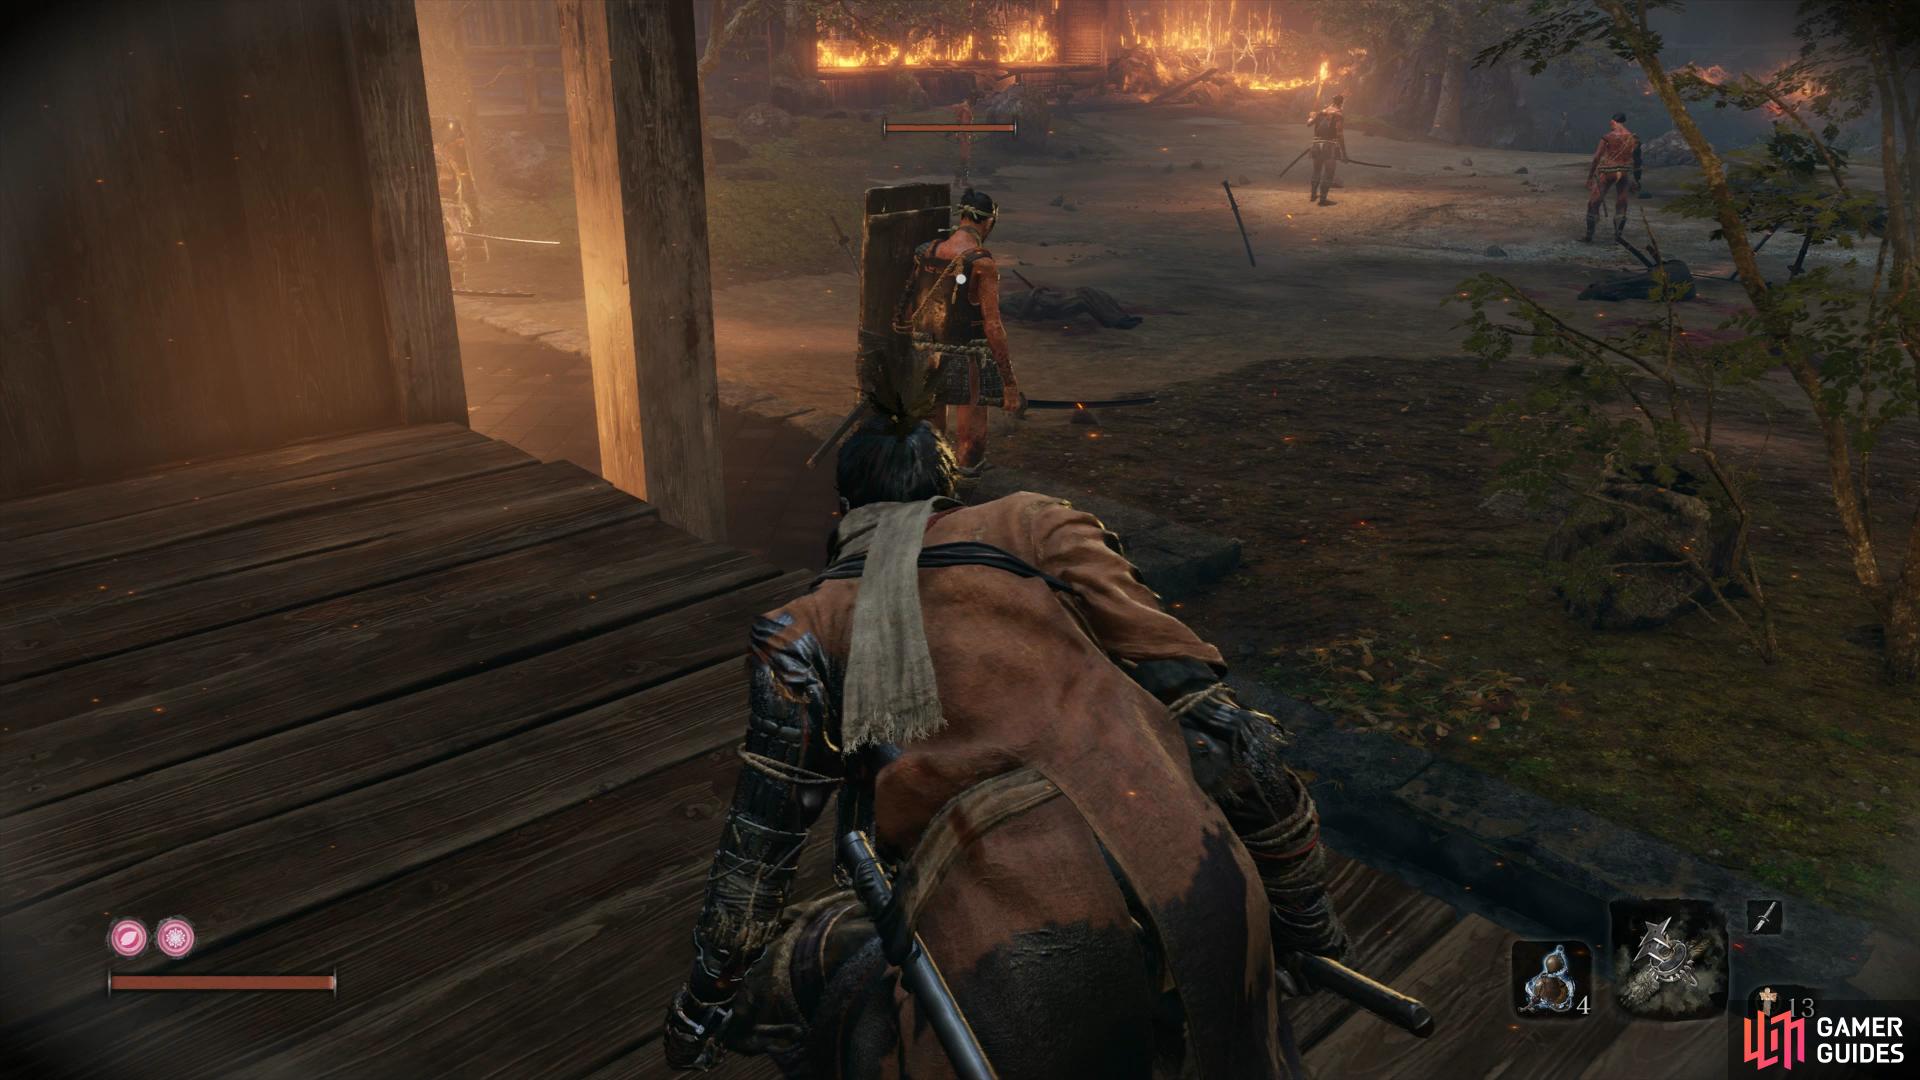
Use the house to the left to get behind the group and pick them off one at a time.
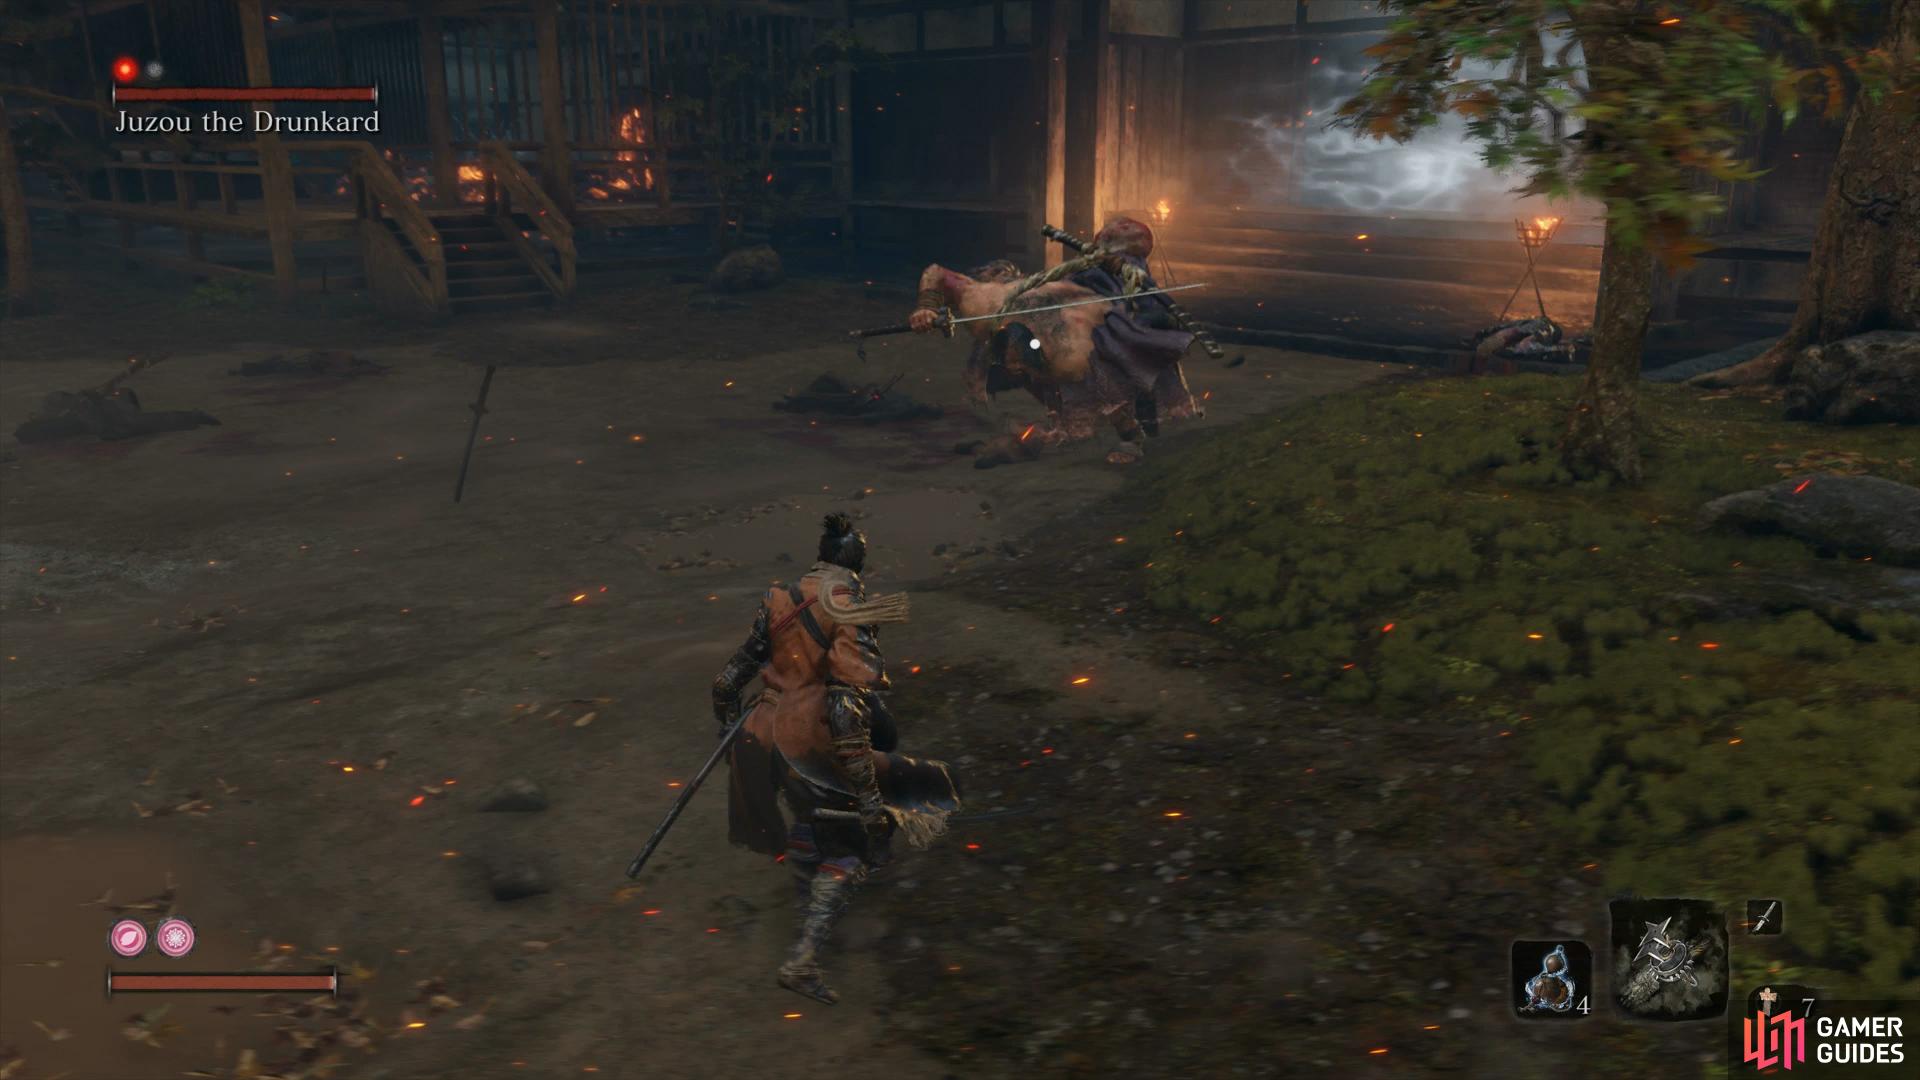
Juzou is a very tough adversary and you’ll need to be at your best if you wish to best him. Be sure you keep your health as close to full as possible as only a few strikes of Juzou’s gargantuan blade is enough to down Wolf. Add to the face that the blade itself has a large range, you’ll want to make sure you keep your distance unless you’re confident you can perfectly deflect his strikes.
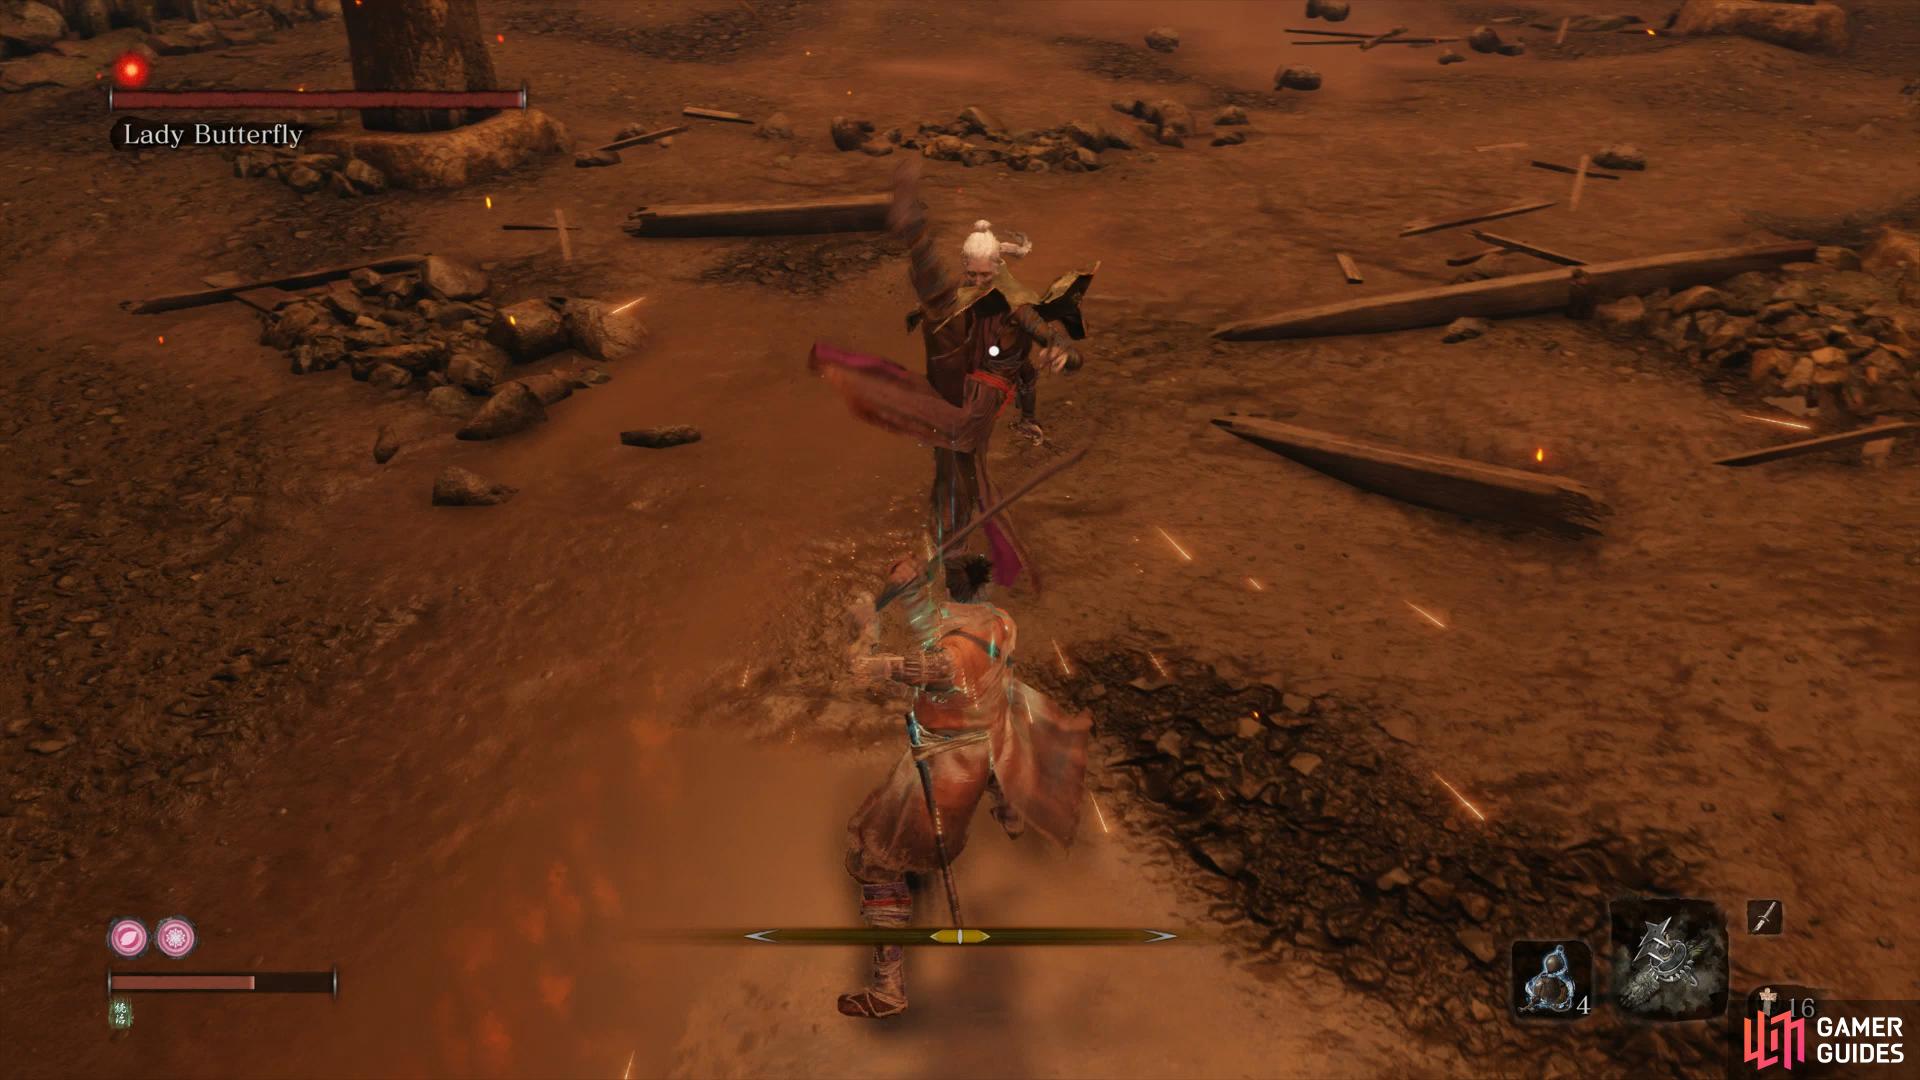
Juzou will also, at times, take a swig from his jug and will then perform one of two attacks. The first is to immediately spit a cloud of poison at you, get caught in this and the Poison status will build up so be sure to have Antidotes assigned to your Quick Items. For the second attack, he’ll instead spit the poison over his blade, coating it in Poison. This means that whenever you get struck by the blade, be it a deflection or not, you’ll take Poison build up so be sure to avoid deflecting his strikes when the sword is coated with Poison. This however, all works in your favor as when he takes his jug out and begins drinking, you can dash in and score some free easy strikes before getting back out again.
As for Juzou’s regular attacks, his blade strikes are usually an Overhead Slash which deals heavy damage. At times, especially if you’re close to him, he’ll attempt to Headbutt you followed up by the Overhead Slash so jump away from him after avoiding it. It doesn’t end there with a Headbutt however as at times, Juzou will charge up strength and rush to attempt a Grab. As soon as you hear him charge it up, back away and wait for him to miss before dashing in for a free attack or two.
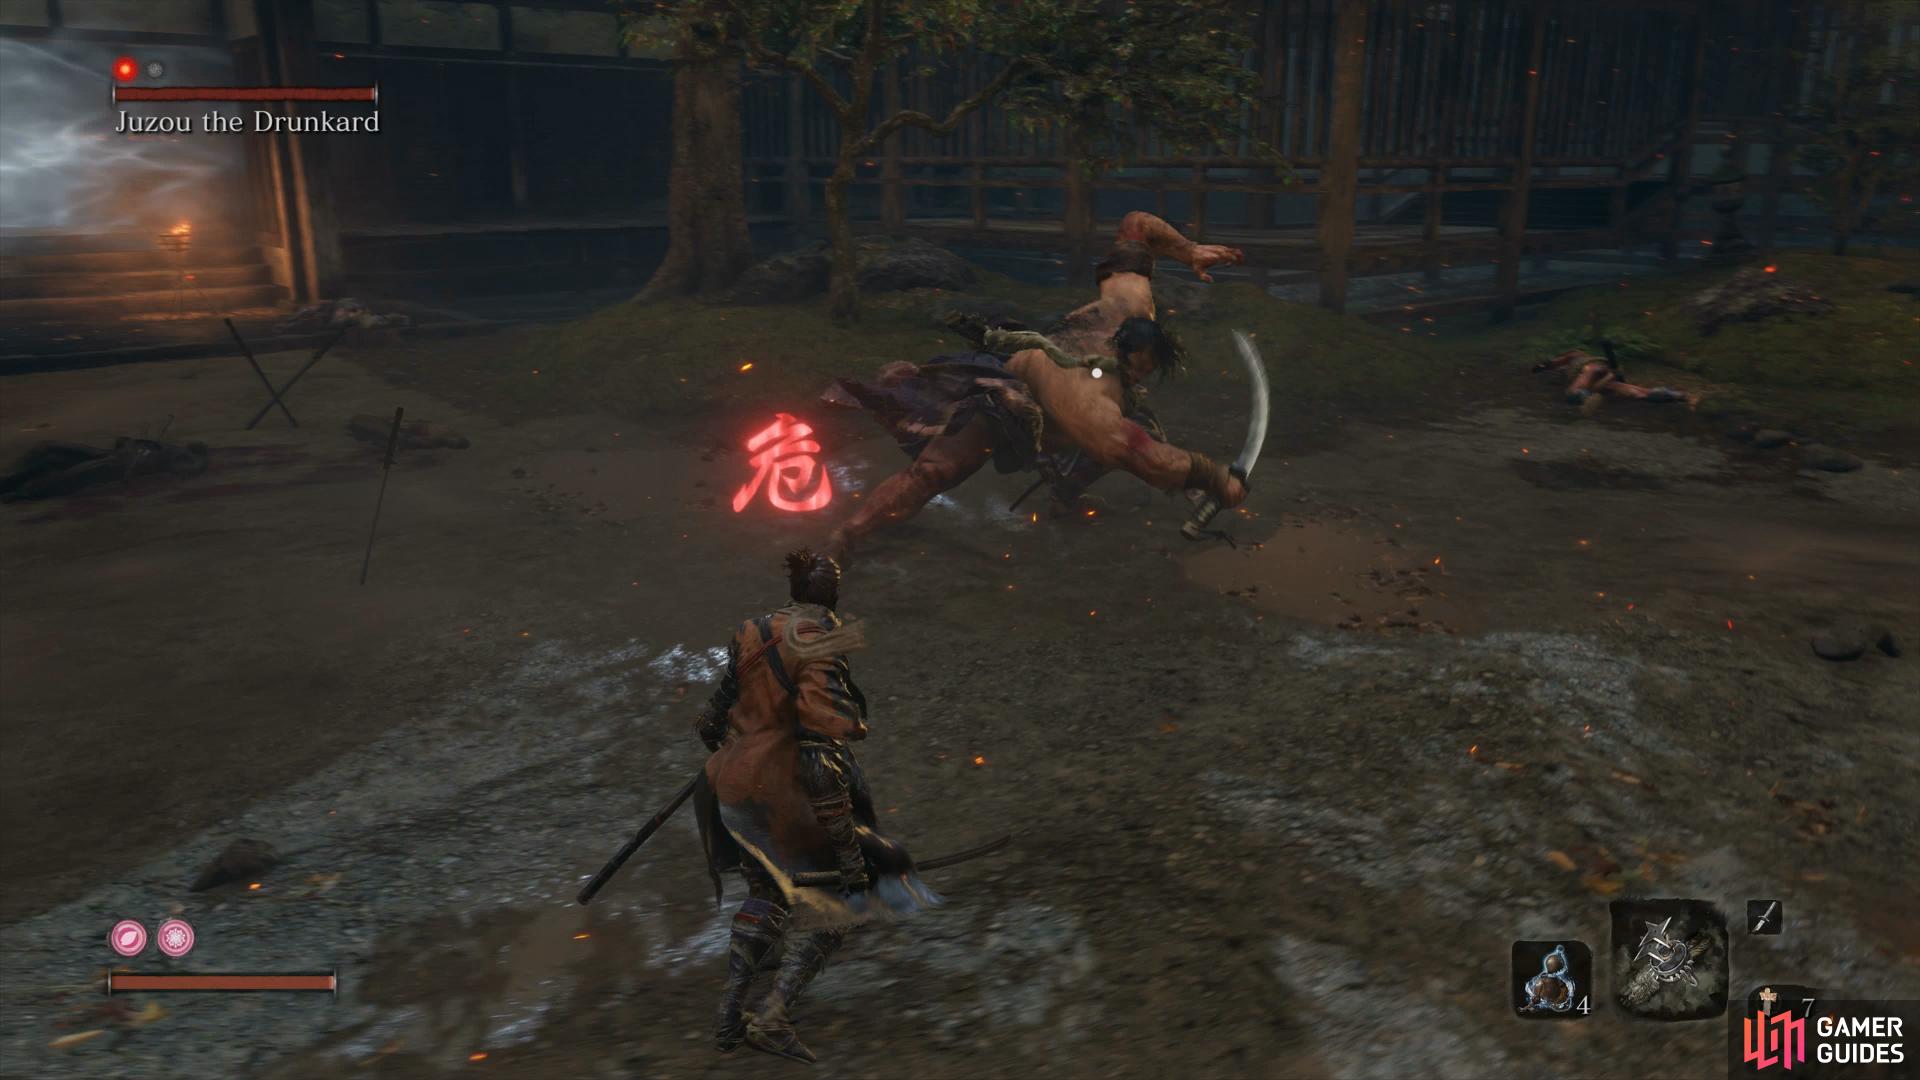
(1 of 4) Score some free easy strikes on Juzou while drinking
Finally, Juzou does possesses two Perilous Attacks too, the first being the ususal Sweep attack, jump over this and jump kick him for some large posture damage. The second however is a grab attack, this is best avoided altogether by jumping backwards as if you’re caught in this, you’ll take massive damage and most likely be killed outright.
As mentioned previously, when it’s down to just you and Juzou, head back to the Samurai in blue found in the water nearby. Quickly exhaust his dialogue and he’ll rush in to take on your foe. There’s no penalties for him dying so don’t risk yourself trying to keep him alive, just use him as the fodder he is and strike Juzou from behind while he has his attention. Your best moments to attack Juzou are when he’s drinking from his jug or waiting to strike him after his attempted grab. Take your time with this battle and don’t get too greedy with your attacks and you should have no problems taking Juzou down one on one.
Your reward for this challenging encounter is some Unrefined Sake and another Prayer Bead. You can now access the Temple that this group was guarding but be sure to stay in Stealth. As you pass through the doors, in the corridor to the left you’ll find two more guards to take out. Once defeated, check out the room to the left to find some more Dousing Powder while the room next to it contains some Pellets.
Head to the end of the corridor and take a left to find some oil and then hug the wall where the scroll hangs. This reveals a hidden room full of treasures to loot where you’ll find a Mibu Balloon of Wealth, a Light Coin Purse and some more Divine Confetti in the other room. Before you leave this area, be sure to break the down the folding screen to find a hidden chest containing another Prayer Bead.
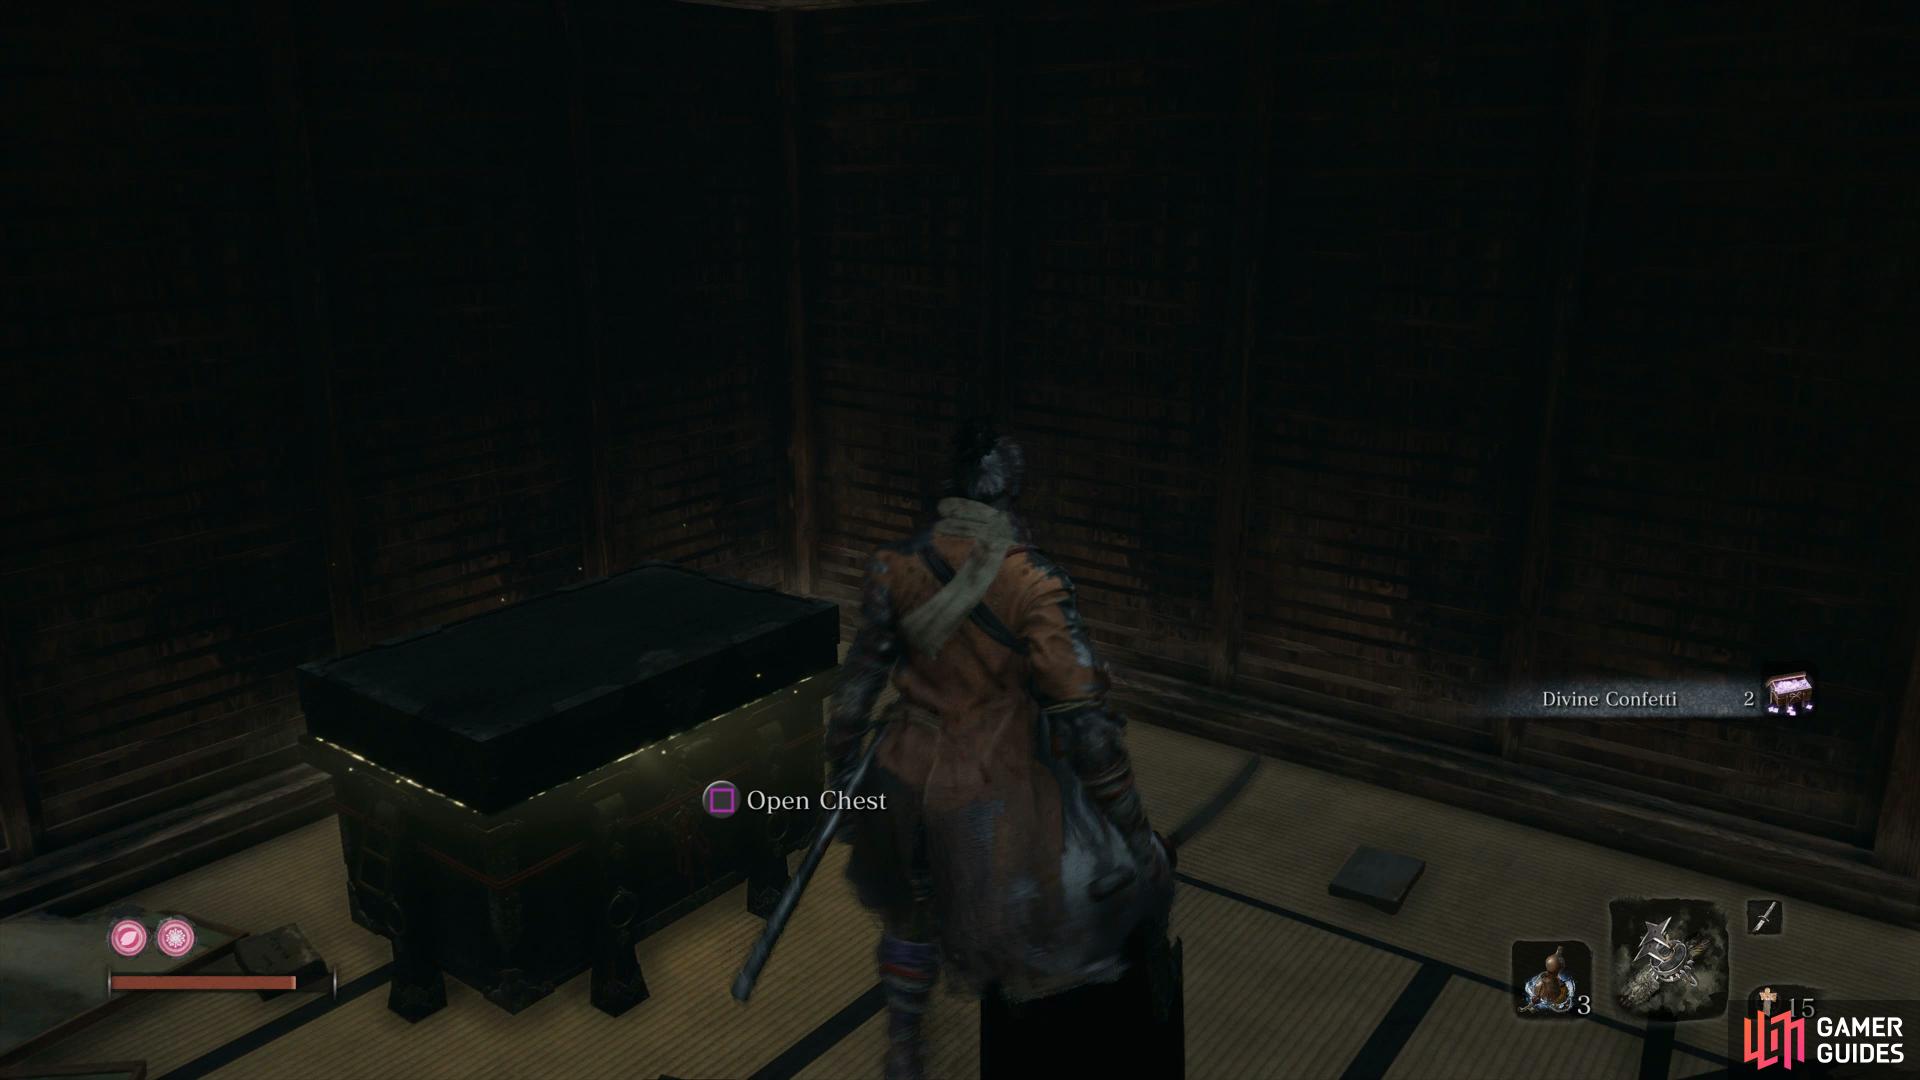
(1 of 2) Hug this wall inside the Temple
Hug this wall inside the Temple (left), to lead to a room containing another Prayer Bead. (right)
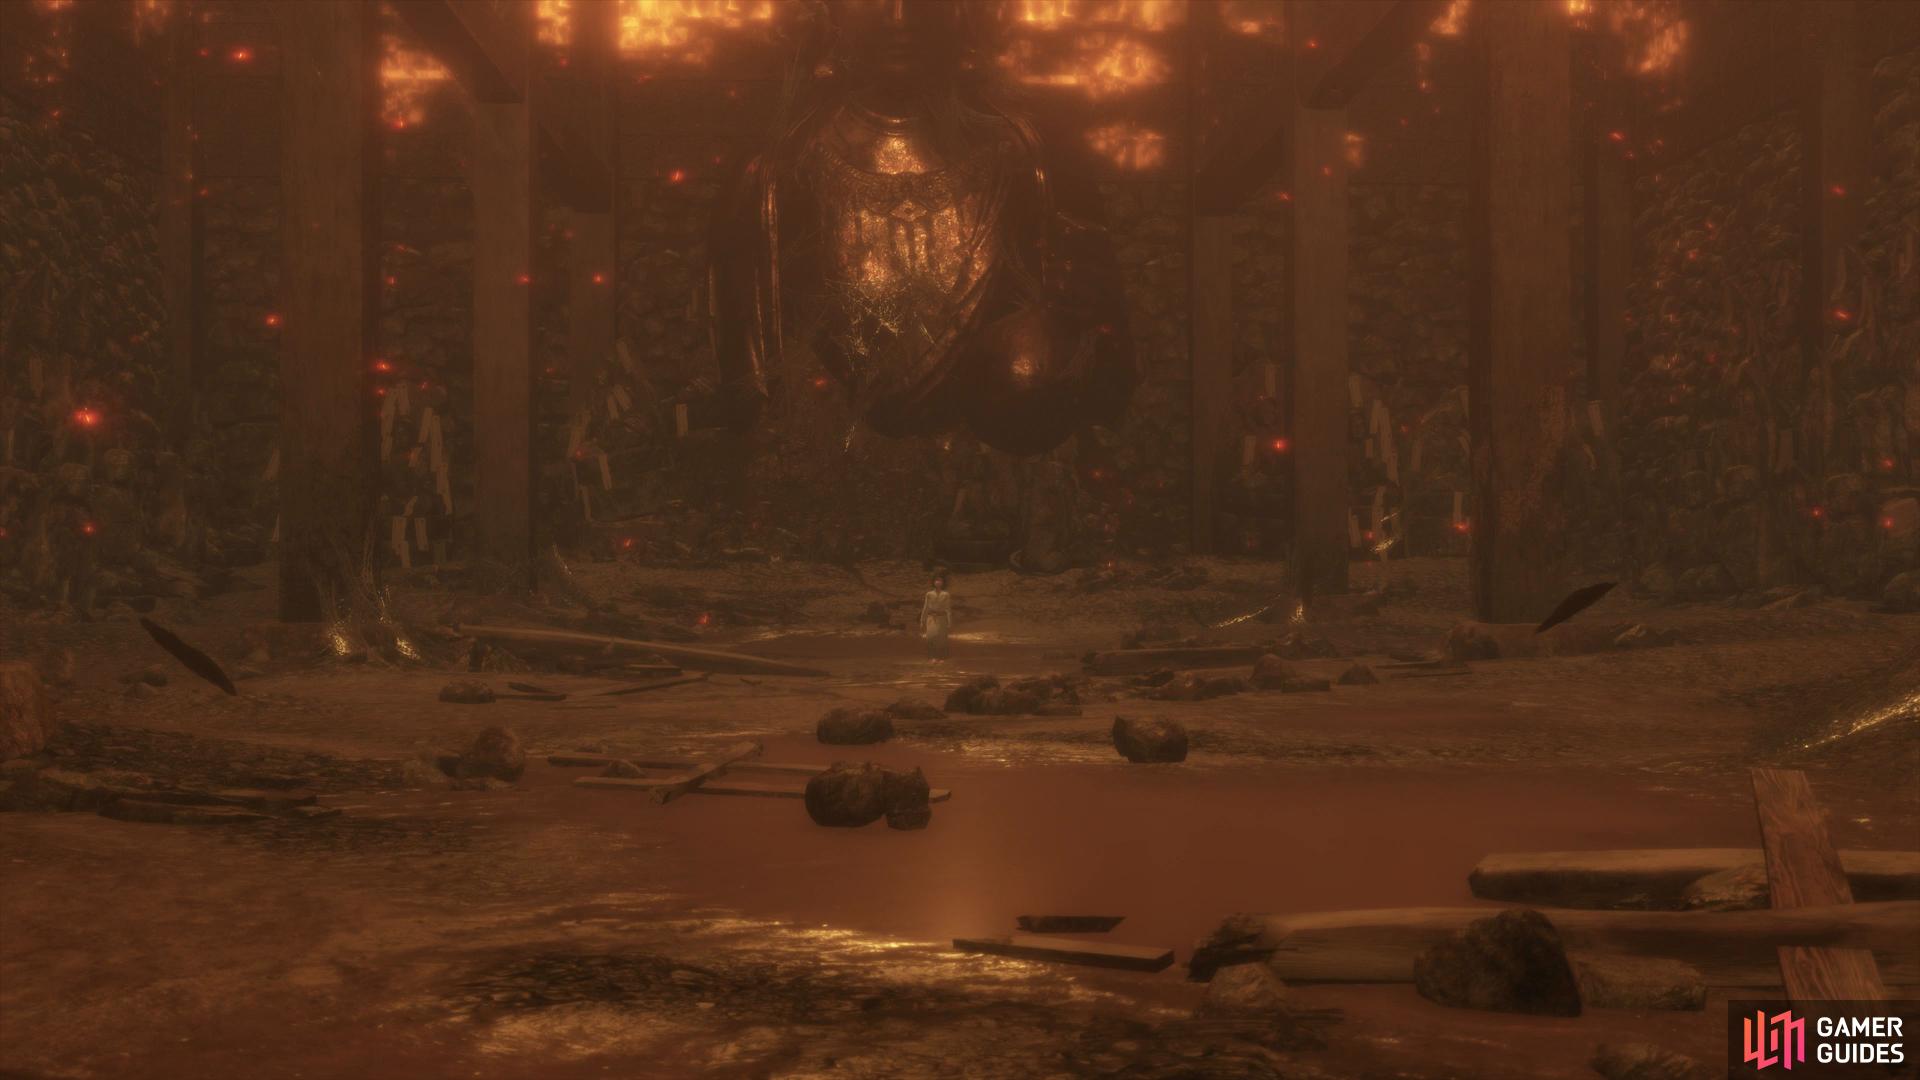
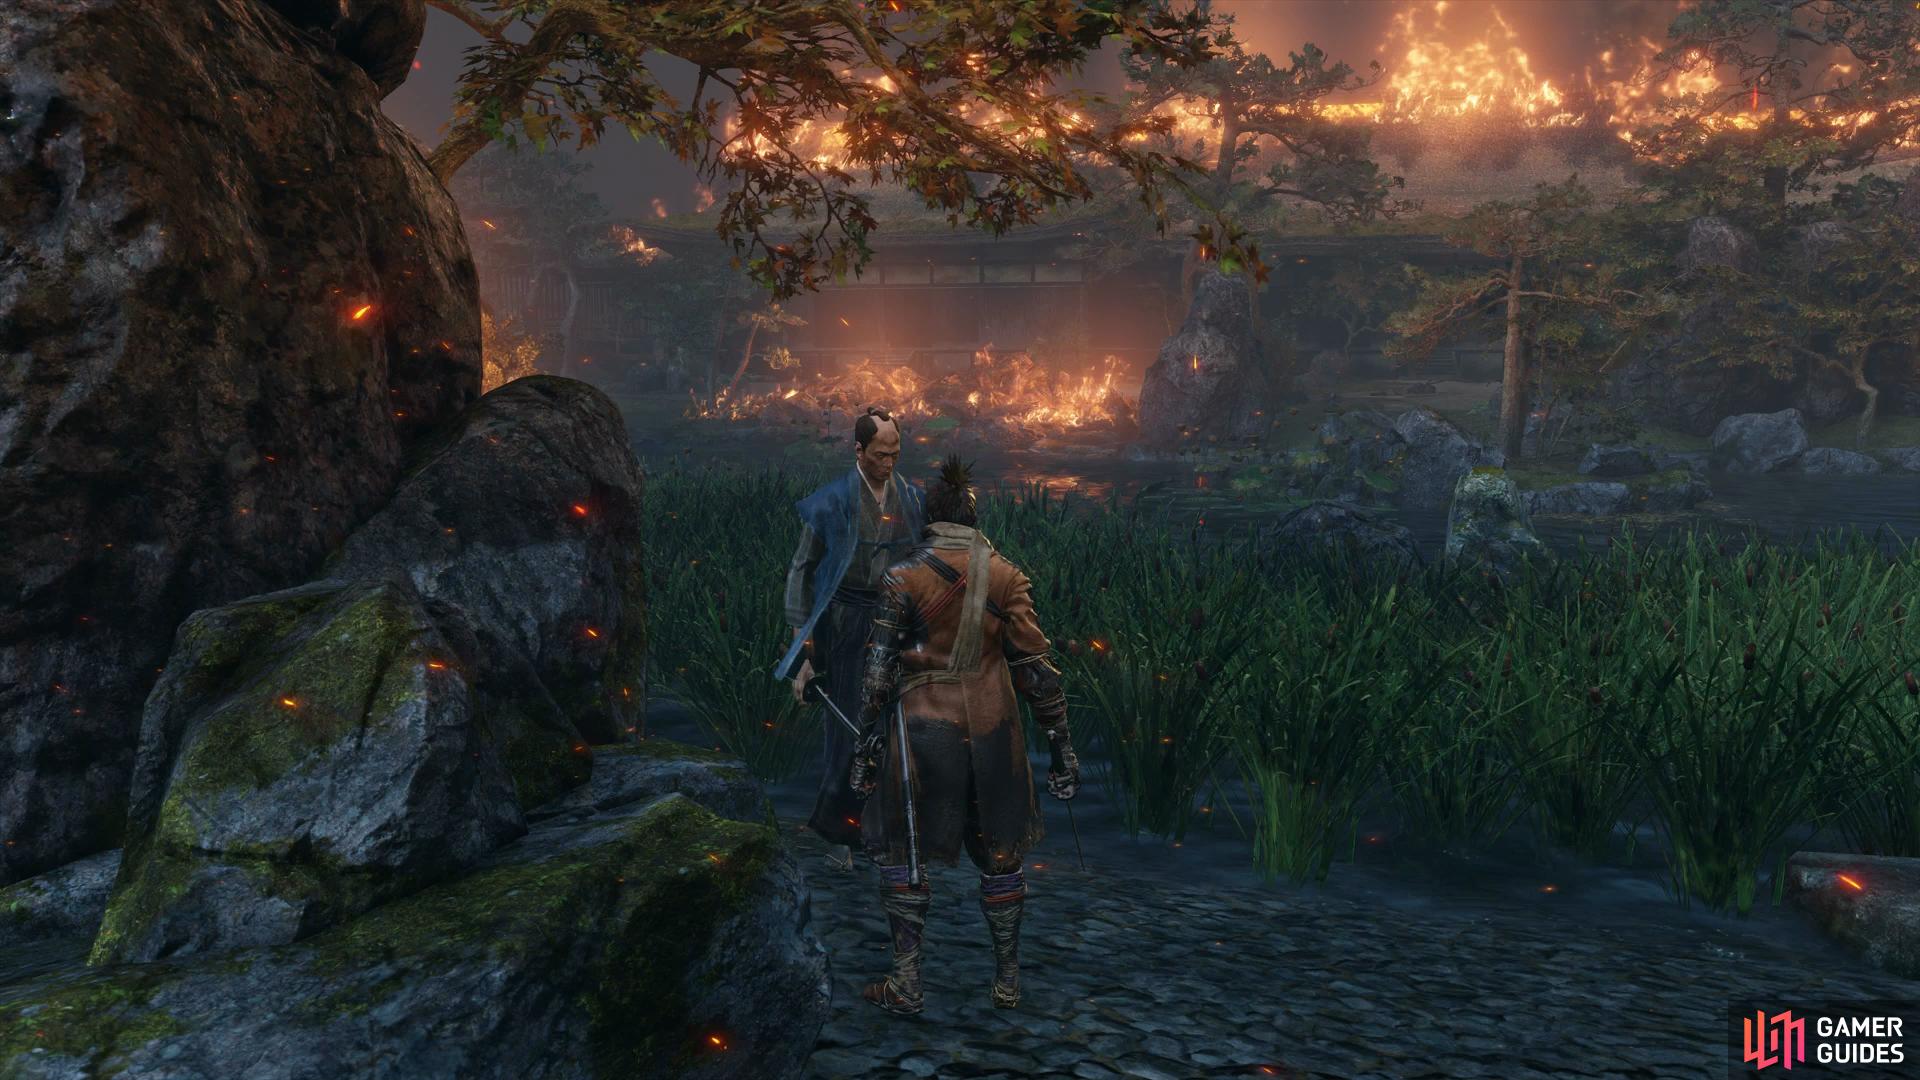
Return through the hidden door and head down the central room to find Inosuke’s mother crying on the floor and a Mibu Balloon of Soul behind her. Upon speaking to her, you’ll learn about the dangers ahead and just past here, another Sculptor’s Idol awaits you. Take this time to fully restore your Gourds and make sure you have a full selection of Spirit Emblems with the Shuriken equipped along with Snap Seeds assigned to your Quick Items. Head forward from the Idol and take out the Archer before speaking to Inosuke who will warn you about the battle ahead and hand over a Snap Seed. Prepare yourself and head forward to begin a very difficult boss encounter.
Boss: Lady Butterfly
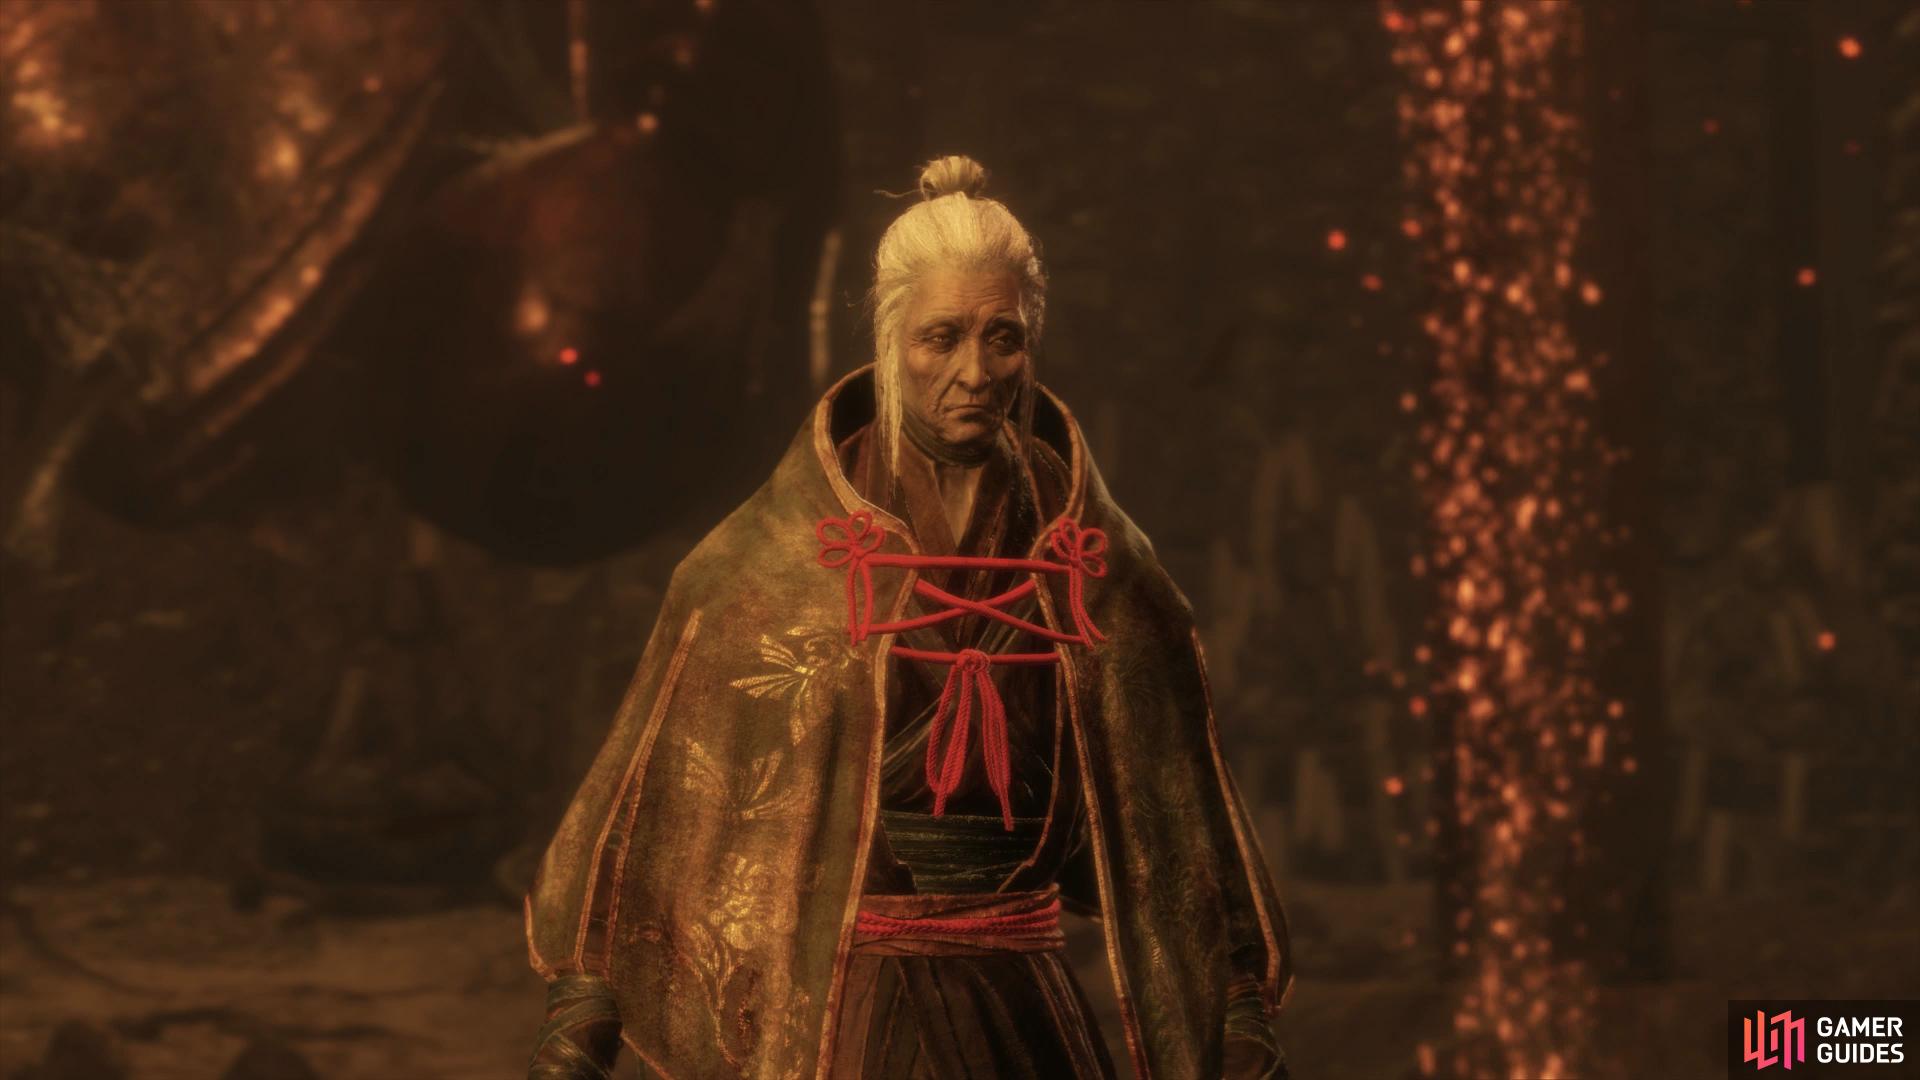
Lady Butterfly is the first wall you may encounter in the game, especially due to her aggressiveness. You’ll be fighting her in a rather narrow arena across two phases and you’ll need to be used to deflecting attacks to stand any chance of besting her.
In Phase One, you’ll need to focus on your deflection skills and wait for openings. Her regular attack combo will see two regular strikes followed by a Stomp, block the first two attacks here and dodge to the side of the Stomp to create an opening. Beware however as she will add a Perilous Attack to this string at times, a Sweeping Slash that needs to be jumped to avoided. Try to time your jump so that you jump in towards her and perform a jump kick for some large posture damage.
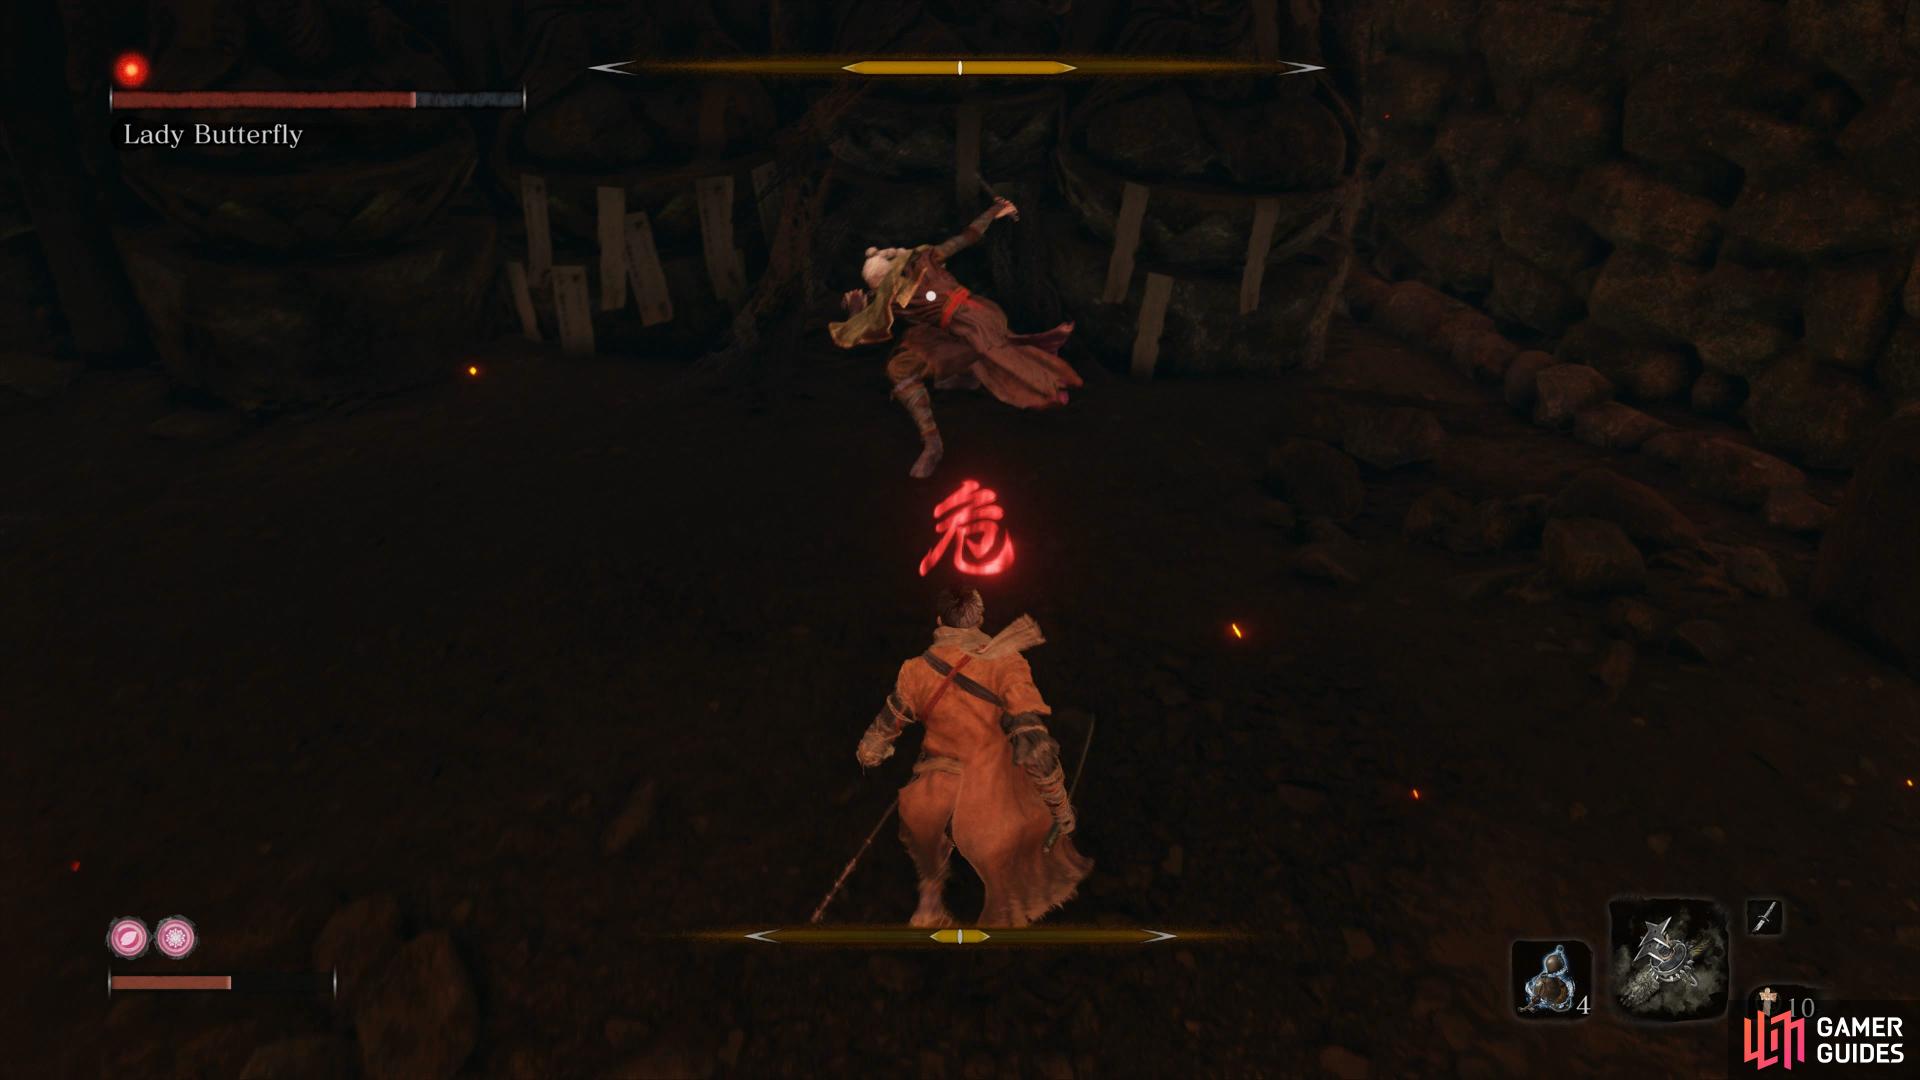
(1 of 2) Dodge to the side of the Stomp and strike at her
Dodge to the side of the Stomp and strike at her (left), jump kick towards her to avoid her Perilous Sweep. (right)
On top of these regular attacks, Lady Butterfly throws Kunais at you at regular intervals. These are usually in a spread pattern and cant be sometimes thrown up to two times in a row. The good news aobut this however is that you can Deflect them and once you get the timing down, you’ll come to favor this attack over her others. Note that she can throw these either on the ground of in the air by jumping back or on her Wire.
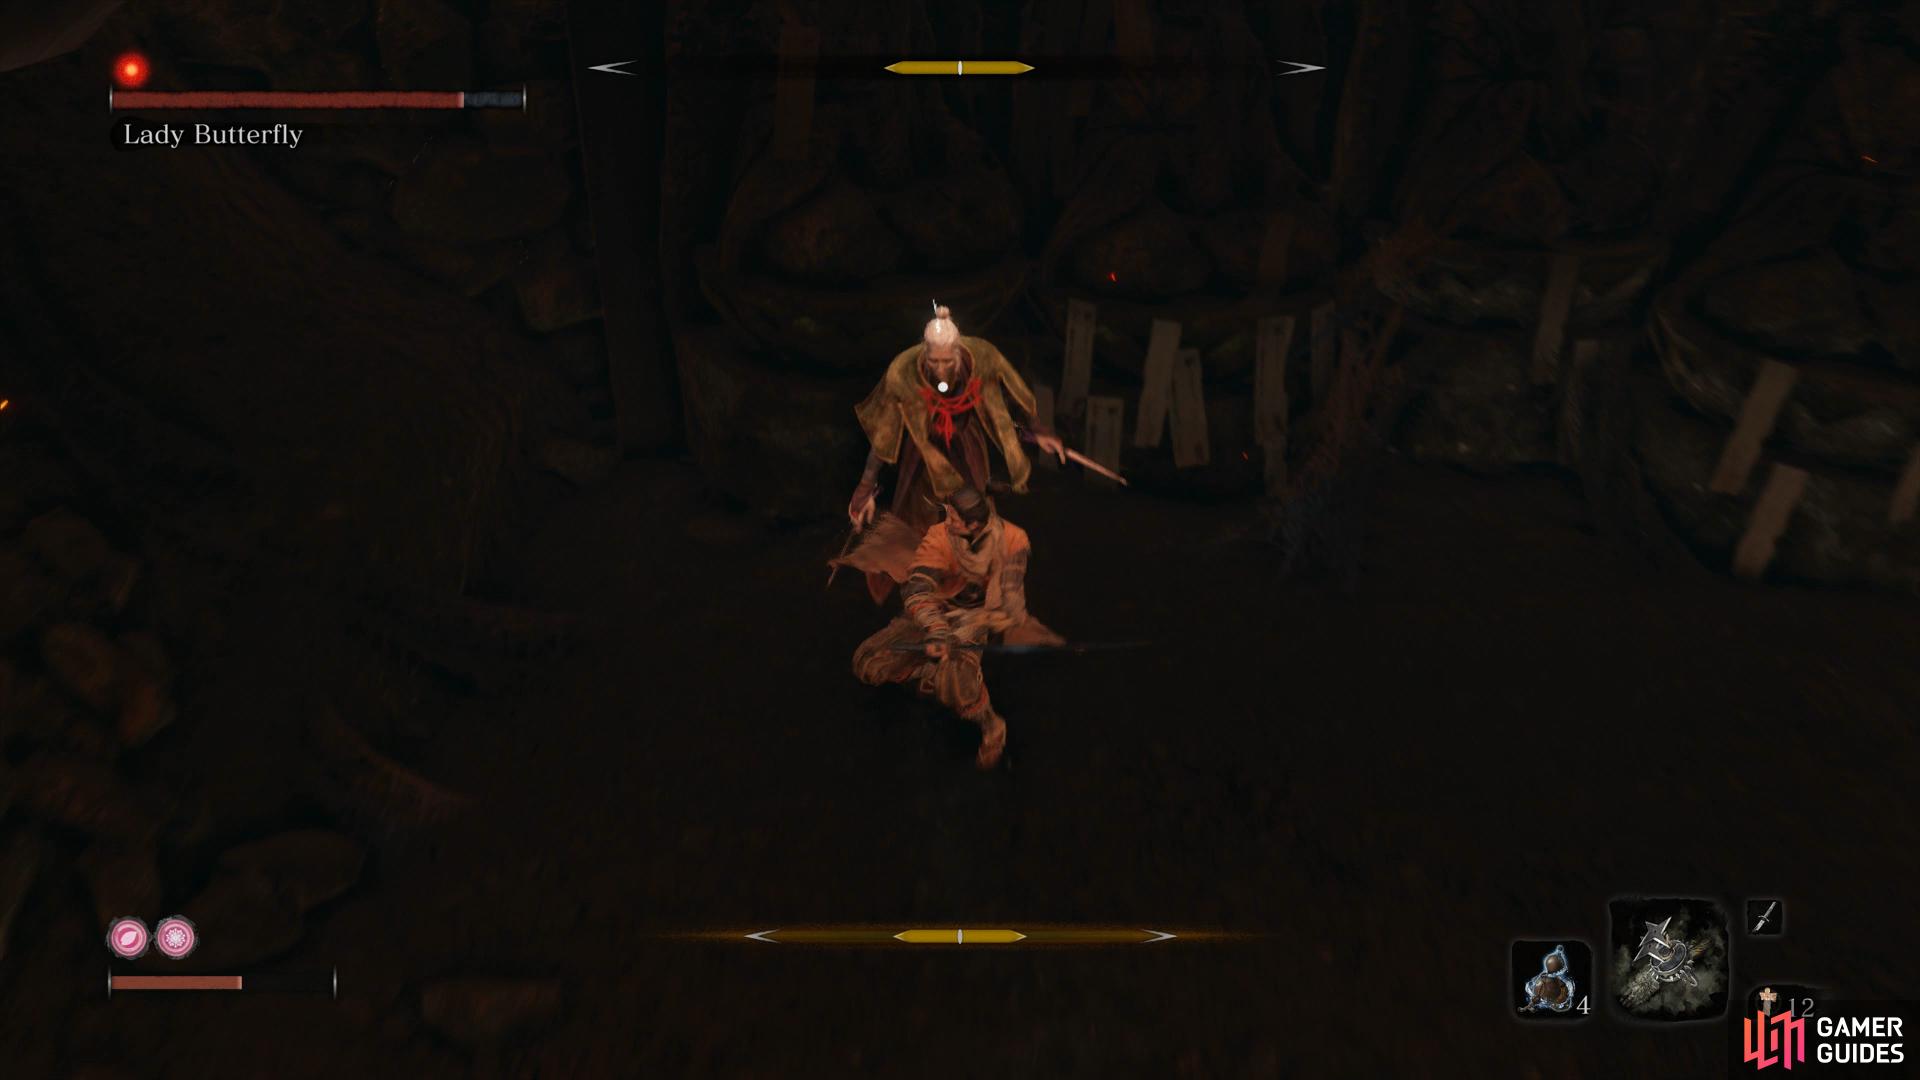
Speaking of her Wire, Lady Butterfly will retreat to them overhead at times throughout the battle. She’s at her most dangerous on these Wires as she’ll perform her second Perilous Attack, a Lunging Grab that will all but kill you if you’re caught in it. Keep an eye on her while on the Wires and if you see the symbol, retreat as far as possible to avoid the attack. You can however, use the Wires to your advantage as when she leaps from Wire to Wire, she’s vulnerable to a Shuriken. If struck, she will plummet to the ground suffering large posture damage and allow you time to rush in and get some free attacks.
(1 of 2) Toss a Shuriken as she leaps in the air
Toss a Shuriken as she leaps in the air (left), this will inflict posture damage and stun her. (right)
Lady Butterfly is best handled by being aggressive and keeping close to her to avoid the Kunai attack. Pay attention to the Perilous Attacks and once you get the timing down for her ground combo you should have no trouble defeating her first phase.
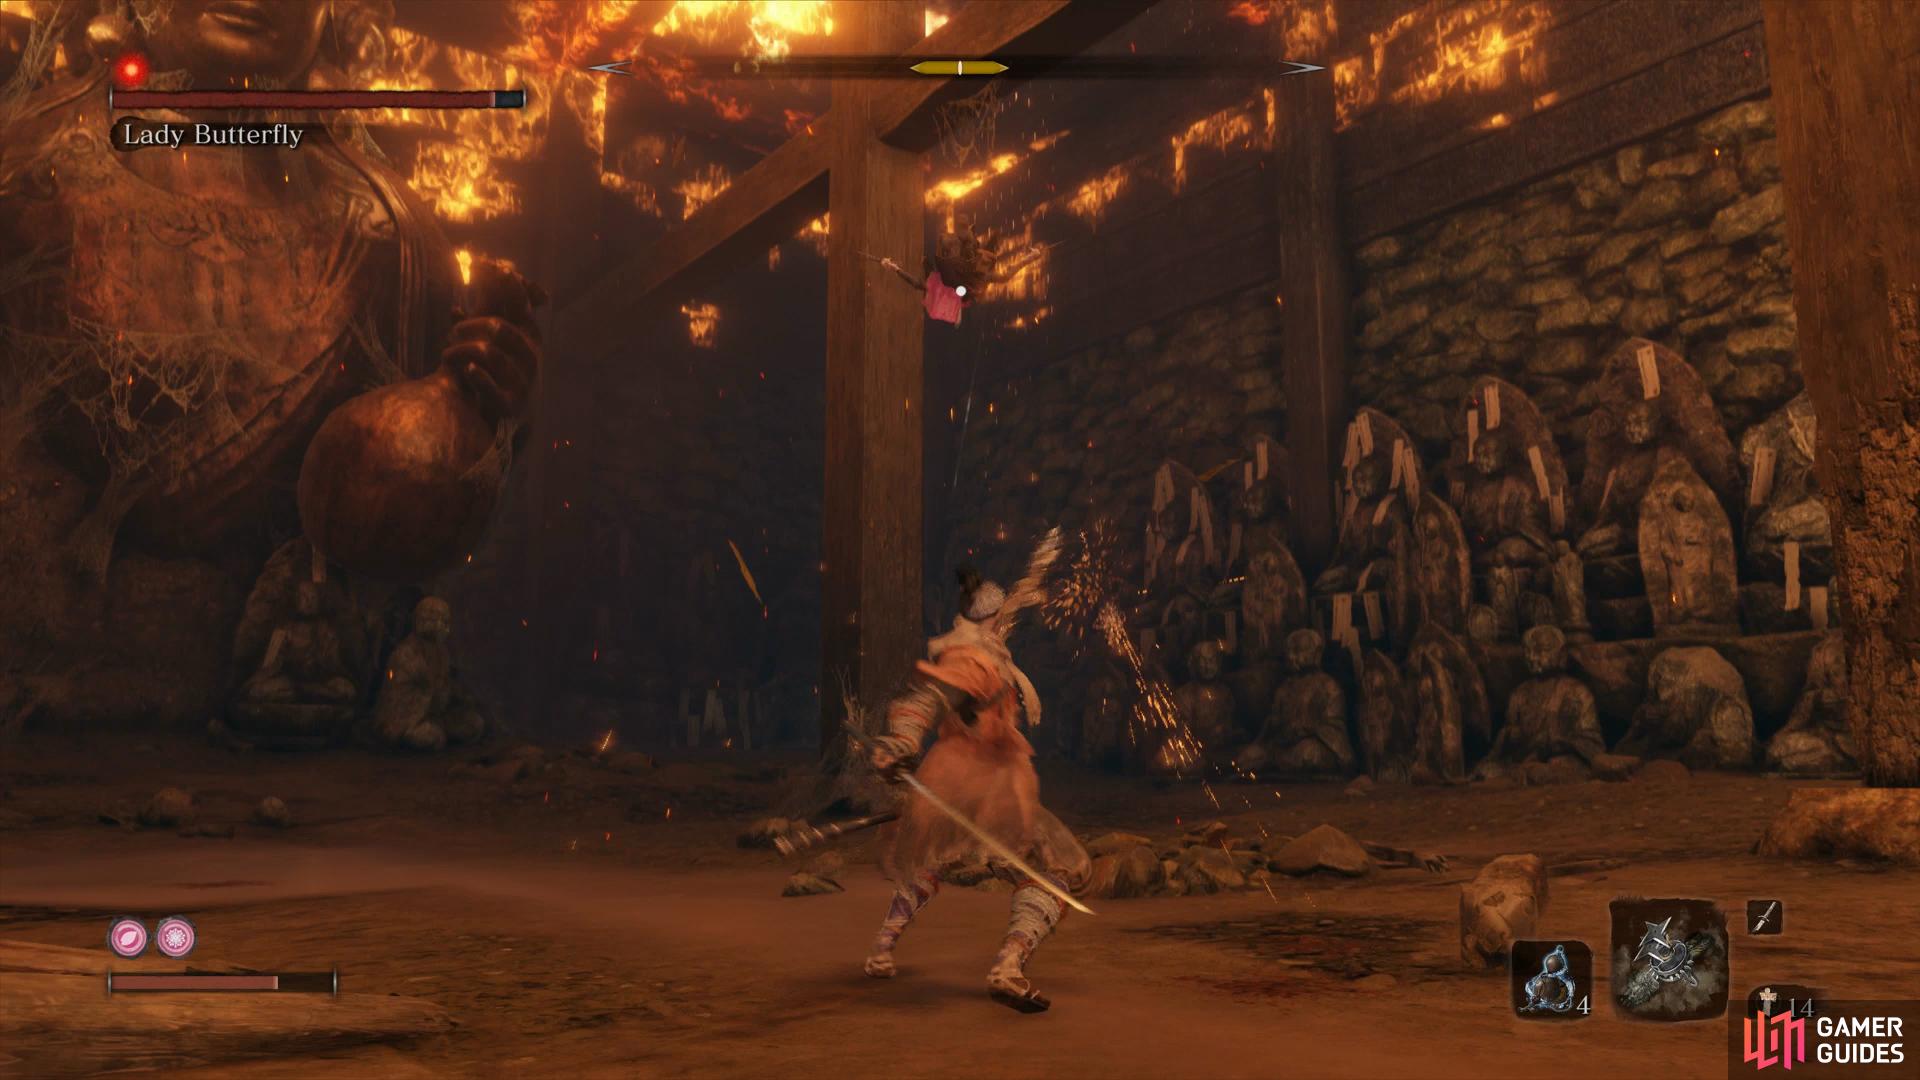
You’ll enter Phase Two once you perform the first Deathblow on her and she’ll retreat. Quickly rush to where the Statue is at the end of the arena and wait for her to drop to score some easy strikes at the start of this phase. Although she retains most of her attacks from phase one, she adds some new nasty attacks here.
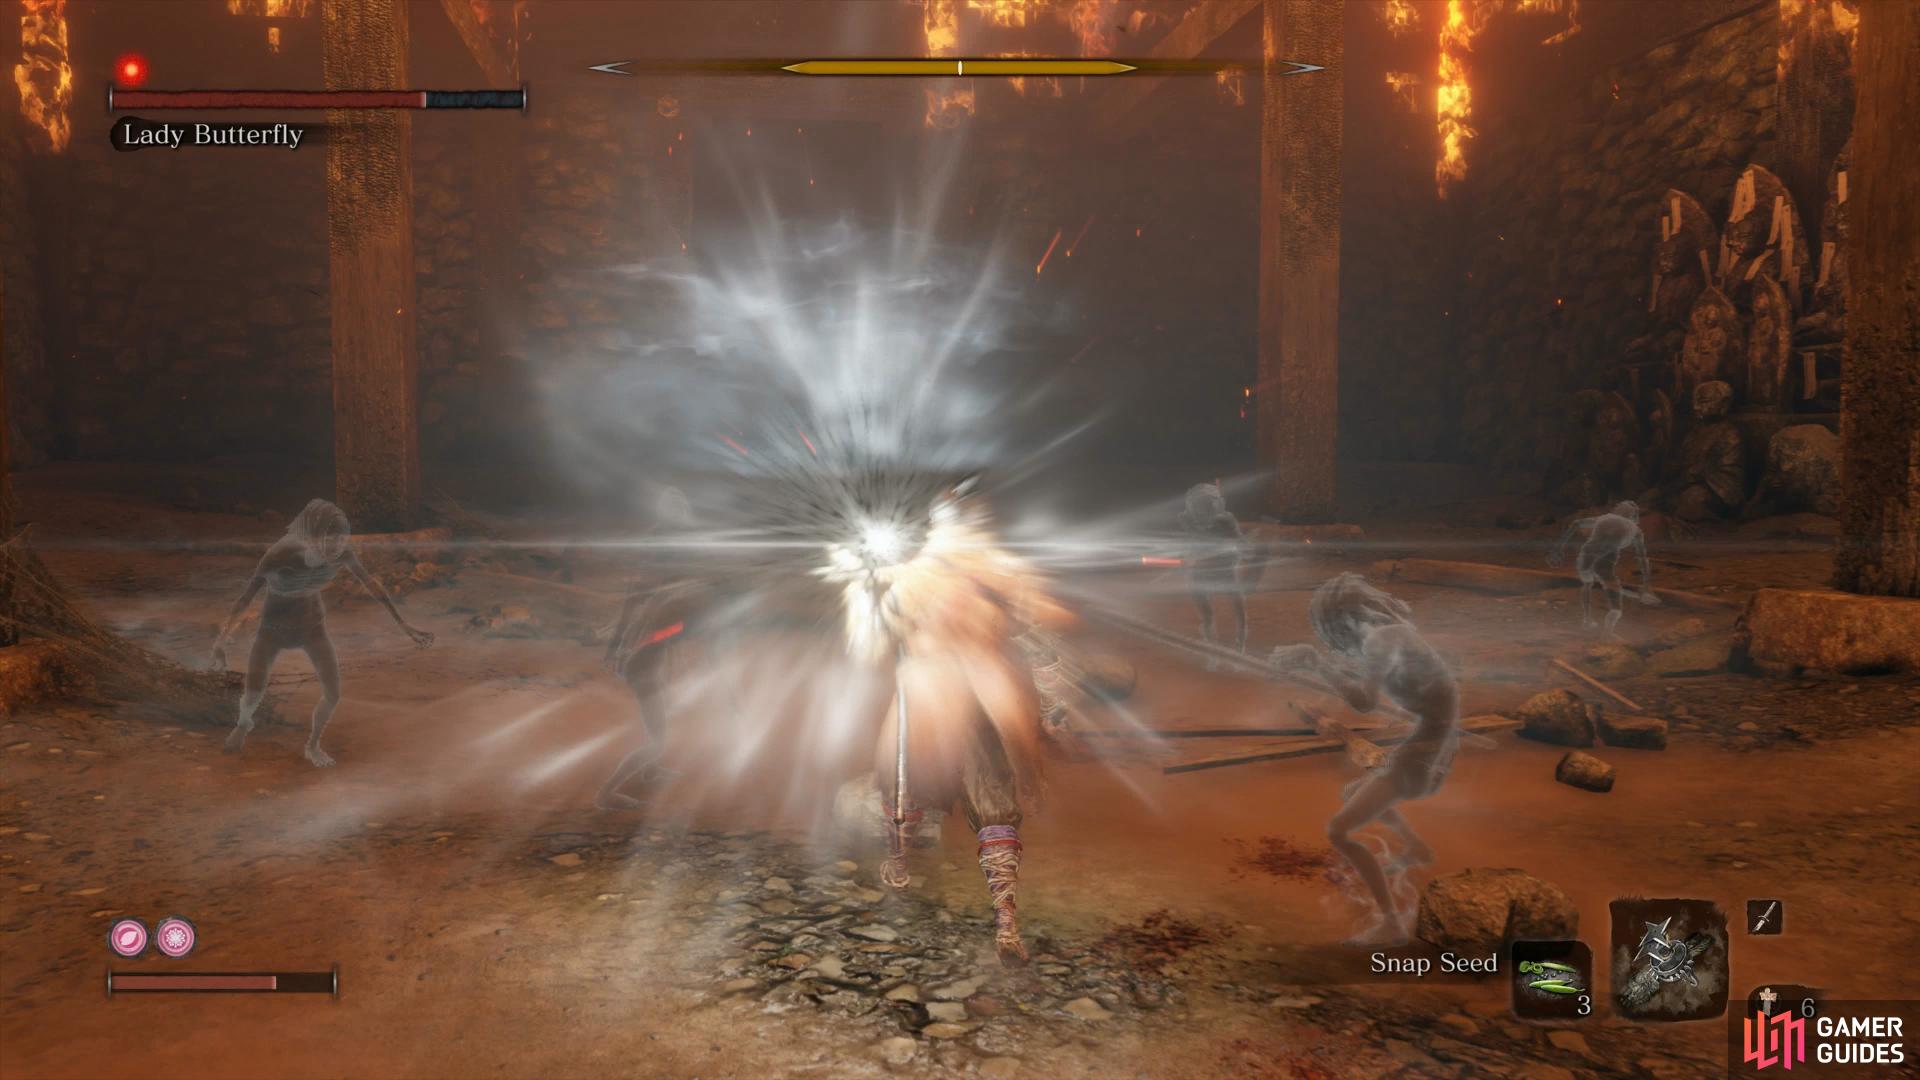
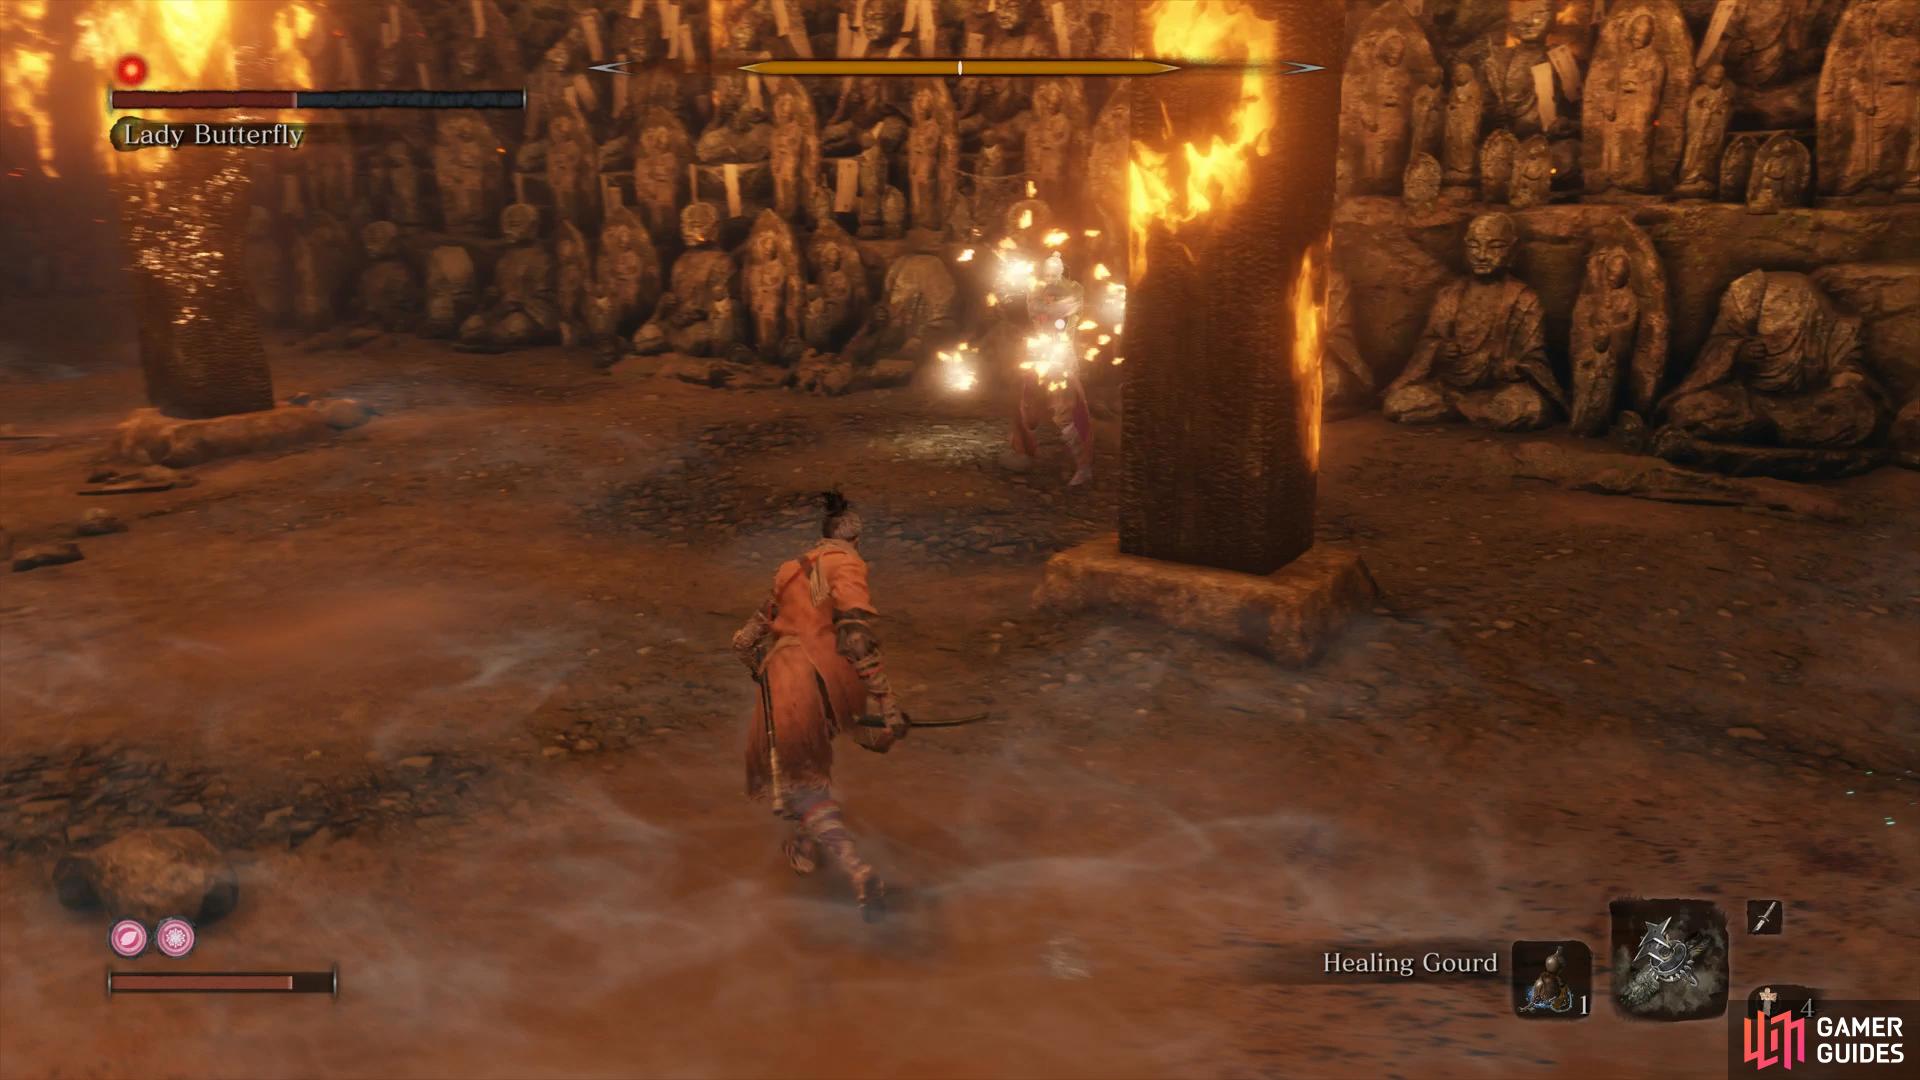
Lady Butterfly will conjure up illusions that fill the room and, after a short period of time, will morph into Phantom Butterflies that will all shoot at you at once. There are two different ways of handling this attack, the first is making use of the Snap Seeds you assigned, these will instantly remove any of the Illusions around your vicinity causing less Butterflies to shoot at you. The other, and more easier way, to handle this attack is to disengage lock on and begin sprinting around the outside of the arena in a circle until the attack is over and the Butterflies are no more.
Additionally, her ground combos will have a Phantom Illusion on them and butterflies will shoot towards you while she strikes you. You can deflect these but you’ll still take chip damage and it will add up over time. Instead, wait for the Butterflies to fly at you and hide behind a pillar before returning to your assault.
Attacking her remains the same as the first phase just that you’ll need to be more careful as you’ll most likely be low on healing by this point. If you find yourself low on Spirit Emblems, opt to kill one or two of the Illusions (one single strike is enough) to replenish your ranks and utilize the Shurikens against her once more.

(1 of 3) Stand under the statue to get some free hits on her
This will be a battle that you’ll likely have to attempt many times until you learn her attacks and tells so that you reach the second phase with as much healing as possible. Your reward for this gruelling battle is Memory: Lady Butterfly and a Sakura Droplet, an item that can be used later in your journey to enhance Wolf’s Ressurrection power.


The memory will come to an end following your encounter with Lady Butterfly as Wolf is struck down from behind and saved by Lord Kuro. Back in the Dilapidated Temple, speak to the Suclptor and then hand over the Unrefined Sake over to him or Emma for some more Lore (your choice is personal preference). Rest at the Idol here and Enhance your Attack Power before making your way back to the Ashina Castle Gate Idol to continue your journey to the castle.

 Sign up
No Comments