
Tirith Mesas
| Herbs | Artifacts | Ithildin |
|---|---|---|
| Blue Milk | Crushed Spider Egg | ban a gellatha |
| Carandol | Coded Journal Entry #3 | Natha Ie calad arphigad |
| Orchamarth | ||
| Athelas | ||
| Elgaran | ||
| Earthbread | ||
| Alfirin | ||
| Mallos | ||
| Gwinuial |
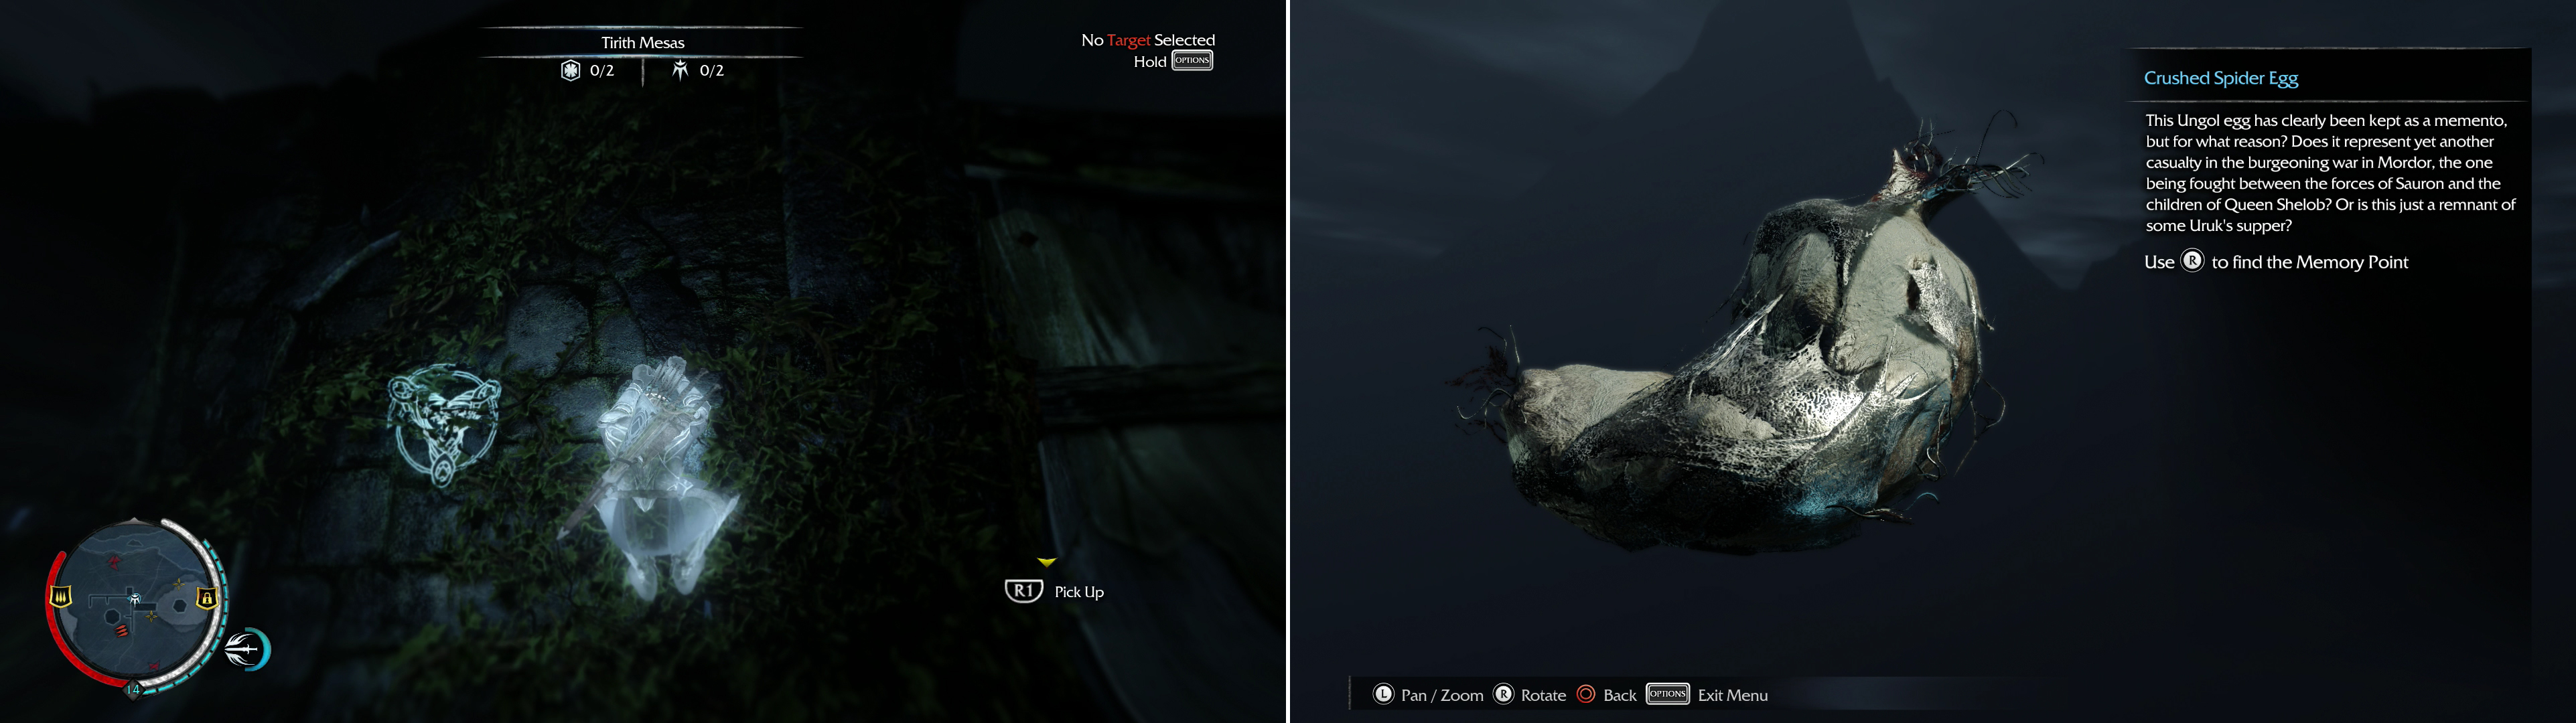
Climb a vine-covered tower to find the “Natha Ie calad arphigad” Ithildin (left) and pick up the Crushed Spider Egg (right).
Head north around the buildings until you reach an elevated Uruk campsite. A bridge connects this campsite to some ruins to the west, which is technically in Tirith Mesas. On the east-facing wall of the ruins north of the bridge you’ll find the “ban a gellatha” Ithilidin. Might as well grab it on our way to the Forge Tower.
Speaking of which, from the ruins head west between two elevated land masses, go past the “Big Game” mission marker, under a bridge, and north, then west around some unscalable rock. As you head west around this large unscalable rock formation, look north to spot a vine-covered tower. Climb it to find the “Natha le calad arphigad” Ithildin on the top-most north-facing wall.
Now head south and scale some cliffs to find the Tirith Mesas Forge Tower. When struck it’ll reveal that this area has two Ithildin (or rather, had) and two Artifacts. From the tower head south-east and take a zipline down to lower ground (or just jump, if you want to be all boring-like). The zipline terminates at a wooden bridge, which, from experience, we know is the preferred resting spot of Artifacts. And so it is. Under the bridge, to the east, you’ll find the Crushed Spider Egg Artifact. Travel south to find some caves, which are sparsely occupied by some Uruks. Kill them, then explore an alcove to the south-west to find the Coded Journal Entry #3 .
Celon Poros
| Herbs | Artifacts | Ithildin |
|---|---|---|
| Orchamarth | Ornate Cameo | Nin gostatha gwaith |
| Elgaran | Medallion Half 1 | |
| Alfirin | Medallion Half 2 | |
| Mallos | ||
| Gwinuial | ||
| Earthbread | ||
| Carandol | ||
| Athelas |
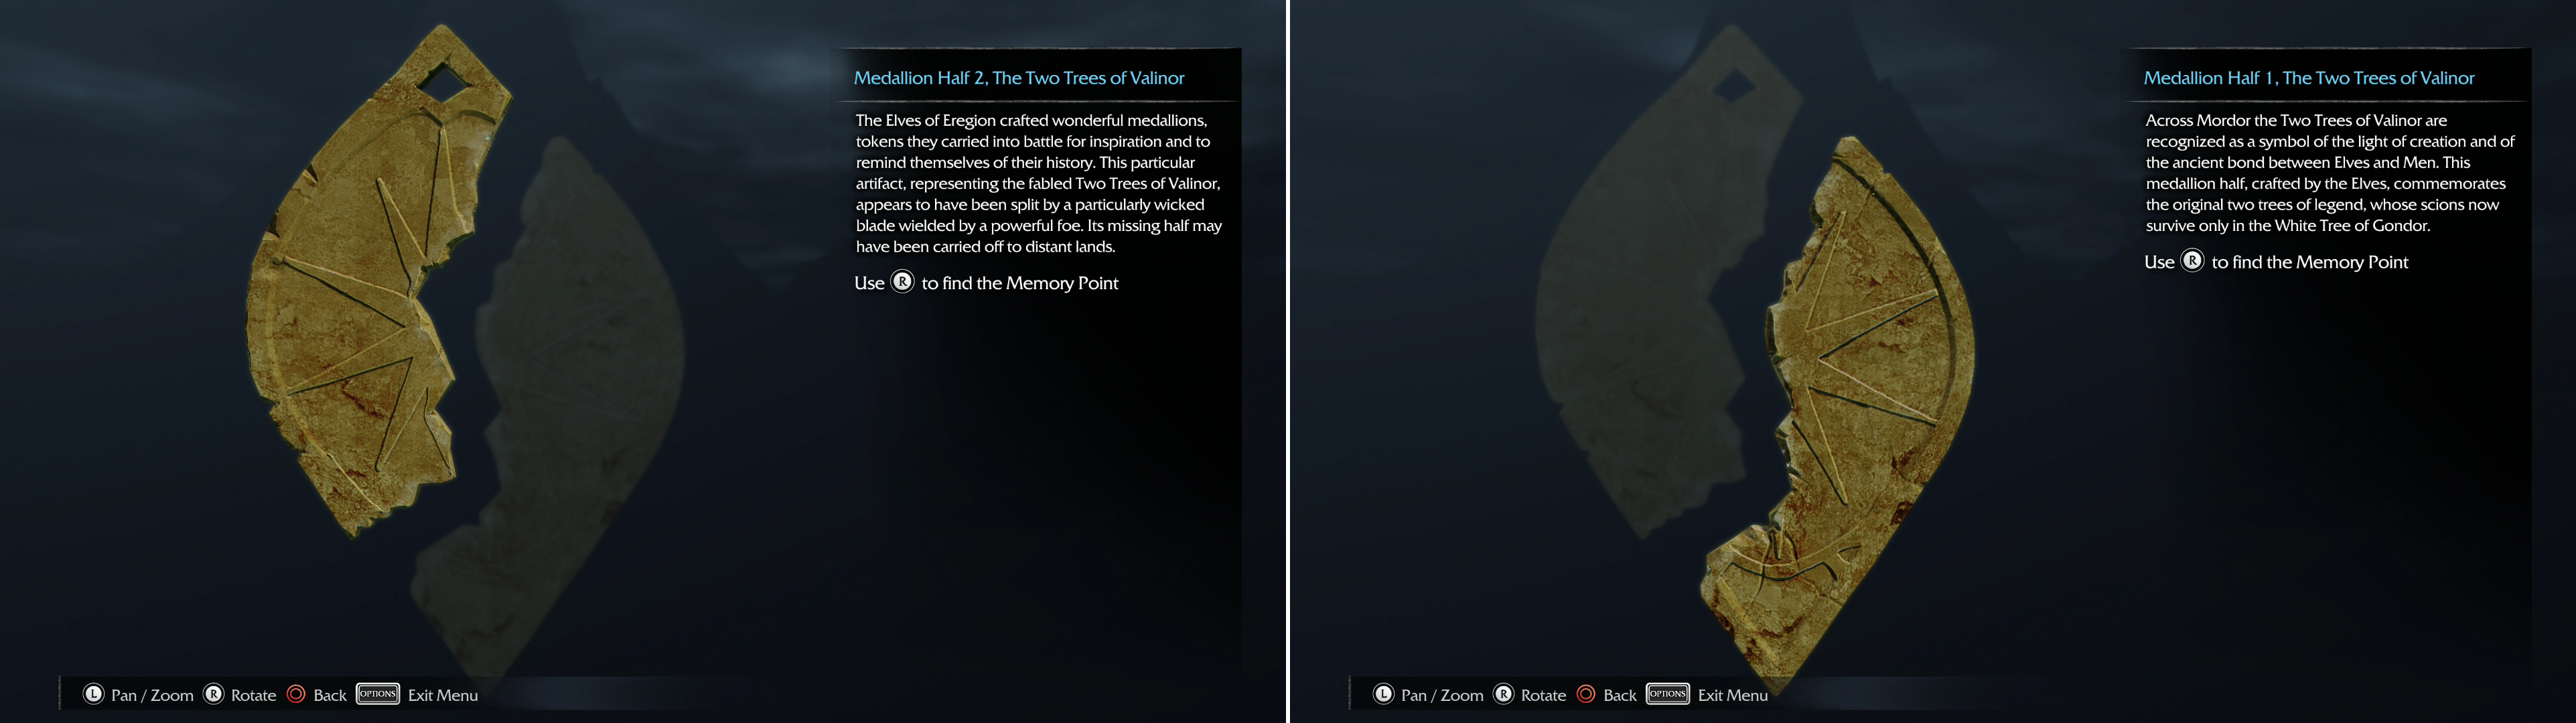
Find the left (left) and right halves of the Medallion (right).
Fast travel back to the Tirith Mesas Forge Tower and journey north, crossing a shallow river to reach Celon Poros. This busy area is home to three Artifacts, an Ithildin, and two Legendary Weapon missions. Head to the north-western corner of the area where you’ll find some ruins over-looking the sea. The “Nin gostatha gwaith” Ithildin can be found on the tallest surviving bit of stone, and the Ornate Cameo Artifact is just beyond it, to the north-west.
From these ruins follow the northern cliffs to the east until you find a cave. Dispatch whatever beasts lurk within and head inside to find the Medallion Half 1, The Two Trees of Valinor Artifact. Leave the cave and continue following the northern cliffs to the east until you pass between an unscalable rock to the south-east, and the cliffs to the north-west. Keep going north-east until you’re about the exit to the Cape of Nurn to the north, then turn south-east to find another, larger unscalable rock formation. Along these mossy rocks, behind some bushes, you’ll find the Medallion Half 2, The Two Trees of Valinor Artifact.
Turn south-east explore until you find the Legendary Weapon missions-the Dagger Mission “Fatal Secrets” , and south-east of that, the Sword Mission “The Dark Rider” , neither of which is terribly difficult.

 Sign up
No Comments