You don’t have to carry Medli up the stairs with you; you’ll be coming back in a second. Go through the door on the left after climbing up the stairs.
You’ll end up in a simple room with a ledge and the door on one half, and five coffins in a pit on the other half. When you approach these coffins, the lids on them will fall off. From left to right, they contain:
- A Redead
- A Yellow Rupee (Value: 10 Rupees)
- A Redead
- A Redead
- A small key
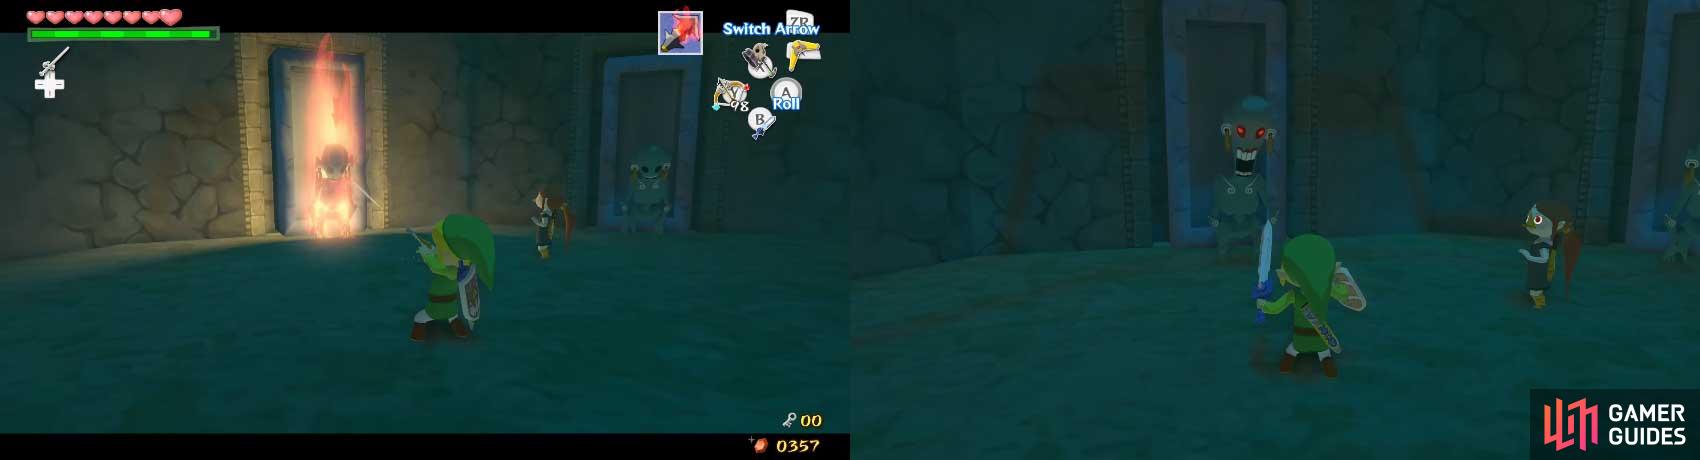
The Redeads are obviously new to you. Firstly, when you first see them, they appear to be asleep. However, when you get close to one, it suddenly shrieks, consequentially stunning Link. This can give the Redead time to come close to you and bite on Link’s head a few times for quite a bit of damage.
Your best best is to open the coffin, run away, then inch closer to the Redead so that you have a chance of avoiding the bite. Kill them (again?) with a sword combo or two. They will lay on the ground for a moment, then give their spoils. Try to fight one at a time - it is much easier that way.
Open the other coffins for their spoils, making absolutely sure to grab the one on the far right (the small key). When all of the Redeads have been killed (again?), a ladder will drop. Climb up it and go through the door.
Next, head through the door on your left. It was locked earlier, which is why you didn’t go through it.
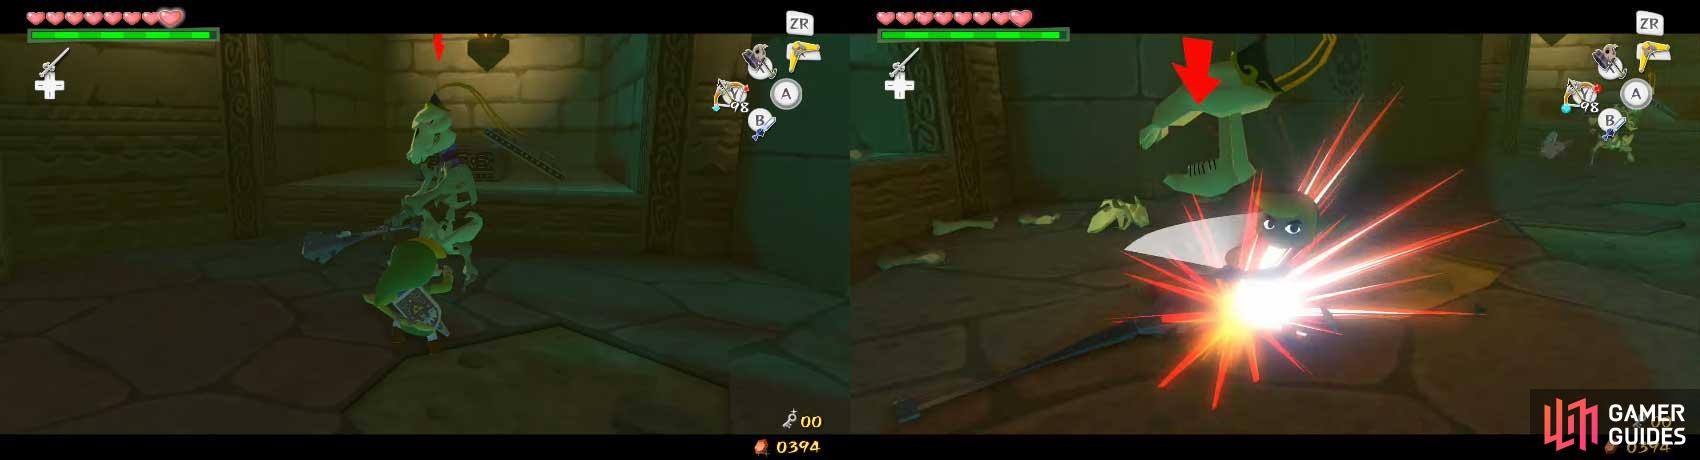
As you move forward, yet another enemy makes it debut. The Stalfos, a skeleton with a spiked mace for a weapon, shall be your mini-boss of sorts. They are among the strongest normal enemies in the whole game; some even say the strongest.
A Stalfos can send you flying with its only attack - a Hurricane Spin of sorts - if you don’t shield. The only way to hurt it is to strike the head repeatedly. This is no easy feat, seeing as it is almost twice as tall as Link! So what to do….
You could repeatedly strike at it with the sword and hope to get lucky, stun and hit them with the sword, or use a Bomb. The hard thing about using the Bomb is the timing. It works best while the Stalfos is swinging around. If it hits the Bomb, it and the Stalfos will explode.
At whichever point that the skeleton is separated, equip the Boomerang and quickly L-target the skull. Hit and stun it, then run up to it and repeatedly strike it as many times as you can. There is only a short time before the skeleton’s bones rejoin together! While it does, a small brown tornado will appear, binding the bones together. At this point, you cannot hit the Stalfos whatsoever.
When the skeleton has fully rejoined, take it from the top. After defeating the first Stalfos, two more shall appear.
Defeat those in a similar manner, and a staircase shall be formed out of stone slabs. At the staircase’s peak, you’ll find a treasure chest. Open it to receive the Mirror Shield , which replaces your regular shield.
This shield is made out of metal – not wood, like your old one – and has been shined to such a point that it can reflect light similarly to Medli’s harp! To use it, draw the Master Sword or an item and use R as usual to defend. When in light, use the Control Stick to control which way the shield faces and where the light goes. Finally, go through the door to the previous room.
Back in the room before the Stalfos fight, return to the lower portion of the room and defeat the enemies again. Next, use the Command Melody to take control of Medli and fly her up to the beam of light. Have her reflect it to the near-center of the room.
Press R to return to Link and have him walk into the beam of light. Draw the Master Sword, then press and hold R while moving the Control Stick to direct the light at the yellow swirly on the wall below Medli. The section of the wall will disintegrate, revealing a secret passage. Retake control of Medli and walk her down the passage until you reach the beam of light near the door.
Reflect it at a nearby statue. When it disintegrates, and reveals a Blue Rupee (value of 5 Rupees) that you can grab later as Link, aim the beam of light eastward, then retake control of Link. Walk down the passage until you find Medli’s beam of light.
Use the Mirror Shield to reflect this to another yellow swirly near the entrance of the passage, revealing an 80-Rupee stash. When ready, pick Medli up and go through the door.
You’ll emerge on a ledge high above and to the left of the face. (You remember the room with lots of blue fog, right?) Make sure Link is holding Medli, then jump off of the ledge. Medli should fly the two of you back to the ledge with the two light beams.
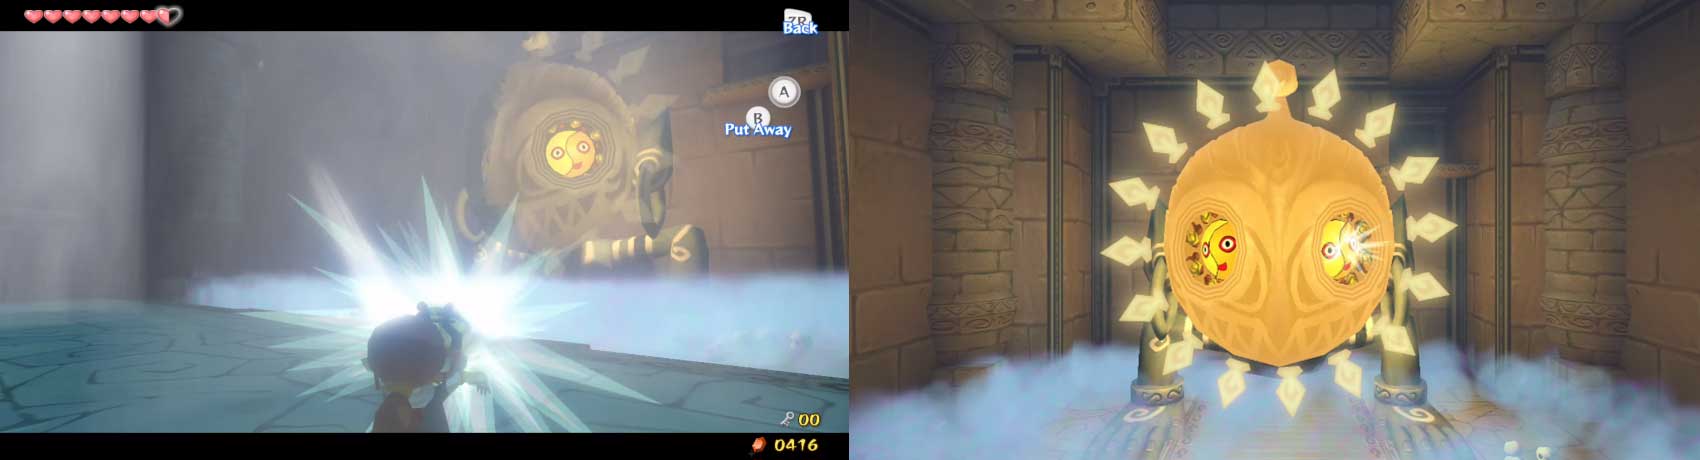
Now, it is time to reveal the true purpose of both of these beams. First, take control of Medli via the Command Melody. Walk her into one of the beams of light and begin reflecting light.
Whichever beam she is in (left or right), aim the reflected light at that side of the sinister face (left beam = left side; right beam = right side). Next, make sure that the beam is making full contact - if it is, the face will light up. Hold the beam in that position and press R to return to Link.
Walk into the other beam of light as Link and aim a reflected beam of light at the unlit side of the face. Once both sides of the face are lit up, it will become much brighter in the room.
The blue fog will dissipate and the beams of light will disappear among the rest of the light. Stone slabs will be lowered underneath the now-shining face to make a staircase. Pick up Medli and go down the stairs and through the door.
Set Medli down and go down the stairs. Once you emerge from the staircase, you’ll end up facing a bridge high above a floor, barely above which is some blue fog. Think you are safe from blue fog? YOU WISH.
Over the bridge, you’ll find two Red Bubbles, but they something blue, not red, around them. These are Blue Bubbles.
Similarly to how Red Bubbles burn you, Blue Bubbles will bestow upon you the negative effects of the blue fog - temporal disabling of items and your sword! BLOCK ANY OF THEIR CHARGES!!!
As you may have understood, getting near the Blue Bubbles in general will blue-fog you. How to defeat them, then? Either hit them with a Deku Leaf wind gust or an Ice Arrow to disable their fog and make them mere skulls; hit them to defeat them. In this case, try to make them land on the bridge or carry Medli across very quickly.
If you end up falling, you’ll hit the blue fog and have to deal with several Floormasters as you make your way to the ladder on the northern side of the room. On the south side of the room, you’ll find a large stone slab with the Wind Waker directions for the Earth God’s Lyric inscribed upon it. Play the song to have Medli play it, destroying the slab. Go through the newly-revealed door.
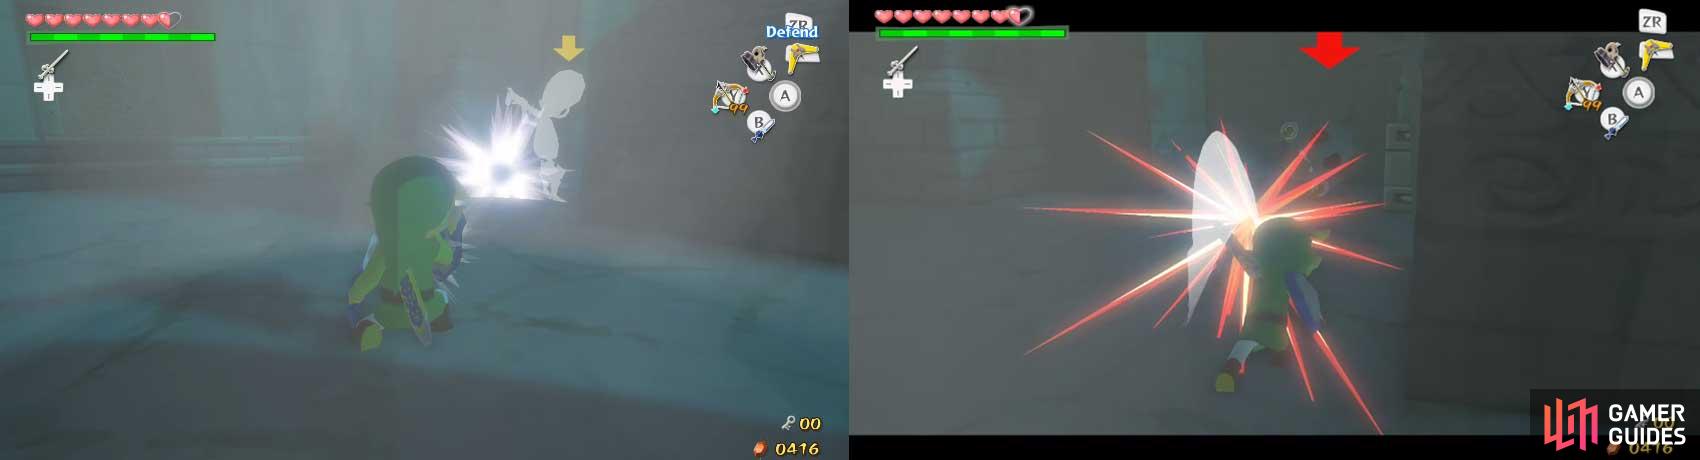
Set Medli down as you enter the room. In this room, you’ll encounter two Redeads. This time, however, you can exploit their weakness - light. Have Link walk into the beam of light near the middle of the room. Lock-on to one Redead and draw your sword. Shield to reflect light at the Redead for about three to five seconds.
Run over to the monster and repeatedly strike it to hopefully kill it before it does it shriek-and-crunch manoeuvre. Repeat this with the other Redead. Next, re-enter the light beam and aim it northwards, at the statue on top of the block. Finally, reflect light onto both mirrors to get rid of some statues blocking some doors. Now, leave Medli and go through the west door.

 Sign up
No Comments