The first room is simple: go through the door. Your first observation in this next room is that you’ll have to glide across to the other ledge using the Deku Leaf. You are correct, but there is a problem: two powerful downdrafts are located about 2/3 of the way across. So how do you go about getting rid of them?
Well, first set Makar down and jump into the lower area of the room. You’ll encounter a Wizzrobe; defeat it with a couple of Arrows or an Elemental Arrow. As you approach the opposite ledge, you’ll encounter a Stalfos digging itself out of the ground. Defeat it as you normally would, but note this: for some odd reason, when it is against a wall, you cannot hit the head. After defeating the Stalfos, use a Bomb to unseal the warp jar to your left.
Next, use the Command Melody to control Makar. Have him walk/fly into the lowered area and go near the two mounds of soil. The A button should begin to react. Press it to make Makar drop a seed into the soil, which will RAPIDLY grow a large tree. Repeat this with the other mound. A chest will appear; we’ll open it later.
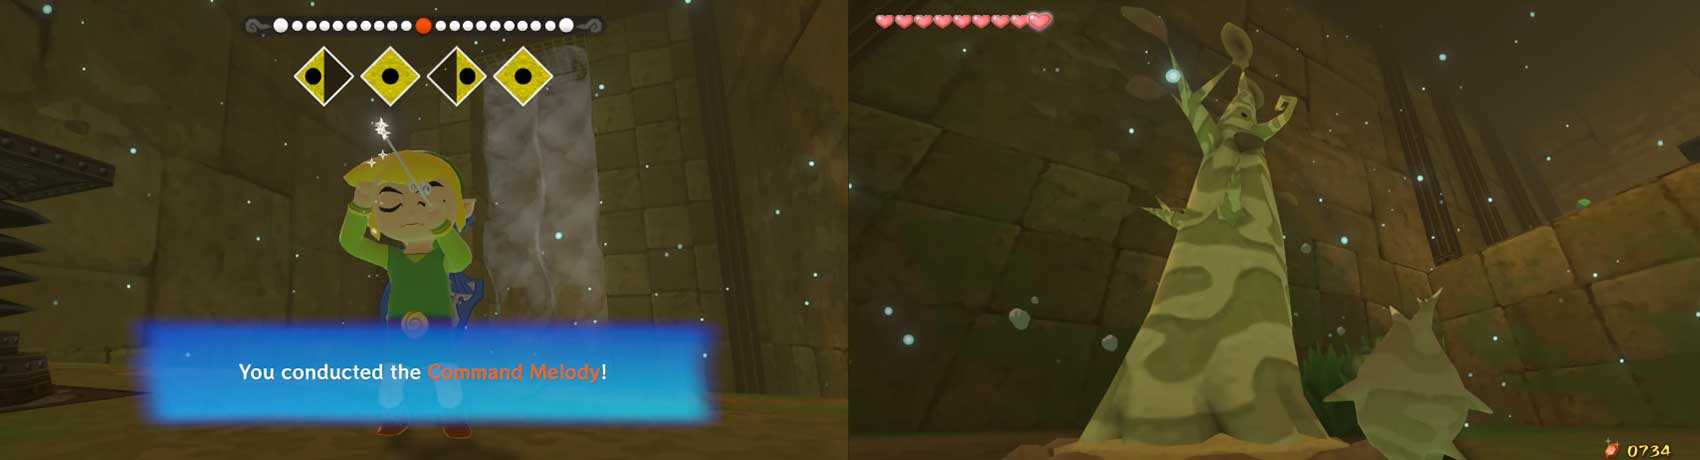
Still as Makar, fly up to the ledge that you haven’t been on and step on the switch, then return to Link.
As Link, open the chest to get an Orange Rupee (value of 100 Rupees). Now, head back to ledge you entered onto. To get up, you’ll have to use the nearby springboard. Get on it and equip the Iron Boots.
Unequip them to make Link spring into the air; like with the Boko Baba Buds from Forest Haven, use the Control Stick to move Link in the direction you wish for him to go. On the ledge, you’ll find another springboard.
Get onto it and use the Iron Boots (make sure that the Deku Leaf is set to a button by now!). Take them off and Link will spring into the air once more. While in the air, whip out the Deku Leaf and glide to the ledge that Makar is on. Pick him up and go through the door.
This room is separated by a large screen of sorts. Firstly, set Makar down. On your side, you will encounter two Armos. Defeat them and then proceed to the wind switch. Blow a gust of air at it with the Deku Leaf. This will rotate the screen in such a way that you will be allowed to pass.
Ignore the rest of the switches; they are used to control the screen from the other side. Nearby, you’ll find a moving blade. It moves in a regular rhythm, so don’t worry. With some timing, get past and to the opposite side of the room. With the Command Melody, control Makar and bring him to Link’s side of the room. There, have him plant tree seeds in the two mounds of dirt. This will unseal the door. Retake control of Link and pick up Makar. Go into the next room.

This room consists of several ledges with mounds of soil on each. Link, at this time, cannot travel any further. Instead, take control of Makar and fly up to each and every of the three ledges and plant a tree.
As he plants the third tree, four Floormasters will suddenly appear and kidnap Makar (that makes twice!). Somewhat fortunately, the nearby door will also unseal. When you are given control of Link, proceed through it.
You are now entering the one room you are definitely tired of - a multilevel cylindrical room! The level you’re on consists of four alcoves, with one a bit higher than the others and unreachable from this level at this time, a jail cell in the alcove to your left, and a screen blocking you from the below levels.
Head to the alcove to your left (the “jail cell”) to see Makar! The way out is blocked by a VERY heavy stone; so heavy that not even the Power Bracelets can help you! Makar says that you’d have to be as heavy as the Great Deku Tree to move it. He is only partially correct, as you’ll see later.
Anyhow, you cannot move/destroy/lift the stone at the moment, so you’ll just have to continue without Makar. To the right of your current location, you’ll find another alcove (the eastern one) with two Armos Knights in it. Defeat or dodge them and go through the door.
This room has another wind switch-operable screen. But where’s the switch? Go past the moving blade and you’ll find a block in the floor with cracks on it. Now, I hope you have fast reflexes, because here’s the easy way of doing, and here’s why: below you is the switch.
The block will be broken if enough weight is on it (ie. Link w/Iron Boots) and drop you below.
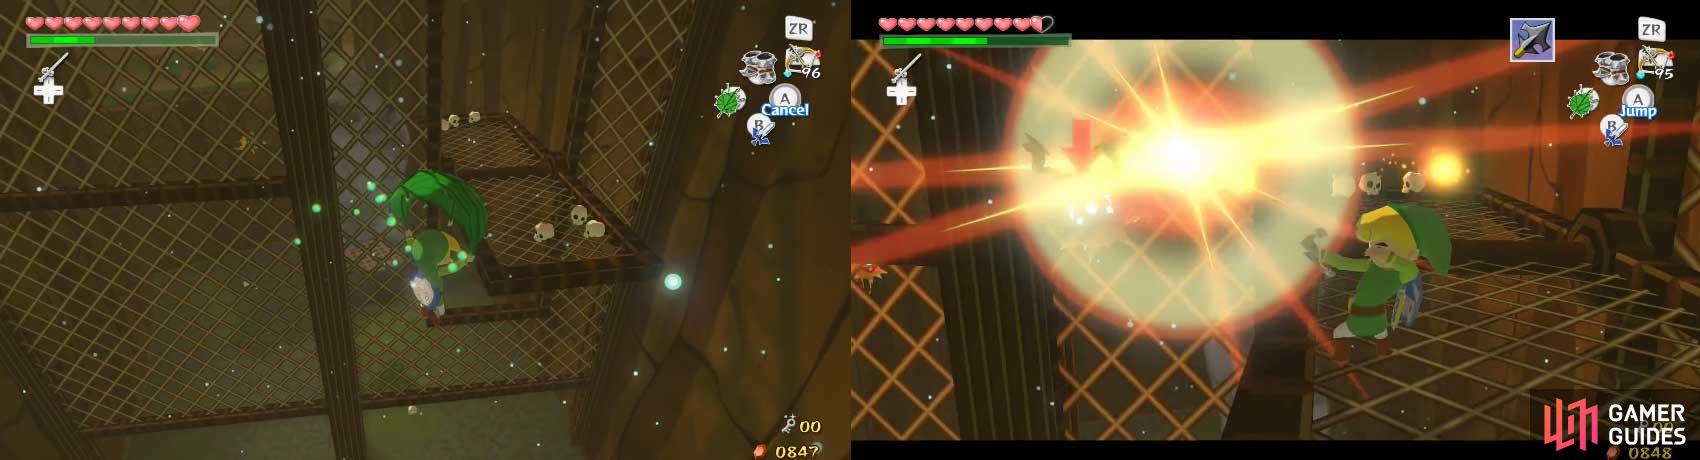
However, there is a Floormaster circling the switch and, due to a glitch or Nintendo being a douche or something, it WILL attempt to grab you if you so much as get near it. So, get onto the block (if there’s a second (or more) block, use the one to the right of the entrance) and equip the Iron Boots.
You’ll fall below onto a springboard, which will ready itself. As soon as it is ready, unequip the boots and you’ll most likely escape the Floormaster.
Now, hang over the edge of the hole and use the C-Stick so that you can see where the Floormaster is. Once it is a fair distance from the springboard, quickly drop down, equip the Iron Boots, blow a gust of wind at the switch via Deku Leaf, and unequip the Iron Boots.
You should likely escape once more and rotate the screen. Once on the upper level, go across the screen, getting the Joy Pendant from the chest in the alcove as you go. Defeat the Peahats with the Boomerang and avoid the slicer-thing. On the other side of the room, you’ll find a stone slab with the Wind God’s Aria written on it. An exit is behind it, but Makar isn’t with you right now. Go through the other door instead.
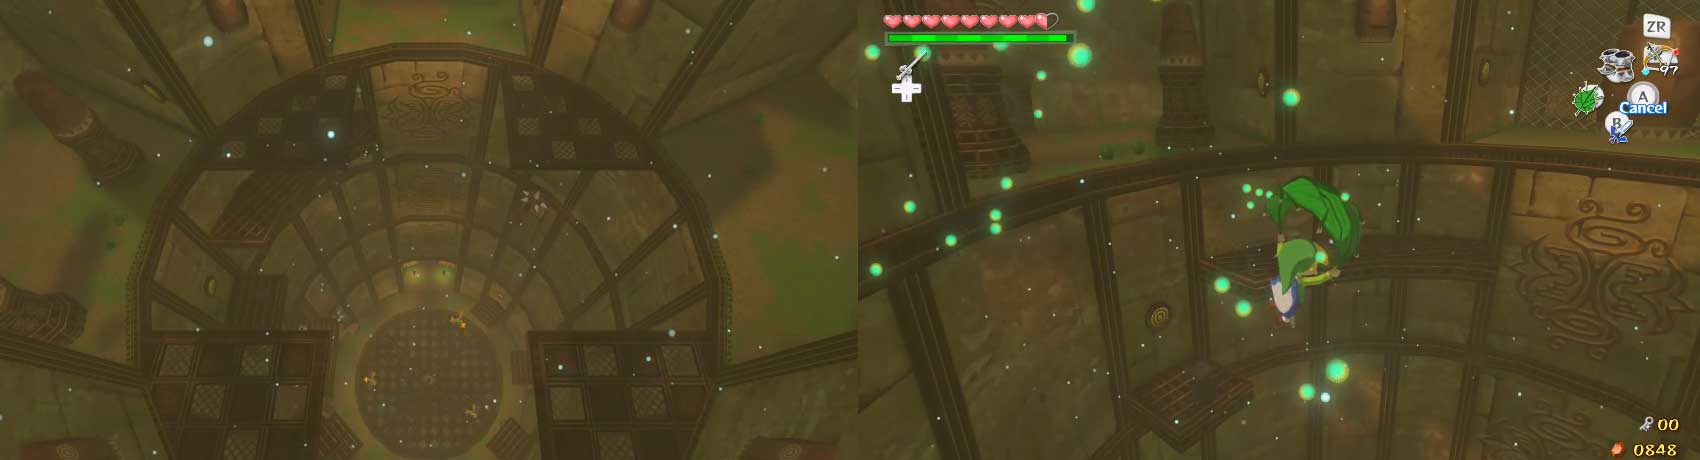
If you got the Magic Upgrade, it will definitely pay off here. In this room, you’ll travel around mostly by gliding.
You can tell that it will be tough surviving on an unimproved Magic Gauge just by the size. To make thing worse, there are Grabbing Hands covering the floor.
If you remember Forest Haven, you’ll remember that these enemies come in unlimited sets of two to five and stick their hands into Link to take his magic. For most of this area, you will use the updrafts in conjunction with the Deku Leaf to fly from rotated ledge-like screen to rotated ledge-like screen. You’ll quite quickly (I think near the start) come across a non-rotated screen.
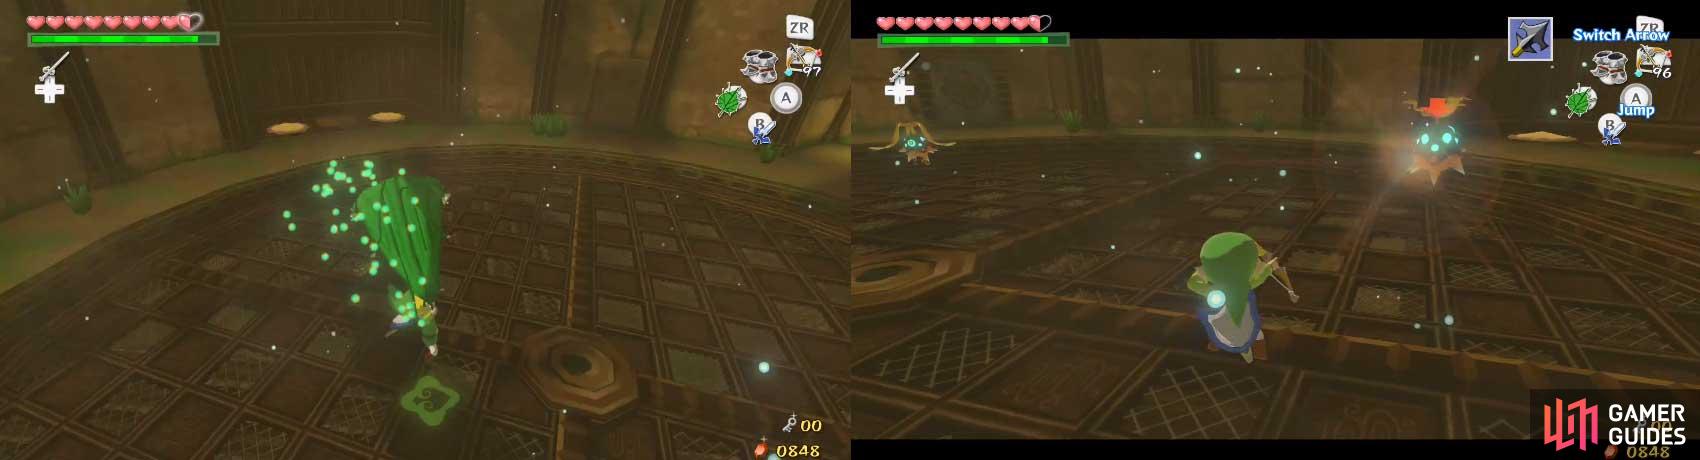
Jump into the nearby updraft and go to one of the ledges near the screen. One of the ledges have a switch on it; press it to rotate the screen. A Wizzrobe will attack you; attempt to lock-on and kill it via Arrow/Elemental Arrow. Get some magic refills in the grass nearby, then continue by going to the updraft and heading south. You’ll reach a ledge soon. The ledge has a chest with the Dungeon Map in it.
Get some magic refilled, then head back to the ledge before the fork in the road. Take the other path. On the last ledge, a Wizzrobe and a few Peahats will attack from the exit ledge – attack back! If you use Arrows, you’ll have to manually aim. When the enemies are dead, strike the nearby skulls to refill you’re magic before heading to the next ledge. There, cut some grass to refill your magic yet again and go through the door.
You end up back in the large room from earlier, on one of the higher ledges. Bomb the nearby warp jar to unseal it, then step on the nearby switch. This will mess with the screen nearby so that it becomes open, revealing another floor below. Since you can’t go anywhere but there, jump into the gaping pit.
Make sure to whip you the Deku Leaf before hitting the ground to break your fall (and probably your arms).
The parts of the basement available to you are limited to the currently unopened screen and the two doors surrounding the area. One of these doors is locked, so go through the other one.

 Sign up
No Comments