Start the Climb Up to the Research Base
We are off to save the day, but first let’s finish some stuff. Firstly, talk to everyone at camp again until you can’t anymore, making sure you talk to Jonah who is north of the camp, to complete the Chatterbox trophy/achievement.


Rest at the camp to hear Lara’s Journals: The Promise document and then enter the hidden tomb to the east.
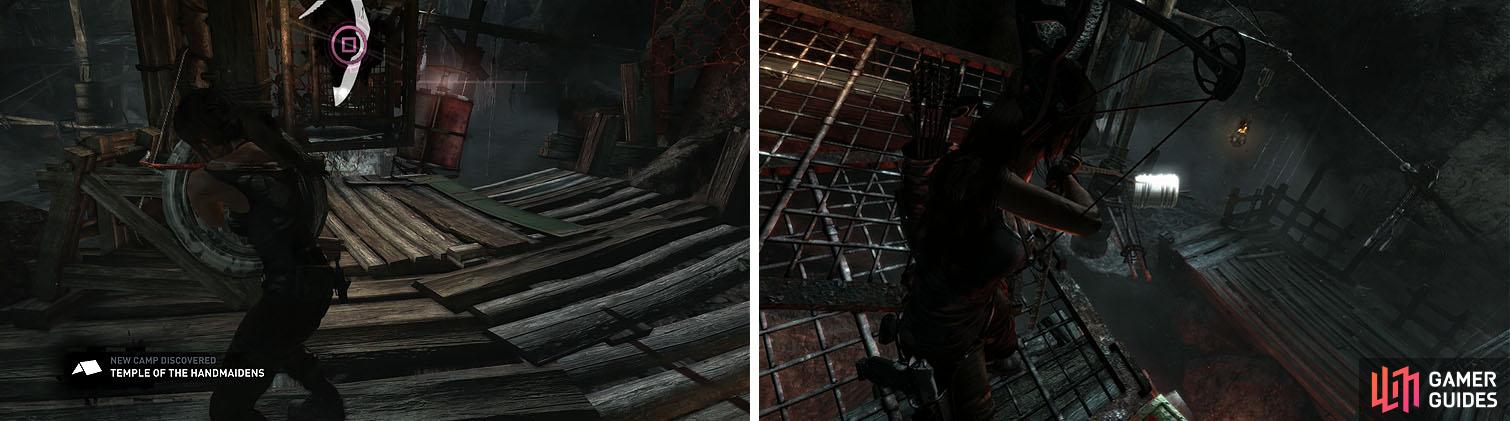
- Temple of the Handmaidens -
Follow the long path to the heart of the tomb, where you’ll find a buoy and a wheel that can be turned with your Pry Axe. This tomb is very easy and fast, but the timing requirement and lack of knowledge can make it seem more difficult than it actually is.
The basics of the puzzle is that once the wheel is turned and the buoy is released, it will follow the river and push two bars that create paths for Lara.
Start by raising the platform with the wheel and then follow the path left, waiting for the buoy to create a path. On the next platform, quickly rope arrow the structure in the water before the buoy reaches it. This will move the post halfway toward Lara, allowing the buoy to push it the rest of the way to reach the treasure room.
This will unlock 1250 XP , 250 Salvage , the Shipwreck Beach GPS Cache Map , a Handgun part, and the Intellectually Superior trophy/achievement.
Raise the platform to release the buoy and then follow it to reach the treasure.


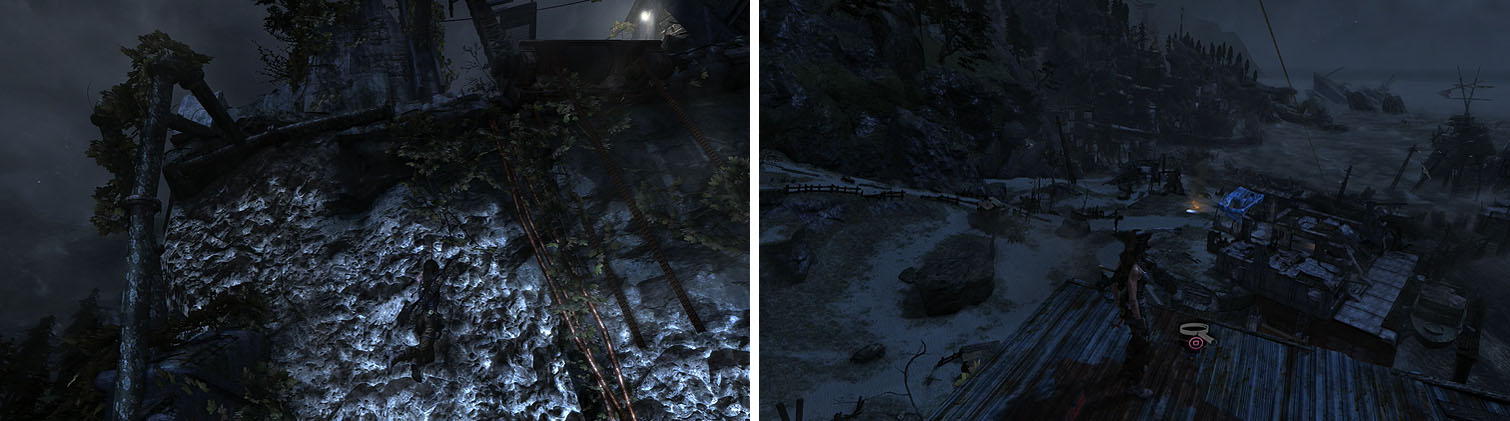
Make your way to the northwest edge of the beach to find a roped door that can finally be removed with the rope ascender and then pull the lever to drop the elevator. Climb the back of the elevator shaft and then scramble up the wall to grab the rocky wall. You can now hop over the wires, climb up to the left and drop on the other side of the shaft to find some Salvage before reaching the top. [100 XP]
Enter the Research Base
Open the metal Salvage crate to the left and then face the elevator shaft. The pillar to the left of the shaft can be scrambled up to reach the top of the elevator shaft to find a GPS Cache 14 and then create a rope arrow to the rocky wall.
Climb up the elevator shaft to the top, where you can find a GPS Cache on top.
Check behind the wall for the Endurance Officers - Whitman: My Great Discovery document and then head between the water tower and the other tower for the GPS Cache 15 . You can now scramble up the wall to jump to the water tower circling around it to climb up.
Jump to the ladder and climb up to reach a platform where you can rope arrow the gondola closer and then jump across and pull the second gondola closer to continue. You can now slide down the rope to reach the research base.
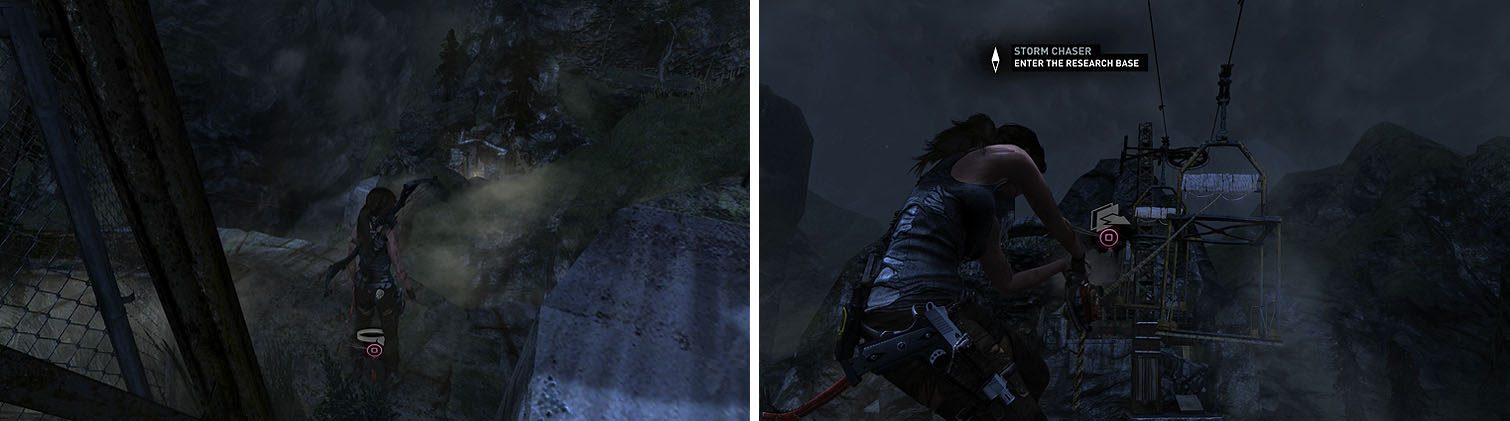
Check between the two towers for a GPS Cache before heading up to the gondolas.
Scramble up the wall and shimmy around the outside of the base and then climb up the ladder and rocky wall to find some Salvage . Jump the gap and scramble the wall to the right to hide behind a crate while you wait for the two Solarii guards to finish their conversation and then dispatch them.
Spot the rocky wall on the side of the base and use the pipe to reach it and then follow the linear path, creating a rope bridge to another rocky wall. Collect the Salvage and pull open the heavy barricade with the rope ascender and follow the path to enter the base. [100 XP]
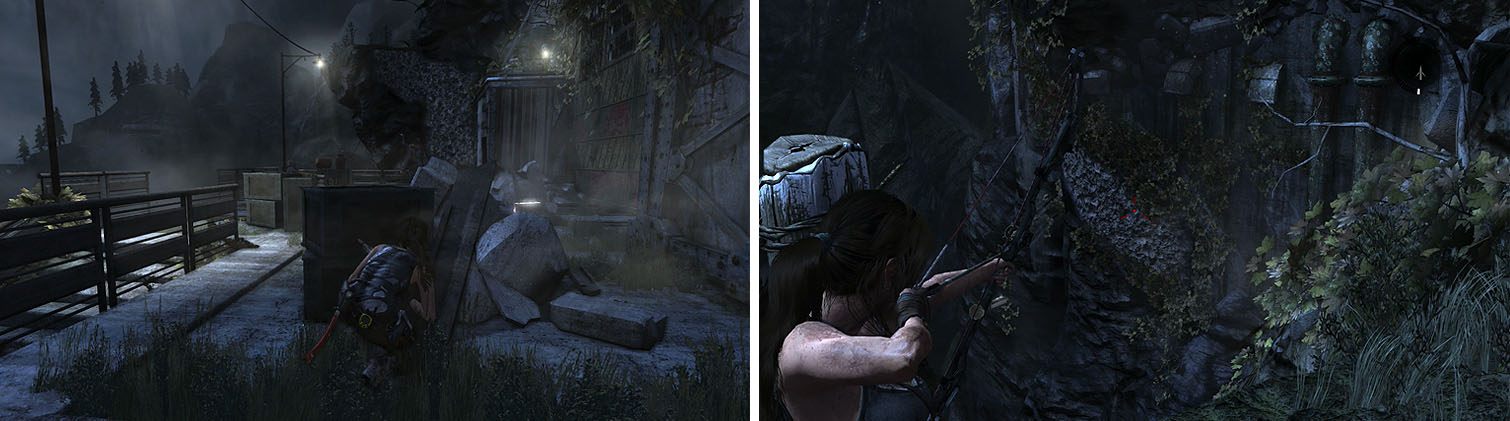
Defeat the two Solarii and then climb the outskirts of the base to enter at the top.
Discover the Ancient Tomb
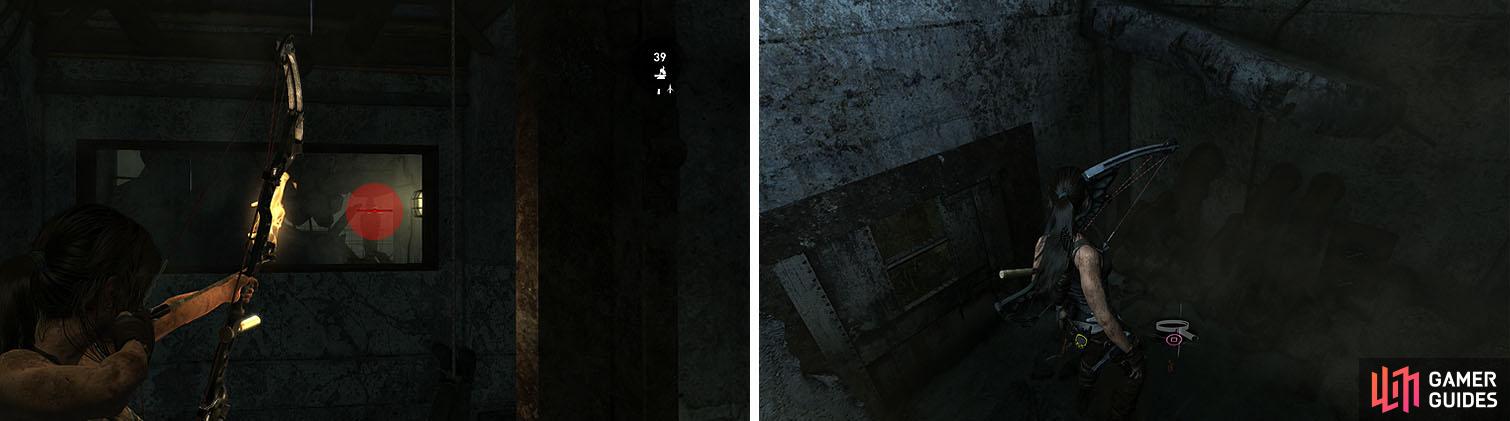
Carefully climb down the rocky wall to reach the water below and collect the GPS Cache 1 on the rocky nearby. Turn around and shoot a grenade into the metal wall to find some Salvage and then shoot another grenade into another metal wall within this room to find the Chou Dynasty Helmet .
Follow the water to a rocky wall to find a Plant and then shoot a fire arrow into the Salvage hanging from the ceiling. You can now climb the wall and squeeze through the gap, using Survival Instincts to spot the Sun Totem (1/5) on the other side of the room to begin the Challenge: Sun Killer .

Blow through the barricade near the drop (left) and then follow the path until you squeeze through a hole, shooting the Sun Totem across the way (right).
Drop down and shoot an arrow into the pipes on the far wall, luring over a Solarii guard that you can headshot, and then move forward and sneak around the corner to kill his buddy. You can now grab the Wartime Intelligence - Soldier: Awakening document on the desk near the Research Lab Base Camp .
Instead of heading around the corner, pry open the door near the camp and then shoot a Sun Totem (2/5) to the left and another Sun Totem (3/5) in the window across the way. You can now jump to the window and climb inside to find a Food Cache and GPS Cache 2 .
Shoot the Sun Totem through the window and then jump over for a GPS Cache.
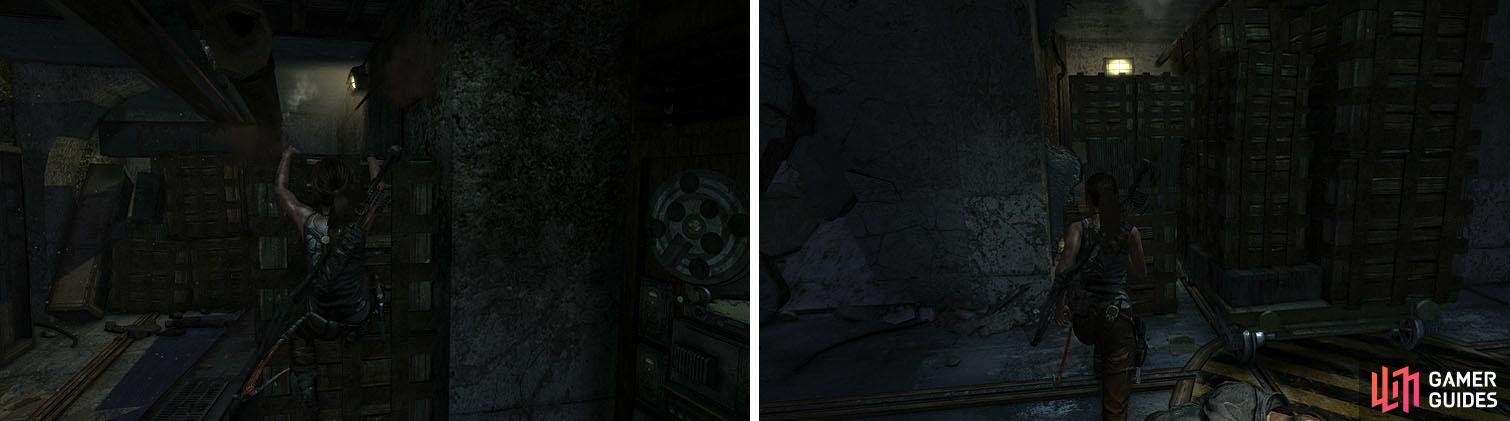
Hop back into the water and continue along the path to an elevator shaft and call the elevator. When the elevator gets stuck, climb the nearby boxes to pry off one of the wheels and then enter the elevator and hop through the hole on the other side of the shaft.
Take the stairs up to the third floor to find the GPS Secrets - Unknown: Mysterious Orders and then call the elevator. You can now take the stairs back down, stopping about half way to jump to a platform with some Salvage (likely getting a Shotgun part) and another wheel that can be removed.
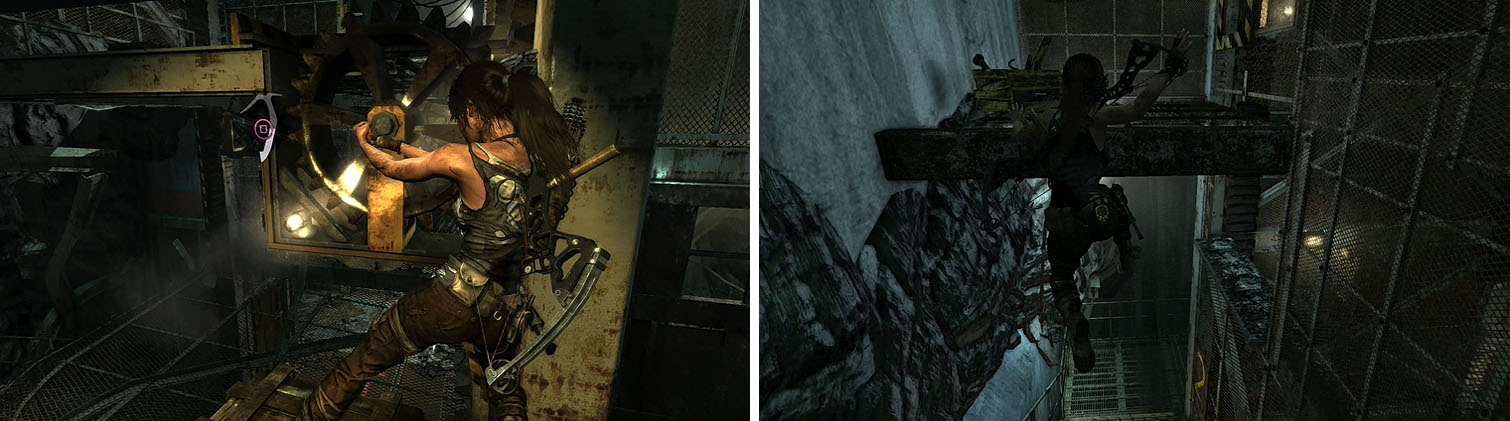
Tear off the first wheel (left) and then call the elevator to the third floor, allowing you to tear off another wheel on the platform between the 2nd and 3rd floor (right).
Head up toward the fourth floor, shooting down some Salvage hanging from the underside of the stairs, and then look high up the shaft near the call button to spot some more Salvage . Look down into the shaft to spot a barricade that can be removed with the Shotgun and then call the elevator, quickly dropping into the shaft and jumping to the rocky wall.
Climb around the outside of the shaft to a platform with some Salvage and another wheel and then drop back onto the stairs and head to the third floor, jumping up to the ladder to reach the final wheel. This will drop the elevator through the floor, allowing you to reach the first floor. [100 XP]
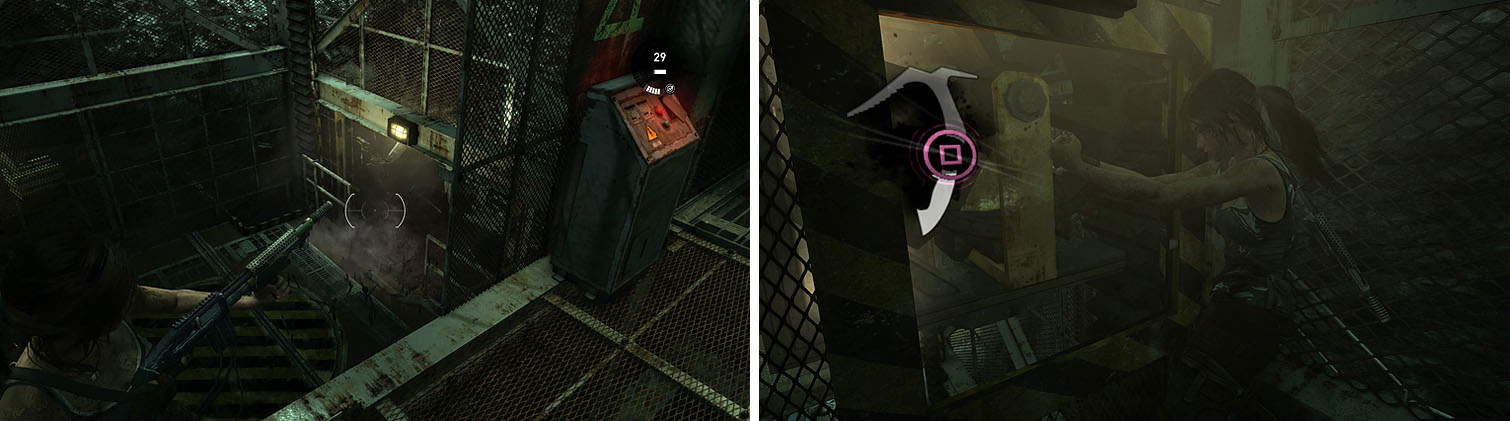
Blast through the barricade inside the shaft to reach another wheel.
Drop to the first floor and stop at the “1” on the floor to spot another Sun Totem (4/5) to the right and then collect the Food Cache . You can now enter the next room, shooting some salvage through the rubble straight ahead, and then open the Salvage locker to the left.
Sneak into the hall and kill the two Solarii and then look through the mesh on the right to find the final Sun Totem (5/5) . This should trigger the Inconceivable! trophy/achievement and you can now grab the Salvage crate on the floor before grabbing the Ceremonial Helmet on this end of the hall.
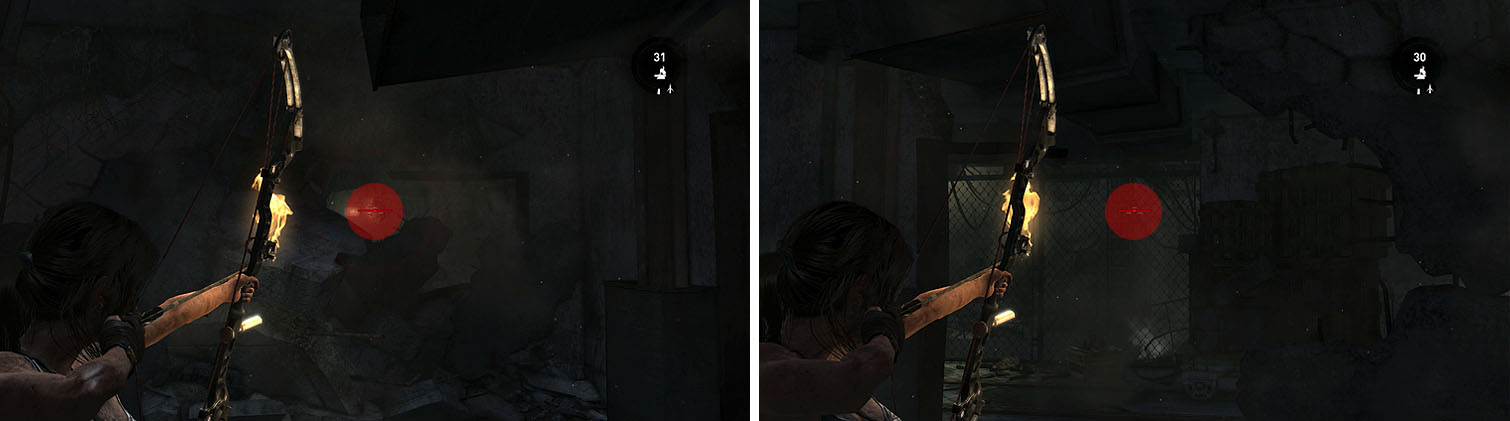
Shoot through the rubble to drop some salvage (left) and through the hall mesh for the final Sun Totem (right).


Head down the hall to collect a Salvage crate and then enter the hall on the right for a Food Cache and another Salvage locker. Across from the locker is a pile of crates, which you can climb to reach the GPS Cache 3 and gain the GPS Secrets - Unknown: Failed Mission .
Return to the hall and cross to the other side of the main hall to climb more crates for the Research Base Treasure Map . You can now continue down the path for a scene, gaining the Ancient Scrolls - General: Failure of Duty document, and then try to leave. [100 XP]
Climb over the crates on both sides of the main hall to find collectibles.
Exit the Research Base
The Solarii will attack from the scaffolding to the south, mostly staying on the upper level. Use the explosive barrels to take out some of the enemies and then finish off any of the men that rope in from the ceiling until you get a small scene.
The enemies will now drop down from the scaffolding, where the rocks created a path, and swarm the area. The area beneath the stairs offers great cover and allows you to move back, out of fire, when you need to recover. Watch your back in case any of the men circle around the stairs to attack you, but for the most part they should come straight for you.
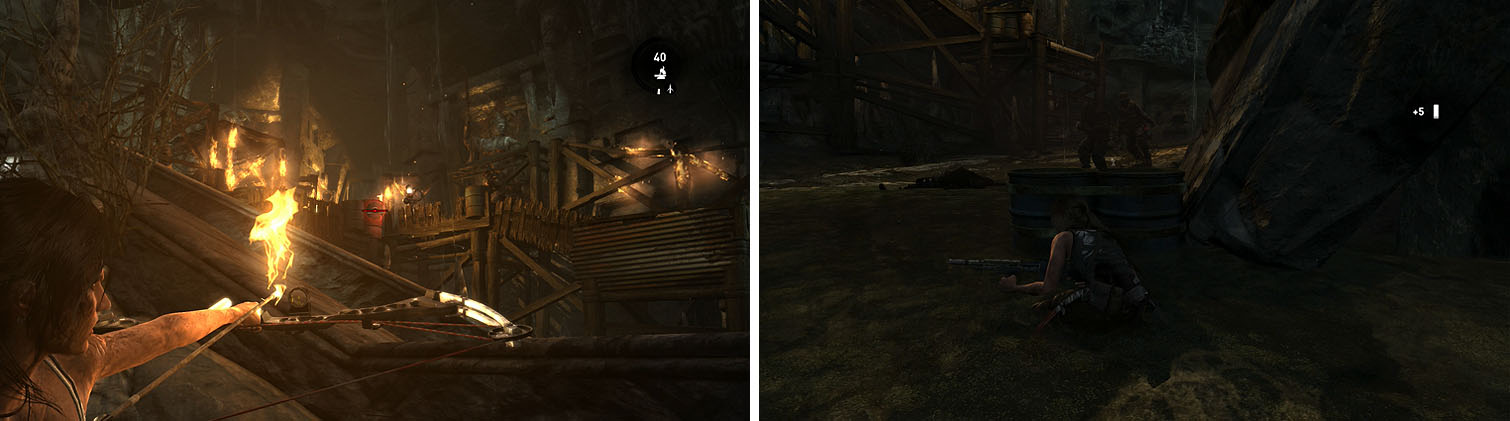
Defeat the Solarii on the scaffolding and then take cover behind the stairs when the men begin to hop down from the scaffolding, aggressively attacking Lara.
Climb the scaffolding and follow the path until Lara slips and then jump and grab the rocky wall on the other side. Continue along the path to some Salvage and and a call from the Endurance crew. [100 XP]
Return to the Survivor Camp on the Beach
Create a rope to the nearby building and slide over and then kill the two men to the right. You can now follow the path and ascend one rope before sliding down another to reach the beach. [100 XP]

 Sign up
No Comments