Climb down the well, but don’t drop at the bottom and circle around the outside of the bottom to find the Silver and Coral Ring before you drop.
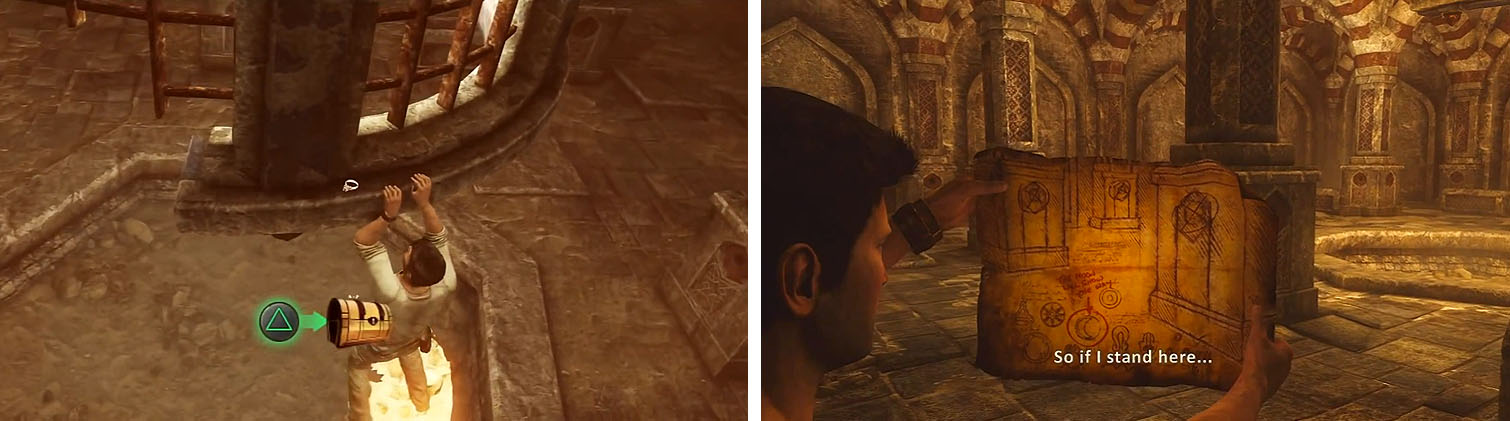
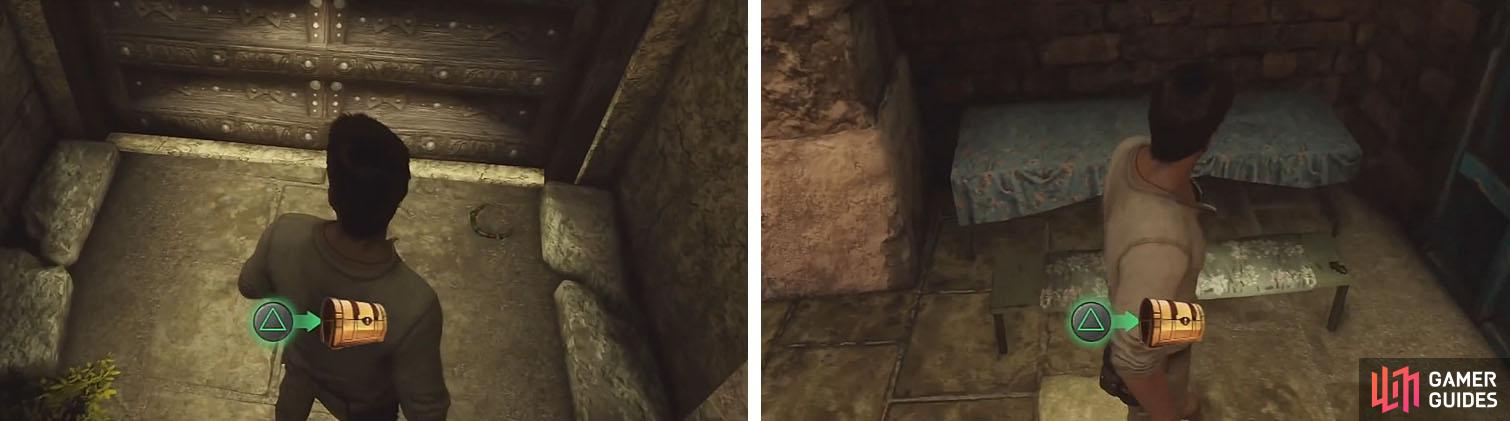
Get the treasure before dropping (left) and then align the map up with the columns (right).
Wait for Sully to point out an etching on the wall and walk over to decipher it. This is the key to the puzzle of the room, along with the map. Look at the floor and find the etching of a moon on the ground to stand on top of it to align the map with the three pillars on the left. This will trigger a scene in which the three of you will take position by the columns and must pull the levers inside at the same time.
Head through the new passage and hug the left wall. As you pass the second gateway you should find the Silver and Leather Dagger before reaching the open room that will close the gates.
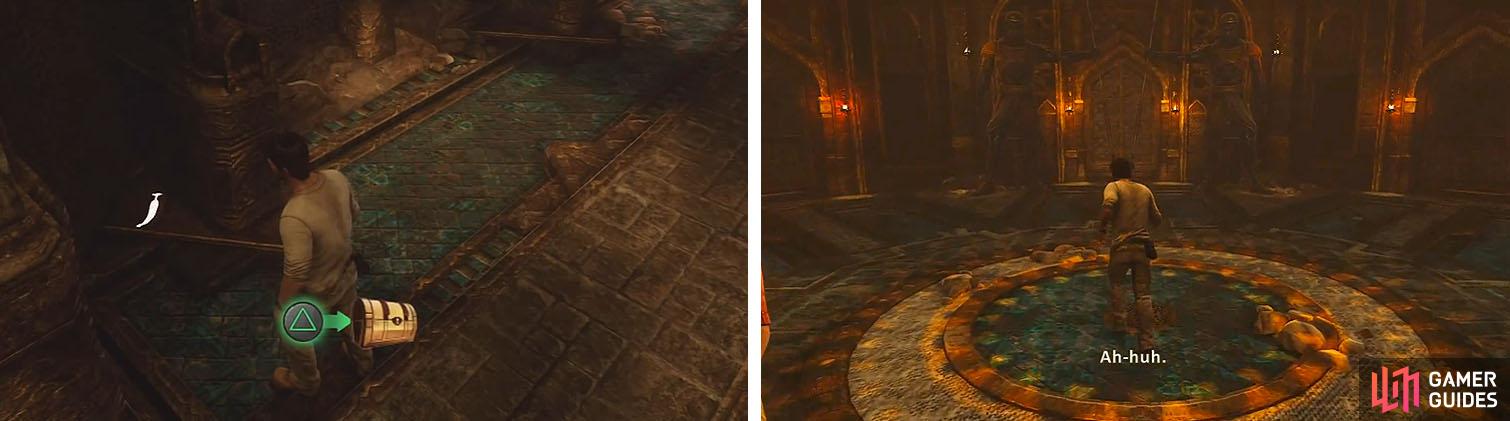
Get the treasure by the gateway (left) and enter the main room (right).
The West Wing Puzzle:
When you enter, head right and around the stairs and behind a pillar for the Pearl and Emerald Brooch . On the left side of the room is a pillar that you can climb and then mokey bar across to a beam. As you shimmy across the beam pay attention to the cogs on the back wall, noticing which way they turn and which type they are. Make your way across to the other side and drop the gear and you’ll have all the parts you need. You need to alternate the two types of cogs so that the four circled ones all turn left and the crosses turn right.
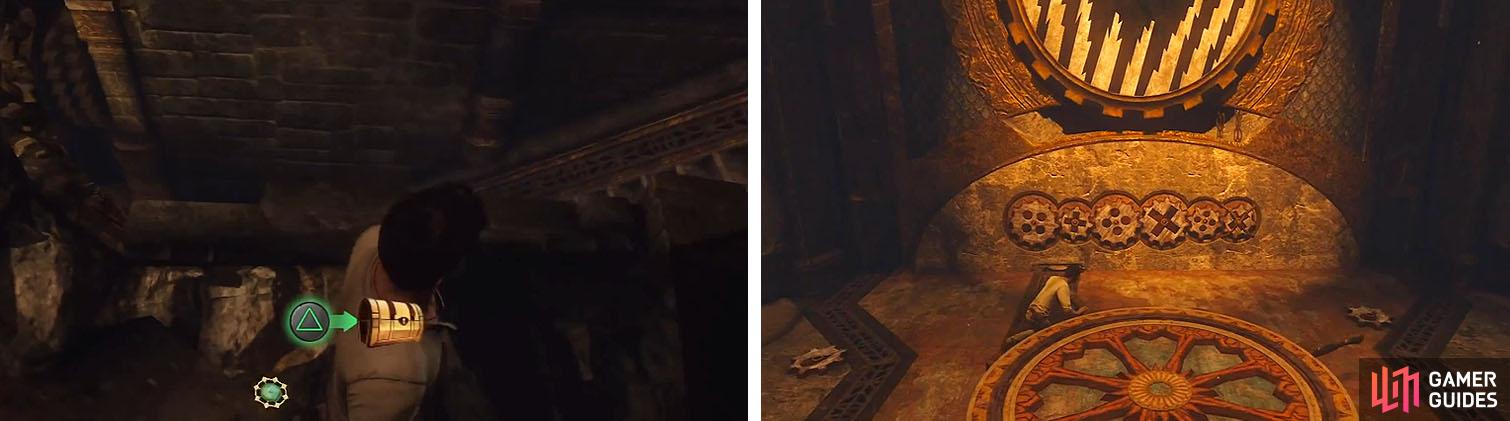
Grab the treasure (left) and then solve the cog puzzle (right).
The East Wing Puzzle:
Head down the stairs and turn left to circle around them to find the Silver Box Pendant in the corner. In the center of the room you’ll find a lantern that projects light on the walls, but if you aim it at the ceiling to scare the bats you will cause the Silver Filigree Bracelet to drop.
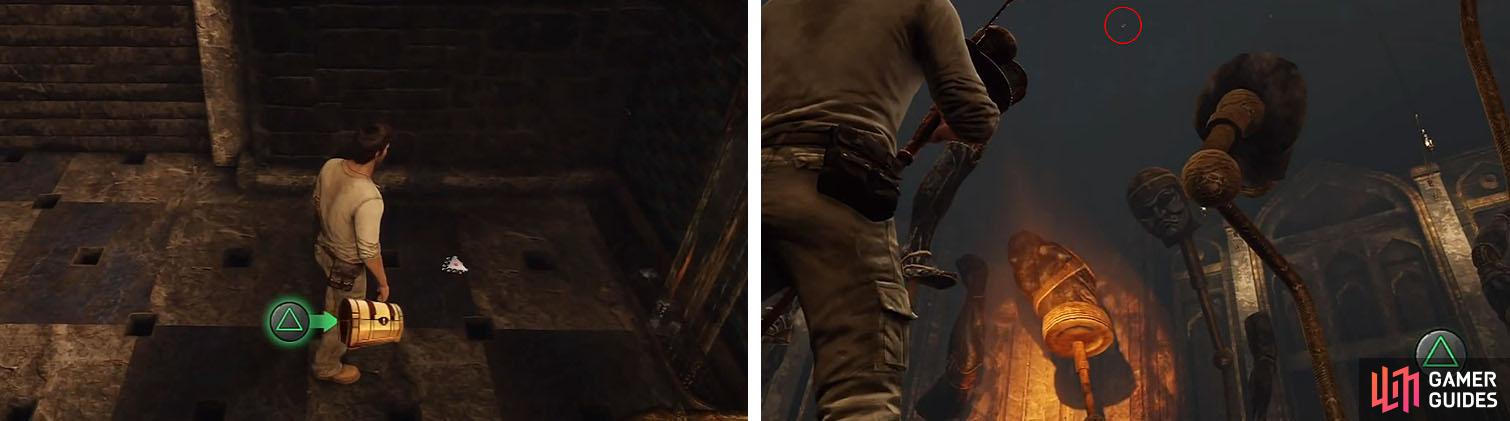
There are two treasure here, the one by the stairs (left) and the one on the ceiling (right).
You’re goal is to align the parts to make a figure that stabs the man on the wall. From the middle, head right and aim the lamp toward the main wall, where you should see a figure almost aligned. Walk toward the main wall until the parts create a body and then hit Triangle to slam it into the floor.
With the main door open you can now head along the path until you reach an ornate brazier. After the scene you’ll need to make your way back the way you cam while sweeping the torch to clear walking space for Drake. When you reach the door and have to switch to the more aggressive tactic, focus on shooting the bulk of the spiders only when they come toward you and watch your ammo so you can grab more when Sully throws it to you.
Head back to the well entrance and take cover to prepare for a gun fight. Use the broken pillars as cover and make sure to not get ambushed from behind. There is one brute and two heavy armored enemies that can take quite a few bullets, so use the columns to avoid their fire. Once the fight is over climb up and out with the help of Sully.
As you leave the well building and continue through Yemen you’ll find more treasures. The first is the Amazonite and Amber Necklace located directly right of the well building down some steps to a dead end. The second treasure, the Silver Capsule Pendant , is located behind the people eating in the corner of the building.
Their are two treasure in the plaza. The one down the steps (left) and the one by the eatery (right).
The third treasure, and Amazonite and Amber Earring , is located on the other side of the fountain in an archway on the left. You can now head toward the stairs for a scene.
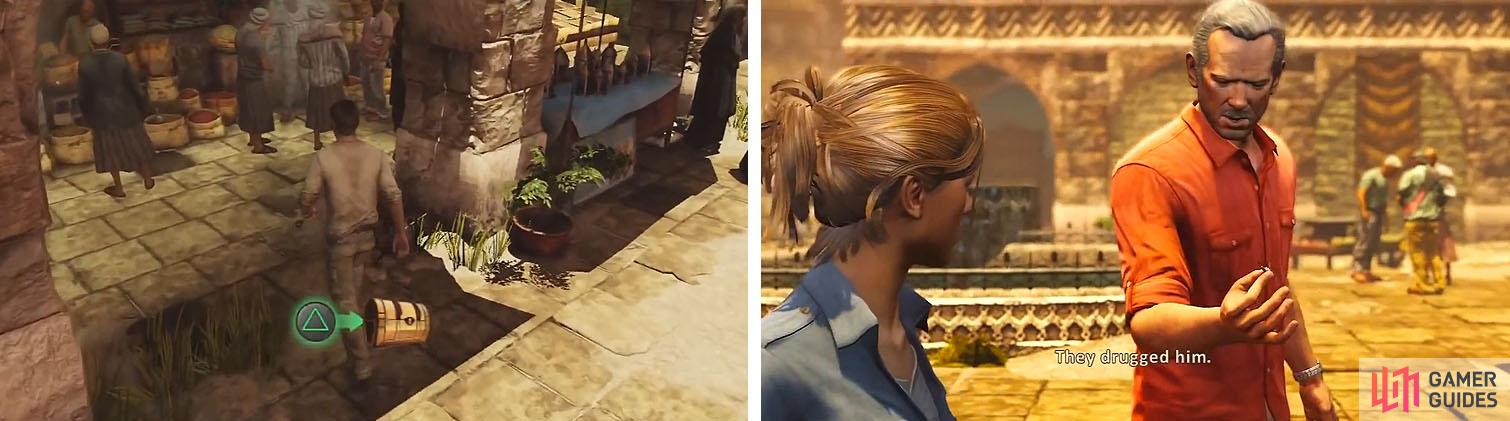
Make sure to get the treasure by the archway (left) before getting to close to the stairway and activating the scene (right).
While drugged, run through the market in a very long scene that eventually ends up with you chasing Talbot. for the most part you can chase directly after Talbot, but there are a few cases when it won’t be easy to follow him directly. The first is when he climbs up a ladder and kicks it down, forcing you to follow him on the lower level. The second is when he crosses a bridge and closes and iron gate behind him, forcing you to turn left to jump across to a window and cut through the building.
When Drake loses Talbot at the top of a building, after heading through some double doors to a market, turn right and look for the Silver Yemeni Bangle inside a carpet stall area.
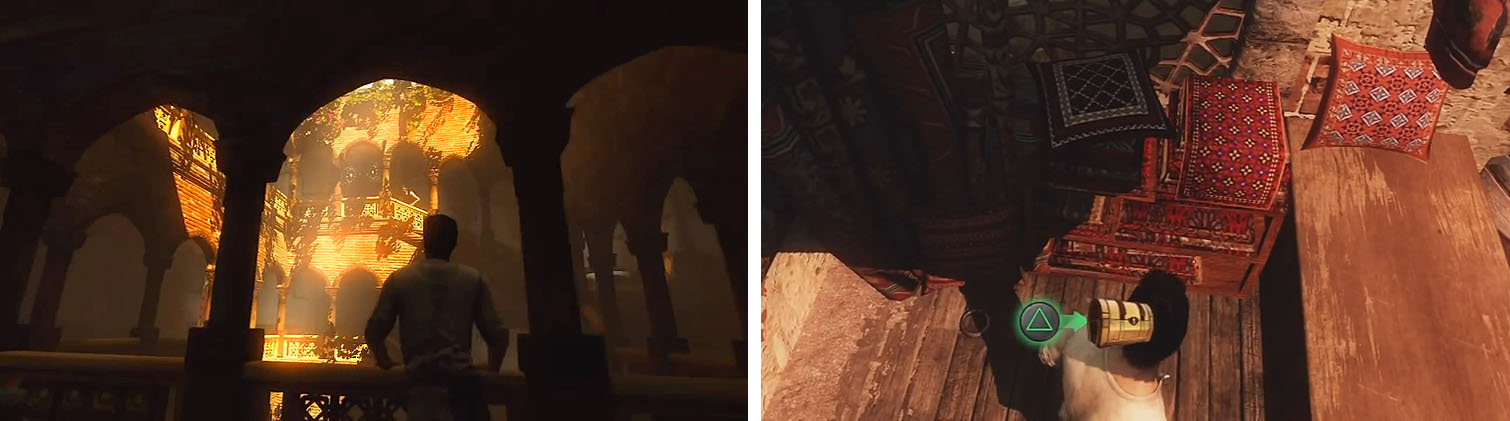
After losing Talbot (left) enter the market and turn right for the treasure (right).
Head through the crowded market and when you spot Talbot below jump from roof to roof until you fall and are back on his level. Follow him again until you end up in a fist fight and complete the QTEs to complete the mission.

 Sign up
No Comments