
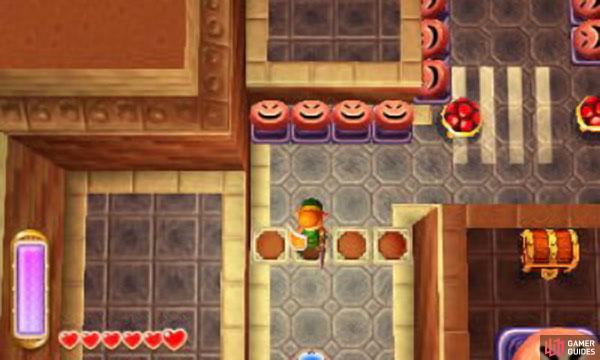
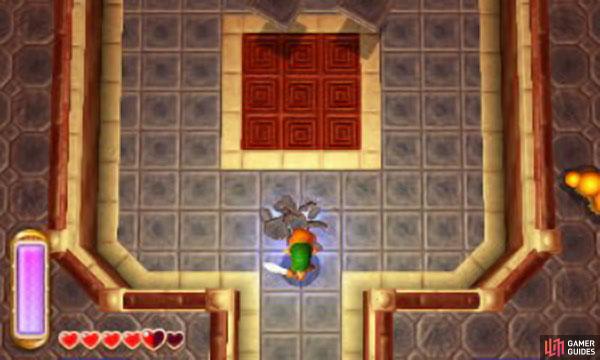
Fittingly for a tower, this dungeon has many floors, but don’t be intimidated as most of the floors only contain a single room–the first room is a prime example of this. As soon as you enter, you’ll be stopped by a row of smiley faces. Pound the smiley faces with the Hammer and walk pass them while they’re depressed (literally). Strike the blue switch just ahead to turn it red, lowering the blue barriers. Next, go left or right and strike the red switch to turn it blue, lowering the red barrier.
Watch out for the hard-shelled Terrorpins coming in from above–pound the ground with the Hammer to flip them over. Once it’s safe, hammer the smiley faces near the top-left corner and stand on them while depressed. After a few moments, the smiley faces with pop out again, propelling Link up to a corner on higher ground. From this corner, there’s nowhere else to go, under normal circumstances. However this is where Link’s ability comes in handy.
Terrorpins are red turtles with a super-tough shell; normal attacks will just bounce off it. However if you pound the ground next to them, they will flip upside down, exposing their soft underbelly. At this point, run in and give their belly a good slash.
Merge onto the nearby wall and walk right, past the iron bars at the top of the room, for a chest containing 50 rupees. Return to the top-left corner, before the iron bars. This time, merge and walk left, emerging on the left side of the room.
Next; go down and merge just before the moving spikes, then walk left across the gap, emerging on the right side of the room. Pound the smiley faces ahead and allow them to propel you up. Finally, pound the big smiley face and stand on it; you will be propelled to the next floor.
On the 2nd floor, you’ll be on a metal railing. Avoid the blue Hardhat Beetles, as slashing them will cause you to bounce back, likely sending you back down to the 1st floor. Keep away from the circular bounce pads too, as touching them does the same thing.
First, head for the big gap in the centre and drop down to find a chest containing the Compass . Then pound the big smiley face to return to the 2nd floor. Next, head for the left side of the room where you’ll find another big smiley face to propel you to the next floor.
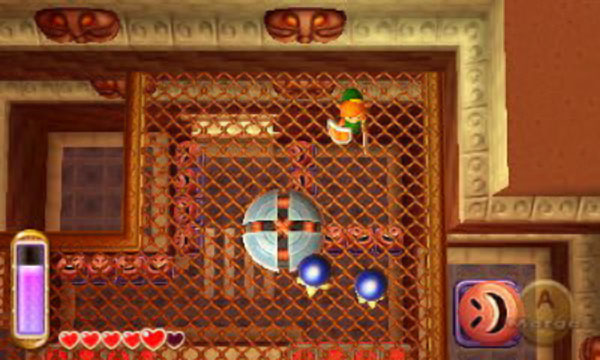
Hardhat Beetles are blue jelly-like monsters that will bounce Link backwards after he hits them, oft sending him falling down. If you find them next to circle bounce pads, just lure them towards the pads so they bounce off and too their doom. Otherwise, stun them with the Hammer’s shockwave (try not to actually hit them).
On the 3rd floor, there are more of the coloured barriers and switches. Merge onto the blue platform above and walk left, across the gap. Strike the blue switch to lower the blue barrier and then step on top of the blue barrier. While on top of the barrier, strike the now-red switch and you will be taken up along with the blue barrier. Carefully walk across the blue barrier to the central area, where you can find a Small Key .
Should you fall off the barrier to the right, head right and stand on top of the red barriers; then strike the blue switch to raise those barriers and reach the key in a similar manner. With the key in hand, head to the right side of the room, up the stairs to the locked door. Along the way, watch out for the Mini-Moldorms snaking around; it might help to drop down above or below the central platform and toggle the switches to create more space for the Mini-Moldorms to move.
Next, you’ll be outside the tower; step on the moving platform to the right. Watch out for the Crows; fire arrows or poke out your sword. Near the end of the platform’s leftward journey, there will be a protruding wall–merge into it and walk to the opposite side, then quickly emerge.
Ride the platform all the way until you reach a ledge with some hearts. From there, wait for the platform below to lower, then merge into the wall on the right and walk right into the platform.
Wait until the platform goes up, before walking right and emerging onto the ledge higher up on the 4th floor. Through the door are some Stalfos and, behind the coloured barrier, Mini-Moldorms. Head for the top-right corner to find a blue switch. When you’re ready, strike the switch to lower the barrier and let loose the worm monsters. When the coast is clear, pound the big smiley face beyond the barrier to take you further up.
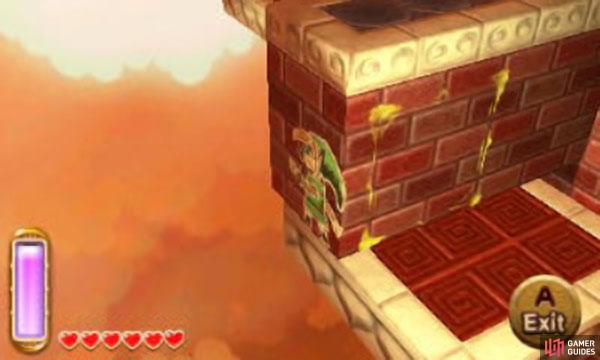
On the 5th floor strike the red switch in front of you. Then step on top of the red barrier and strike the now-blue switch to raise the red barrier and you with it. Drop down right to open the chest, which contains 5 rupees. Next, step on top of the blue barrier and strike the red switch. While on the raised blue barrier, head for the nearby wall and merge into it. Then walk in the direction of the iron bar to go outside the tower. Like before, get on the moving platform to the right.
This time, you have to avoid moving spikes; watch your footing. Near the middle of the platform’s leftward journey, a trap wall will try to push you off–merge into it, then walk to its left side and emerge (make sure the platform is underneath before doing so, of course). To the left are more moving spikes, including one that moves diagonally.
At the end, merge into the wall and walk right. Look to your left and wait for the moving platform to come down; when it does, merge left and walk left into the platform.
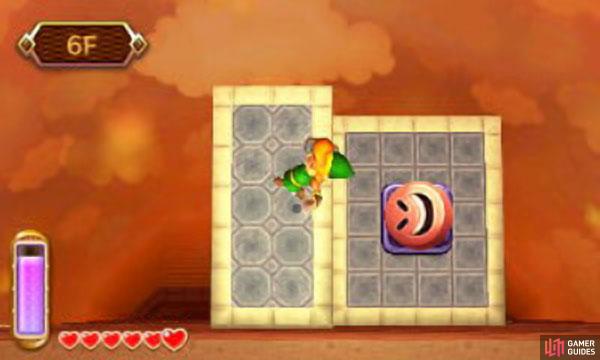
Let the platform take you up, then emerge from its right side to reach the 6th floor. In the next room, you’ll be locked in with several Stalfos, which can throw bones at you–use your Shield to deflect them. Like always, keep your distance because they’re fast and can easily gang up on you. Keep to the left and fire arrows from afar. When they’re all dead, a warp zone to the entrance will appear and a platform lift will activate. Step on the lift when it’s lowered and let it take you up.
On the 7th floor, there are several coloured barriers and cracked floor tiles. First, head right and up. Strike the blue switch, then go up and hammer the cracked floor ahead. Drop down for a chest with Monster Guts inside. Use the big smiley face to return up. Next, strike the red switch above and go left. Then strike the blue switch and head left, for the top-left corner, and hammer the cracked floor there. Drop down to acquire the Small Key . Again, use Mr. Big Smiley Face to return up.
From the top-left corner, go down and then left through the locked door. Outside the tower, go down and step on the platform with a giant smiley face to start it going. When it reaches the end, quickly pound the face and let it propel you up all the way to a ledge on the 9th floor. From where you are, head down to start another smiley platform moving. Follow it to the end and then drop off to a ledge containing a chest with a nice 1 00 rupees inside. To get back, merge up and walk all the way left.
Even the most basic shield will stop these spinning tiles from hurting you. Just give yourself some distance from them and hold up your shield until they’re all finished attacking. You won’t take a bit of damage this way.
Return to the second smiley platform. Wait until the platform stops; when it starts moving again, immediately pound the face and you should be propelled to the 9th floor. Head up through the door. Beyond, the door will lock and floor tiles with fly and attack Link–deflect them with the Shield. Afterwards, the platform lift ahead will activate. Wait for the platform to rise, then drop down the hole it left to reach the “missing” 8th floor.
Here, you can find some fairies and a chest containing 50 rupees . To leave, step on the red warp tile to the top-right. When ready, step on the platform lift and let it take you to the 10th floor. You’ll be on a metal railing, surrounded by bouncy Hardhat Beetles. Run around and let the Hardhat Beetles bounce off the bounce pads to their doom; push them back with your shield if you want. Should you fall, head for the bottom-left or bottom-right corner and use the giant smiley faces to return up.
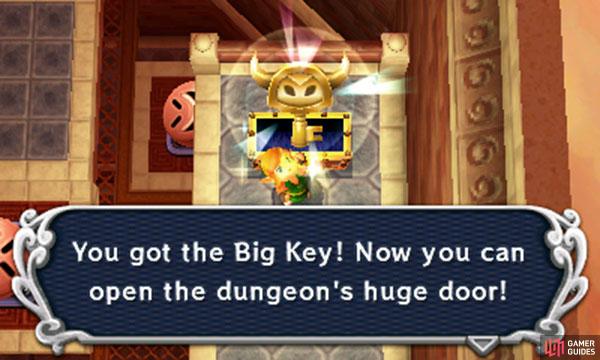
When the coast is clear, strike the four round switches around the room to move the top-right smiley platform closer. Pound the smiley face to reach the 11th floor. In the middle is a moving platform with two smiley faces on it–step onto it. Wait for the platform to stop at the left, then pound the right smiley. You should be propelled to a ledge with a big chest containing the Big Key. From here, merge right and walk all the way right to reach the big door.
Through the big door, go up and propel the smiley faces until you’re propelled right, to the 12th floor. There are some hearts around if you need them, along the left and right side. Pound any of the smiley faces on this floor to reach the 13th floor, where the boss awaits; the top-left smiley face is a good place to begin.
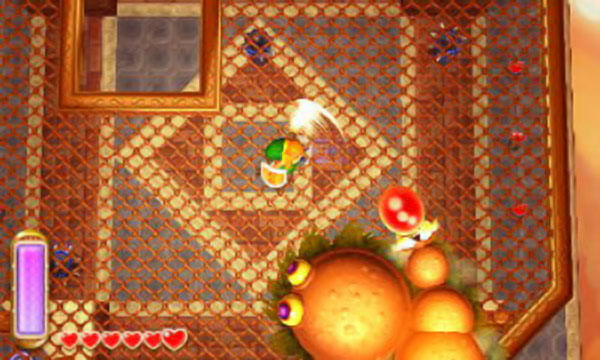
Boss: Moldorm
This guy’s basically a giant Mini-Moldorm (so just a Moldorm); it moves in a similar way, changing direction when it meets the edge of the platform. However, unlike the common variant, you can only hurt Moldorm by striking its red, glowing tail–primarily with your sword. Keep your distance and move fast to avoid being trampled; at the same time, watch its movements carefully and predict where it’ll next go. When it’s safe, run for its tail and give it a good slash.
After taking a few hits, Moldorm will become angry and move faster; when fully angered, it will move very quickly. At this point, try to stay away, circling around the gap in the top-left corner when necessary. Keep to the top-left corner and use the D-pad to see where Moldorm is and predict where it’s going.
You can also use the Hammer to stun Moldorm–a good whack to its head will keep it stunned for longer, giving you ample time to get around and strikes it tail.
When Moldorm starts moving in a long direction (for example, from the top to the bottom), you can run in from your safe position and swipe its tail. If you’re a good shot, you can also strike Moldorm’s tail with arrows, although it will become harder when it starts moving quickly. That is, until Moldorm gets stuck in the top-left corner; when this occurs, rain arrows at it across the gap on the opposite side and you may get a lucky shot in.
Should you take damage, don’t hesitate to drop off the map and collect some hearts; just be careful of the fast-moving spikes. After you’ve destroyed Moldorm, pick up the heart container and the Pendant of Power ; you will then be taken outside of the dungeon.

 Sign up
No Comments