
| Important Items in This Area |
|---|
| Massachusetts Surgical Journal |
| Wasteland Survival Guide |
Cabot House
It’s your goal now to complete the quests you received at Bunker Hill, and while these will eventually take you to the north-east and east, they start out close enough to Bunker Hill. From Bunker Hill cross a bridge over the river to the south to find Cabot House, where the boss of Edward Deegan awaits. When you reach the house use the Intercom out front and say “I’m expected” to gain access. Enter the house and talk to the rather eccentric Jack Cabot. Watch his experiment go awry, play nice, and accept his hospitality by following him downstairs, where he’ll start jabbering about crazy alien conspiracy theories. Weirdo. Don’t be rude or you’ll run Jack off (heh), but you’ll still be “welcomed to the family” by Edward, given the “Cabot House Key” and assigned your task: you need to recover a missing package north of the city. Seems simple enough, but one should be wary of just how ol’ Eddie says things, and by how vague he is. The “need to know basis” thing also doesn’t help set aside suspicion. Anyways, you need to ask around the Parsons State Insane Asylum, which gives you plenty of excuse to explore to the north. Before you go you can talk to Jack Cabot and ask him about his father, his house, the insane asylum (pass a moderate speech check to get more information about the asylum and his father) and ancient aliens. Somebody watches too much “History” channel.
Radio Tower 3SM-U81
Of course, as per the norm for this guide you’ll exploring everything even remotely considered “on the way” to Parsons State Insane Asylum… because loot. Fast travel to Lake Quannapowitt to get started, then head south-east to find Radio Tower 3SM-U81. You know the drill: find the Relay Tower Terminal and use it to raise the satellites. This will get you three radio signals, the “Automated Radio Alarm”, the “Greenbriar Radio Signal” and the “Nautical Radio Signal”.
Mass Fusion Containment Shed
Tune into the “Automated Radio Alarm” and follow it south to find the Mass Fusion Containment Shed area. This won’t get you closer to Parsons State Insane Asylum, but it will scratch off an area or two off the map, which is always welcome. Find the building and turn north-west to locate a blue Wicked Shipping truck, in the back of which you’ll find some radioactive barrels (hooray, RADS!) a Steamer Trunk, a container full of chems and an Explosive Crate. Not a bad start.
Pop a Rad-X (or better yet, put on a Hazmat suit) then head on into the garage of the building by heading past a red truck and dispatch some Ghouls and a Glowing Radroach. Your goal is to make your way south-east to find some stairs at the back of the garage, which lead to an elevated office, wherein you’ll the “Supervisor’s Terminal” [Novice], which describes the very unhealthy work environment at this facility. Use the terminal to open a sealed door below you, beyond which you can find a machine with a Fusion Core in it and a Toolbox [Novice]. Turn south-east and head through a gate and around some radioactive barrels (this place will really make you wish you had a Hazmat Suit!) to find a Steamer Trunk and its guardian, a leveled Feral Ghoul who will crawl up through the floor and attack. Kill it, loot the trunk, then return to the Fusion Core machine and turn north-east to find an assembly line. Beyond some barrels near the assembly line you’ll find a trapdoor leading to the Reactor Level… the one place here that isn’t irradiated, surprisingly. On some yellow machines you’ll find a Circuit Breaker, which you can turn off to satisfy the “Automated Radio Alarm”. Loot a Toolbox [Novice], then leave.
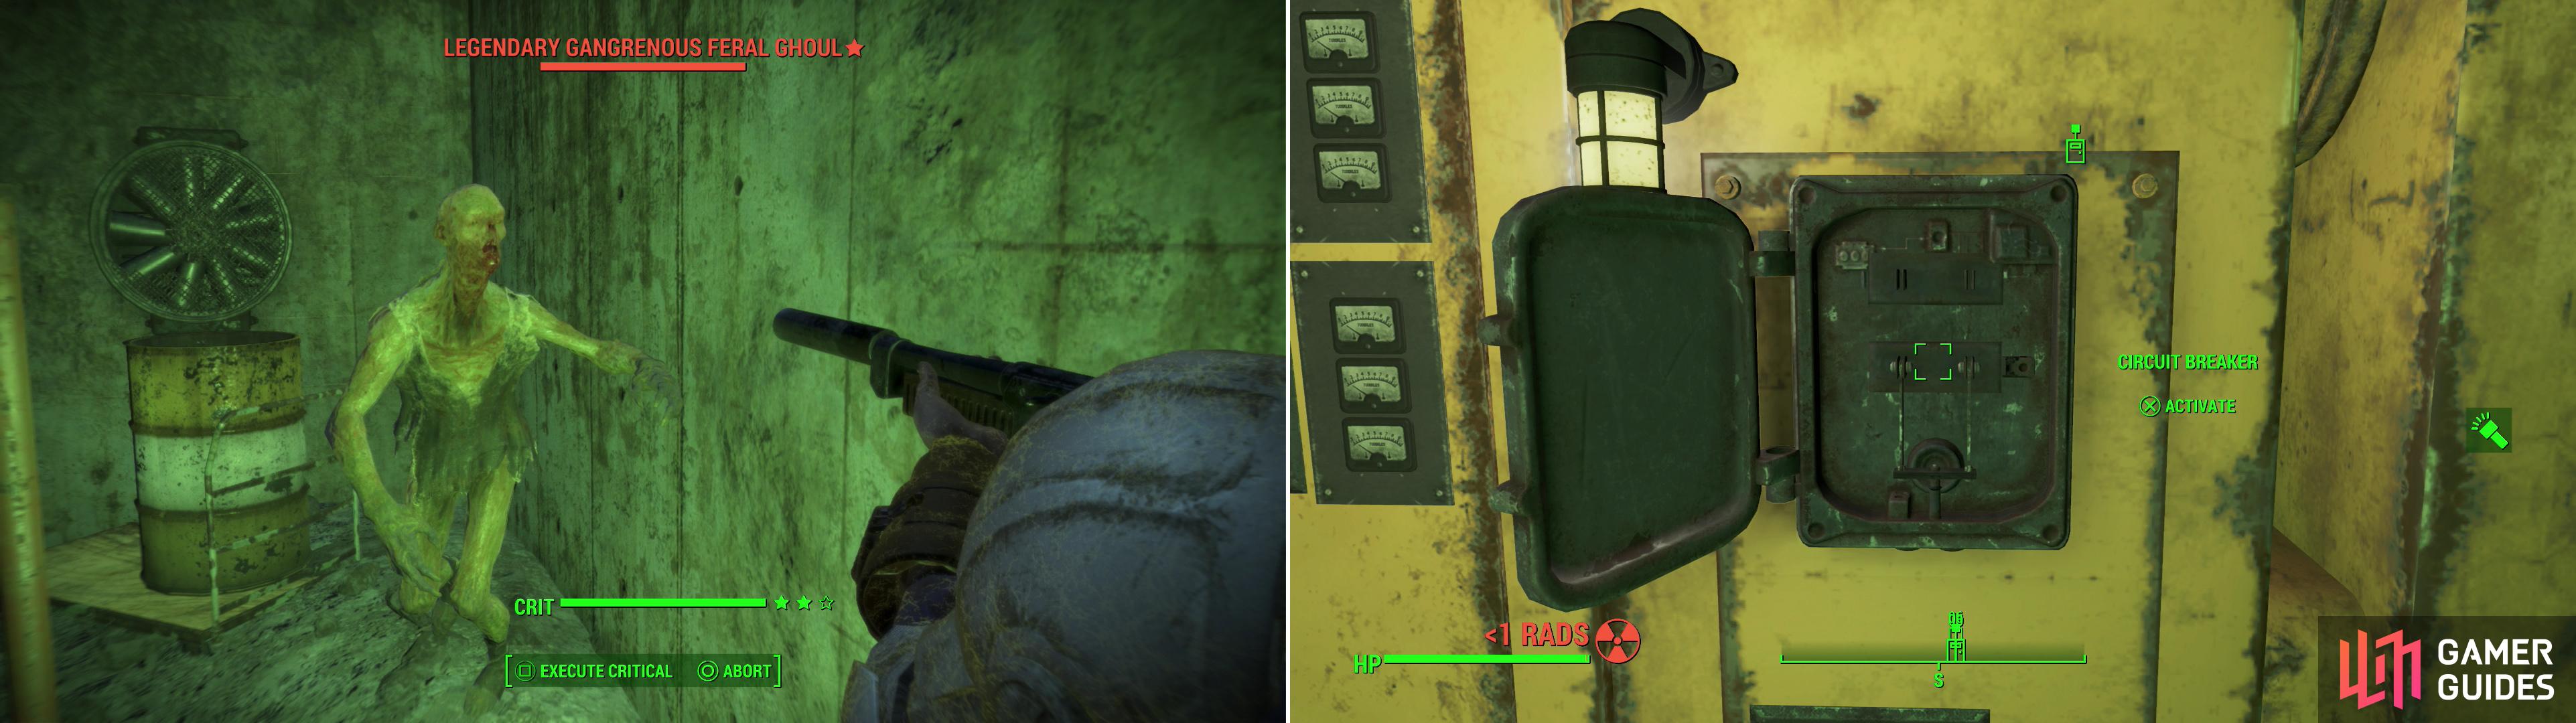
Heavily irradiated, you can of course expect to find Feral Ghouls around the Mass Fusion Containment Shed (left). Find a circuit breaker and turn off the “Automated Radio Alarm” (right).
Old Gullet Sinkhole
From the Mass Fusion Containment Shed head south to find the Old Gullet Sinkhole, which, as its name should imply to anybody who lives in areas where sinkholes are common, is a giant… sunken… hole the ground. The name kind of says it all, really. Sneak very carefully into the watery pit, as a most fearsome foe - a Deathclaw - lurks in the hollow of a ruined building. Defeat the menace and loot a Steamer Trunk behind an overturned car. When you’re ready to move on, head south-west into the water and swim - or get sucked by the current, rather - down where the water is draining.
When you recover from you unscheduled little ride, jump out of the radioactive water and make your way south-west to find a campsite. Kill the Radroaches here and search the Cooking Station to find an issue of the Wasteland Survival Guide . Once done, investigate a skeleton on a stone slab nearby to find “Grandpa Savoldi’s Hat”, the relic you were sent after. Continue south into a small room occupied by two Feral Ghouls and a Glowing one, then head upstairs to enter a house that’s chained from the inside. Loot a First Aid Box and an Ammo Box then head upstairs to find a Safe [Novice] near a Mattress. Also be sure to grab the “Sleepwalking Note” from the Chem Cooler nearby, which presents itself as a more important item than it is. Loot a Footlocker then head out the chained door. You can turn this quest back in to Joe Savoldi when it’s convenient to you. He’ll give you a mediocre reward and let you keep the hat, for what that’s worth.
| Objective | Reward |
|---|---|
| For finding out what happened to Grandpa Savoldi | 98 XP 200 Caps |
Greenbriar Radio Signal
Return to Radio Tower 3SM-U81 and tune into the “Greenbriar Radio Signal”. Head north to find a road and follow it east, then south-east, past an intersection and keep your eyes to the north. A guard rail will end as the road turns uphill then resume at a Hubflower. Continue looking north-east until the guard rail ends again at a cluster of trees and another Hubflower bush. From here head north-east off the road and over a rock formation to find a camp, complete with a table, a Cooking Station and a Cooler [Novice]. From the picnic table turn east to find some barrels, behind which, hidden in the bushes, you’ll find a trapdoor leading to a Bunker. Inside the bunker you can find the Ham Radio from which the signal emanates, and some containers (including two First Aid Boxes) to loot.
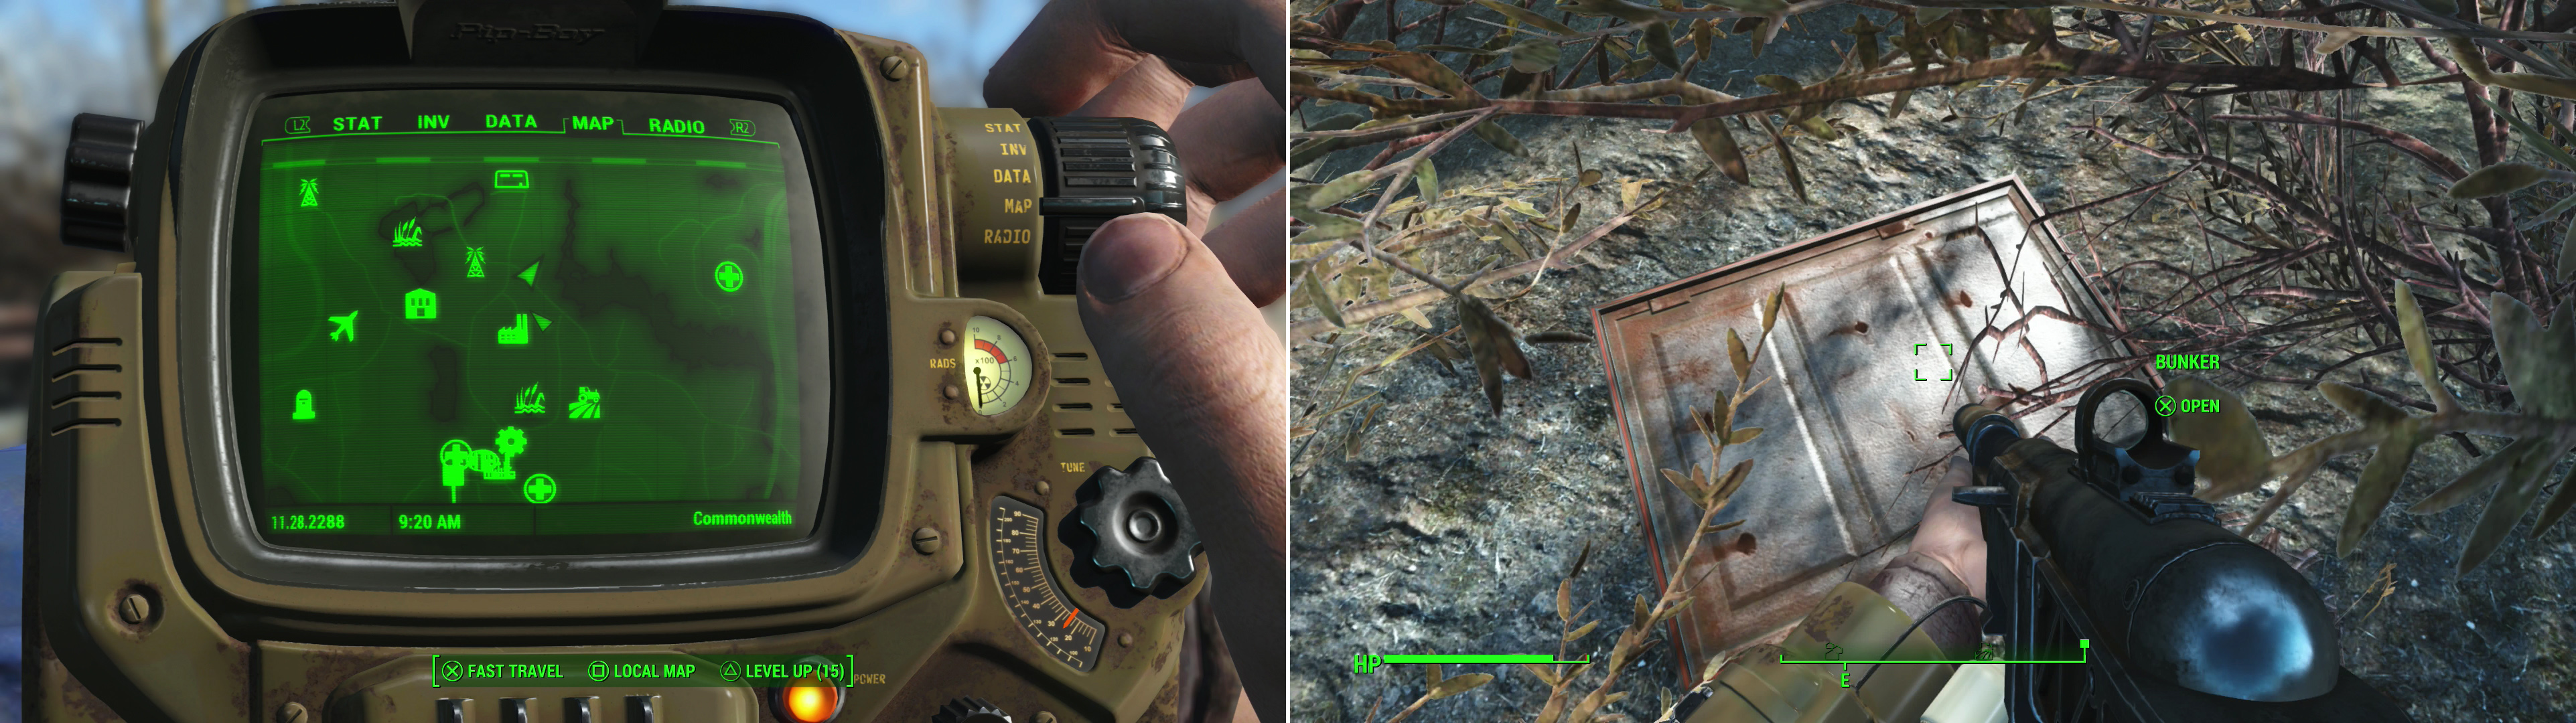
East of Radio Tower 3SM-U81 you’ll find a campsite (left) where you can find a trapdoor leading to the source of the “Greenbriar Radio Signal (right).
Nautical Radio Signal
Leave the bunker and tune into the “Nautical Radio Signal”, then continue east to reach the river. Be very cautious here, as a Mirelurk Queen may lurk along these shores. Follow the shore of the river south, then south-east to find a beached boat, which you should board. Enter the door to the Fishing Boat Cabin to find a Cooler [Novice] and the Ham Radio. Turn it off to put this signal to rest.
From this boat you’ll want to follow the river east. Along the way you may see a settlement marker, which marks the location of “Breakheart Banks”, but pass on by it for now. You’ll find an excuse to come back here real soon. Between that area and the National Guard Training Yard there’s surprisingly little to see. You can find the Listening Post Bravo area south-east of Greentop Nursery, but it’s part of a later quest, and there’s no need to bother with it yet.
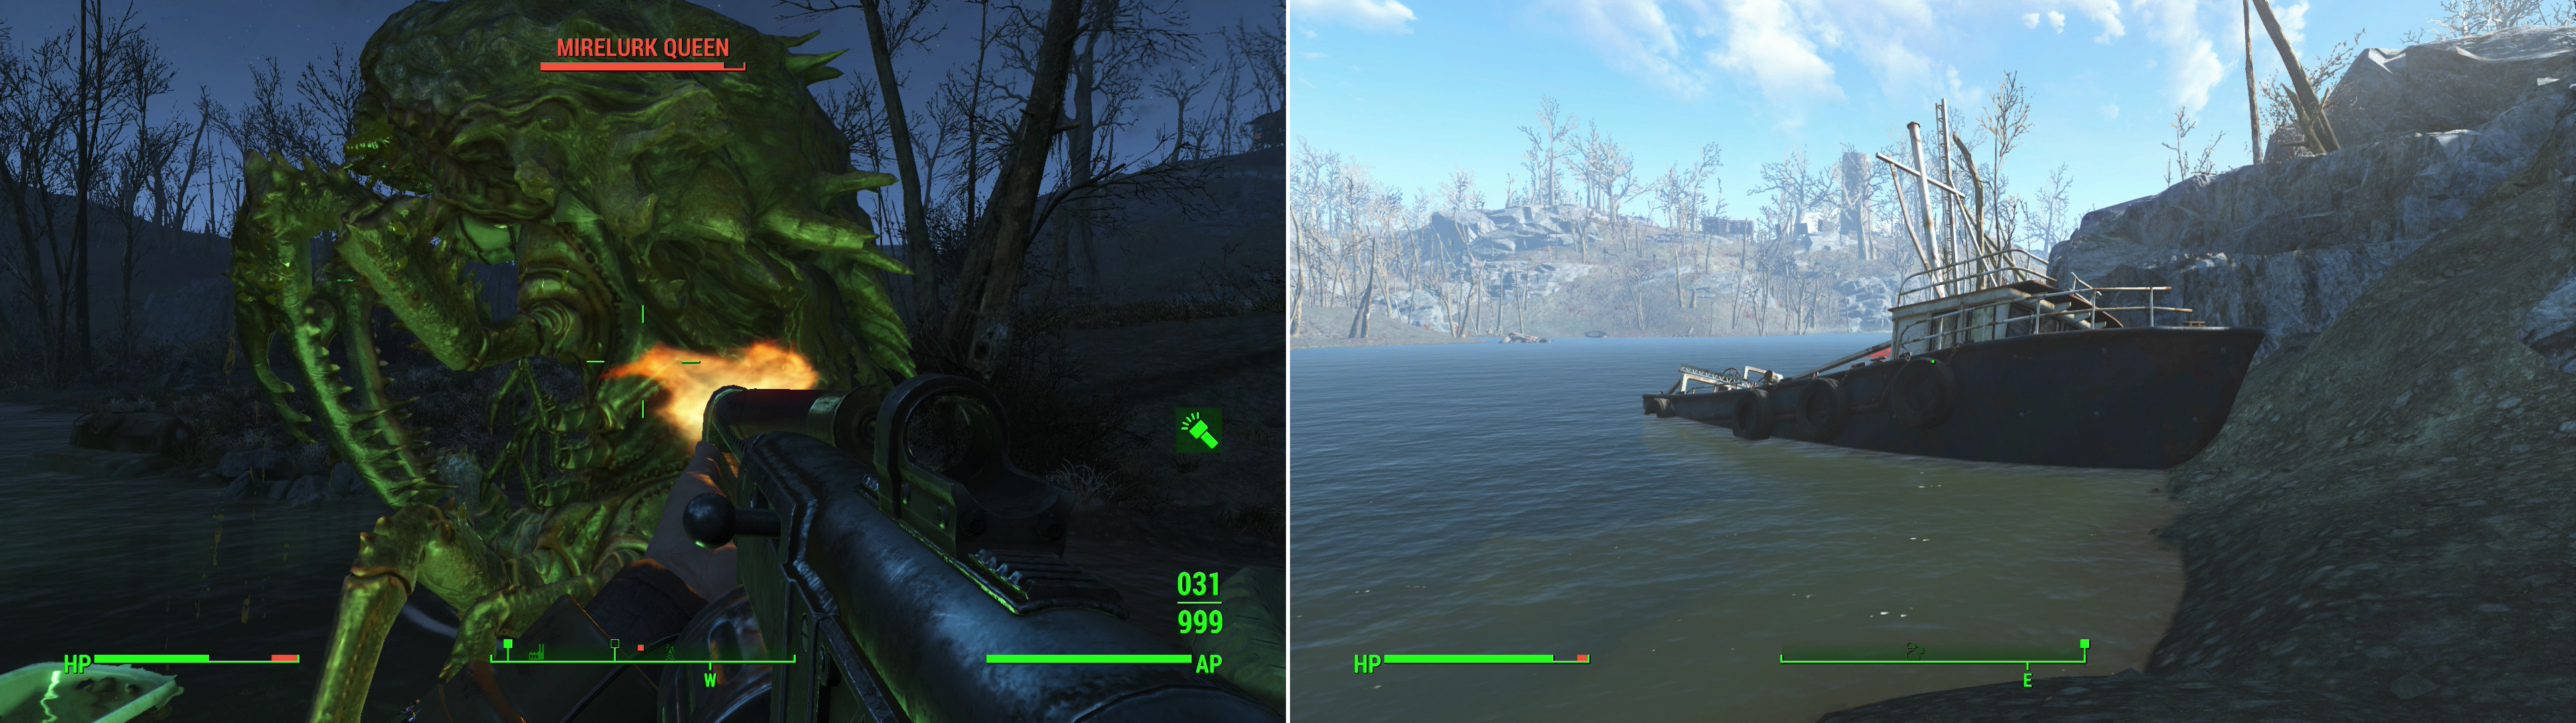
Be wary as you travel near the water, as you may draw the attention of a Mirelurk Queen (left). If you follow the coast east you’ll find the ship from which the “Nautical Signal” emanates (right).
The Slog
So, to repeat, follow the river east and you’ll eventually find The Slog. Lovely name. Talk to Wiseman, the leader of the Ghoul settlers here, and he’ll tell you about his dream, which you can help make a reality by clearing out the Super Mutants at… Breakheart Banks. If you didn’t clear it, anyways. If you did, they’ll point you somewhere else. But you shouldn’t have cleared it, so… off to Breakheart Banks! This starts the quest “The Slog: Greenskins” . Oh, yeah, you can also trade with Deirdre here, but she has all of one Cap to barter with, so… no.
More importantly, if you cleared the Wilson Atomatoys Corporate HQ earlier and obtained “Marlene’s Holotape”, search the small shack south of the white brick building to find a Ghoul named Arlen Glass, busily trying to rebuild a ruined Buttercup Toy. Talk to him and pass an easy speech check, then give him his daughter’s holotape. After a touching parent-to-parent scene, he’ll reward you for finding some voices from his past.
| Objective | Reward |
|---|---|
| For bringing Arlen Marlene’s Holotape | 89 XP 348 Caps Buttercup Toy |
If you talk to him again later, he’ll offer to reward you for finding more toy parts. You know the drill, he’ll start at 150 Caps, but you can pass three successive speech checks to get him up to 300 Caps and his old Wilson Atomatoy’s ID Card, which you shouldn’t need anymore. If you’re following this guide, you should have already cleared the Wilson Atomatoys Factory near Quincy, and hence should have recovered the “Giddyup Buttercup Toy Parts”. If not, refer to the “Exploring Quincy” section of the guide for a detailed run-down of the Wilson Atomatoys Factory. Bring the parts back to Arlen and you’ll get the agreed upon reward. Huzzah!
| Objective | Reward |
|---|---|
| For bringing Arlen a box of “Giddyup Buttercup Toy Parts” | 97 XP 150 - 300 Caps |
Breakheart Banks
Super Mutants lurk among the remains of a farmhouse. Most of them are weaker varieties, so they should prove to be little trouble for you. Dispose of them and their hounds, then loot the old farmhouse to find a Super Mutant Chest Harness and a Steamer Trunk. Other than that, there’s little else to do here. If only there was a Workshop, what a fine settlement this would make. Alas. Return back to Wiseman for your reward, which includes their allegiance along with the standard Caps and XP. Score. Just be sure to talk to Preston to get the full reward.
| Objective | Reward |
|---|---|
| For killing the greenskins | 390 XP 93 Caps |
Build up The Slog however you wish, then move on. Head east to find a shallow, narrow river which can be crossed, catching only minimal RADS. Nearby you’ll see a highway running north south, which you can follow north until you spot Parsons State Insane Asylum to the west. Head onto the grounds (the guards would normally attack if you weren’t working for Edward) and talk to Maria, who is quick in telling you what she knows about the missing package. Apparently some “assholes with guns” stole the package, and have decided stick around after the theft
Parsons Creamery
Travel north from the asylum to find Parsons Creamery, where the thieves persist. Kill the three Raiders inside (one weak, one of moderate strength, and one strong one) then loot the highest level Raider to find some “Mysterious Serum”. Must be what Cabot wants. Get into a good defensive position when you have the serum, as several leveled Raiders will show up to contest your counter-theft. Once they’re dead, if you can leave to the eastern end of the loft you’ll find an Ammo Box, and on the northern roof there’s a Wooden Crate [Novice].
Fast-travel back to Cabot House and you’ll witness a confrontation between Jack Cabot and his mother. Apparently his sister is missing, and mother is nagging him about finding her. Certainly this won’t affect you, right? Nah. Anyways, talk to Eddie and tell him what happened and he’ll ask if you have any of the serum. If you pass an easy speech check you can deny it and keep with Mysterious Serum, which has some interesting properties, giving 50 Damage Resistance, drastically reducing your RADS and boosting your Strength by five. Turning it back in will net you 50 Caps. Choose whatever you wish, it doesn’t really matter, then Edward will go off to deal with the Cabot family crisis.
| Objective | Reward |
|---|---|
| For finding out what happened to the shipment | 260 XP 100 or 150 Caps |
Emogene Takes a Lover
Edward will talk to Jack, relay the information you told him, then Edward will task you with bringing home the impulsive young Emogene. This starts the quest “Emogene Takes A Lover” . He suggests starting in the Third Rail in Goodneighbor, a place you should know well by now. Put your Charisma gear on and return to Goodneighbor, then talk to Whitechapel Charlie in the Third Rail. Charlie knows little, but he’ll summon Magnolia, who will tell you that dear Emogene may have fallen for the charisma of a preacher. She’ll call over Ham, and he’ll provide more details, including the location of this seductive preacher: Charles View Amphitheater.
Fast-travel to the Charles View Amphitheater, where the scammer cult run by Brother James - or now Brother Thomas apparently - dwells. Talk to him and he’ll reveal the two of them are having some “relationship trouble”, after which you can pass a moderate speech check and bribe him with 500 Caps, or you can pass one of two hard speech checks. Or, if you can’t be bothered to use diplomacy, kill him and anybody who stands in your way and take his “Amphitheater Key” and head into the back office to find a locked door [Advanced], beyond which you’ll find Emogene.
When you meet her you should notice that she looks… alot like her mother. Pass an easy speech check to call her out on this and she’ll mention the restorative effects of their serum, which prompts another easy speech check. After this you’ll get a third speech check to call her “Ungrateful”. However you end the conversation, Emogene will wander off on her own, saying she’ll be back on her own time. Since you can’t just drag one of the privileged Cabot children back home, her word will have to do.
Return to the Cabot House to find Jack and his mother crowding around a radio, communicating with Edward, who seems to be having a spot of trouble. After the radio dies, Jack and his mother will argue, and you’ll be settled upon as the solution. Apparently Raiders - who may be using an undiluted form of the serum - are attacking Parsons State Insane Asylum, and you’ll be tasked with backing up Eddie. Pass an easy speech check to learn about the serum, whose details you should have figured out by now. Maybe he’s not wrong about the whole ancient aliens thing? He’ll also tell you about his father, how he fits into everything, and why, exactly it’s so important he remains confined but alive. Jack will give you some final orders before leaving for Parsons State Insane Asylum, starting the quest “The Secret of Cabot House” .
| Objective | Reward |
|---|---|
| For finding Emogene | 195 XP 201 Caps |
Before you go anywhere, you might as well loot the Cabot House, as all the previously sealed doors are now accessible, and nothing in here counts as stealing. First head downstairs and loot Eddie’s small room in the north-western corner of the house to find a Fat Man, a Mini Nuke, a Steamer Trunk and a floor Safe [Master] under the bed. Next head into Jack’s laboratory, go upstairs and through a doorway to the north, then enter the first room to the east to find another Steamer Trunk. In the second (northern) room to the east you’ll find “Lorenzo Cabot’s Journal”. As interesting of a read as that is, the Massachusetts Surgical Journal nearby has somewhat more practical value. Finally, enter the northern-most of the three rooms to the east to find Emogene’s room, where a Terminal [Master] contains a long list of entries, if you care to read them.

 Sign up
No Comments