
Walkthrough for the quest Sanctuary, a tutorial on how to build settlements.
After completing When Freedom Calls and escorting the survivors back to Sanctuary, you’ll be tasked with making the place more livable by taking care of some tasks for Sturges.
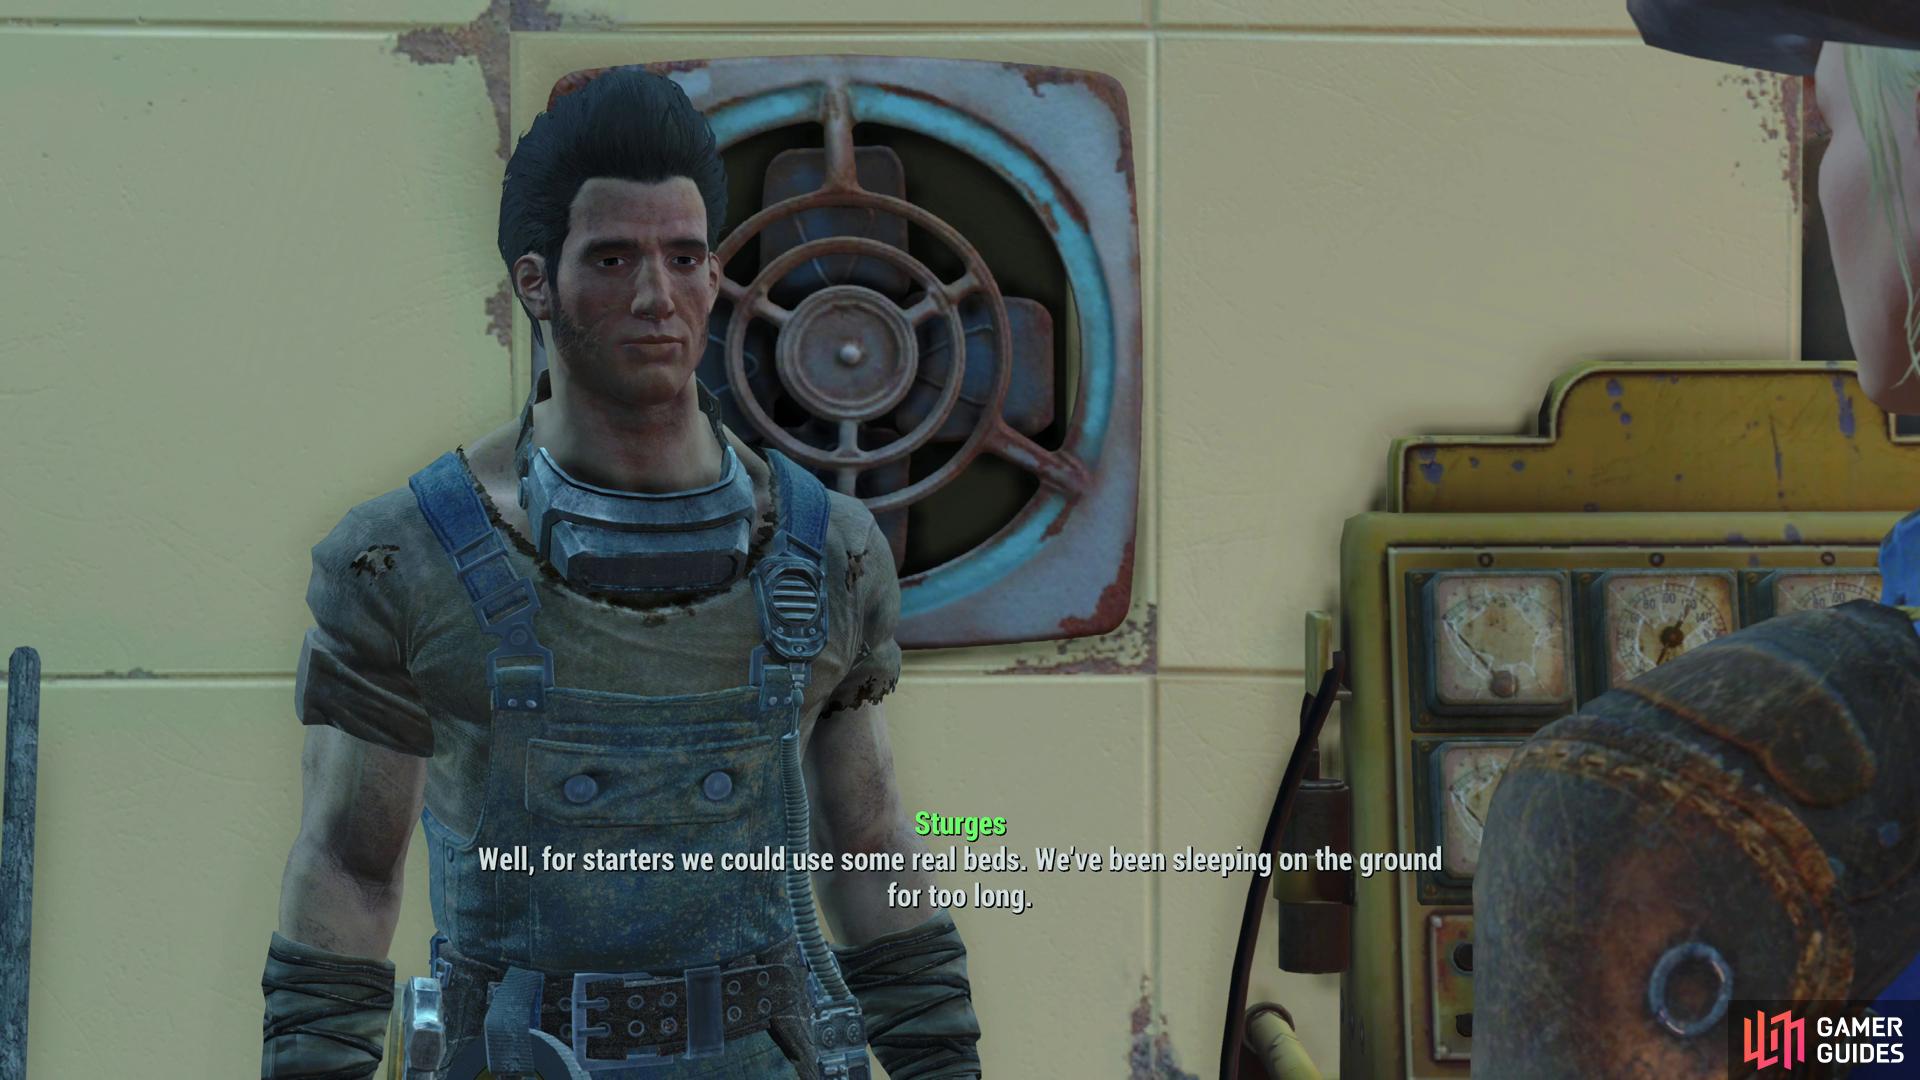
Talk to Sturges and he’ll give you your first chore: “build sheltered beds for Sanctuary settlers”. That means they need a roof over their heads, too… although the game honestly doesn’t seem to be picky about this. If you need building materials, you can hold down the [Touchpad/Back] button to toggle Workshop mode. In this mode, as mentioned earlier, you can examine objects around settlements and break them down for parts, store them, or manipulate them. Any of the ruined houses and trees around here provide plentiful building materials.
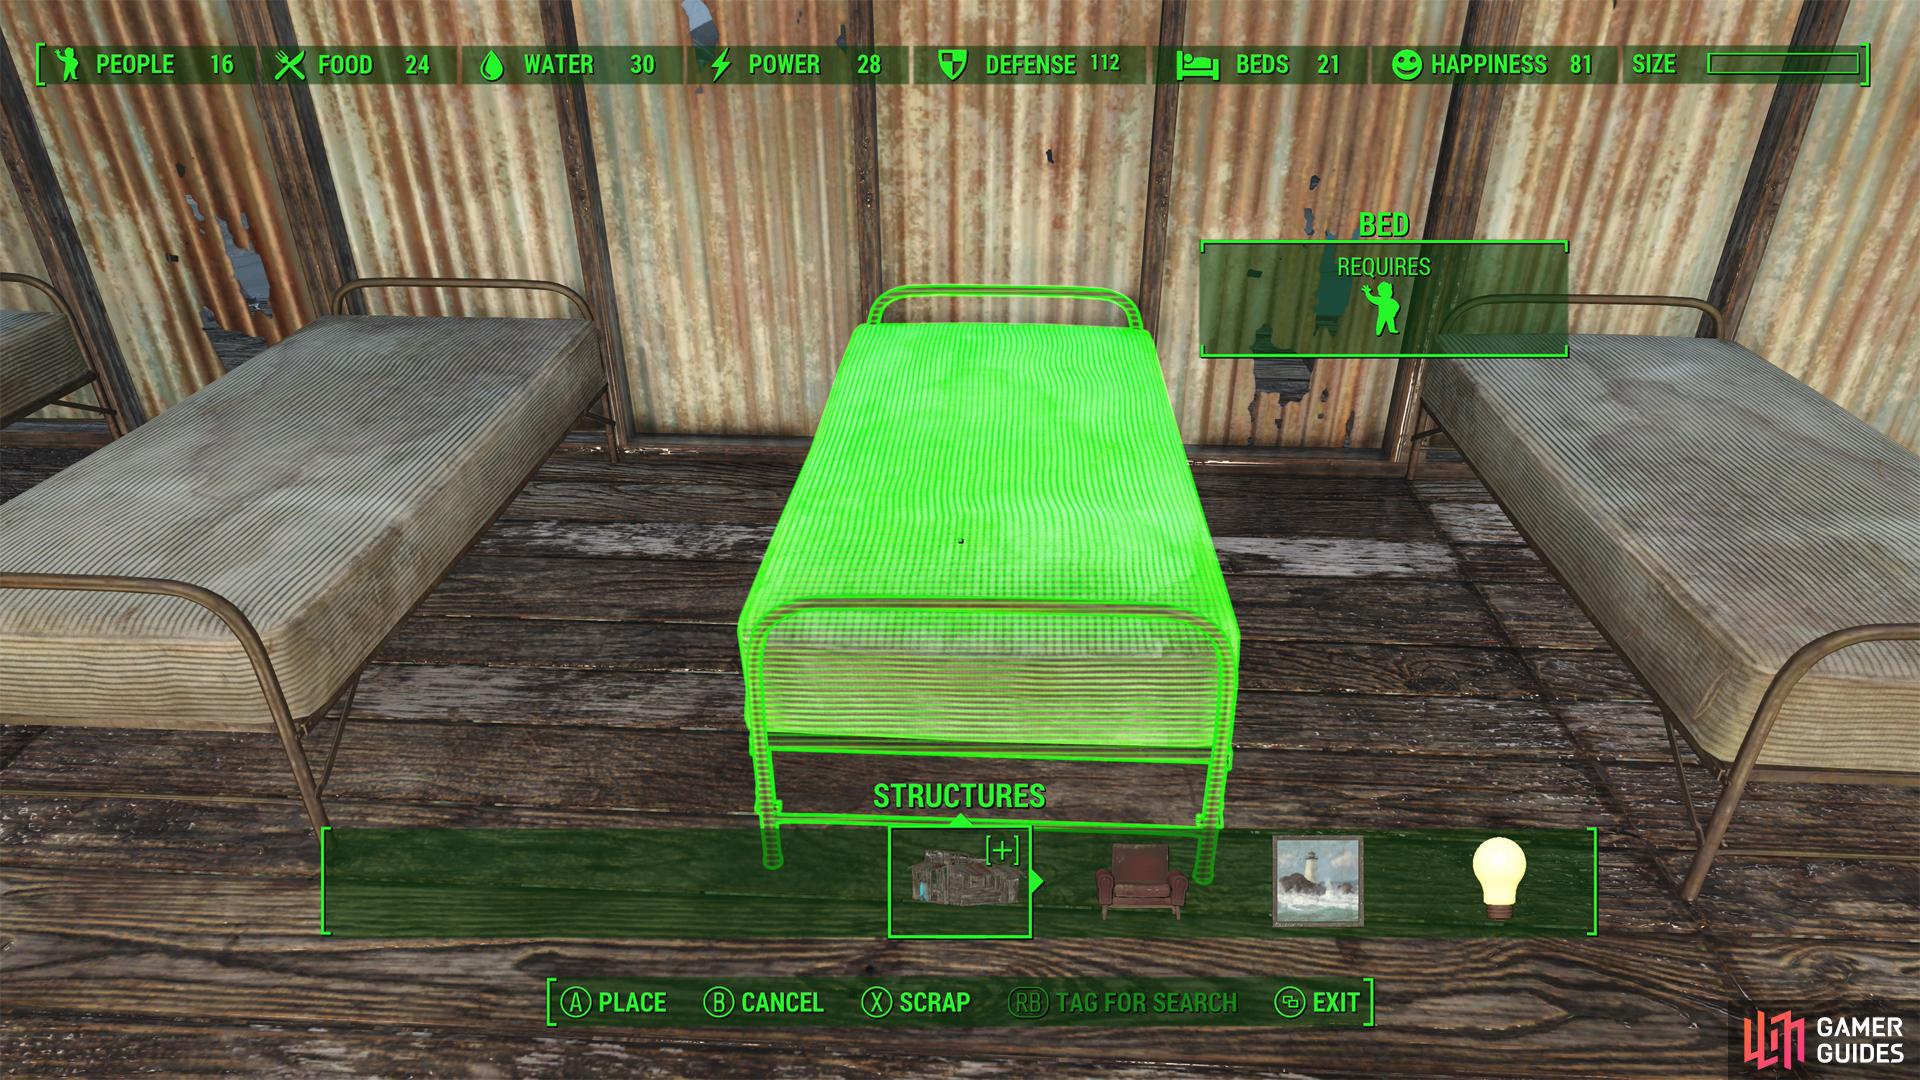
(1 of 2) First, Sturges will ask you to craft some beds… the “indoor” requirement doesn’t seem to be terribly important.
First, Sturges will ask you to craft some beds… the “indoor” requirement doesn’t seem to be terribly important. (left), Construct a shelter if you wish, then set up some beds. (right)
As for shelter, you can either build one yourself, or use an existing house (perhaps after emptying it of junk). To build a shelter, open the build menu and select “Structures”, then either “Wood” or “Metal” (“Concrete”, “Warehouse” or “Barn” are also options, depending on what DLC you have installed) and concoct a box of some description using the various floor/wall/roof tiles available, or use prefabs to speed things up. Whatever you choose as a shelter, when you’re ready to build beds, go to “Furniture”, “Beds” and pick any old bed. Place five of them in an indoor area and you’re good to go.
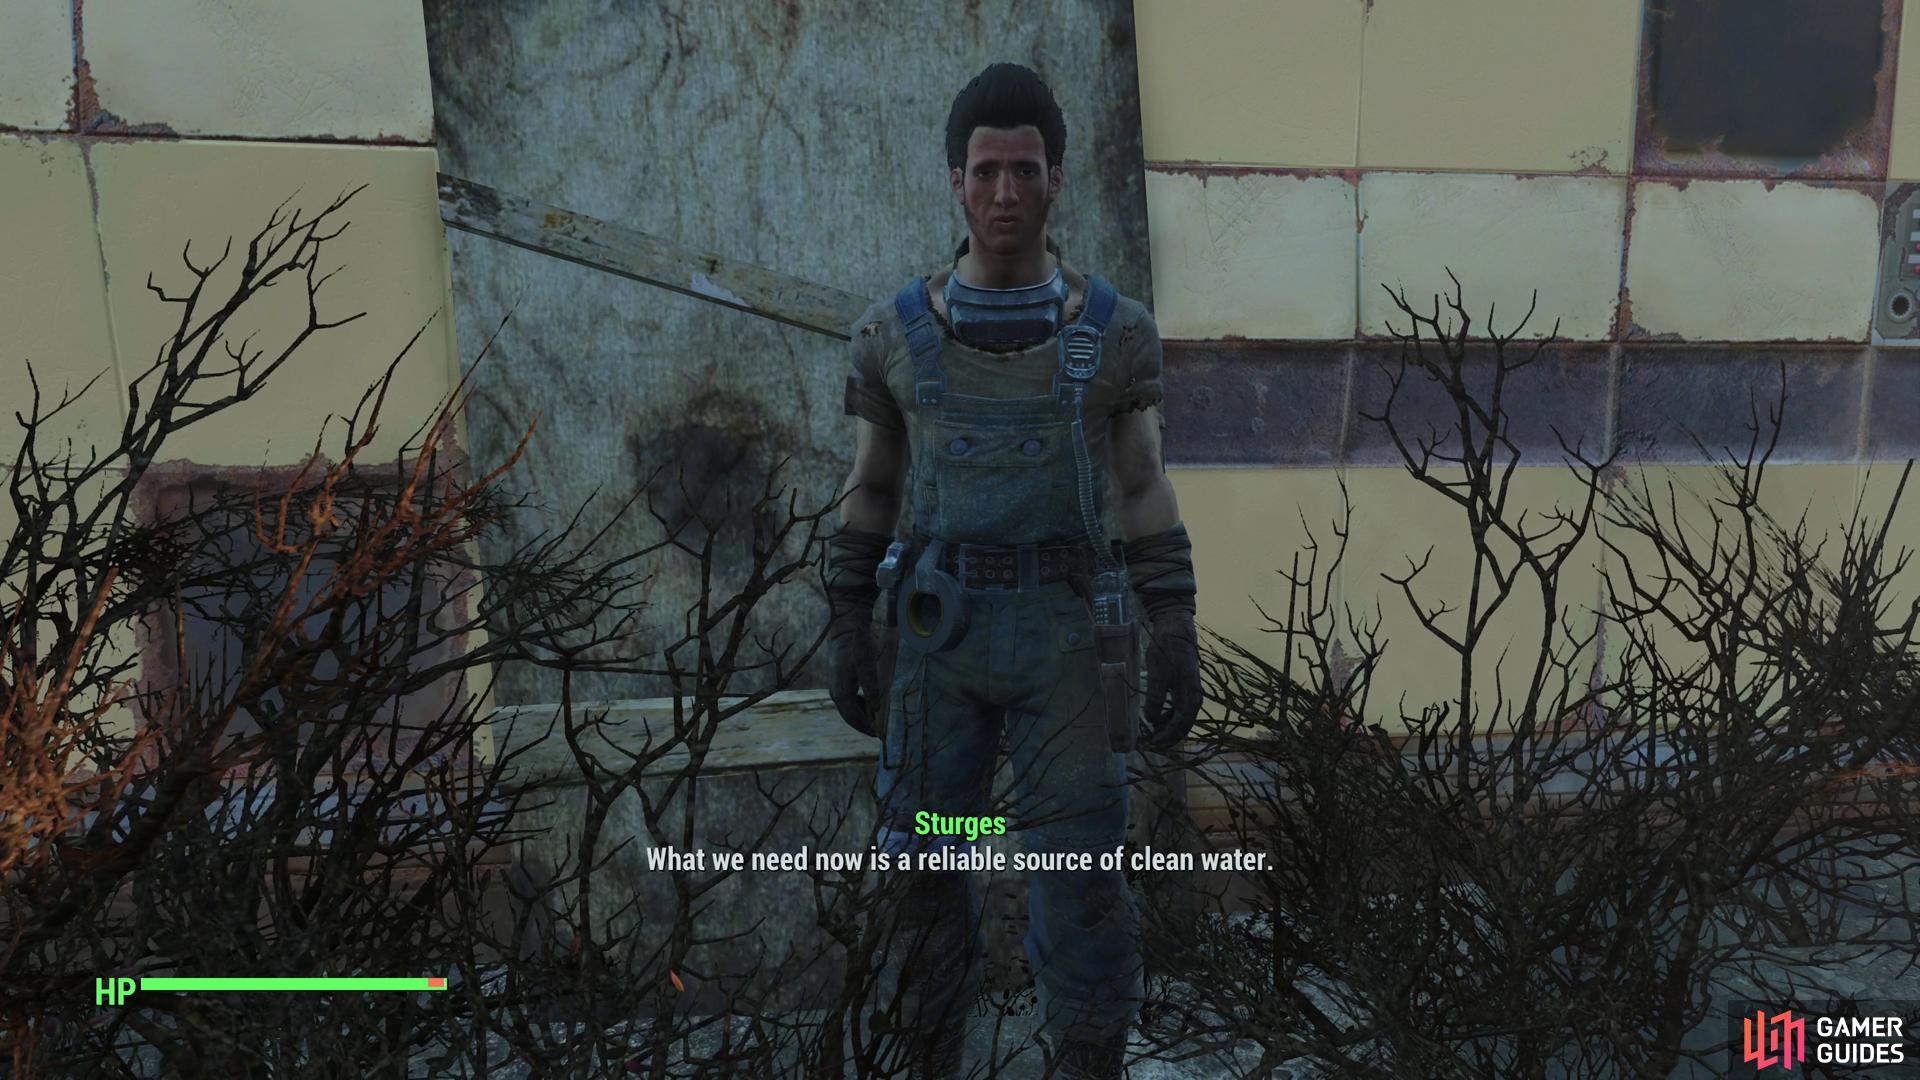
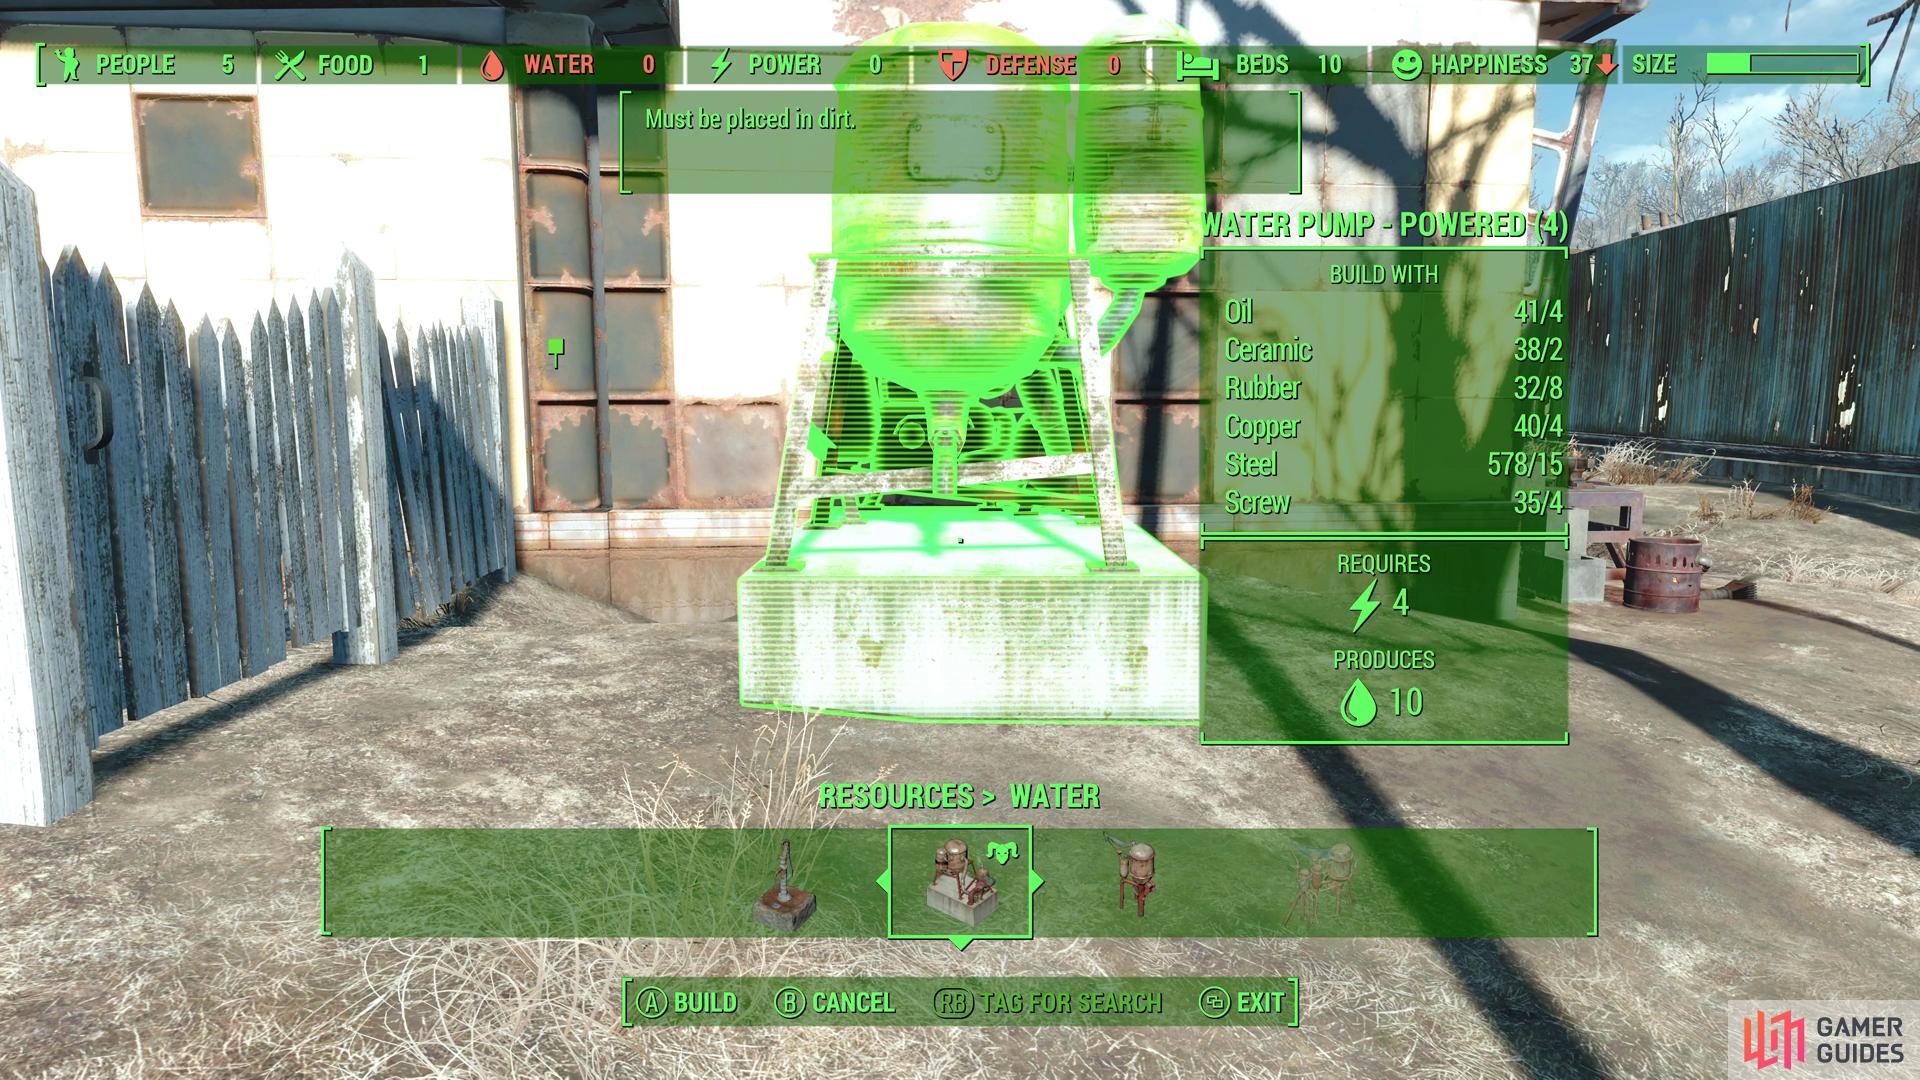
(1 of 3) Next up Sturges will ask you to secure them a source of drinking water.
Talk to Sturges and he’ll move you on to the second task; securing a source of clean water. Enter the Workshop menu again and head to the “Resources”, “Water section”. A Water Pump is cheap and easy to build so just put one anywhere where there’s dirt, or rather, put two down, as you’ll need one unit of water for each settler. Three water is generated per Water Pump, you’ve got five thirsty settlers to satisfy. Two pumps will suffice for now.
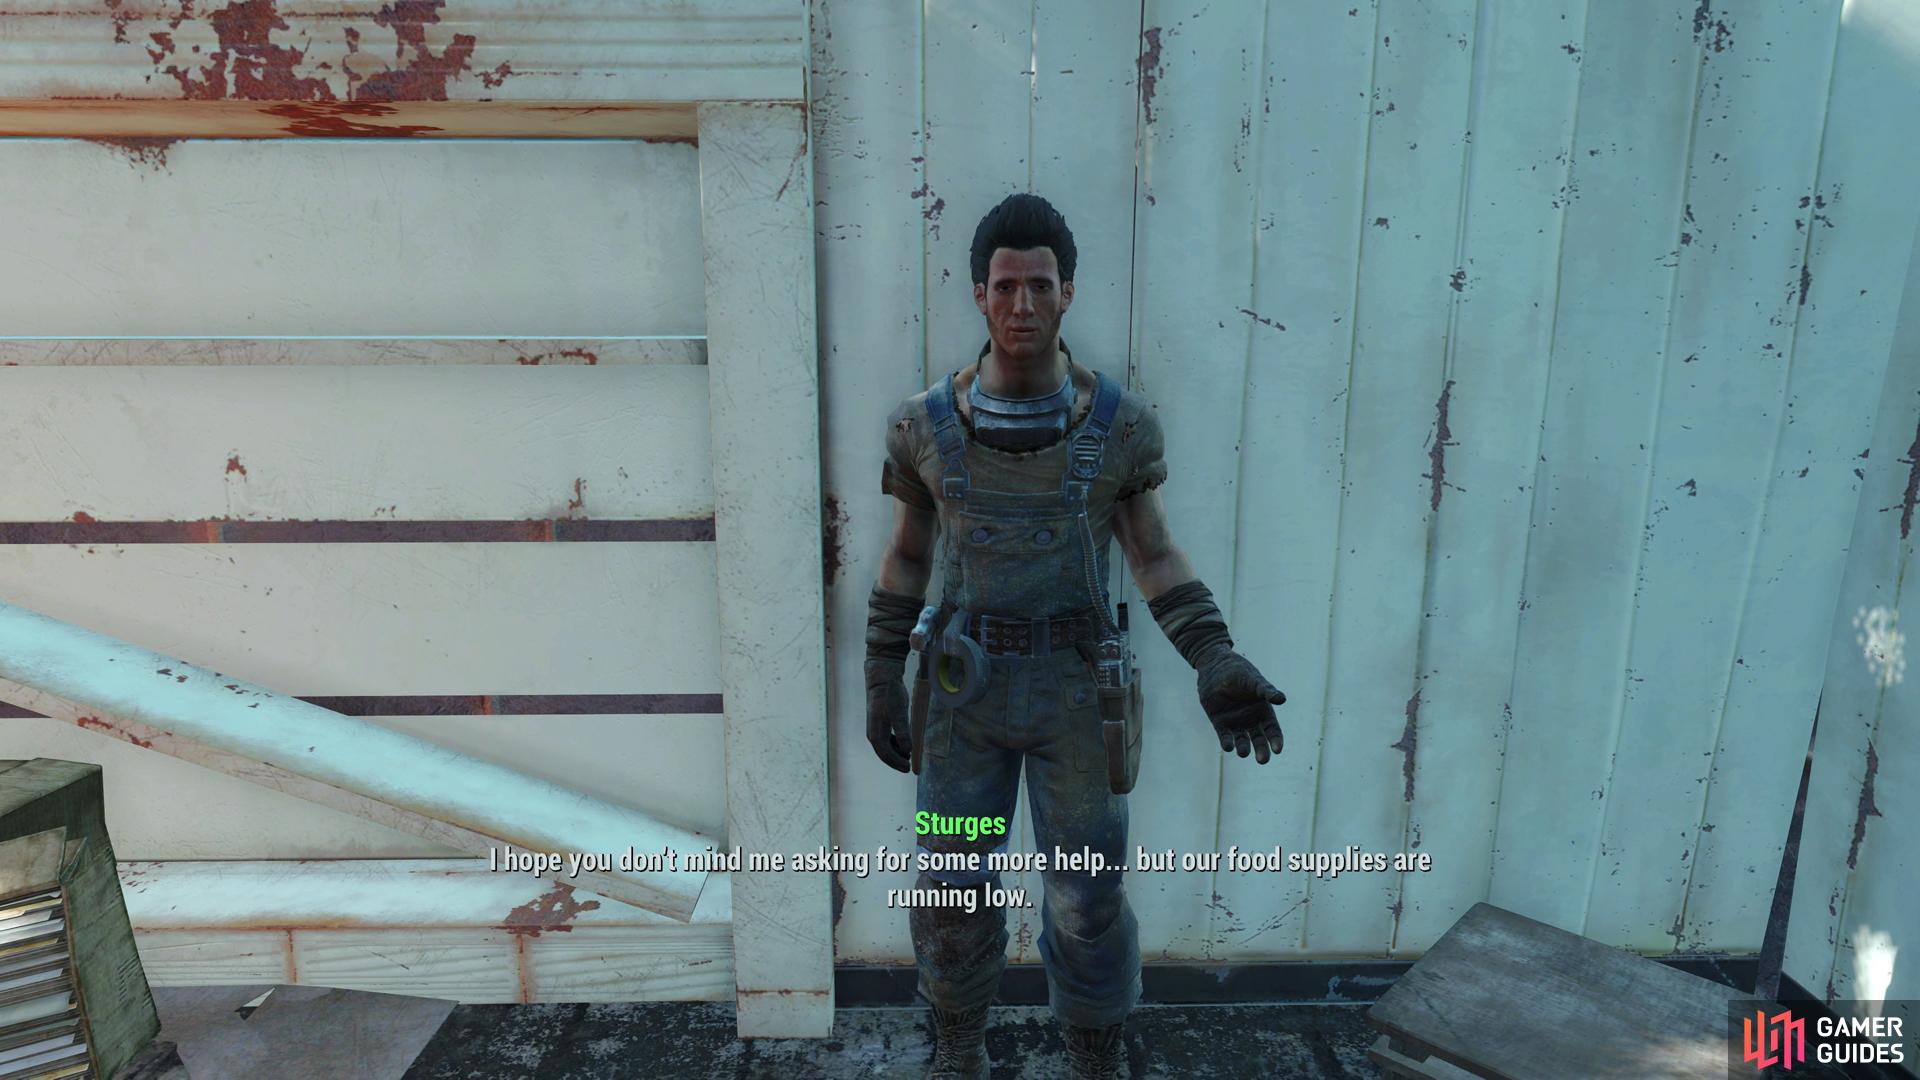
(1 of 2) Once shelter and water are secured, Sturges will ask for food.
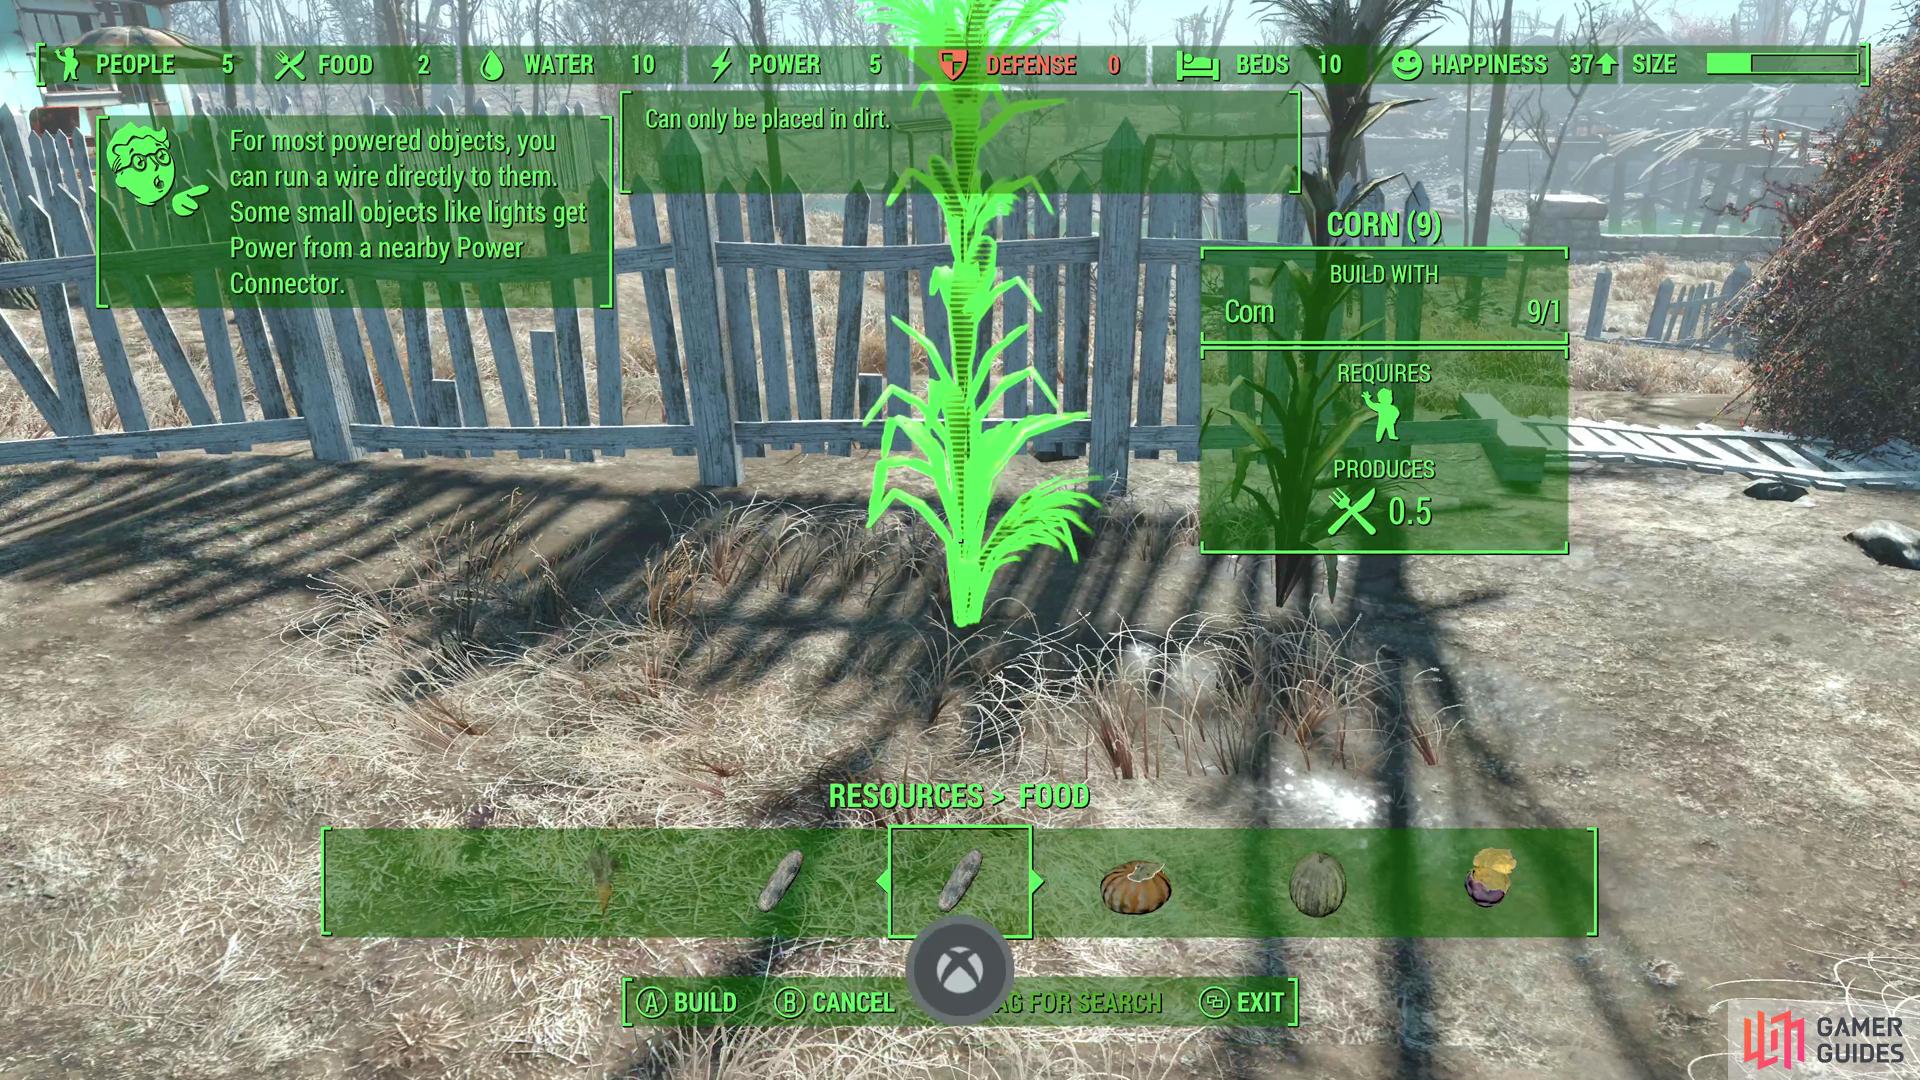
Once shelter and water are secured, Sturges will ask for food. (left), This request is much easier than water - just stick some plant s in the ground and assign some settlers to tend to them. (right)
Once that’s done, talk to Sturges again and, surprise surprise, you need to get them some food production. If you looked at the top of the screen or at the other resources at any point while building, you probably guessed this. Another simple building assignment, this doesn’t even require you to expend any crafting resources. To get food, you need to plant crops. Where do you get the seeds for this? From crops that are growing around. Behind the yellow house where the settlers are dwelling (the same one that has the Workshop in it) you can find some Melons and Gourds. Pick them and plant them; each crop generates 0.5 Food, and you’ll need to bring your Food total up to five, one for each settler, just like Water. If you don’t have enough resources, just go traveling for a bit and the crops will produce some food, which you can use to plant more crops.
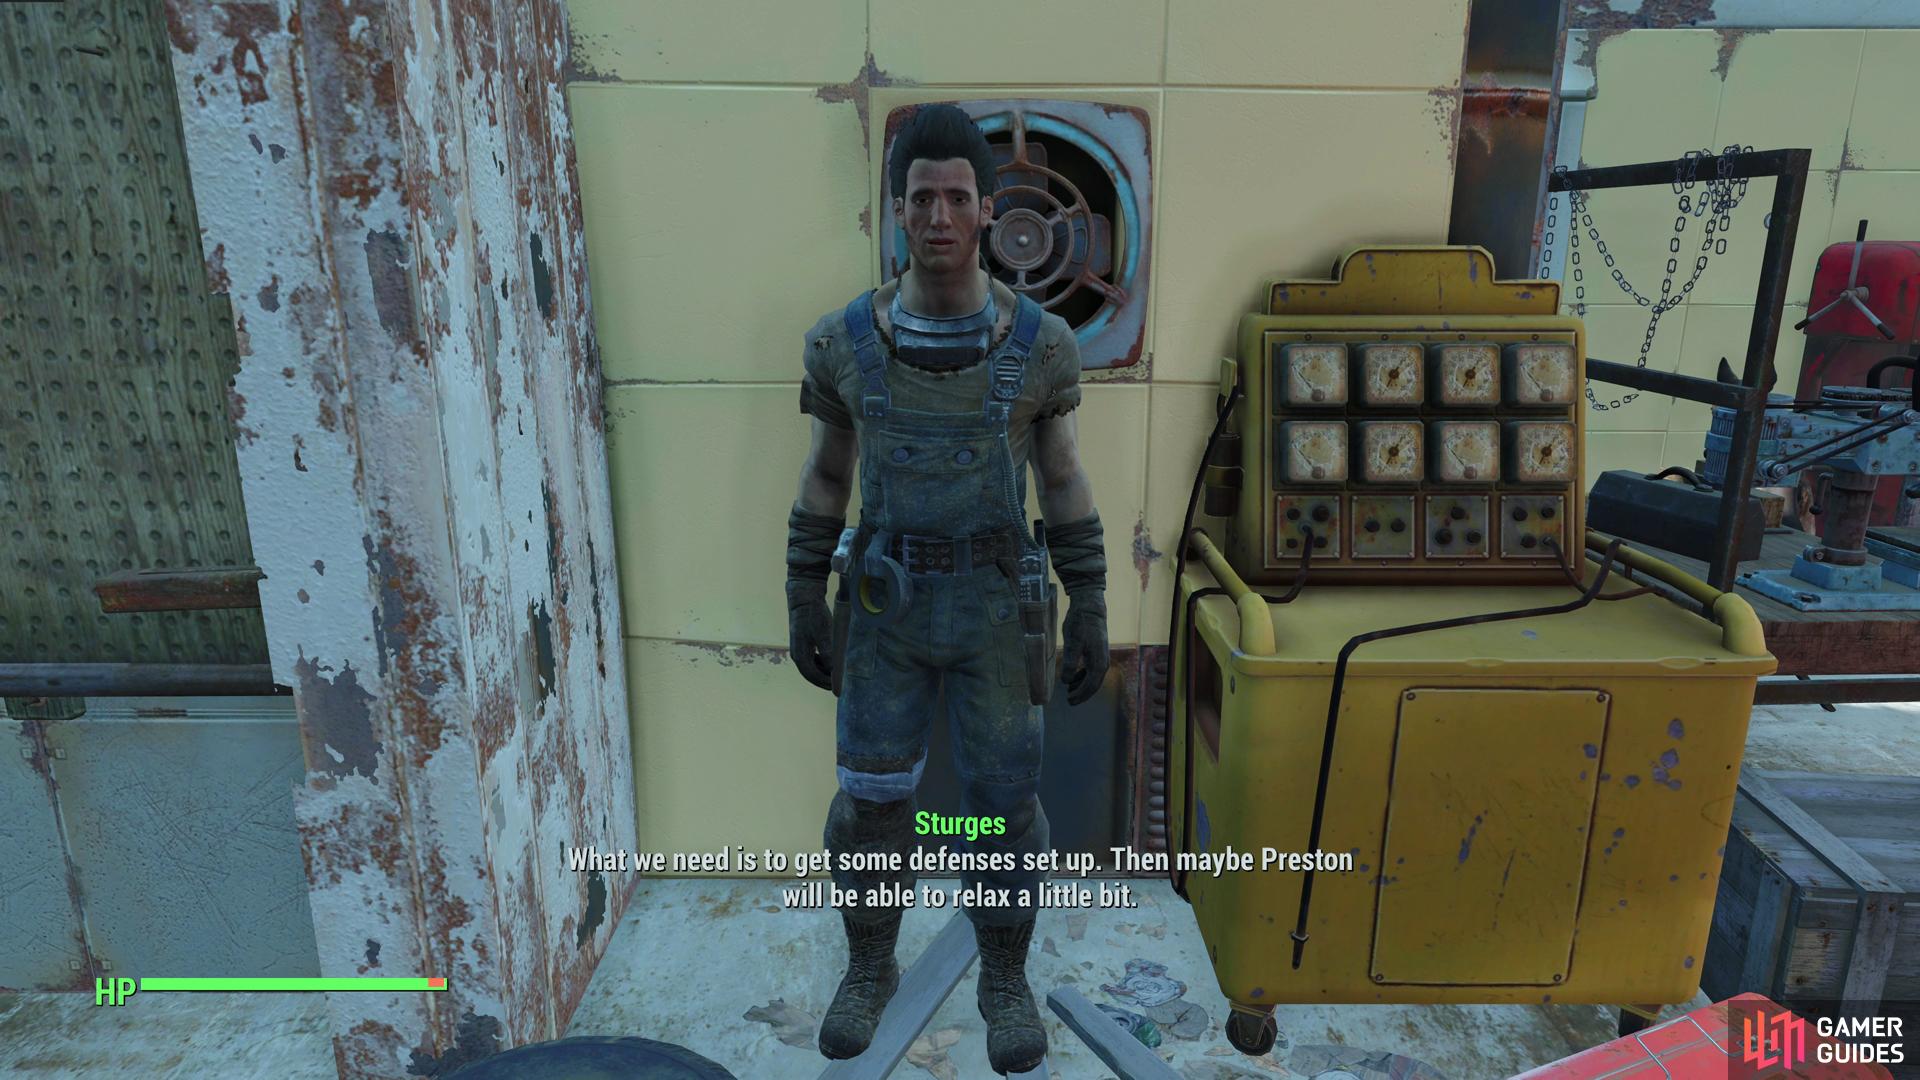
(1 of 2) Finally, Sturges will ask you to build defenses to protect all the resources you’ve established.
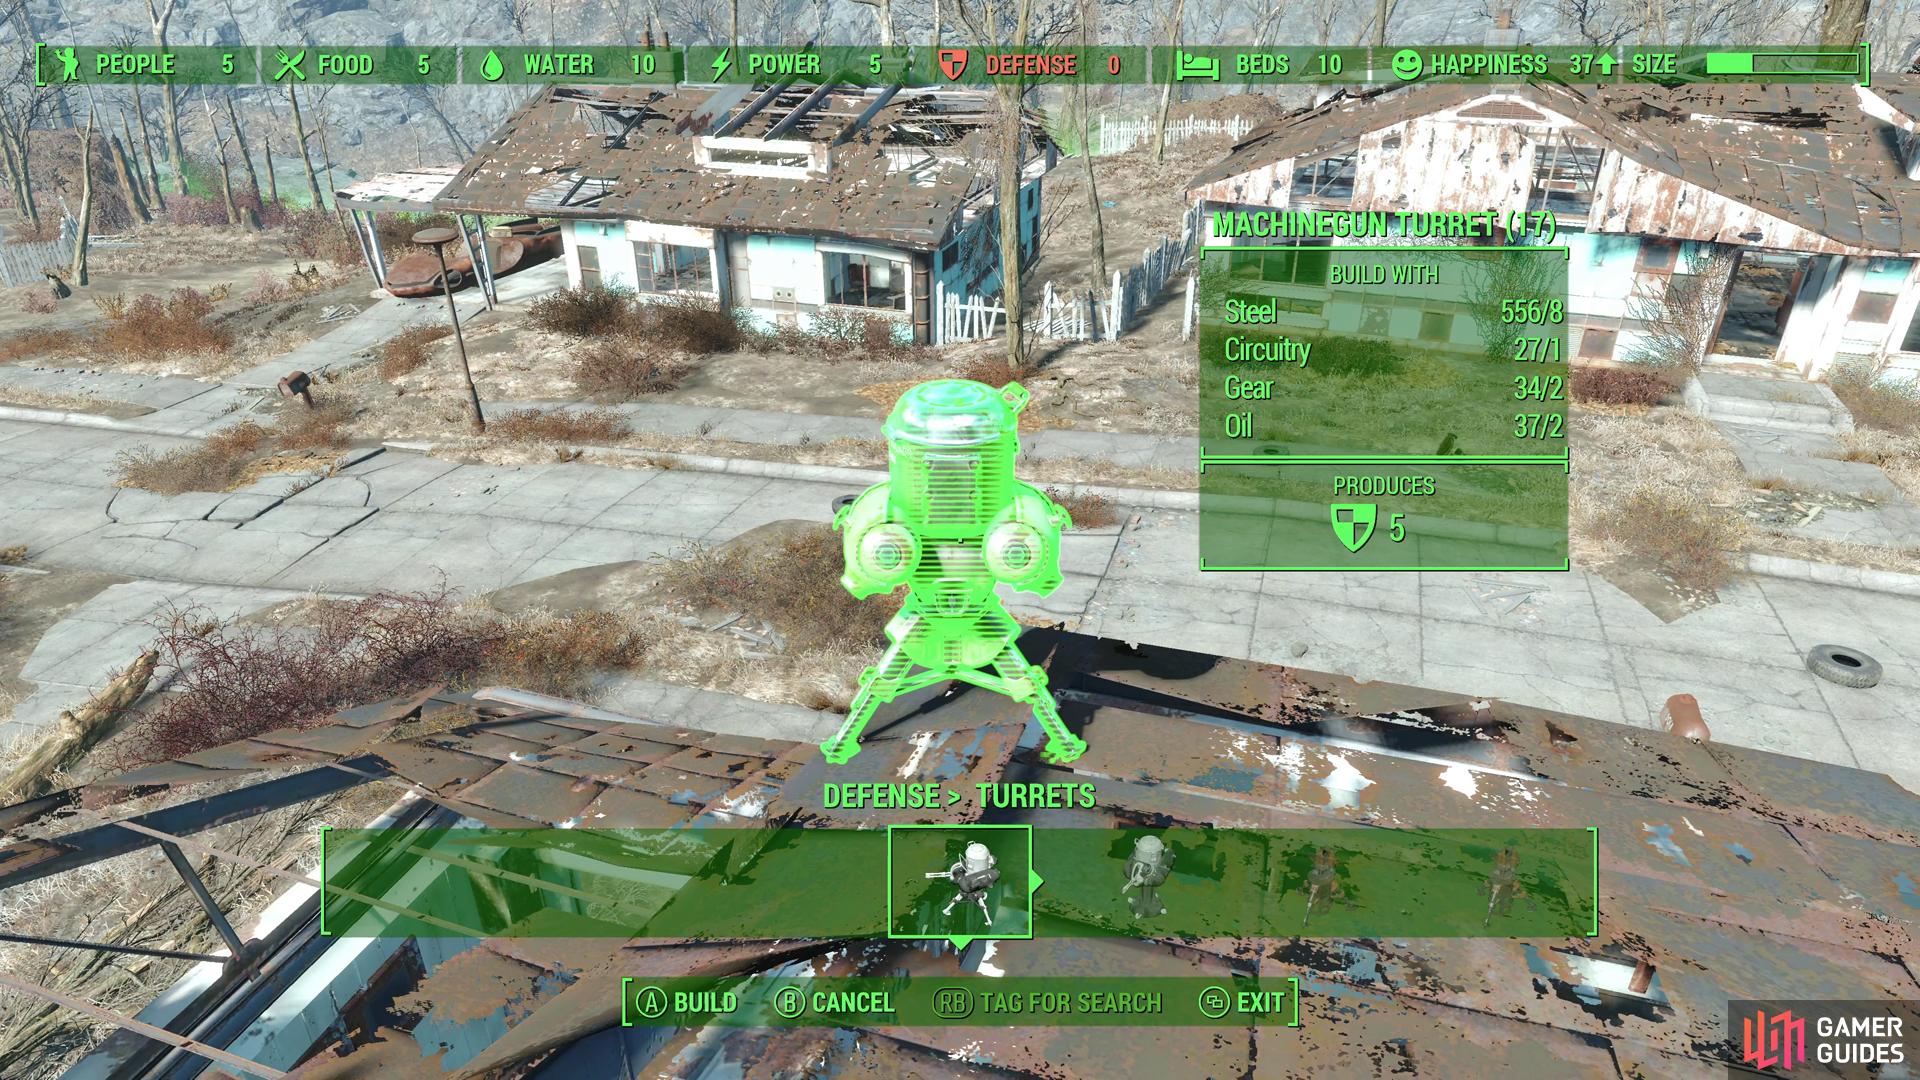
Finally, Sturges will ask you to build defenses to protect all the resources you’ve established. (left), You have a variety of options here, but when it comes to resources, ease of use and practical benefit, Machinegun Turrets are the best option. (right)
You know the drill now; return to Sturges and tell him about your latest accomplishment and he - being the tutorial quest giving helpless NPC that he is - will ask you to build them some defenses, so they can keep their newfound prosperity to themselves. If you can manage it, go into the “Defense”, “Turrets” category and set up two Machinegun Turrets in your settlement, which should be enough defense to appease Sturges. The only rare component required for these is Circuitry, but if you’ve been somewhat diligent you should have a few to spare.
Return to Sturges one more time and he’ll thank you for making them a home. You can continue to embellish your first settlement, if you wish; nothing says you can’t build yourself a new home here; if you find your old one too depressing. You can even add some power, if you want to get real busy with building.
| Objective | Reward |
|---|---|
| For building a settlement in Sanctuary | 175 XP |


Now that you’re done with the settlement building tutorial in Sanctuary, it’s time to discuss your next moves. While the main questline compels you to head to Diamond City, the way there is perilous, and frankly, you could stand to gain a few levels before attempting that trek. Diamond City aside, Preston also likely wants you to travel to some nearby settlements and help them out, which is not only easier to accomplish, but will gain you experience and resources that’ll help you ultimately reach Diamond City. The only downside to helping Preston is that the settlements he asks you to help are random, so for the sake of the guide a general exploration expedition covering all the areas in the vicinity of Sanctuary is called for. These areas will be covered in the following pages.
Before any of that, however, let’s go deal with some requests from Mama Murphy.

 Sign up
No Comments