
The quest Crucible is one of the many bits of new, Enclave-related content added to Fallout 4 as part of the next-gen update. Despite the name, this content is available to anybody who has an up-to-date version of Fallout 4, regardless of platform, and this new content was originally Creation Club content - premium mods that could be purchased, now free for everyone. Crucible tasks the player with entering the Saugus Ironworks and recovering a Heavy Incinerator weapon from the Forged raiders there, and this page will provide a walkthrough for the quest, including how to find and craftThermal Power Armor mods.

(1 of 2) While otherwise unconnected, you can find out about the Heavy Incinerator at Saugus Ironworks by investigating an Enclave camp during “Echoes of the Past”.
While otherwise unconnected, you can find out about the Heavy Incinerator at Saugus Ironworks by investigating an Enclave camp during “Echoes of the Past”. (left), The first step in the quest “Crucible” is, of course, to fight your way into Saugus Ironworks. (right)
Crucible Location and How to Start
The Enclave, despite their technological superiority and pretensions of organizational continuity with the United States government, are surprisingly incompetent at actually retaining possession of their arms and armor.. Actually, that last part tracks. Anywho, during the quest Pyromaniac you were hunting down a pilfered suit of Hellfire Power Armor, and this isn’t the only piece of tech the Forged have managed to take from the Enclave.
Like most Enclave-related content added to Fallout 4, Crucible is related to the main Enclave quest Echoes of the Past, but you’re not actually required to complete the aforementioned quest to start this one. You can, however, gain a bit of info about the object of this quest if you progress Echoes of the Past; track the missing caravan to an Enclave camp, dispatch the Enclave Soldiers there, then use their Field Operations Terminal (“Retrieval Logs”, then “Heavy Incinerator”) to find out that one of these advanced heavy weapons has been obtained by some Forged raiders - noted pyromaniacs. Again, this is optional, but interesting to note, and ![]() Saugus Ironworks is just to the southwest of this Enclave camp and the location of the stolen Hellfire Power Armor found in the quest Pyromaniac is itself west of the Saugus Ironworks. Lots of misplaced Enclave gear in this area.
Saugus Ironworks is just to the southwest of this Enclave camp and the location of the stolen Hellfire Power Armor found in the quest Pyromaniac is itself west of the Saugus Ironworks. Lots of misplaced Enclave gear in this area.
This quest should start as soon as you’ve escaped Vault 111, and to start making progress all you need to do is head over to the Saugus Ironworks factory, which itself is just south and slightly east of The Slog and just north of Finch Farm. This quest is pretty far afield, at least in relation to Sanctuary, and generally the further south and east you get from ![]() Sanctuary, the more difficult things get. If you’re low level you might want to wait before attempting this, as you’ll likely be facing relatively strong enemies, and you’ll need to modify and pilot some Power Armor to complete this quest.
Sanctuary, the more difficult things get. If you’re low level you might want to wait before attempting this, as you’ll likely be facing relatively strong enemies, and you’ll need to modify and pilot some Power Armor to complete this quest.


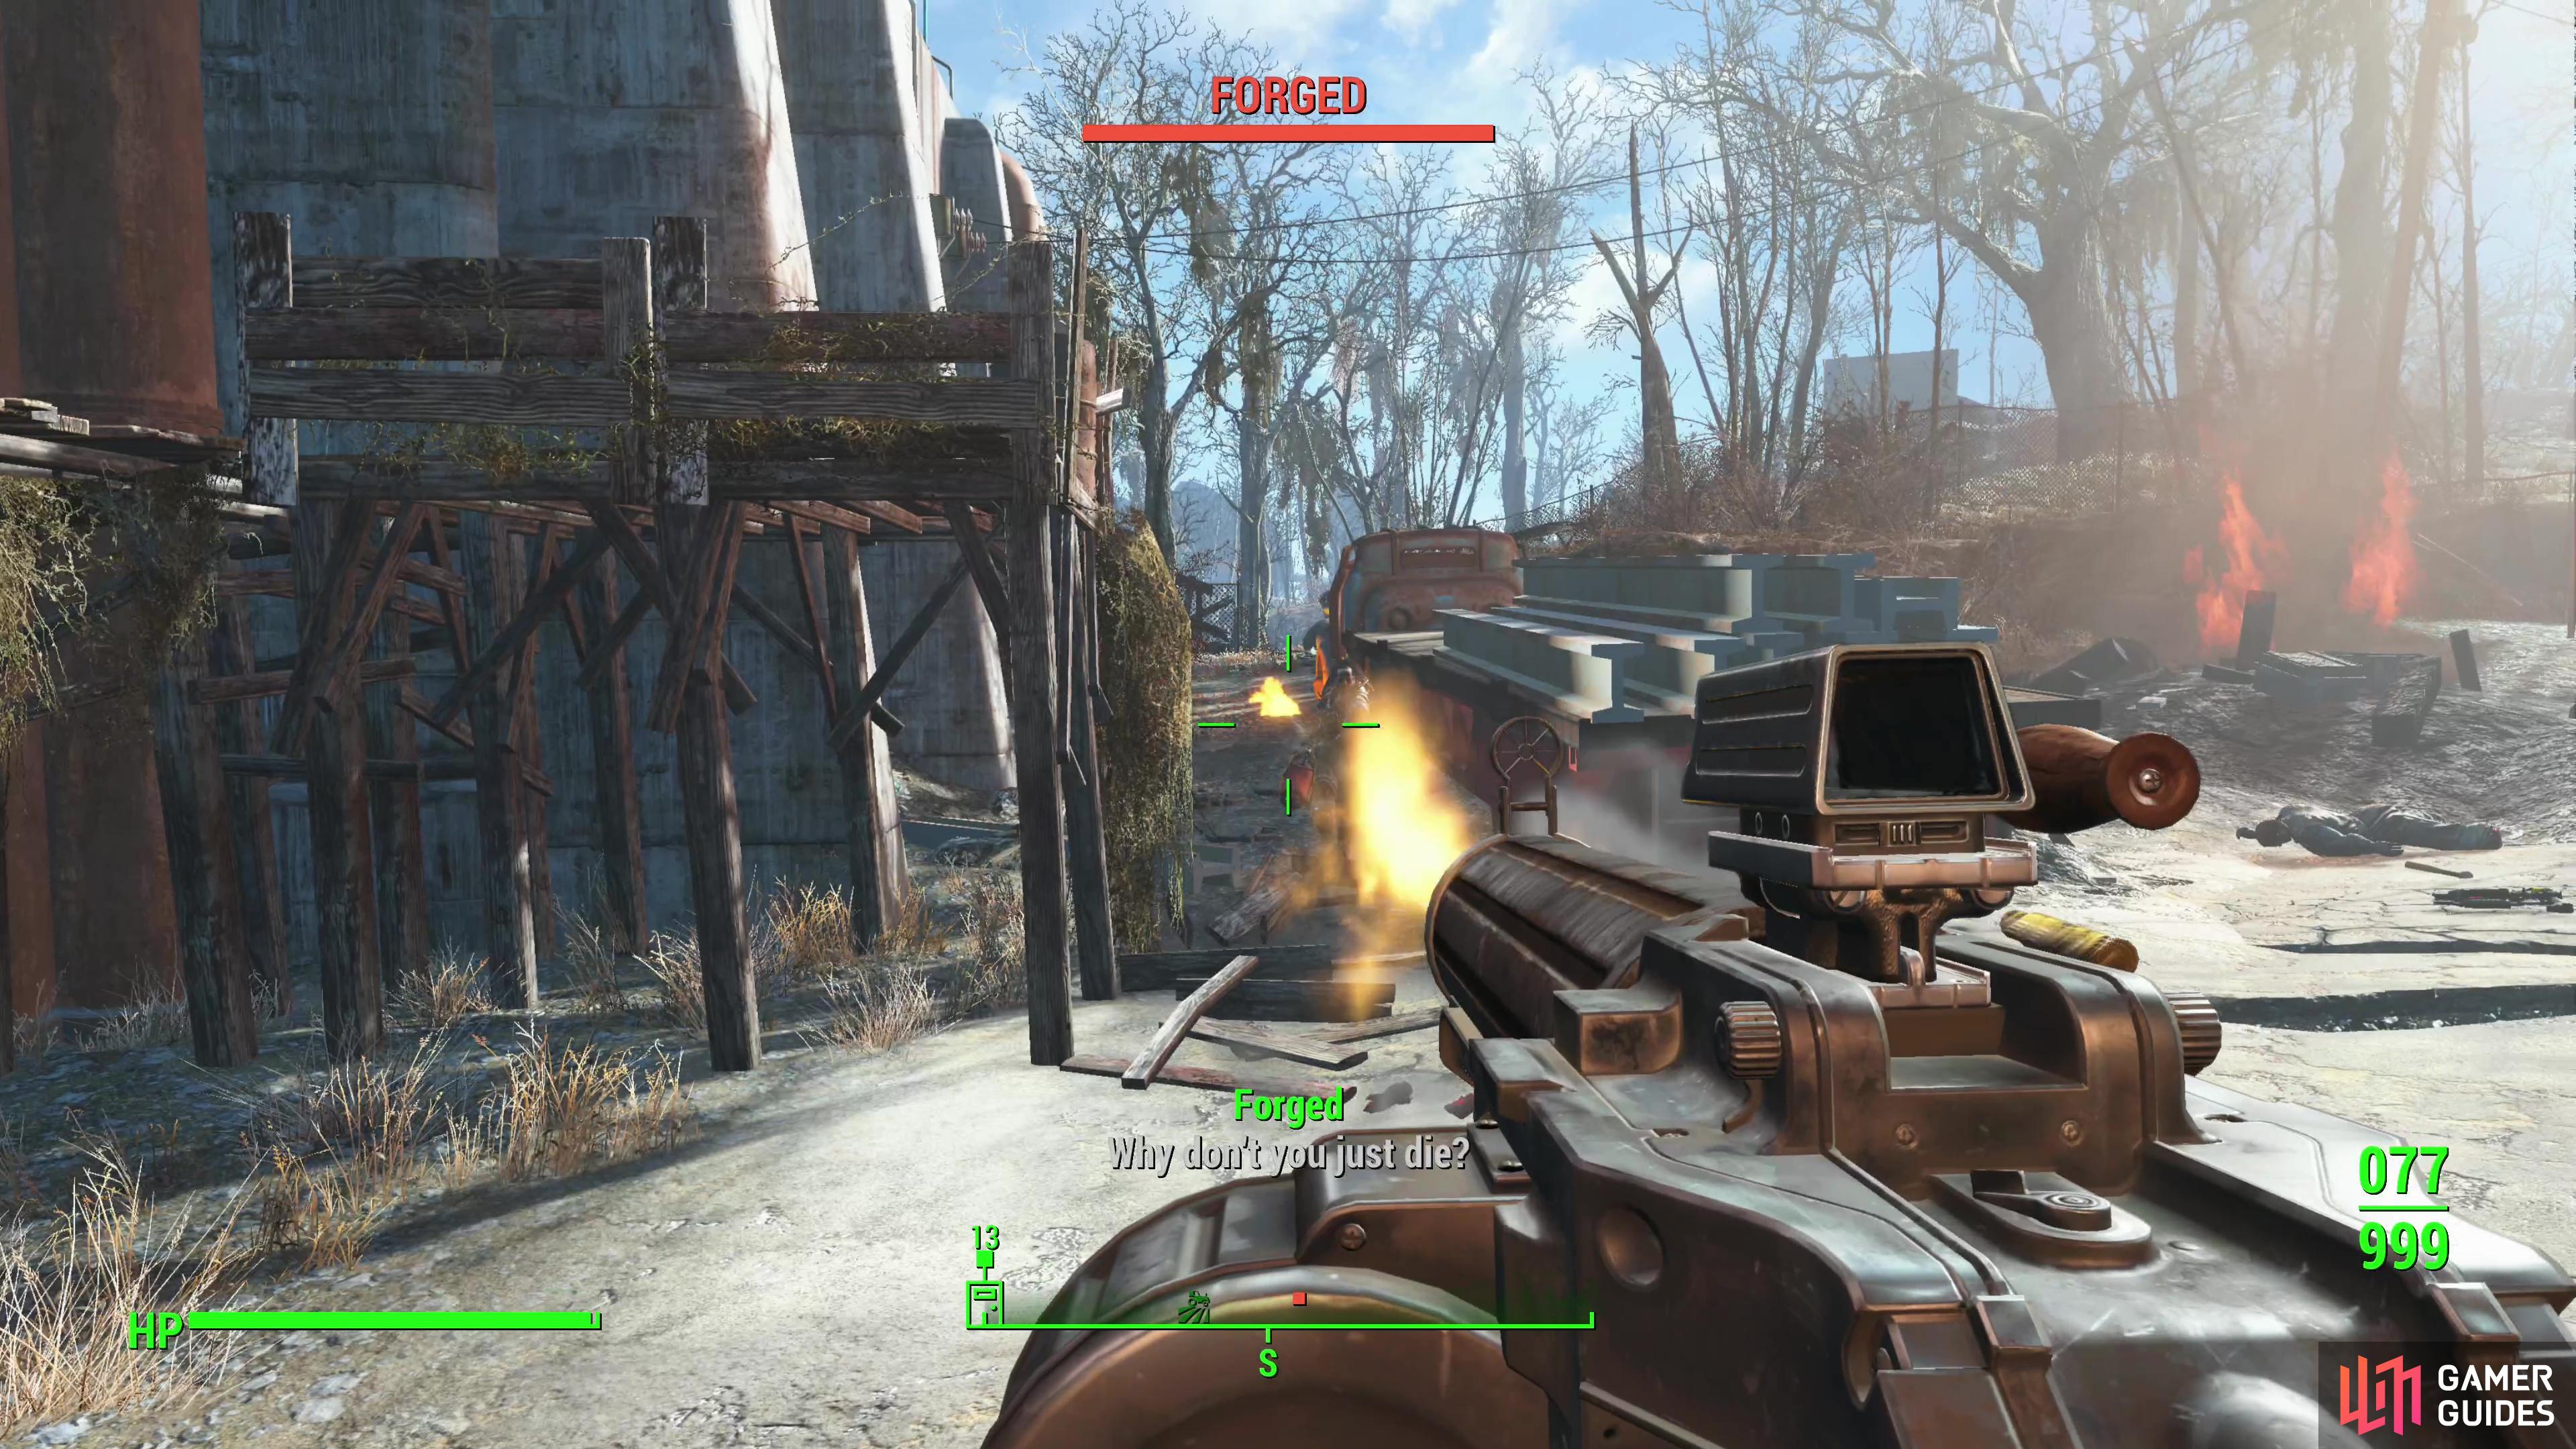
(1 of 3) Once inside, more Forged stand in your way.
Defeat the Forged Keeper
Kill any Forged you find outside the factory. While fond of fire, they’ll use any weapons handy, and although they’re technically Raiders they forgo the typical Raider attire in favor of Cage Armor and Spike Armor - their more powerful members will bear Flamers into battle. Once the entrance is clear, head inside to reach the first rectangular chamber; kill the Forged ahead and head up some stairs to the left (east) and follow the elevated walkway across the room to the south. Go down a ramp, then head up two flights of stairs ahead to reach an elevated room, where you’ll find your way blocked by some locked doors.
To get through to the next area, hack a Terminal [Advanced] on the wall nearby or, in the unlikely event you can’t hack such a terminal, you’ll need to take a detour. In this case head up some stairs to the west of the locked door to reach the upper level of the first large chamber and cross a makeshift bridge to reach the upper floors of the eastern chamber beyond the locked door. From here you just need to head down various stairs and ramps to reach the ground floor.
However you get through the door, kill the Forged in the larger, eastern chamber, including a Forged Keeper. This is your common elite Forged - Cage Armor, Flamer, the works. Once they’re defeated and the are is pacified, pick up the Forged Keeper’s Note and read it to learn about some “cheater” who had the audacity to taint the purity of the Forged’s trial by fire. Might as well find out what this cheater’s idea was… for research purposes.
![Either pick the locked toobox [Expert] or search the tin cans in the shelf above for a key.](/assets/media/17/107/fallout4_crucible_keepers_toolbox_key-55d22ef7.jpg)

(1 of 2) Either pick the locked toobox [Expert] or search the tin cans in the shelf above for a key.
Either pick the locked toobox [Expert] or search the tin cans in the shelf above for a key. (left), Inside the toolbox you’ll find a “Forged Recruit’s Note”, which tells you how to proceed. (right)
Find the Forged Recruit’s Note
Jump onto a collapsed ramp in the southeastern corner of the chamber and follow the walkway north until you reach an elevated room. To the right you’ll find some shelves, on which is the Toolbox [Expert] you need to plunder. If you can’t pick that lock, don’t fret - just grab the Tin Cans on the shelf above until you find the Keeper’s Toolbox Key, which will bypass this pesky lock for you. Inside the toolbox you’ll find a Forged Recruit’s Note and a Smelter Console Password. Read the former and you’ll find that this less-than-perfectly-fervent recruit decided modding up some Power Armor was the solution. She hid the mods under a crucible, and you’ll need to engage in a bit of busywork to get said mods. Might as well test it out for her, it’d be a real shame if she died for a cheat that didn’t even work, right?
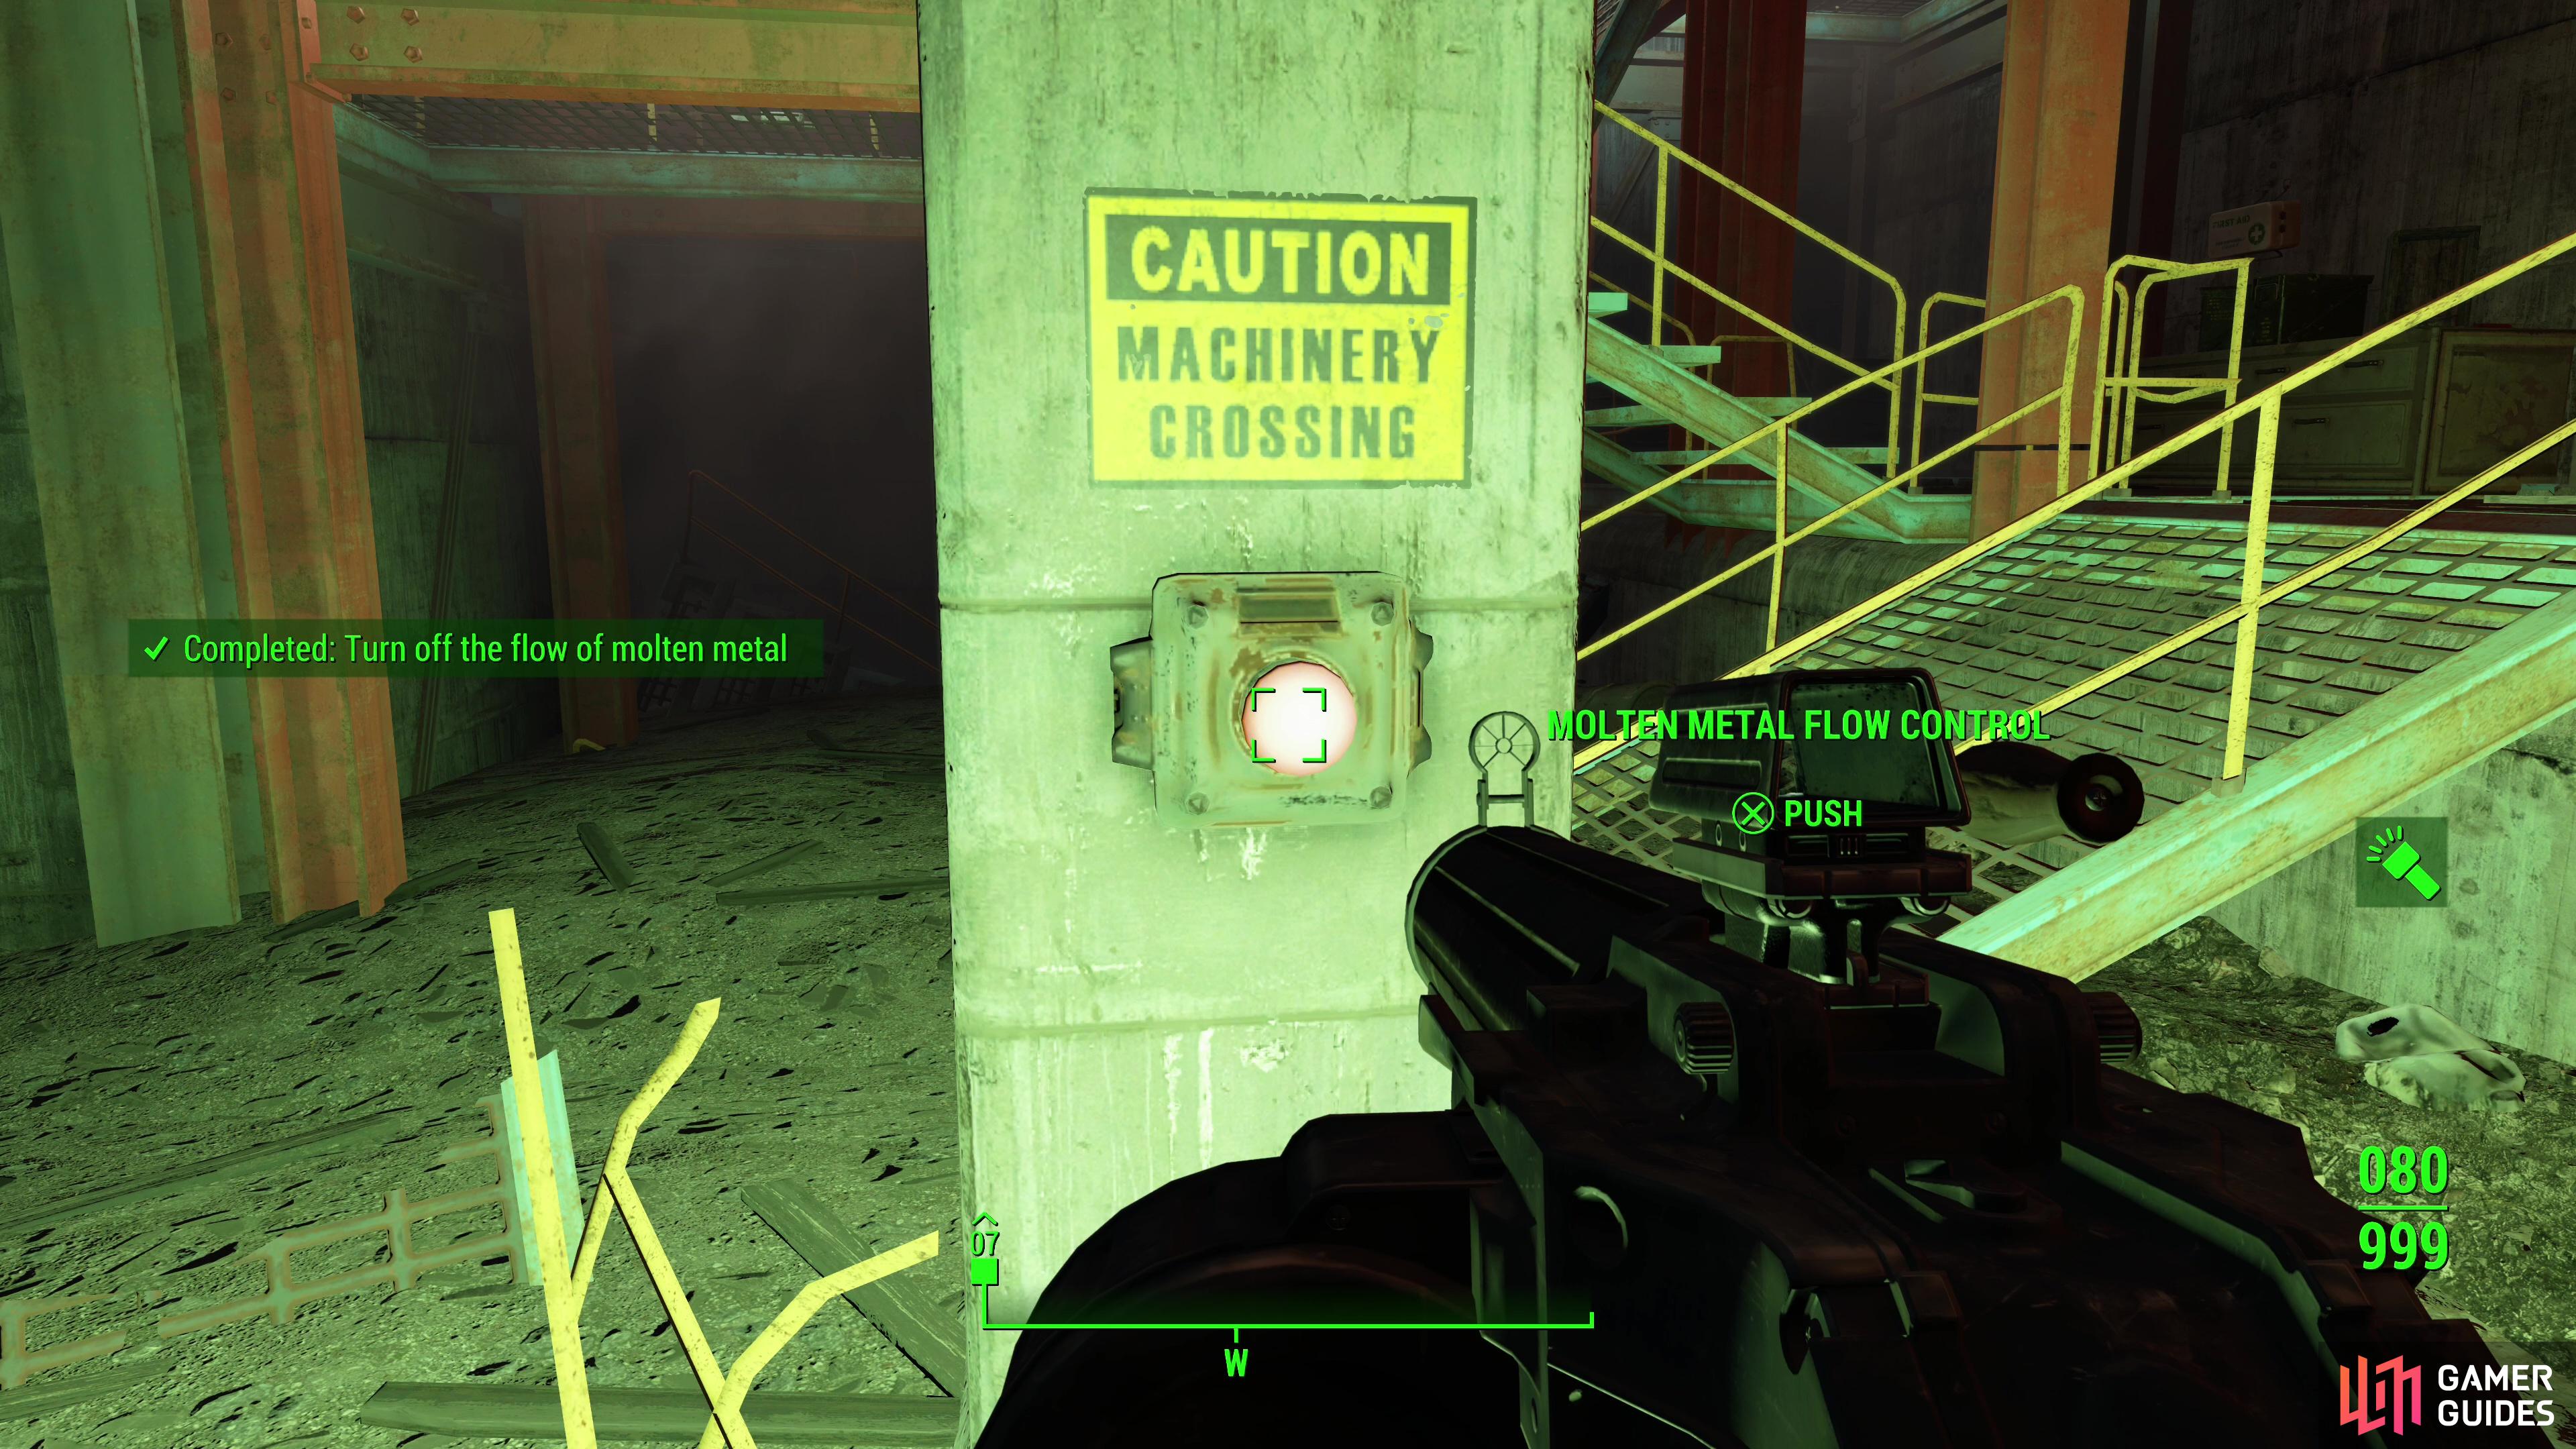


(1 of 3) First, press the “Molten Metal Flow Control” button,
Find the Power Armor Leg Mods
First things first, head back to the ground floor and work your way to the northern end of the room, past a bulldozer, and push the Molten Metal Flow Control button found on a concrete pillar. Once done, head back up to the room where you found the Forged Recruit’s Note and continue outside to the north to find a console to the right. You need the Smelter Console Password to activate this, but assuming you grabbed it with the note early, you should be peachy-keen. Pick the option “Move crucible” and provided you pressed the Molten Metal Flow Control button earlier you should have just uncovered the mods you need. Head back down to the ground floor and search the northernmost end of the room to find a Dirt Mound in the midst of some train tracks. Buried here is everything you need - some Raider Power Legs, the Flame Resistant Left Leg and Flame Resistant Right Leg as well as some junk. Grab the mods and the Power Armor so you protect yourself from the molten waltz that lies ahead.


(1 of 5) Search under the crucible to find Raider Power Legs and two mods for them.
Get the Heavy Incinerator
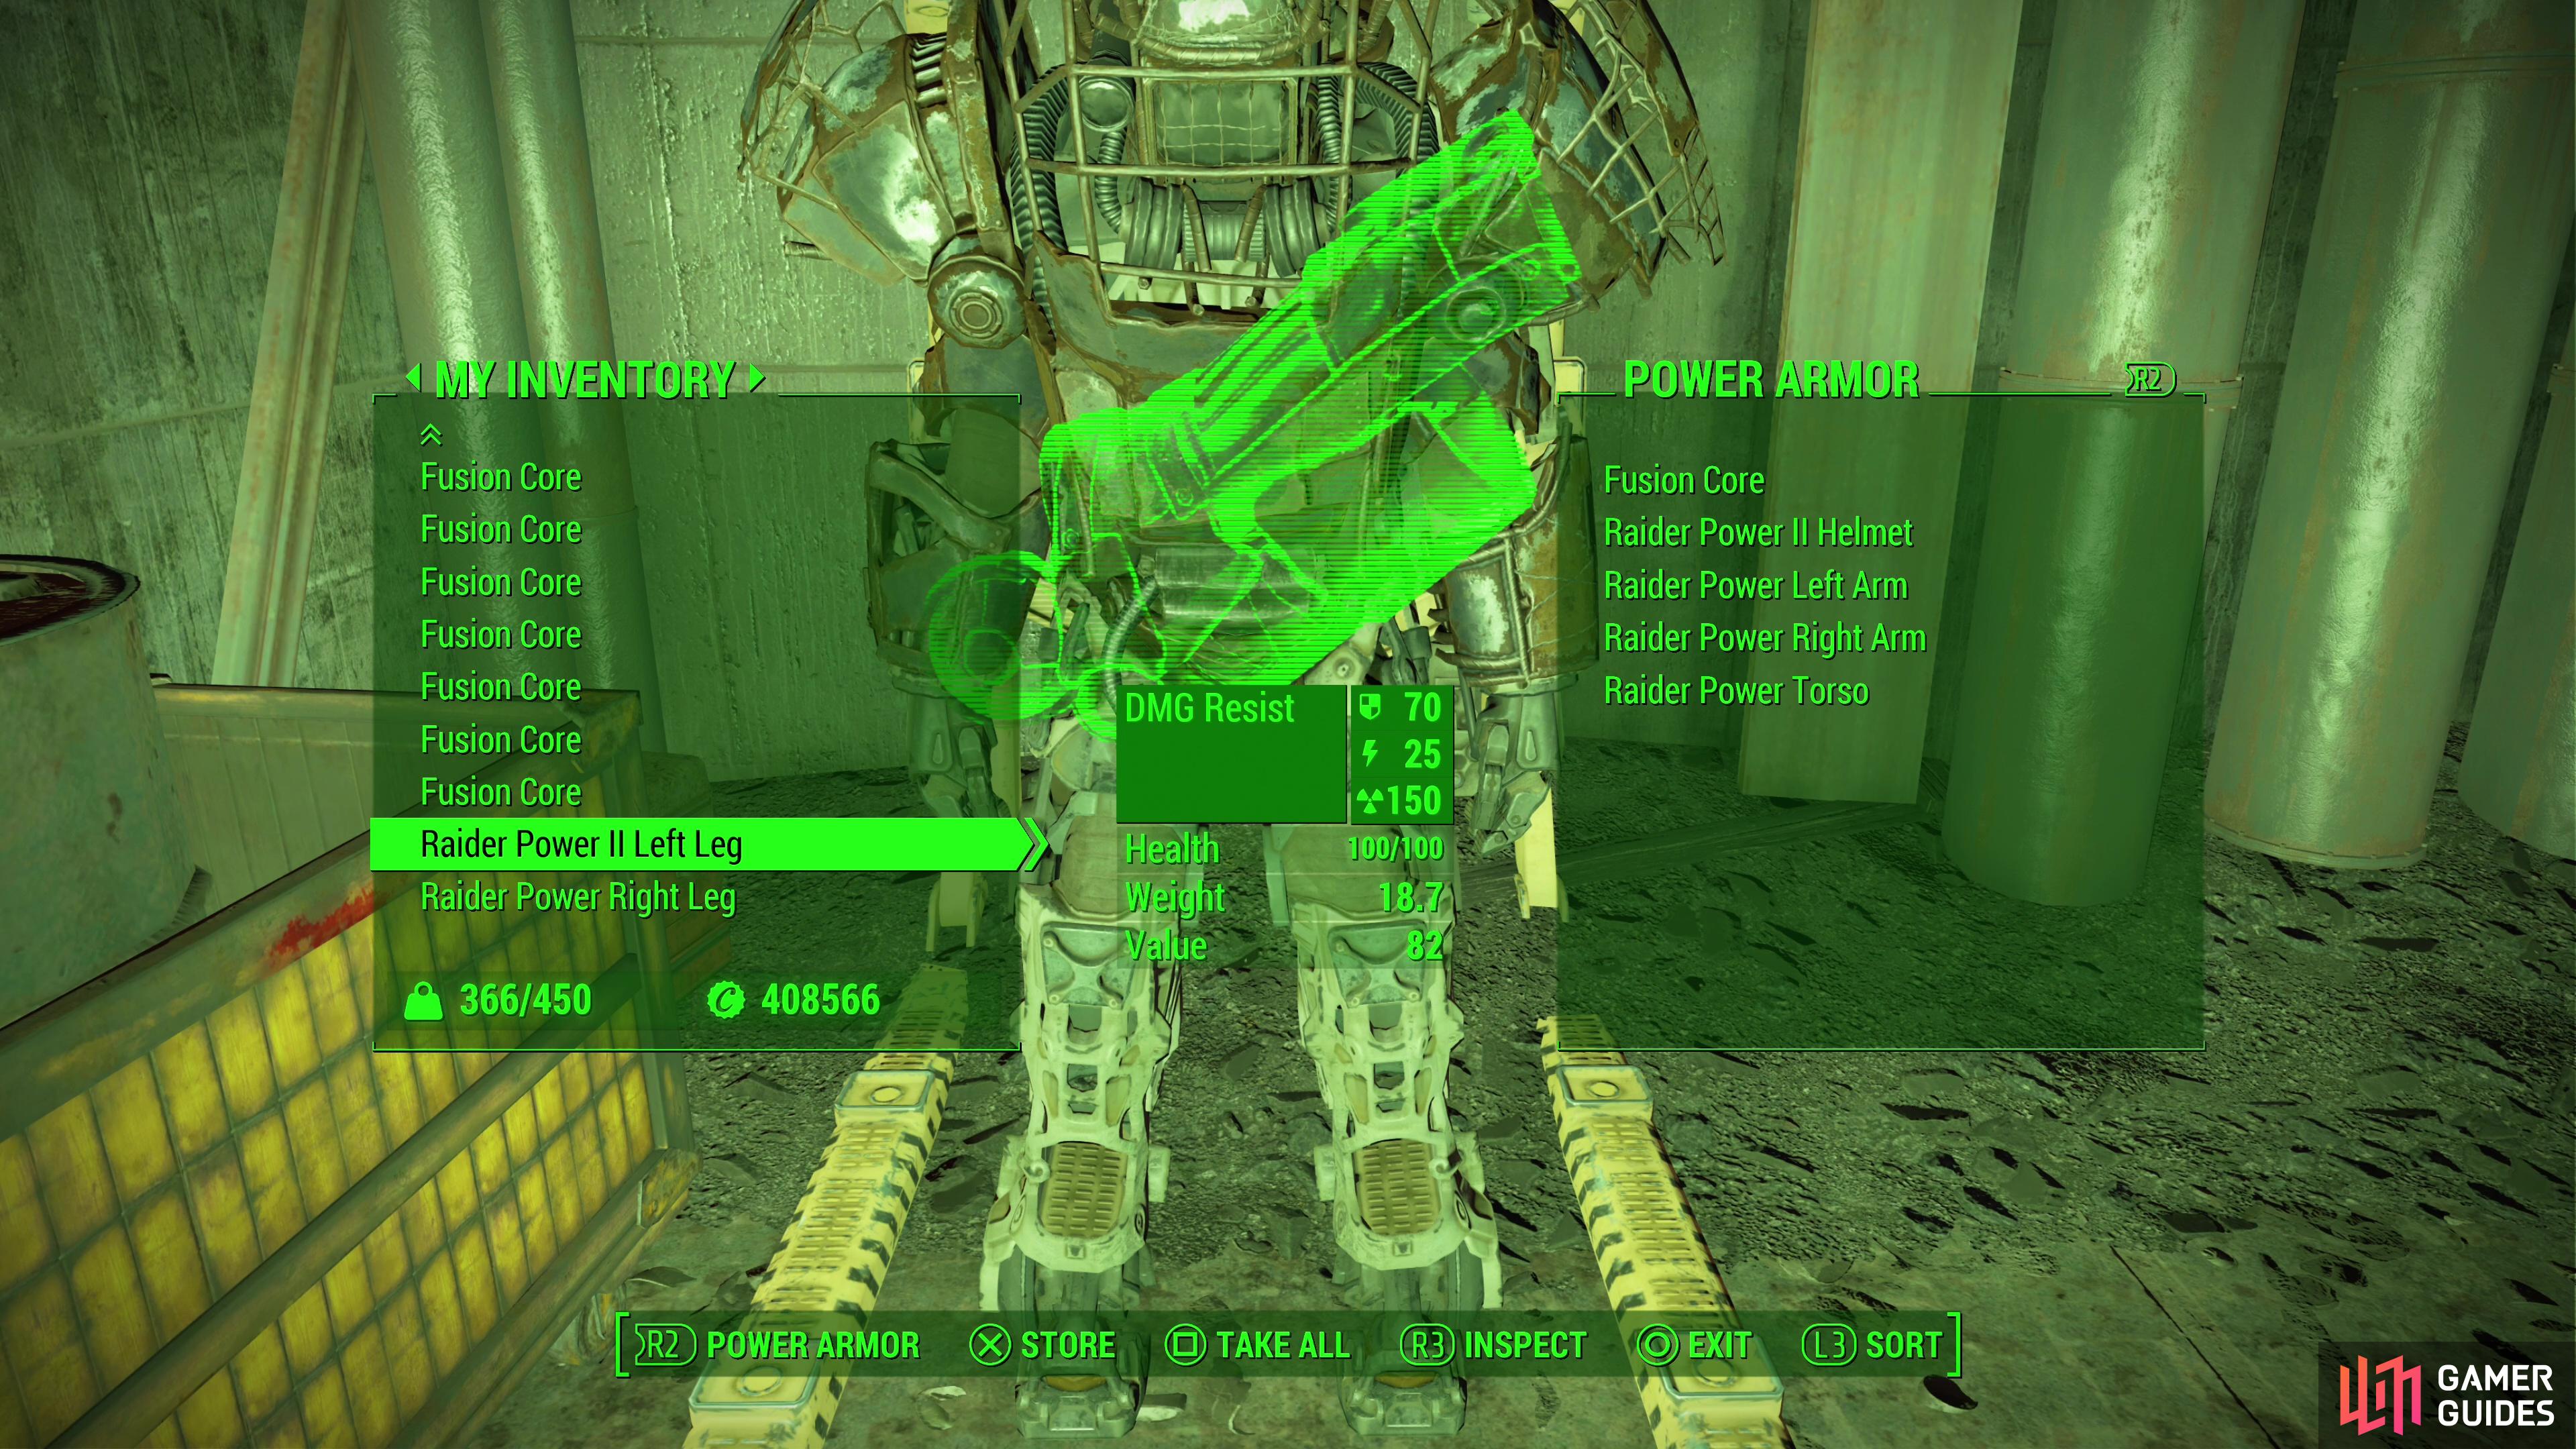
Now that you have the mods, turn right (east) and you’ll find a Power Armor Station complete with an almost full suit of Raider Power Armor. It’s only missing the legs, and wouldn’t ya know it, you just got some Raider Power Legs. Attach them to the Power Armor frame, then head around the Power Armor and interact with the Power Armor Station itself. Pick the “Craft” option and attach the “Fire Resistance” mods to the legs to turn them into Thermal Raider Power Legs. Once done, enter the Power Armor and walk south past the bulldozer and turn right (west) to find a cauldron filled with molten metal, and suspended over this is the Heavy Incinerator you’re after.
Without the modified Power Armor, you’d just fall over and die instantly if you stepped foot on the molten metal. Doesn’t matter what your ![]() Endurance is, what perks you have, or what armor you’re wearing - anything short of Power Armor with two Thermal-modded legs is insufficient. With this, however, you can safely waltz right into the molten metal and grab your prize - a Ghoul Slayer’s Heavy Incinerator. Picking this item up will end the quest. Just be wary, as you’ll be ambushed by a squad of Enclave Soldiers when you leave Saugus Ironworks - nothing comes free.
Endurance is, what perks you have, or what armor you’re wearing - anything short of Power Armor with two Thermal-modded legs is insufficient. With this, however, you can safely waltz right into the molten metal and grab your prize - a Ghoul Slayer’s Heavy Incinerator. Picking this item up will end the quest. Just be wary, as you’ll be ambushed by a squad of Enclave Soldiers when you leave Saugus Ironworks - nothing comes free.

 Sign up
No Comments