
This page is designed to guide you through Zhongli’s story quest “Amidst Chaos, the Rock is Unmoved” which is the final quest in Act II of his quest line “No Mere Stone”.
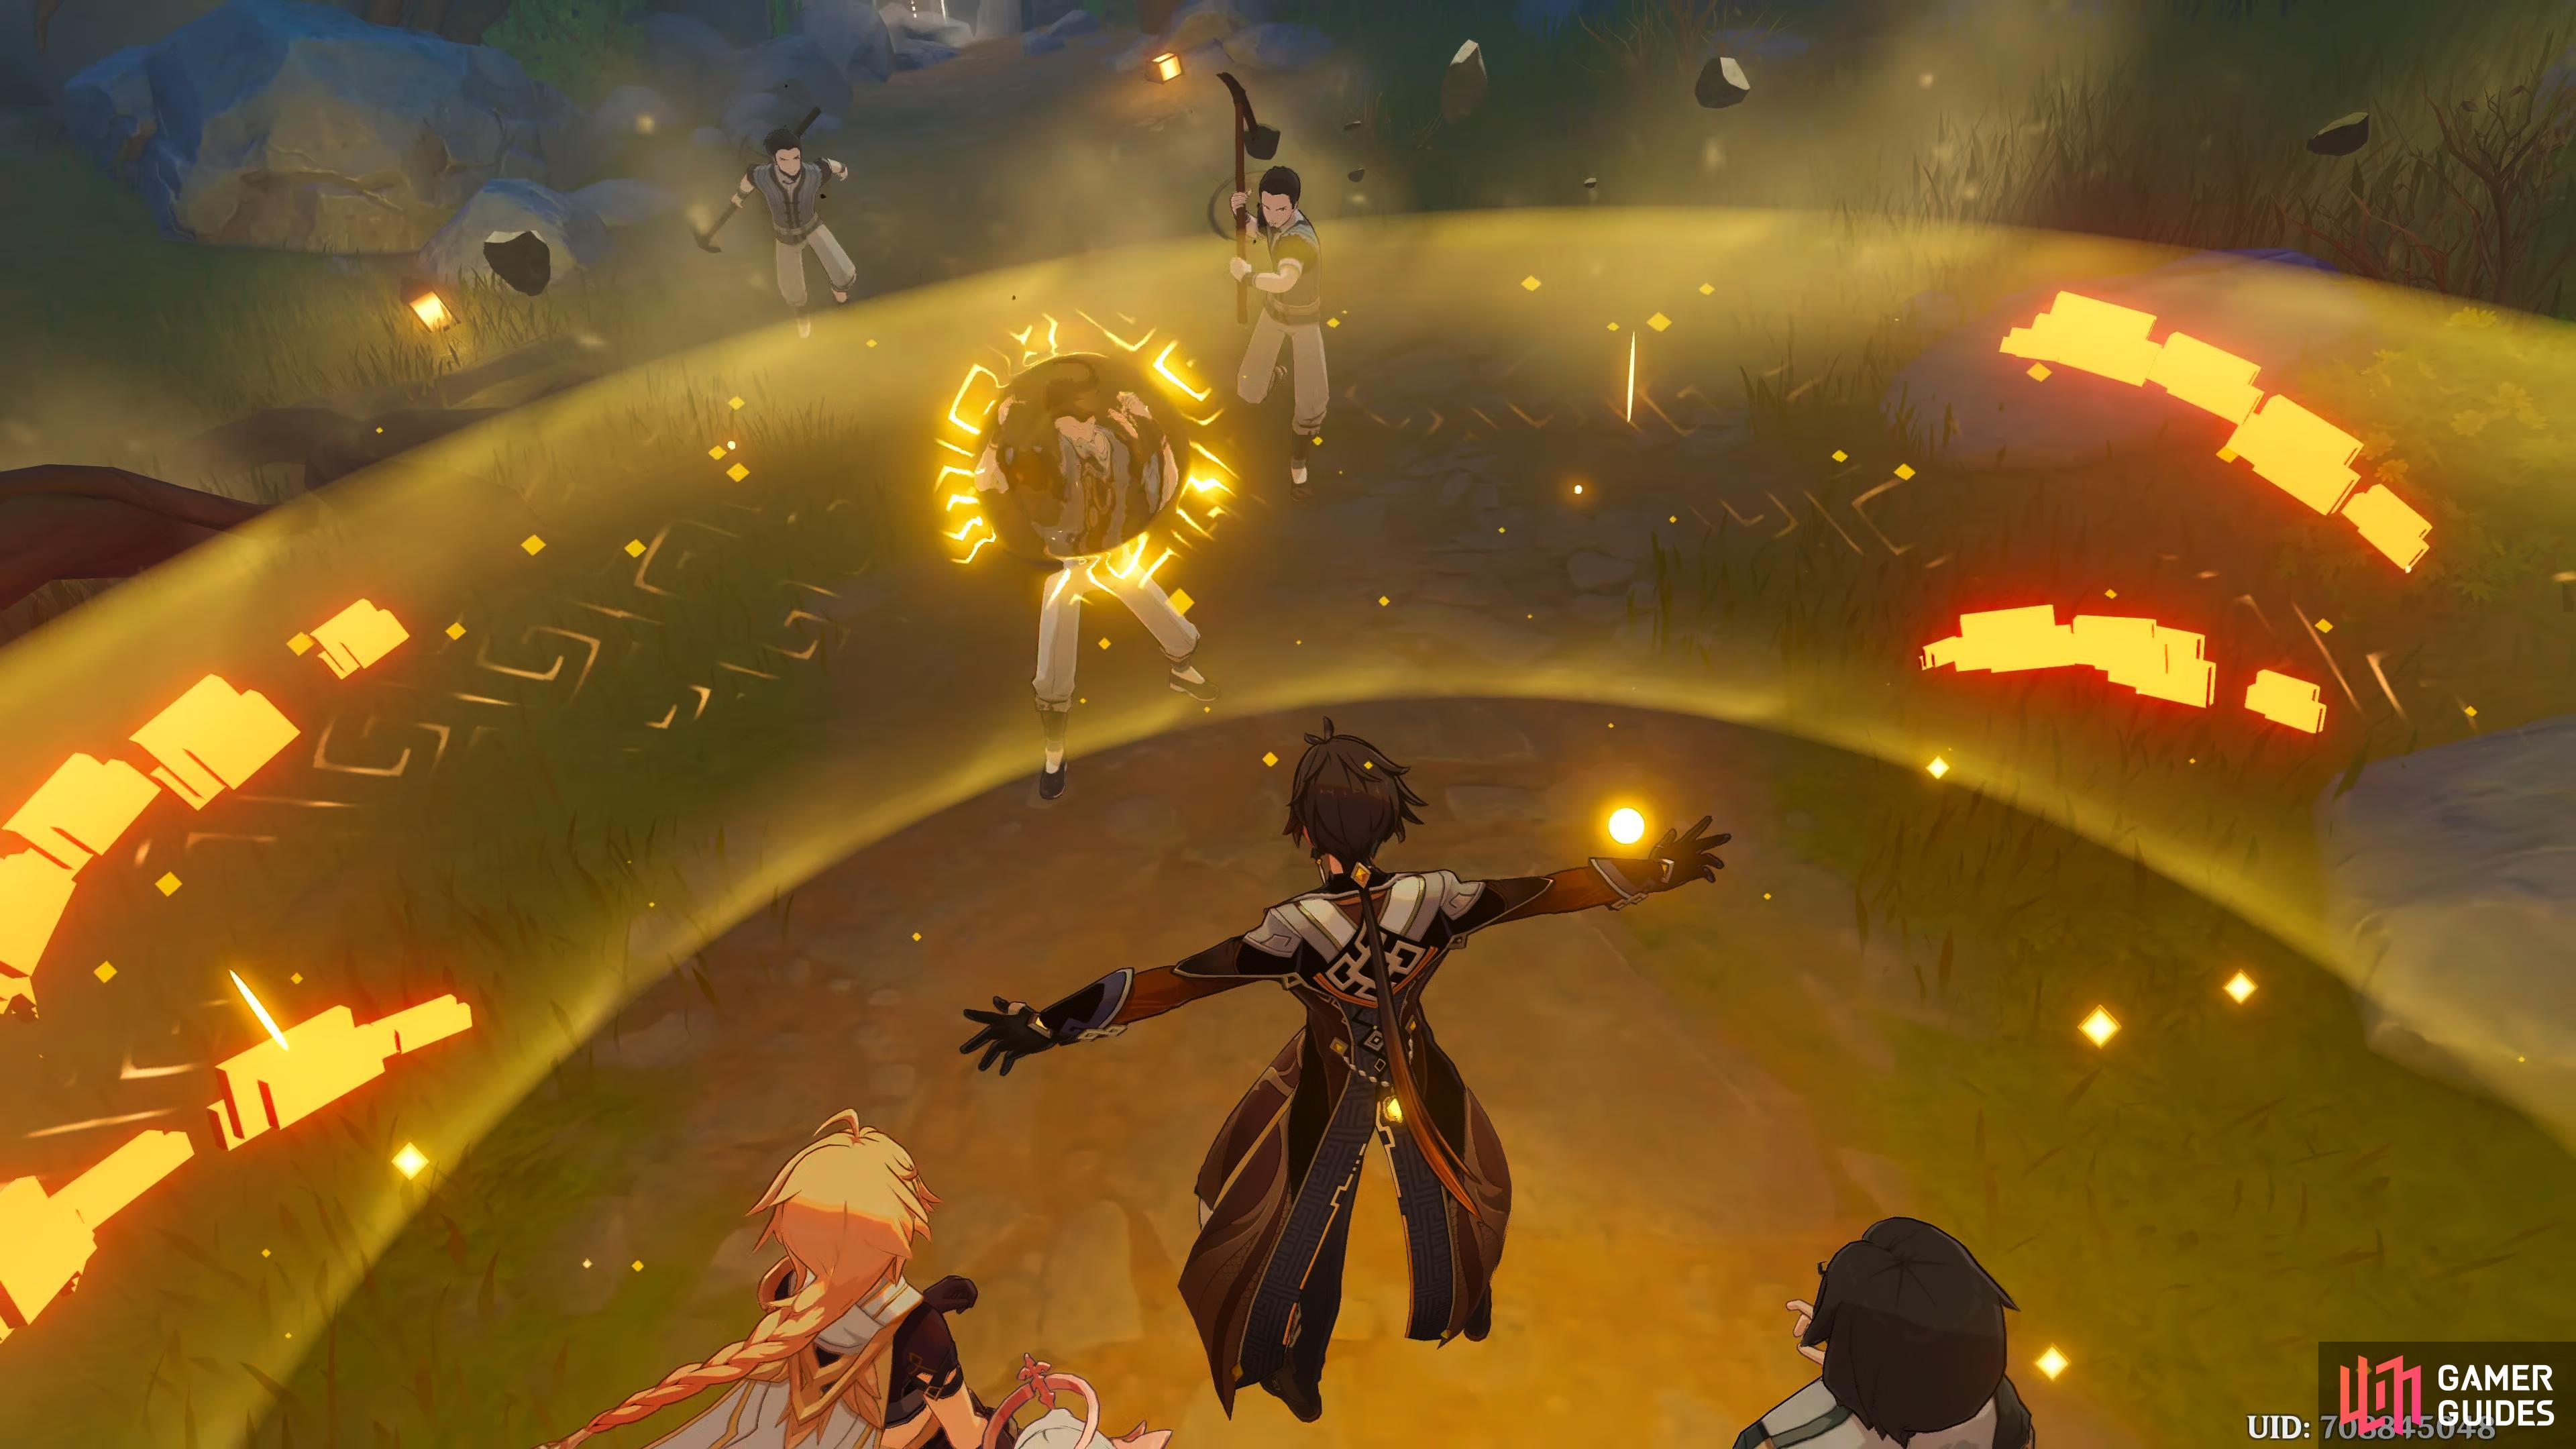
Zhongli conjuring a Geo barrier to protect the Traveler and Paimon.
Unlock Criteria
| Location | Requirements |
|---|---|
| Nantianmen, Liyue | Adventure Rank 40, Complete “Shifting Earth and Lost Threads Come to Light” |
| Adventure EXP | Mora | Other Rewards |
|---|---|---|
 |
    |
Description
Finally, you reach Nantianmen. A curious ancient tree has quietly stood here throughout the ages, bearing witness to all that has come to pass. To rescue the miners and solve this puzzle once and for all, you proceed to the ancient site that holds all the answers…
Steps
- Rendezvous with Kun Jun
- Head to the ancient tree and investigate
- Find Zhongli
- After preparing, enter the tunnel
- Defeat Azhdaha
- Learn the truth of the situation
- Return to the ancient tree
Rendezvous with Kun Jun
This quest starts off with you needing to rendezvous with Kun Jun, he can be found just north of the camp, waiting on the right. Head over to him for a scene.
Head to the ancient tree and investigate
After the scene ends, you’ll need to go to the ancient tree to your north, head across the pool of water, and you’ll get another scene. Kun Jun will be in awe of the tree, whilst Zhongli suggests splitting up and conduct separate investigations. Paimon asks Kun Jun if he can spot anything worth investigating, and he mentions the nearby stone tablet. Paimon asks if he can get a vision for it, and he gives it a try. He obviously feels something from it, but chooses to hide it from you. After Paimon comes up with another idiotic idea, Zhongli calls you all over to him.
Find Zhongli
Head west, around the tree, and you’ll find Zhongli standing there, waiting for you. As you approach him, you’ll get a scene. It appears he’s found a newly dug tunnel, and suggests that the answers lead here. He tells you that he’ll take the lead, and to tread lightly.
After preparing, enter the tunnel
Head forward, into the cave for another scene. You’ll find the miners in a trance-like state, mining away in front of a large door with a seal over it. Whilst you’re talking, the miners rush to attack Paimon, Zhongli conjures a shield which pushes them back, and a gust of black smoke appears, a small girl with blue hair walks out of the smoke, and launches an attack at Zhongli, Kun Jun blocks the attack, then the seal on the large door breaks, and a strong gust of wind sucks you all up into the sealed room.
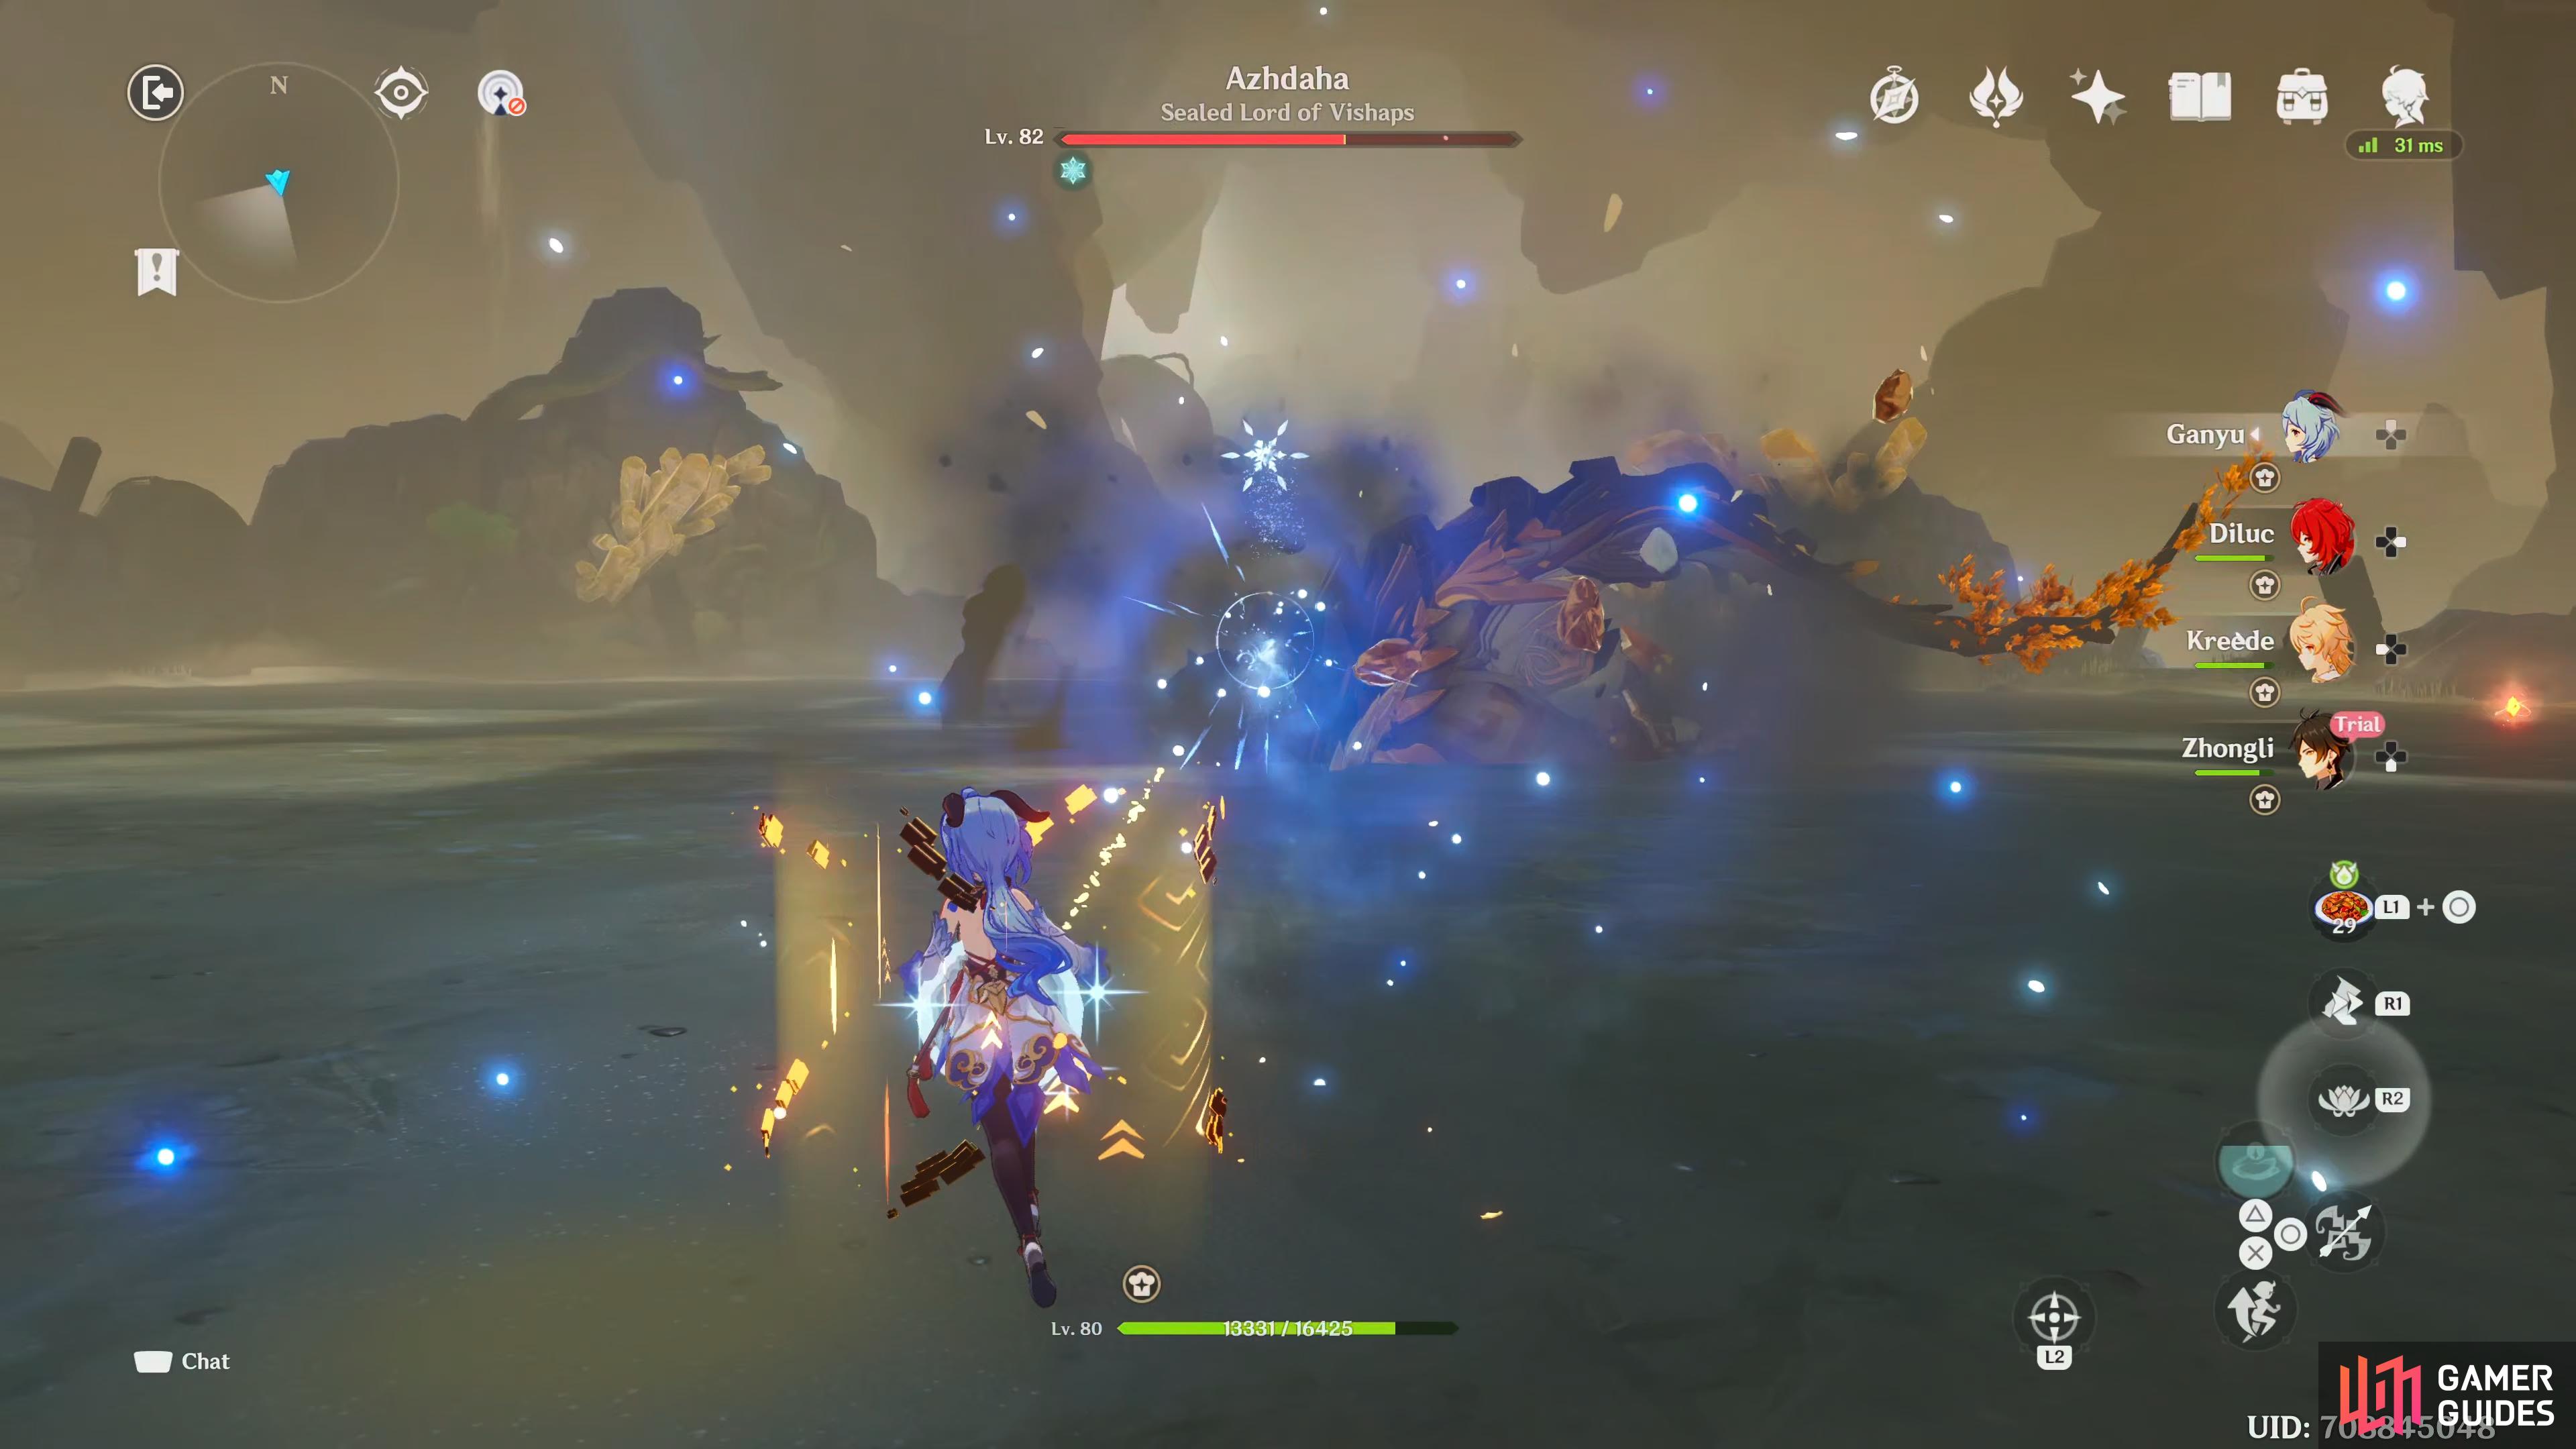
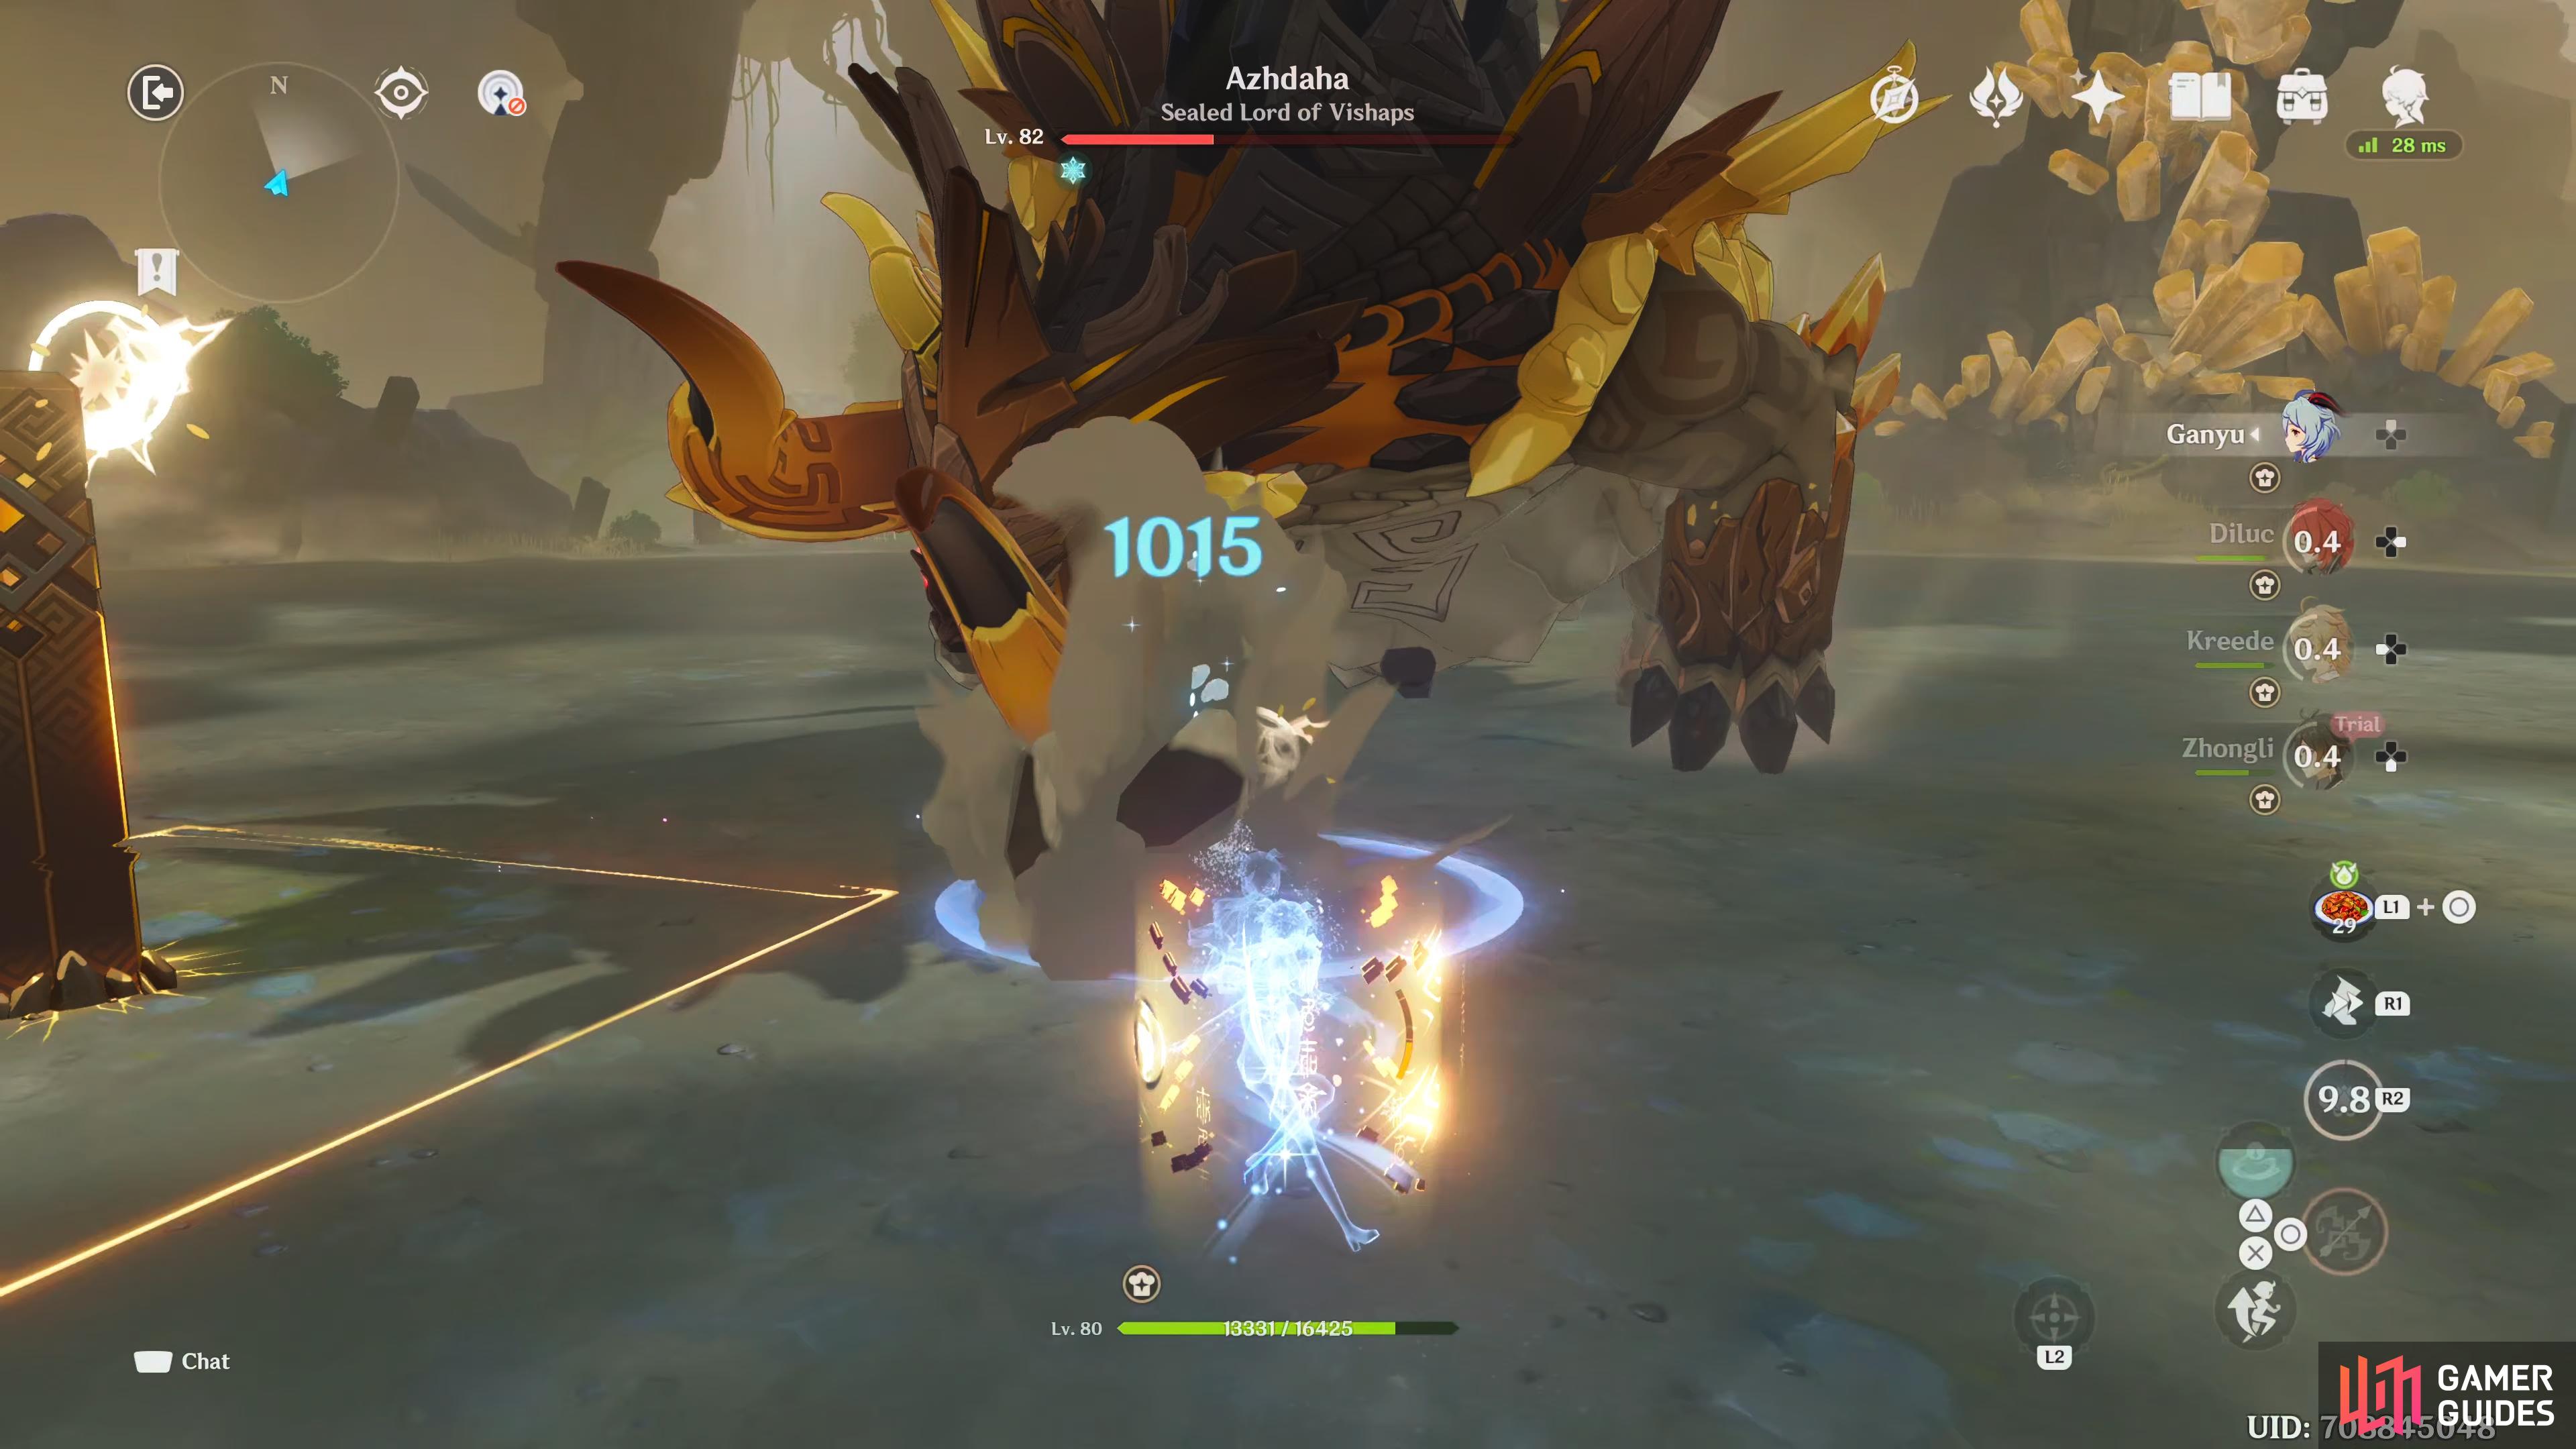
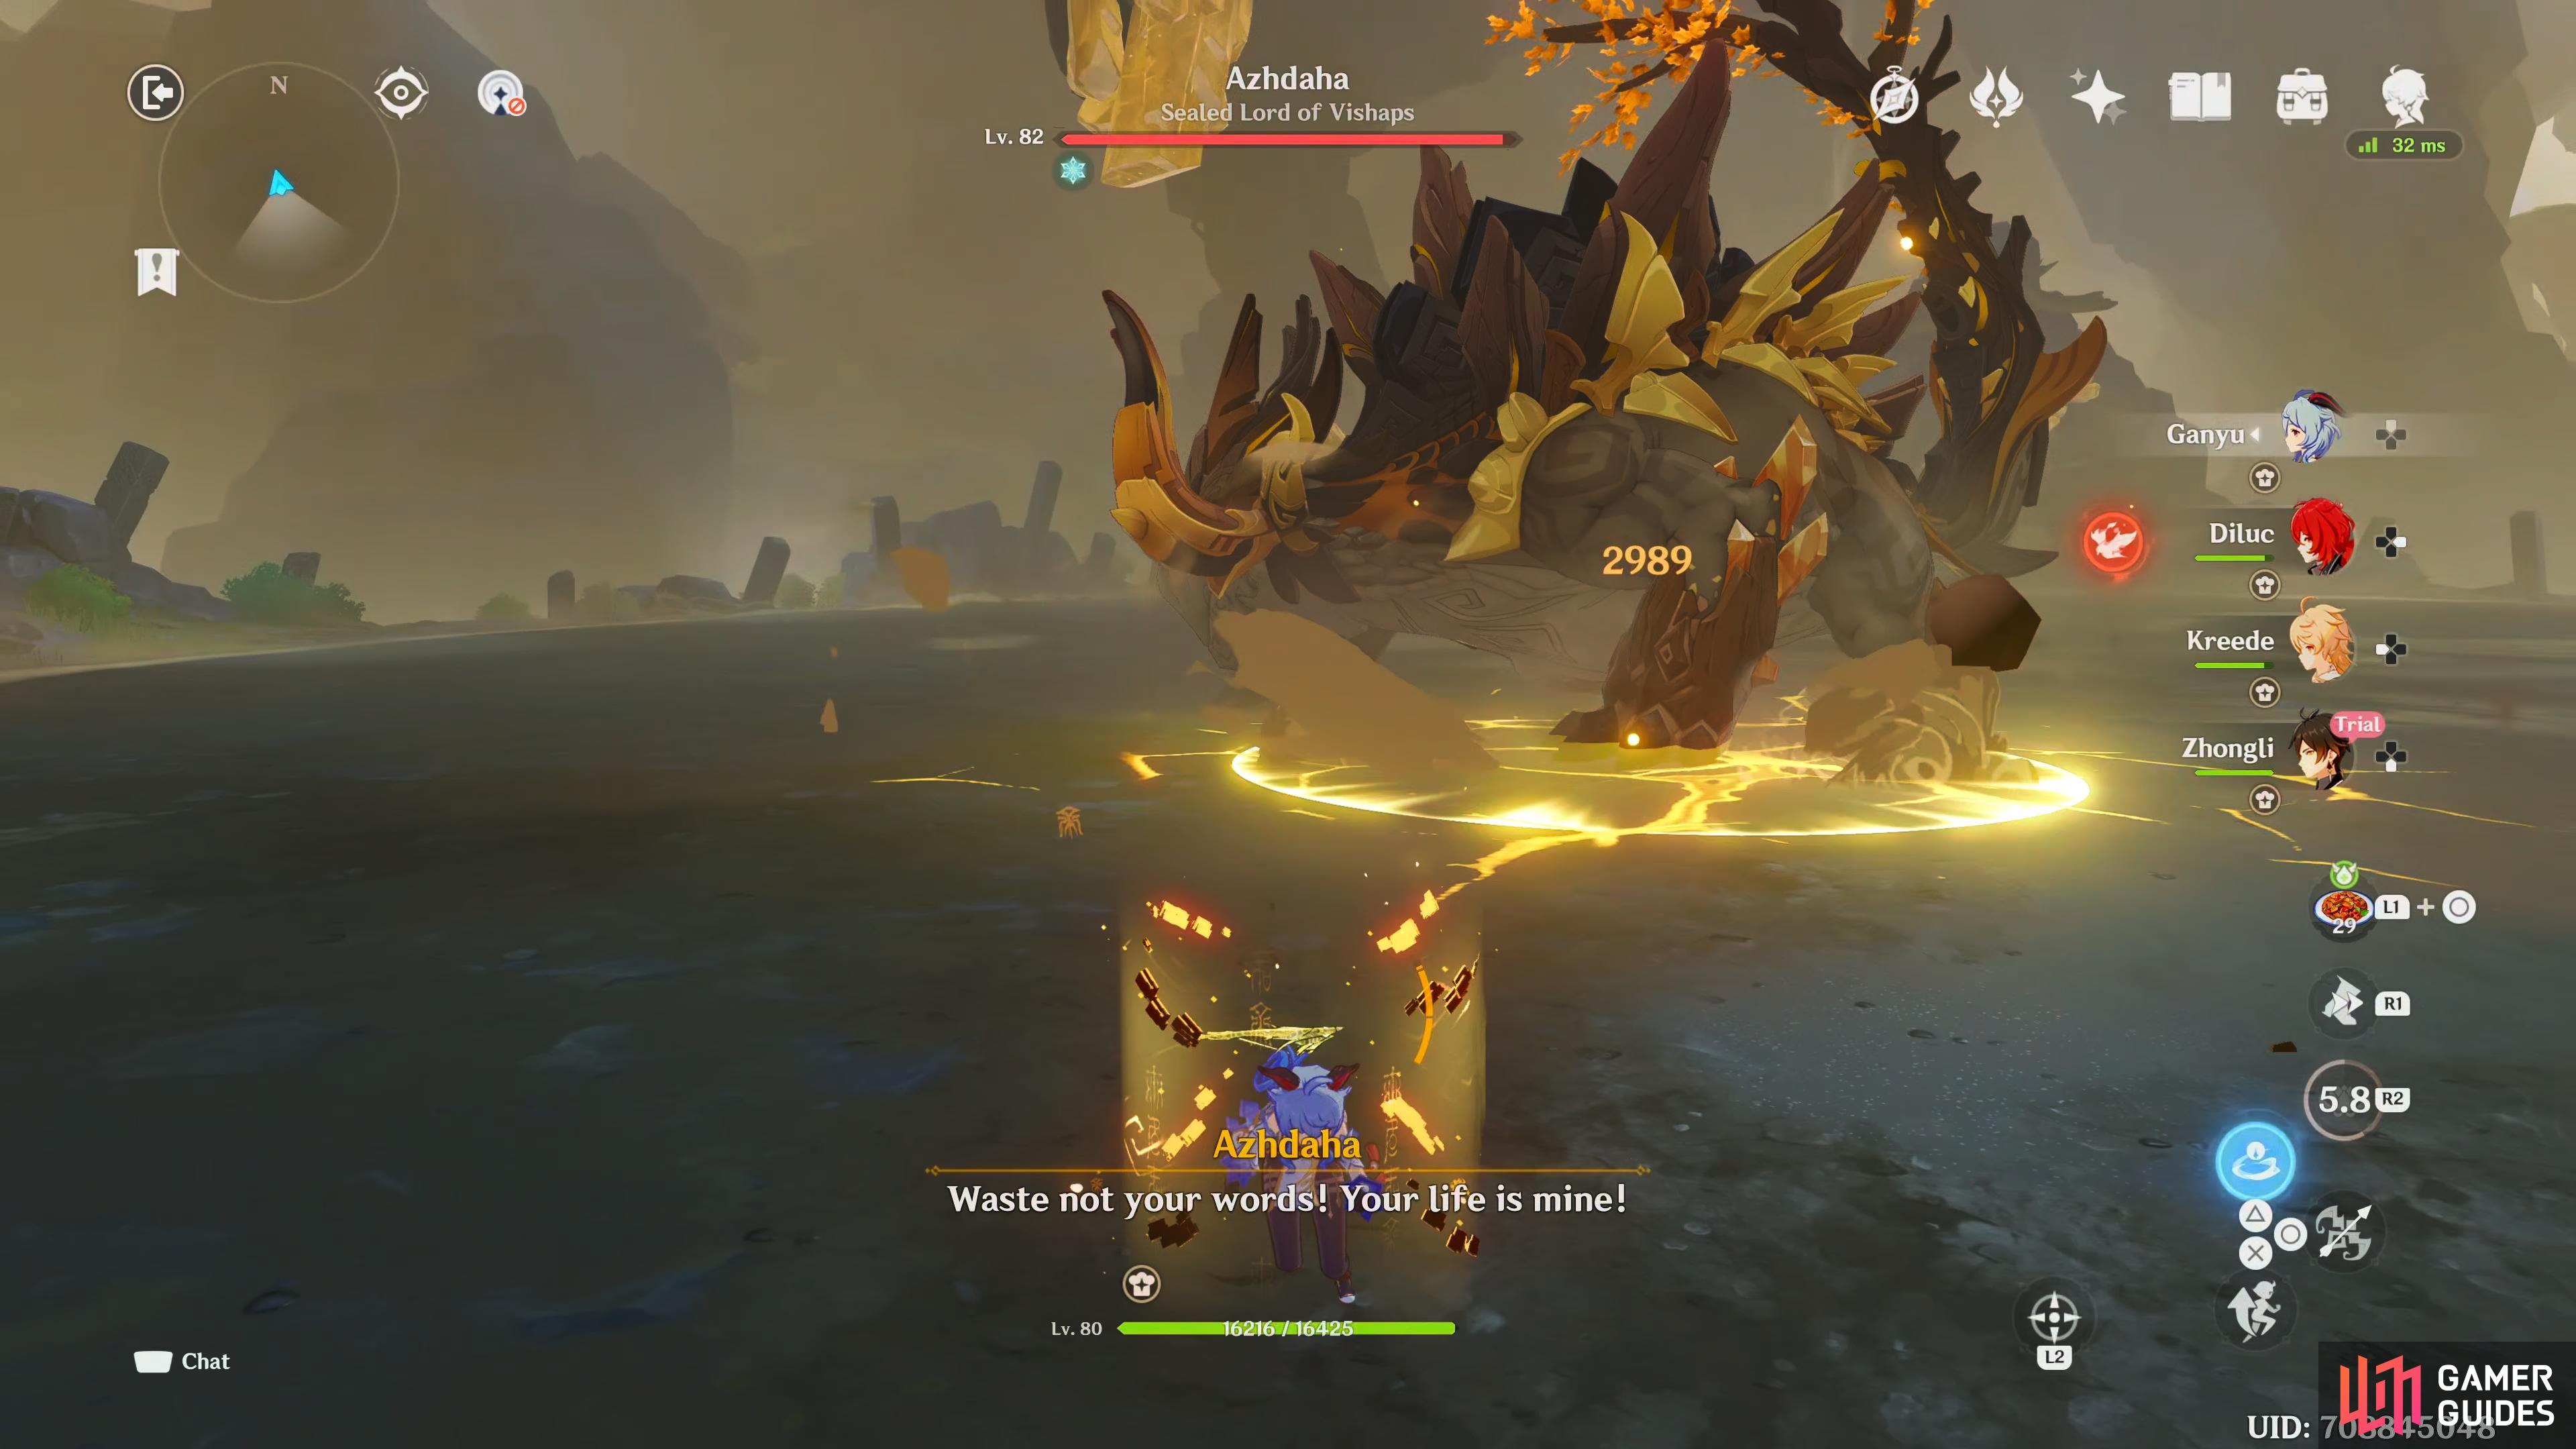
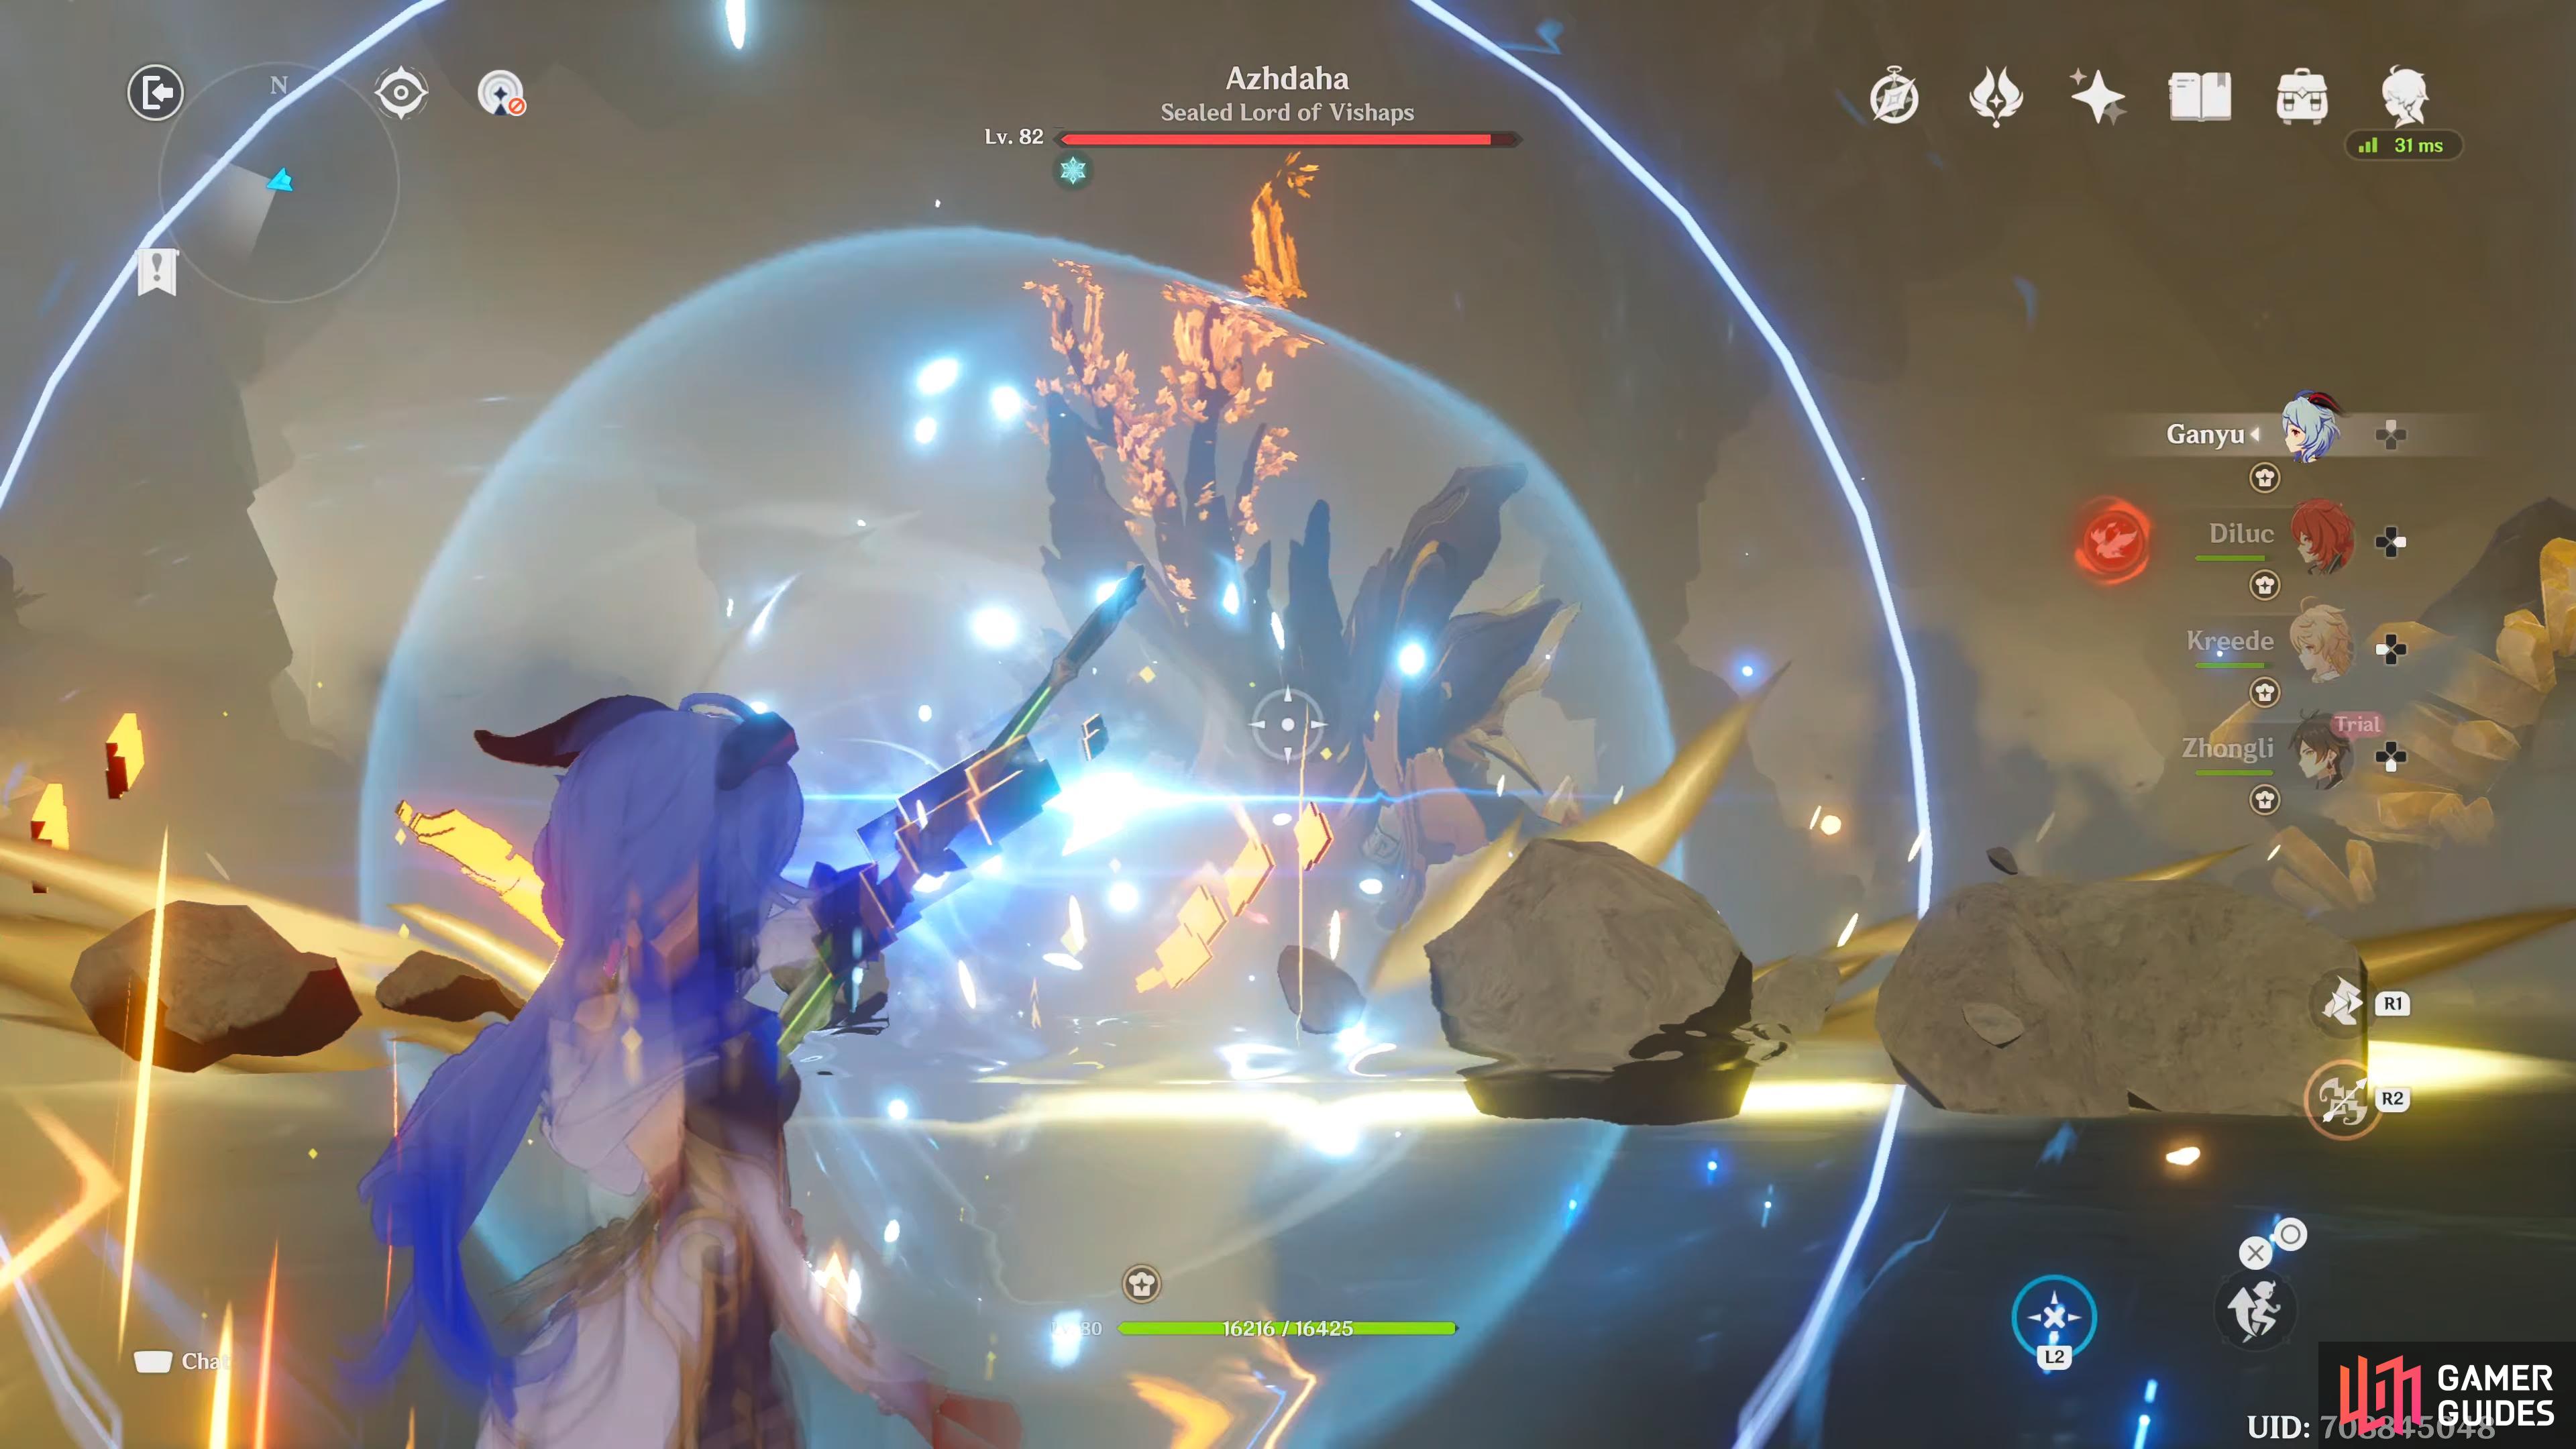
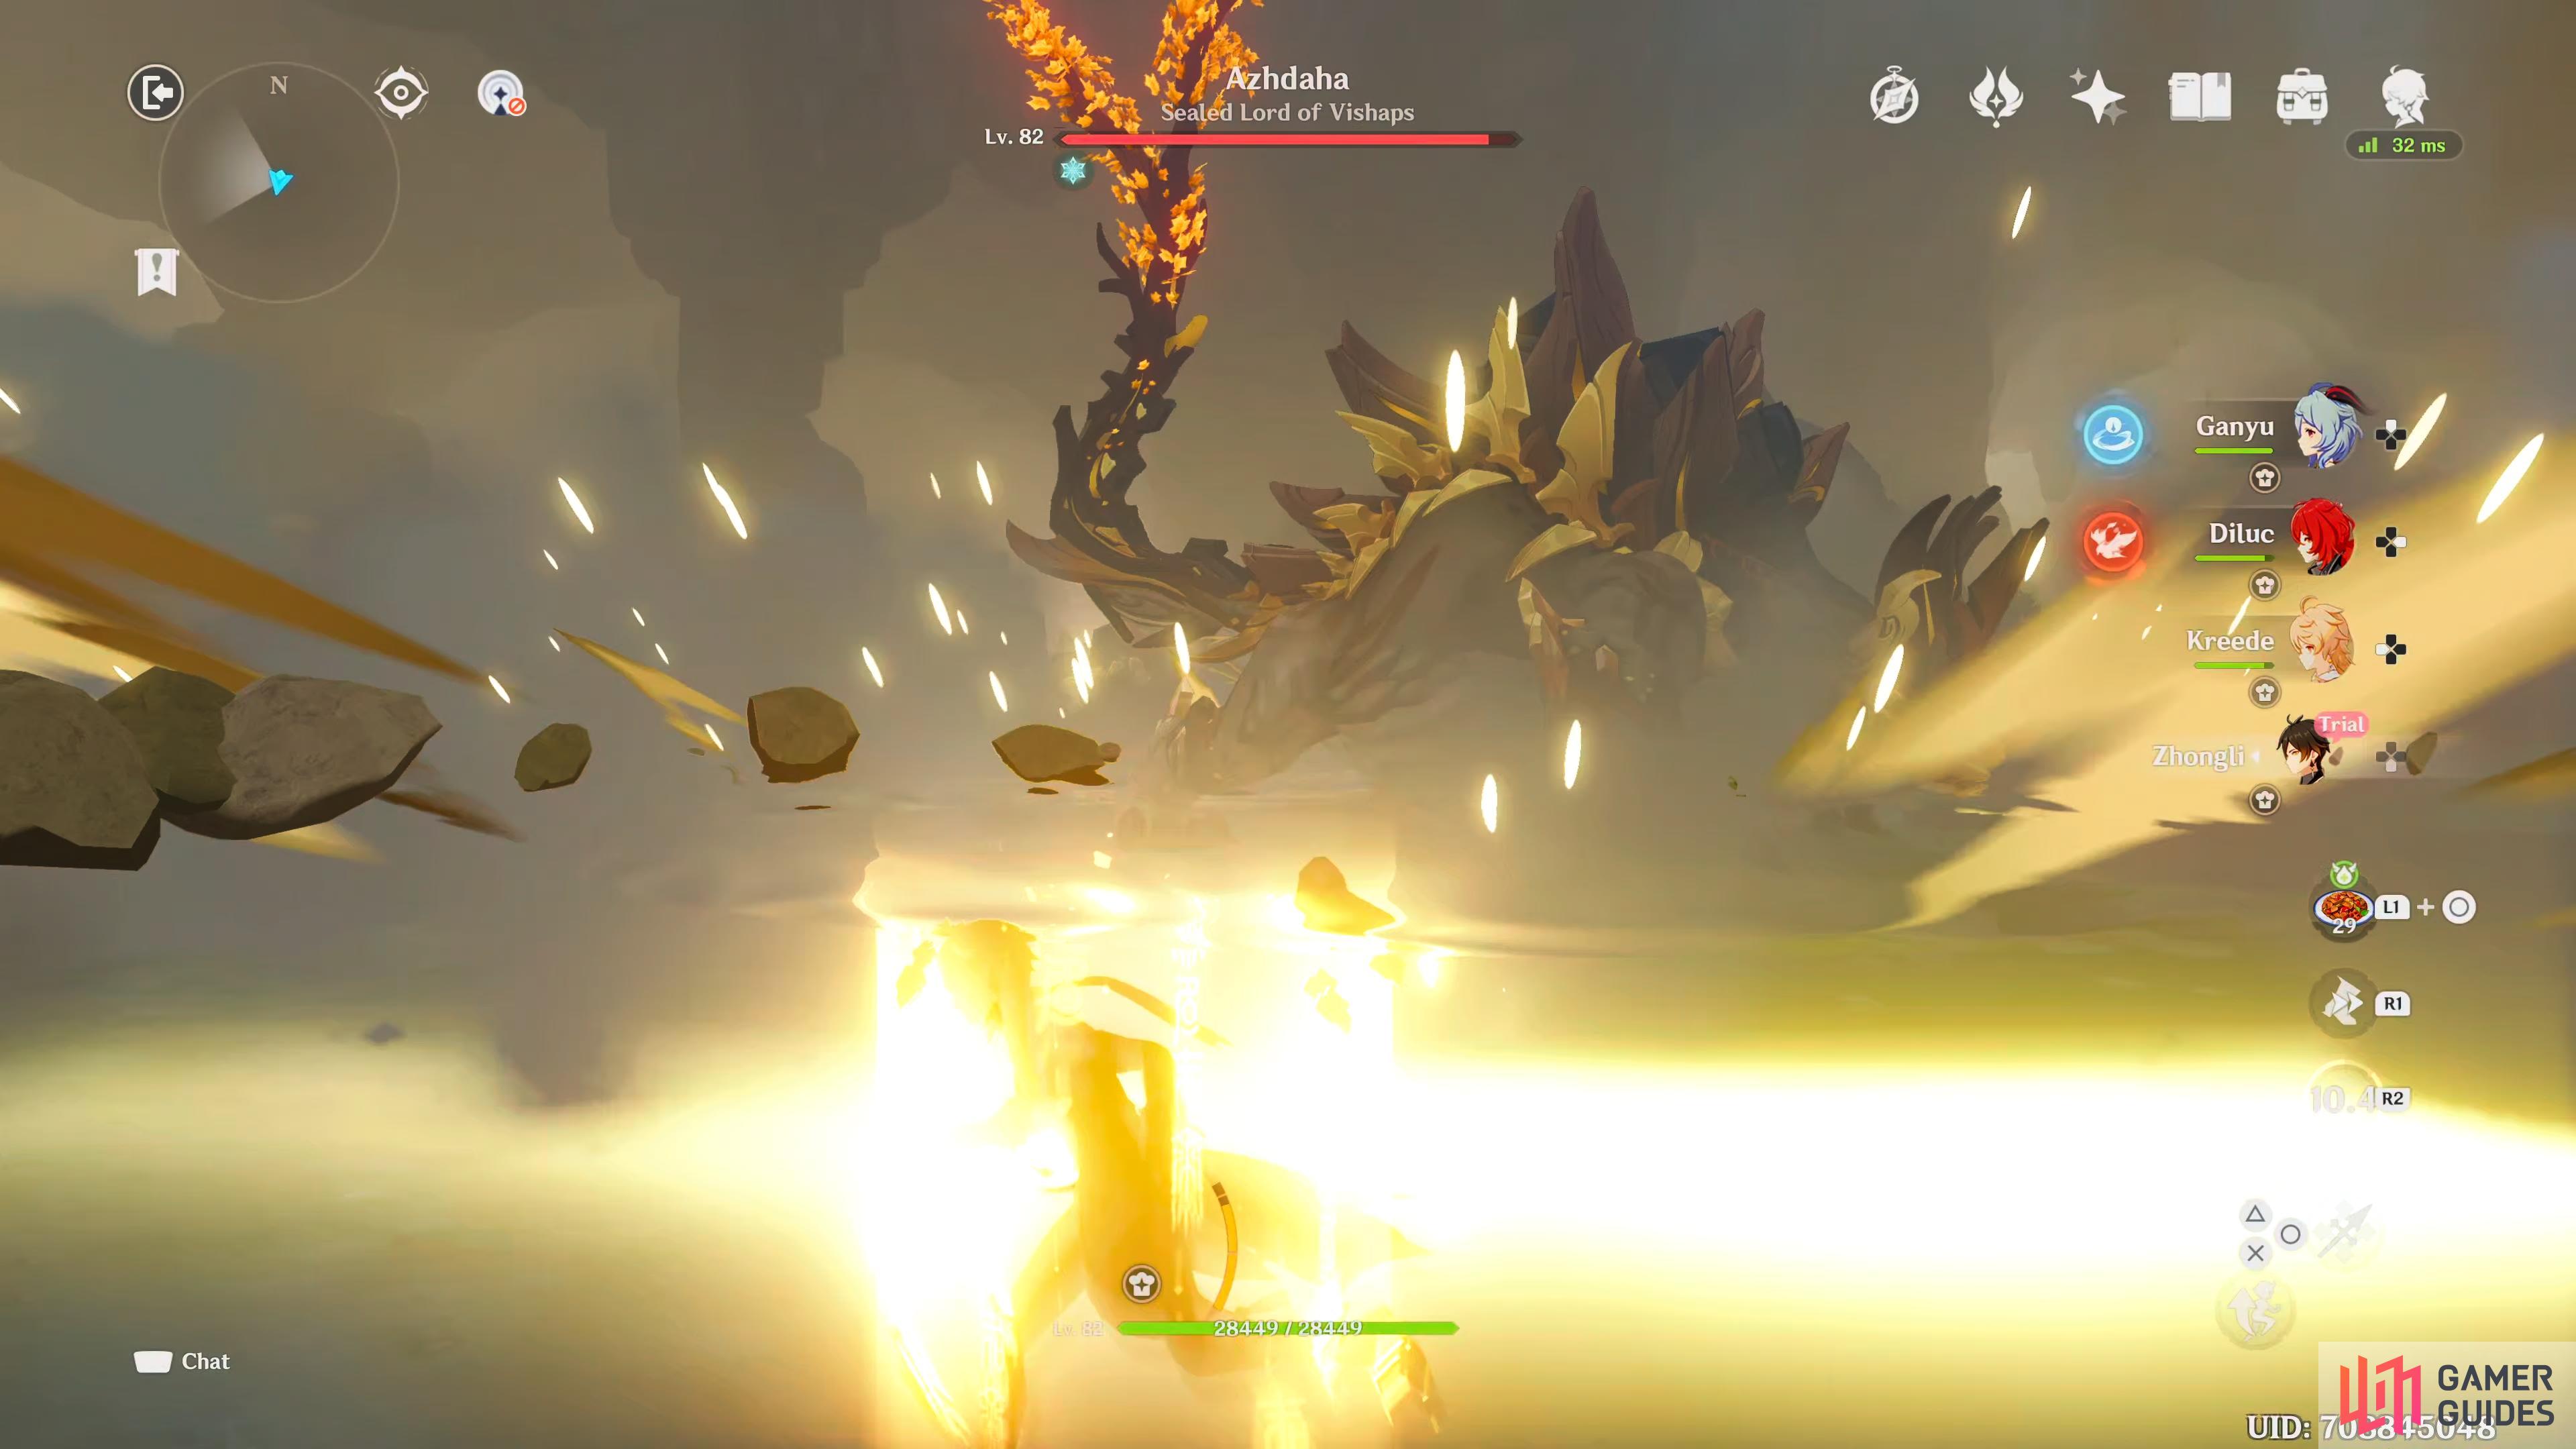
Defeat Azhdaha
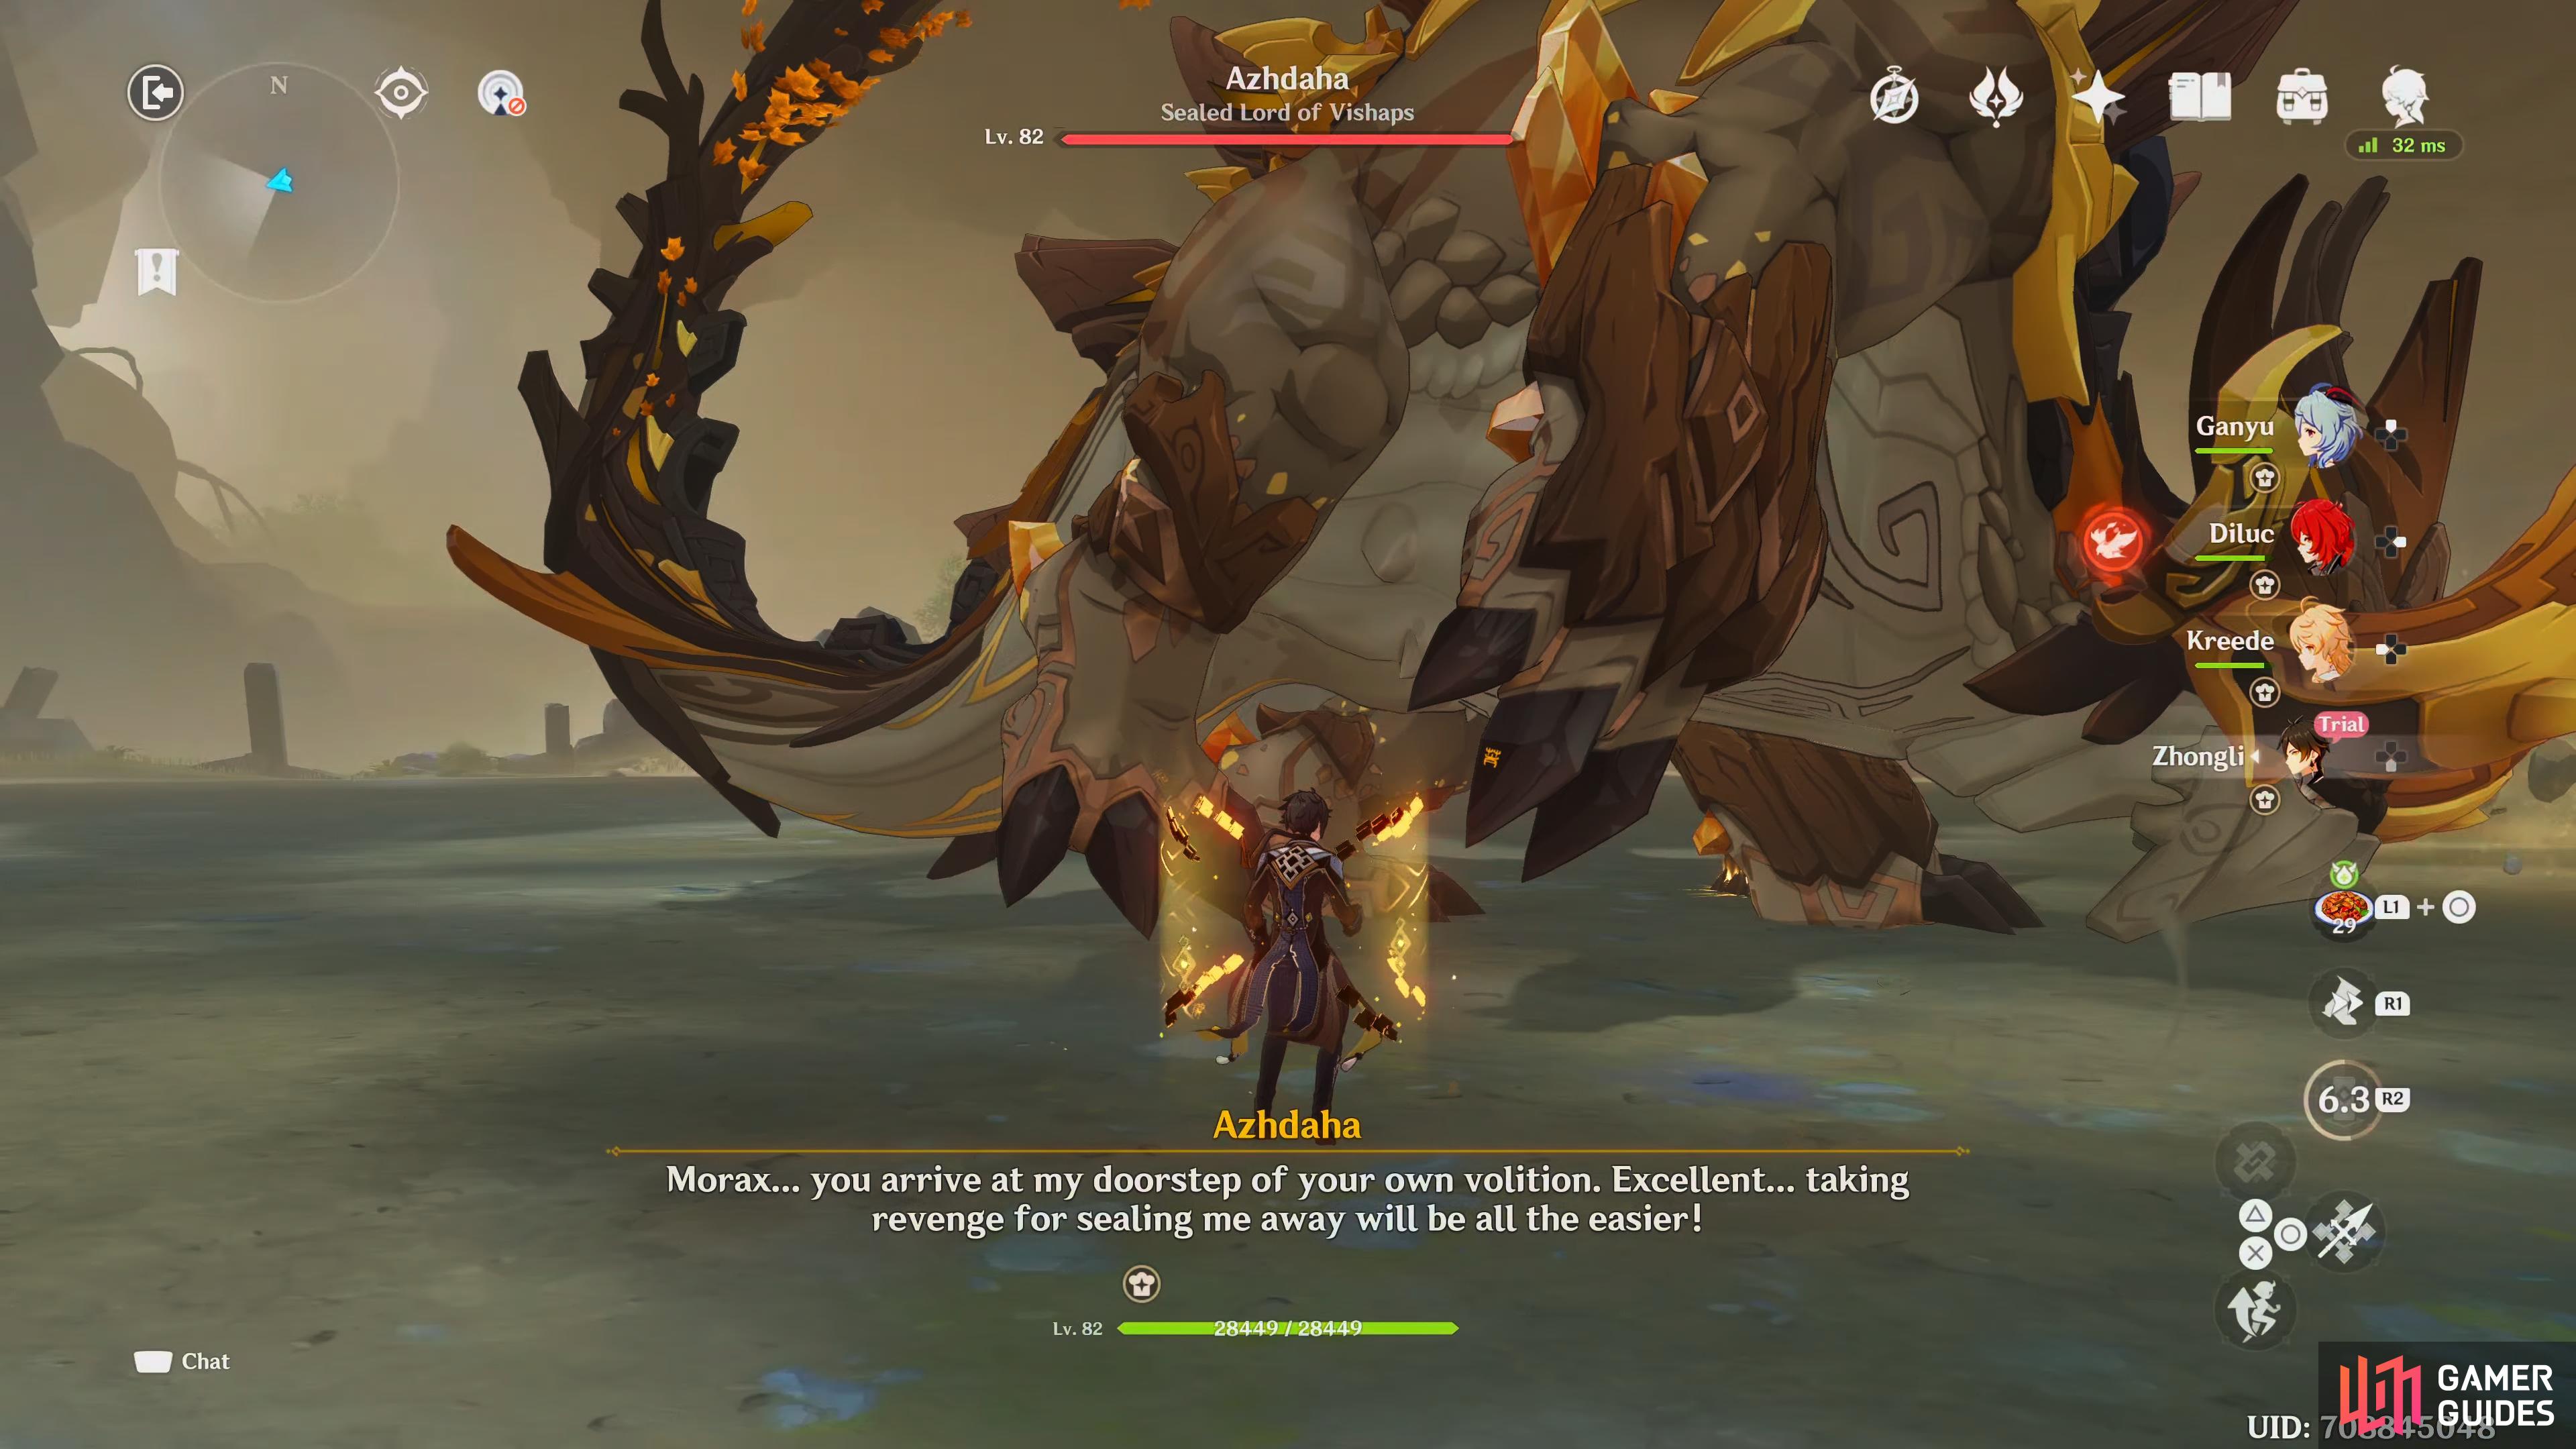
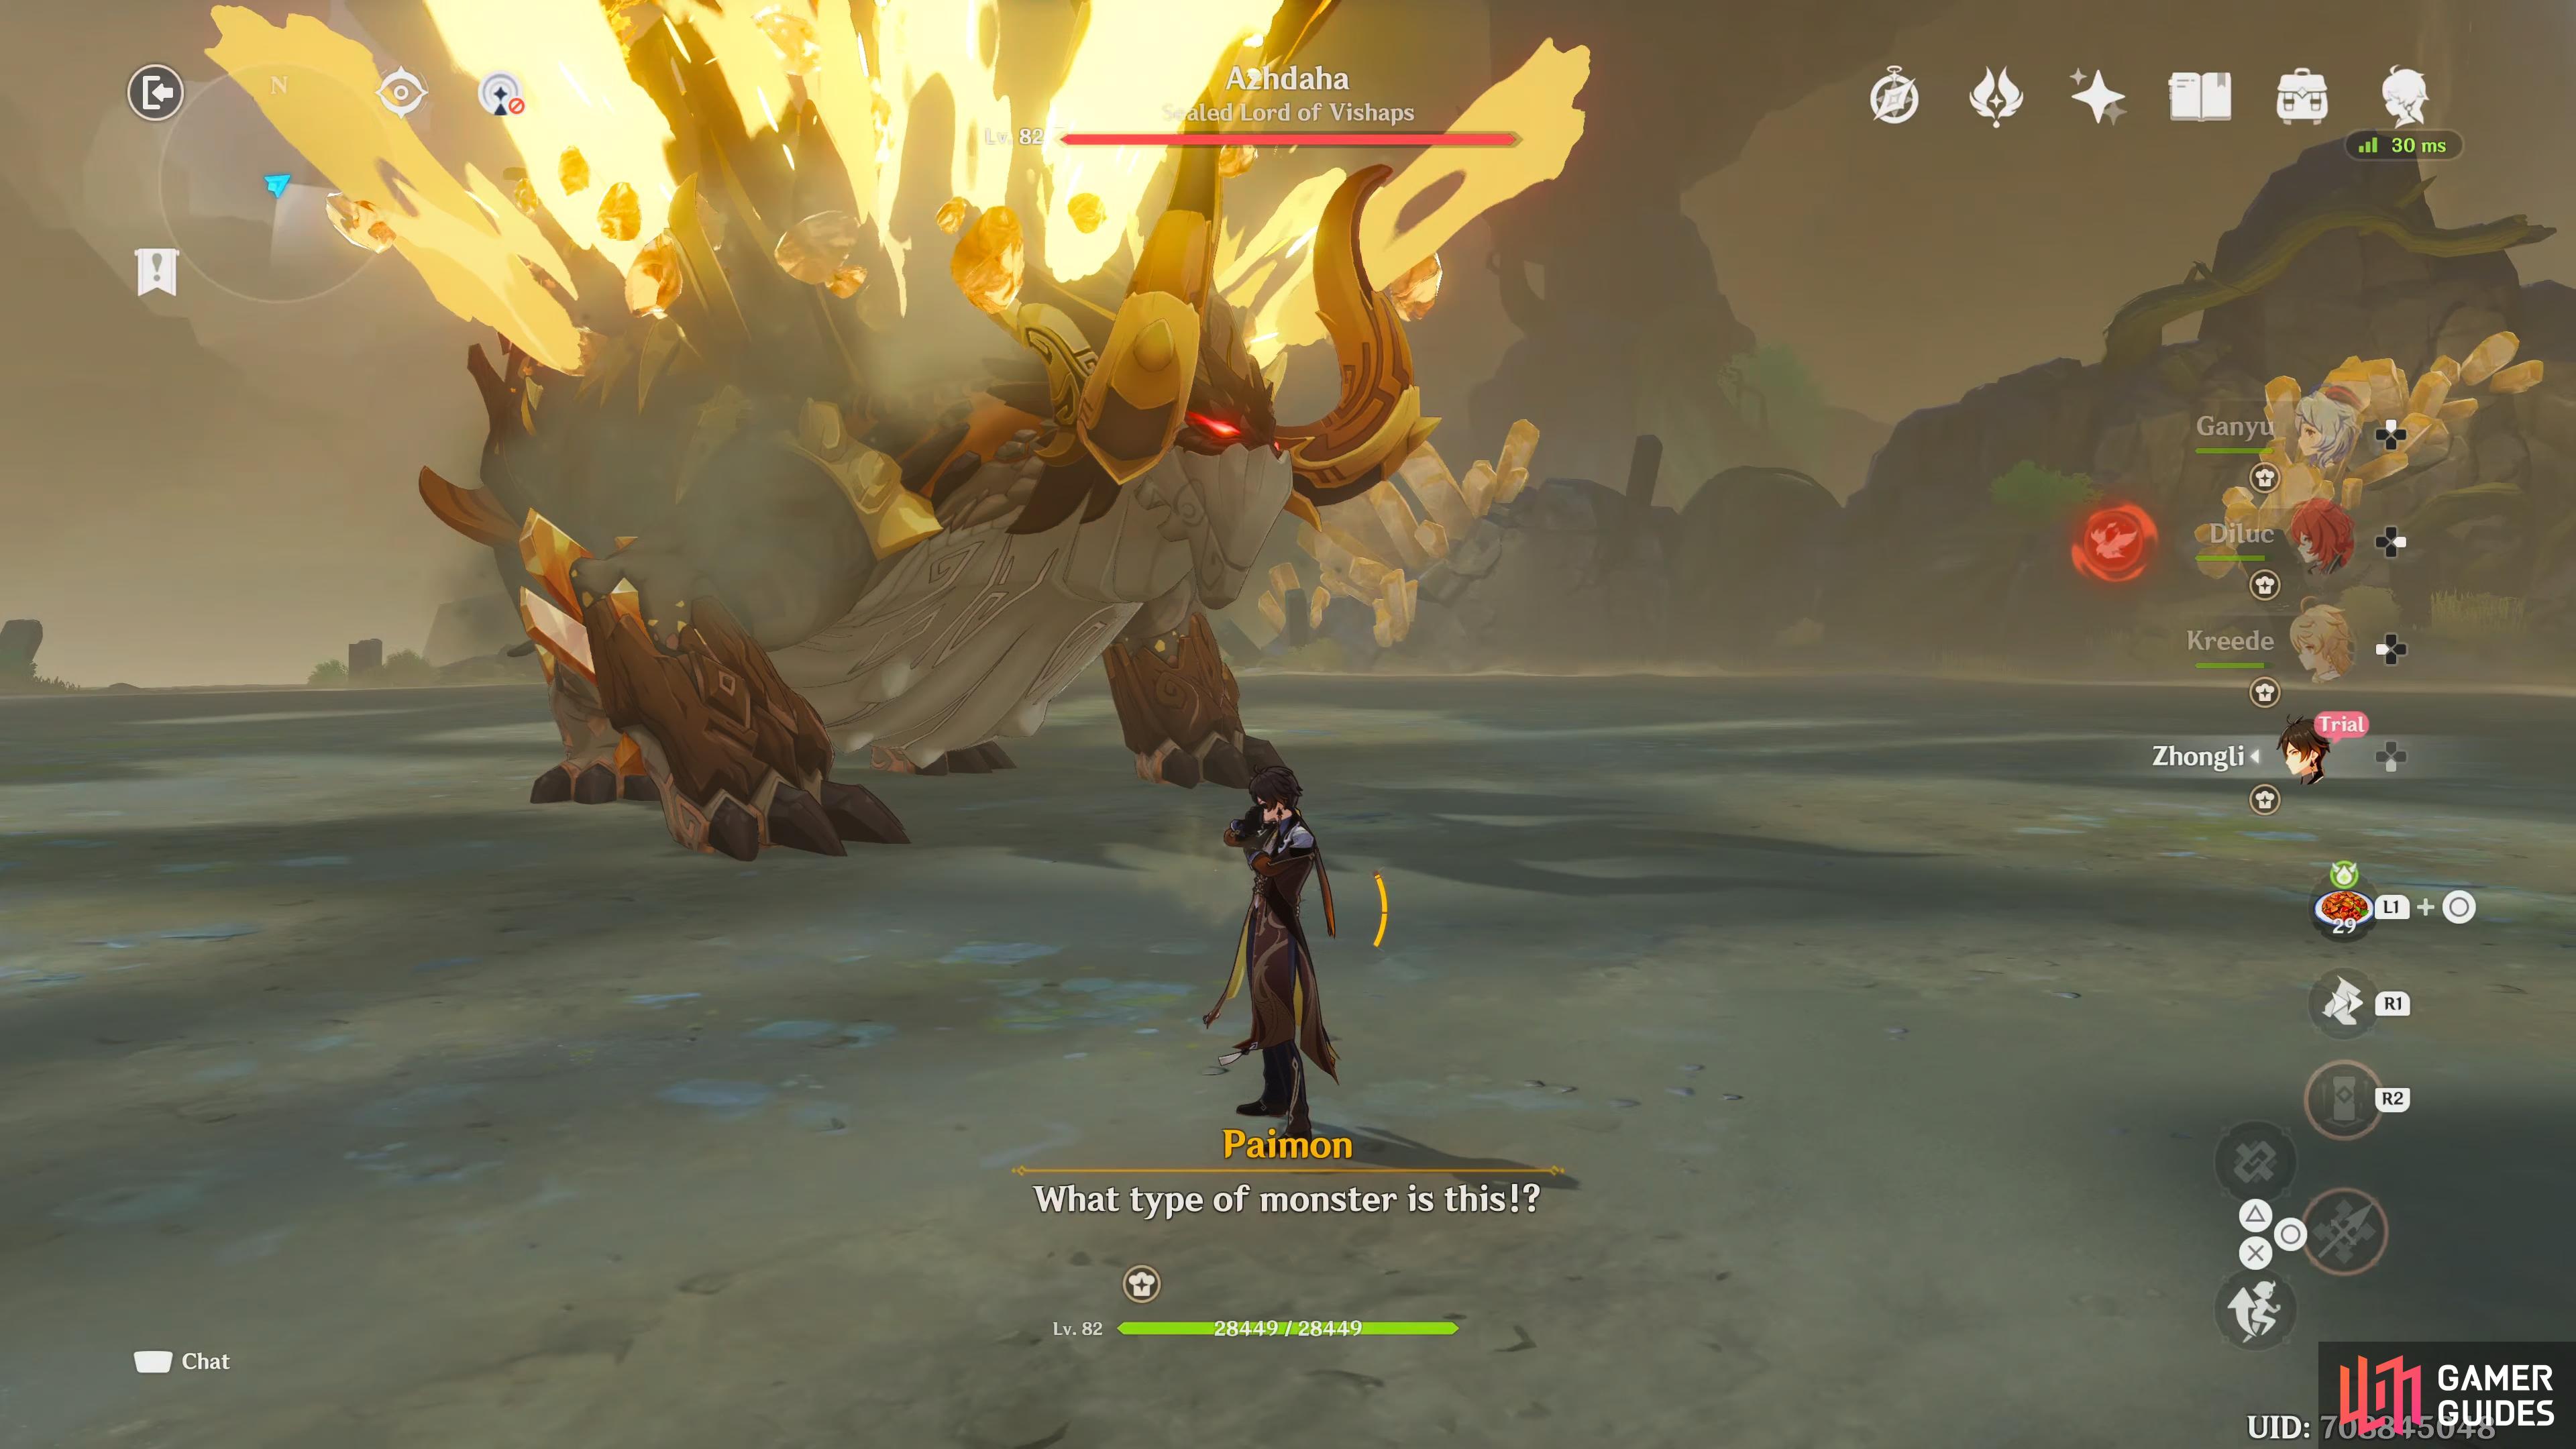
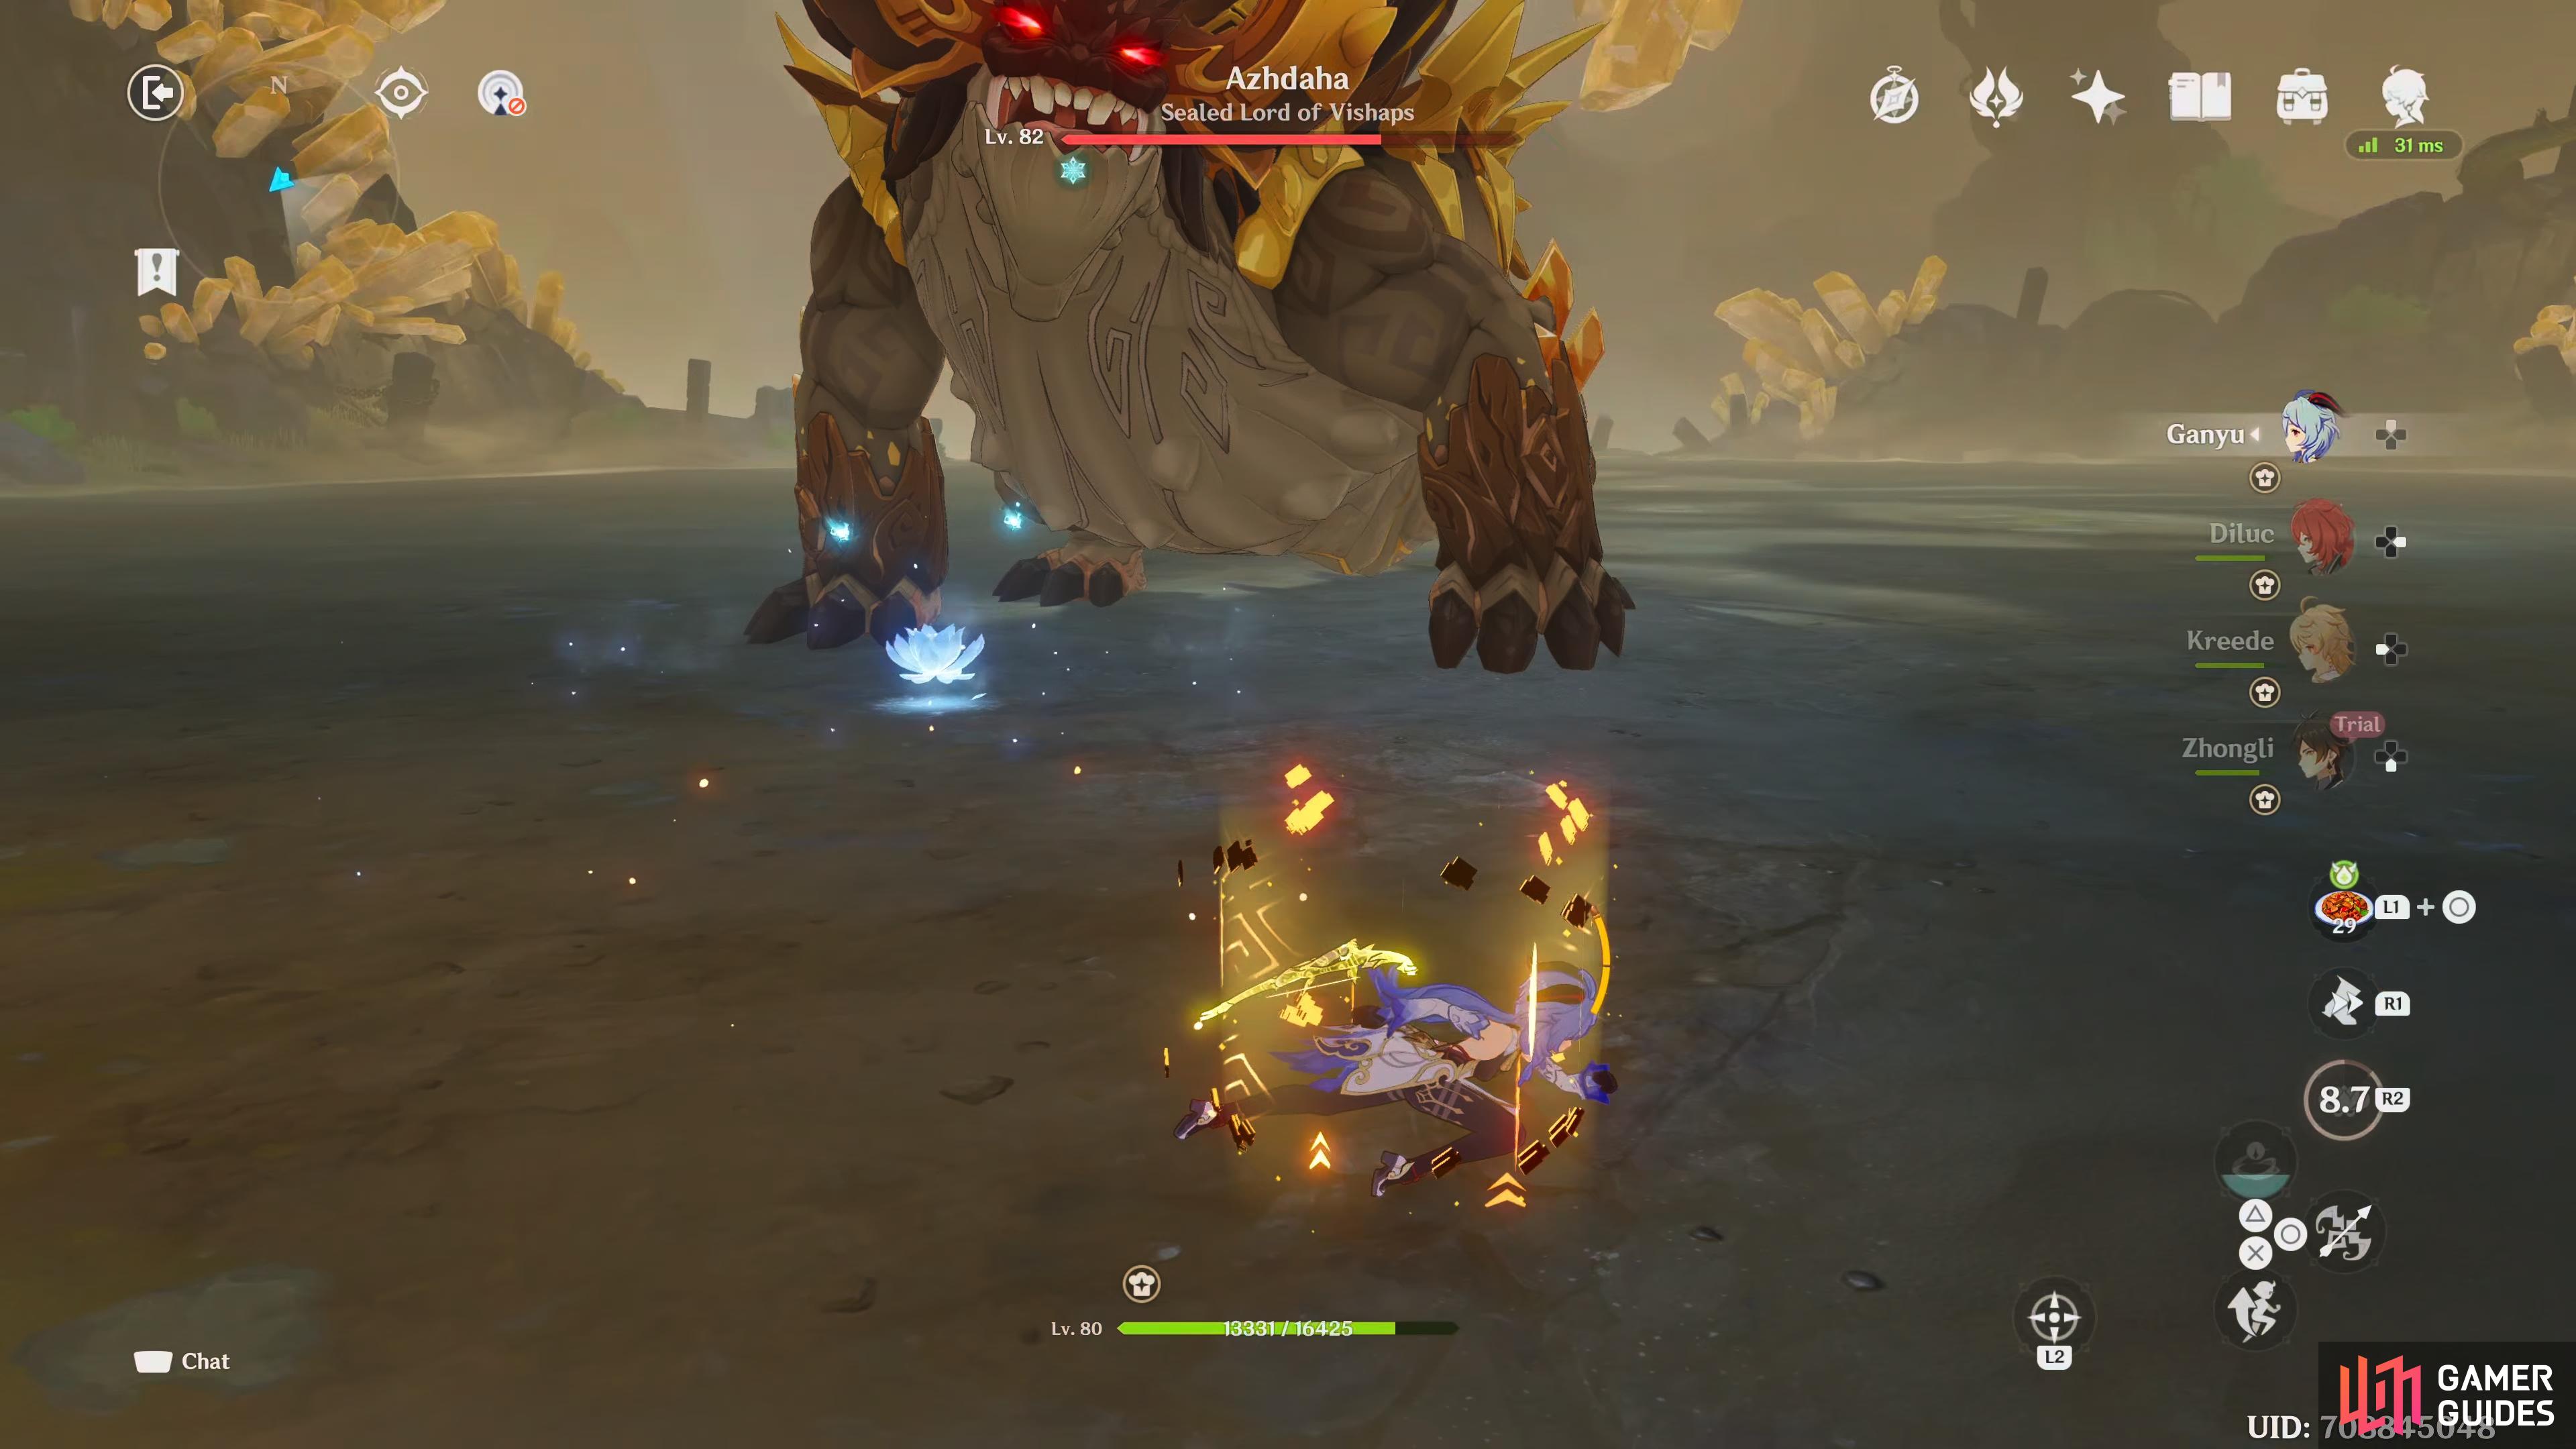
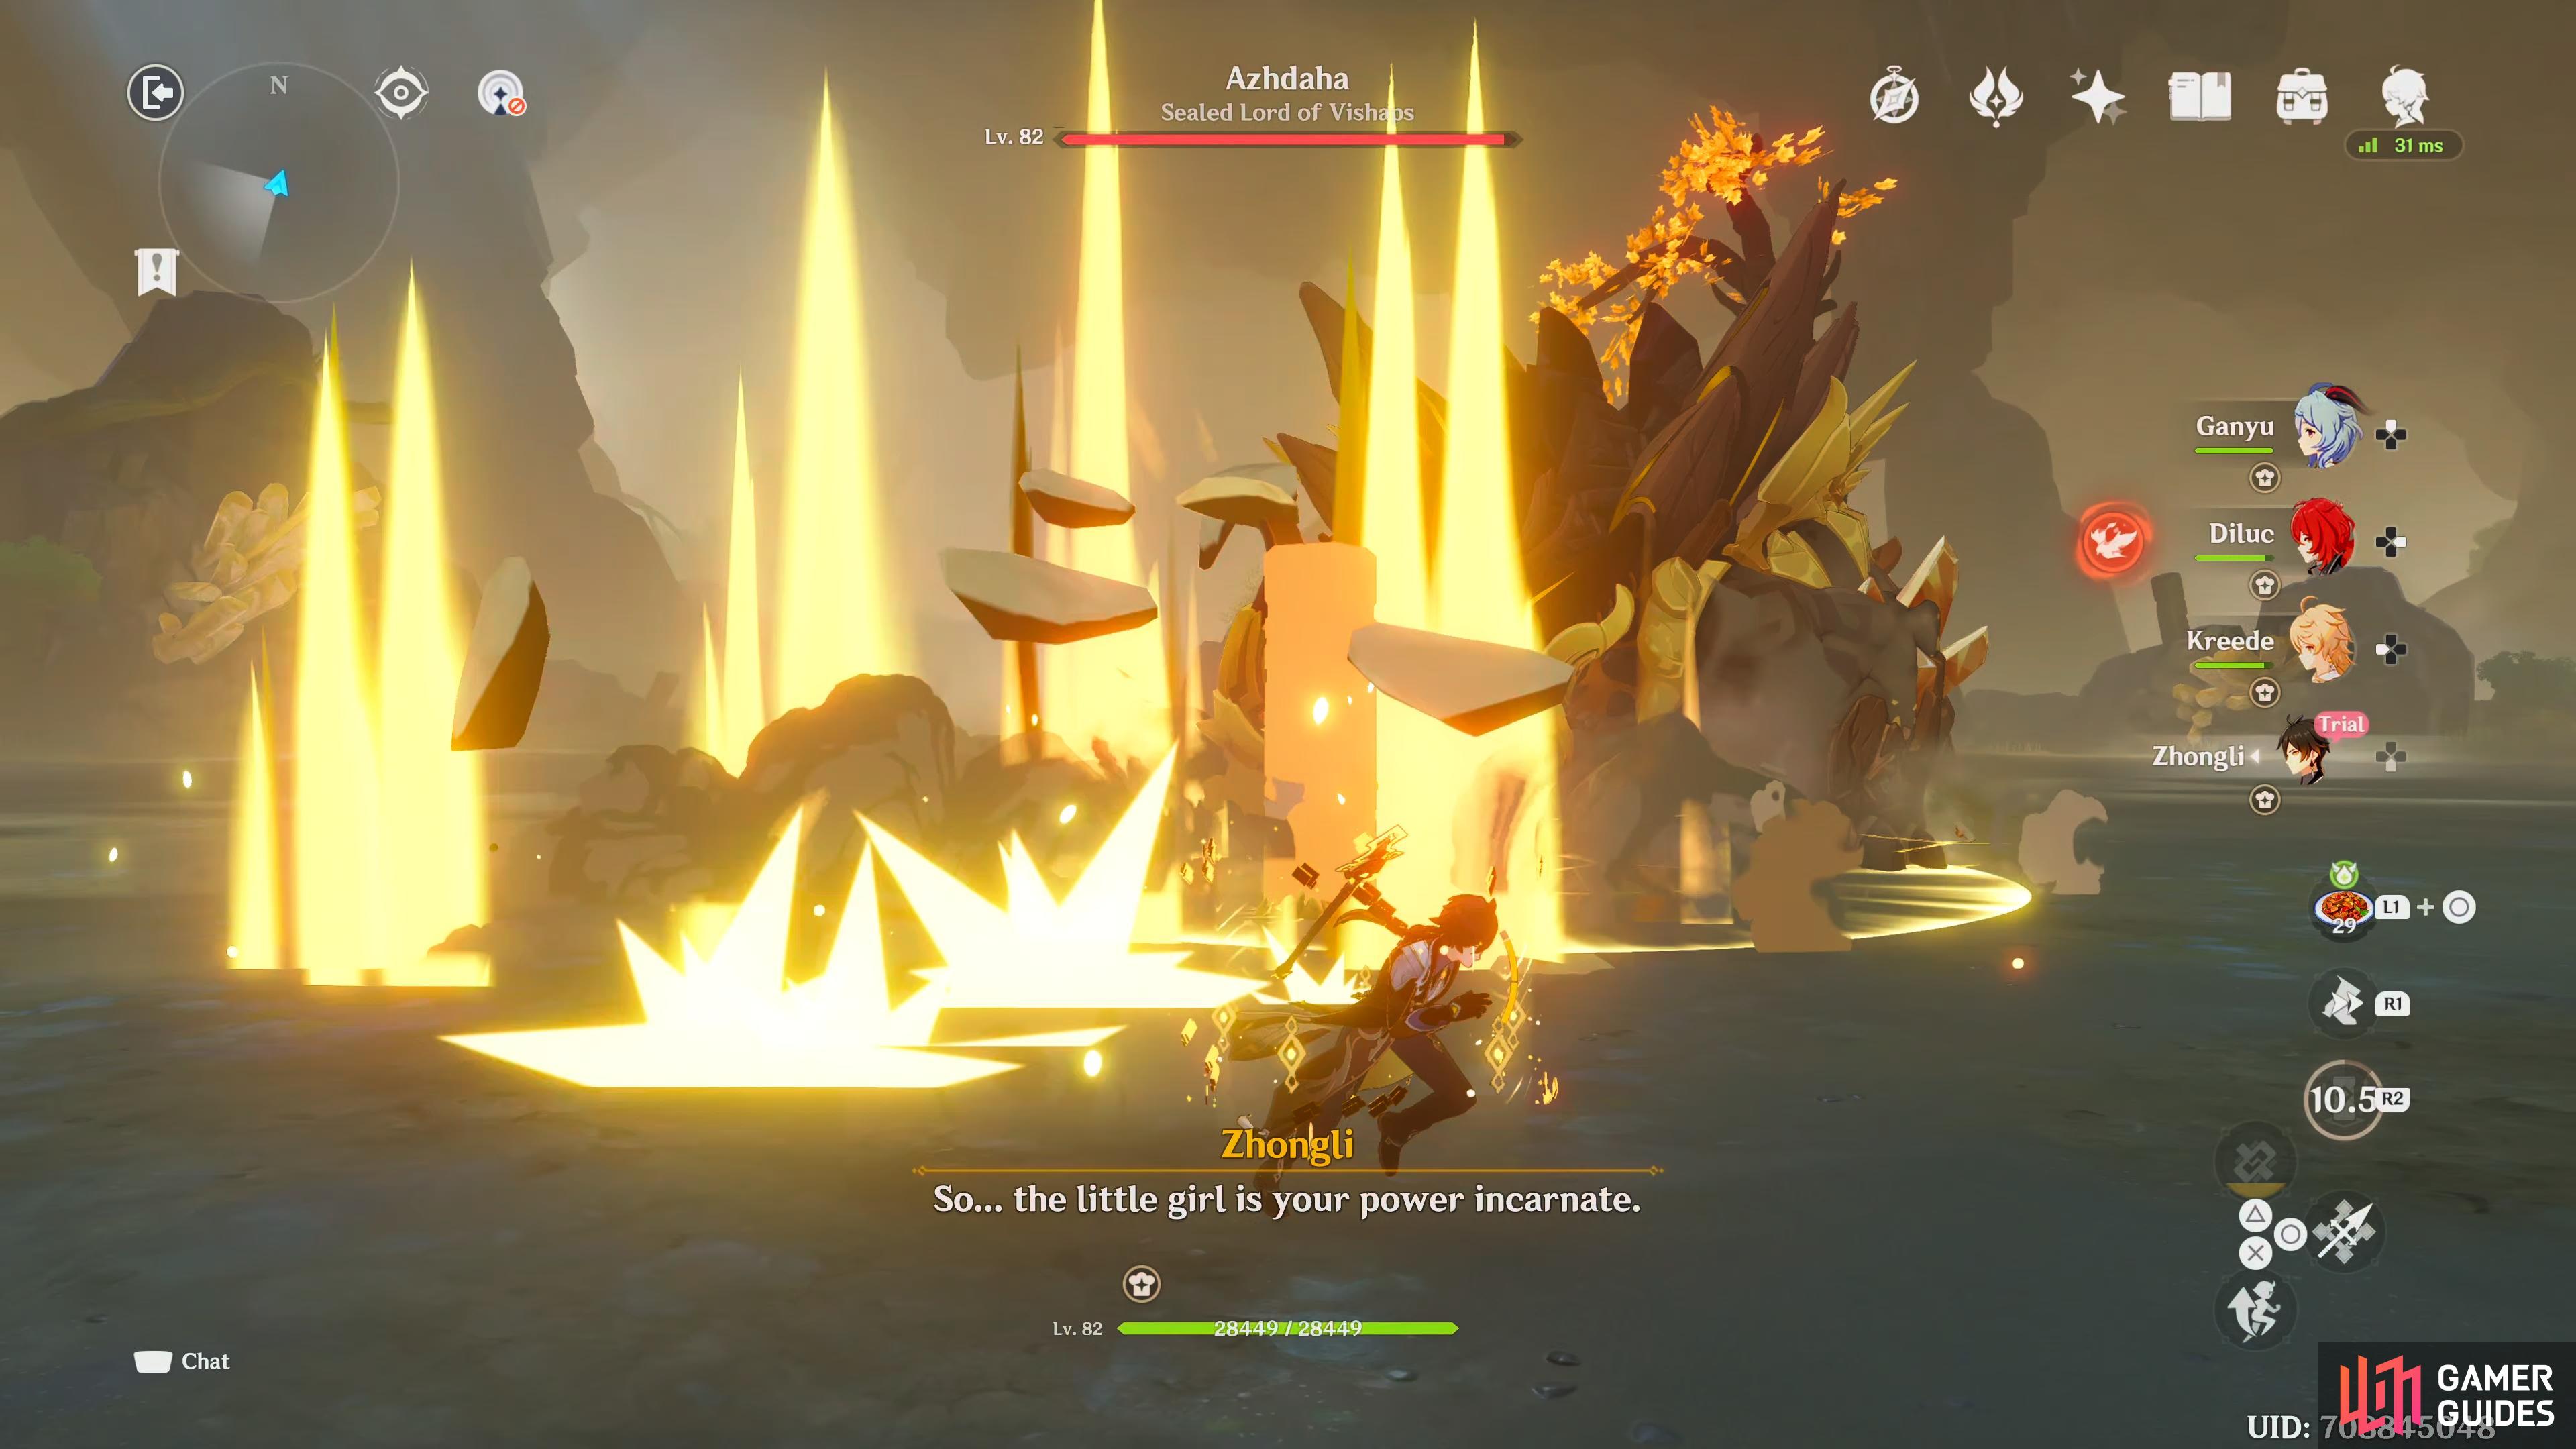
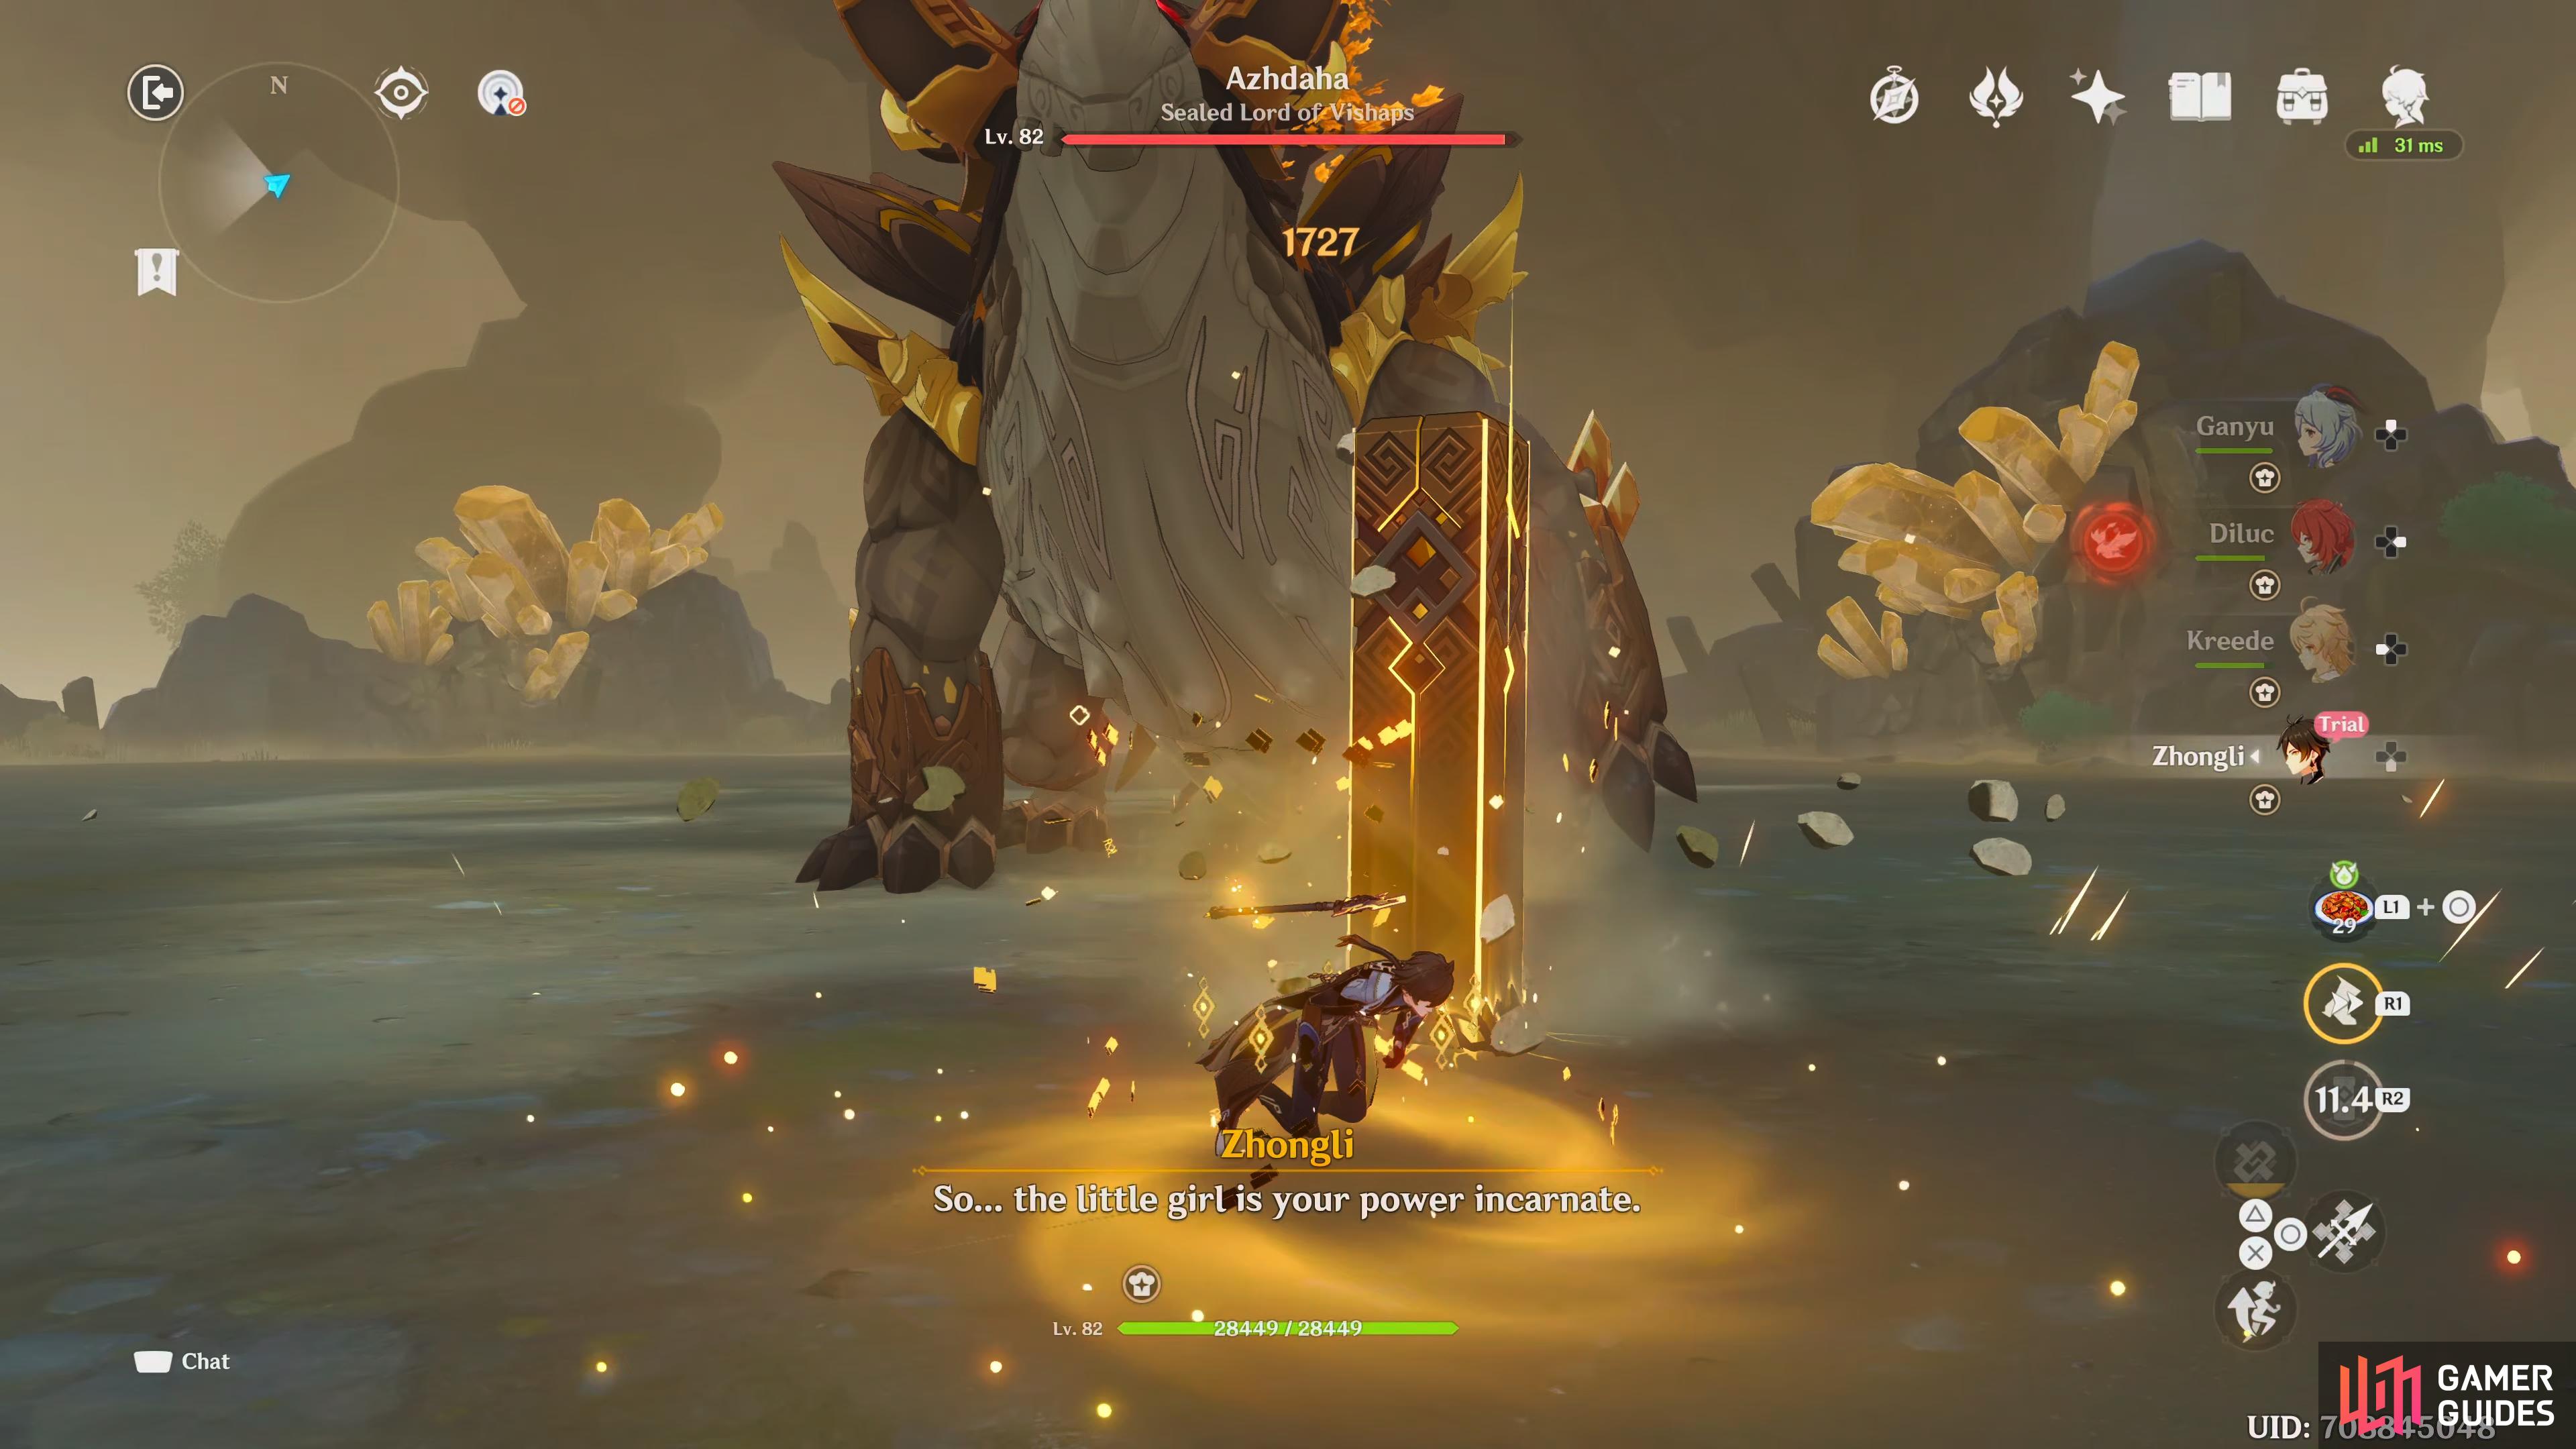
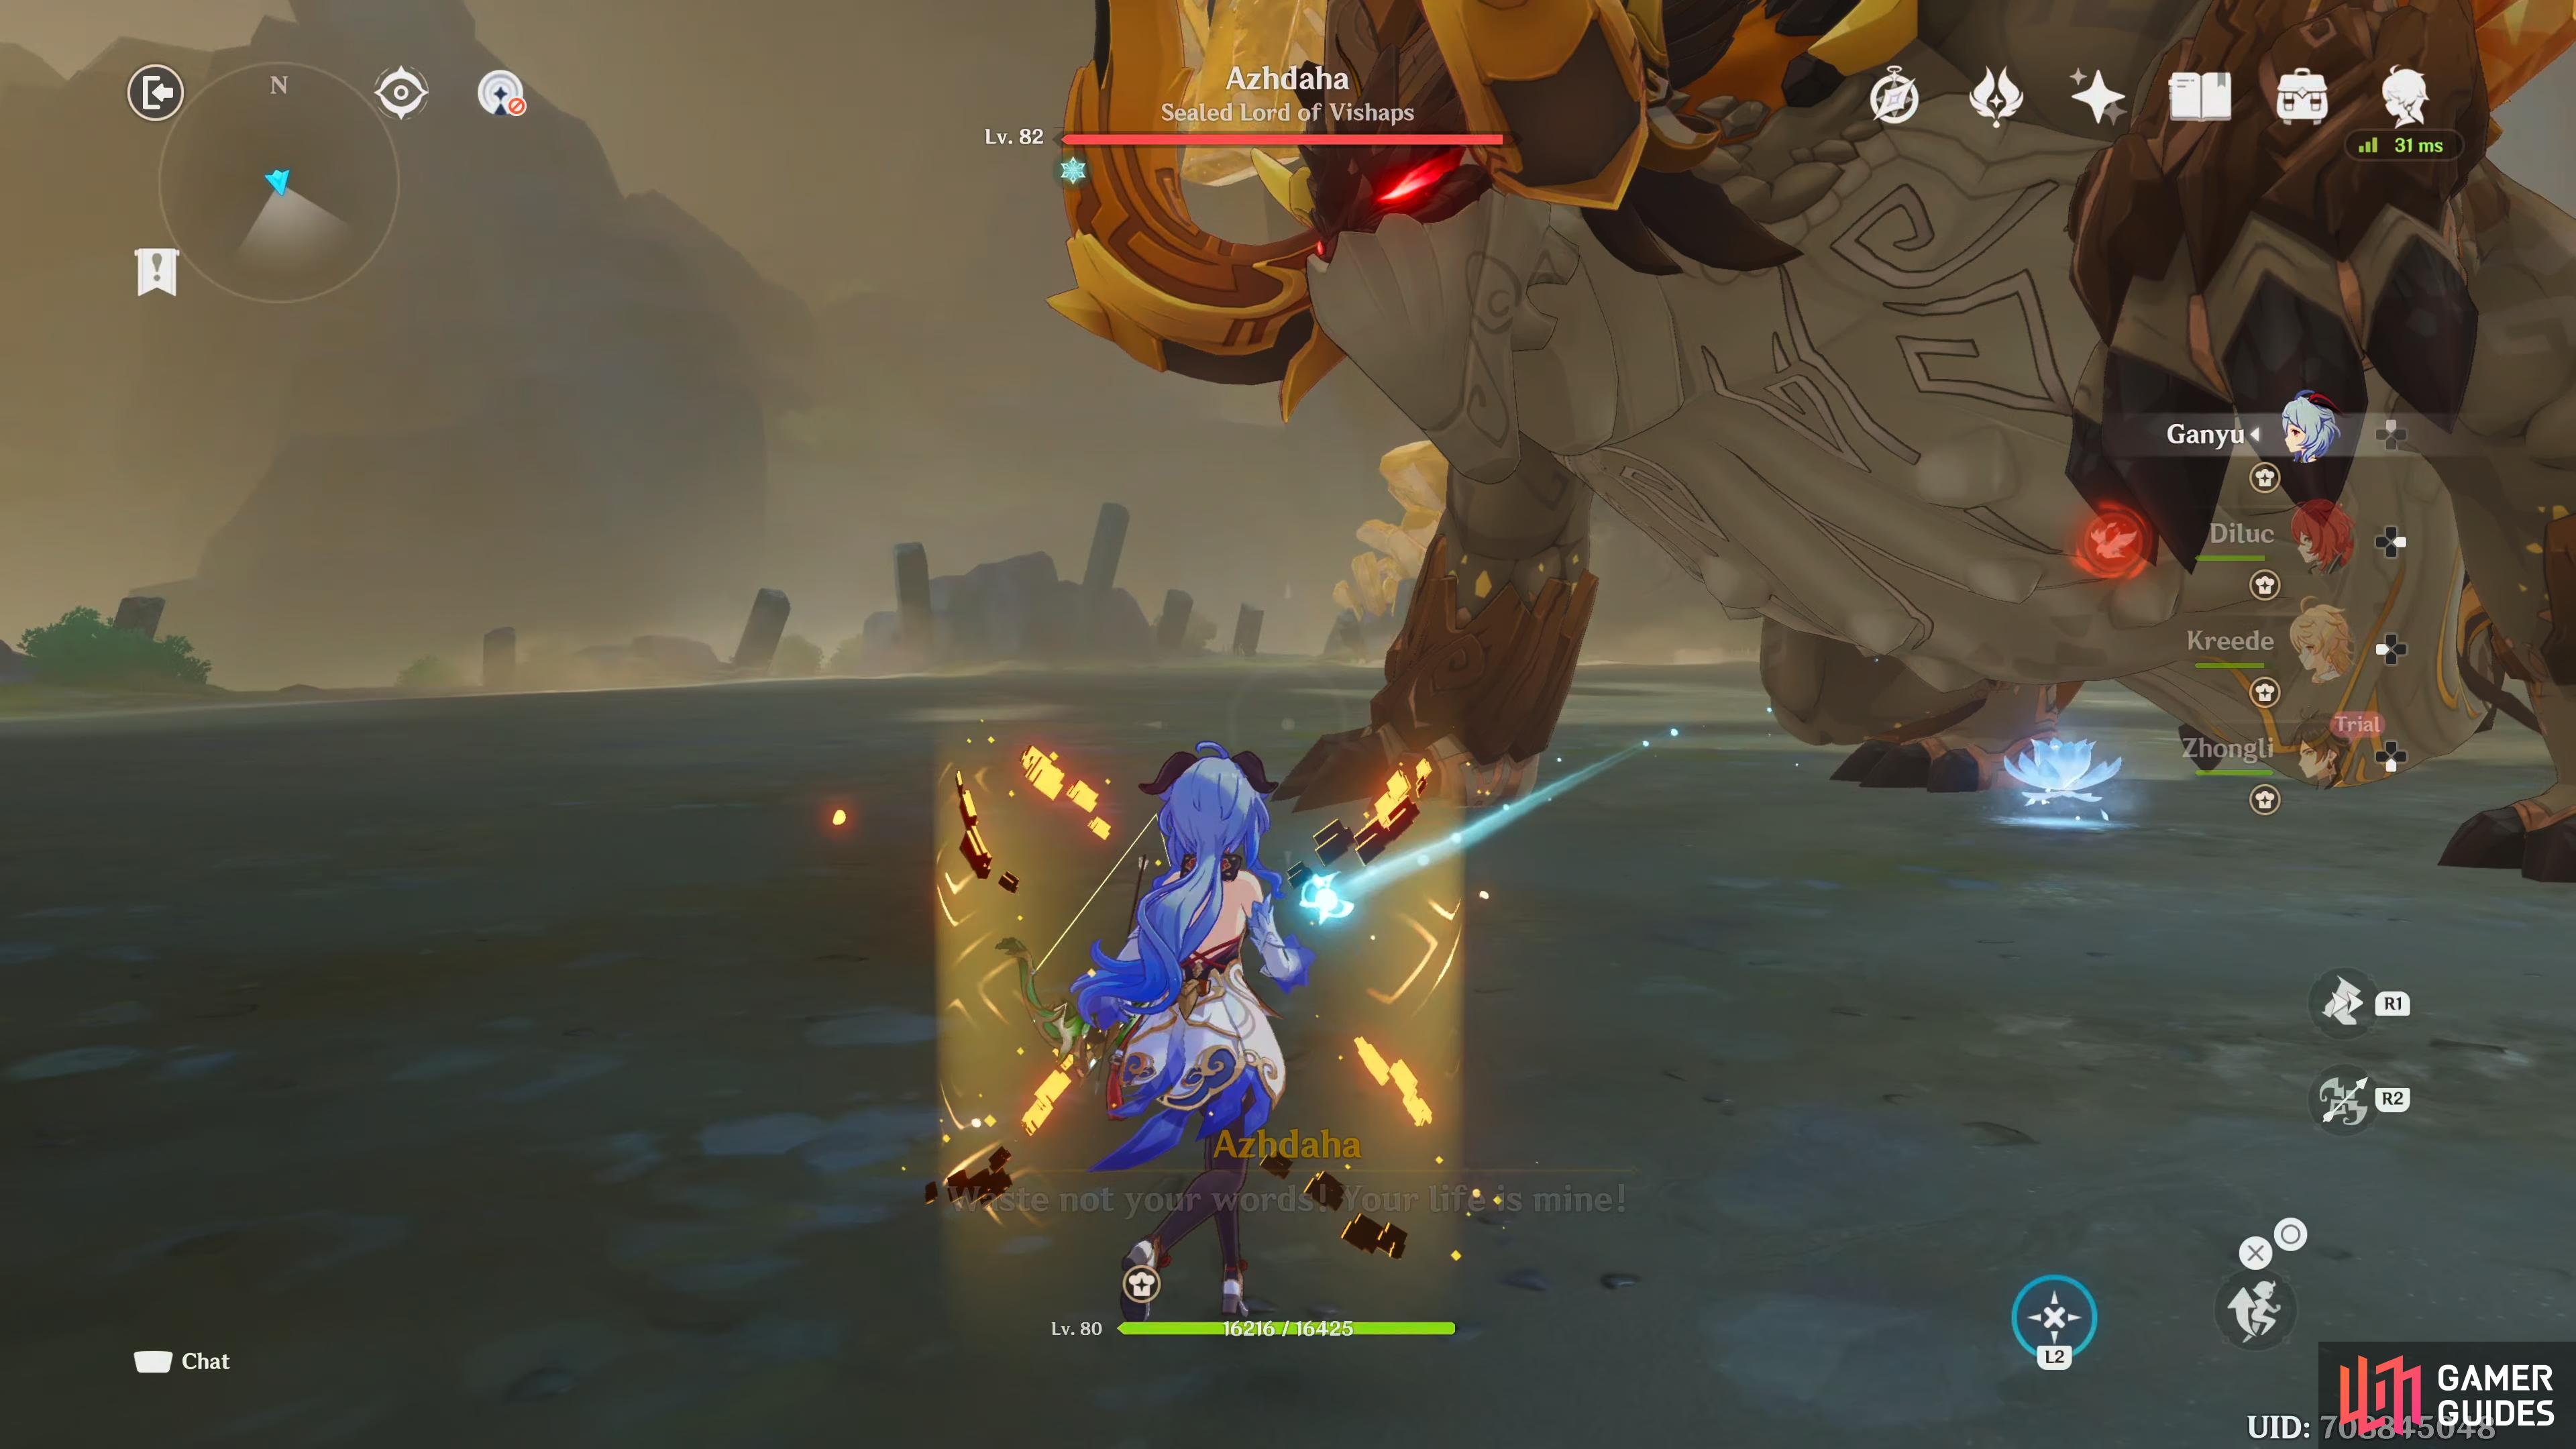
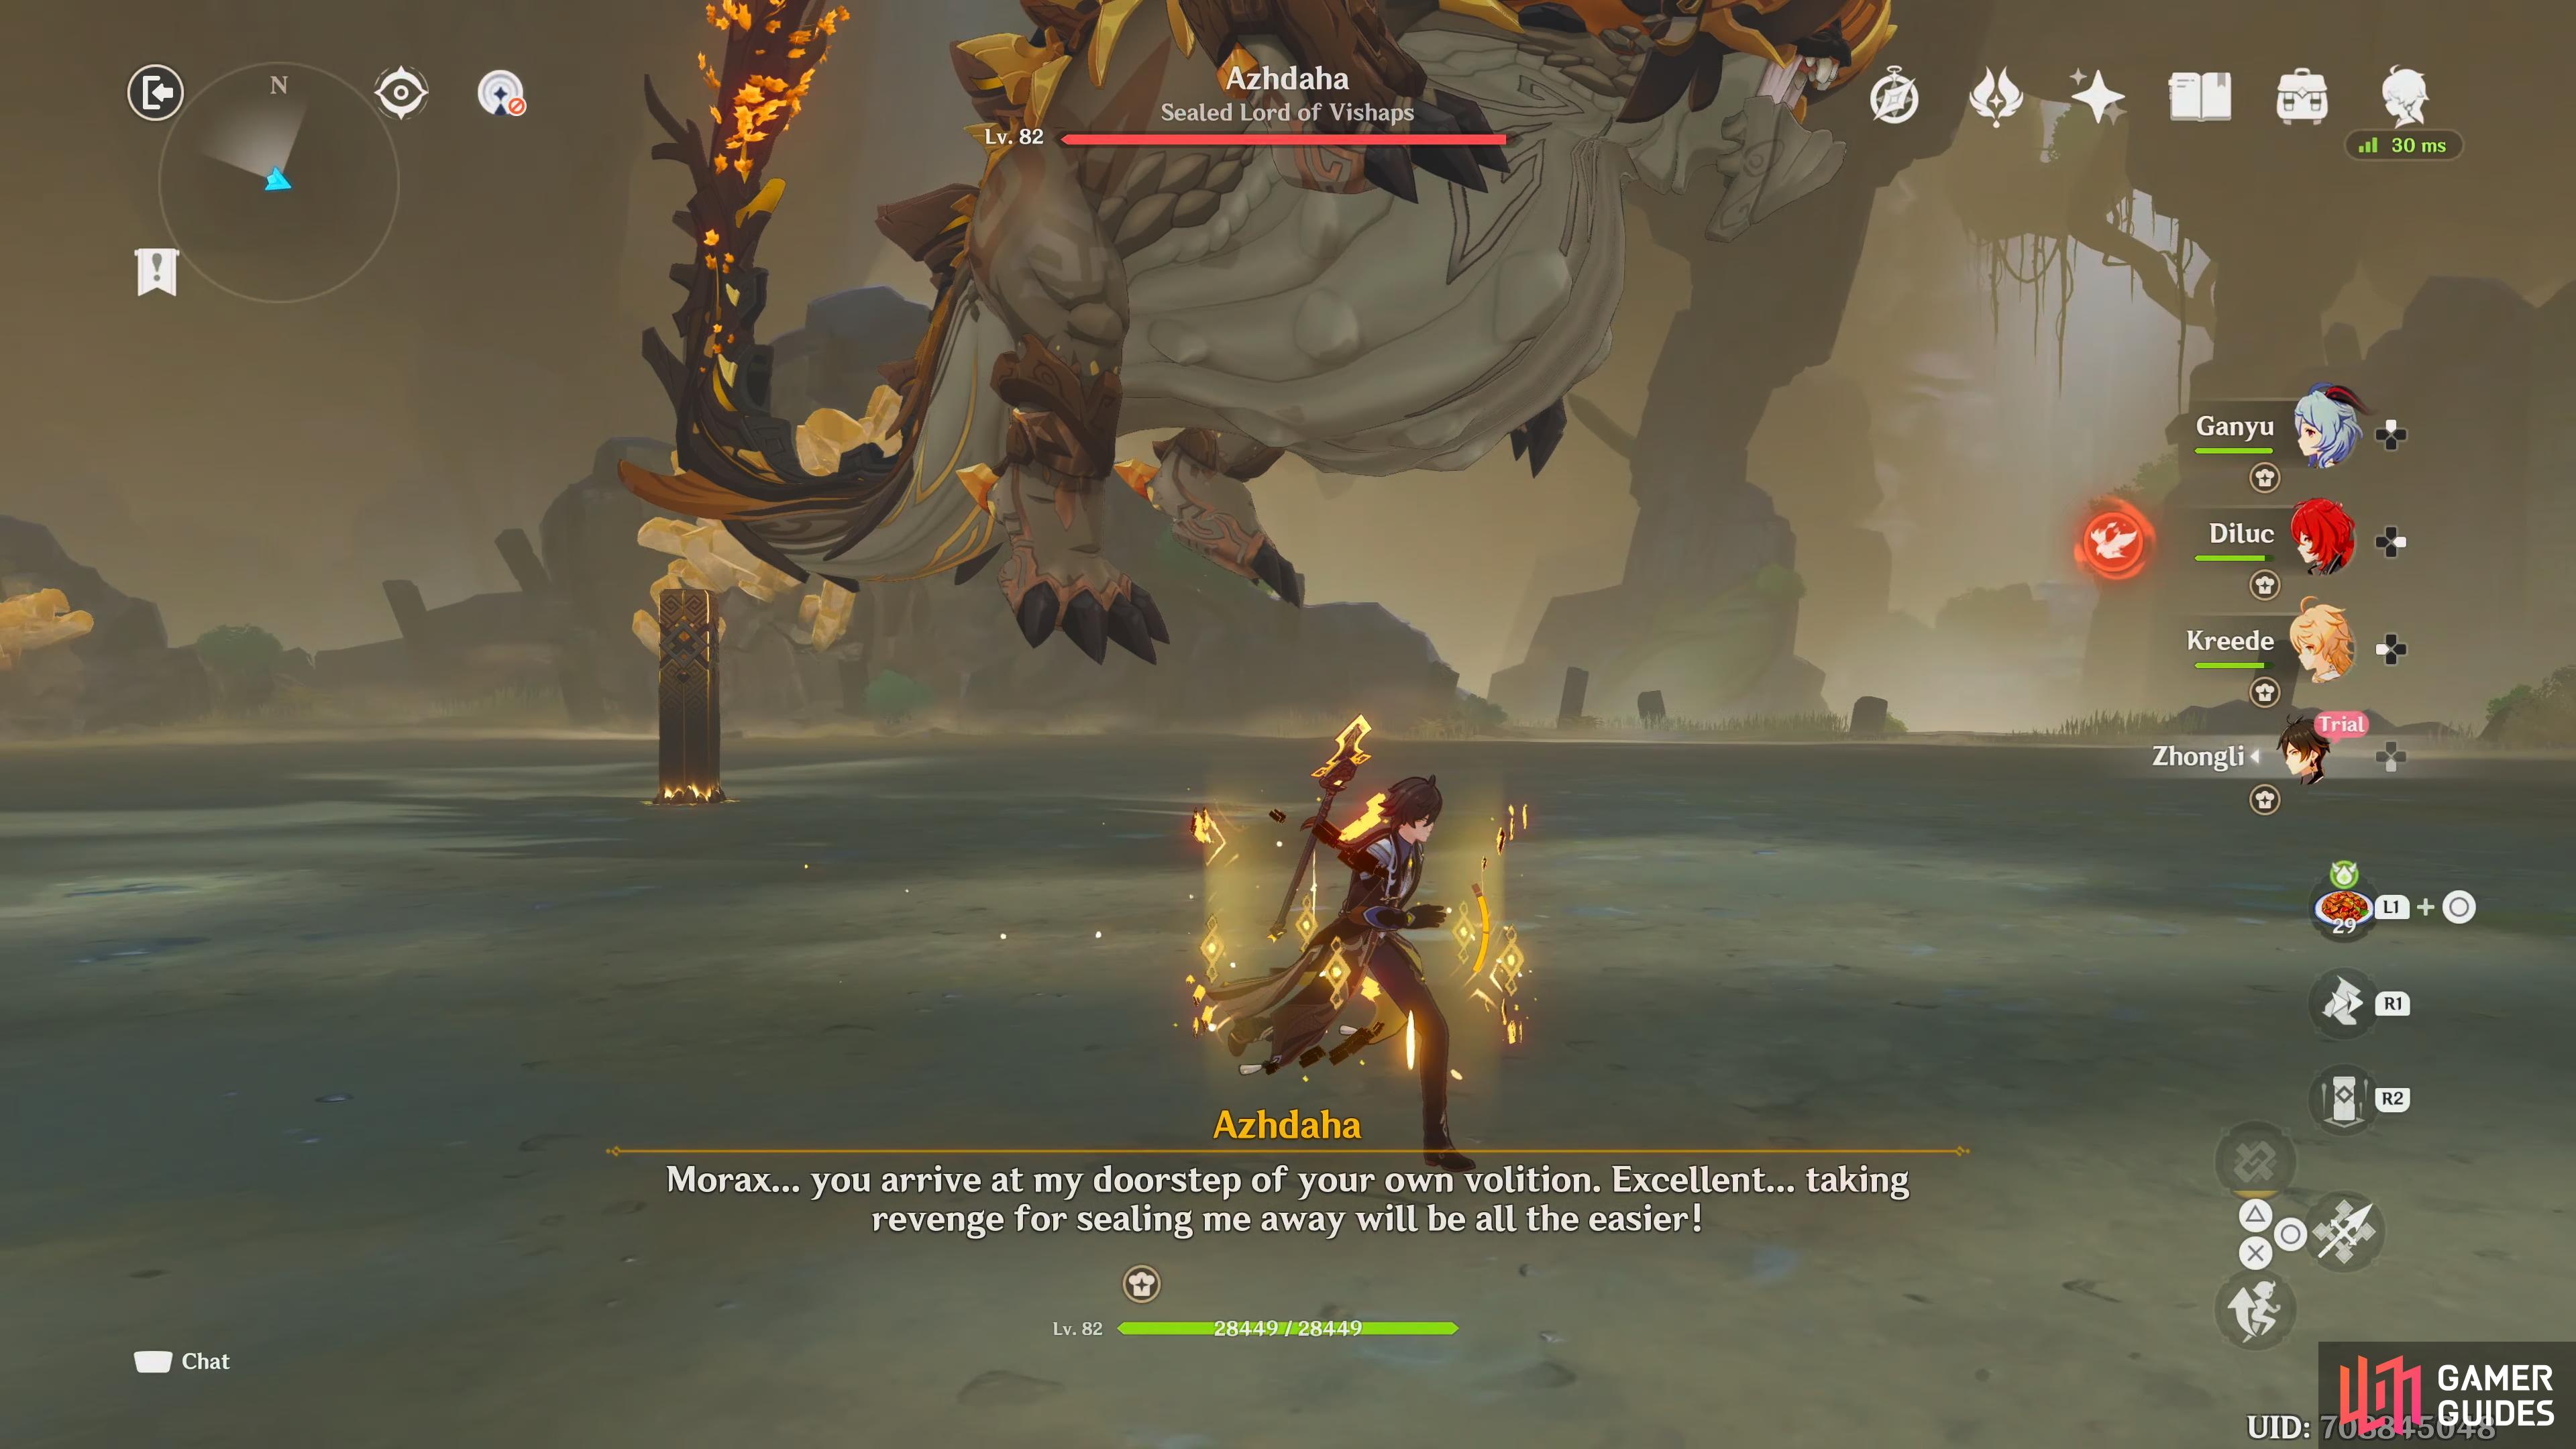
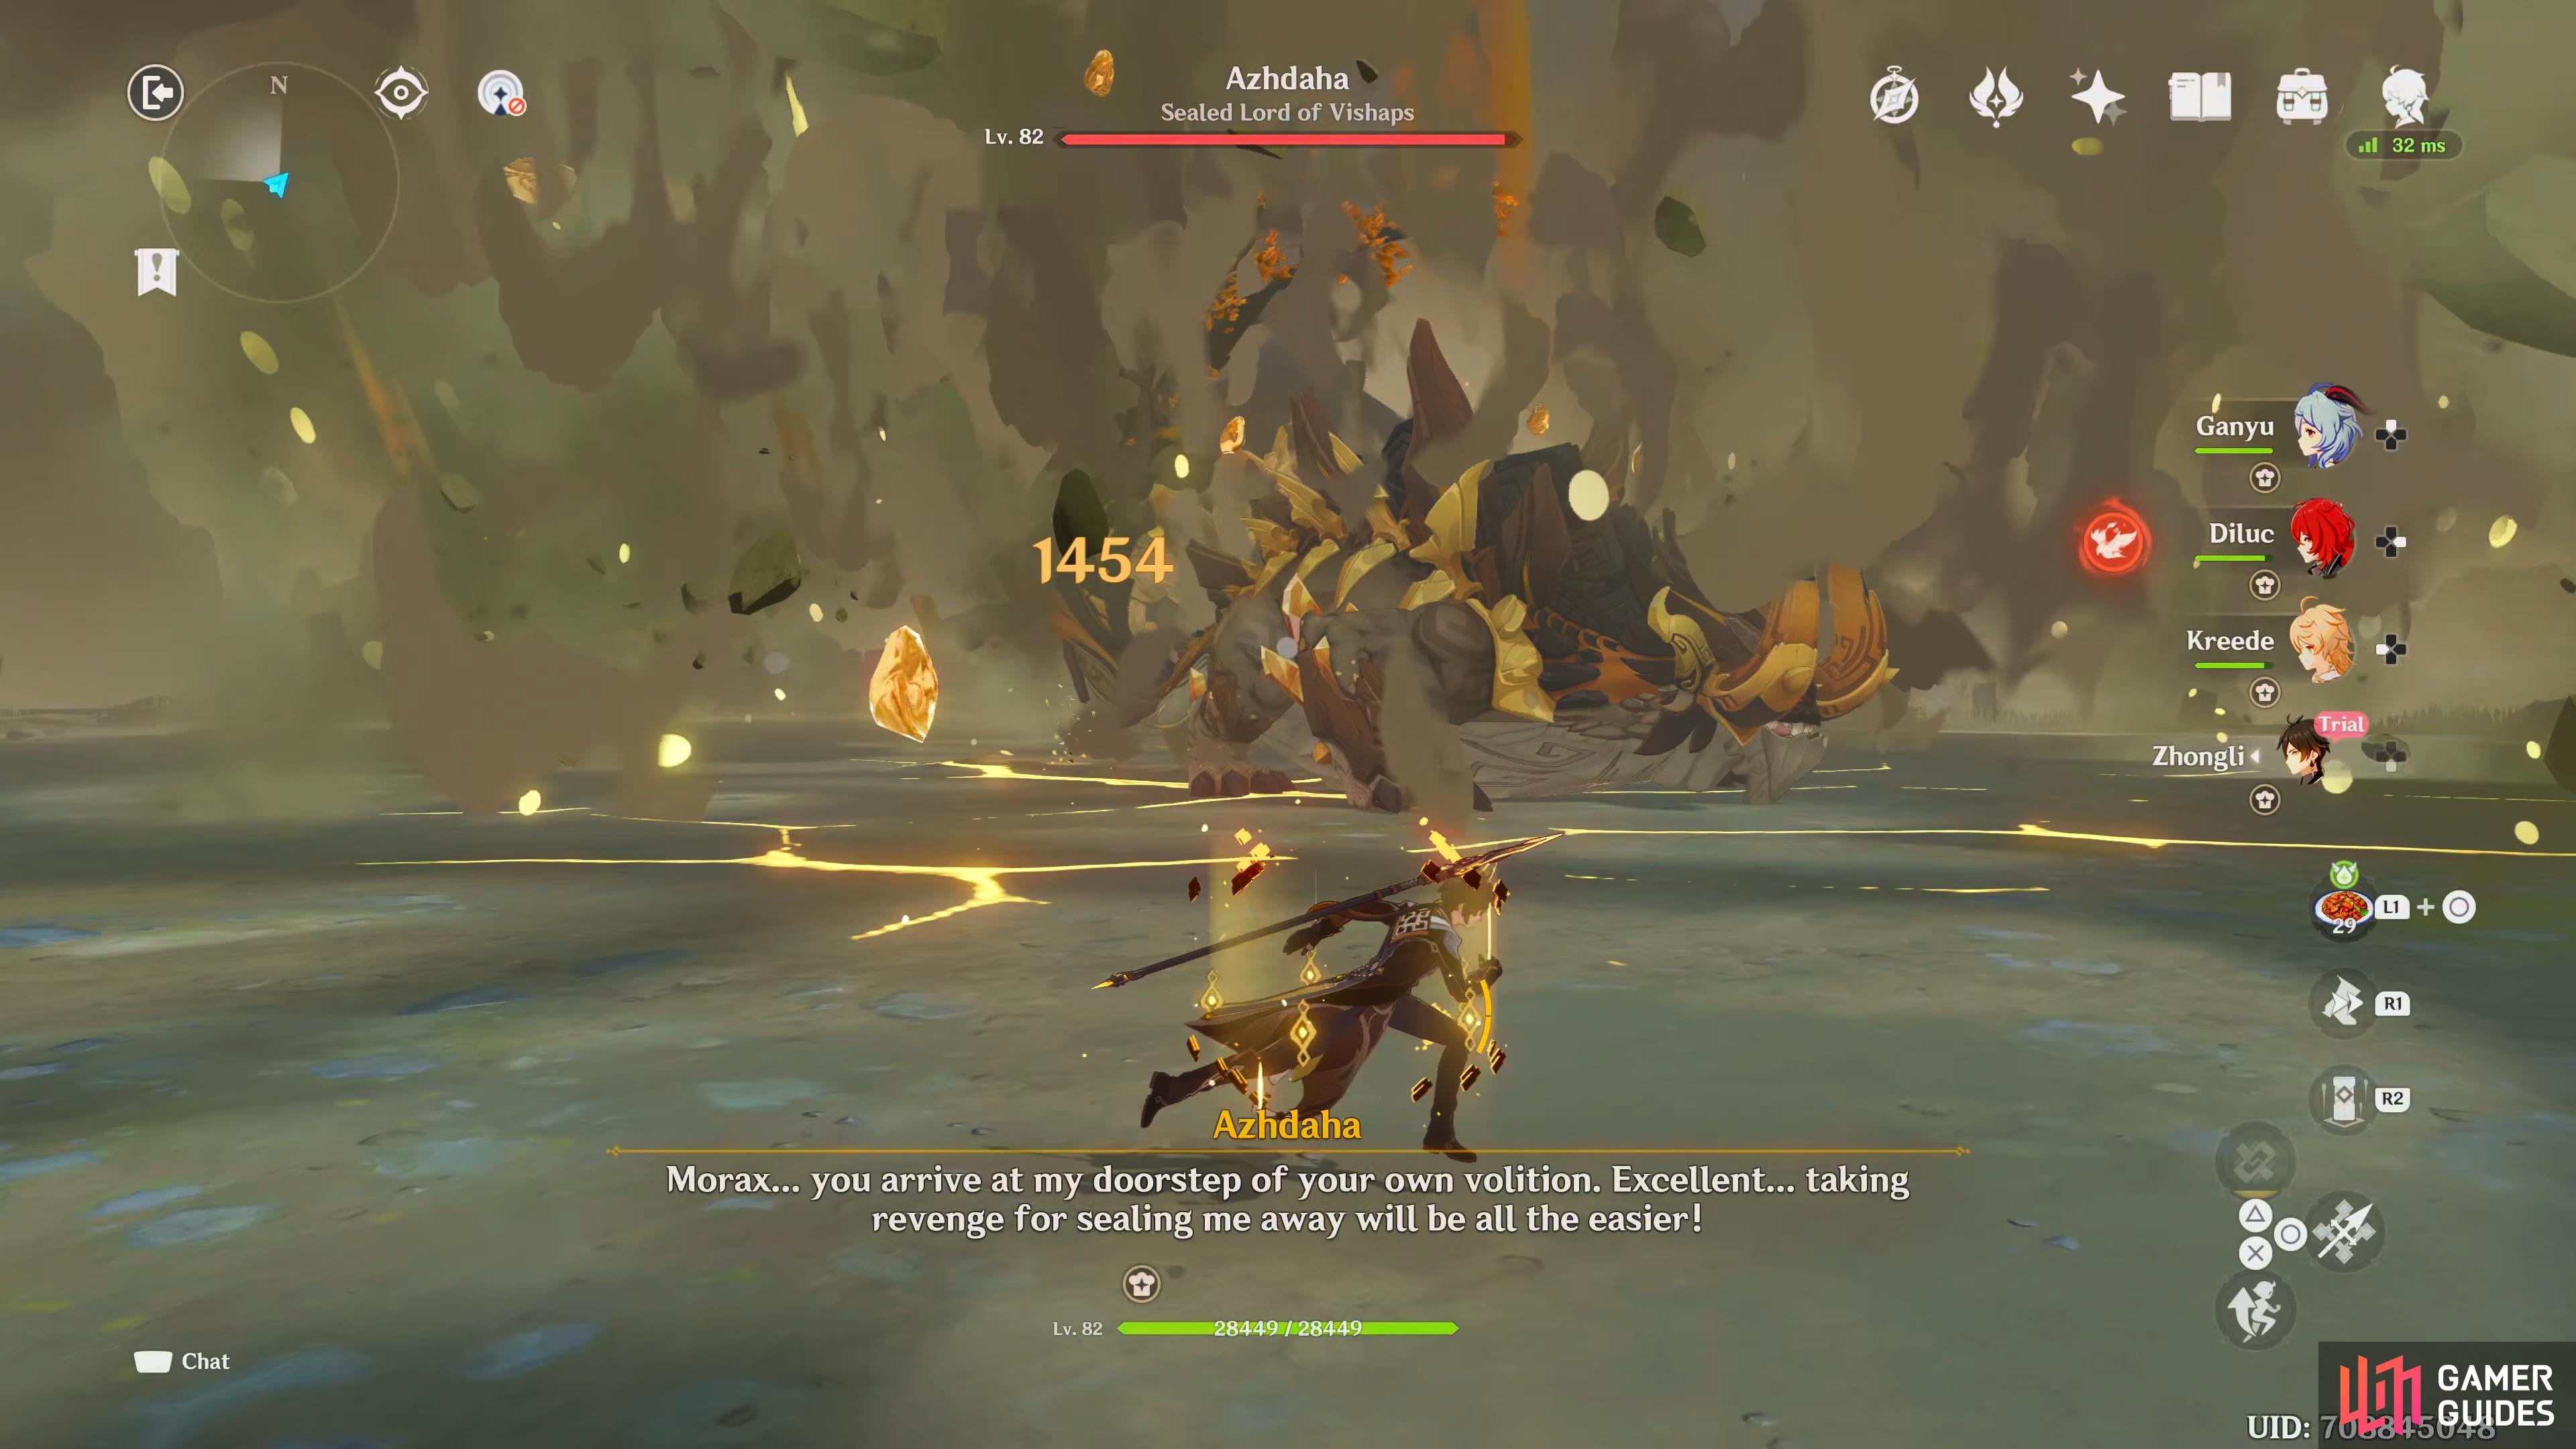
When the scene ends, you find yourself inside the sealed room with a large Dragon inside, called Azhdaha. Azhdaha calls Zhongli by the name Morax, and seems pleased that he’s here, so it can get revenge for Zhongli sealing it away. You also find out that the blue haired girl was its power incarnate. After a bit of back and forth, the scene will end, and you’ll have to defeat him.

A sealed Azhdaha.
Boss fight: Azhdaha
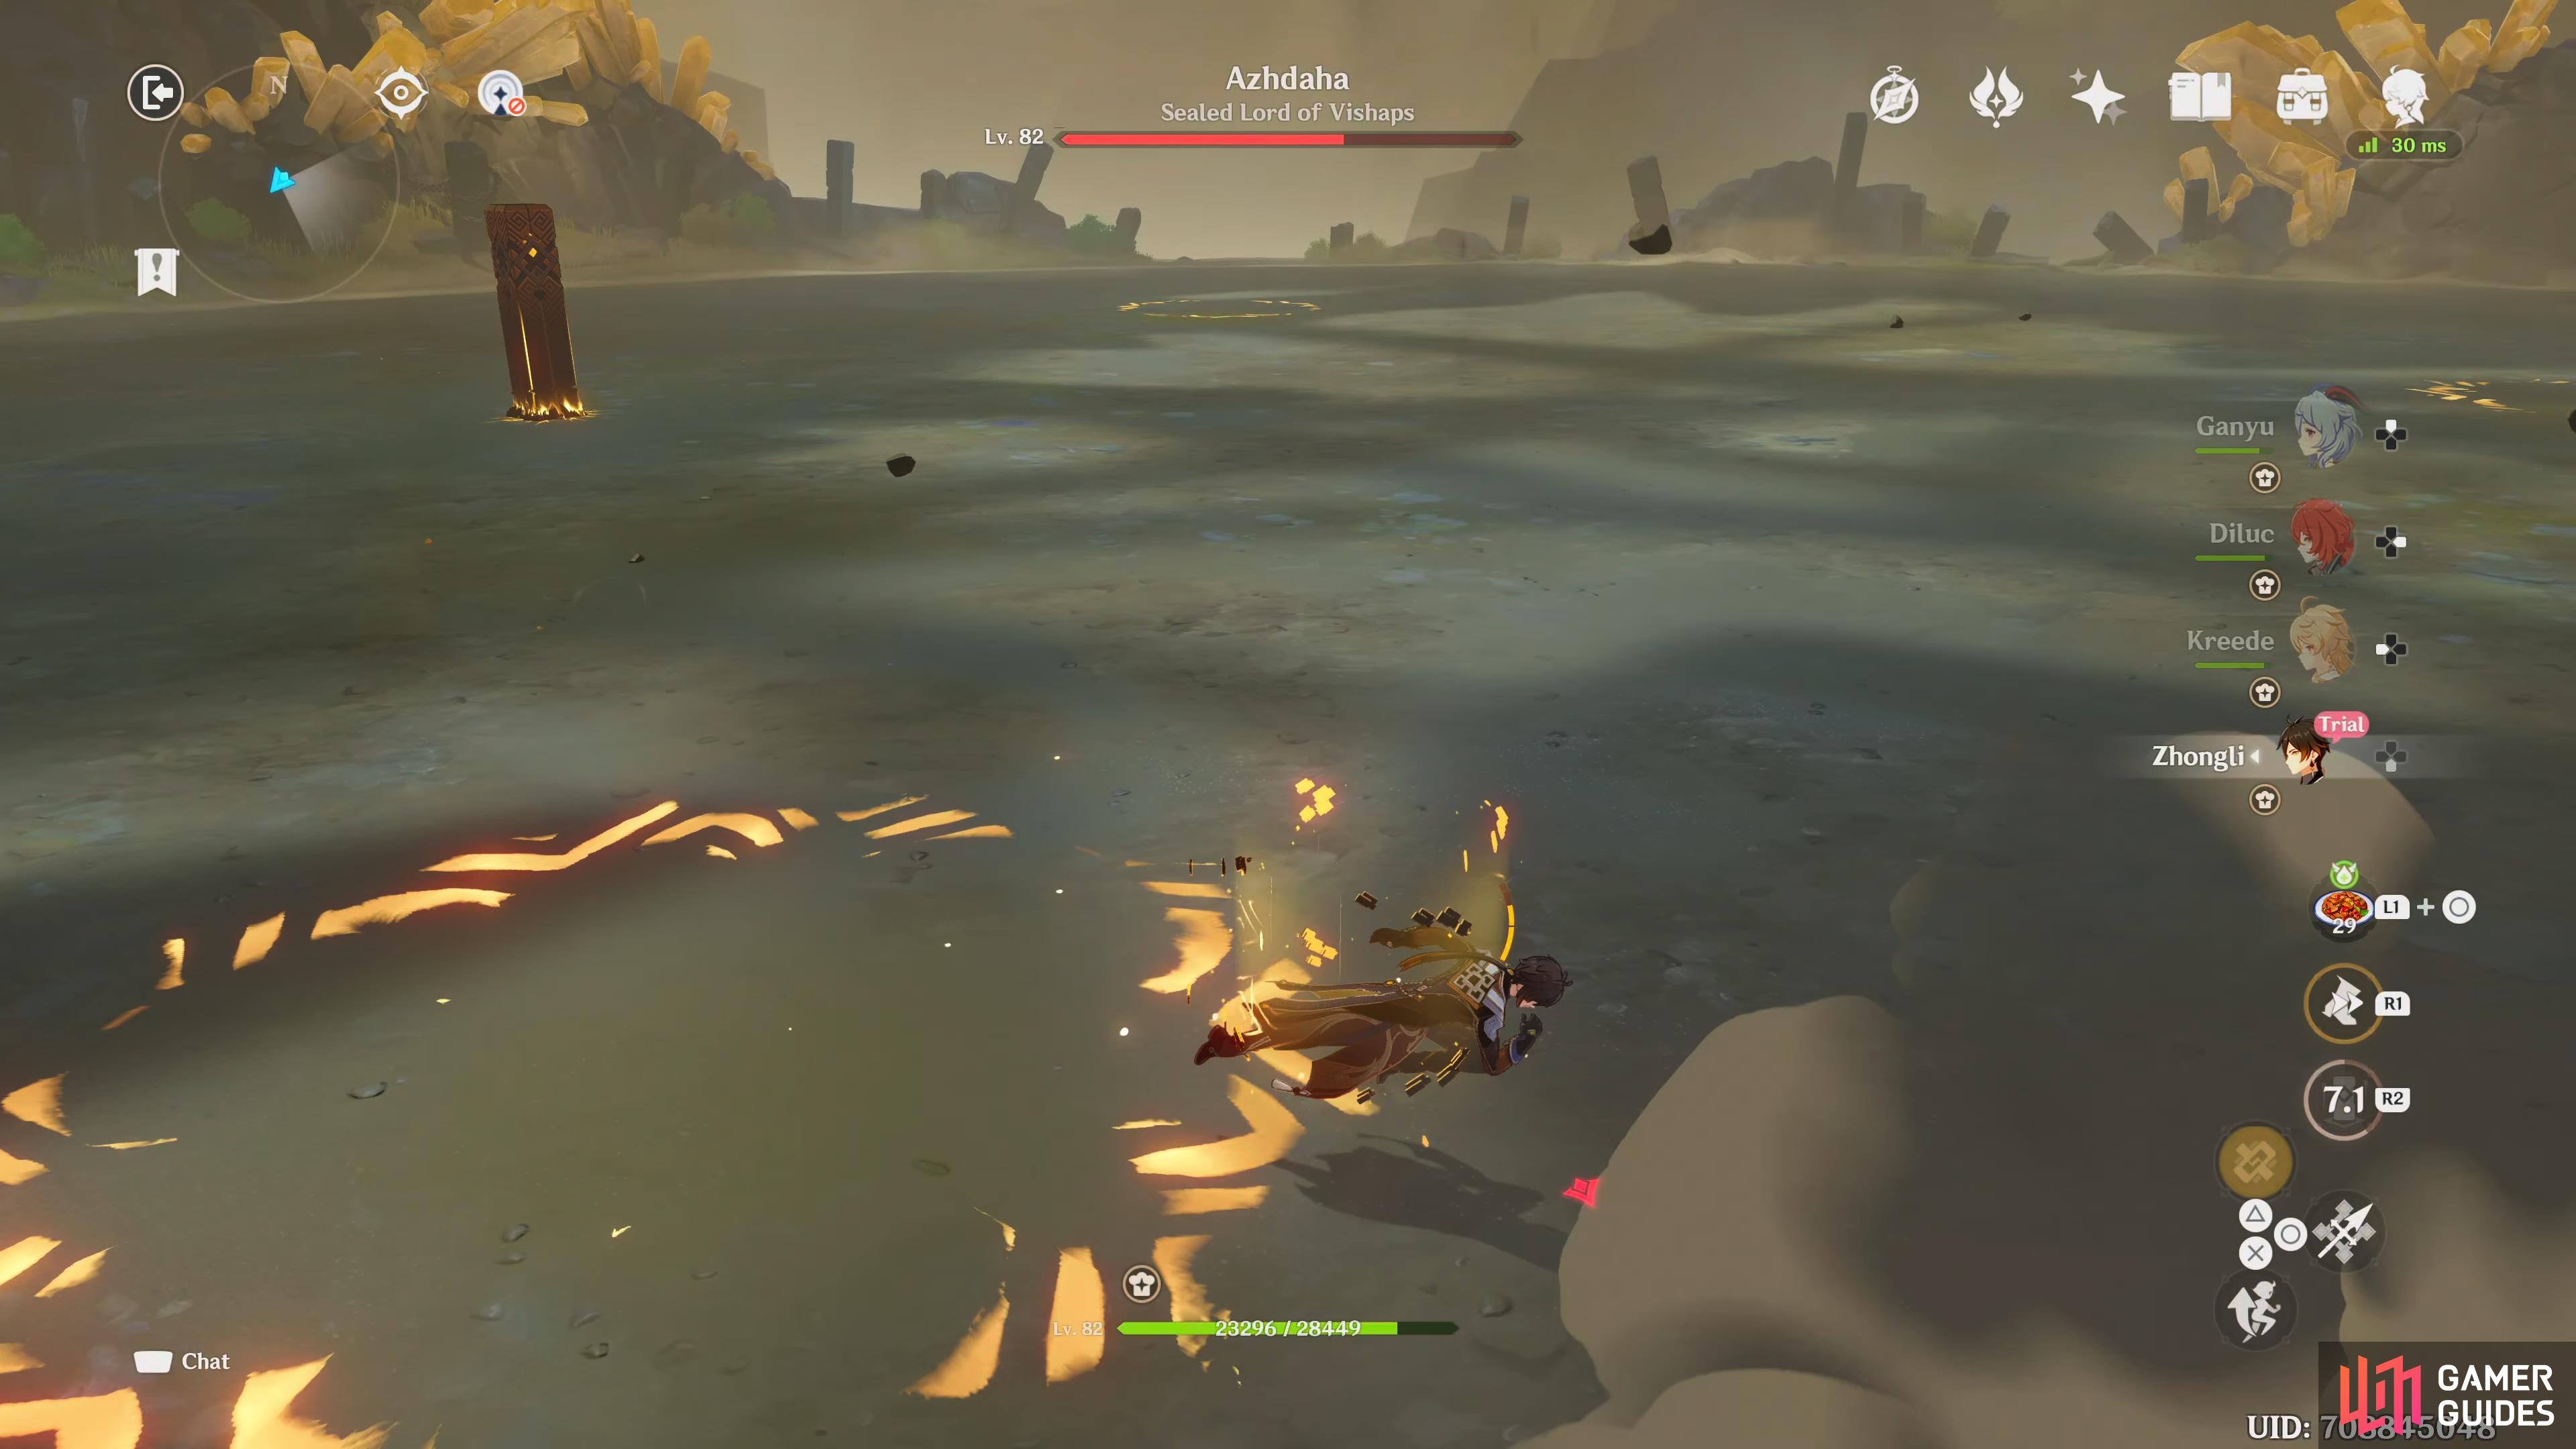
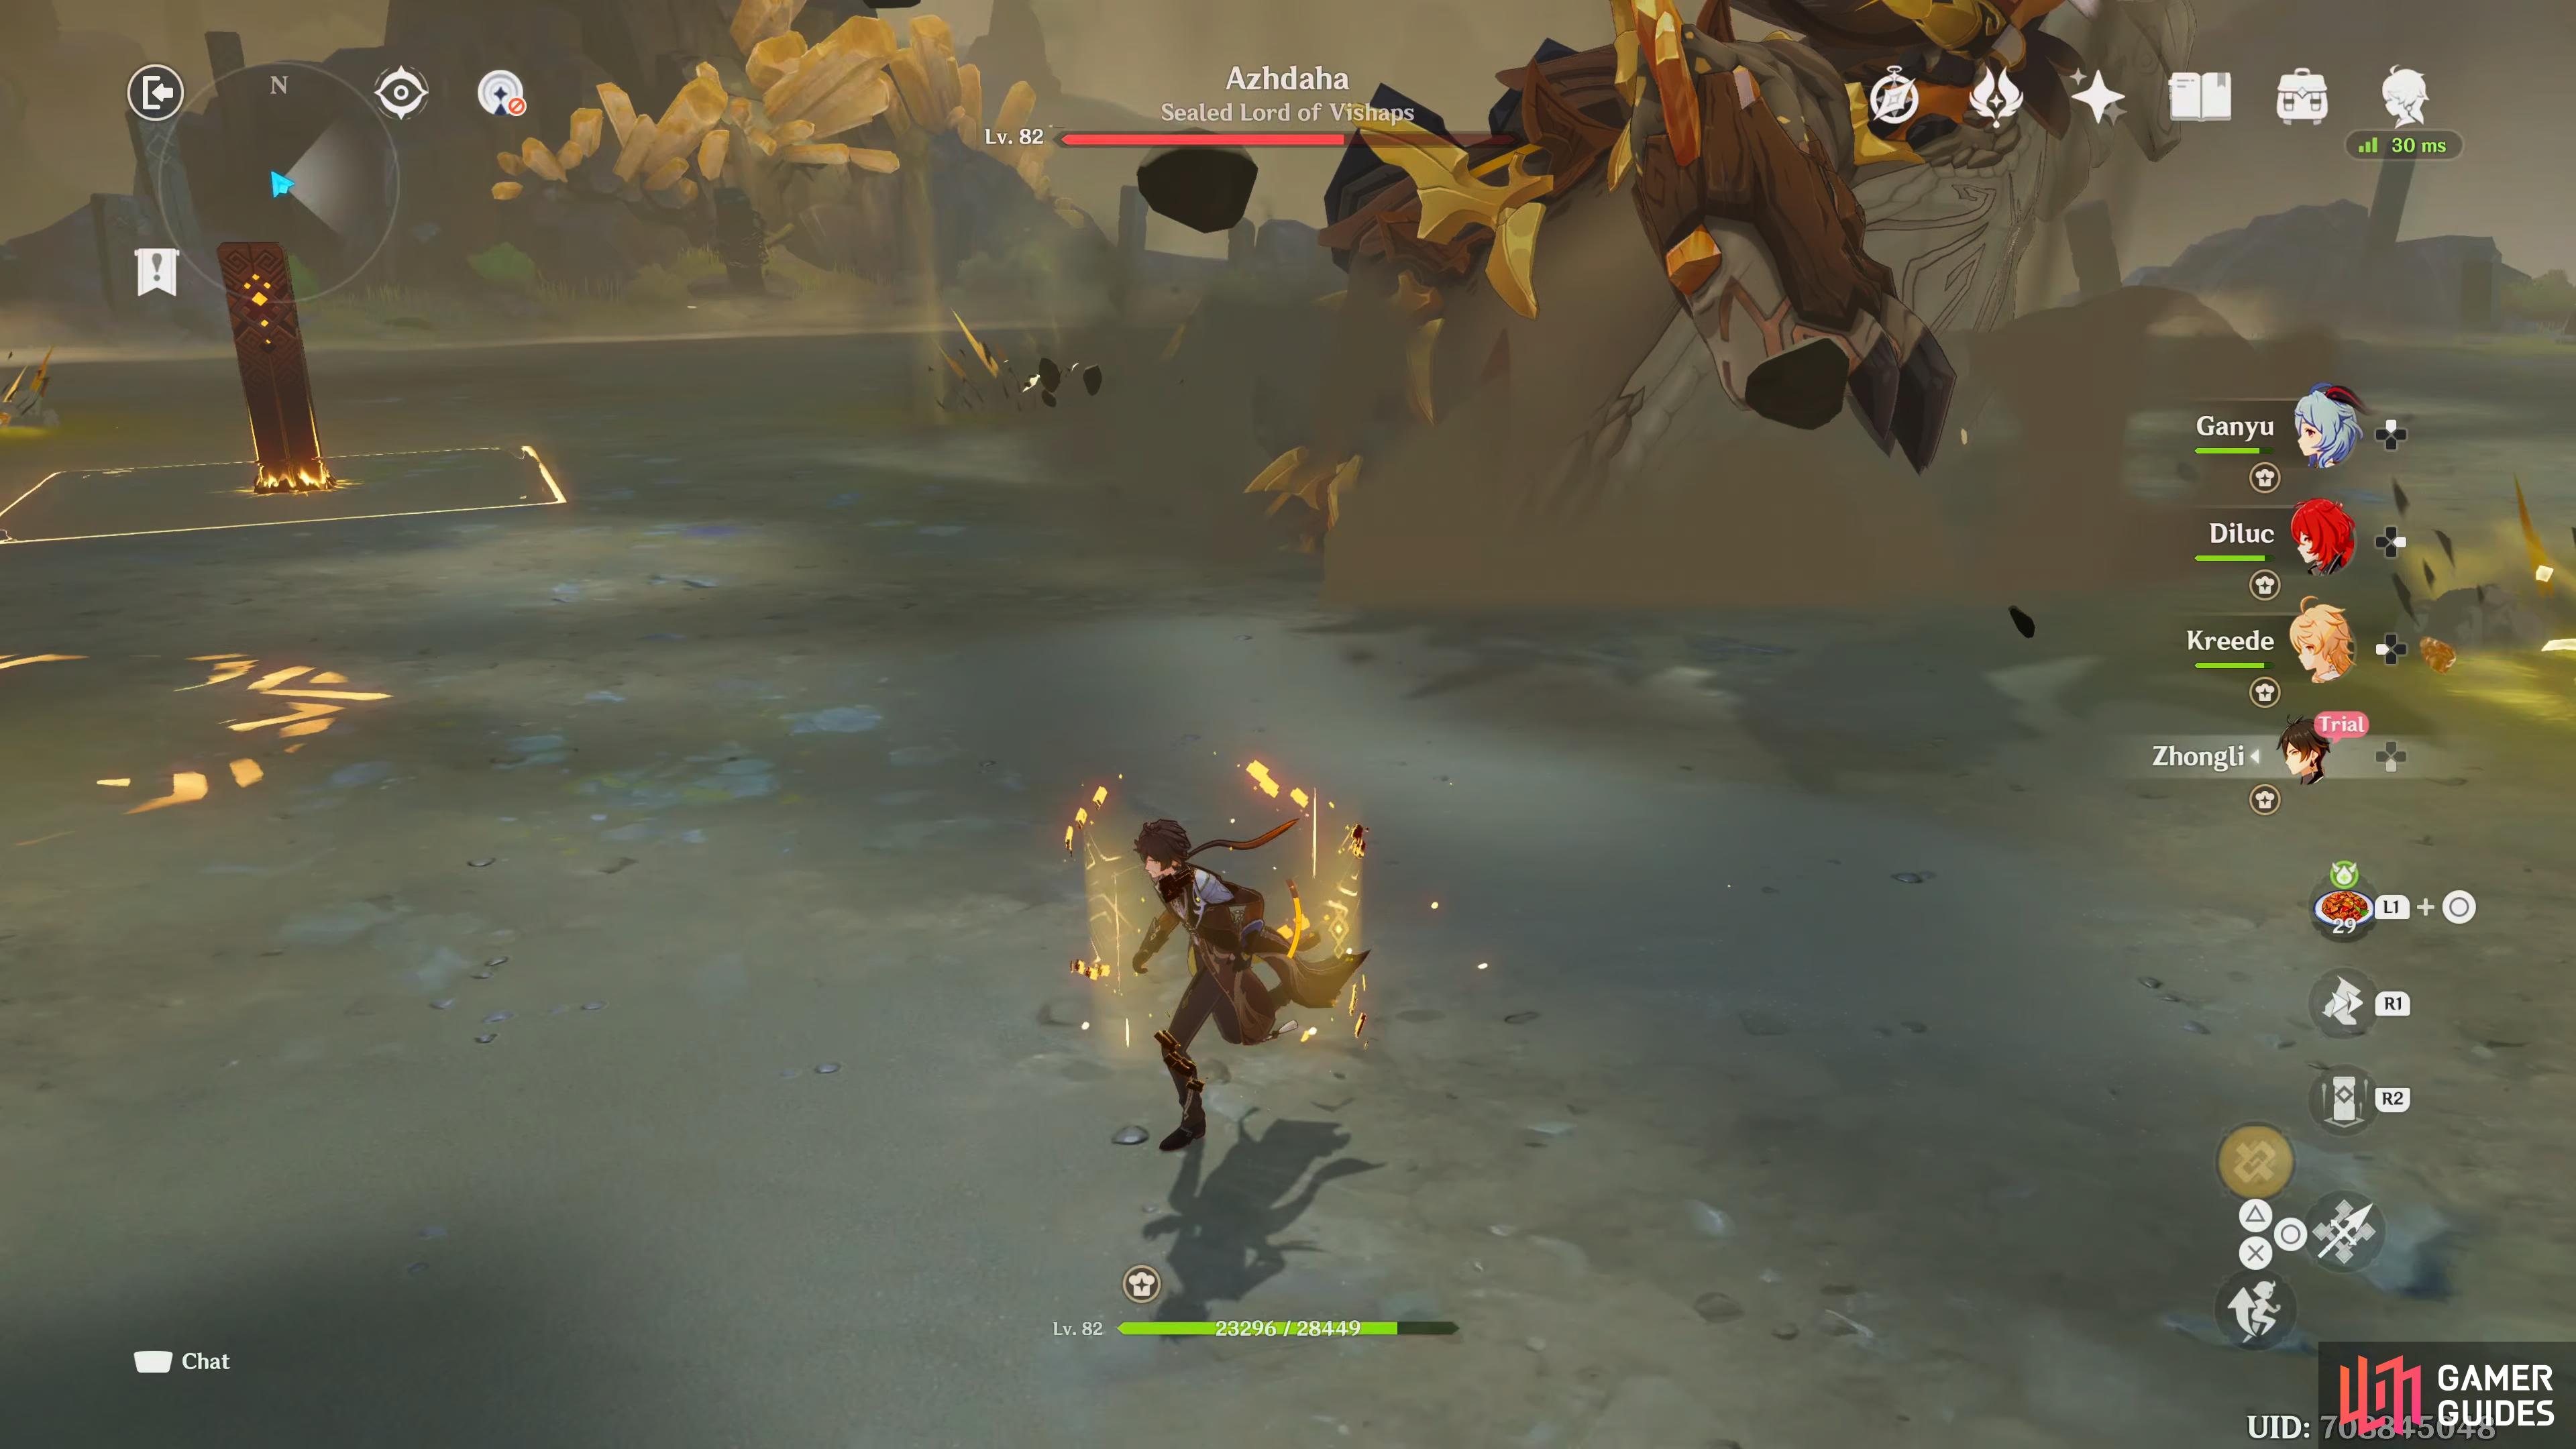
Although it’s quite imposing, you’ll have Zhongli with you as trial character, and by holding in your Elemental Skill button, you’ll get a Geo shield around you which negates any damage, this can make the fight relatively easy, as long as you keep it up. Below you’ll find a list of all his attacks.
Body Slam
Azhdaha will lean to the side, lifting his side legs up before he slams them down on you.

(1 of 2) Azhdaha will lean to its side, raising its legs
Azhdaha will lean to its side, raising its legs (left), before slamming down on you. (right)
Rock Barrage
Azhdaha will shoot out a barrage of rocks at you which will land in the ground, then explode.
(1 of 2) Azhdaha will shoot a barrage of rock pellets at your location
Azhdaha will shoot a barrage of rock pellets at your location (left), these will then explode after a short period of time. (right)
Burrow
Azhdaha will burrow into the ground and move around underneath the floor, when this happens, you’ll get multiple, small, area of effect markers around the arena, which rains down rocks. After the attack is finished, it’ll try to damage you when it resurfaces.
(1 of 3) Azhdaha will burrow into the ground, and move around under the surface
Charging Tusk
Azhdaha will lower its head and charge at you with its tusk.
(1 of 2) Azhdaha will tilt its head to the side
Azhdaha will tilt its head to the side (left), and charge at you with its tusks. (right)
Shockwave Slam
Azhdaha will raise its forelegs and slam them down, sending a shockwave in your direction.
Azhdaha will raise its forelegs and slam them into the ground, sending a shockwave in your direction.
Head Smash
Azhdaha will raise its head and smash it into the ground.

(1 of 2) Azhdaha will tilt its head towards the ceiling
Azhdaha will tilt its head towards the ceiling (left), and slam it into the ground, creating a shockwave in your direction. (right)
Seismic-Waves
Azhdaha will slam one of its forelegs into the ground, creating three shockwaves after each other, before sending one final shockwave. Each shockwave will push you away.
(1 of 2) Azhdaha will raise one of its foreleg and slam it down
Azhdaha will raise one of its foreleg and slam it down (left), emitting three consecutive shockwaves, before unleashing one final shockwave. (right)
Leaping Body Slam
Azhdaha will leap into the air and slam down with its body.
(1 of 2) Azhdaha will leap into the air
Azhdaha will leap into the air (left), and body slam on to the ground. (right)
Walking Shockwave
Azhdaha will slowly walk towards you whilst emitting shockwaves with every step, then end the attack with a slam.
(1 of 3) Azhdaha will slowly walk towards you, creating small shockwaves with every step
Strategy
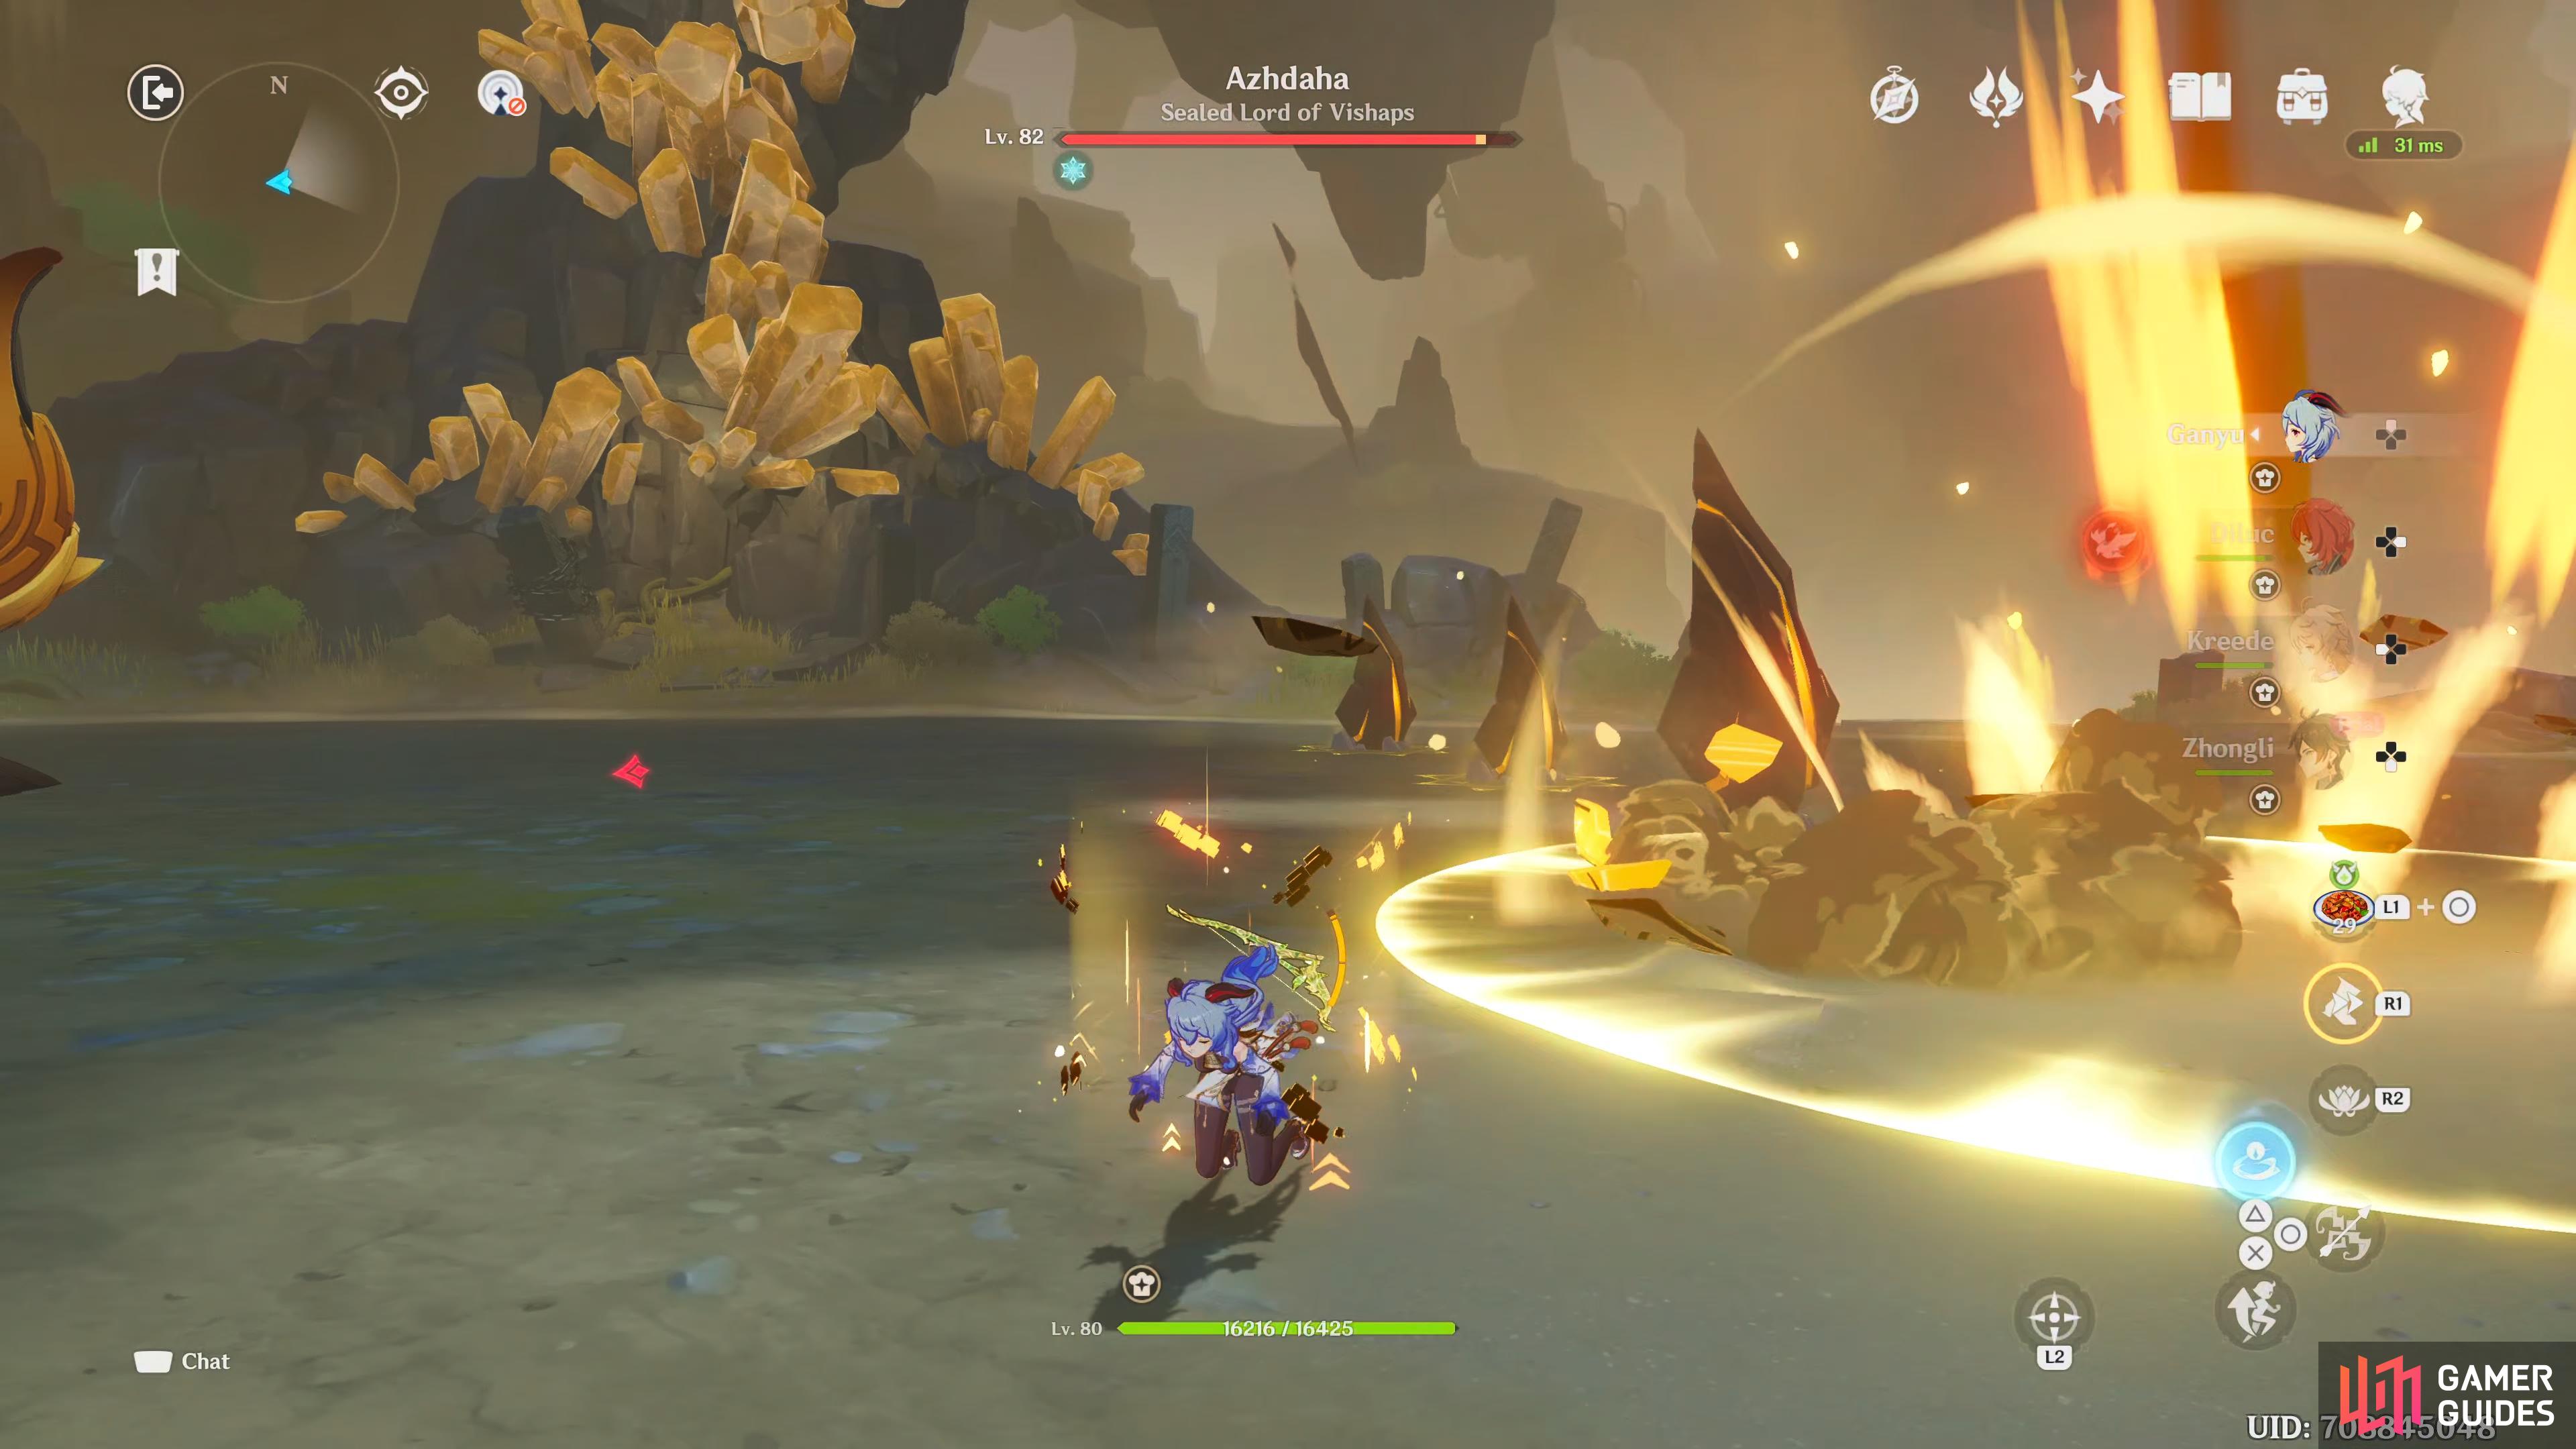
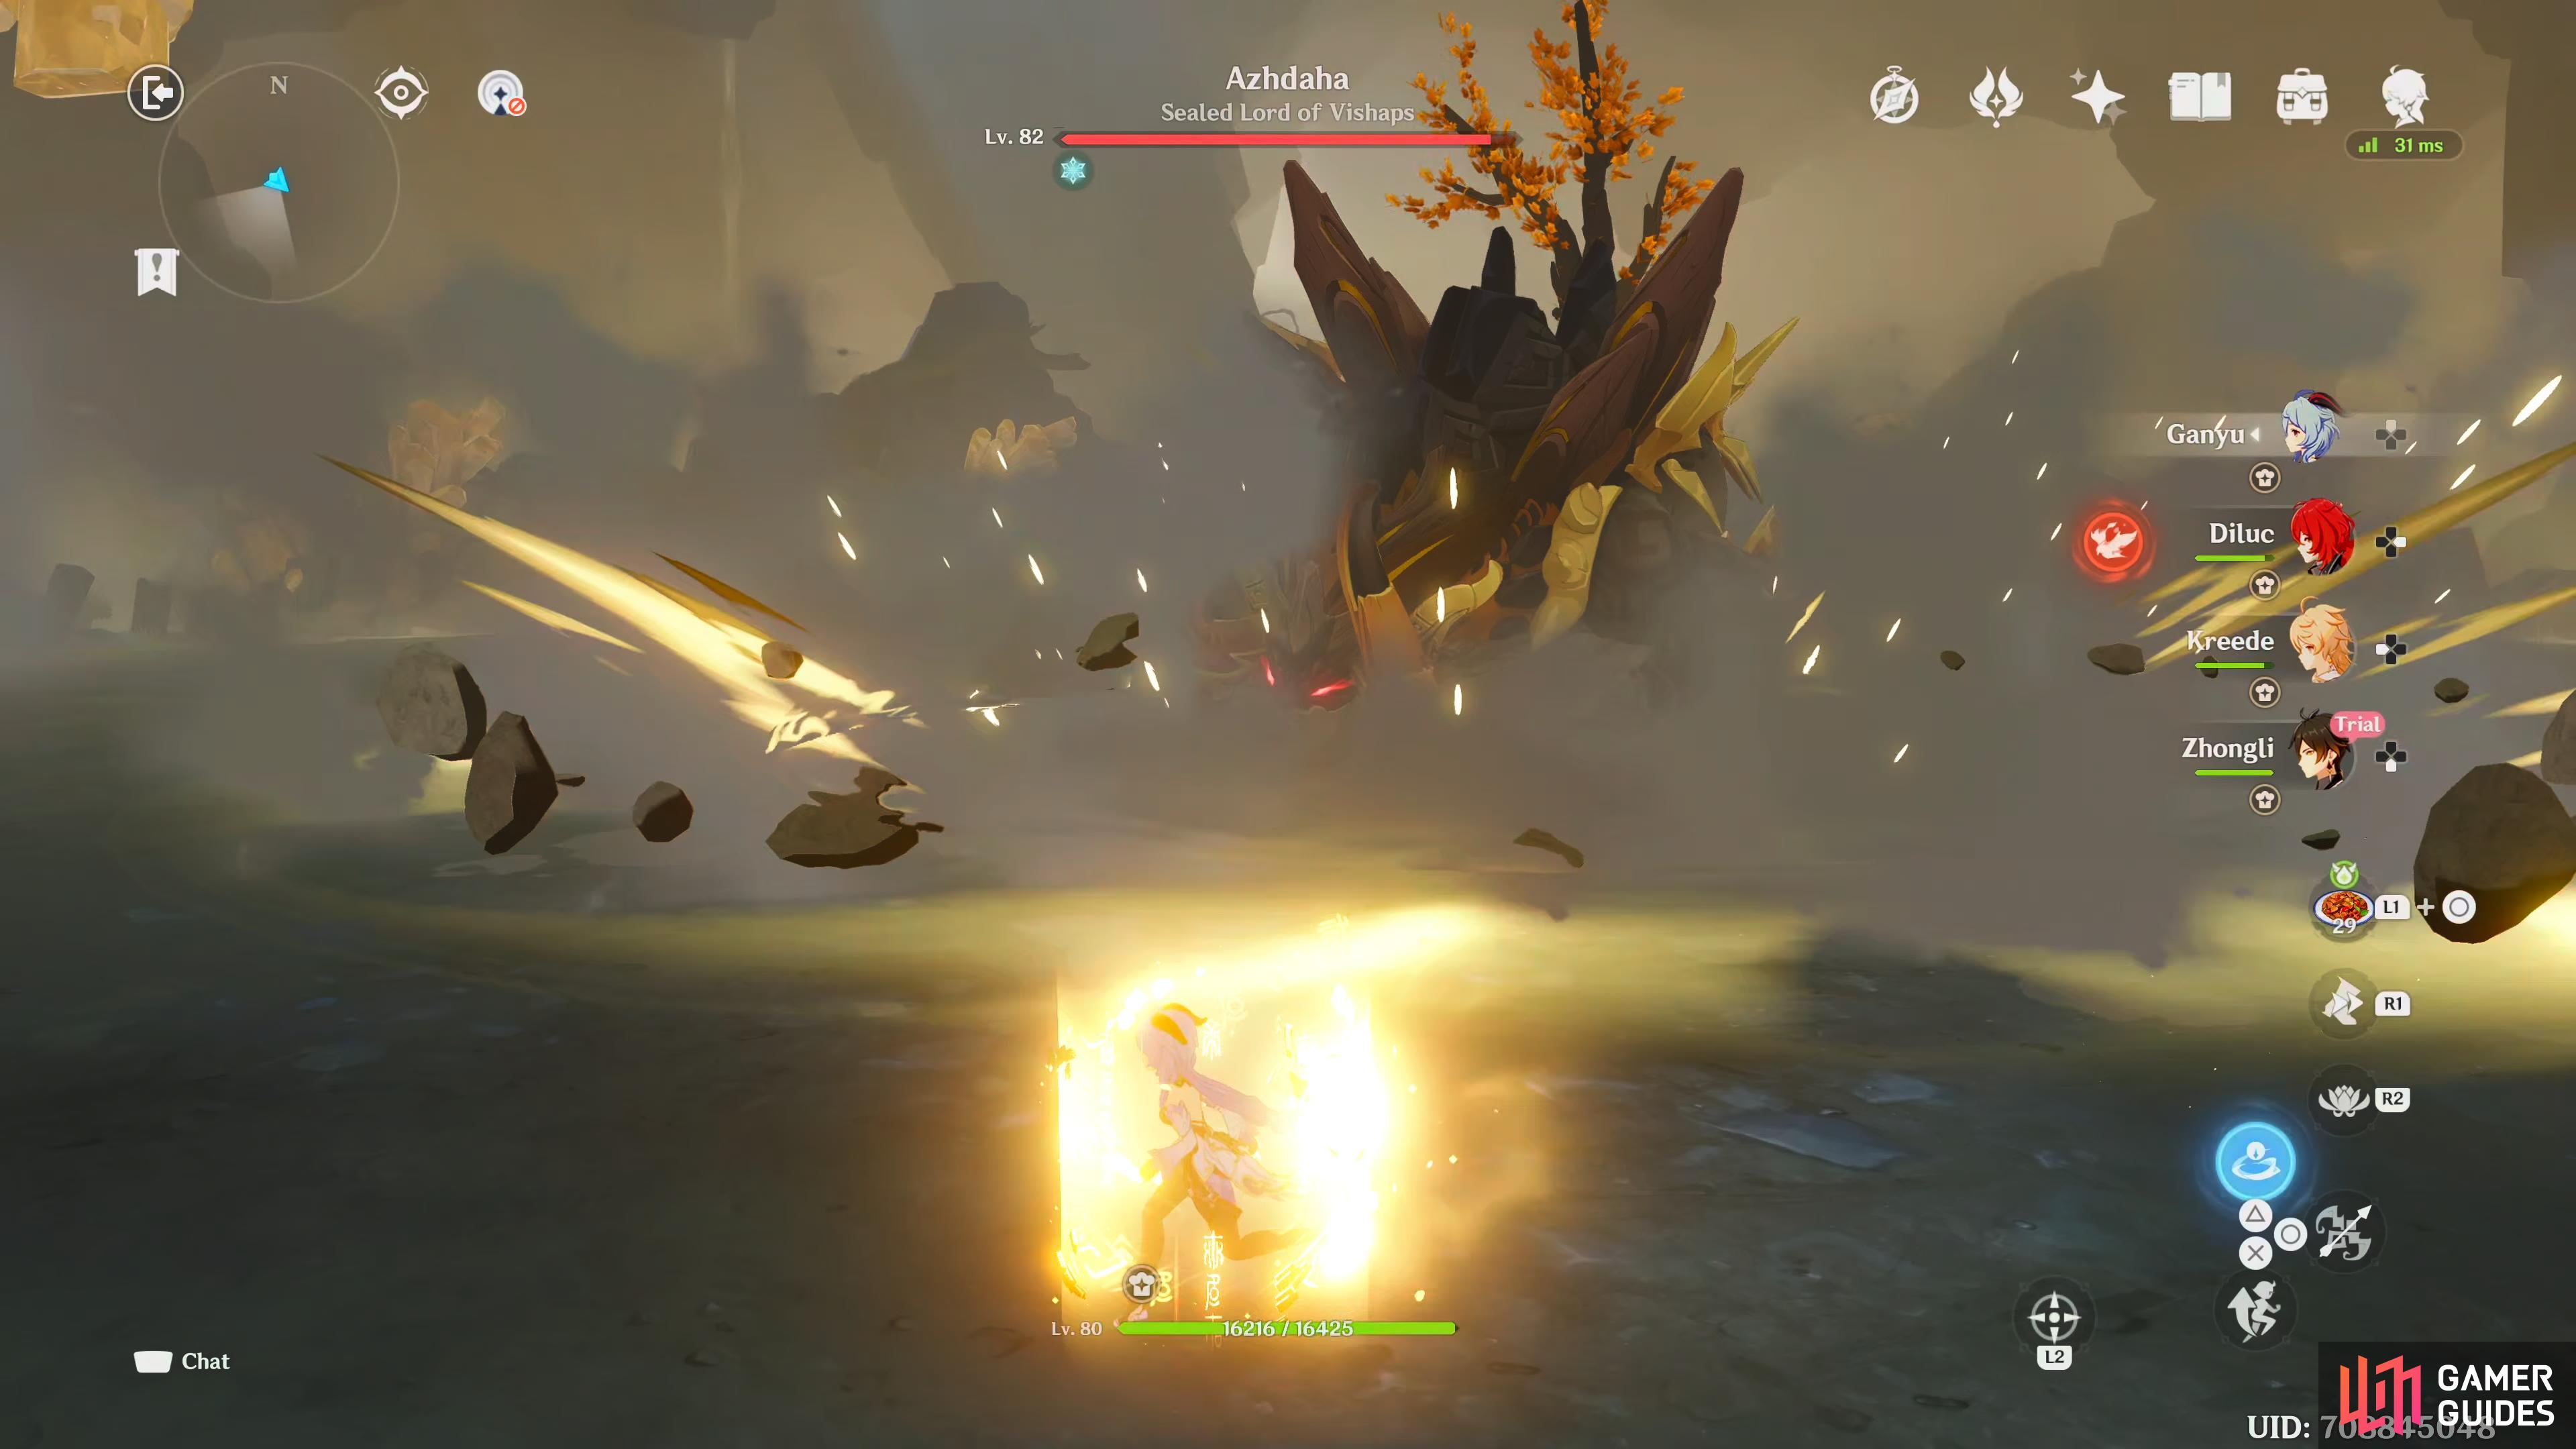
Azhdaha isn’t that tough providing you have Zhongli’s Elemental Skill on at all times, as this will prevent a huge amount of damage. Although it’s not the quickest enemy in the game, it does have a huge health pool, and may take a while to defeat depending on your party setup. Diluc is great for DPS because his Elemental Burst has a large hitbox, and due to the size of Azhdaha, he can deal extended damage with it. Ganyu is great for high DPS at range, which can avoid a majority of Azhdaha’s attacks. A healer like Barbara, Jean or Qiqi is always welcome, and having an Electro user like Fischl or Keqing is great to set up Superconduct with a Cryo user, this can reduce the physical Resistance of Azhdaha.
Most, if not all its attacks are avoidable by dodging to the side (side stepping) just before the attack lands or simply running away when it performs its shockwave attacks. Always be aware of your surroundings as you may get hit by one of the exploding rocks it throws at you during the Rock Barrage attack. So in short, keep Zhongli’s shield up at all times, use Elemental Reactions like Superconduct and Melt to defeat it quicker, and sidestep/run away from its attacks. The only time you may take damage is if you’re fighting in melee range, and your shield runs out.
Learn the truth of the situation
After the fight has ended, you’ll get another scene, and find out that Zhongli was responsible for sealing Azhdaha away 1,000 years ago, and you’ll find out who Kun Jun really is. Also, you’ll get a lot of information about the relationship between Zhongli and Azhdaha. When the scene ends, open the Precious Chest, and leave the Domain.
Return to the ancient tree
Talk to Uncle Dai, who can be found standing near the ancient tree, outside the cave entrance, and Uncle Dai will thank you for rescuing his miners, then prepares to head back to Liyue, and Kun Jun asks if he can tag along. He tells you that he, as in Azhdaha, will be leaving Kun Jun’s body soon, but the real Kun Jun will be fine. Zhongli and Azhdaha reminisce about old times before Azhdaha departs, and Zhongli will tell you the story about how he met Azhdaha 1,000 years ago, and the events following it. When the scene ends, so will the quest.

 Sign up
No Comments